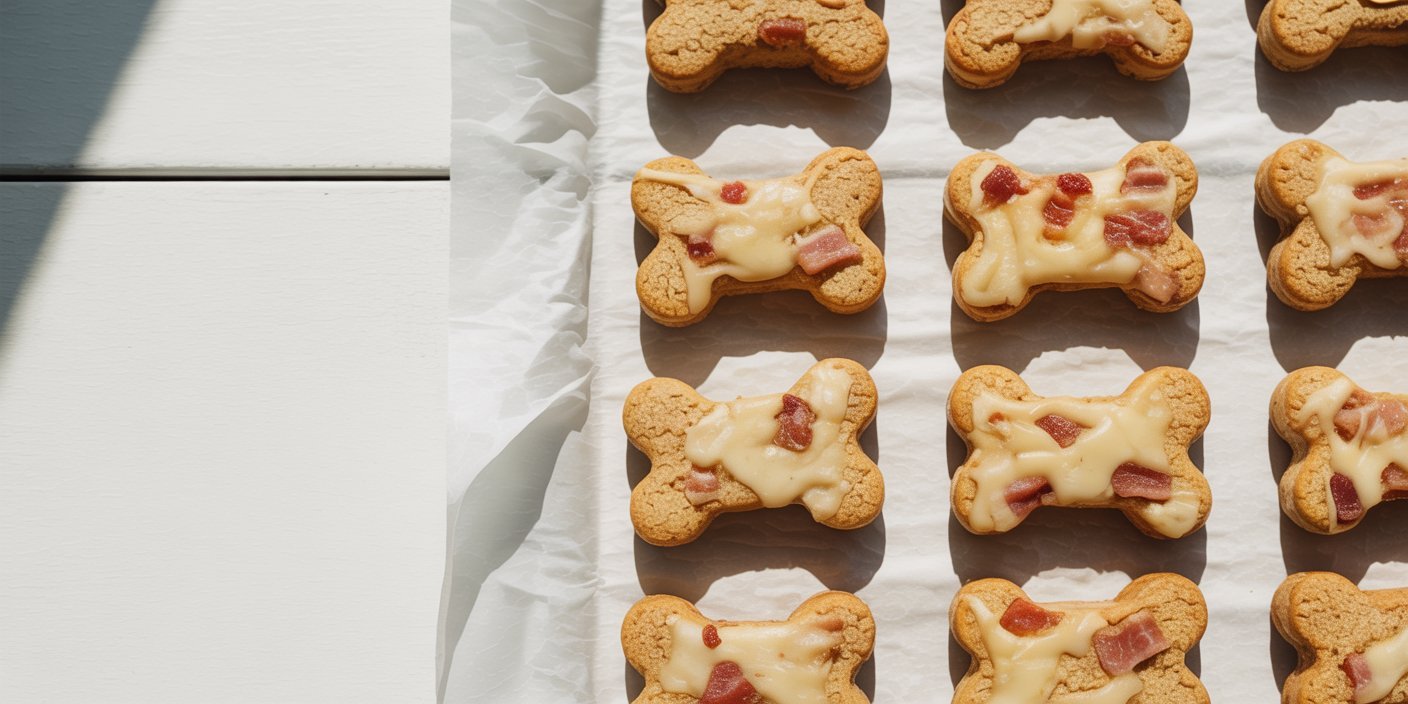
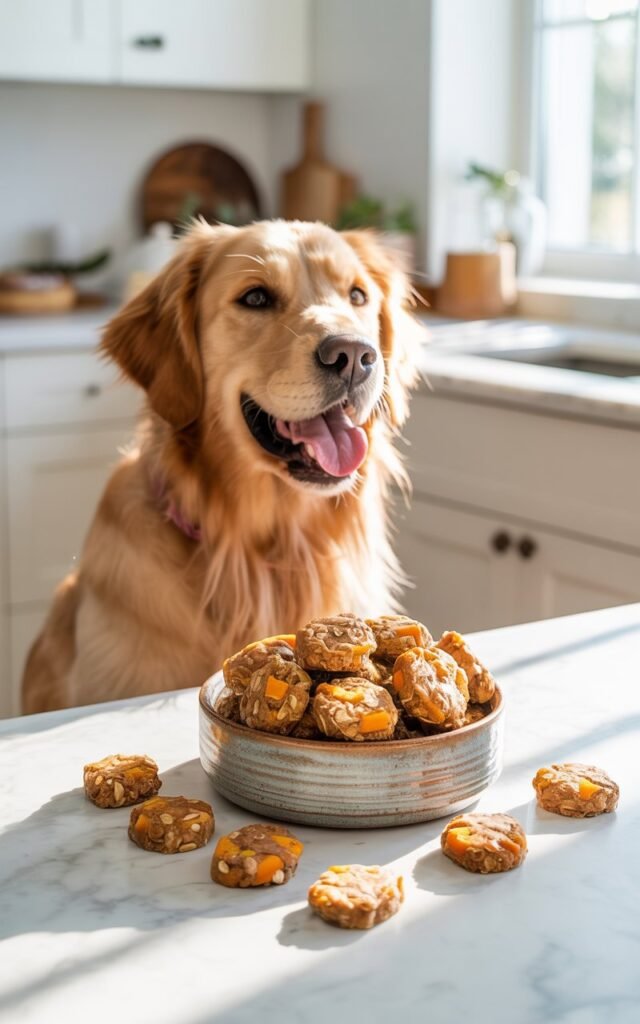
Hi friends! I’m so excited to share one of my favorite homemade dog treat recipes today—my 4-ingredient bacon cheese dog treats.
These treats are crunchy, cheesy, and just a little smoky from the bacon, making them utterly irresistible to my dogs.
I started making homemade treats because I realized that store-bought options often contain artificial ingredients and preservatives I’d rather avoid.

Once I discovered how easy it is to make treats at home, I couldn’t stop experimenting.
Over the years, I’ve tried countless recipes, but this one quickly became a staple because it’s simple, healthy, and ridiculously tasty.
My dogs get excited as soon as I even bring out the ingredients.
There’s something magical about watching them wag their tails and practically dance while waiting for a treat straight from the oven.
Affiliate Disclaimer: Some links in this post are affiliate links. I may earn a small commission at no extra cost to you.
AMAZON SHOPPING LIST (HOMEMADE DOG TREATS ESSENTIALS)
- Bacon (All-Natural, No Nitrates)
Adds irresistible flavor that dogs love
BUY NOW ON AMAZON - Shredded Cheddar Cheese
Melts easily and blends perfectly into homemade treats
BUY NOW ON AMAZON - Whole Wheat or Oat Flour
Forms the base of the dough for healthy, dog-friendly treats
BUY NOW ON AMAZON - Non-Stick Baking Sheet or Silicone Mat
Ensures treats bake evenly and prevents sticking
BUY NOW ON AMAZON - Airtight Treat Storage Container
Keeps homemade dog treats fresh for weeks
BUY NOW ON AMAZON
Why Homemade Dog Treats Are Worth It
Making homemade dog treats has become one of those simple things that just fits into my everyday home life.
In my kitchen, between normal routines and everything going on around the house, it feels easier knowing exactly what I’m giving my dogs instead of guessing what’s inside packaged treats or store-bought dog snacks.
I like that I can use basic ingredients I already have at home and turn them into something my dogs actually get excited about.
There’s something satisfying about mixing everything together and knowing it’s fresh, simple, and made right in my own kitchen using healthy dog treat recipes.
It also just feels more personal. Instead of grabbing something from a shelf, I’m making easy homemade dog treats with simple ingredients, often inspired by quick ideas like 4-ingredient dog treats or natural combinations that are safe and dog-friendly.
I know exactly what goes into them, which makes a big difference when choosing natural dog treats for dogs.
And every time I do, my dogs’ reaction reminds me why I keep doing it—they don’t just eat them, they genuinely love these bacon cheese dog treats and homemade training treats, and that alone makes it worth it.
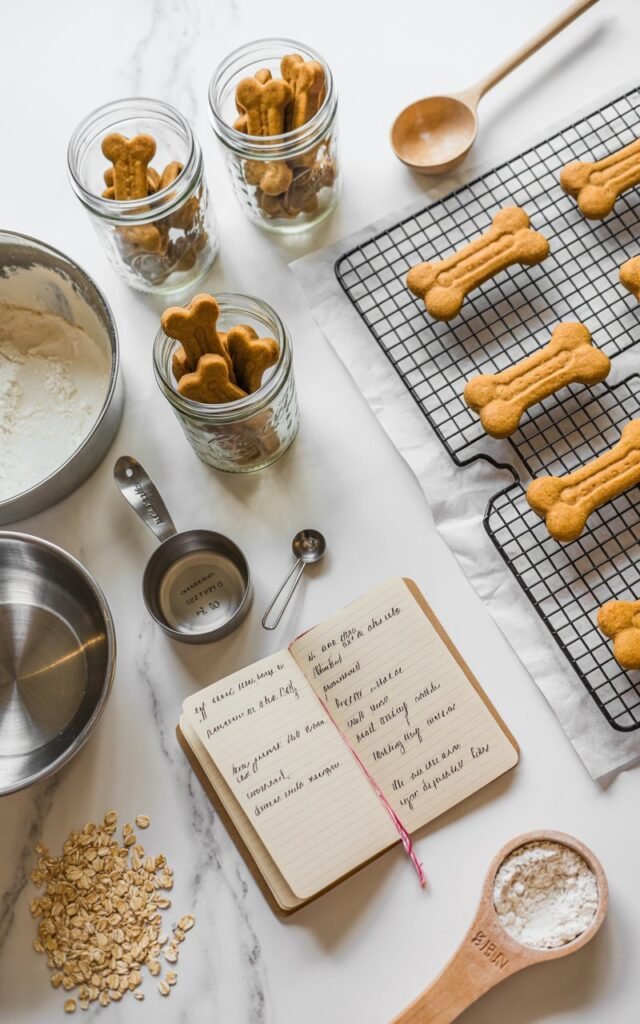
Ingredients You’ll Need
Here’s the full list for this easy recipe:
- 1 cup whole wheat flour – I prefer whole wheat for added fiber, but oat flour works beautifully for dogs with sensitive stomachs.
- ½ cup shredded cheddar cheese – sharp or mild cheddar works. I like sharp because it gives a stronger flavor, but choose what your pup loves.
- ¼ cup cooked bacon pieces – cooked until crispy, then crumbled into small bits. You can use turkey bacon if your dog needs a lower-fat alternative.
- ¼ cup water – or low-sodium chicken broth for extra flavor.
That’s it! Only four ingredients for a dog-approved snack that smells like heaven while baking.
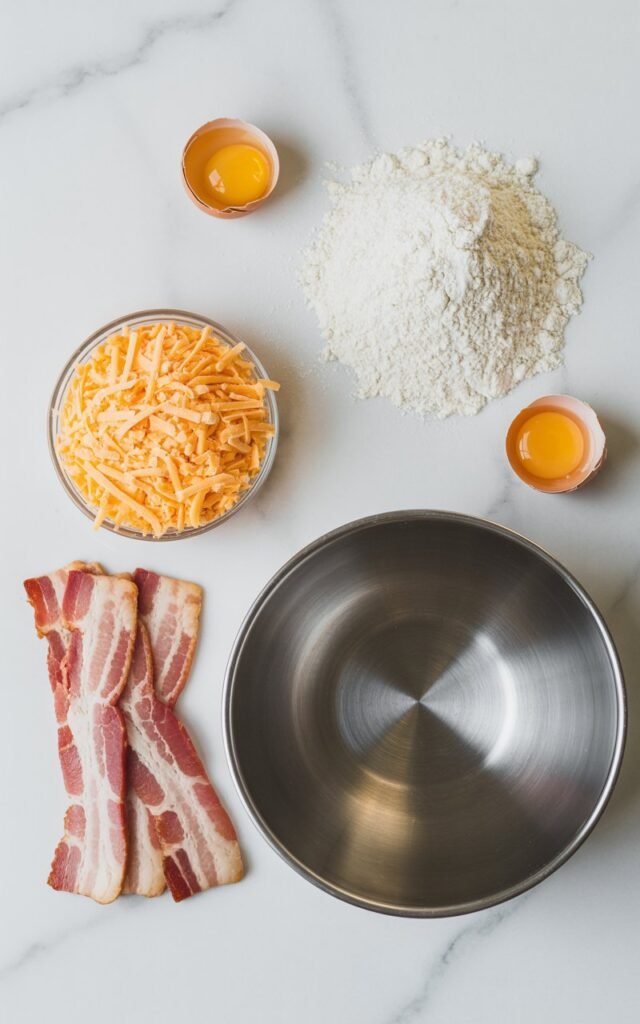
Step 1: Prepare the Ingredients

Before I even start mixing anything, I always set everything out first.
In my kitchen at home, this makes the whole process smoother—especially when I’ve got normal daily things going on around me and my dogs are already hovering nearby, waiting like they know something good is coming.
I start by cooking the bacon until it’s crispy, then letting it cool completely before crumbling it into small pieces.
This is important because it makes it easier to mix into the dough and keeps the texture right for these bacon cheese dog treats.
Next, I shred the cheese if it isn’t already pre-shredded. I like using cheddar because it blends well and works perfectly for homemade dog treats.
I also crack the egg into a small bowl and set aside the flour so everything is ready to go.
Once everything is prepped, it feels quick and easy to move into mixing.
Having all the ingredients ready upfront makes this one of those simple easy homemade dog treat recipes that doesn’t feel overwhelming at
Step 2: Mix the Dough
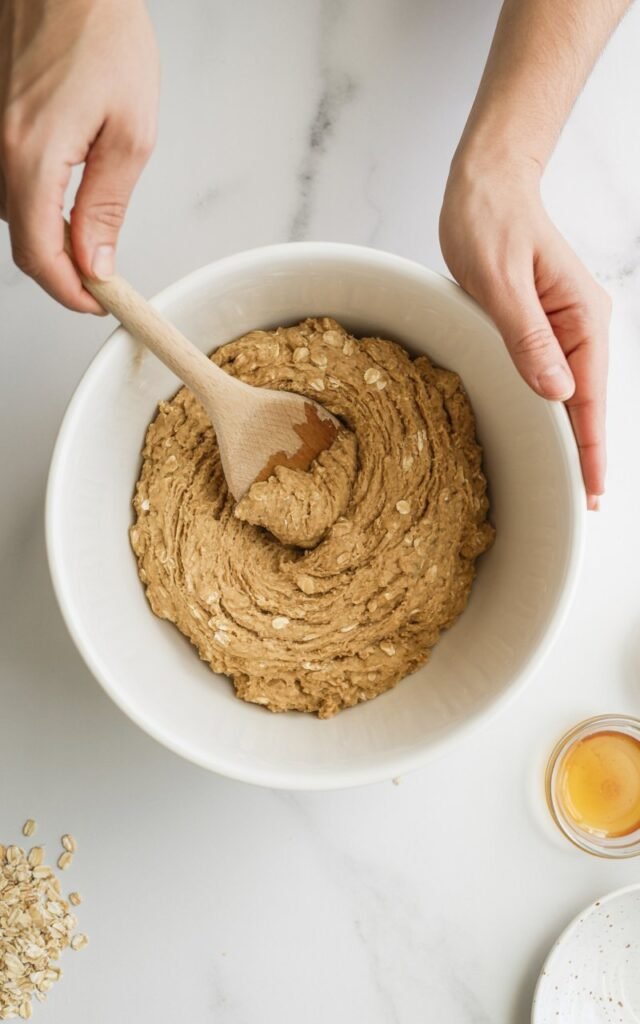
Once everything is prepped, I move straight into mixing, and this is where the recipe really starts coming together.
In my kitchen at home, I usually have my dogs sitting nearby at this point because they can already smell the bacon and cheese—it’s hard for them to ignore.
I start by adding the flour and egg into a mixing bowl, then slowly fold in the shredded cheese and crumbled bacon.
As everything combines, it starts forming a thick, slightly sticky dough that holds together really well.
I mix it gently until all the dog-safe ingredients are evenly distributed.
You don’t want dry patches of flour or clumps of cheese in one spot—just a smooth, even dough that’s easy to work with.
If it feels too dry, I’ll add a tiny splash of water. If it feels too sticky, I sprinkle in a little more flour.
It’s a simple adjustment process that makes these easy homemade dog treats very beginner-friendly.
By the end of this step, you should have a soft dough ready for shaping into homemade bacon cheese dog treats your pup will definitely be waiting for.
Step 3: Roll and Cut the Treats
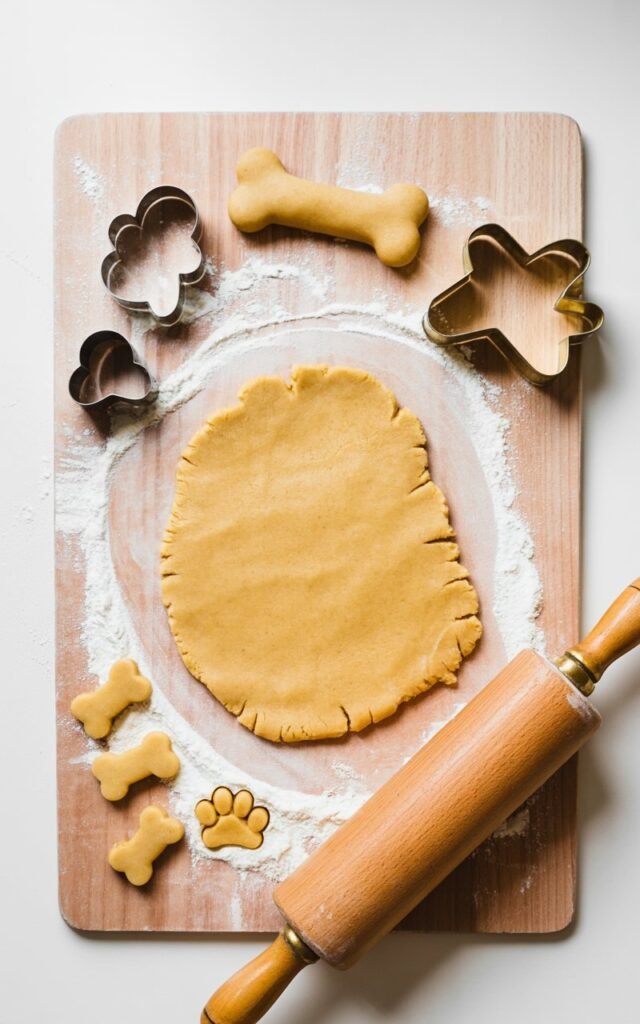
Once the dough is ready, I lightly flour my kitchen counter and roll it out.
I usually aim for about ¼-inch thickness because it gives the perfect balance between a slightly soft bite and a good structure for these bacon cheese dog treats.
At this point, my dogs are usually right there in the kitchen with me, watching every move like they already know what’s happening.
It makes the whole process feel even more fun and real, just part of normal home life.
After rolling the dough, I use small cookie cutters or simply cut it into tiny squares with a knife.
Both work perfectly for these homemade dog treats, so I just go with whatever feels easiest that day.
Keeping the pieces small is important, especially if you’re using them as training treats for dogs or quick rewards.
It also helps them bake more evenly and gives that perfect homemade texture.
By the time I finish cutting them, everything is ready to go onto the tray, and it already feels like a batch of proper easy homemade dog treats coming together.
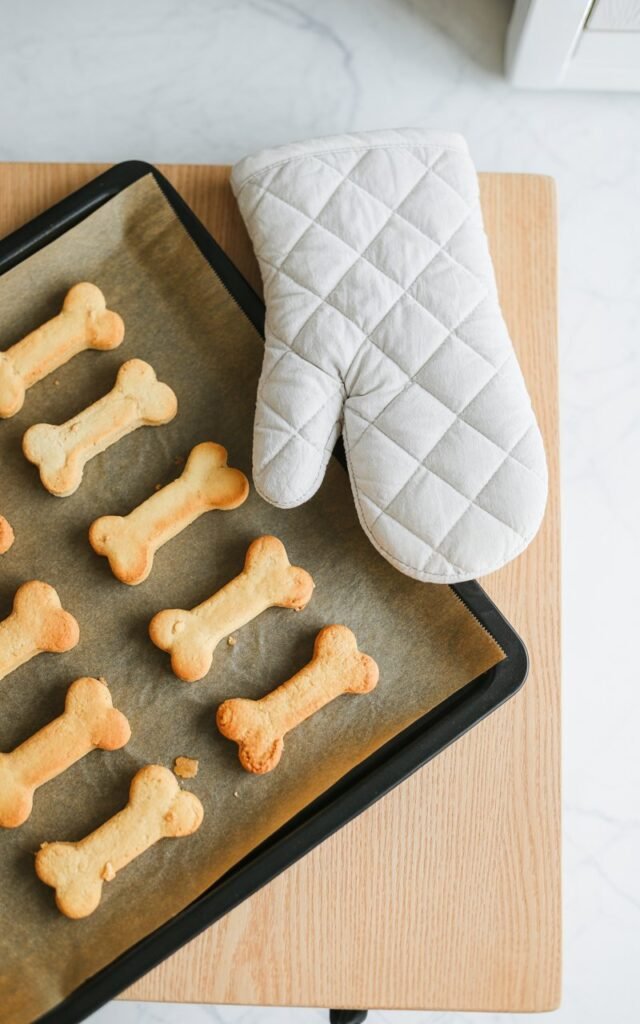
Step 4: Bake to Golden Perfection
This is the part where everything starts to smell amazing in my kitchen.
I preheat the oven to 350°F (175°C) and line a baking tray with parchment paper so the bacon cheese dog treats don’t stick.
I arrange the cut pieces evenly on the tray, making sure they aren’t too close together so they bake properly.
At this point, my dogs are usually fully alert—sitting nearby, watching the oven like they understand exactly what’s happening.
I bake them for about 18–22 minutes, until they turn lightly golden and firm to the touch.
The exact time can vary a little depending on size, but the goal is a nice baked texture for these homemade dog treats.
As they bake, the mix of bacon and cheese fills the kitchen, and it honestly makes the whole house feel warm and cozy.
It’s one of those simple moments where making easy homemade dog treats feels more like a small daily routine than a recipe.
Once they’re done, I take them out and let them sit for a few minutes on the tray so they can finish setting before cooling completely.
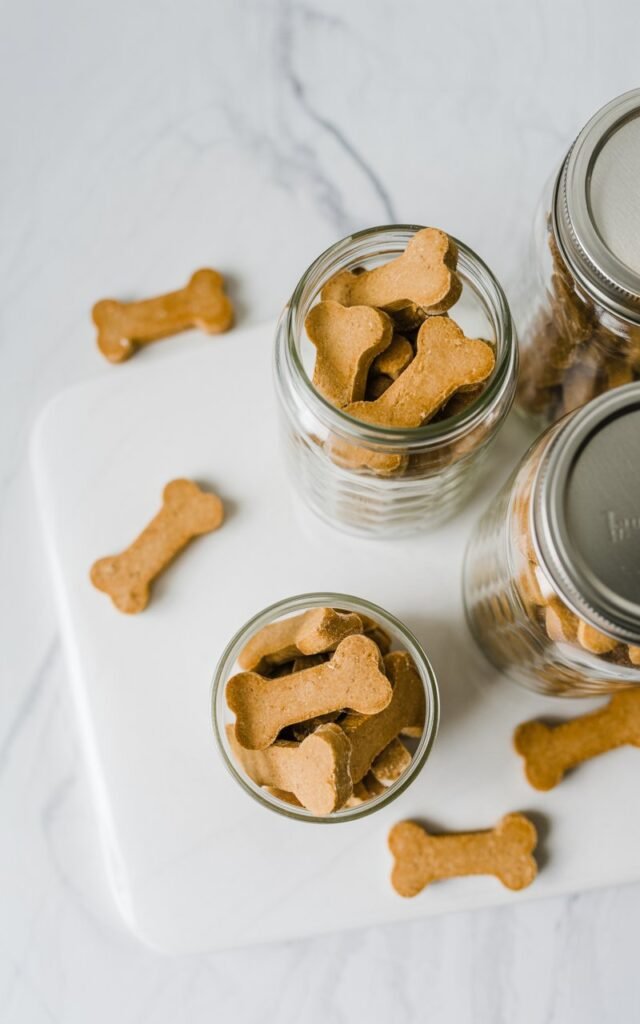
Step 5: Storing Your Treats
Once the bacon cheese dog treats have cooled completely, I always take a moment to store them properly so they stay fresh and safe for my dogs.
In my kitchen at home, I usually do this while cleaning up or wrapping up whatever else I’ve been doing, so it fits naturally into my routine.
I like to keep a small batch in an airtight container on the counter for everyday use.
These homemade dog treats stay fresh at room temperature for about 4–5 days, as long as they’re kept in a cool, dry place.
For longer storage, I move them into the fridge. Stored properly, these easy homemade dog treats can last up to 10–14 days, which is perfect when I’ve made a bigger batch.
If I want to prepare ahead, I freeze them in a sealed bag or container.
This is my favorite option because I can always have healthy dog treats ready to go. They usually keep well in the freezer for up to 2–3 months.
I also like to portion them out so I can just grab a few at a time—especially on busy days when my dogs are already waiting and expecting their usual snack routine.
My Favorite Tips for Perfect Dog Treats
Over time, while making these homemade dog treats in my kitchen, I’ve picked up a few simple tips that really make a difference.
Nothing complicated—just small things that help every batch turn out better and more consistent.
One thing I always do is keep the dough texture just right. If it’s too sticky, I add a little extra flour. If it’s too dry, I adjust with a tiny splash of water or egg.
Getting this balance right makes these easy homemade dog treats much easier to roll, cut, and bake evenly.
I also make sure everything is evenly sized.
It might seem small, but keeping the pieces similar helps them bake properly and makes them perfect for training treats for dogs or quick rewards during the day.
Another tip I swear by is letting them cool completely before storing.
I’ve learned that rushing this step can affect texture and freshness, especially when making bacon cheese dog treats that need to set properly after baking.
And finally, I keep batches simple and consistent.
In my kitchen at home, while normal life is happening around me and my dogs are usually waiting nearby, I’ve found that sticking to easy homemade dog treat recipes makes everything more enjoyable and stress-free.
These little habits are what turn a basic recipe into something reliable that I can make anytime.
Why I’ll Never Go Back to Store-Bought
After making my own homemade dog treats, it’s honestly hard for me to go back to store-bought options.
In my kitchen at home, while normal daily life is going on around me and my dogs are always nearby waiting for something tasty, I’ve gotten used to knowing exactly what goes into their snacks.
When I make easy homemade dog treats, I’m using simple ingredients I already understand and trust.
There’s no guessing, no long ingredient lists, and no wondering what fillers or additives might be included in packaged treats.
I also like how flexible it is. Whether I’m making bacon cheese dog treats or simple healthy dog treats, I can adjust the recipe based on what I have at home or what my dogs enjoy most.
That kind of control just isn’t something you get with store-bought options.
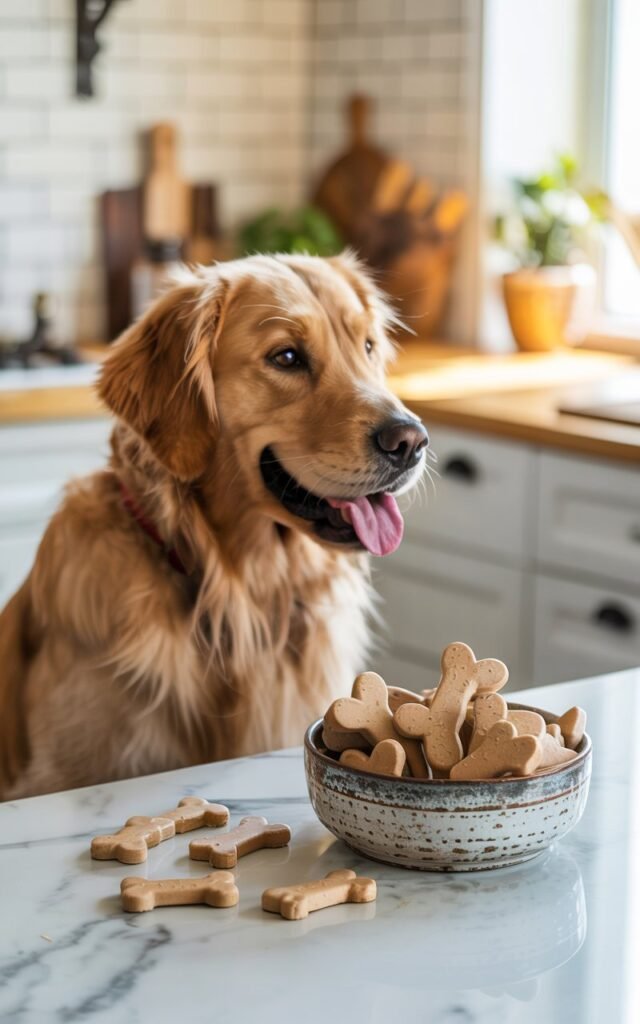
And honestly, my dogs’ reaction says everything. They’re more excited, more engaged, and always waiting in the kitchen when they know I’m making a fresh batch.
That alone makes the extra few minutes of effort feel completely worth it.
At this point, making homemade dog treats has just become part of my routine—and store-bought doesn’t really fit into that anymore.
Final Thoughts
These 4-ingredient bacon cheese dog treats are the perfect mix of simple, delicious, and fun to make.
Whether you’re a beginner or a seasoned baker, these treats are approachable, wholesome, and guaranteed to make tails wag.
Making treats at home isn’t just about the snacks—it’s about the joy of giving something homemade to your furry best friend. Trust me, they’ll love you even more for it.
Try this recipe this weekend, and I promise you’ll be hooked—your dog will thank you with every crunchy, cheesy bite.