Homemade Baked Tuna Cat Treats (Easy Step-by-Step Recipe)
There’s a moment every cat owner knows well.
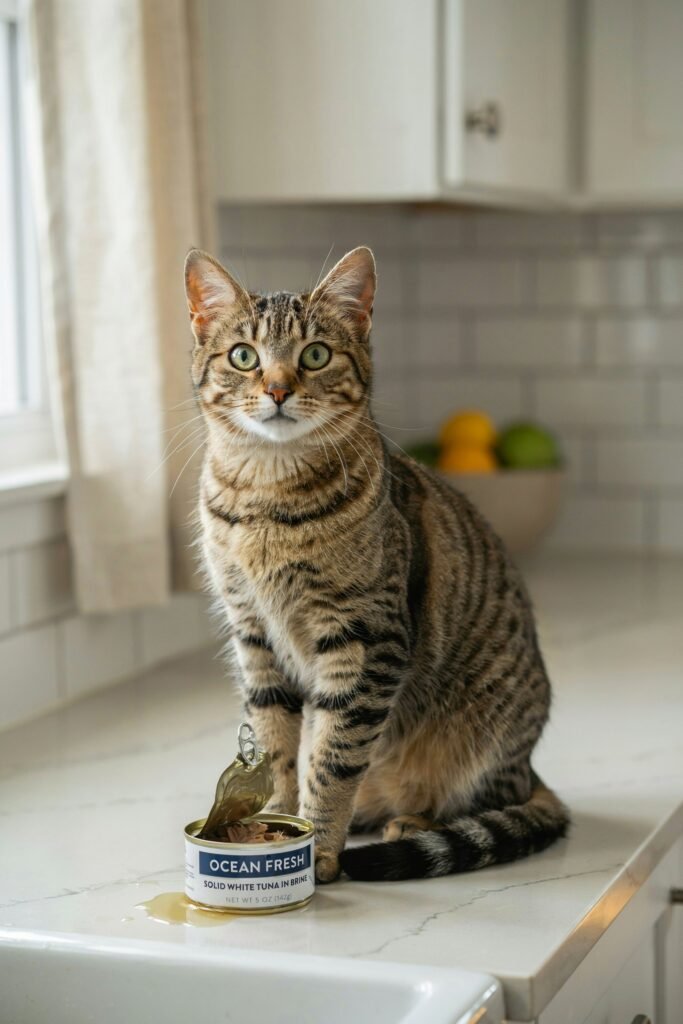
The second you crack open a can of tuna, your cat appears out of nowhere, weaving around your ankles like you owe them money.
That’s exactly how this recipe was born in my kitchen.
I got tired of buying store-bought cat treats packed with fillers, preservatives, and ingredients I couldn’t even pronounce, so I decided to make something better myself.
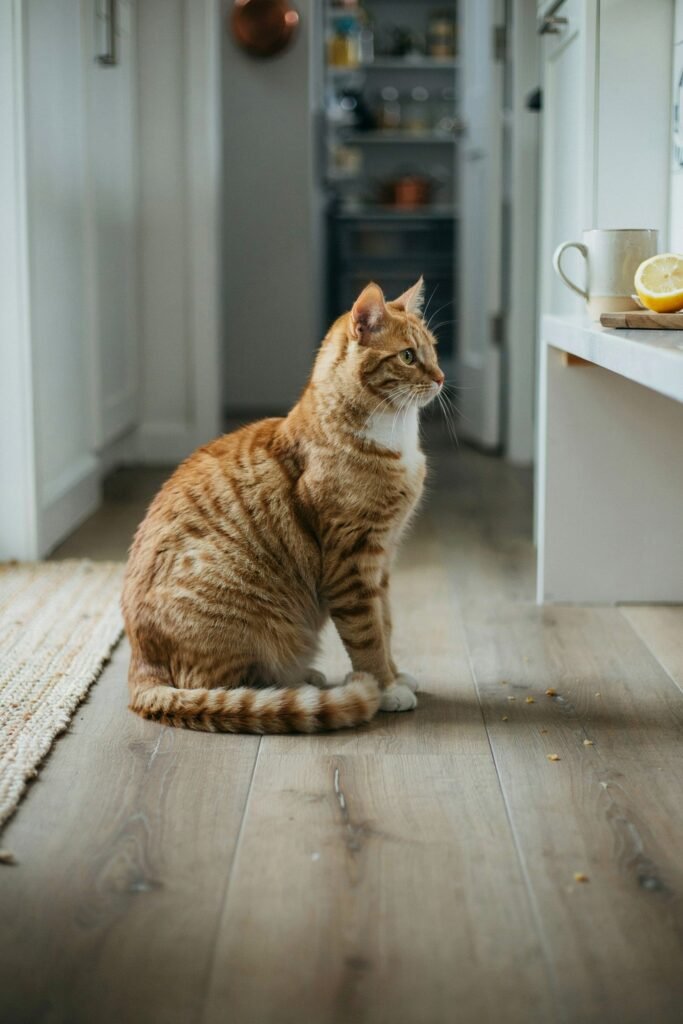
A few kitchen experiments later, these homemade baked tuna cat treats became a permanent fixture in my house, and my cat, Mochi, has never been more food-motivated in her life.
If you’ve been searching for a simple, wholesome way to spoil your feline friend, you’re in the right place.
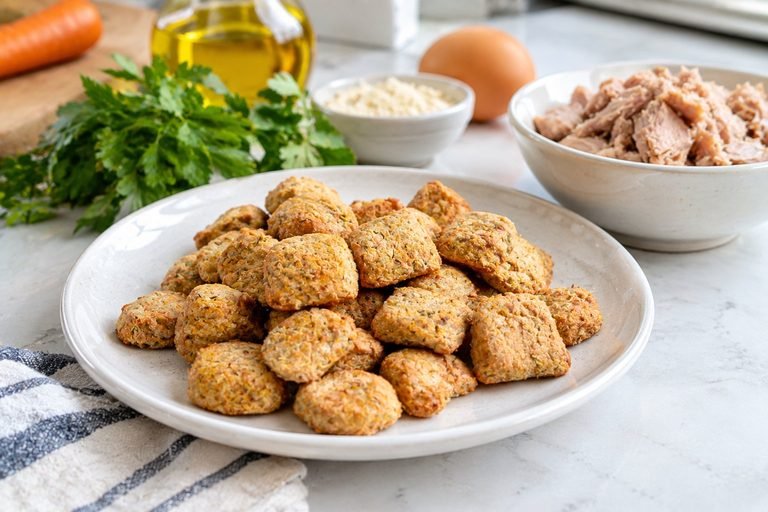
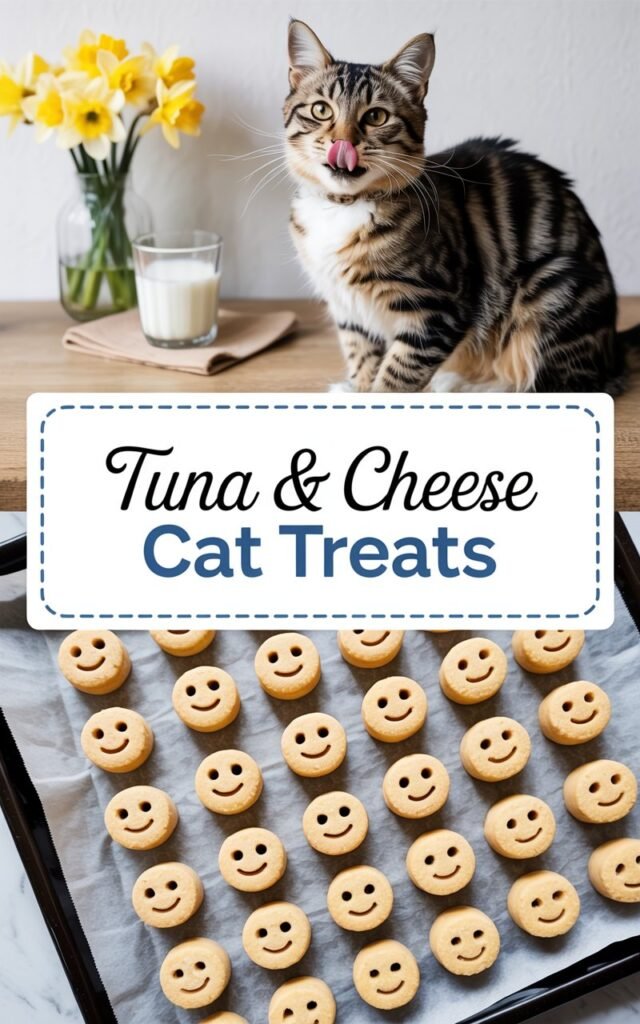
This recipe uses just a handful of pantry staples, takes under 30 minutes from start to finish, and results in crunchy, fish-scented treats that cats genuinely go wild for.
Below, I’ll walk you through everything, from the ingredients and why each one matters, to the exact baking steps, storage tips, and answers to the questions I get asked most often about homemade cat treats.
Affiliate Disclaimer: This post contains affiliate links. I may earn a small commission at no extra cost to you.
Amazon Shopping List You Need
- Canned Tuna in Water (No Salt Added)
High-protein, flavorful base for healthy homemade cat treats.
BUY NOW ON AMAZON - Whole Wheat or Oat Flour
Provides structure and fiber for baked treats that hold together.
BUY NOW ON AMAZON - Eggs
Helps bind ingredients and adds extra protein for your cat.
BUY NOW ON AMAZON - Silicone Cat-Shaped or Small Cookie Molds
Makes treats fun and easy to portion for your kitty.
BUY NOW ON AMAZON - Airtight Treat Storage Container
Keeps homemade cat treats fresh and crunchy for longer.
BUY NOW ON AMAZON
Why Make Homemade Cat Treats?
Before we get into the recipe, let’s talk about why homemade is worth the extra ten minutes of effort.
You control exactly what goes in.
Many commercial cat treats contain artificial colors, unnecessary sugars, and preservatives that aren’t doing your cat any favors.
When you bake treats yourself, you know precisely what your cat is eating, with no mystery ingredients and no guesswork.
They’re often more affordable.
A can of tuna, an egg, and a little flour cost far less than a bag of premium cat treats, and this recipe yields a generous batch.
Cats tend to love the taste and texture.
Because these treats are baked fresh with real tuna, the smell alone is often enough to have your cat sitting patiently by the oven door.
It’s a great bonding activity.
There’s something satisfying about making something for your pet with your own hands, especially when you get to watch them enjoy every crumb.
With that said, let’s get into the recipe itself.
Ingredients You’ll Need

This recipe is intentionally simple, and you likely already have most of these ingredients in your kitchen.
Here’s exactly what you need and why each ingredient plays an important role in the final treat.
1 can (5 oz) of tuna in water, undrained Tuna is the star of the show here, and using tuna canned in water rather than oil is important.
Oil-packed tuna can make the dough greasy and harder to work with, and it also adds unnecessary fat to your cat’s diet.
Keeping the tuna undrained (juice and all) helps bind the dough and boosts the fishy aroma that cats find irresistible.
Always double-check that the tuna doesn’t contain added seasonings, garlic, or onion powder, as these are toxic to cats even in small amounts.
1 large egg The egg acts as a natural binder, holding the dough together so it can be rolled and cut into shapes.
It also adds a boost of protein, which is beneficial for your cat’s muscle health and overall energy.
1 cup all-purpose flour (or oat flour for a grain-sensitive option) Flour gives the treats their structure and that satisfying crunchy bite cats love.
All-purpose flour works well, but if your cat has a sensitive stomach or you prefer a gentler option, oat flour is a great alternative. Avoid using flours with added sugar or flavoring.
2 tablespoons plain rolled oats (optional, for texture) Oats add a bit of extra fiber and a slightly chewy texture to the finished treats.
This ingredient is optional, but I love the added texture it brings, plus oats are gentle on a cat’s digestive system.
1 tablespoon olive oil or fish oil A small amount of healthy fat helps keep the dough moist and gives the treats a slightly softer bite once baked.
Fish oil is a wonderful choice here because it adds omega-3 fatty acids, which support your cat’s skin and coat health, plus it intensifies that fishy flavor cats can’t resist.
1 tablespoon water (only if needed) Depending on the moisture content of your tuna, you may need a splash of water to bring the dough together.
Add this gradually, since you want a workable dough, not a wet, sticky one.
Optional: a pinch of dried catnip If your cat is a catnip fan, sprinkling a small pinch into the dough can take these treats to the next level.
It’s completely optional, but it’s a fun way to make these treats extra enticing.
A Quick Note on Ingredient Safety
Before baking anything for your cat, it’s worth remembering that cats have very different dietary needs and sensitivities compared to humans or even dogs.
Never add salt, garlic, onion, chocolate, xylitol, or any seasoning blends to cat treats.
This recipe deliberately keeps things simple and cat-safe, using only ingredients that are gentle on a feline digestive system.
If your cat has any known health conditions, such as kidney issues or food allergies, it’s always a good idea to check with your veterinarian before introducing a new treat.
Equipment You’ll Need
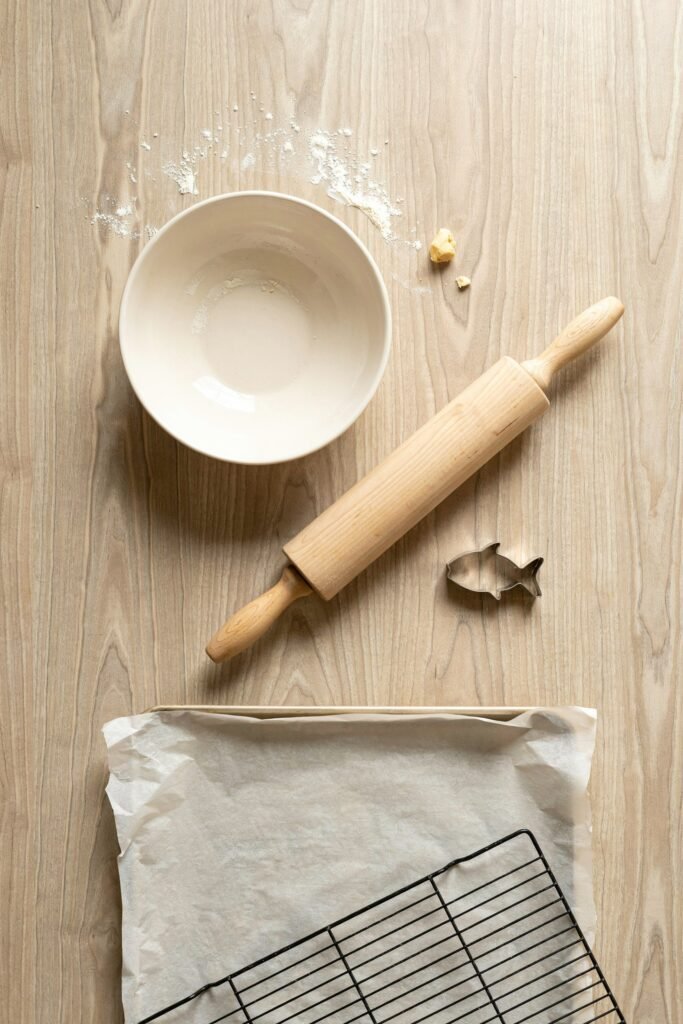
- A mixing bowl
- A fork or whisk
- A rolling pin (or a clean glass jar works in a pinch)
- A small cookie cutter, or simply a knife to cut small squares
- A baking sheet
- Parchment paper or a silicone baking mat
- A wire cooling rack
Nothing fancy is required here. If you’ve baked cookies before, you already have everything you need.
Step-by-Step Instructions
Step 1: Preheat Your Oven
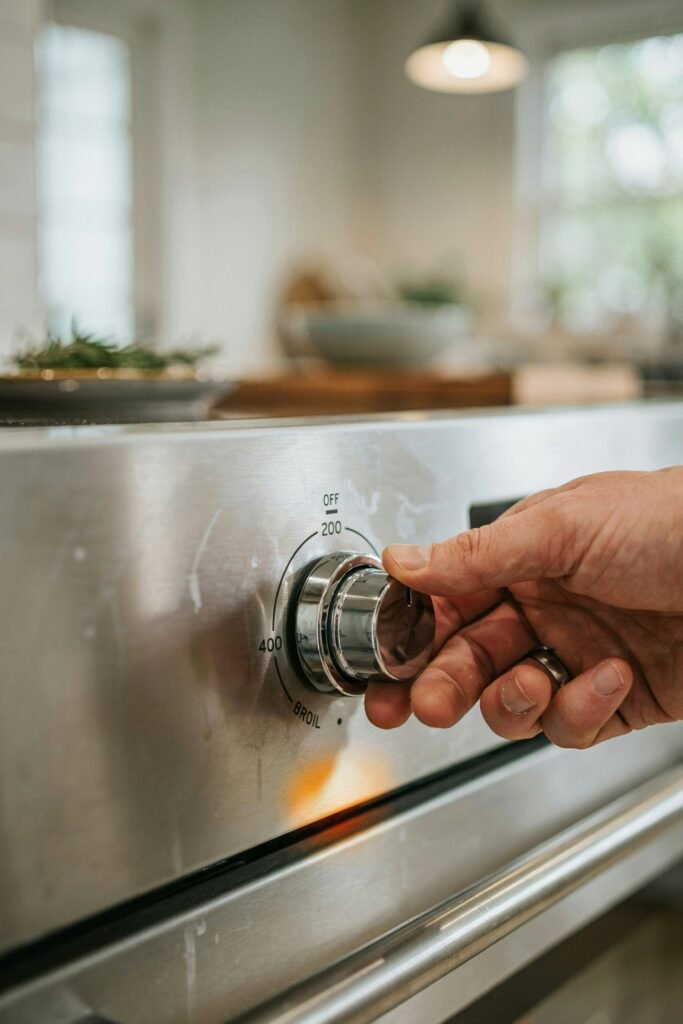
Set your oven to 350°F (175°C) and let it fully preheat while you prepare the dough.
Starting with a properly heated oven ensures the treats bake evenly and develop that satisfying crunch all the way through.
Step 2: Mash the Tuna
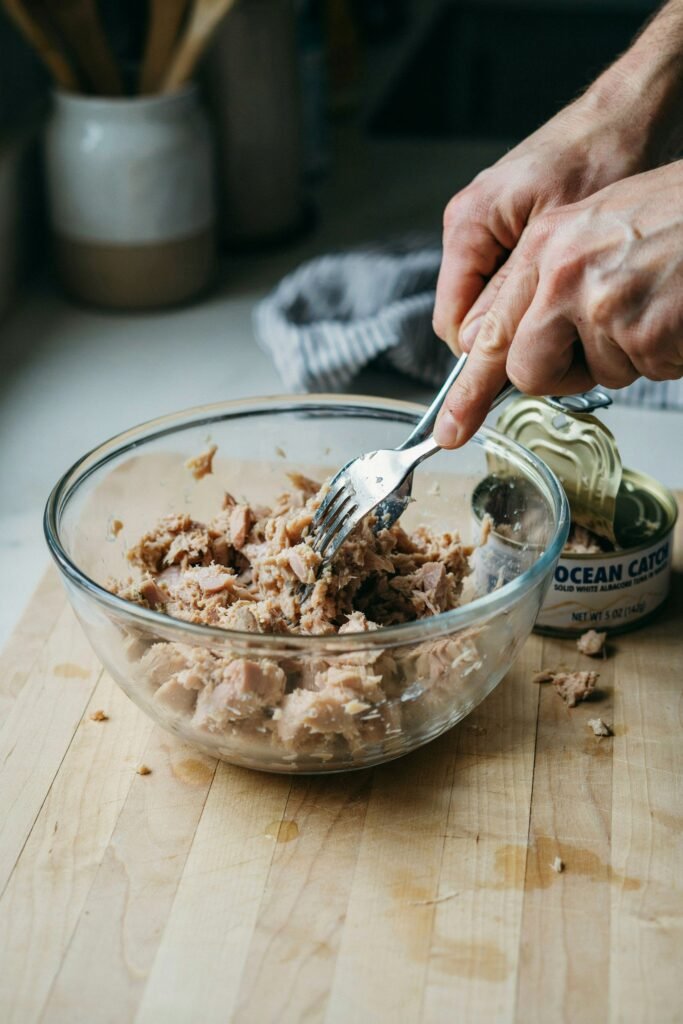
In your mixing bowl, empty the entire can of tuna, including the liquid.
Using a fork, mash the tuna until it’s broken down into small, fine flakes with no large chunks remaining.
The finer you mash it, the smoother your dough will be, which makes rolling and cutting much easier later on.
Step 3: Add the Egg and Oil
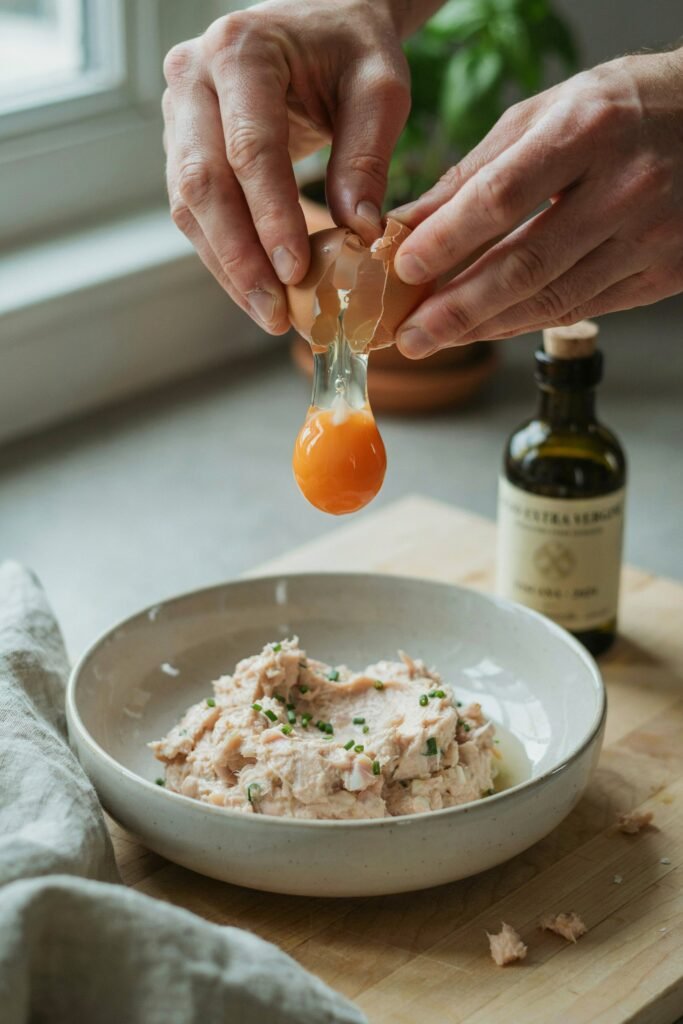
Crack the egg directly into the bowl with the mashed tuna, then add your tablespoon of olive oil or fish oil.
Whisk everything together thoroughly until the mixture looks uniform and well combined.
This wet mixture forms the flavorful base of your dough.
Step 4: Incorporate the Dry Ingredients
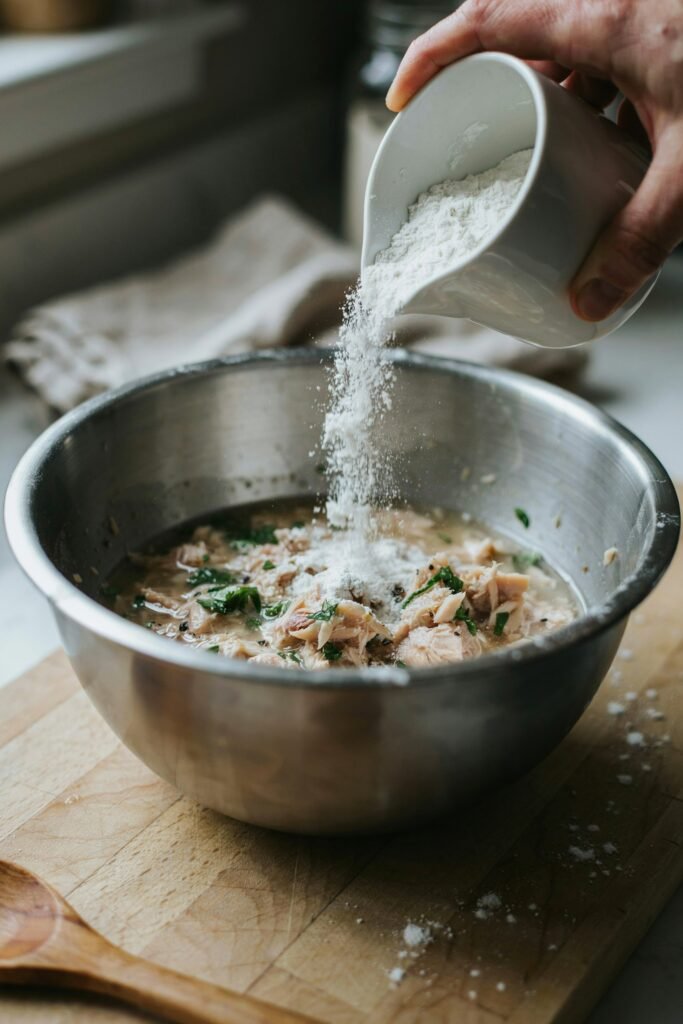
Gradually add the flour and oats (if using) into the wet mixture, stirring as you go.
Start with about half the flour, mix it in, then add the rest.
Stirring gradually like this helps prevent lumps and gives you better control over the dough’s final consistency.
Step 5: Bring the Dough Together

Once everything is combined, use your hands to gently knead the mixture into a soft, cohesive dough right in the bowl.
It should feel similar to cookie dough, not too sticky and not too dry or crumbly.
If the dough feels too wet and won’t hold its shape, sprinkle in a little extra flour, one tablespoon at a time.
If it feels too dry and is cracking, add the tablespoon of water a little at a time until it comes together smoothly.
Step 6: Roll Out the Dough

Lightly flour a clean, flat surface, then place your dough on top. Using a rolling pin, roll the dough out to about ¼-inch thickness.
Keeping it slightly thick like this helps the treats hold together well and gives them a satisfying, crunchy bite once baked, rather than turning out overly thin and brittle.
Step 7: Cut Into Shapes

Using a small cookie cutter (fish and paw shapes are always a fun touch), cut the dough into bite-sized pieces.
If you don’t have a cookie cutter, simply use a knife to slice the dough into small squares, roughly the size of a fingernail.
Remember, these are treats for a small animal, so keeping the pieces bite-sized makes them easier and safer for your cat to chew and digest.
Step 8: Arrange on the Baking Sheet
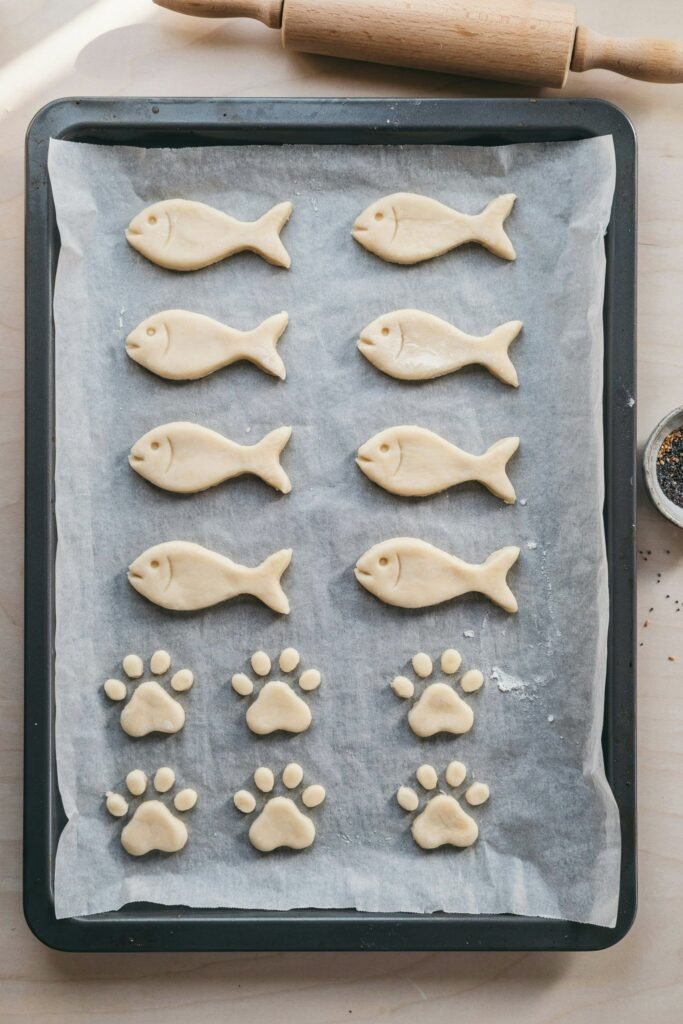
Line your baking sheet with parchment paper or a silicone mat, then arrange your cut treats in even rows, leaving a small gap between each piece so they bake evenly on all sides.
Step 9: Bake
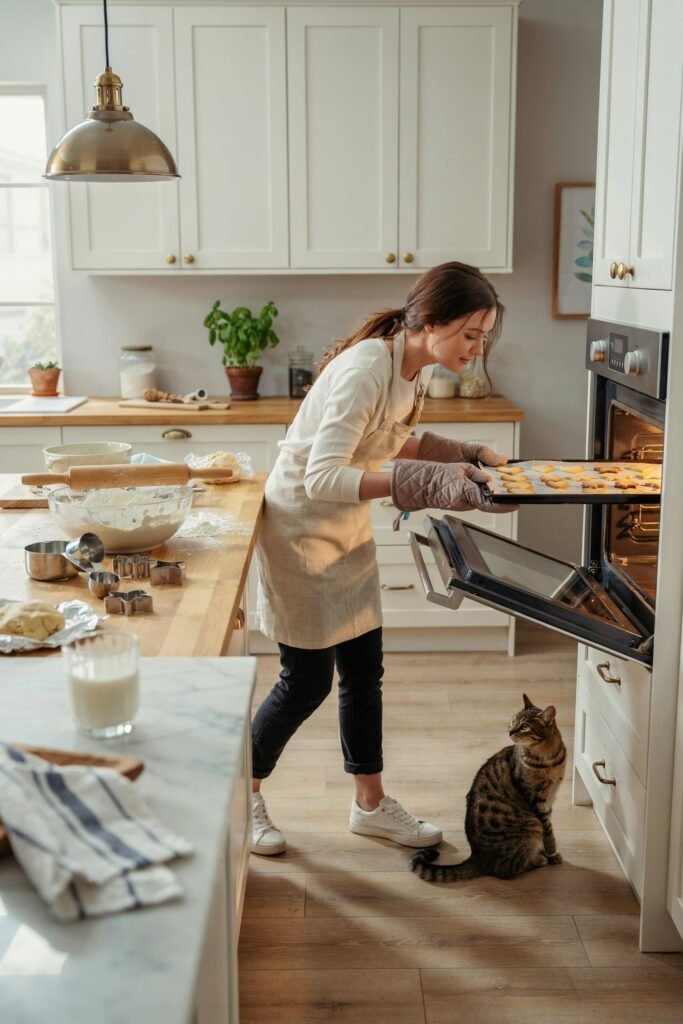
Place the baking sheet in your preheated oven and bake for 18 to 20 minutes, or until the treats are golden and firm to the touch.
Baking time can vary slightly depending on how thick you rolled the dough, so keep an eye on them during the final few minutes.
Step 10: Cool Completely

Once baked, remove the treats from the oven and transfer them to a wire cooling rack.
Let them cool completely, about 30 minutes, before serving or storing.
This cooling period is important, since it allows the treats to firm up fully and reach that ideal crunchy texture cats enjoy.
Tips for the Best Results
- Mash the tuna finely. Large chunks make the dough harder to roll and can cause the treats to fall apart.
- Don’t skip the cooling step. Warm treats are softer and won’t have that satisfying crunch until they’ve fully cooled.
- Keep portions small. Cats have tiny stomachs, and treats should only ever make up a small percentage of their daily diet.
- Watch your cat’s first taste. As with any new food, introduce it slowly and watch for any signs of an upset stomach.
- Get creative with shapes. Using themed cookie cutters makes this a fun activity, especially if you’re baking with kids who want to help spoil the family cat.
How to Store Homemade Tuna Cat Treats

Because these treats contain no artificial preservatives, proper storage matters.
Once fully cooled, store the treats in an airtight container at room temperature for up to one week.
For longer storage, keep them in the refrigerator for up to two weeks, or freeze them in a freezer-safe bag for up to three months. If freezing, simply thaw a small batch at room temperature before serving.
Frequently Asked Questions
Can I use canned salmon instead of tuna? Yes, canned salmon works wonderfully as a substitute and offers a nice variation in flavor.
Just be sure it’s plain, boneless, and packed in water, with no added salt or seasoning.
How many treats should I give my cat per day? Treats should generally make up no more than about 10 percent of your cat’s daily caloric intake.
A treat or two per day is typically a safe, moderate amount for most healthy adult cats.
Can kittens eat these treats? In small amounts, yes, though kittens have specific nutritional needs, so it’s best to check with your veterinarian before introducing homemade treats to a kitten’s diet.
My dough feels too sticky. What should I do? Simply add a bit more flour, one tablespoon at a time, kneading between additions until the dough reaches a workable, cookie-dough-like consistency.
Can I make these treats without an oven, like in an air fryer? Yes, an air fryer works well for this recipe.
Arrange the cut treats in a single layer and air fry at around 320°F (160°C) for 10 to 12 minutes, checking regularly since air fryers can vary in strength.
Is it safe to add catnip to the dough? Yes, a small pinch of dried catnip is perfectly safe for most cats and can make the treats even more enticing, though it’s completely optional.

Homemade Baked Tuna Cat Treats
Ingredients
Equipment
Method
- Preheat the oven to 350°F (175°C) and line a baking sheet with parchment paper.
- Drain the tuna thoroughly and place it in a mixing bowl.
- Use a fork to break the tuna into small pieces.
- Add the egg and oat flour and mix until the ingredients begin to form a dough.
- Add the water gradually until you have a soft dough that can be shaped easily.
- Roll the dough into small bite sized pieces or press it flat and cut into tiny shapes.
- Arrange the treats on the prepared baking sheet.
- Bake for approximately 12 to 15 minutes, until the treats are firm and cooked through.
- Remove from the oven and allow the treats to cool completely before serving.
- Use tuna packed in water rather than oil, preferably without added salt or seasonings. Check the ingredient label carefully.
- These treats should be given in moderation and should not replace your cat’s complete and balanced food.
- Because tuna is not nutritionally complete for cats when fed as a primary food, these should remain an occasional treat rather than a regular meal.
- Store cooled treats in an airtight container in the refrigerator and use within a few days. You can also freeze them for longer storage.
Final Thoughts
There’s something genuinely rewarding about watching your cat enjoy a treat you made yourself, knowing exactly what went into it.
This homemade baked tuna cat treats recipe has become a staple in my home, not just because Mochi adores them, but because they’re simple, affordable, and free of anything questionable.
Whether you’re baking a big batch to store for the month or making a fresh one as a special weekend treat, I hope this recipe brings as much joy to your kitchen, and your cat’s bowl, as it has to mine.
If you try this recipe, I’d love to hear how it turned out and what shapes you chose to make.
Happy baking, and give your furry friend an extra scratch behind the ears from me.