
Your dog isn’t just a pet—they’re family. I’m always looking for ways to treat my furry friend without giving in to store-bought snacks full of preservatives, sugar, and mystery ingredients.
That’s how I discovered the magic of peanut butter and oatmeal no-bake dog treats.
These little bites have become a staple in my kitchen because they’re so easy to make, completely customizable, and healthy enough that I feel good giving them every day.
I love whipping up a batch while I’m sipping my morning coffee, knowing that my dog will be wagging their tail in anticipation.
I’ve experimented with small tweaks—like adding mashed banana for sweetness or a sprinkle of chia seeds for extra nutrition—and each batch feels like a little gift I’m giving my dog. In this post,
I’m sharing the exact recipe, tips, and tricks that I’ve perfected through trial, error, and a lot of tail wags.
By the end, you’ll see just how quick, fun, and rewarding it is to make treats that your dog truly loves, and you’ll feel confident knowing exactly what’s going into them.
Why You’ll Love These Treats
When I first started making my own dog treats, I didn’t realize just how much fun and rewarding it could be.
These peanut butter and oatmeal no-bake treats quickly became my go-to because they hit all the right notes—for both me and my dog. Here’s why:
- Super Quick and Easy: I can go from mixing to ready-to-serve in under 10 minutes. No baking, no complicated steps—just mix, shape, and chill. It’s perfect for those busy mornings when I want to give my dog a little something special without spending an hour in the kitchen.
- Healthy Ingredients You Can Trust: Unlike store-bought treats that can be loaded with sugar, salt, or preservatives, I know exactly what’s in these treats. Rolled oats give fiber, peanut butter adds protein and flavor, and you can even toss in dog-safe extras like mashed banana, pumpkin, or chia seeds.
- Tailored to Your Dog: One of my favorite parts about making these treats is that I can adjust the size, flavor, and texture based on my dog’s preferences and needs. Training treats? Tiny bite-sized balls. Snack time? A few larger chunks.
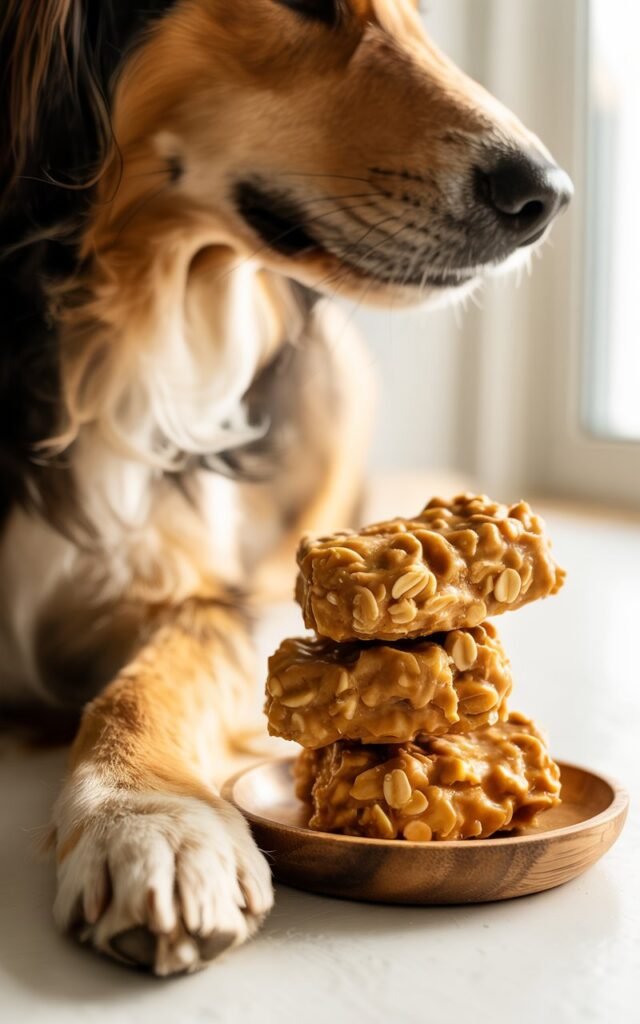
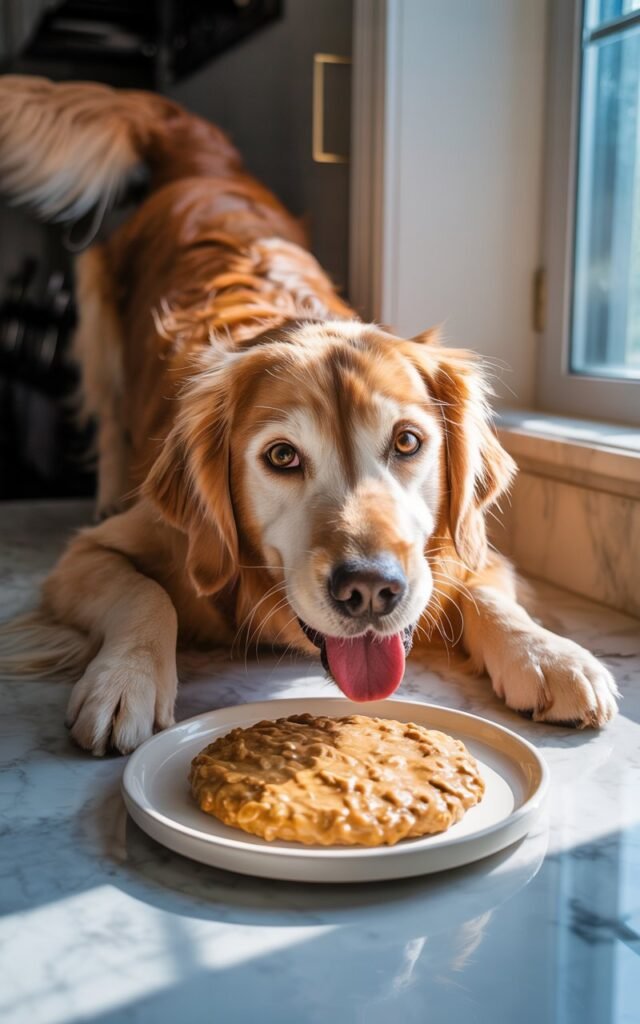
- Bonding Moment: Honestly, there’s something incredibly satisfying about seeing your dog’s excitement when you pull these out of the fridge. The wagging tail, the eager eyes—it’s a small daily joy that makes me feel connected to my pet.
- Budget-Friendly: A few simple ingredients from my pantry, and I’ve got a batch that lasts all week. It’s a lot cheaper than prepackaged treats, and I love knowing I’m saving money while still giving my dog something delicious and healthy.
For me, these treats aren’t just snacks—they’re a way to show love, care, and attention while keeping my dog healthy and happy.
Once I started making them, I honestly stopped buying treats from the store altogether.
What This Treat Is

Before you start, it’s important to know what these peanut butter and oatmeal no-bake treats are and aren’t.
These treats are homemade, healthy snacks made from simple, dog-safe ingredients like oats, natural peanut butter, and fruit puree.
They are low in sugar, preservative-free, and designed to be a supplement to your dog’s regular diet, not a replacement for their main meals.
Think of them as a wholesome reward or snack, perfect for training, bonding, or just showing your dog a little extra love—without any of the unhealthy extras found in store-bought treats.
Ingredients You’ll Need
Over the years, I’ve found that keeping the ingredient list short, simple, and safe is the key to making treats your dog will actually love.
Here’s what I use for a small batch (about 20 treats, depending on size):
- 1 cup rolled oats – I always use rolled oats instead of instant. They have a better texture and digest slowly, which is gentler on my dog’s tummy.
- ½ cup natural peanut butter – Make sure it’s xylitol-free! I always check the label because xylitol is toxic to dogs. Unsalted is best.
- ¼ cup unsweetened applesauce or mashed banana – This adds natural sweetness and moisture, so the treats aren’t too dry. I usually alternate depending on what I have in the fridge.
- 1–2 tablespoons water or low-sodium chicken broth – Optional, just to help the mixture hold together if it feels crumbly.
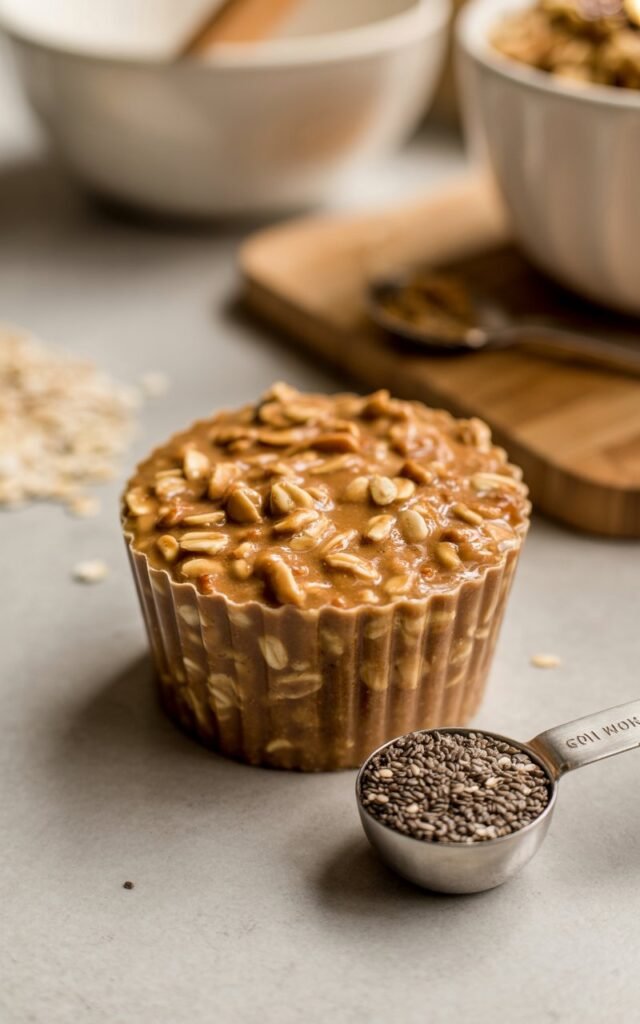
- Optional: 1 tablespoon ground flaxseed or chia seeds – For a little extra fiber and omega-3s. I like sprinkling these in for a nutrition boost.
Tip: Always introduce new ingredients gradually and watch for any digestive issues. I’ve found that my dog loves the flavor, and I’ve never had any tummy troubles with these ingredients.
Step-by-Step Instructions
I like to keep the process hands-on and fun, so it feels like a mini bonding session with my dog every time.
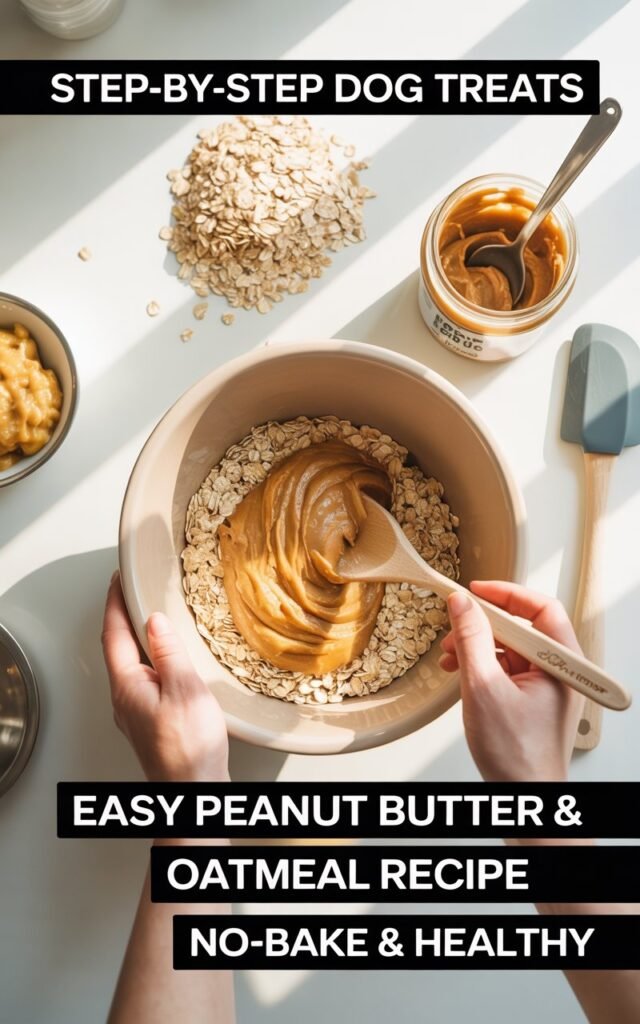
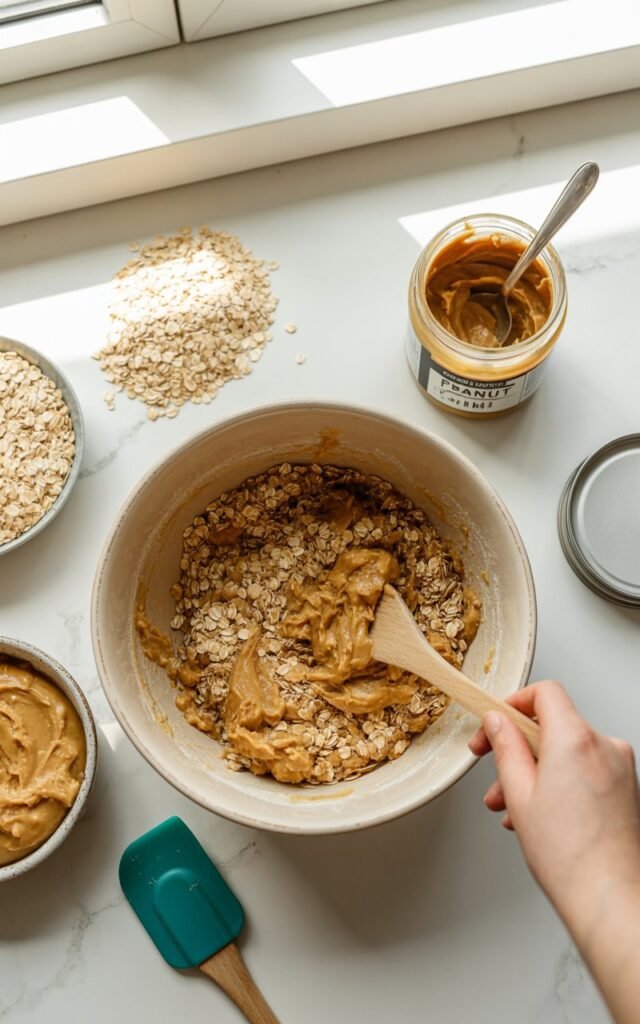
- Mix Dry Ingredients
Combine the oats (and flax or chia if using) in a large bowl. Stir until evenly mixed. I usually scoop a little into my dog’s bowl first—just for a tiny taste test. - Add Wet Ingredients
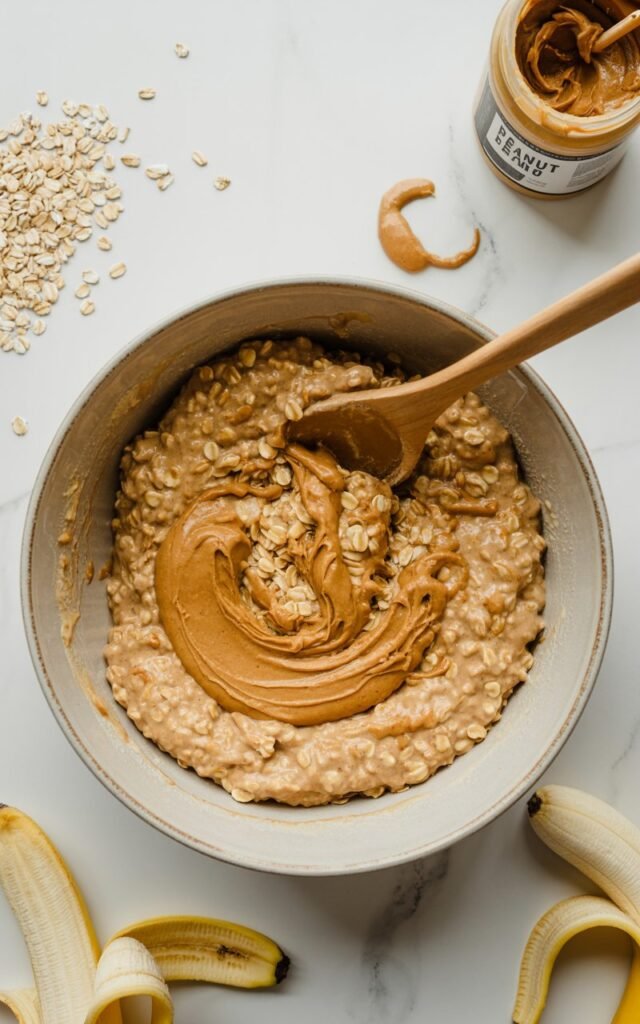
Add the peanut butter and applesauce (or banana). Mix thoroughly with a spoon—or your hands if you don’t mind getting a little messy! The goal is a sticky, pliable dough. If it feels too dry, add water or chicken broth, one tablespoon at a time. - Shape the Treats
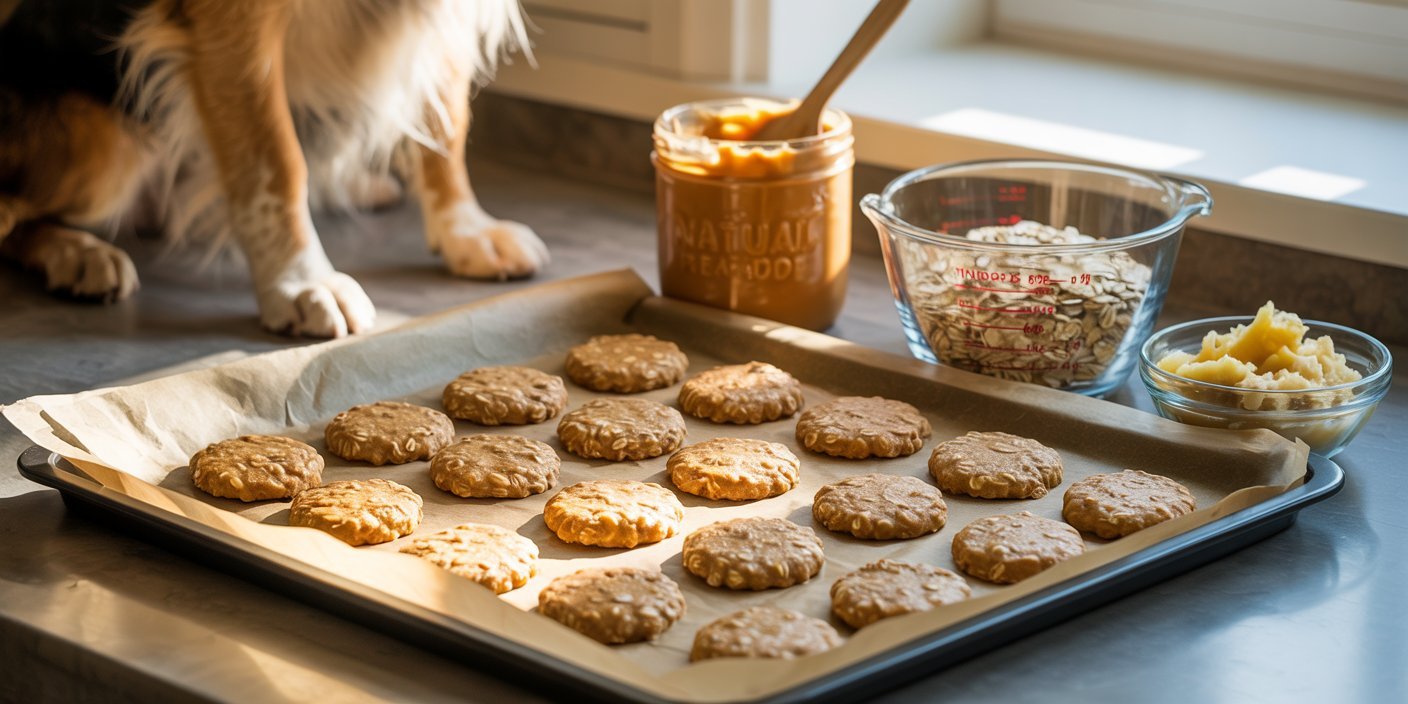
I like rolling small pieces into bite-sized balls for training or pressing the mixture into silicone molds for fun shapes. My dog always sits by the counter, tail wagging, ready to approve the first taste. - Chill to Set
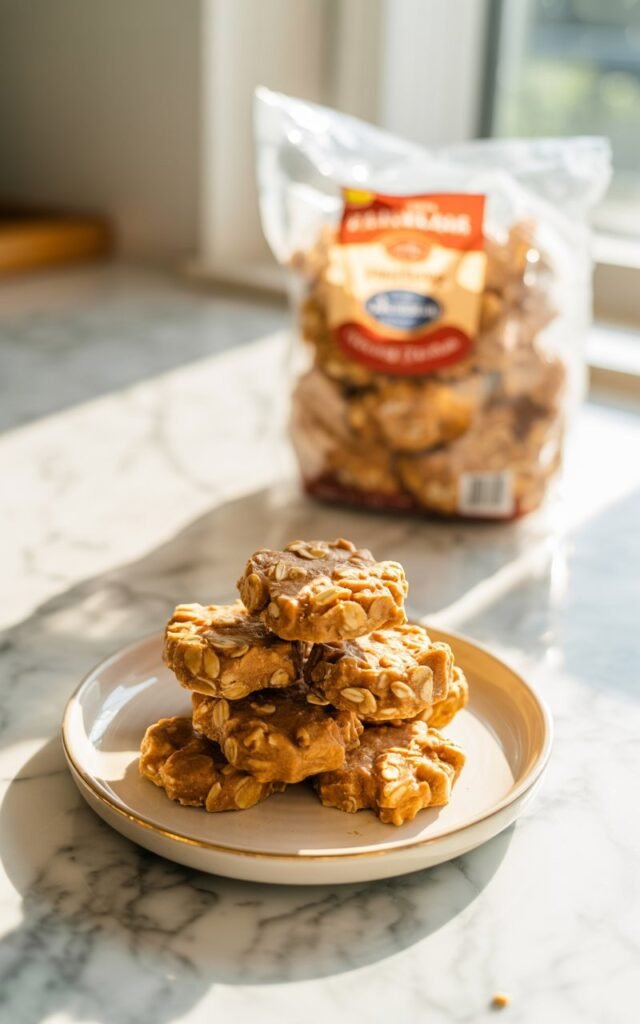
Place the treats on a parchment-lined tray and refrigerate for 1–2 hours until firm. This step is important—otherwise, the treats can crumble too easily. I sometimes sneak one while they’re chilling… they’re irresistible! - Serve & Enjoy
Once firm, the treats are ready for your pup. Keep them in an airtight container in the fridge for up to a week, or freeze for up to 2 months. Every time I pull one out, I see that same excited look—it’s the highlight of my day.
Tips for Newbies
When I first started making these treats, I had a few small learning curves—but now it’s second nature. Here’s what I’ve learned and what I wish I knew from the start:
- Keep it Simple: Start with just oats, peanut butter, and applesauce or banana. Once you’re comfortable, you can experiment with safe additions like chia seeds, pumpkin, or even a sprinkle of cinnamon.
- Size Matters: If you’re using the treats for training, roll them into tiny bite-sized balls. For snacks, slightly larger portions work better. I always adjust depending on the occasion and my dog’s size.
- Storage is Key: These treats don’t have preservatives, so refrigerate them to keep them fresh. I like keeping a batch in the fridge for the week and freezing extras. A frozen treat is perfect for a hot day—it’s like a little doggy ice cream!
- Dog-Safe Swaps: Applesauce can be replaced with pumpkin puree or mashed banana. Peanut butter is the flavor your dog will love, but always check labels for xylitol and salt. Safety first!
- Have Fun Together: My favorite part is watching my dog’s reaction. I sometimes let them help “approve” the dough—one lick and tail wag later, I know it’s a winner. Making treats can be a fun little bonding ritual if you let it be.
Why These Treats Are Better Than Store-Bought
I used to buy dog treats from the store all the time—until I realized how full of preservatives, sugar, and mystery ingredients they often were.
That’s when I started making my own, and it made all the difference.
These peanut butter and oatmeal no-bake treats are better because:
- You Know Every Ingredient: No hidden additives or chemicals—just wholesome, dog-safe foods you can trust.
- Healthier for Your Dog: Low sugar, high fiber, and full of natural flavors that dogs actually love.
- Customizable: You can adjust the size, flavor, and even add nutrition boosters like chia seeds or pumpkin.
- Bonding Experience: Making treats at home turns snack time into a fun, hands-on activity with your dog—something store-bought treats can’t offer.
For me, switching to homemade treats wasn’t just about health—it became a daily ritual of love and care, and I know my dog enjoys every bite even more because they’re made by me.
Final Thoughts
Making your own dog treats is more than just a recipe—it’s a way to show your love and care.
These peanut butter and oatmeal no-bake treats are easy, healthy, and budget-friendly, but what makes them truly special is the connection you build while preparing them.
Every batch I make reminds me that the little things—like a homemade snack—can make my dog’s day, and mine too.
Plus, I sleep better knowing exactly what ingredients go into their treats.
No hidden sugar, no preservatives, just wholesome, dog-approved goodness.
If you’ve ever wanted to make something for your dog that’s fun, safe, and healthy, this recipe is your perfect starting point.
Once you try it, you might find yourself making a batch every week—I know I do!