Easy Homemade Carrot Pumpkin Chews Your Dog Loves
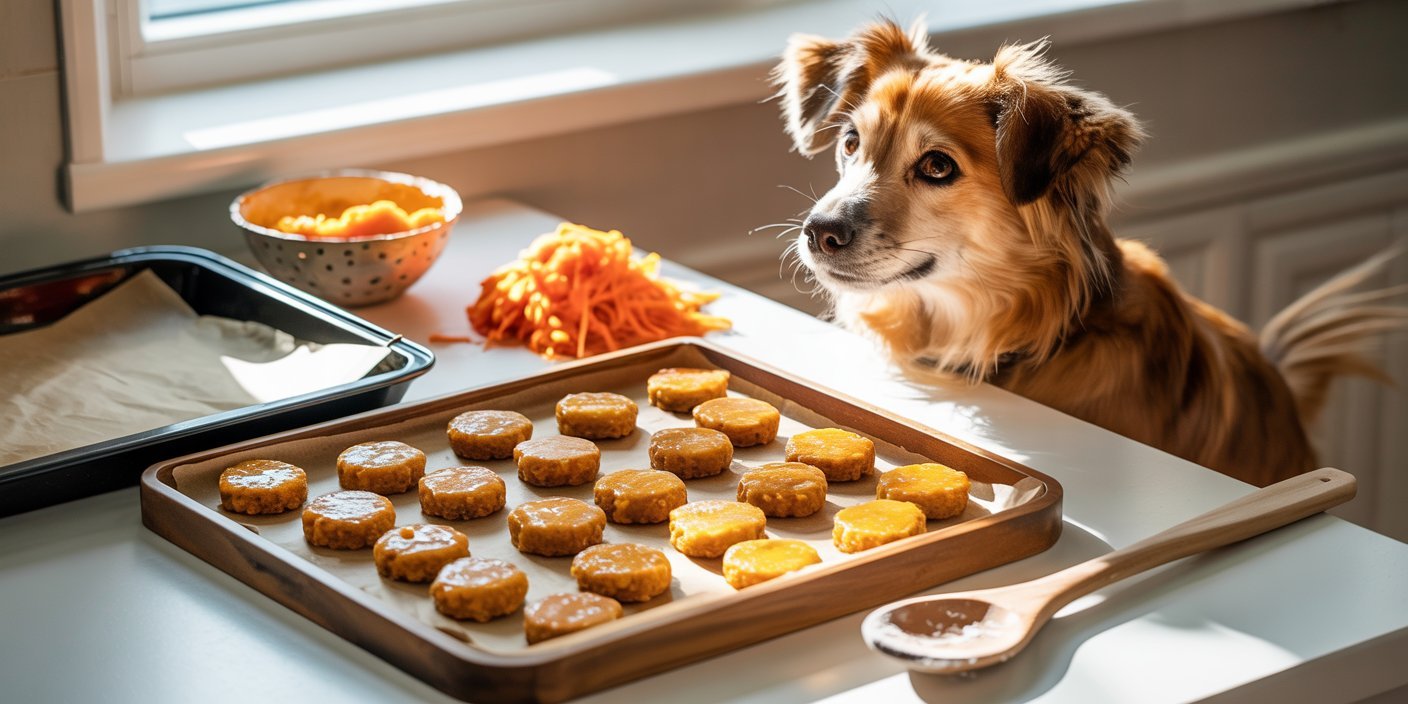
One of my favorite parts of the day is when my dog hears me walk into the kitchen. It doesn’t matter if I’m making dinner, putting groceries away, or simply filling my water bottle.
Within seconds, I hear those familiar paws following behind me. The hopeful eyes, the wagging tail, and the quiet excitement always make me smile.
Treat time has always been something special in our house. Like many dog owners, I used to grab a bag of treats from the pet store without thinking too much about what was inside.
One afternoon, while reading the ingredient label, I realized many of the ingredients sounded more like something from a science class than something I wanted to feed my dog every day.
That was the moment I decided I wanted to make something myself.
I didn’t want a complicated recipe with expensive ingredients or specialty flours that I’d only use once.
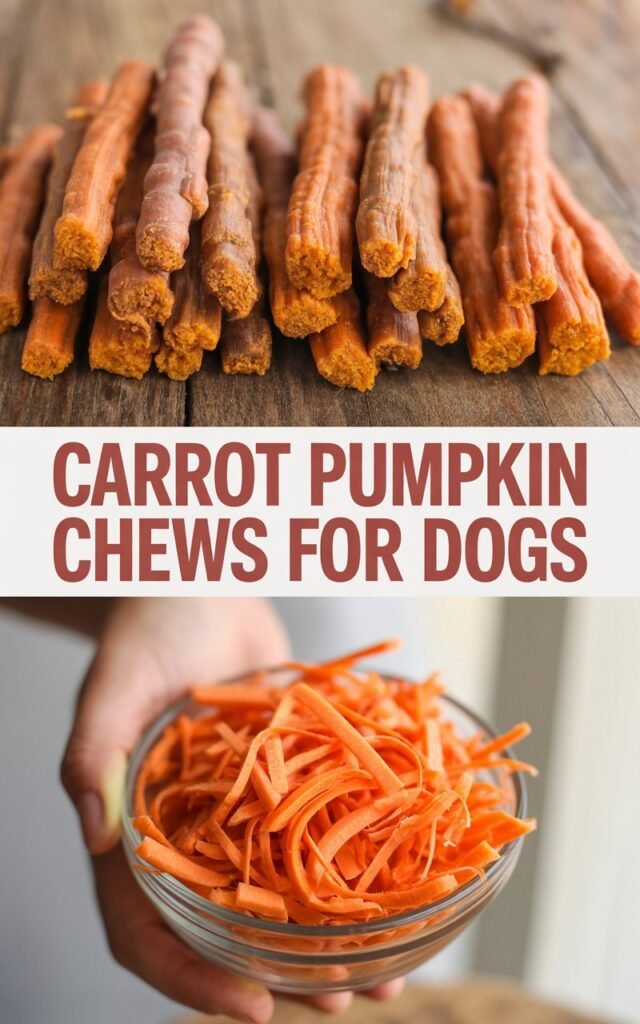
I wanted something simple, affordable, and made with ingredients I already had sitting in my kitchen.
There happened to be half a can of plain pumpkin puree left over from another recipe, along with a few carrots that needed to be used before they spoiled.
After a little experimenting, those everyday ingredients turned into homemade carrot pumpkin chews that quickly became one of my dog’s favorite snacks.
Now, these treats are part of our regular routine. I usually make a fresh batch every couple of weeks, and I love knowing exactly what goes into every bite.
There’s something incredibly satisfying about watching my dog enjoy a homemade treat that I made from scratch with simple, wholesome ingredients.
If you’ve been looking for an easy homemade dog treat recipe that’s budget friendly, nutritious, and surprisingly simple to make, you’re in the right place.
Disclaimer: This post may contain affiliate links, which means I may earn a small commission at no extra cost to you. Homemade treats should be fed in moderation and should not replace a complete and balanced diet. Always consult your veterinarian before introducing new foods if your dog has allergies, dietary restrictions, or health concerns.
Shop on Amazon With 50% Discount On Your Orders
- Silicone Dog Treat Molds (Bone or Stick Shapes)
- Stainless Steel Mixing Bowl Set
- Measuring Cups and Spoons Set
- Box Grater for Fresh Carrots
- Nonstick Baking Sheet
- Silicone Baking Mat (Reusable)
- Airtight Dog Treat Storage Container
Why You’ll Love These Homemade Carrot Pumpkin Chews
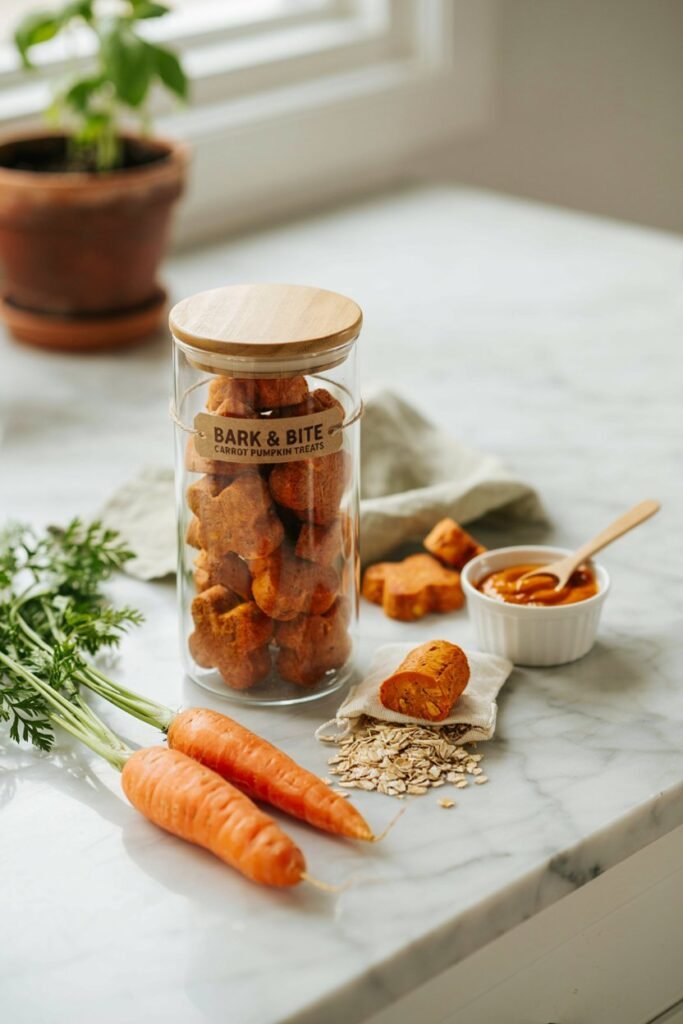
There are plenty of homemade dog treat recipes online, but I keep coming back to this one because it’s reliable, easy to customize, and always disappears quickly in our house.
Here’s why these chews have become one of my favorites.
They’re made with simple pantry ingredients.
You don’t need specialty ingredients or expensive dog baking mixes. Everything in this recipe can usually be found at your local grocery store.
They’re budget friendly.
Making treats at home costs much less than constantly buying premium natural dog treats, especially if your dog enjoys a daily snack.
You control every ingredient.
One of the biggest reasons I started making homemade treats was knowing exactly what my dog was eating.
There are no artificial colors, preservatives, or unnecessary fillers.
They’re easy to customize.
Once you’ve made the basic recipe, it’s easy to create different versions using dog friendly fruits or vegetables your pup already enjoys.
My dog genuinely gets excited for them.
That’s probably my favorite reason of all.
The moment these come out of the oven, my dog sits patiently nearby, watching every move I make.
Of course, I always let them cool completely before offering one, but it’s clear he already knows something delicious is coming.
Are Homemade Dog Treats Worth Making?
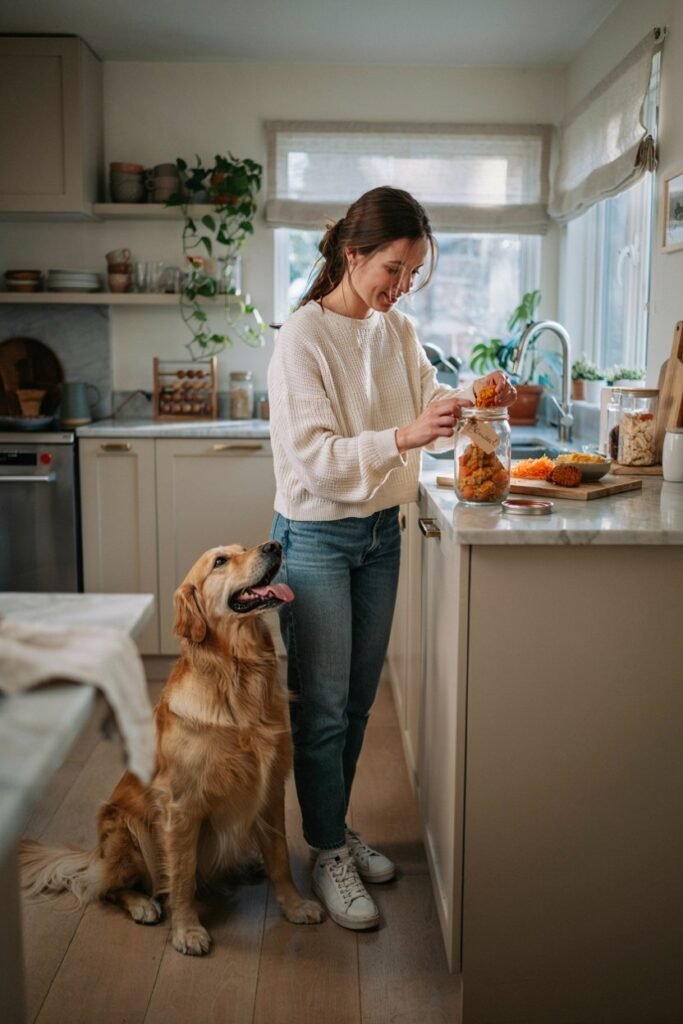
I honestly asked myself this before making my first batch.
Would homemade treats actually save money?
Would my dog even like them?
Would they take forever to make?
After making several batches, my answer became an easy yes.
The preparation is simple, cleanup is minimal, and I usually have enough treats to last for quite a while.
Even better, I know every ingredient that goes into them.
While homemade treats aren’t meant to replace a complete and balanced dog food, they can be a wonderful occasional snack made with wholesome ingredients.
Why Carrots and Pumpkin Make Such a Great Combination
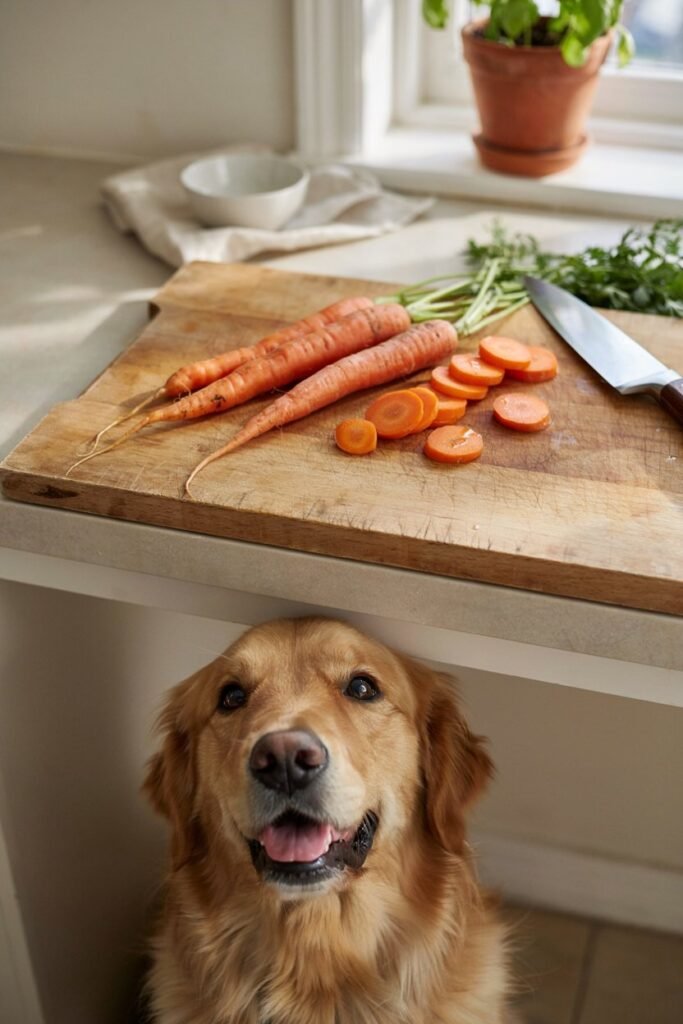
These two ingredients work beautifully together.
Pumpkin adds moisture, while carrots provide texture and natural sweetness.
Together, they create a chewy treat that’s easy to shape and bake.
More importantly, both ingredients are commonly used in homemade dog recipes because they offer nutritional value while keeping the ingredient list wonderfully simple.
Benefits of Pumpkin for Dogs
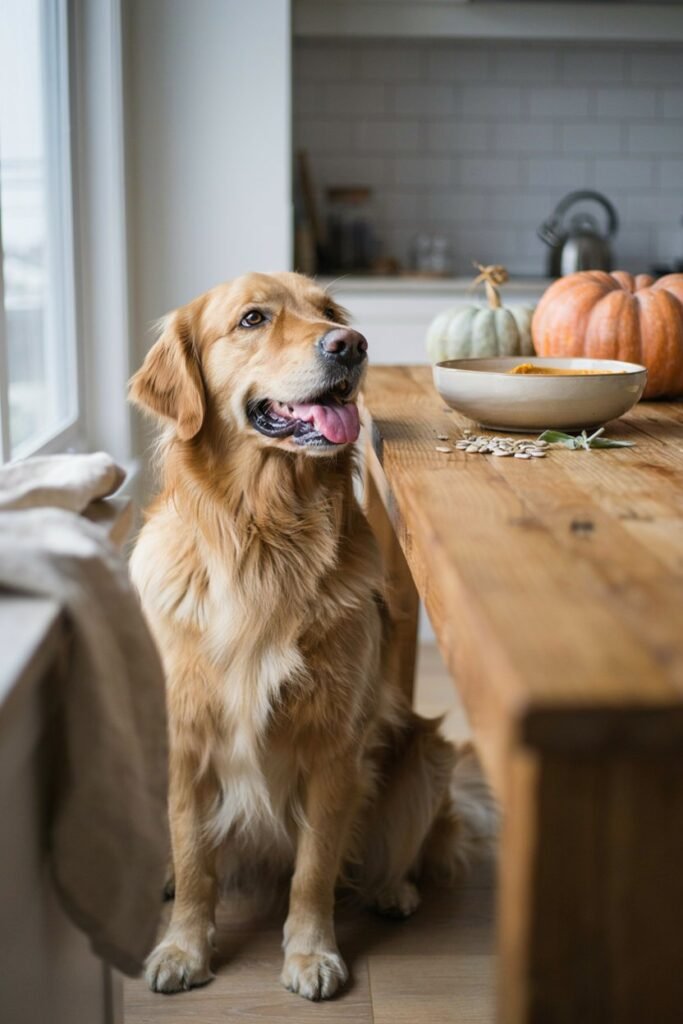
Pumpkin has become one of those ingredients I always try to keep in my pantry.
Not only do I use it in baking, but it’s also incredibly versatile for homemade dog treats.
Plain pumpkin puree contains natural fiber that many dog owners appreciate as part of a balanced diet.
It also provides nutrients including:
- Vitamin A
- Vitamin C
- Potassium
- Antioxidants
One important lesson I learned early on was making sure I grabbed the correct can from the grocery store.
There is a huge difference between plain pumpkin puree and pumpkin pie filling.
Pumpkin pie filling contains added sugar and spices that are not suitable for dogs.
Now I always double check the label before buying it.
That tiny habit has saved me from making a costly mistake more than once.
Why Carrots Are One of My Favorite Dog Treat Ingredients
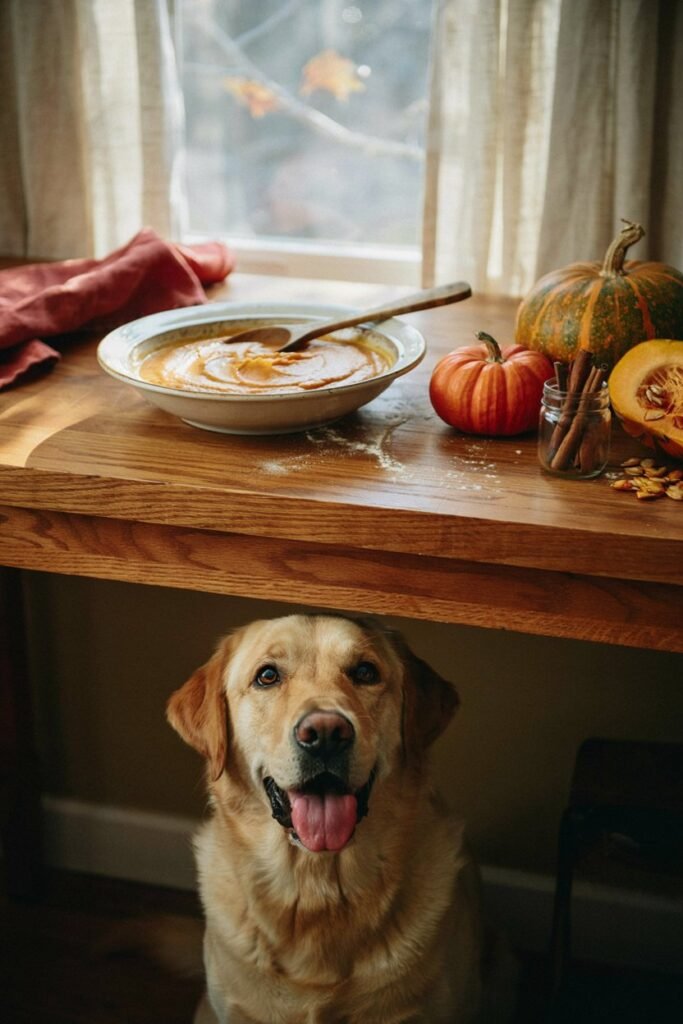
Carrots are one of those vegetables I almost always have in my refrigerator.
They’re affordable, easy to prepare, and naturally crunchy.
When grated into this recipe, they blend perfectly into the dough while adding a subtle sweetness that many dogs seem to enjoy.
Carrots also contain nutrients such as:
- Beta carotene
- Vitamin A
- Fiber
- Potassium
I prefer grating them finely because it creates a smoother dough that’s much easier to roll out.
The first time I made these treats, I left the carrot pieces much too large.
The dough became uneven, and some treats baked faster than others.
Since then, I always use the fine side of my grater, and the results have been much more consistent.
Sometimes the smallest adjustments make the biggest difference.
Ingredients You’ll Need
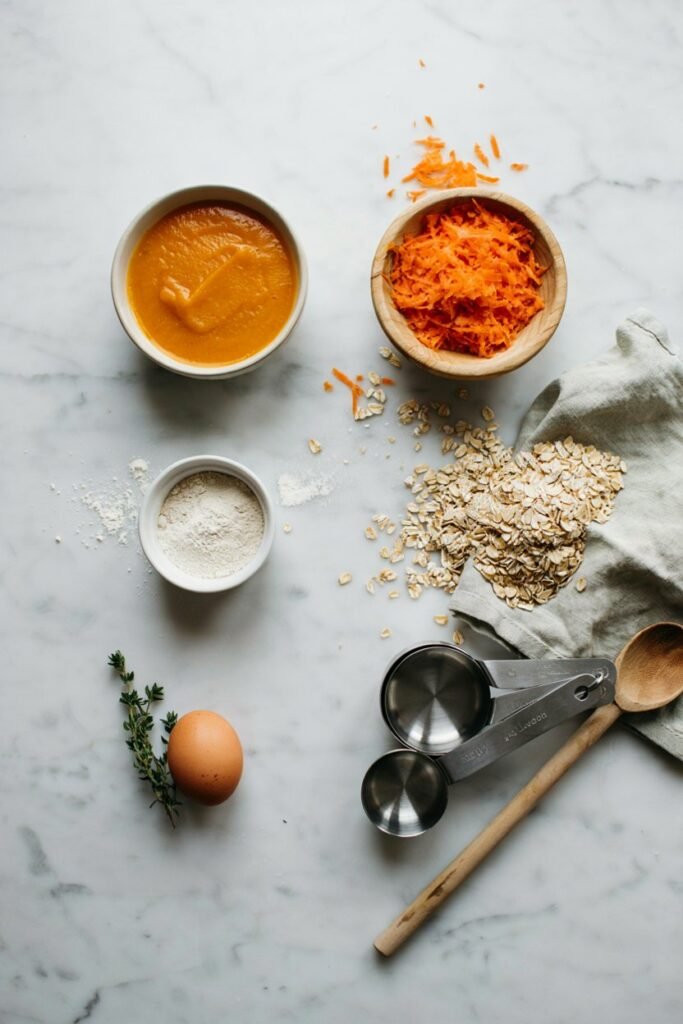
One of the reasons I continue making this recipe is because the ingredient list is refreshingly short.
Plain Pumpkin Puree
This creates moisture and helps bind the ingredients together while adding a soft texture.
Always choose 100 percent plain pumpkin puree without added sugar or spices.
Fresh Carrots
Finely grated carrots mix evenly into the dough and bake beautifully.
Fresh carrots also provide a pleasant texture without making the treats overly dense.
Oat Flour
Oat flour creates a gentle dough that’s easy to work with.
If I don’t have oat flour on hand, I simply blend rolled oats in my blender until they become a fine powder.
It takes less than a minute and saves an extra trip to the grocery store.
Egg
The egg helps hold everything together while adding protein.
Without it, the dough tends to crumble much more easily.
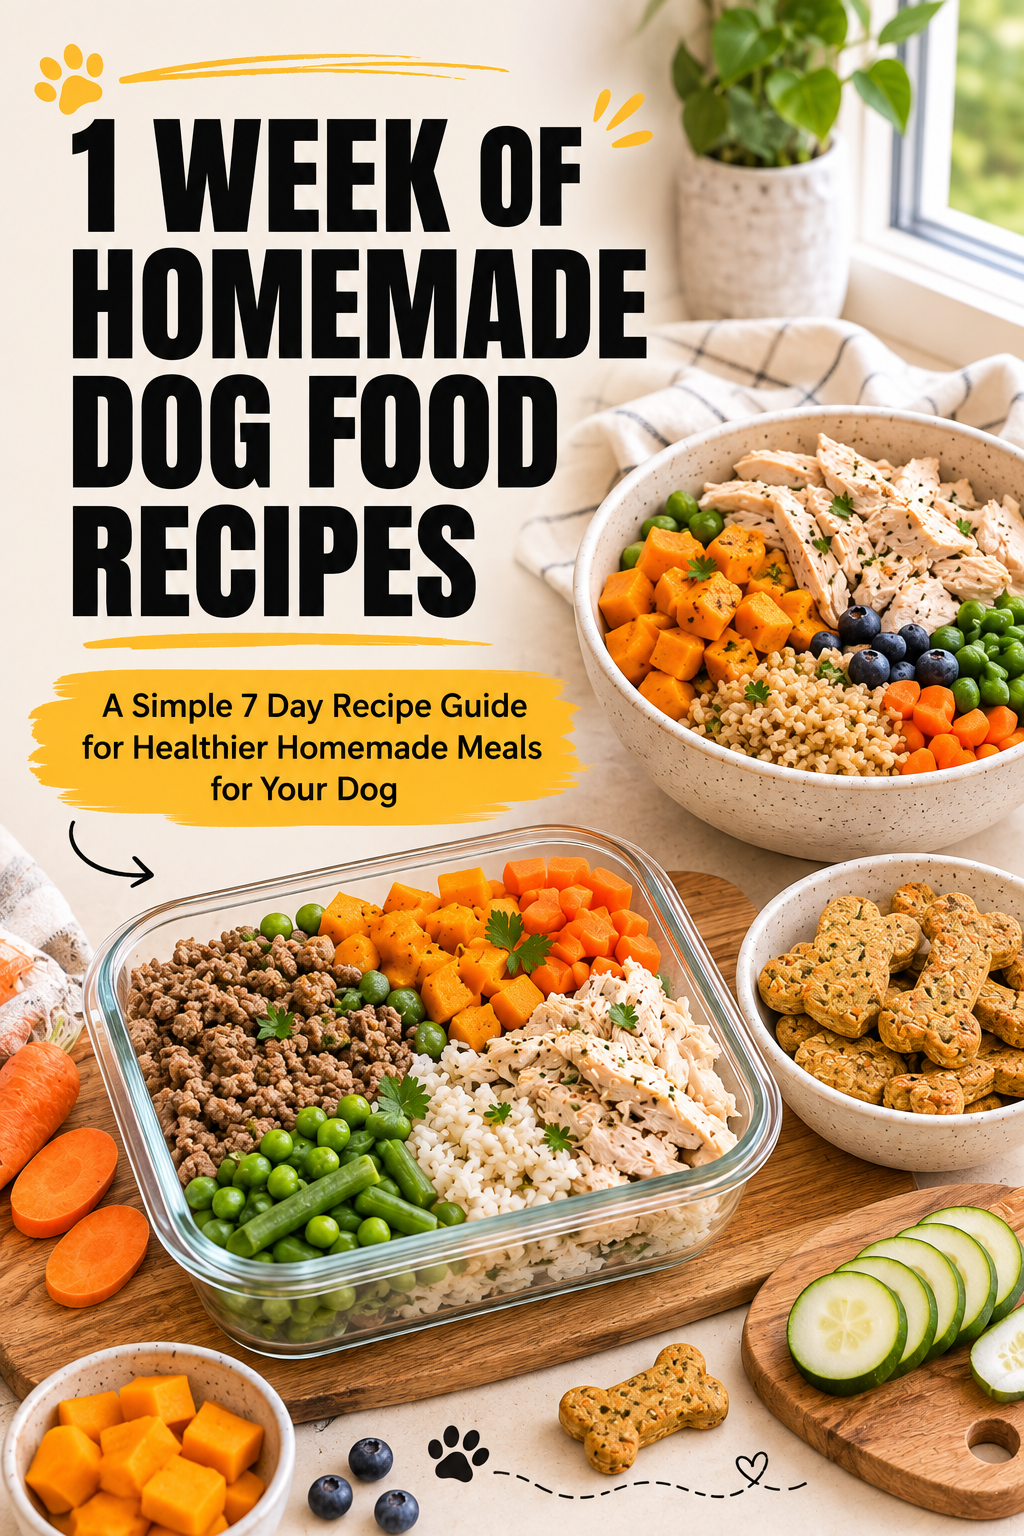
Kitchen Tools I Always Use
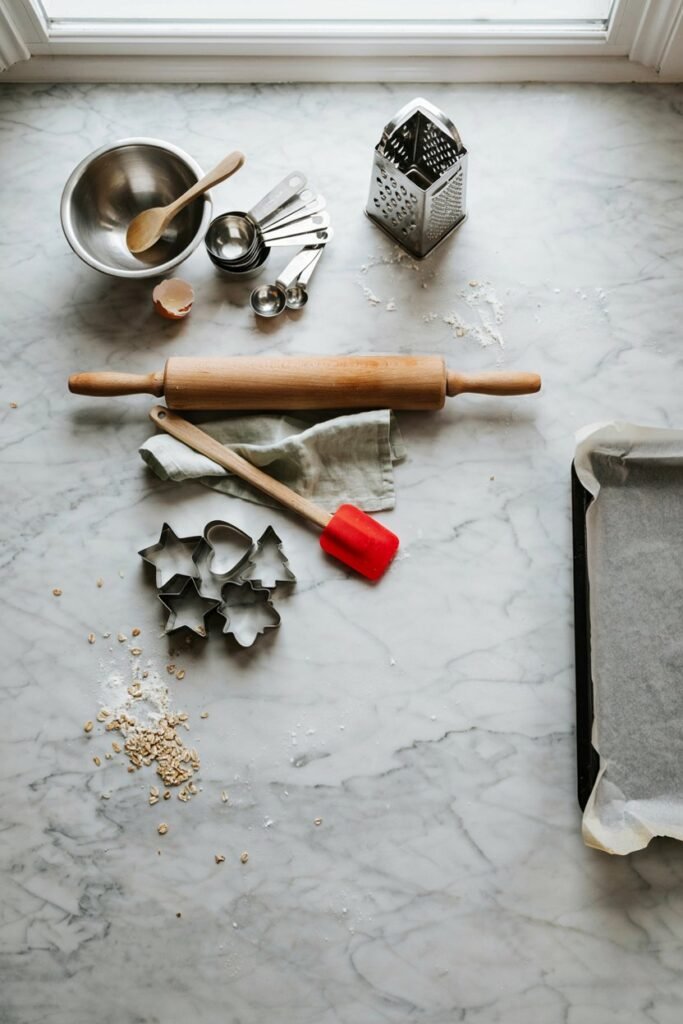
One thing I’ve learned after making these treats several times is that having everything ready before you start makes the entire process much smoother.
Here’s what I like to have on my countertop.
- Large mixing bowl
- Fine box grater
- Measuring cups
- Measuring spoons
- Mixing spoon or silicone spatula
- Baking sheet
- Parchment paper
- Rolling pin
- Bone shaped cookie cutter or knife
- Cooling rack
None of these tools are fancy, and chances are you already own most of them.
Before You Start Baking
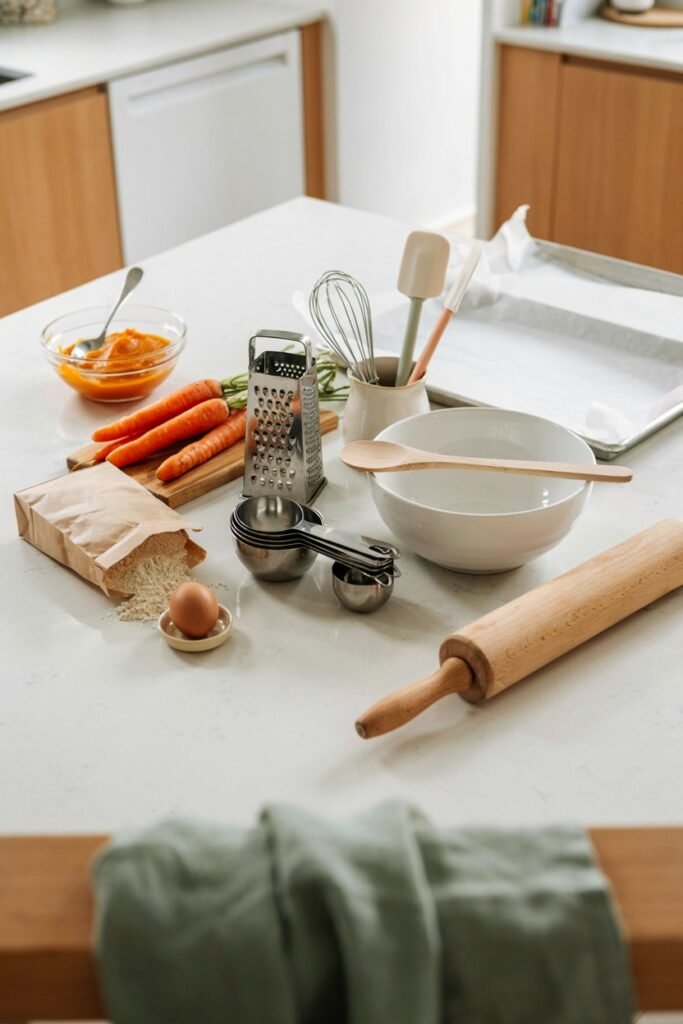
Before mixing the dough, there are a few small things I always do that make the recipe turn out better.
I grate the carrots first so they’re ready to fold into the mixture.
I line my baking tray with parchment paper before touching the dough.
I measure every ingredient before combining anything.
It sounds simple, but having everything prepared keeps the process relaxed instead of rushed.
I also let my dog supervise from a comfortable spot nearby.
He usually lies in the kitchen doorway, watching every step with complete attention, as if he’s the official quality control manager.
By the time the dough is ready, he’s already convinced the treats are finished.
Little does he know, the hardest part is waiting for them to bake and cool.
Step by Step Instructions
This is one of those recipes that feels almost effortless once you’ve made it a couple of times.
I usually set everything out on the counter before I begin because my dog starts following me around the kitchen as soon as I grab the pumpkin puree.
By the time I’m mixing the dough, I already have an eager audience waiting nearby.
Step 1: Preheat the Oven
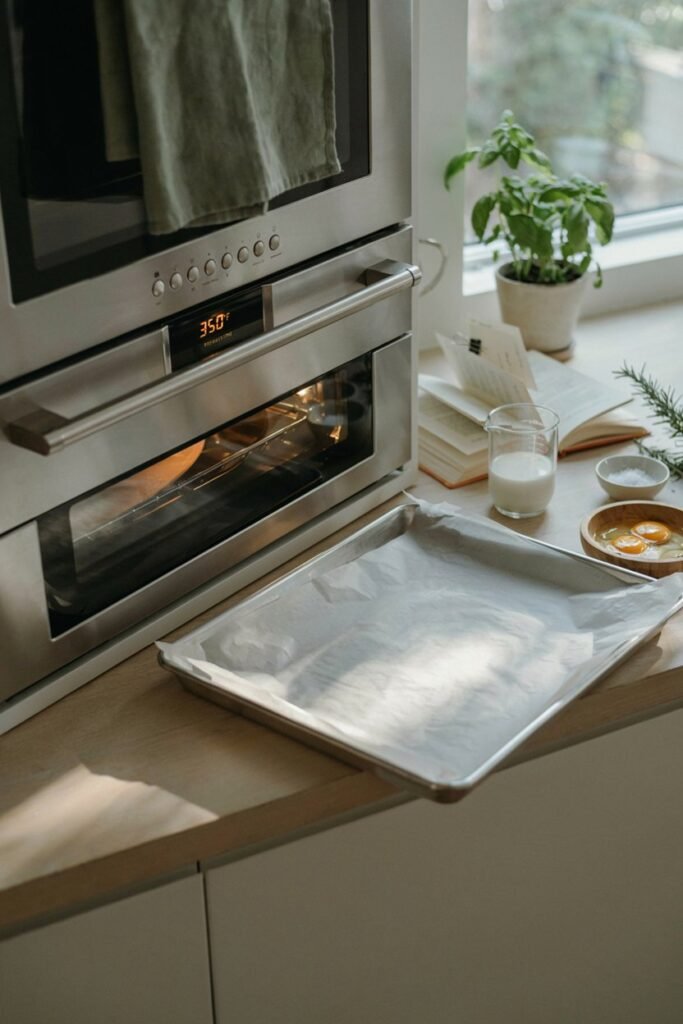
Preheat your oven to 350°F (175°C) and line a baking tray with parchment paper.
I always do this first so the oven is ready by the time the dough is mixed.
Step 2: Grate the Carrot
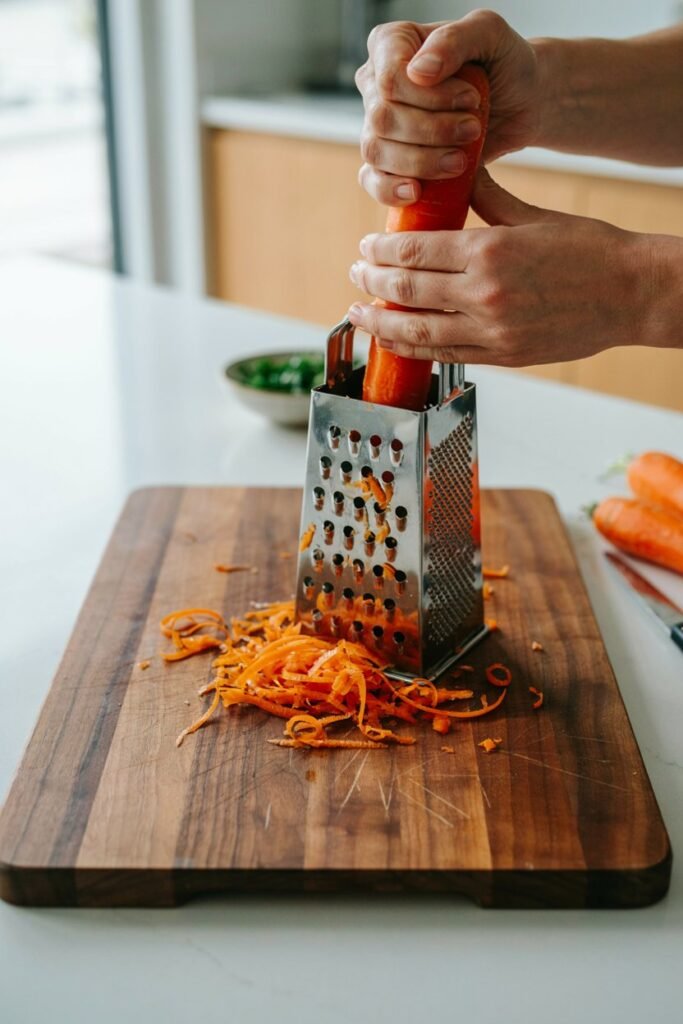
Wash and peel one medium carrot, then grate it finely.
Finely grated carrot mixes much more evenly into the dough and gives the treats a softer texture.
I avoid larger pieces because they can make shaping the dough more difficult.
Step 3: Mix the Wet Ingredients
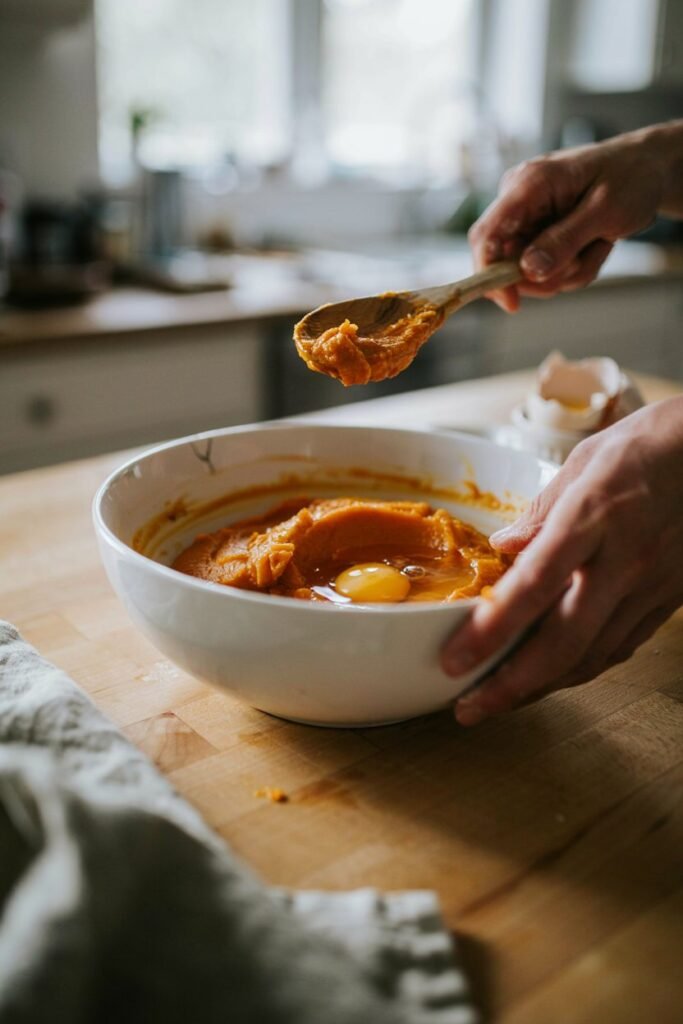
In a large mixing bowl, combine:
- 1 cup plain pumpkin puree
- 1 large egg
Stir until the mixture is smooth and well blended.
At this stage, the mixture should look creamy with no streaks of egg remaining.
Step 4: Add the Dry Ingredients
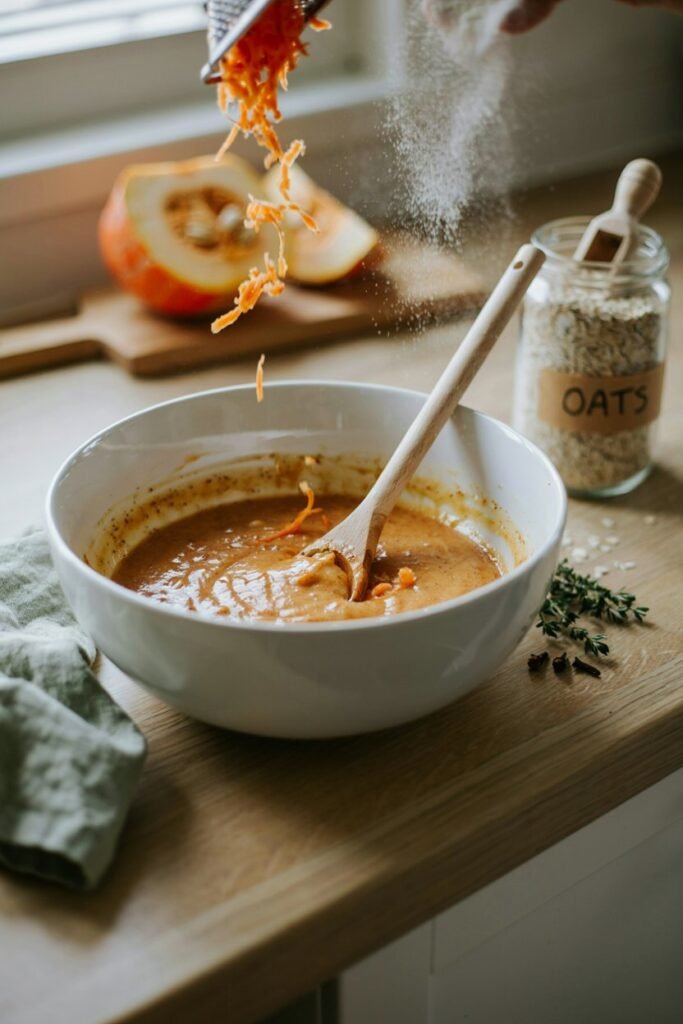
Add:
- 2 cups oat flour
- Finely grated carrot
Mix everything together until a soft dough forms.
The dough should hold together easily without sticking to your hands.
If it feels too sticky, add a little more oat flour, one tablespoon at a time.
If it seems too dry, add a small spoonful of pumpkin puree until the texture feels right.
Every batch can be slightly different because carrots naturally contain different amounts of moisture.
Step 5: Shape the Dough
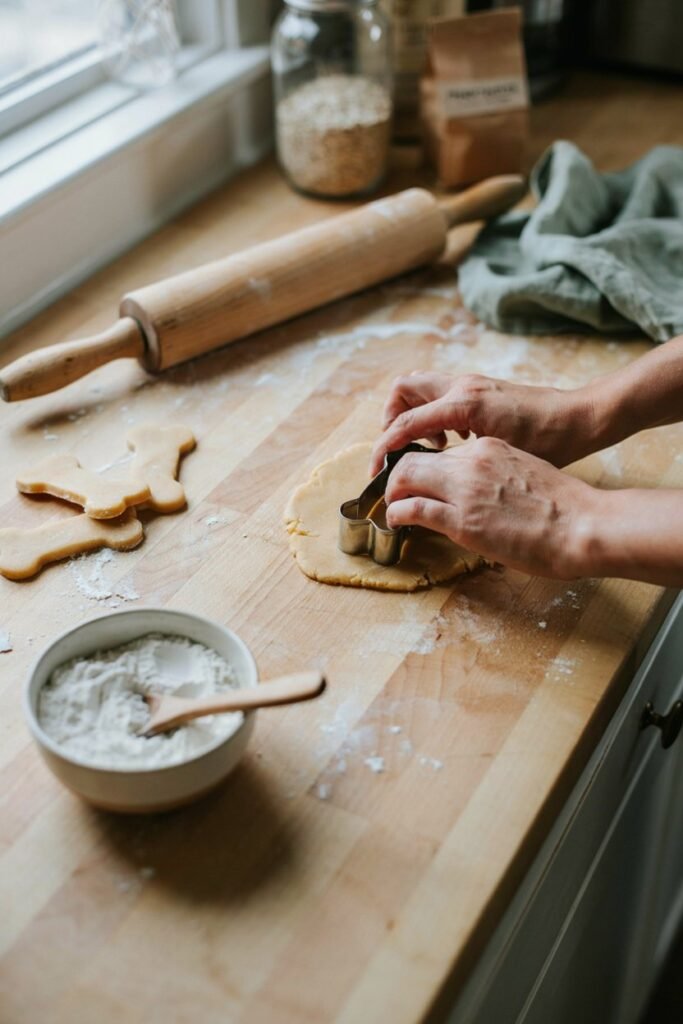
Lightly dust your work surface with oat flour.
Roll the dough to about one quarter inch thick.
Use a cookie cutter for fun shapes or simply cut the dough into small squares with a knife.
Most days I keep things simple and cut small squares because my dog certainly doesn’t care what shape they are. They disappear just as quickly.
Step 6: Bake
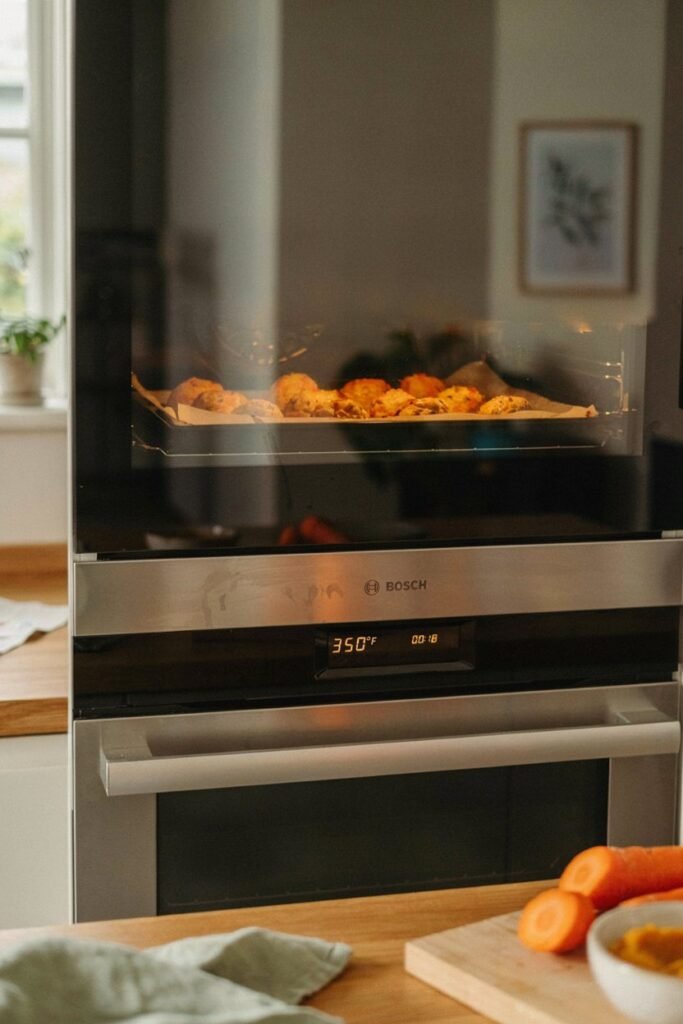
Place the treats on the prepared baking tray, leaving a little space between each one.
Bake for 25 to 30 minutes, or until the edges are lightly golden.
If you prefer a firmer chew, leave them in the oven for another 5 to 10 minutes while keeping an eye on them.
Step 7: Cool Completely
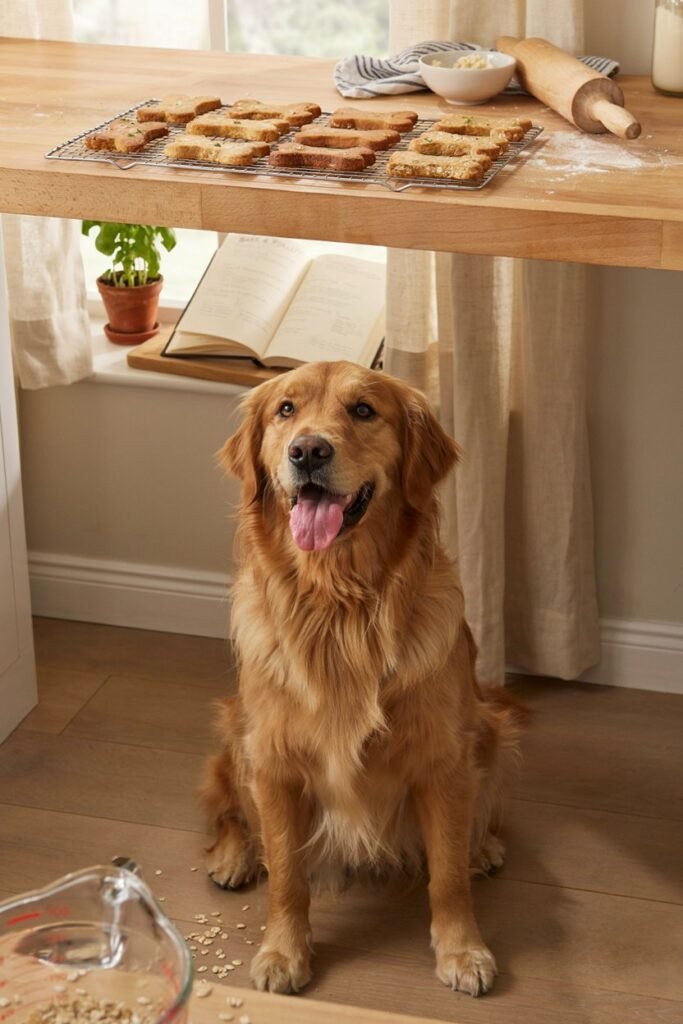
Remove the tray from the oven and allow the treats to cool completely on a wire rack.
This is always the hardest part in my house because my dog patiently watches every move I make, hoping one of the treats will magically become ready sooner.
Cooling also helps the treats firm up, so don’t skip this step.
Baking Tips for the Best Homemade Dog Chews
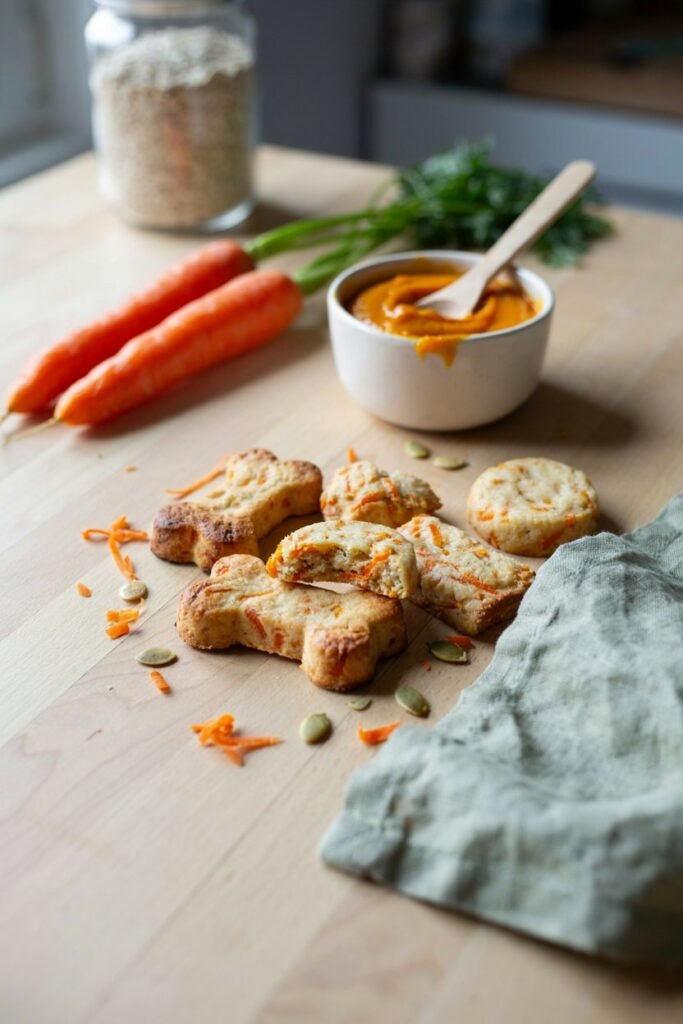
After making these treats many times, I’ve learned a few simple tricks that make every batch turn out better.
- Use plain pumpkin puree and never pumpkin pie filling.
- Finely grate the carrot so it blends evenly into the dough.
- Measure the pumpkin carefully because too much moisture can make the dough sticky.
- Let the treats cool completely before storing them.
- Bake a little longer if your dog prefers a firmer chew.
- Rotate the baking tray halfway through baking for more even cooking.
- If making tiny training treats, reduce the baking time by a few minutes.
These little details make a noticeable difference and help create treats that bake evenly every time.
Common Mistakes and How to Fix Them
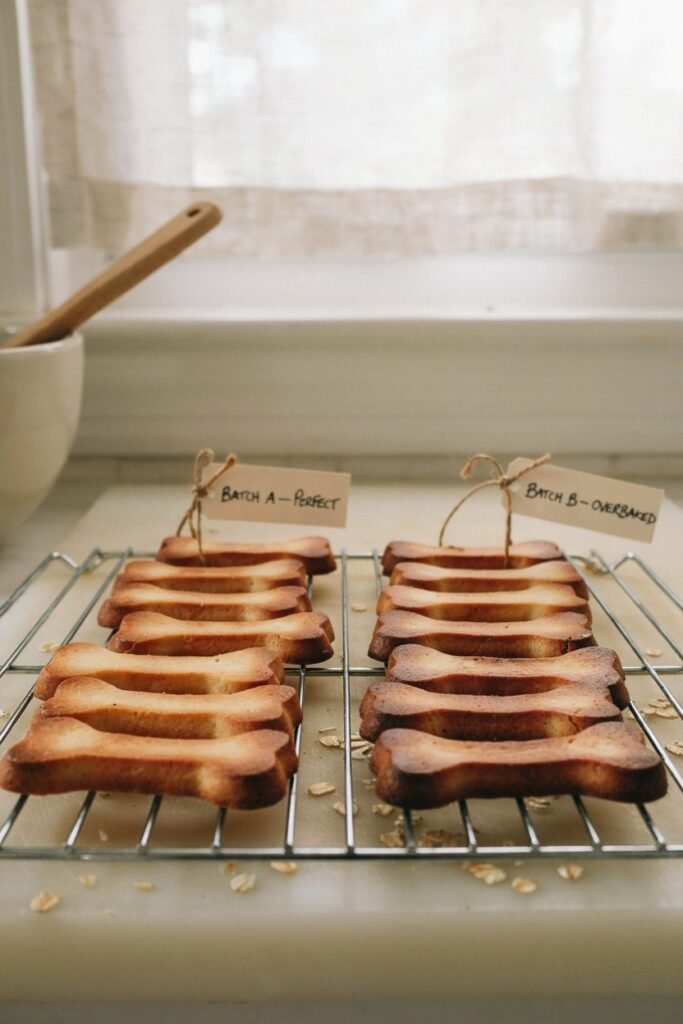
Even simple recipes can have a few challenges. Fortunately, they’re all easy to solve.
The Dough Is Too Sticky
This usually happens if the pumpkin contains extra moisture.
Simply mix in a little more oat flour, one tablespoon at a time, until the dough is easy to handle.
The Dough Is Too Dry
If the dough crumbles when you roll it out, add a spoonful of pumpkin puree and mix again.
Avoid adding water because pumpkin keeps the texture richer.
The Treats Are Too Soft
If your dog prefers a chewier or crunchier snack, bake the treats for an extra 5 to 10 minutes.
You can also leave them in the turned off oven with the door slightly open for another 15 minutes to help dry them out.
The Treats Brown Too Quickly
Every oven bakes a little differently.
If the tops are browning before the centers are fully baked, lower the oven temperature slightly or move the tray to the center rack.
Easy Variations to Try
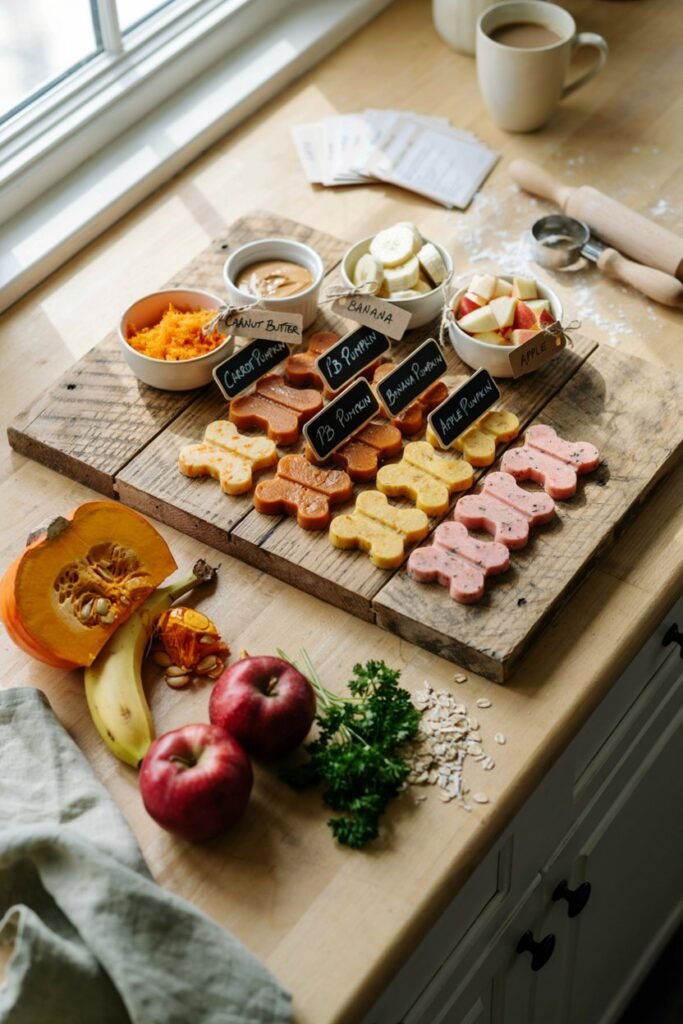
Once I knew how much my dog loved the original recipe, I started experimenting with a few simple variations.
They all use the same basic method, so it’s easy to switch things up.
Apple and Pumpkin Chews
Mix in a small amount of finely grated apple for a naturally sweet flavor.
Peanut Butter Pumpkin Chews
Add a spoonful of natural peanut butter that contains only peanuts and no xylitol.
My dog gets especially excited whenever I make this version.
Sweet Potato Chews
Replace part of the pumpkin with mashed cooked sweet potato for a slightly different texture.
Banana Pumpkin Chews
Mash half a ripe banana into the mixture for an extra touch of natural sweetness.
Blueberry Pumpkin Chews
Fold a small handful of fresh blueberries into the dough before shaping the treats.
I like rotating between these versions throughout the year because it keeps treat time exciting without changing the recipe too much.
How to Store Homemade Carrot Pumpkin Chews
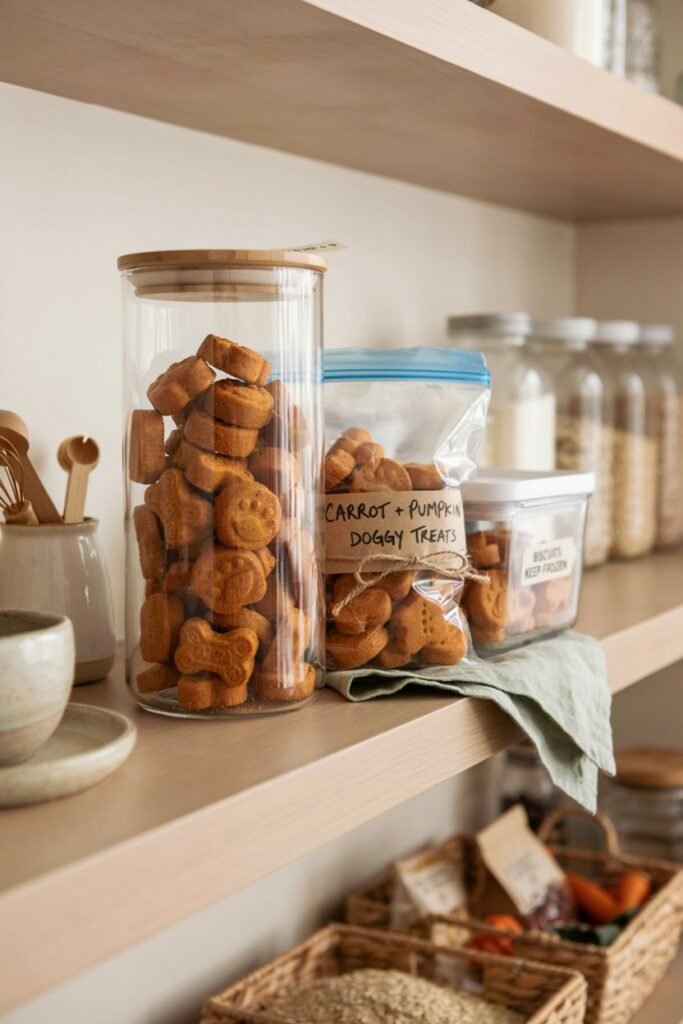
One of the things I love most about these treats is that I can make a large batch and have healthy rewards ready for days or even weeks.
Since they don’t contain artificial preservatives, storing them properly helps keep them fresh and safe for your dog.
At Room Temperature
If you’ve baked the treats until they’re nice and firm, you can store them in an airtight container for up to 3 days.
Make sure they have cooled completely before sealing the container.
Even a little trapped moisture can make homemade treats spoil more quickly.
In the Refrigerator
This is how I usually store mine.
Place the chews in an airtight container and refrigerate for up to 1 week.
They stay fresh, and my dog doesn’t seem to mind eating them straight from the fridge.
In the Freezer
If I make a double batch, I freeze half of it.
Arrange the treats in a freezer safe container or freezer bag with parchment paper between layers to prevent sticking. They will keep well for up to 3 months.
Whenever I need a few treats, I simply take them out and let them thaw for about 20 to 30 minutes.
Can Puppies Eat These?
These homemade chews can be a nice occasional treat for many puppies that have already been weaned and are eating solid food.
Because every puppy grows at a different pace, I always recommend introducing any new food gradually and offering only a small piece the first time to make sure it agrees with their stomach.
If your puppy has allergies, digestive concerns, or a medical condition, it’s always best to ask your veterinarian before introducing homemade treats.
How Many Treats Should You Give?
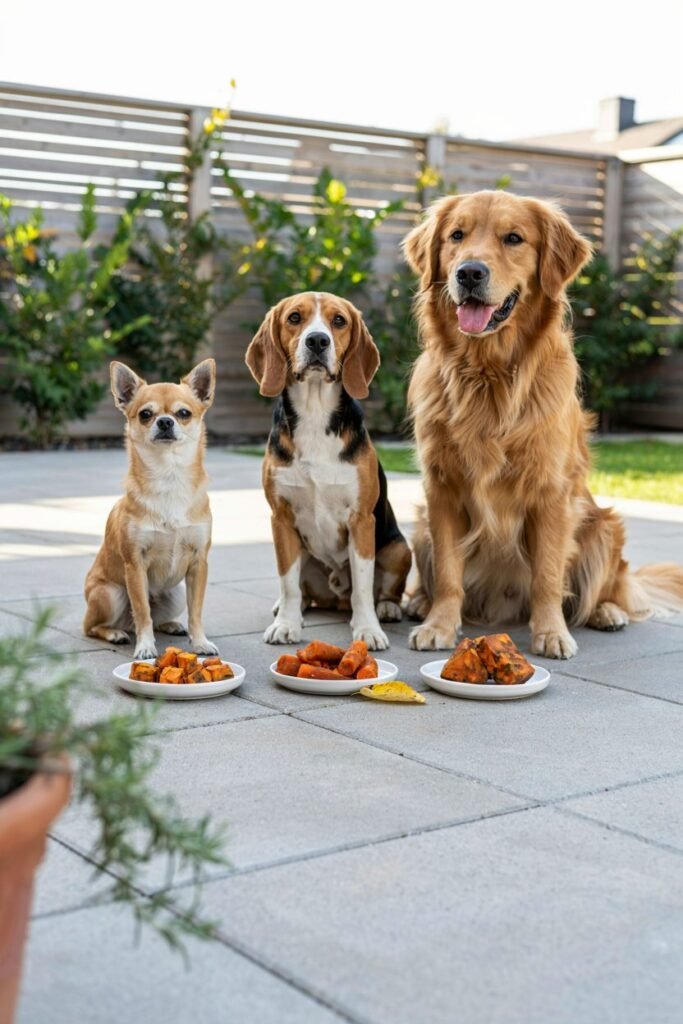
Even healthy homemade treats should only be a small part of your dog’s overall diet.
A simple guideline I follow is:
Small dogs
One small chew per day.
Medium dogs
One to two chews per day.
Large dogs
Two to three chews per day.
Treats should generally make up no more than about 10 percent of your dog’s daily calorie intake.
A balanced dog food should always provide the majority of their nutrition.
Nutritional Benefits
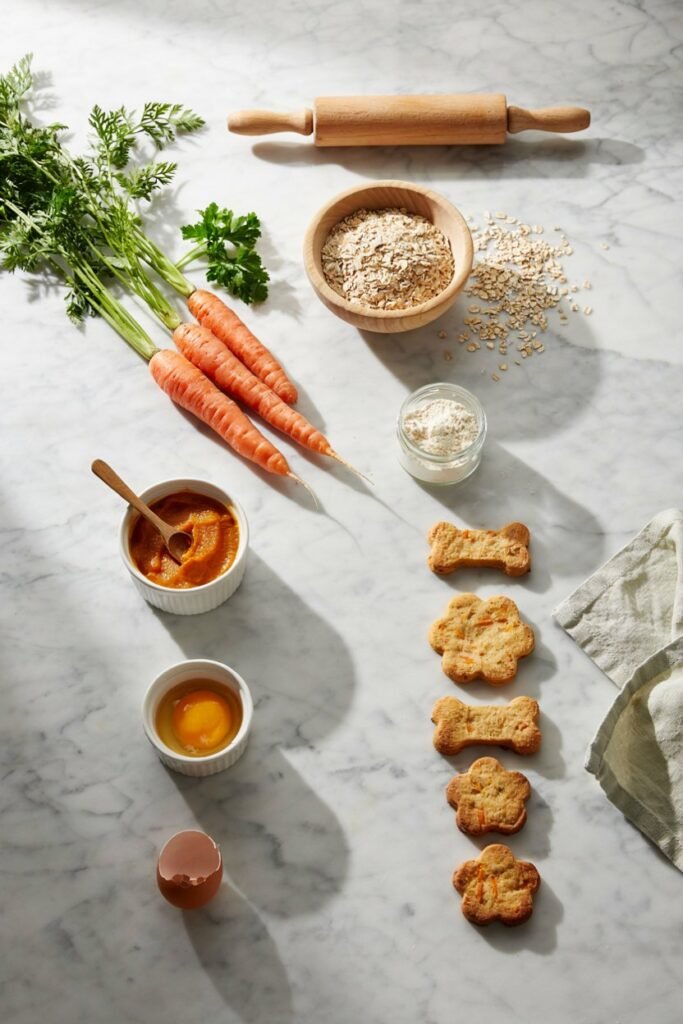
These homemade carrot pumpkin chews are made with simple ingredients that each contribute something valuable.
Pumpkin
Provides natural fiber and vitamins while helping create a soft texture.
Carrots
Offer vitamin A, fiber, and natural sweetness.
Oat Flour
Adds fiber and helps hold the treats together while creating a gentle texture.
Egg
Provides protein and helps bind the dough into sturdy treats.
While these ingredients are nutritious, these chews are still treats and should be fed in moderation as part of a complete and balanced diet.
My Favorite Ways to Use These Treats
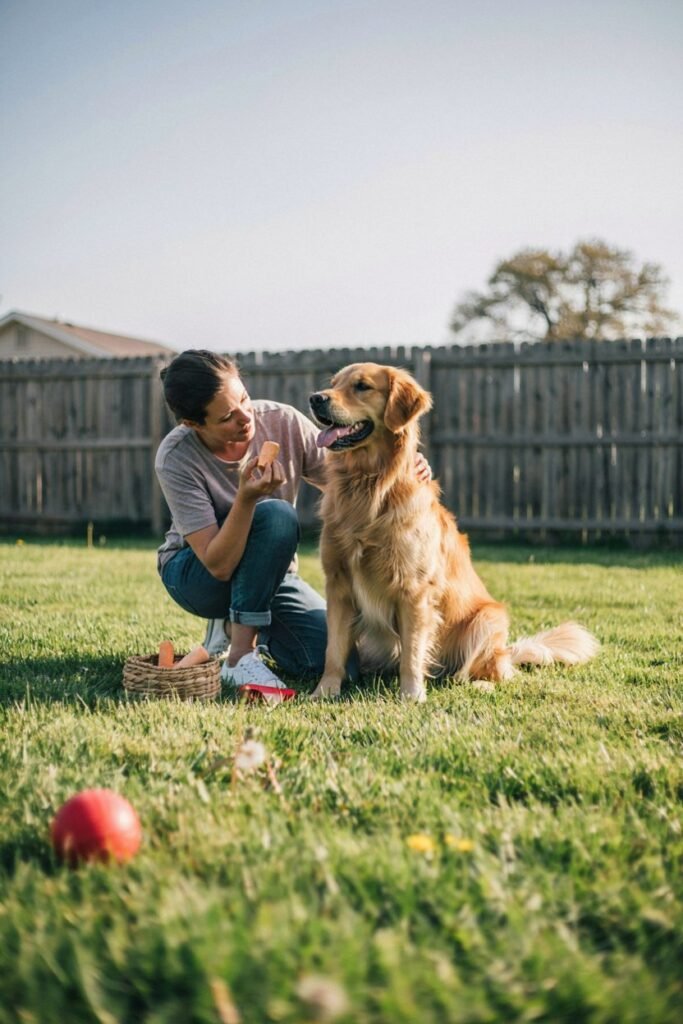
One reason I keep coming back to this recipe is how versatile it is.
I keep a few in my pocket during our walks because they make excellent rewards for practicing good leash manners.
I also break them into tiny pieces during short training sessions around the house. My dog stays focused much longer when these are on the menu.
Sometimes I even hide a few around the living room or backyard for a simple scent game.
Watching my dog sniff around with excitement is just as entertaining for me as it is rewarding for them.
Whenever friends bring their dogs over, these homemade chews are usually the first thing I reach for.
It always makes me smile when another dog enjoys them just as much as mine does.
Frequently Asked Questions
Can I use fresh pumpkin instead of canned pumpkin puree?
Yes. Simply cook fresh pumpkin until tender and blend it into a smooth puree. Make sure there are no added seasonings, butter, or sugar.
Can I use pumpkin pie filling?
No.
Pumpkin pie filling contains sugar and spices that are not suitable for dogs. Always choose plain pumpkin puree.
Can I make these treats crunchy?
Yes.
Bake them a little longer, then leave them in the turned off oven with the door slightly open for about 15 minutes. This helps remove extra moisture.
Can I use whole wheat flour instead of oat flour?
If your dog tolerates wheat, whole wheat flour can work.
I personally like oat flour because it creates a softer chew and is simple to make at home.
Can I make these without an egg?
You can try replacing the egg with a flax egg, but the texture may be slightly different.
Can humans eat these?
Technically, the ingredients are foods that people commonly eat, but these treats are made specifically for dogs and are not intended as a snack for people.
Can I add peanut butter?
Yes, as long as it is natural peanut butter that contains only peanuts and does not contain xylitol, which is highly toxic to dogs.
Can I double the recipe?
Absolutely.
I often double the batch because these treats freeze so well, and it saves me time later.
Final Thoughts
These easy homemade carrot pumpkin chews have become one of those recipes I never get tired of making.
They are simple, affordable, and filled with ingredients I feel good about giving my dog.
My favorite part is knowing exactly what goes into every bite.
There are no mystery ingredients, no artificial colors, and no preservatives. Just wholesome foods that come together in a recipe my dog genuinely loves.
Even now, whenever I start opening a can of pumpkin or pull out the box grater for a fresh carrot, my dog somehow knows what’s coming.
The tail starts wagging before I’ve even mixed the ingredients, and by the time the treats have finished baking, there’s a hopeful face sitting patiently beside the oven.
Moments like that remind me why I enjoy making homemade treats so much.
They don’t take much time, but they become a simple way to show a little extra love.
If you’re looking for an easy recipe to spoil your own furry friend, I hope these carrot pumpkin chews become a favorite in your home the way they have in mine.
Recipe Card
Easy Homemade Carrot Pumpkin Chews
Prep Time: 15 minutes
Bake Time: 25 to 30 minutes
Total Time: About 45 minutes
Yield: Approximately 30 to 40 small chews
Ingredients
- 1 cup plain pumpkin puree
- 1 medium carrot, finely grated
- 2 cups oat flour
- 1 large egg
Instructions
- Preheat the oven to 350°F (175°C) and line a baking tray with parchment paper.
- Finely grate the carrot.
- Mix the pumpkin puree and egg until smooth.
- Stir in the oat flour and grated carrot until a soft dough forms.
- Roll the dough to about ¼ inch thick and cut into your preferred shapes.
- Arrange on the baking tray and bake for 25 to 30 minutes, or longer for firmer chews.
- Cool completely before serving or storing.
Storage
- Room temperature: Up to 3 days
- Refrigerator: Up to 1 week
- Freezer: Up to 3 months
Notes
- Always use plain pumpkin puree.
- Introduce new treats gradually.
- Feed in moderation as part of a balanced diet.
- Fresh drinking water should always be available.