
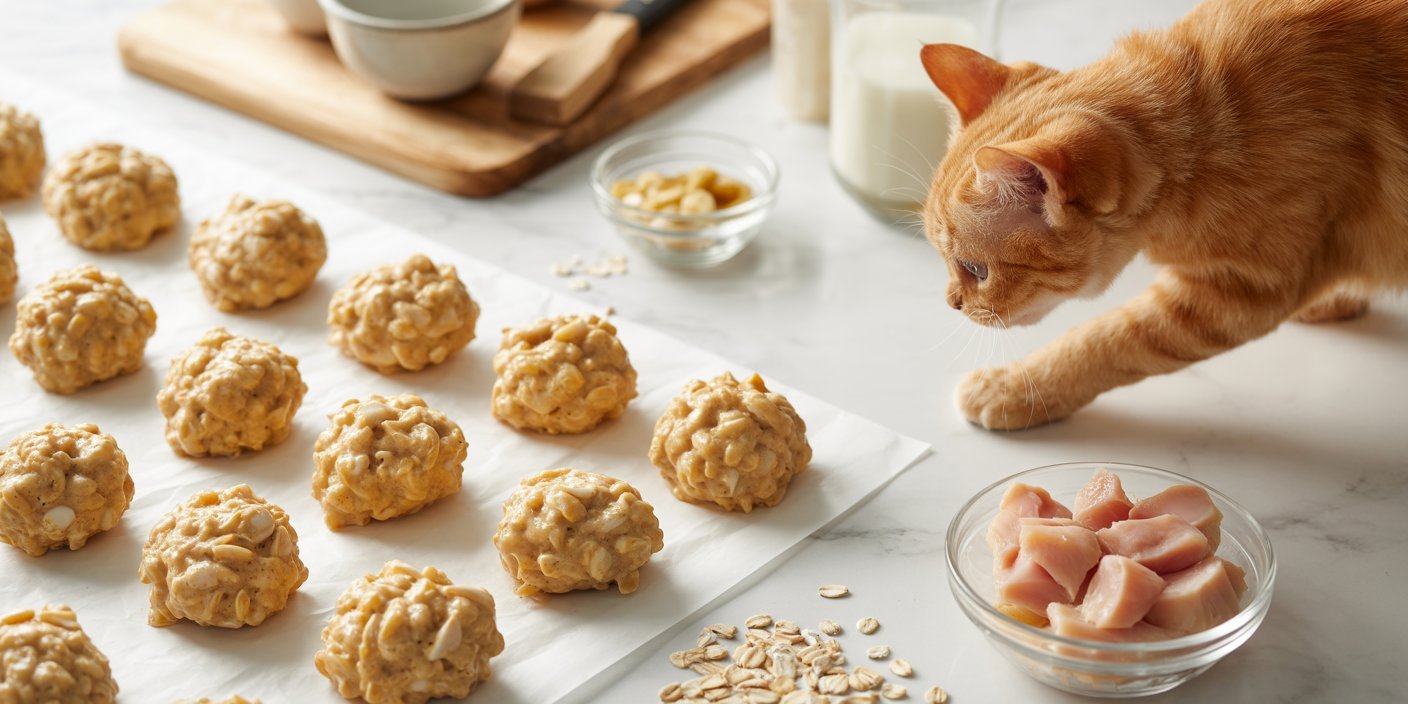
Making treats at home started as a small experiment for us, but it quickly became part of our routine.
Between reading ingredient labels and watching how picky cats can be, I realized that most store-bought treats just weren’t worth it.
I wanted something simple. Something soft, protein-forward, and gentle enough to give regularly without worrying about fillers or artificial junk.
That’s how these Soft Chicken & Oat Cat Treats became a staple in our kitchen.
They’re easy to make, easy to store, and made with ingredients I already trust.
Most importantly, they’re treats my cat actually gets excited about.
Affiliate Disclaimer: Some links in this post are affiliate links. I may earn a small commission at no extra cost to you.
MAZON SHOPPING LIST (HOMEMADE CAT TREATS ESSENTIALS)
- High-Quality Boneless Chicken Breast
Fresh, lean protein for healthy, soft cat treats
BUY NOW ON AMAZON - Old-Fashioned Rolled Oats
Gentle on your cat’s stomach and binds treats naturally
BUY NOW ON AMAZON - Non-Stick Silicone Baking Mat
Prevents treats from sticking and makes cleanup easy
BUY NOW ON AMAZON - Food Processor or Mini Chopper
Quickly blend chicken and oats into perfect treat consistency
BUY NOW ON AMAZON - Cat Treat Storage Container
Keeps homemade treats fresh and flavorful for weeks
BUY NOW ON AMAZON
Why I Prefer Homemade Cat Treats
One of the biggest reasons I prefer homemade cat treats is that I know exactly what’s in them.
When I buy treats from the store, I often find long ingredient lists filled with preservatives, artificial flavors, and fillers that don’t add much nutritional value.
Making them at home gives me complete control over the ingredients, which helps me feel better about what I’m feeding my cat.
I also love that homemade treats let me tailor recipes to my cat’s preferences.
Some cats are picky, and being able to adjust the texture or switch proteins makes a huge difference.
Soft treats like these are especially helpful for older cats or those who don’t enjoy crunchy snacks.
Another benefit is freshness. Homemade treats smell better, taste fresher, and seem far more exciting to my cat than packaged options that may have sat on shelves for months.
Plus, making treats at home can actually save money over time, especially if you already keep simple ingredients like oats and cooked chicken in your kitchen.
For me, it’s not just about the treats themselves—it’s about creating something healthy, thoughtful, and genuinely enjoyable for my pet. It’s a small extra step that makes treat time feel a little more special.
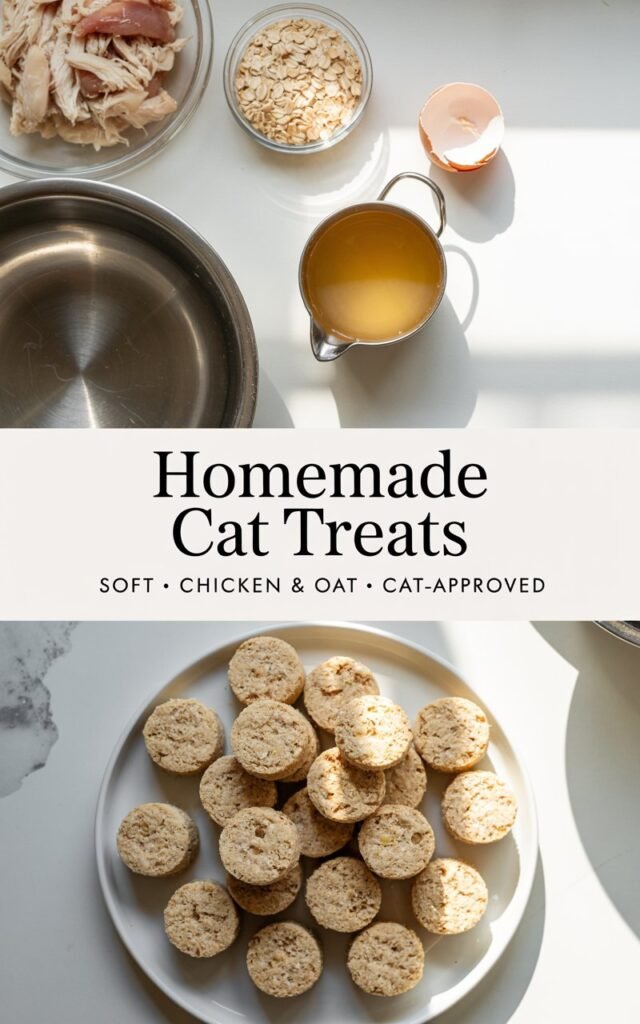
Ingredient Choices (And Why They Work)

When I make homemade cat treats, I keep the ingredient list simple but intentional so every ingredient adds real nutritional value while helping create the perfect soft texture cats love.
- Cooked Chicken – My go-to protein for homemade cat treats because it’s lean, flavorful, and packed with the animal-based protein cats need. I always use plain, unseasoned chicken for the healthiest results.
- Oats or Oat Flour – This helps bind the dough while creating a soft, chewy texture that works especially well for cats who prefer soft cat treats over crunchy biscuits.
- Egg – A natural binder that helps hold the treats together while adding extra protein and healthy fats.
- Unsalted Chicken Broth (Optional) – I use a splash when the dough needs moisture, and it also adds extra aroma and flavor for picky eaters.
Pro Tips for Better Homemade Cat Treats
- Always use plain cooked chicken with no garlic, onion, or seasoning
- Blend oats finely for a smoother soft cat treat texture
- Add broth slowly to prevent sticky dough
- Make small batches first to test what your cat prefers
Keeping the ingredients clean and simple makes these homemade chicken cat treats healthier, fresher, and far more customizable than many store-bought options.
Soft Chicken & Oat Cat Treats Recipe

Making these homemade soft cat treats is one of my favorite ways to spoil my cat with something wholesome and nutritious.
The process is simple, beginner-friendly, and takes only a few basic ingredients.
- 1 cup cooked plain chicken, shredded or finely chopped
- ½ cup oat flour or finely blended rolled oats
- 1 egg
- 1–2 tablespoons unsalted chicken broth (optional, as needed)
How I Make Them
- Preheat the oven to 350°F (175°C) and line a baking tray with parchment paper.
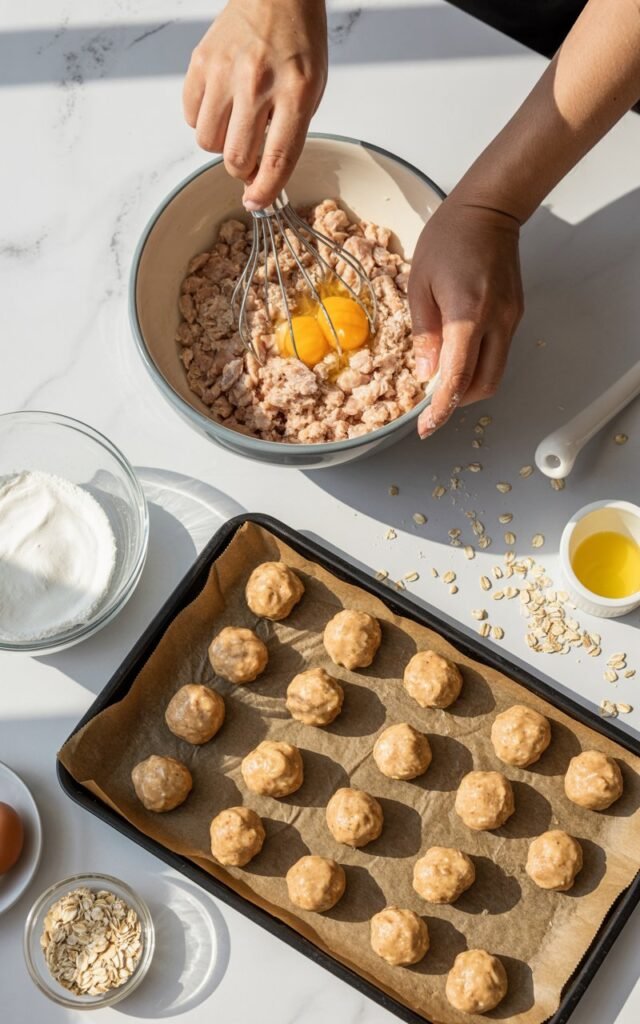
- Add the chicken, oats, and egg to a food processor or mixing bowl.
- Blend or mix until a thick dough forms.
- If the mixture feels too dry, add chicken broth a little at a time.
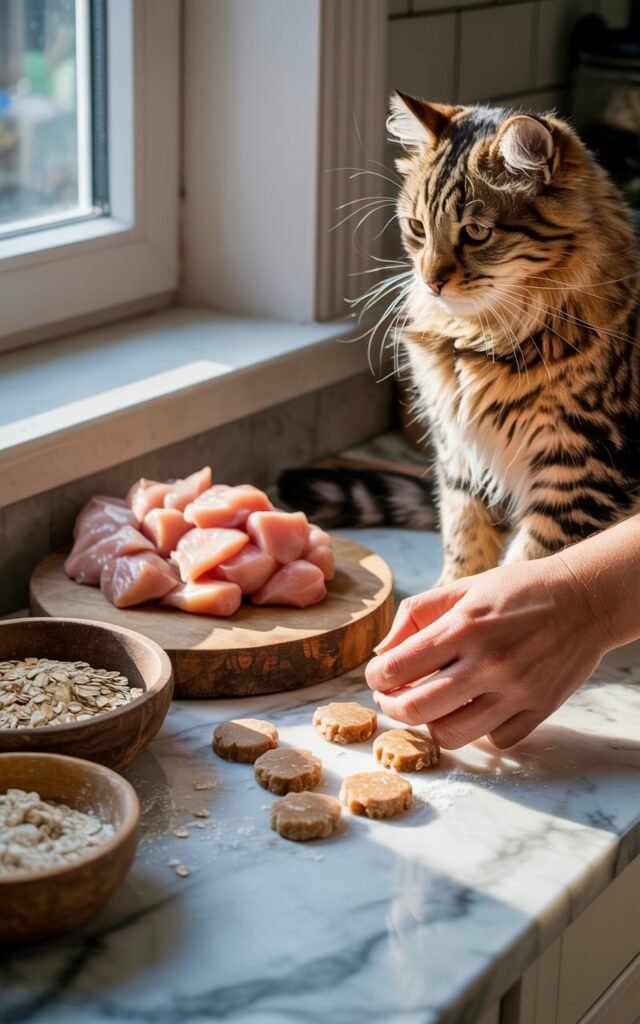
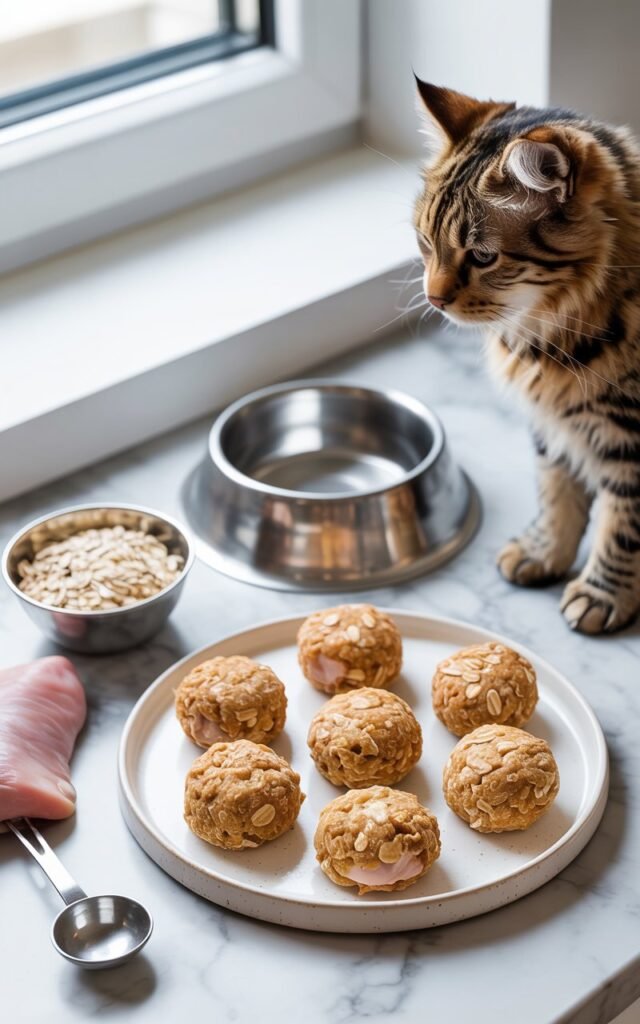
- Roll into small bite-sized balls or flatten into tiny treat shapes.
- Bake for 10–12 minutes until set but still soft.
- Let cool completely before serving to your cat.
These soft chicken cat treats store well in the fridge and make a great homemade reward for training or daily snacking.
How to Make Them
Making these soft chicken and oat cat treats is quick, easy, and perfect even if you’ve never made homemade pet treats before.
- Preheat Your Oven – Set your oven to 350°F (175°C) and line a baking sheet with parchment paper.
- Combine Ingredients – Add the cooked chicken, oat flour, and egg to a food processor or mixing bowl.
- Blend Until Smooth – Pulse or mix until a thick dough forms. The smoother the mixture, the softer the treats will be.
- Adjust Texture if Needed – If the dough feels dry or crumbly, mix in a small splash of unsalted chicken broth.
- Shape the Treats – Roll into tiny bite-sized balls or flatten into small rounds for easy portioning.
- Bake Until Set – Bake for 10–12 minutes, just until firm but still soft in the center.
- Cool Completely – Let the treats cool fully before serving or storing.
I like keeping the treats small since cats only need tiny portions, and smaller bites make them perfect for training rewards or quick snacks.
Storage Tips
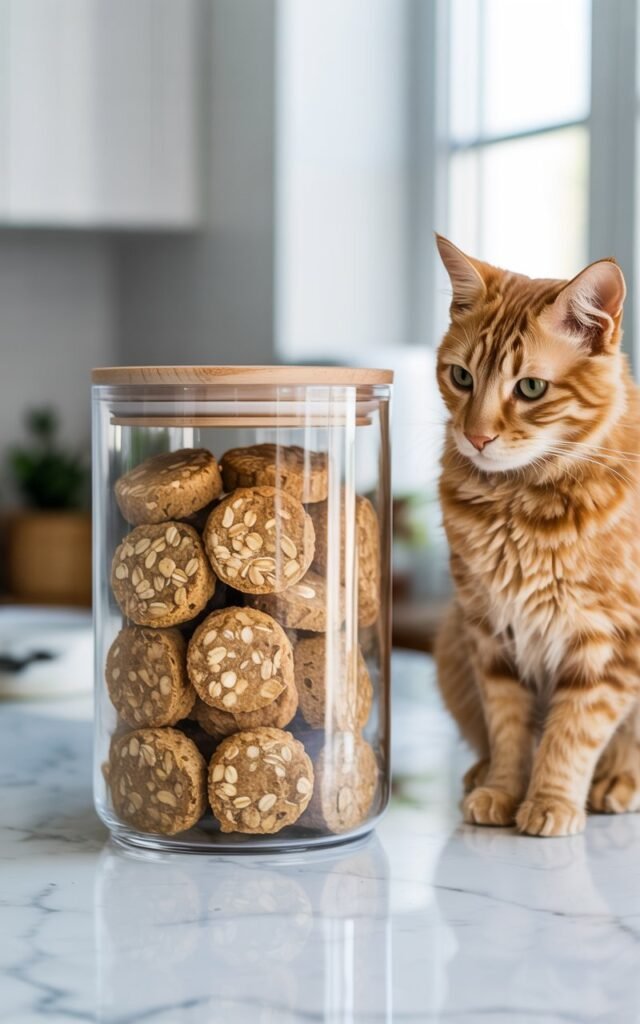
Keeping homemade cat treats fresh and soft is easy if you follow a few simple steps:
- Refrigerate – Store cooled treats in an airtight container in the fridge for up to 1 week. This keeps them soft and prevents spoilage.
- Freeze for Longer Storage – You can freeze treats in a sealed container or freezer bag for up to 2–3 months. Thaw a few at a time as needed.
- Portion Ahead – I like to make small batches or divide a larger batch into daily portions, so my cat always gets fresh, soft treats.
- Check Freshness – Always smell and check the texture before serving—if anything seems off, discard it to keep your cat safe.
Proper storage ensures your homemade chicken and oat cat treats stay tasty, soft, and cat-approved every time.
How I Introduce New Treats
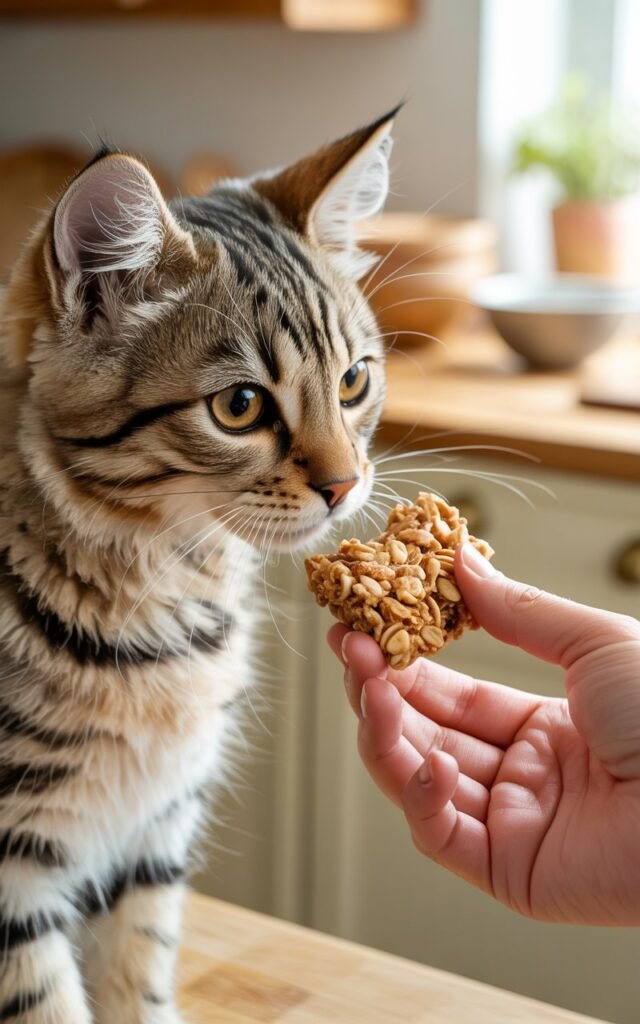
Introducing homemade cat treats takes a little patience, but it’s worth it when your cat learns to love them safely. Here’s how I do it:
- Start Small – I offer just one or two treats at first so my cat can try them without overwhelming her digestive system.
- Mix With Familiar Treats – Sometimes I crumble a small piece over her regular treats or sprinkle it on her food to make the new flavor more appealing.
- Watch for Reactions – I observe how she responds and make sure there’s no upset stomach or unusual behavior.
- Gradually Increase – Once she enjoys them, I slowly increase the portion size or frequency while keeping it as a treat, not a full meal.
- Keep It Positive – I always give them during playtime, training, or cuddle sessions so treats become associated with fun and reward.
This slow, thoughtful introduction helps my cat adjust to new textures and flavors while keeping her healthy and happy.
Important Safety Notes
When making and feeding homemade cat treats, I always keep these safety tips in mind to protect my cat’s health:
- No Harmful Ingredients – Avoid garlic, onion, salt, spices, chocolate, or any artificial sweeteners like xylitol. These can be toxic to cats.
- Proper Portioning – Treats should only make up a small part of your cat’s diet—about 5–10% of daily calories.
- Check for Allergies – Introduce new ingredients slowly and watch for signs of stomach upset or allergies.
- Cool Before Serving – Always let treats cool completely to prevent burns or digestive issues.
- Clean Preparation – Wash hands, utensils, and surfaces thoroughly to prevent bacteria from contaminating your cat’s treats.
Following these simple safety steps ensures your homemade chicken and oat cat treats are both tasty and completely safe.
Final Thoughts
Making soft chicken and oat cat treats at home has quickly become one of my favorite ways to spoil my cat while keeping her healthy.
Not only are they simple and inexpensive, but knowing exactly what goes into them gives me peace of mind.
I love that these treats are soft, protein-packed, and cat-approved—perfect for training, rewarding good behavior, or just showing a little extra love.
Homemade treats also let me experiment with textures and flavors while keeping everything natural and safe.
If you’ve been hesitant to try making treats for your cat, start with this recipe.
Once you see how excited your cat gets for a small, wholesome bite, you’ll understand why homemade treats are so worth the extra effort.