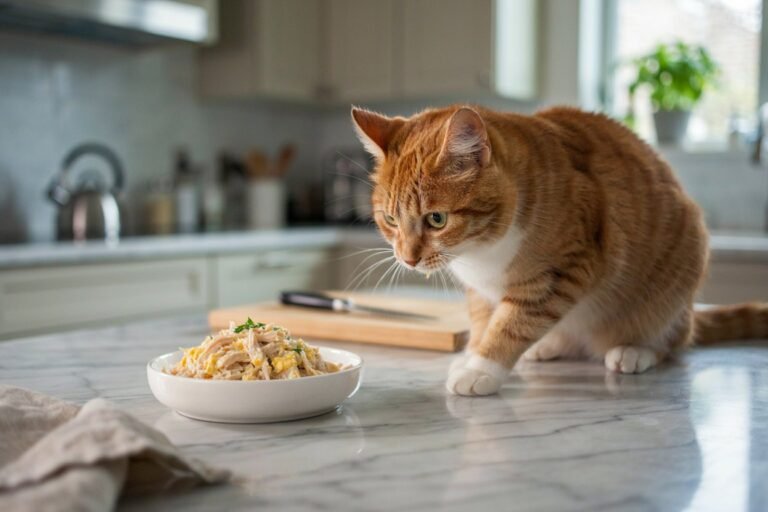
Cozy Fall Baking: Making Homemade Cat Treats We Can Share
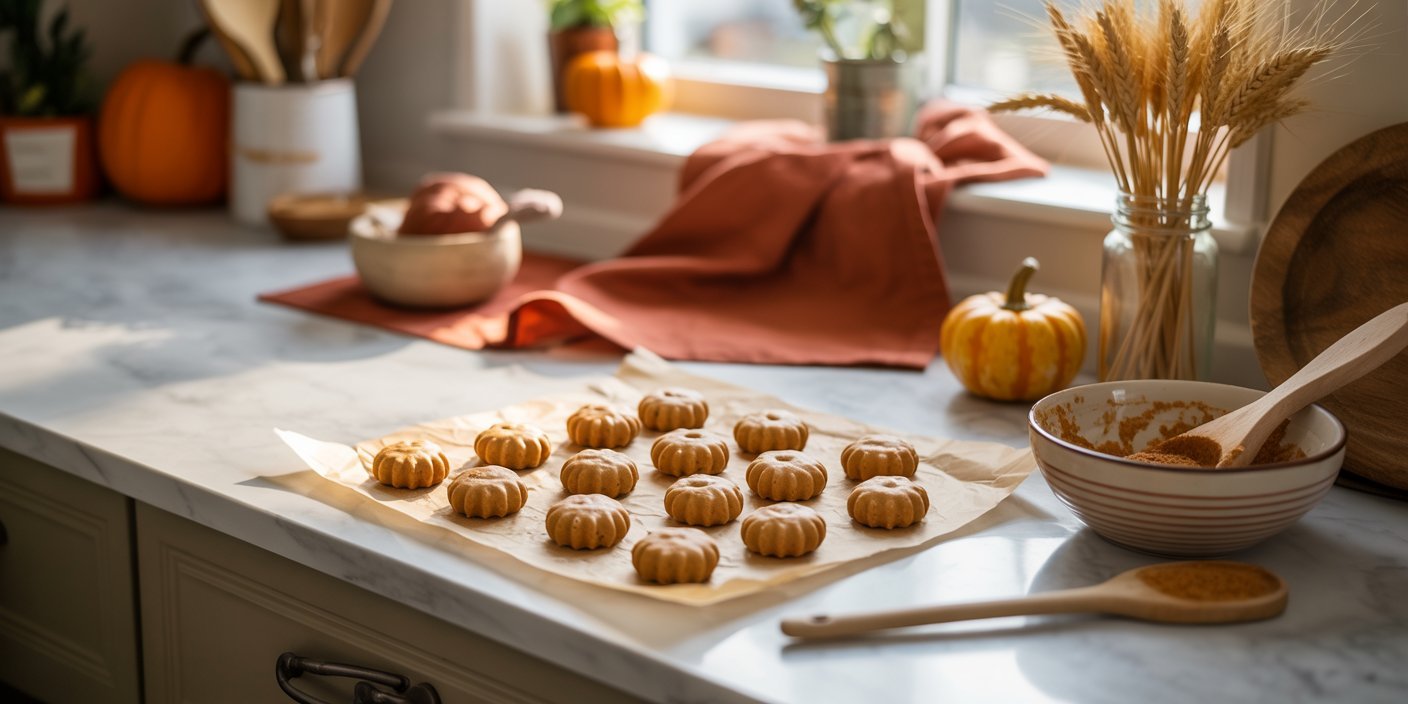
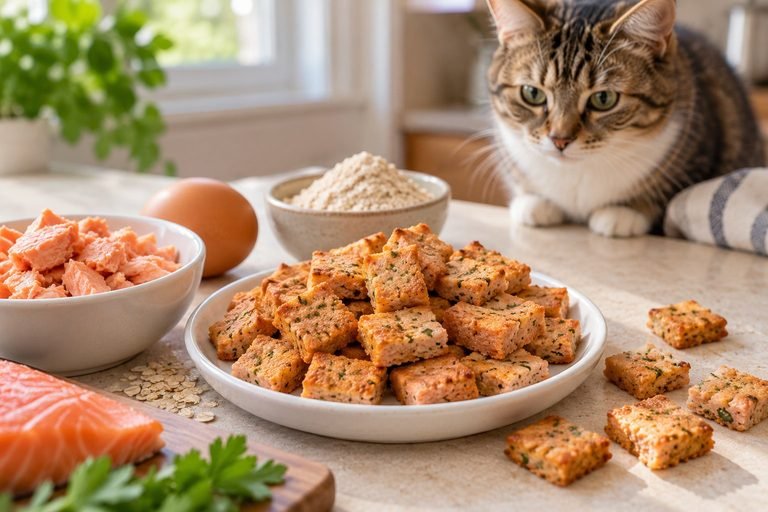
Fall always puts me in the mood to bake something warm and homemade, and my cat somehow knows the moment the mixing bowl comes out.
Before I even finish measuring the ingredients, they’re already sitting in the kitchen, hoping a tasty little snack is coming their way.
That excitement inspired me to create these simple homemade cat treats that have become one of our favorite seasonal traditions.
Made with wholesome, cat friendly ingredients, these treats are packed with protein, easy to prepare, and free from unnecessary fillers and artificial additives.
I love knowing exactly what goes into every batch, and my cat loves the fresh flavor far more than many of the packaged treats we’ve tried over the years.
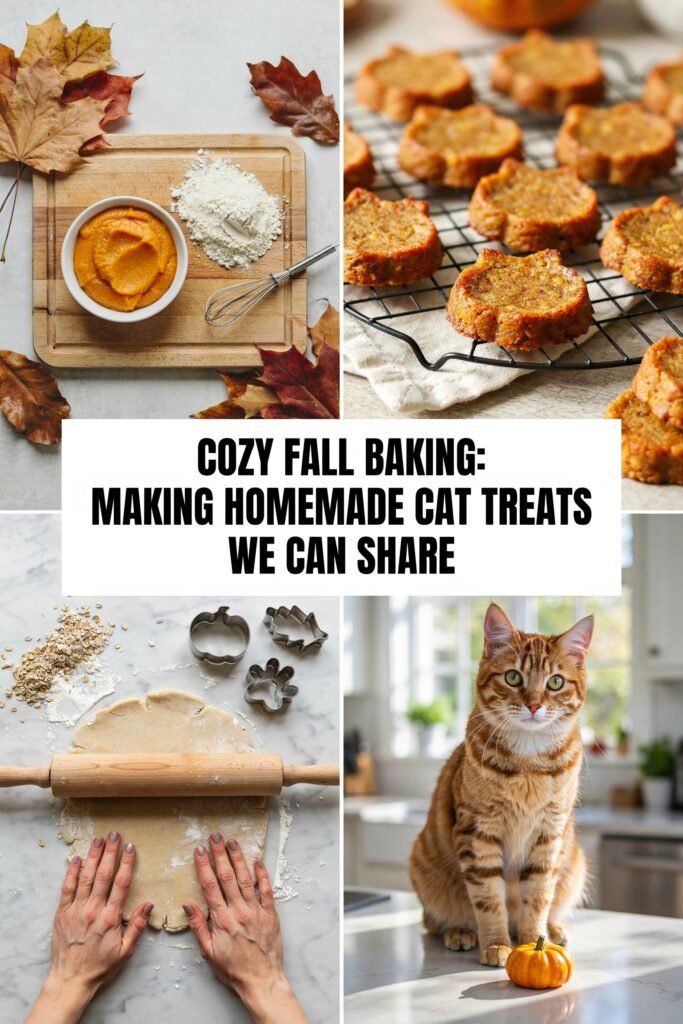
One of the best parts of this recipe is how fun it is to make.
Mixing the dough, rolling it out, and cutting tiny bite sized treats feels like classic fall baking, except this time your furry companion gets to enjoy the finished results too.
By the time the treats are cooling on the rack, my cat is already waiting patiently for the first taste.
If you’re looking for a cozy baking project that lets you spoil your feline friend with something homemade and nutritious, this recipe is a wonderful place to start.
It’s simple, budget friendly, and a delicious way to make your cat feel like part of the family during the fall season.
AMAZON SHOPPING LIST (HOMEMADE CAT TREATS ESSENTIALS)
- Stainless Steel Mixing Bowls (Set of 3)
Perfect for combining ingredients for cat treats
BUY NOW ON AMAZON - Silicone Baking Mat (2-Pack)
Prevents treats from sticking and makes cleanup easy
BUY NOW ON AMAZON - Mini Whisk or Silicone Spoon
Mixes ingredients smoothly for perfect cat treat batter
BUY NOW ON AMAZON - Cat-Shaped Cookie Cutter Set
Makes treats fun and themed for your feline friend
BUY NOW ON AMAZON - Airtight Food Storage Container (Small)
Keeps homemade cat treats fresh and ready for sharing
BUY NOW ON AMAZON
Why Bake Cat Treats At Home
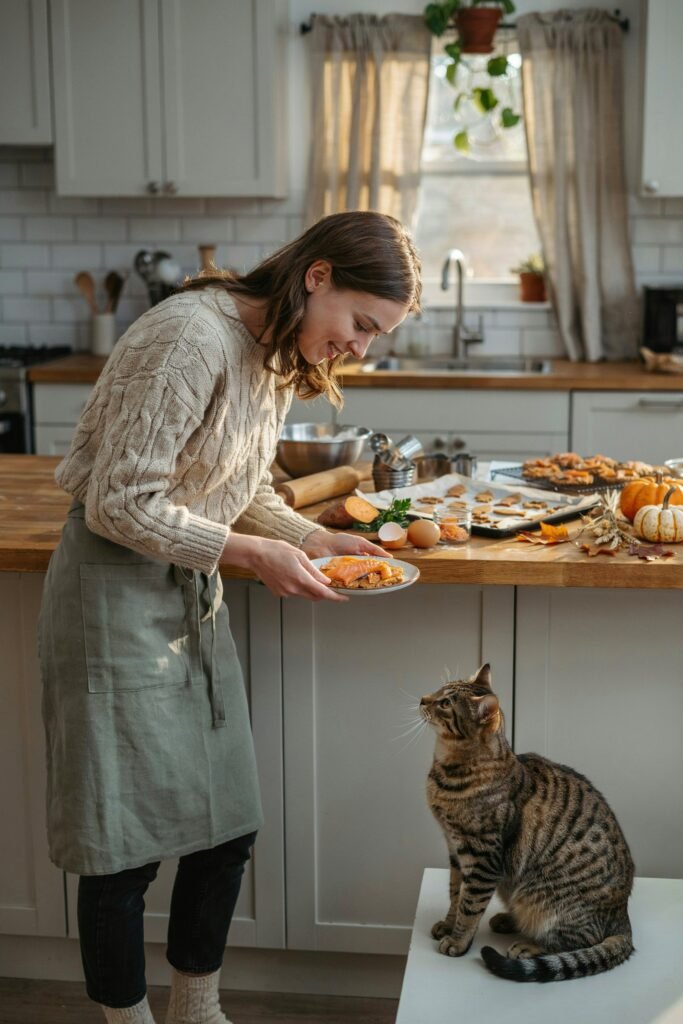
Store bought cat treats are convenient, but a lot of them are packed with fillers, artificial colors, and preservatives that do not add much nutritional value.
When you bake your own, you control exactly what goes into your cat’s body.
You know there is no mystery meat, no unnecessary sugar, and no dye just to make the treat look prettier on a shelf.
There is also a cost angle.
A bag of premium cat treats can run several dollars for a small handful, while a batch of homemade treats made from pantry staples costs a fraction of that and makes far more.
And honestly, there is something satisfying about handing your cat a treat you made with your own hands, especially during a season that already feels slower and cozier than the rest of the year.
One more thing worth mentioning. Baking for your cat is a wonderful way to bond, especially if you have a nervous or older cat.
The sound of you moving around the kitchen becomes associated with something good, and that little bit of positive reinforcement can make future vet visits, grooming, or nail trims easier because your cat trusts that good things come from your hands.
A Quick Word On Cat Safe Ingredients
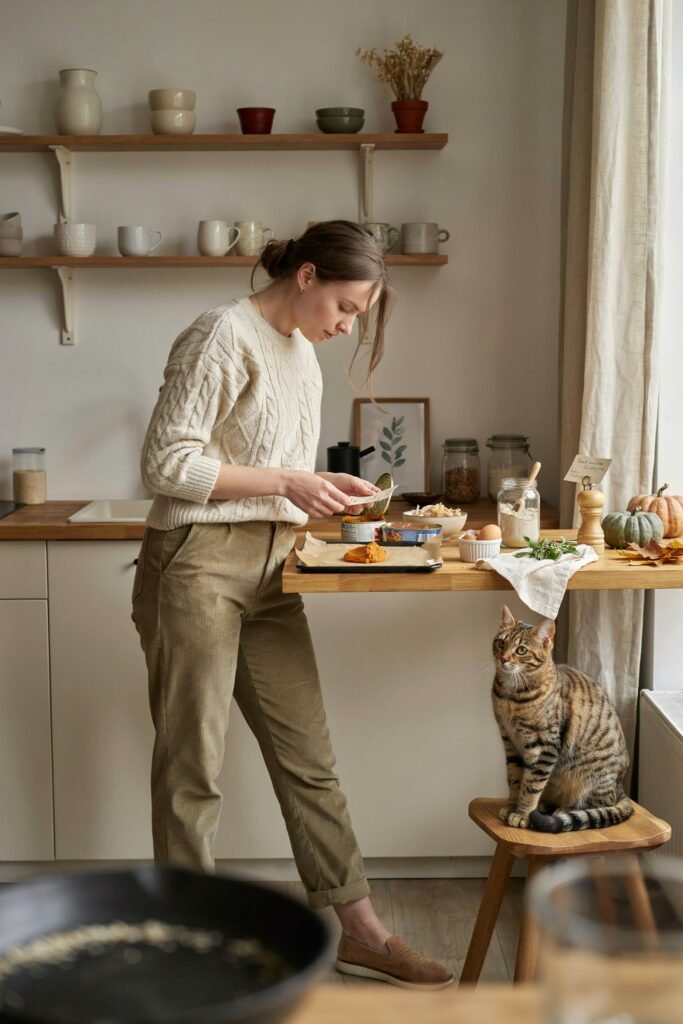
Before we get into the recipe, I want to cover something important.
Cats are obligate carnivores, meaning their bodies are built to process meat, not sugar, chocolate, or a lot of the spices we love in fall baking.
Cinnamon, nutmeg, and clove, the classic autumn trio, need to be used carefully or skipped entirely because nutmeg in particular can be harmful to cats in larger amounts.
Onion and garlic, even in powder form, are toxic to cats and should never appear anywhere near their food.
Xylitol, a sugar substitute found in some baking products, is dangerous for pets as well.
This recipe leaves out anything questionable.
Everything here is chosen specifically because it agrees with a cat’s digestive system and will not cause harm.
If your cat has a specific medical condition, a food allergy, or is on a prescription diet, please check with your veterinarian before introducing any new treat, homemade or otherwise.
Treats should also stay a small part of your cat’s diet, generally no more than about ten percent of their daily calories, so a little goes a long way.
Ingredients You Will Need
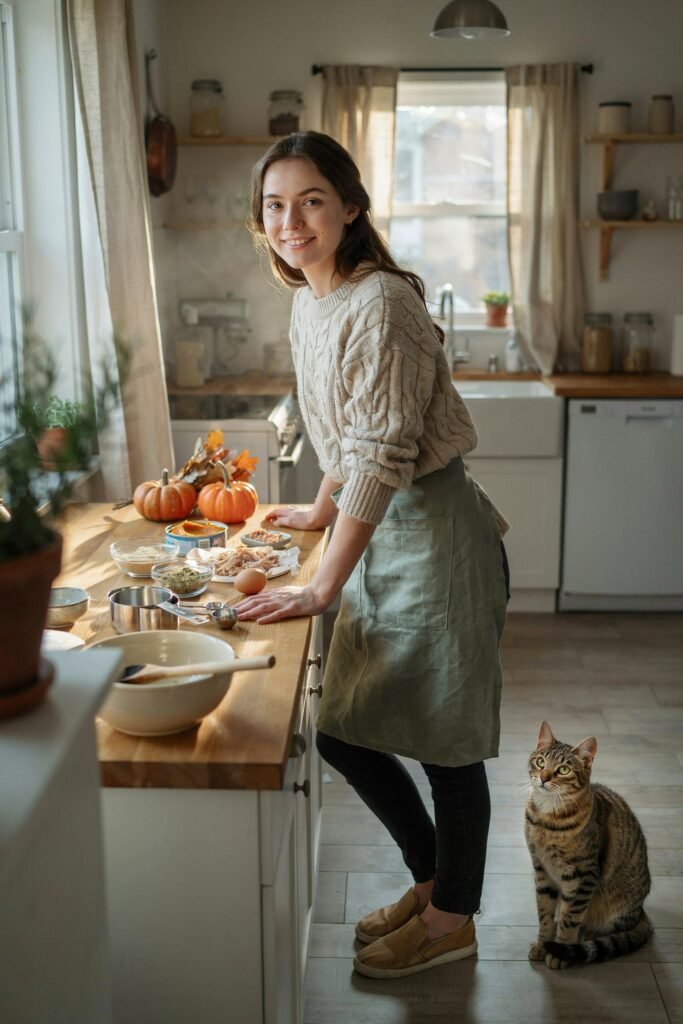
This recipe makes about thirty small treats, depending on the size of your cutter or how big you roll the dough balls.
1 cup oat flour
Oat flour creates a soft, wholesome base for these homemade treats.
It is gentle on most cats’ stomachs and helps give the treats a tender texture.
½ cup cooked chicken, finely shredded
Cooked chicken provides lean, high quality protein that supports strong muscles and gives the treats a flavor that most cats love.
1 large egg
The egg acts as a natural binder that holds the ingredients together while adding extra protein, healthy fats, and important vitamins.
2 tablespoons plain pumpkin puree
Plain pumpkin puree adds moisture and a little fiber to support healthy digestion.
It also gives the treats a soft, easy to shape dough.
1 tablespoon finely chopped fresh catnip (optional)
Fresh catnip adds a fun burst of flavor and aroma that many cats find exciting.
If your cat is not interested in catnip, you can simply leave it out.
1 tablespoon water, if needed
A small amount of water helps bring the dough together if it feels too dry, making it easier to mix, roll, and cut into shapes.
Kitchen Tools To Have Ready
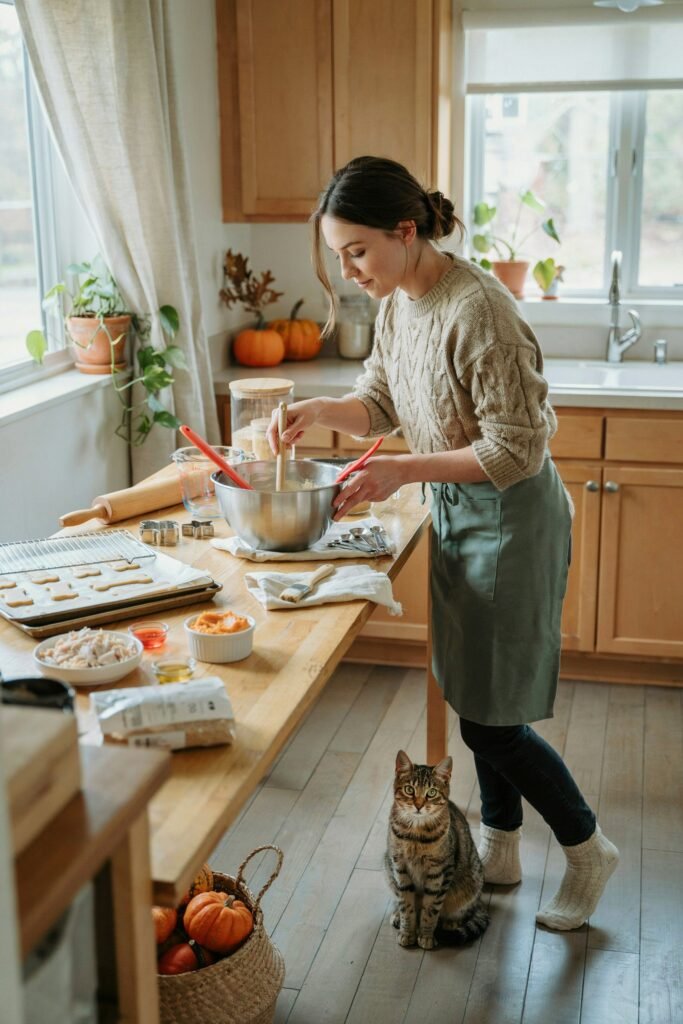
I like keeping this recipe simple, so I only use a handful of everyday kitchen tools that most of us already have at home.
- Mixing bowl
- Measuring cups and measuring spoons
- Whisk or fork
- Cutting board
- Knife
- Rolling pin
- Small cookie cutter or pizza cutter
- Baking sheet
- Parchment paper or silicone baking mat
- Cooling rack
- Airtight container for storage
Step By Step Preparation
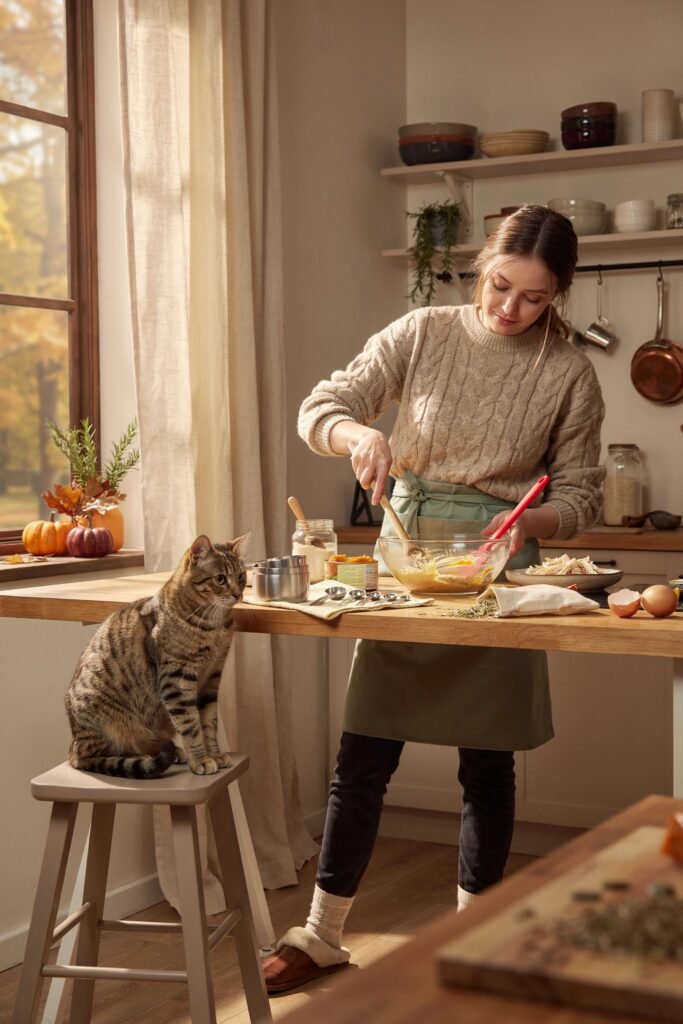
Step 1: Preheat the Oven
Preheat your oven to 325°F (163°C) and line a baking sheet with parchment paper or a silicone baking mat.
This prevents the treats from sticking and makes cleanup much easier.
Step 2: Prepare the Chicken
If you haven’t already, cook the chicken until it’s fully done with no added salt, seasoning, onions, or garlic.
Let it cool, then shred it very finely so it mixes evenly throughout the dough.
Step 3: Mix the Wet Ingredients
In a medium mixing bowl, whisk together the egg and pumpkin puree until smooth.
If you’re using fresh catnip, stir it in now so it is evenly distributed.
Step 4: Add the Dry Ingredients
Gradually add the oat flour to the wet mixture, then fold in the shredded chicken.
Stir everything together until a soft dough forms.
If the dough feels dry or crumbly, add the water one teaspoon at a time until it comes together.
Step 5: Roll Out the Dough
Lightly dust your work surface with a little oat flour and roll the dough to about ¼ inch thick.
This thickness helps the treats bake evenly while staying slightly crisp on the outside.
Step 6: Cut the Treats
Use a small cookie cutter or a knife to cut the dough into bite sized pieces that are easy for your cat to chew.
Smaller treats are ideal for training or everyday rewards.
Step 7: Bake
Arrange the treats on the prepared baking sheet, leaving a little space between each one.
Bake for 15 to 20 minutes, or until the edges are lightly golden and the treats feel firm.
Step 8: Cool Completely
Transfer the treats to a wire rack and let them cool completely before offering them to your cat.
This helps them firm up and develop their final texture.
Step 9: Store Properly
Place the cooled treats in an airtight container.
Store them in the refrigerator for up to 1 week, or freeze them for up to 3 months for a longer lasting homemade snack.
Storage Tips
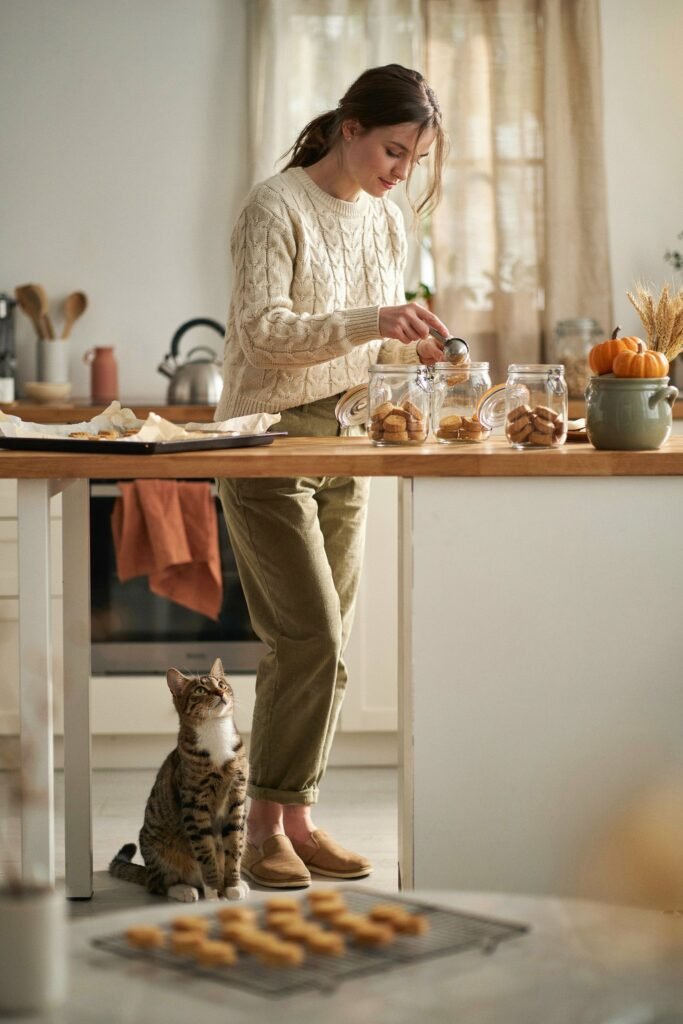
Once fully cooled, store the treats in an airtight container in the refrigerator, where they will stay fresh for about a week.
If you want them to last longer, they freeze beautifully.
Lay them flat on a tray to freeze individually first, then transfer to a freezer safe bag once solid, so they do not stick together in one giant clump.
Frozen treats will keep well for up to three months, and you can just pull out a few at a time as needed, letting them thaw at room temperature for about fifteen minutes before serving.
A Few Notes From My Own Kitchen
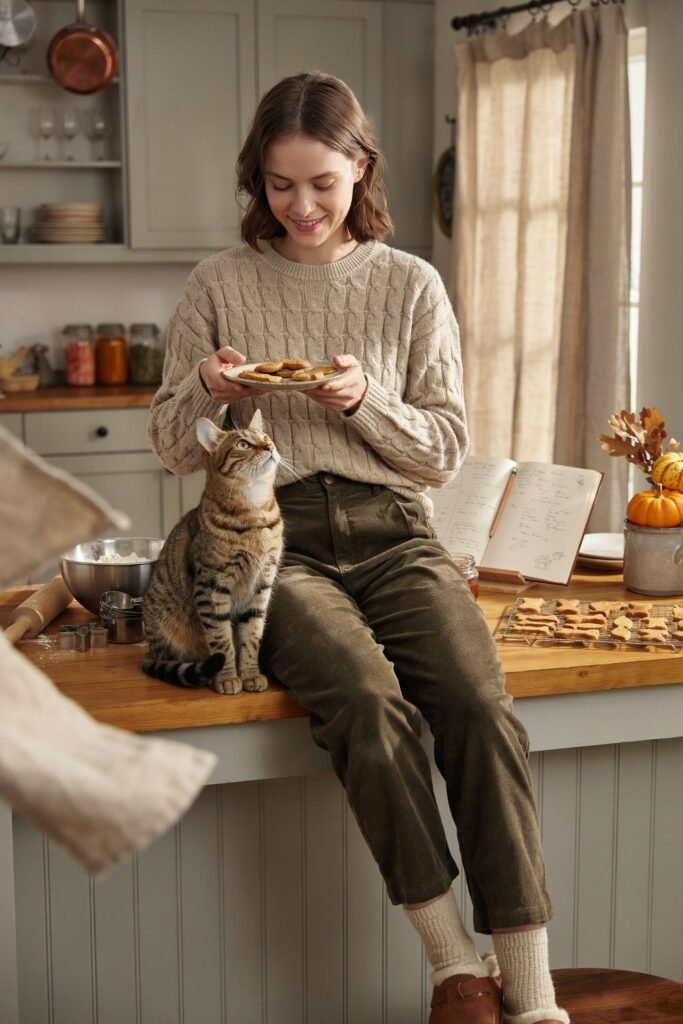
The first time I made these, I used far too much peanut butter thinking more flavor would mean a bigger reaction from Biscuit.
It actually made the dough too oily and the treats spread more than I wanted in the oven.
Two tablespoons really is the right amount to add flavor without throwing off the texture.
I also learned that pressing a small thumbprint or fork mark into the center of each treat before baking helps them bake more evenly, since the thinner center cooks at the same rate as the slightly thicker edges.
It is a small trick but it makes a noticeable difference.
If your cat is more food motivated by texture than flavor, you can experiment with baking time.
A shorter bake around fifteen minutes leaves the treats a bit softer and chewier, while the full twenty minutes gives you a firmer, crunchier bite that some cats seem to prefer, possibly because it is more satisfying to chew.
Making It A Fall Tradition
What I love most about this recipe is that it turns an ordinary afternoon into something a little more special.
There is something nice about baking alongside a pet who is genuinely excited about what you are making, tail flicking, sitting a little too close to the oven door.
Fall has a way of slowing everything down, and sharing that slower pace with your cat, even through something as simple as a homemade treat, feels like exactly the kind of small ritual worth keeping.
If you try this recipe, I would love to hear how your cat reacts, especially if catnip is involved, since that reaction alone is usually worth the whole afternoon of baking.
Frequently Asked Questions
Can I use pumpkin pie filling instead of plain pumpkin puree?
No. Pumpkin pie filling contains added sugar and spices, some of which are not safe for cats.
Always use plain, one hundred percent pumpkin puree with nothing else added.
My cat does not react to catnip. Should I still add it?
You can leave it out entirely if your cat is not sensitive to it, or if you would rather not deal with the extra ingredient.
The treats will still taste great to your cat without it, since the meat and pumpkin do most of the flavor work.
Can I substitute the chicken or tuna with another protein?
Cooked, plain salmon or turkey work well as substitutes, as long as there is no seasoning, oil, bones, or skin.
Avoid raw meat, since it carries a risk of bacteria that home baking temperatures may not fully eliminate.
Is oat flour necessary, or can I use regular flour?
Oat flour is recommended because it is gentle on digestion and avoids the gluten some cats have trouble with.
If you truly cannot find oat flour, a small amount of rice flour can work as a substitute, though the texture will be slightly different.
How many treats can my cat have per day?
Treats, homemade or store bought, should stay a small part of your cat’s diet.
A general guideline is no more than one or two of these small treats per day, alongside a balanced main diet.
If your cat has any health conditions, check with your veterinarian first.
Final Thoughts
Making homemade cat treats is one of those simple little projects that brings a lot of joy.
Not only do you get the satisfaction of baking something from scratch, but you also know exactly what your cat is eating.
Every batch is made with wholesome ingredients and plenty of care, making treat time feel a little more special.
I hope these cozy fall treats become a favorite in your home, just as they have in mine.
Whether you’re baking them as a fun weekend activity or simply looking for a healthier way to spoil your feline friend, they’re an easy way to show a little extra love.
Watching your cat eagerly wait for that first crunchy bite is the best reward of all, and it’s a moment that makes every minute in the kitchen worthwhile.