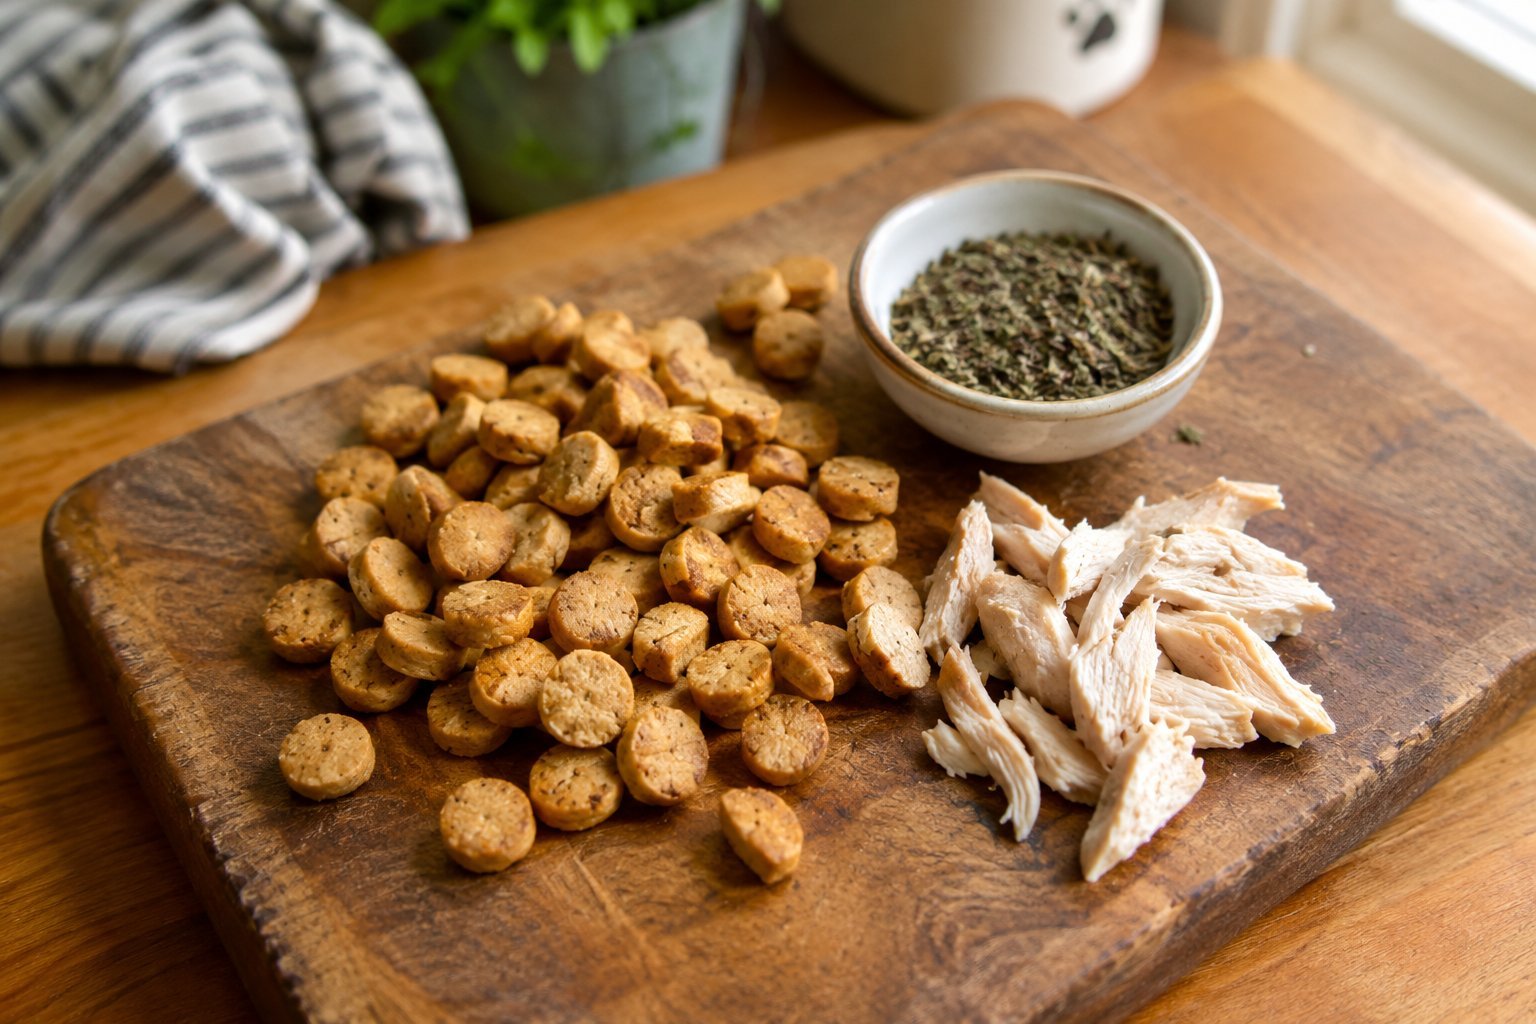
Ingredients
Equipment
Method
- Preheat your oven to 350°F (175°C) and line a baking sheet with parchment paper.
- Drain the tuna thoroughly and place it in a mixing bowl. Break it apart with a fork so there are no large pieces.
- Add the egg and pumpkin puree. Mix everything together until evenly combined.
- Add the oat flour gradually and stir until a soft dough forms. If the dough seems dry, add the water a little at a time.
- Place the dough between two sheets of parchment paper and roll it to approximately 1/4 inch thick.
- Use a small cookie cutter to cut the dough into bite sized treats. Gather the leftover dough, roll it out again, and continue cutting.
- Transfer the treats to the prepared baking sheet.
- Bake for approximately 10 to 12 minutes, until the treats are firm and lightly golden around the edges.
- Remove them from the oven and allow them to cool completely before serving.
- Once cooled, store the treats in an airtight container in the refrigerator.
Recipe Notes
- Storage: Refrigerate the finished treats in an airtight container for up to 5 days. You can freeze them in a freezer safe container for longer storage.
- Tuna Tip: Choose tuna packed in water and avoid tuna containing added salt, sauces, spices, garlic, or onion.
- Serving: These homemade treats should be given occasionally and should not replace your cat's complete and balanced regular food.
- Portion Tip: Keep portions small, particularly for smaller cats. These treats are intended as little rewards rather than a meal.
- Common Mistake to Avoid: Avoid adding milk, sugar, salt, seasoning, garlic, onion, or artificial sweeteners just to make the treats more flavorful.
- Safety Note: Introduce any new treat gradually and stop serving it if your cat develops digestive problems or another unusual reaction.