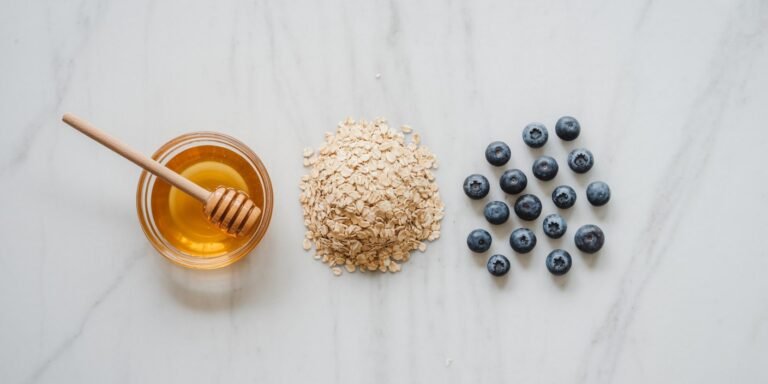
How To Make Chicken & Rice Crunch Bones For Dogs
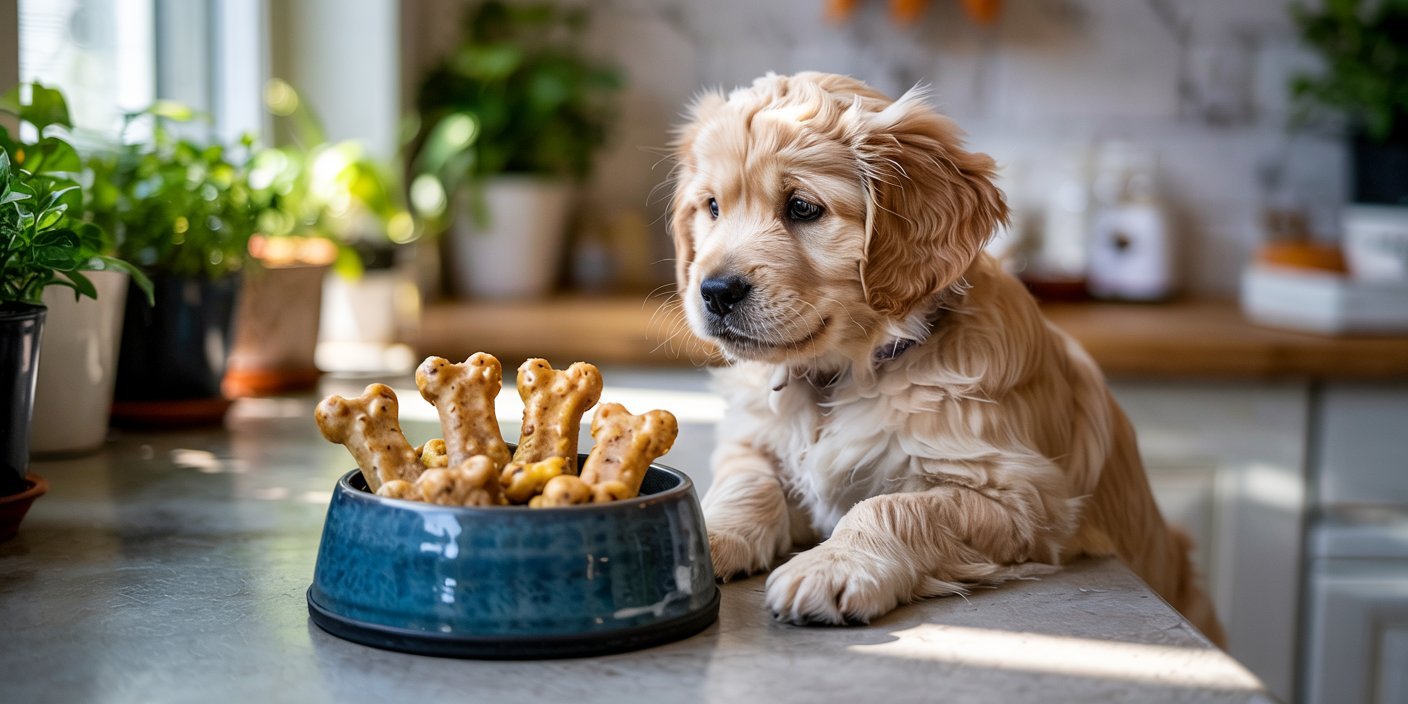
Warm, homemade treats have become one of my favorite ways to do something special for my dog.
There is something incredibly rewarding about turning a few everyday ingredients into crunchy snacks that disappear almost as quickly as they come out of the oven.
I first made these Chicken and Rice Crunch Bones after realizing I had some leftover cooked chicken and rice that I did not want to waste.
Instead of throwing them away, I started wondering if I could turn them into homemade dog treats.
After a little experimenting, I pulled a batch of golden, crunchy bone shaped biscuits from the oven, and my dog was hooked from the very first bite.

Now, I almost always cook a little extra chicken on purpose because I know another batch of these treats will soon be on the menu.
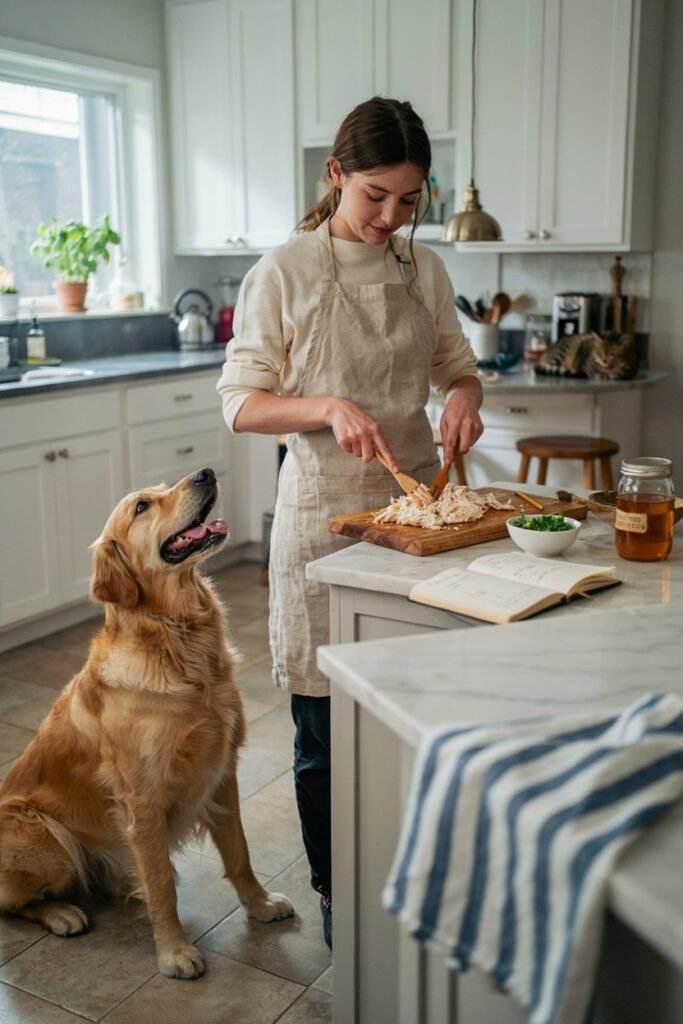
My dog has even learned that the smell of chicken usually means something delicious is being made, so I rarely make it through the recipe without an eager face watching every step from the kitchen floor.
These Chicken and Rice Crunch Bones are simple to make, packed with wholesome ingredients, and perfect for anyone who enjoys giving their dog homemade treats made with a little extra care.
Disclaimer
This post may contain affiliate links. As an Amazon Associate, I earn from qualifying purchases at no additional cost to you. I only recommend dog products and kitchen tools that I genuinely believe make homemade treats easier and more enjoyable. The information in this article is for general informational purposes only. Always use dog safe ingredients and consult your veterinarian before introducing new foods or treats.
Amazon Shopping List
- Silicone Dog Bone Treat Molds – I use these to make fun bone shaped treats every time.
- Stainless Steel Mixing Bowls – My go to bowls for mixing homemade dog treat recipes.
- Silicone Baking Mat – I love using this to keep treats from sticking to the baking tray.
- Measuring Cups and Spoons Set – I always use these for accurate ingredient measurements.
- Food Processor – I use this to finely chop cooked chicken and make a smooth dough.
- Airtight Dog Treat Storage Container – I keep homemade treats fresh with a good storage container.
- Natural Chicken Bone Broth for Dogs – I like adding a little for extra flavor and moisture when needed.
Why These Chicken and Rice Crunch Bones Are One of My Favorites
One of the things I love most about this recipe is how practical it is.
Leftover cooked chicken and rice become something completely new instead of going to waste, making it an easy recipe to prepare without needing lots of extra ingredients.
I also enjoy having complete control over what goes into every treat.
Using simple, familiar ingredients means I know exactly what my dog is eating, and I can skip the artificial flavors, colors, and unnecessary fillers that are often found in many store bought treats.
The best part, though, is seeing my dog’s reaction.
As soon as these treats start baking, the smell of chicken fills the kitchen, and before long there is a wagging tail waiting by the oven.
Watching that excitement never gets old, and it makes every batch feel just as rewarding as the first.
Why You Will Love These Homemade Crunch Bones
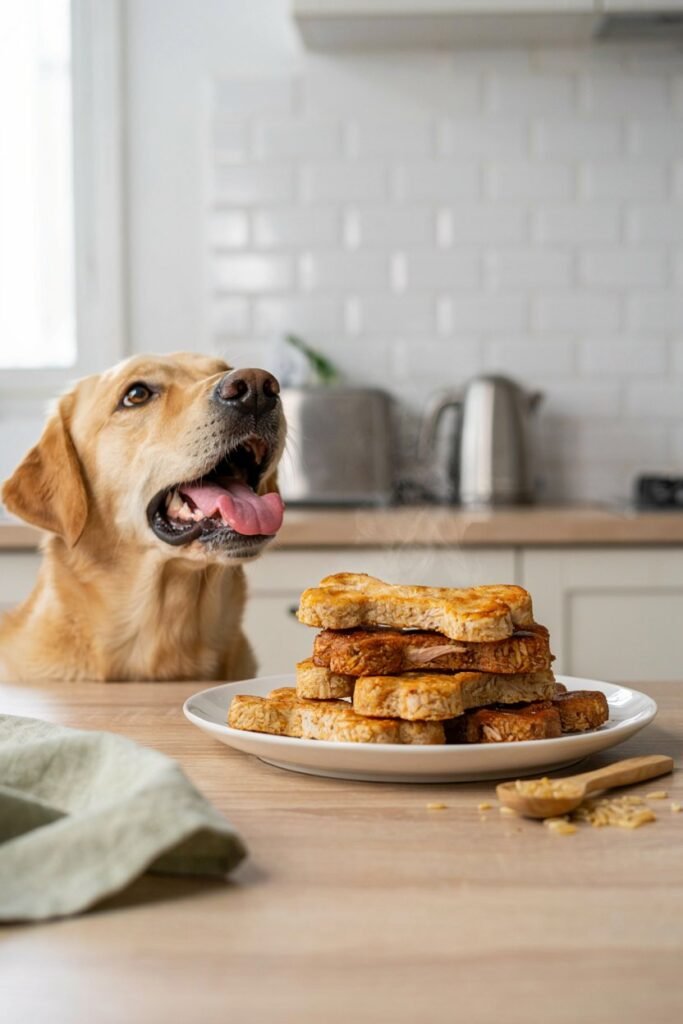
This recipe has quickly become one of my favorites because it is simple, affordable, and easy to customize.
Great Way To Use Leftover Chicken
Cooked chicken from dinner can easily become a fresh batch of homemade treats.
Crispy Texture Dogs Enjoy
Baking the treats until they become lightly crunchy creates a satisfying texture that many dogs love.
Made With Everyday Ingredients
Everything in this recipe is easy to find at your local grocery store, and you may already have most of it at home.
Perfect For Training
The dough can be cut into smaller bone shapes, making these treats ideal for rewarding good behavior during training.
Easy To Freeze
I usually make a double batch because they freeze well and save me time during busy weeks.
Benefits Of The Main Ingredients
One thing I enjoy about this recipe is that every ingredient has a purpose.
Together they create crunchy treats that are flavorful, easy to prepare, and satisfying for many dogs.
Cooked Chicken
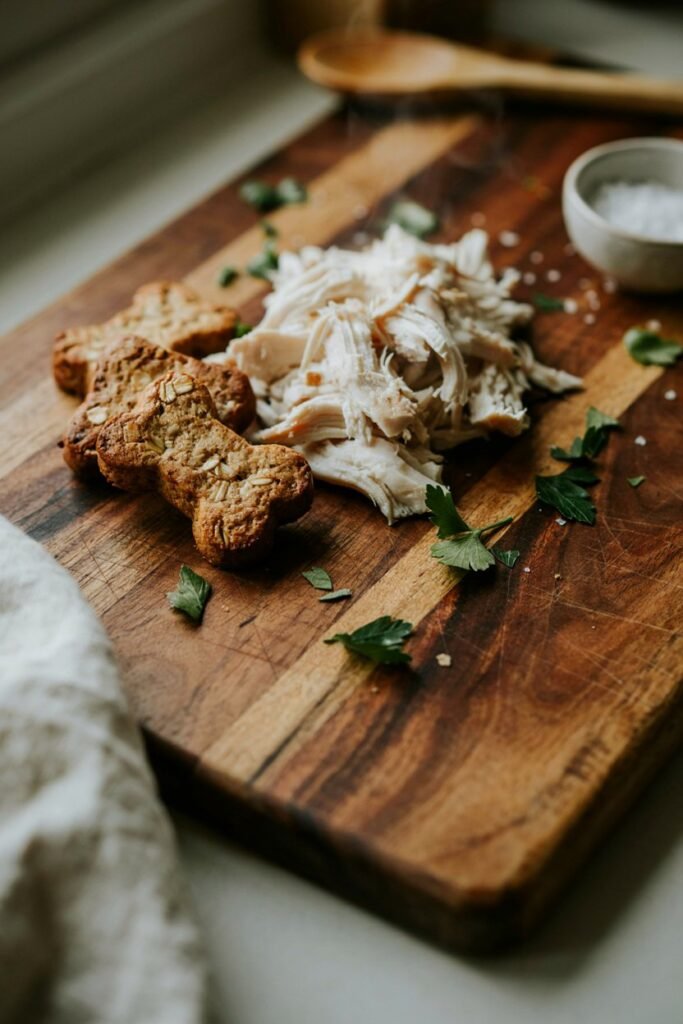
Chicken is an excellent source of lean protein that helps support healthy muscles and provides energy for active dogs.
I usually use plain cooked chicken breast because it is easy to shred and mixes evenly throughout the dough.
Whenever I prepare chicken for my family, I often cook an extra piece without seasoning so I can use it for homemade dog treats later.
Cooked Rice
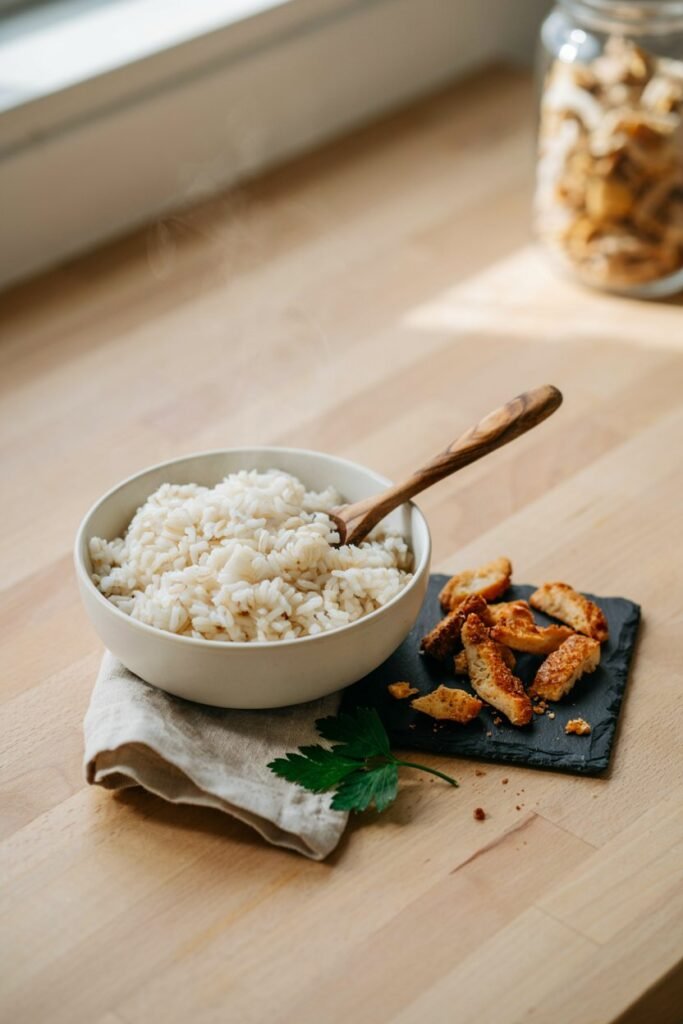
Cooked rice helps create the body of the treats while giving the dough a smooth texture.
It blends well with the chicken and helps hold the recipe together when combined with the other ingredients.
Both white rice and brown rice can work well, depending on what you already have prepared.
Egg
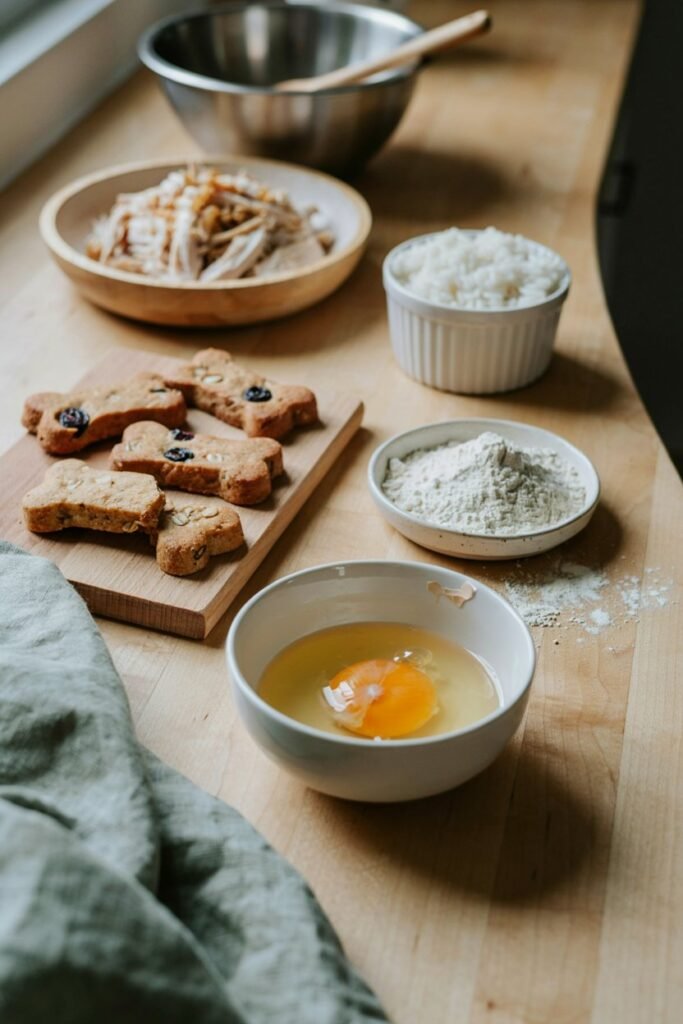
Egg acts as a natural binder that holds all of the ingredients together during baking.
It also contributes protein and helps create a dough that is easy to shape into bone shaped treats.
Oat Flour Or Whole Wheat Flour
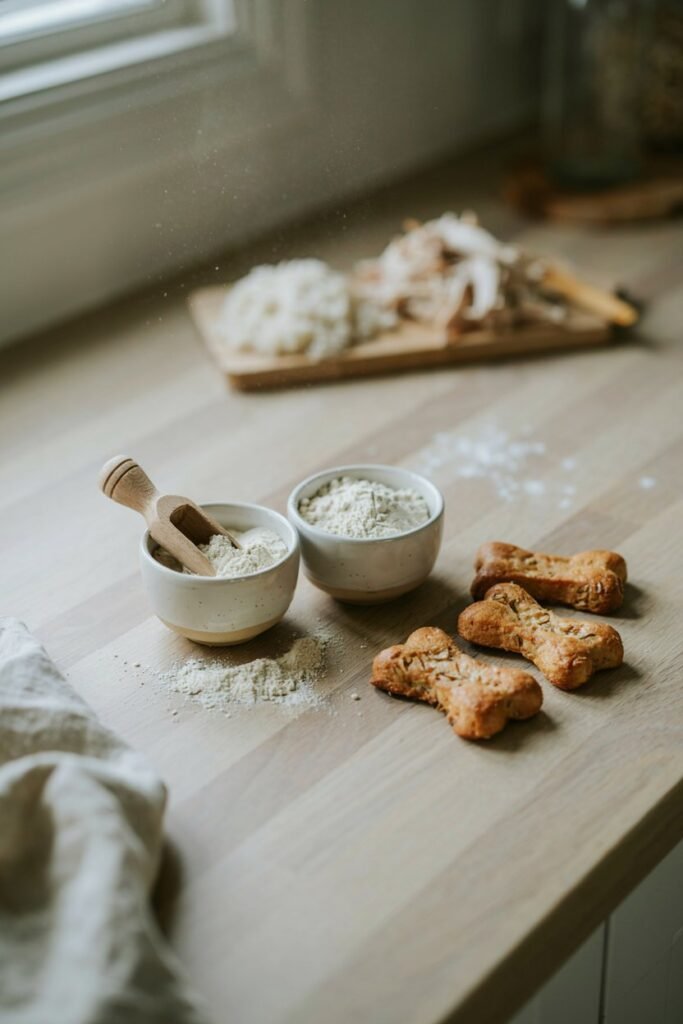
The flour gives structure to the dough and helps create the crunchy texture after baking.
Oat flour produces a slightly softer bite, while whole wheat flour creates a firmer, crispier treat.
I simply use whichever one I have available because both work beautifully in this recipe.
Ingredients For Chicken And Rice Crunch Bones
One of the reasons I make this recipe so often is because it uses simple ingredients that I usually already have in my kitchen.
It is also a great way to use leftover cooked chicken and rice instead of letting them go to waste.
Ingredients You Need
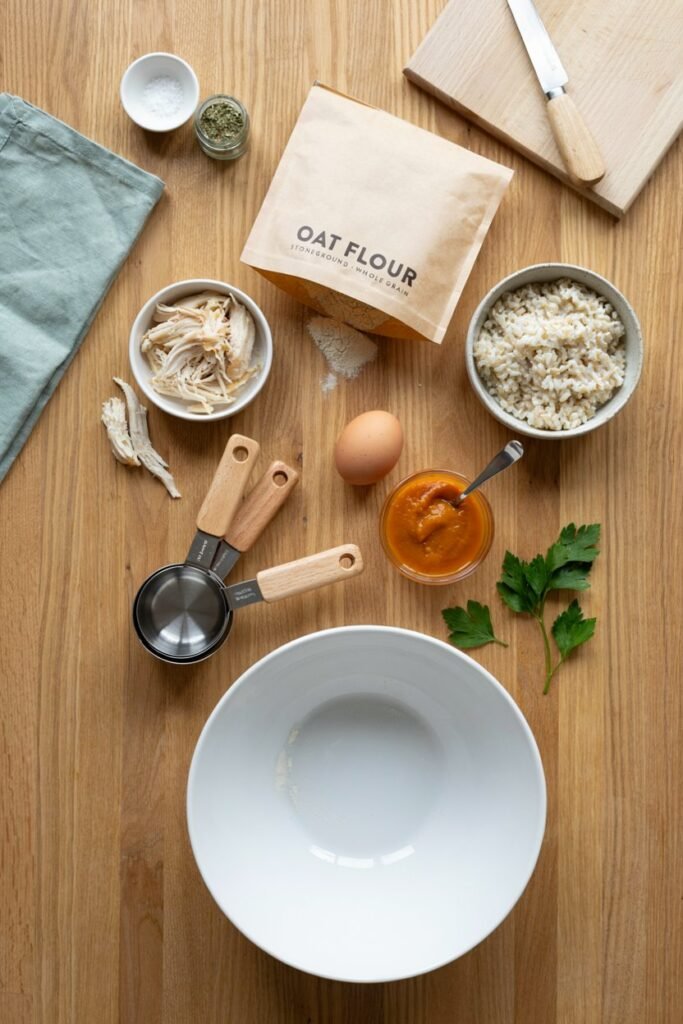
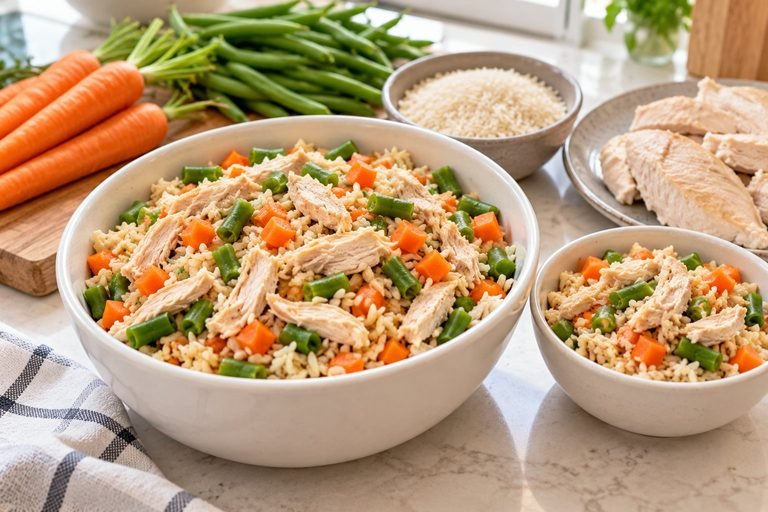
2 cups cooked chicken, finely shredded
Plain cooked chicken breast works best. Make sure it is fully cooked and contains no seasoning, onion, garlic, or sauces.
1 cup cooked rice
White rice or brown rice both work well. Allow the rice to cool before mixing it into the dough.
1 large egg
The egg helps bind the ingredients together and creates a dough that is easy to shape.
1½ cups oat flour or whole wheat flour
This gives the dough structure and helps the treats become crispy while baking.
2 tablespoons plain pumpkin puree (Optional)
Pumpkin adds a little moisture and helps create a smoother dough without changing the flavor too much.
1 tablespoon chopped fresh parsley (Optional)
Fresh parsley adds a little freshness and blends nicely with the chicken.

How To Make Chicken And Rice Crunch Bones For Dogs
This recipe is beginner friendly and comes together with just a few easy steps.
I like preparing everything before I begin because it makes the process much more enjoyable.
Step 1: Prepare Your Ingredients
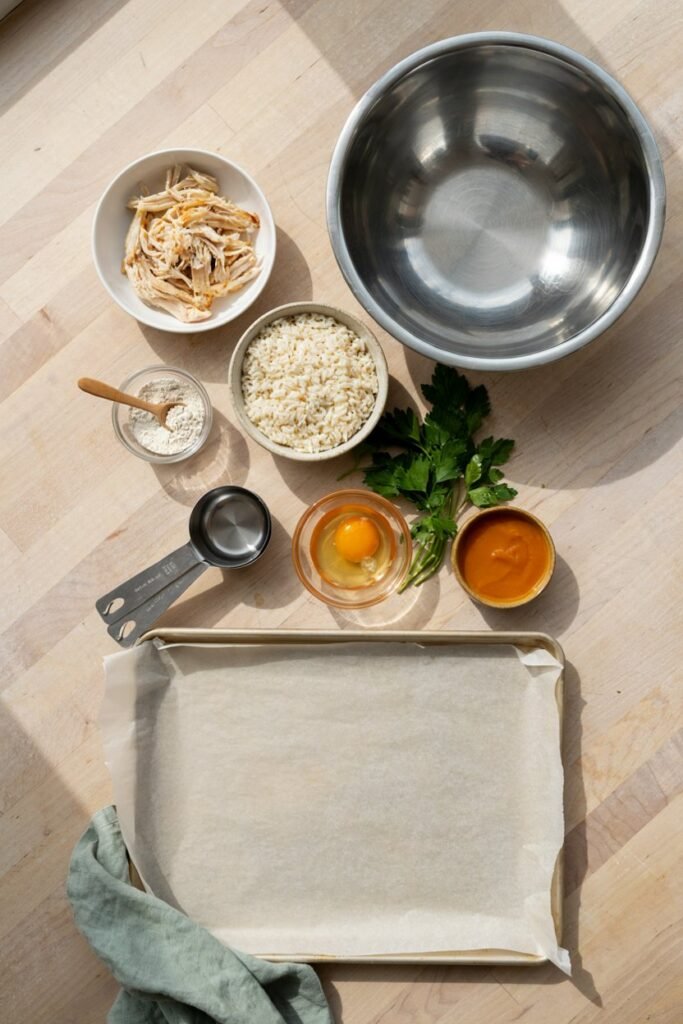
Preheat your oven to 350 degrees Fahrenheit and line a baking tray with parchment paper.
Shred the cooked chicken into very small pieces and measure the cooked rice.
If the rice has been refrigerated, allow it to come closer to room temperature before mixing.
Measure all of the remaining ingredients and place them within easy reach.
I always prepare everything before I start because it keeps my kitchen organized and makes the mixing process much faster.
Step 2: Mix The Wet Ingredients
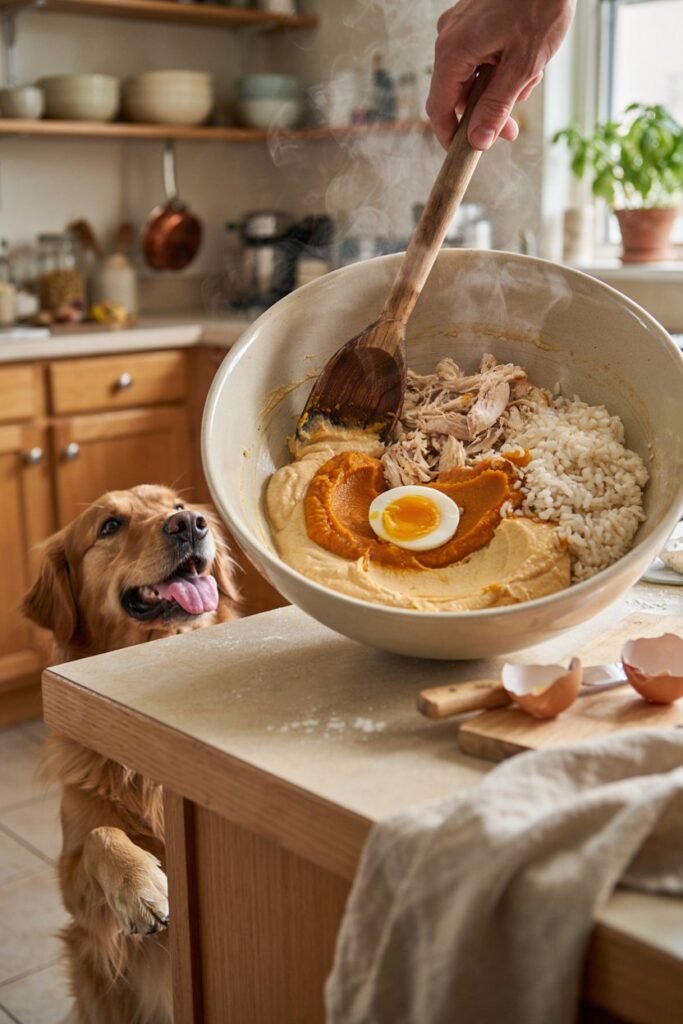
In a large mixing bowl, combine the shredded chicken, cooked rice, egg, and pumpkin puree if you are using it.
Stir everything together until the ingredients are evenly combined.
The egg should coat the chicken and rice completely, creating a moist mixture that is ready for the flour.
At this point my dog is usually sitting beside me, watching every move and hoping a homemade treat will appear soon.
Step 3: Add The Flour
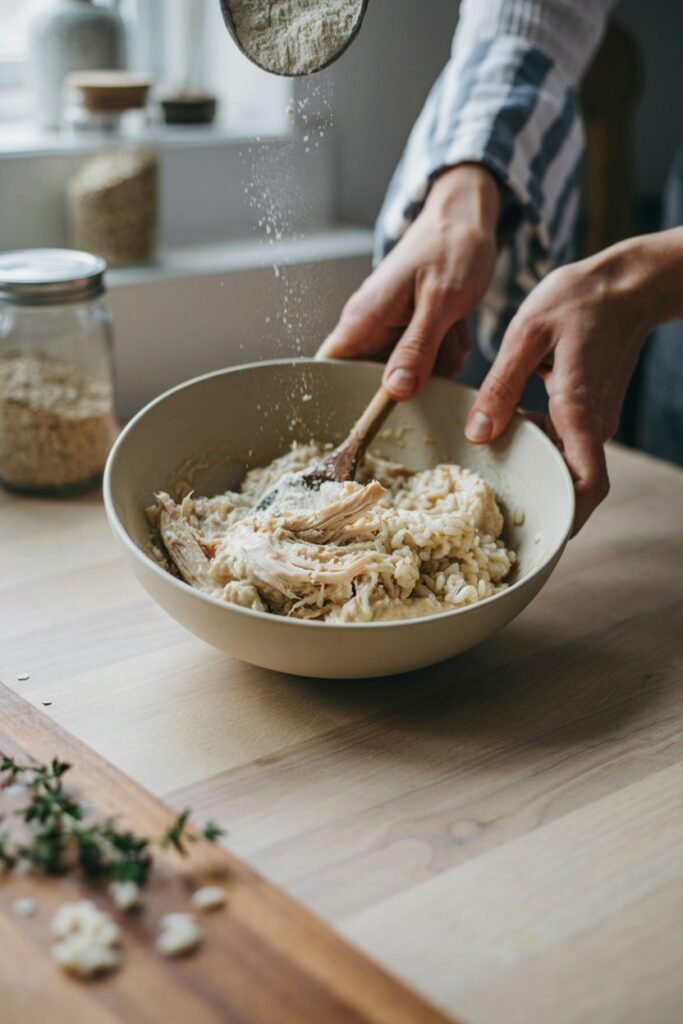
Gradually add the oat flour or whole wheat flour while stirring continuously.
Mix until a soft dough begins to form.
The dough should feel slightly firm without being sticky.
If it sticks to your hands, add a little more flour.
If it feels too dry or crumbly, mix in a spoonful of pumpkin puree or a small splash of water until it comes together.
A well balanced dough is much easier to roll out and produces evenly baked treats.
Step 4: Roll And Cut The Dough
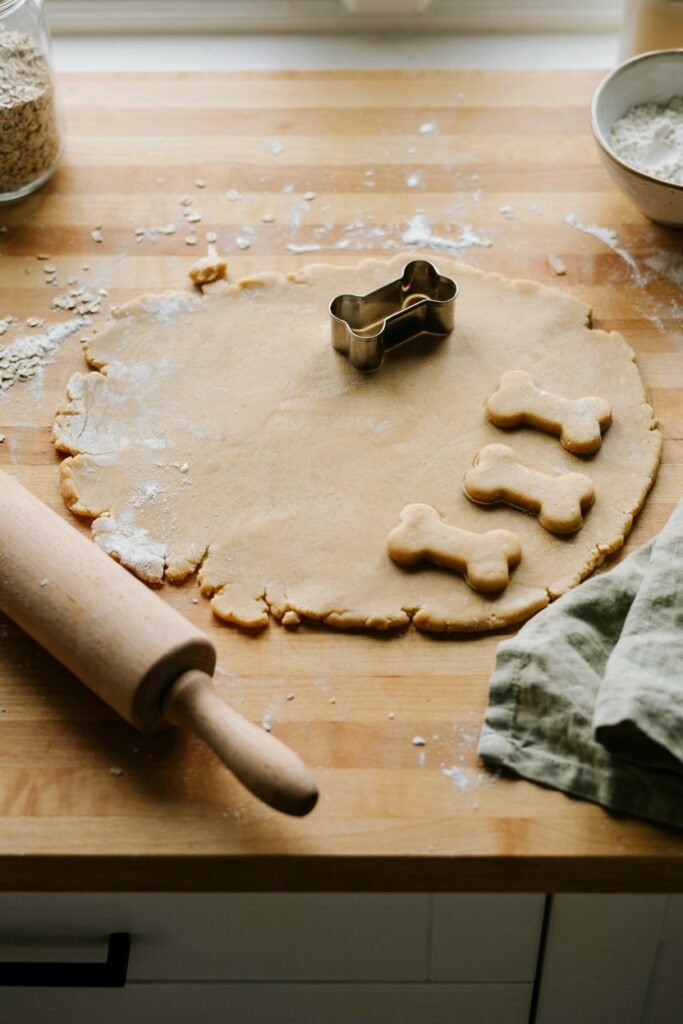
Lightly dust your work surface with flour.
Roll the dough to about one quarter inch thick.
Use a small bone shaped cookie cutter to cut out the treats.
If you do not have a bone cutter, simply slice the dough into small squares or rectangles with a knife.
I enjoy using bone shaped cutters because they give the treats a fun homemade look, especially when I make extra batches for friends with dogs.
Step 5: Bake Until Crispy
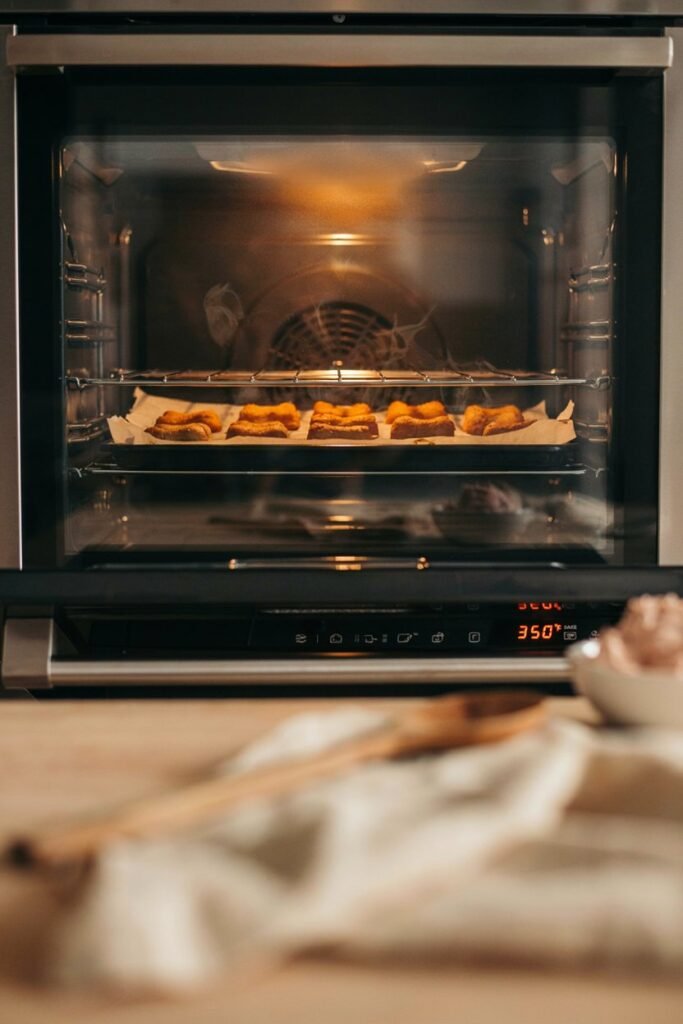
Arrange the treats on the prepared baking tray, leaving a little space between each one.
Bake for 25 to 30 minutes, or until the treats become lightly golden and firm.
For extra crunchy treats, turn the oven off and leave them inside for another 20 minutes with the oven door slightly open.
The smell of chicken while these treats bake always fills my kitchen, and my dog somehow knows exactly when they are almost ready.
Step 6: Cool Completely Before Serving
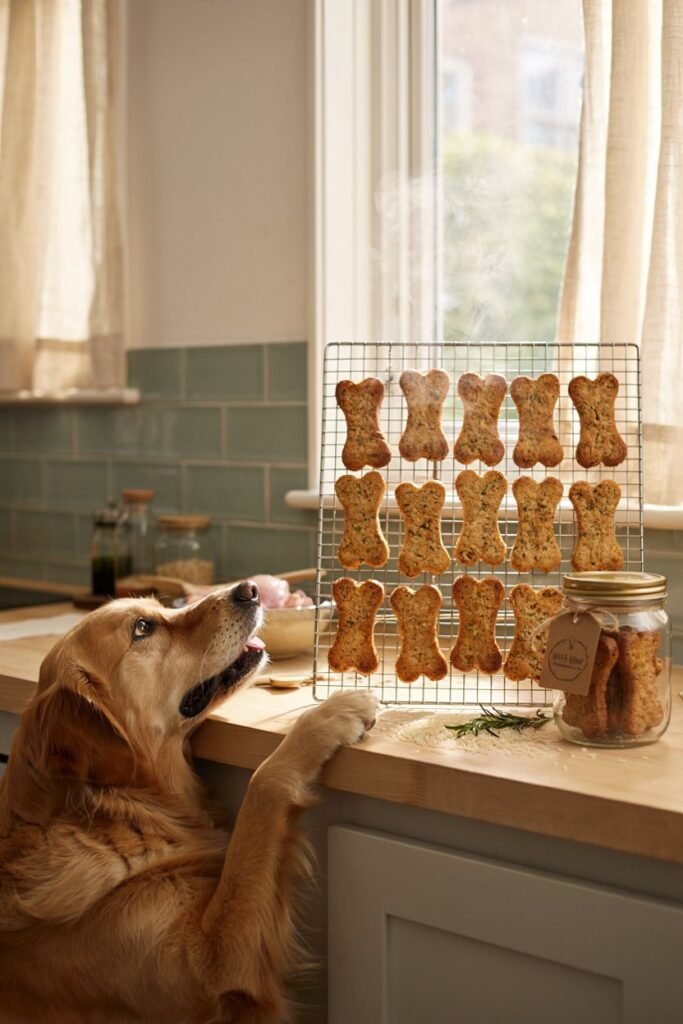
Remove the baking tray from the oven and transfer the crunch bones to a wire rack.
Allow them to cool completely before serving.
As they cool, they continue to become crisp, creating the crunchy texture that gives these treats their name.
I never skip this step because cooling helps improve both the texture and the freshness during storage.
Tips For Making The Best Chicken And Rice Crunch Bones
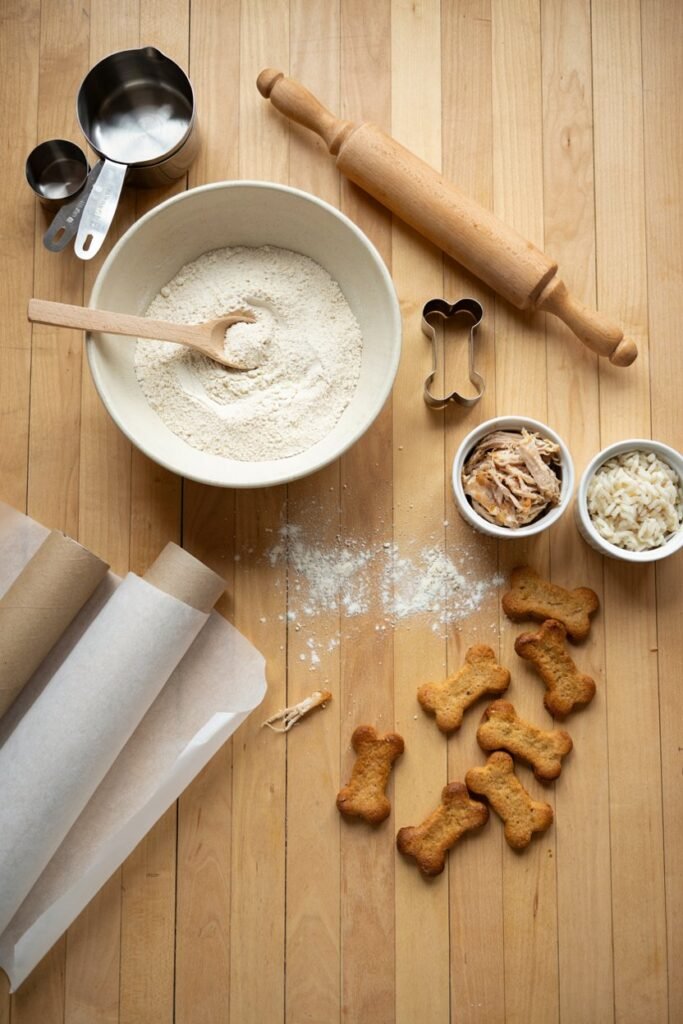
Use Plain Cooked Chicken
Avoid seasoned chicken or leftovers that contain onion, garlic, butter, or sauces.
Plain cooked chicken produces the safest and cleanest homemade treats.
Shred The Chicken Finely
Small pieces mix much more evenly into the dough and make shaping easier.
Do Not Skip The Extra Cooling Time
The treats continue to crisp up after they leave the oven.
Cooling completely creates a better texture and helps them store well.
Roll The Dough Evenly
Keeping the dough the same thickness helps every treat bake at the same speed.
Make Different Sizes
I usually make a mixture of smaller bones for training rewards and larger bones for special occasions.
Having different sizes ready makes it easy to choose the right treat depending on the situation
Common Mistakes To Avoid When Making Chicken And Rice Crunch Bones
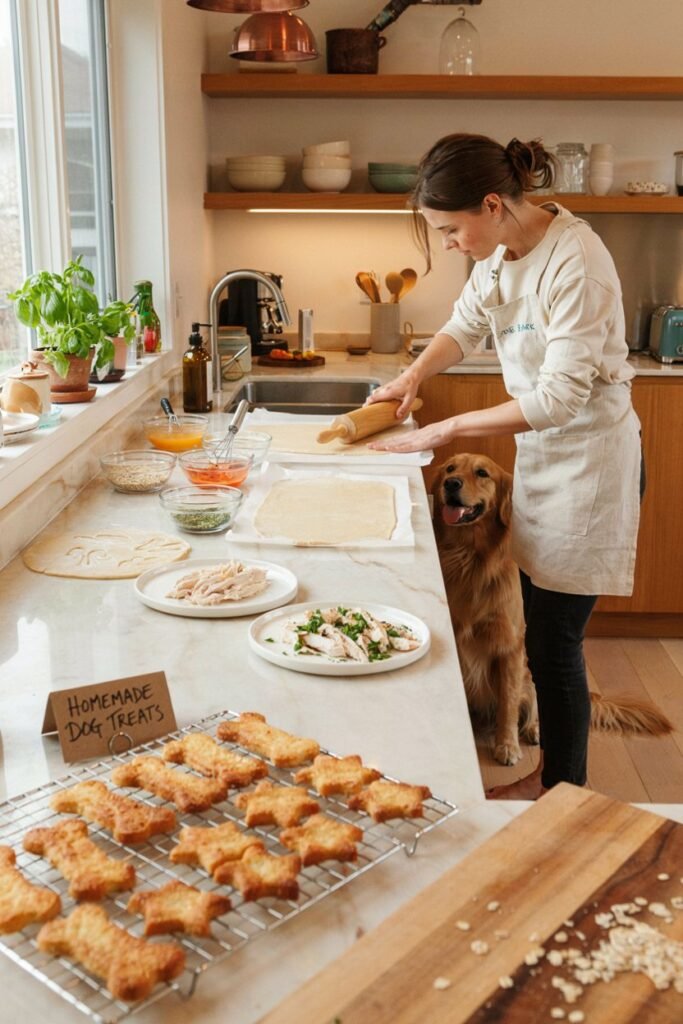
Homemade dog treats are simple to make, but paying attention to a few details can make a big difference in the final result.
These are the mistakes I always try to avoid whenever I make a fresh batch.
Using Seasoned Chicken
One of the most important things to remember is to use plain cooked chicken.
Chicken prepared for people often contains onion, garlic, butter, or heavy seasonings that are not suitable for dogs.
Whenever I know I will be making dog treats, I cook an extra chicken breast without adding any seasoning.
Using Too Much Moisture
Chicken and rice already contain moisture.
Adding too much pumpkin puree or water can make the dough sticky and difficult to roll out.
If the dough becomes too wet, simply add a little more oat flour until it reaches a soft but workable consistency.
Rolling The Dough Too Thick
Very thick treats take much longer to bake and may stay soft in the center.
Rolling the dough evenly helps every crunch bone bake at the same rate and develop a crisp texture.
Overbaking The Treats
Leaving the treats in the oven too long can make them harder than necessary.
I usually bake them until they are lightly golden and then allow them to finish crisping as they cool.
That gives them a satisfying crunch without becoming overly hard.
Storing Before They Cool
Warm treats create condensation inside storage containers.
Allowing the crunch bones to cool completely helps them stay crisp and fresh for longer.
How To Store Chicken And Rice Crunch Bones
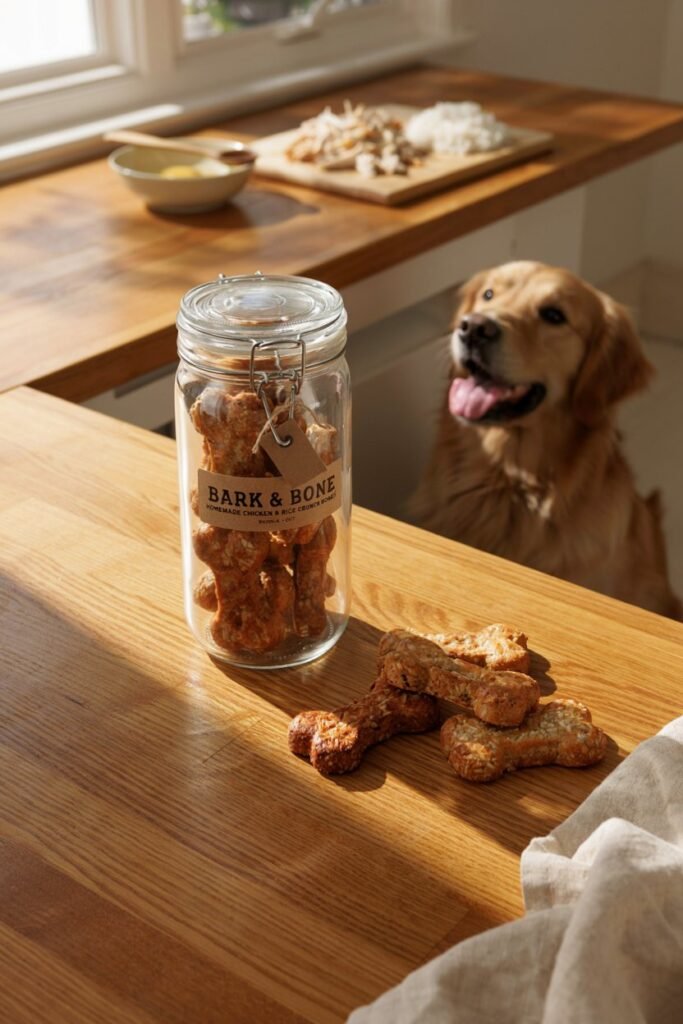
Because these treats are made without artificial preservatives, proper storage is important.
Room Temperature
Store the treats in an airtight container for several days if your home is cool and dry.
Always make sure the treats have cooled completely first.
Refrigerator
For longer freshness, place the treats in an airtight container in the refrigerator.
This is usually my preferred method because I often bake enough treats to last throughout the week.
Freezer
These homemade crunch bones freeze beautifully.
Place them inside a freezer safe container or freezer bag and freeze them for up to three months.
Whenever my freezer starts running low, I know it is time to make another batch because my dog seems to notice just as quickly as I do.
Allow frozen treats to thaw before serving.
Easy Ways To Customize This Recipe
One of my favorite things about homemade dog treats is how easy they are to customize.
Small changes let you create new flavors while keeping the recipe simple.
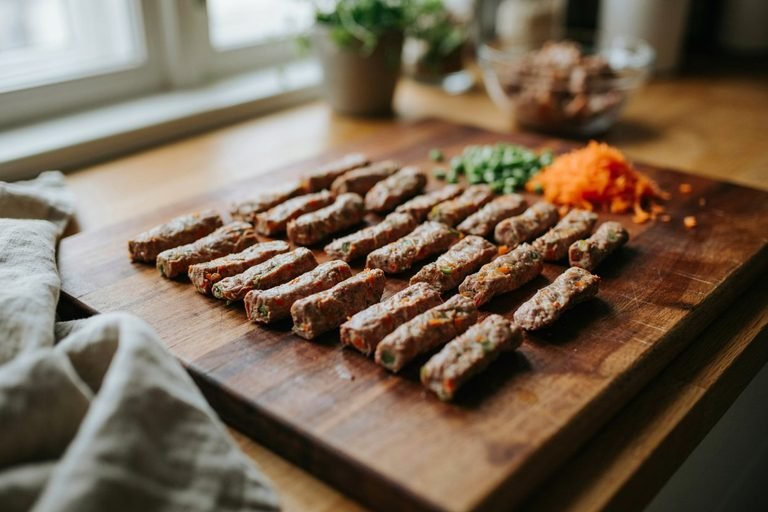
Add Carrots
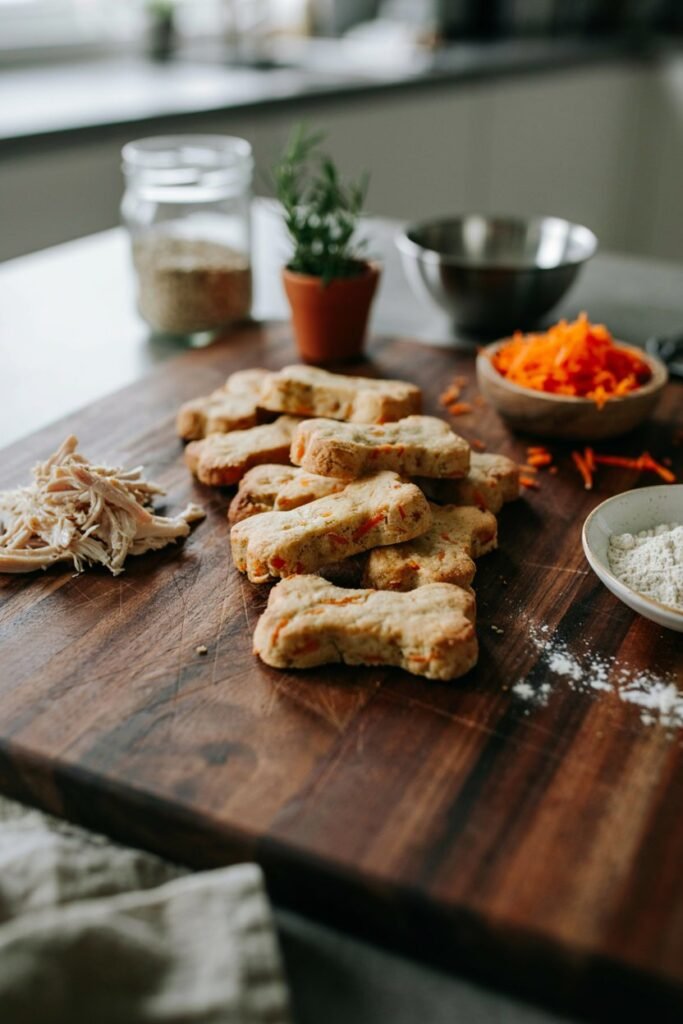
Finely grated carrots add natural sweetness, color, and extra texture.
This is one of the easiest additions because carrots mix smoothly into the dough.
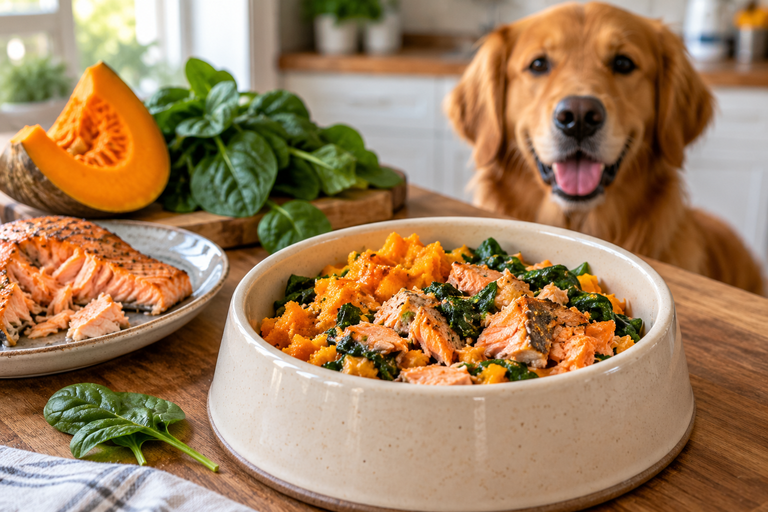
Add Pumpkin
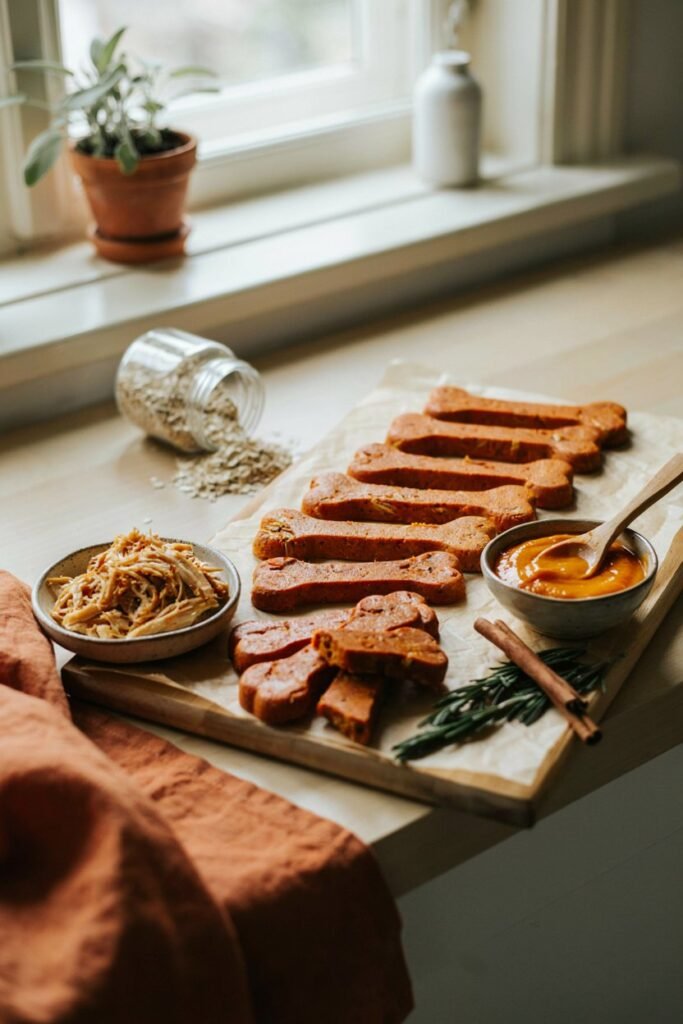
Pumpkin puree creates a slightly softer dough while adding fiber and moisture.
It also gives the treats a beautiful golden color after baking.
Add Sweet Potato
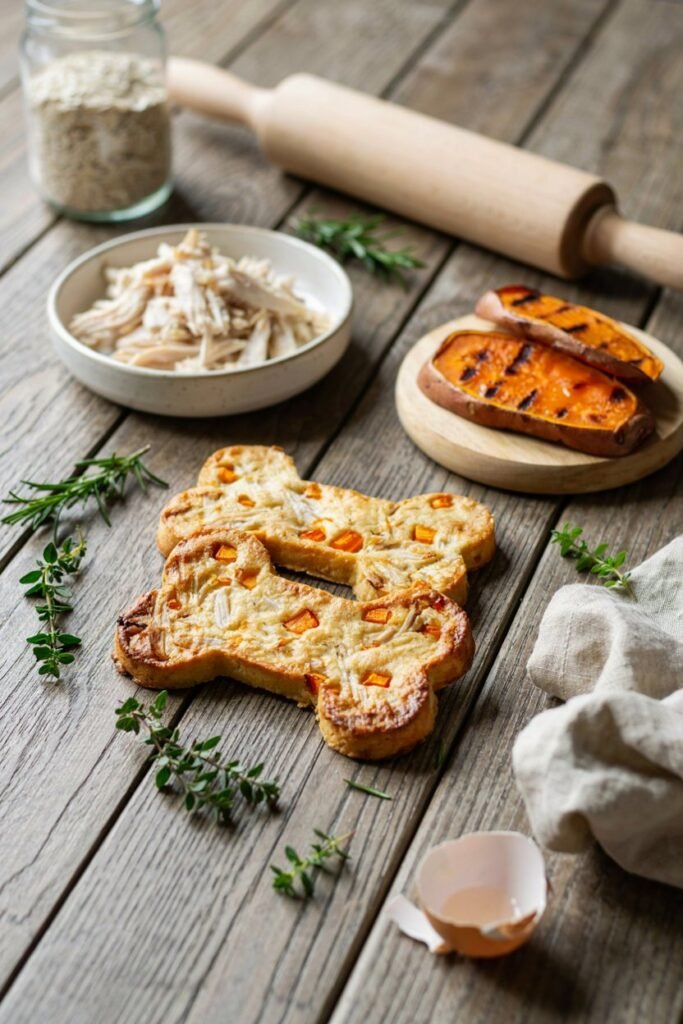
Mashed cooked sweet potato blends easily into the mixture and adds another naturally delicious flavor many dogs enjoy.
Add Spinach
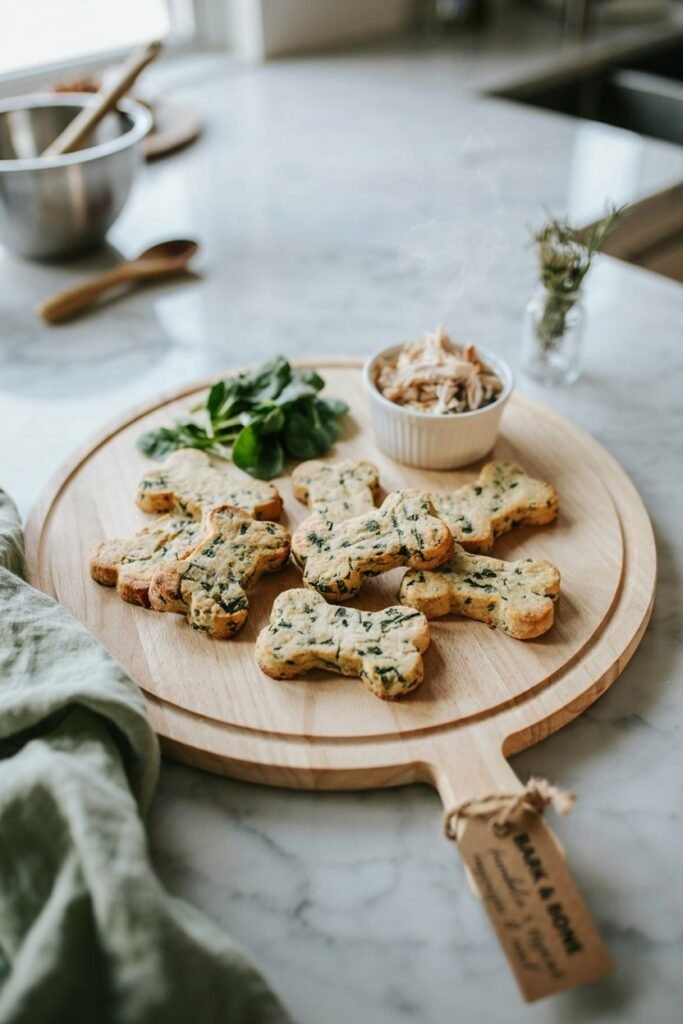
Finely chopped cooked spinach can be mixed into the dough for an extra vegetable.
Only a small amount is needed to add color and variety.
My Favorite Ways To Use These Crunch Bones
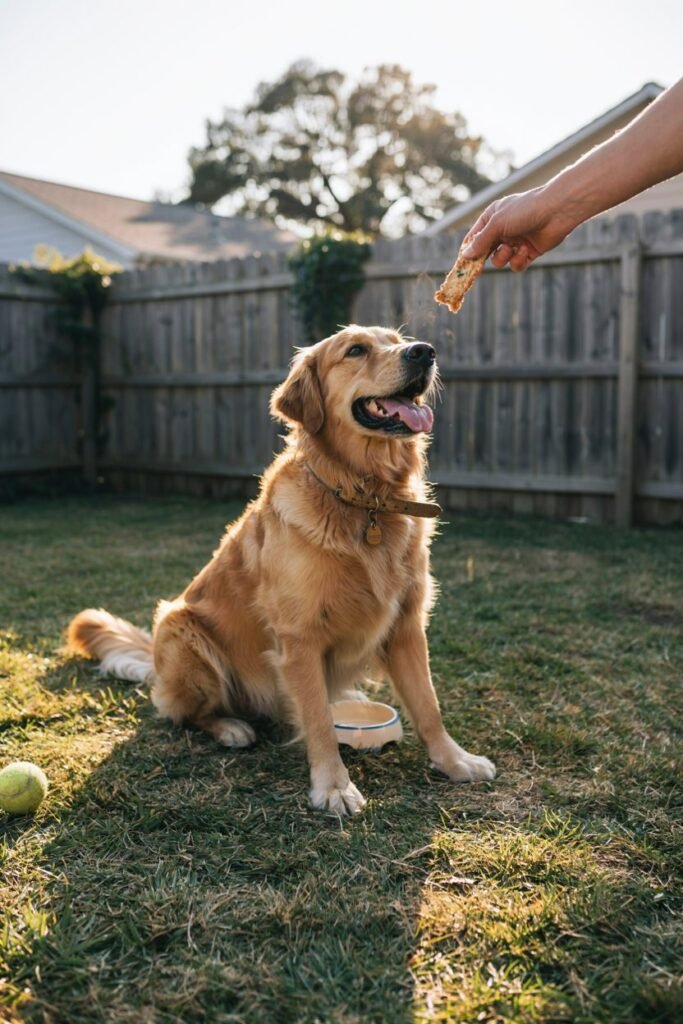
These homemade treats have become part of our weekly routine.
I enjoy giving them:
- After training sessions
- As an afternoon snack
- Following a long walk
- As a reward after grooming
- Inside a treat jar that my dog recognizes immediately
One of my favorite moments is hearing my dog run into the kitchen the moment I open the treat jar.
Even after making this recipe many times, the excitement never seems to fade.
Frequently Asked Questions
Can Dogs Eat Chicken Every Day?
Chicken is a popular protein in many balanced dog foods.
These homemade crunch bones should be served as occasional treats rather than replacing complete meals.
Can I Use Brown Rice Instead Of White Rice?
Yes.
Both white rice and brown rice work well in this recipe.
Simply use whichever you already have available.
Can Puppies Eat These Crunch Bones?
Many puppies can enjoy these treats in small pieces once they are old enough for solid foods.
Always supervise your puppy while they are chewing.
Can I Freeze Homemade Chicken Dog Treats?
Yes.
These treats freeze very well for up to three months when stored in a freezer safe container.
How Long Do Homemade Chicken Dog Treats Last?
The storage time depends on how they are stored.
Keeping them refrigerated or frozen helps maintain freshness because they contain no artificial preservatives.
Can I Use Turkey Instead Of Chicken?
Absolutely.
Cooked lean turkey is an excellent substitute and follows the same preparation method.
It creates a slightly different flavor while keeping the recipe just as simple.
Final Thoughts On Chicken And Rice Crunch Bones For Dogs
These Chicken and Rice Crunch Bones have become one of the homemade recipes I make most often because they are easy, practical, and a wonderful way to use simple ingredients I already have at home.
I enjoy knowing exactly what goes into every batch, and it feels rewarding to turn leftover chicken and rice into something my dog genuinely looks forward to.
The best part is watching my dog wait patiently by the oven, knowing that a fresh homemade treat is almost ready.
Moments like those remind me that making homemade dog treats is about much more than baking.
It is another simple way to show a little extra love and make everyday life with your dog even more enjoyable.