10 Vet Approved Homemade Dog Foods That Actually Work
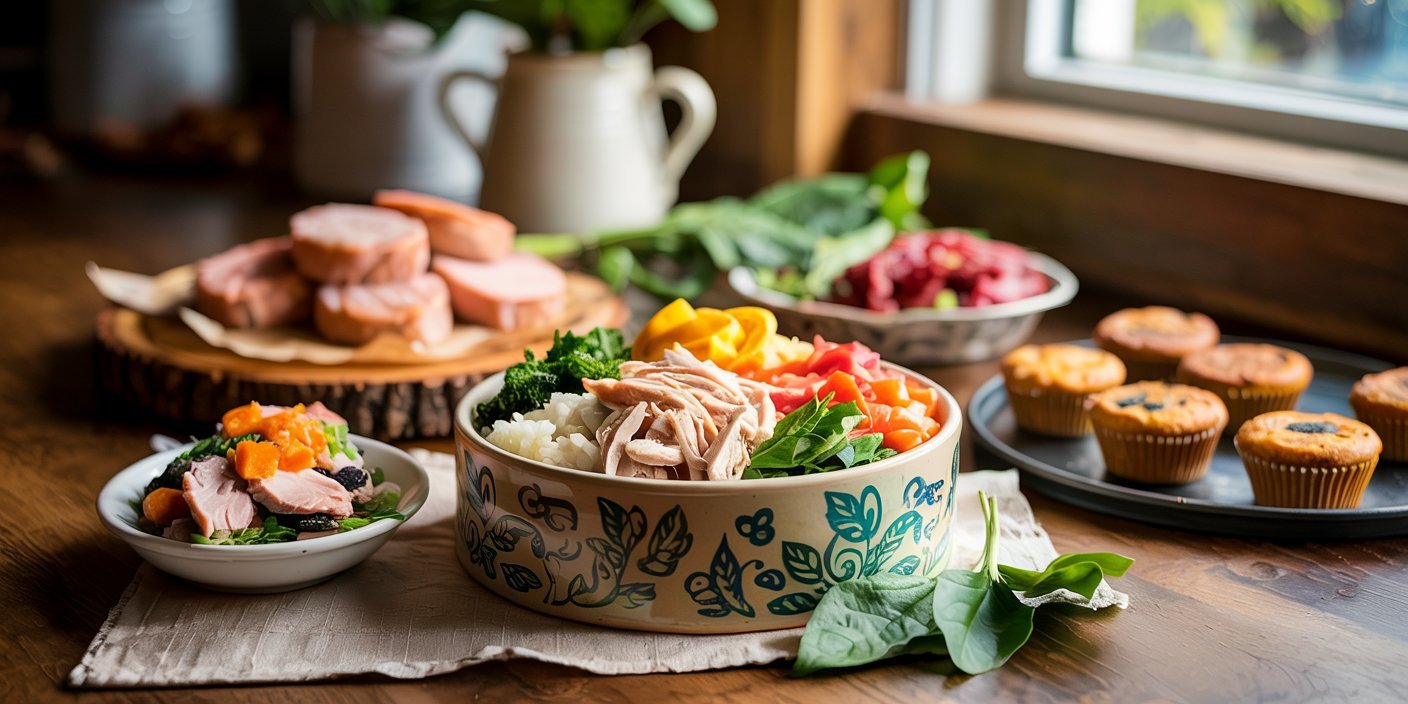
My dog Bruno was two years old when his skin started falling apart.
Red patches behind his ears, constant licking of his paws, and a coat that used to be shiny turning dull and patchy.
We tried three different bags of “sensitive skin” kibble before our vet finally sat me down and said the words I wasn’t ready to hear: it might not be an ingredient problem, it might be a formula problem, and the only real way to find out was an elimination diet made from scratch.
That conversation changed how I feed my dog completely.
What started as a stressful trial and error process turned into something I now genuinely enjoy, a Sunday routine of batch cooking meals that I know exactly what went into.
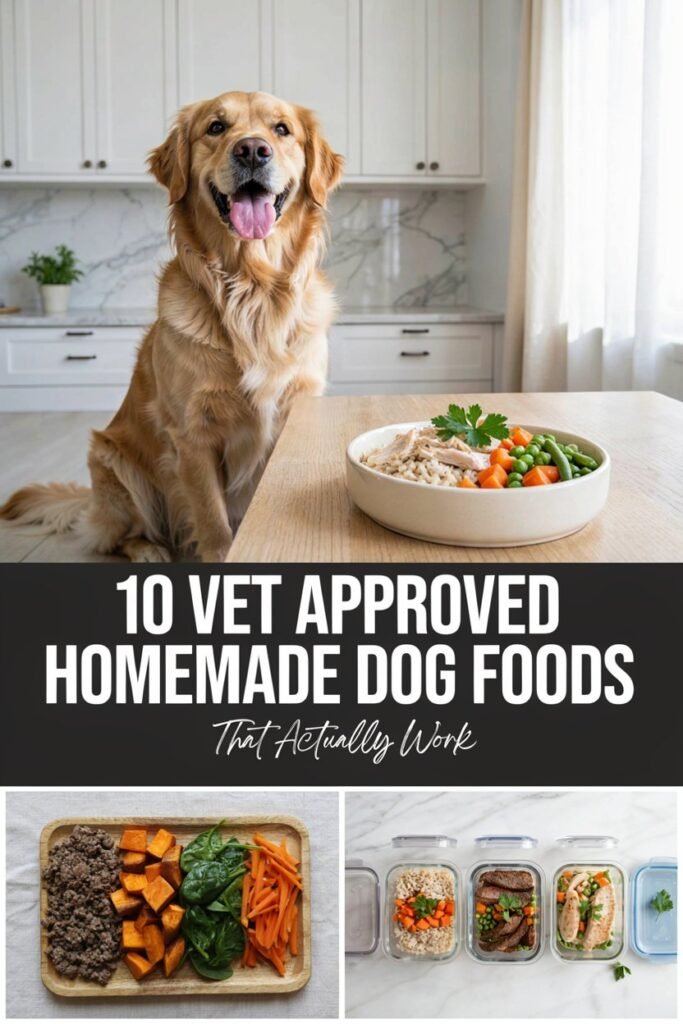
Bruno’s skin cleared up within six weeks. His coat came back.
And along the way I learned a lot about what actually makes a homemade dog food safe, balanced, and something your dog will look forward to eating.
This post is everything I wish someone had handed me on day one.
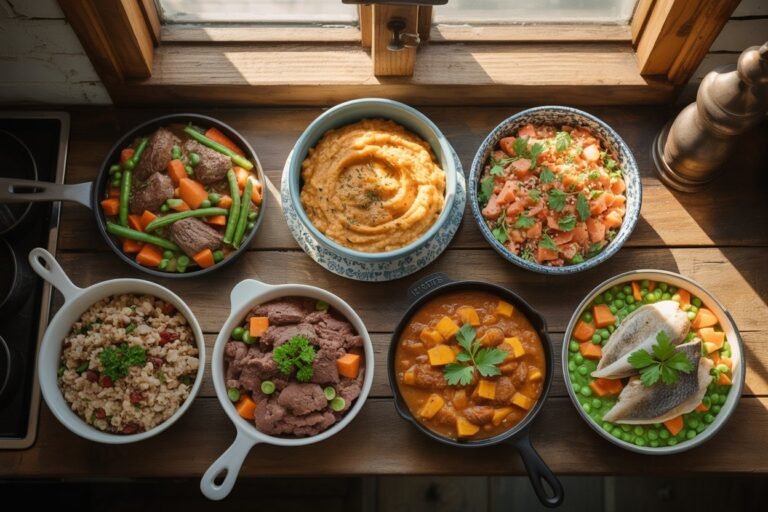
Ten recipes that my vet has reviewed and approved, each one with clearly laid out ingredients, why they matter, and how to prep them, along with simple cooking steps.
Before You Start Cooking

A few things I learned the hard way that I want you to know upfront.
Homemade dog food is not automatically healthier than a good quality commercial diet. The risk is nutritional gaps.
Dogs need specific ratios of protein, fat, calcium, and micronutrients like taurine, and it is genuinely easy to leave one of those out if you are just improvising with whatever is in your fridge.
That is why every recipe below either includes a calcium source and a vet approved supplement, or is clearly marked as a topper meal rather than a complete daily diet.
I always recommend running any new recipe past your own vet before making it a regular part of your dog’s diet, especially if your dog has an existing health condition.
What worked for Bruno’s skin issue will not necessarily be right for a dog managing kidney disease or pancreatitis.
Think of these recipes as a strong, tested starting point, not a one size fits all prescription.
A note on ingredients to avoid completely: onions, garlic, grapes, raisins, chocolate, xylitol, and cooked bones.
None of the recipes below use these, but it is worth keeping in mind as you adapt any recipe on your own.
Quick Overview
| Recipe | Main Protein | Complete Meal | Prep Time |
|---|---|---|---|
| Chicken and Sweet Potato Bowl | Chicken | Yes, with supplement | 30 minutes |
| Turkey and Pumpkin Mash | Turkey | Yes, with supplement | 25 minutes |
| Beef and Brown Rice Stew | Beef | Yes, with supplement | 40 minutes |
| Salmon and Quinoa Plate | Salmon | Yes, with supplement | 30 minutes |
| Egg and Vegetable Scramble | Egg | Topper meal | 15 minutes |
| Lamb and Lentil Simmer | Lamb | Yes, with supplement | 45 minutes |
| White Fish and Zucchini Bowl | White fish | Yes, with supplement | 25 minutes |
| Liver and Oat Loaf | Beef liver | Topper meal | 40 minutes |
| Chicken and Pumpkin Soup | Chicken | Yes, with supplement | 35 minutes |
| Rabbit and Squash Bowl | Rabbit | Yes, with supplement | 40 minutes |
The Recipes
1. Chicken and Sweet Potato Bowl
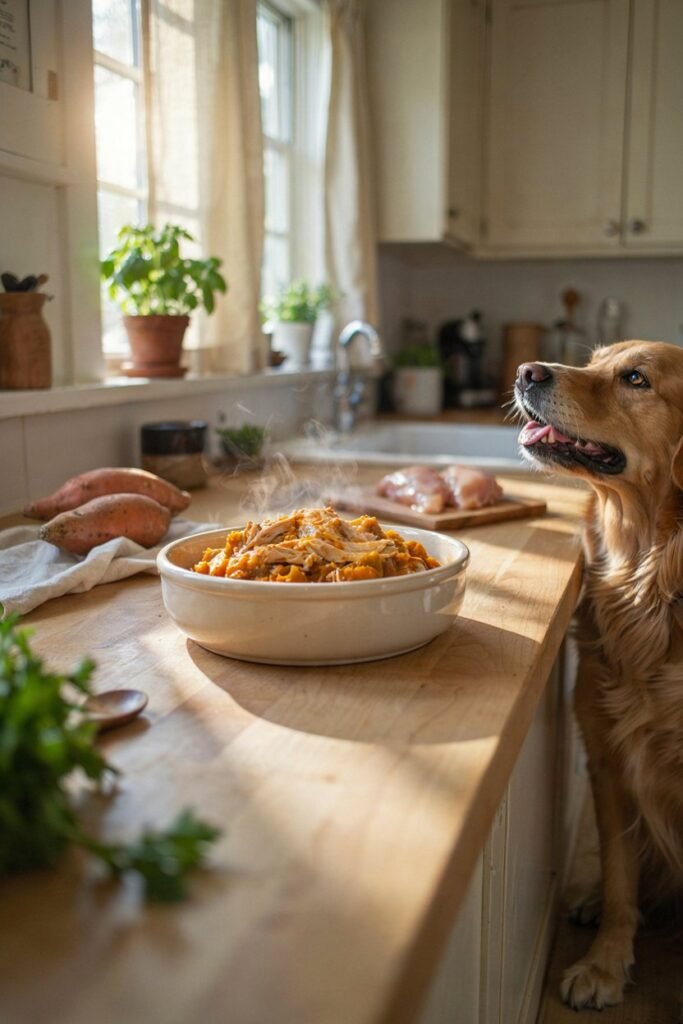
This was the very first meal I cooked for Bruno during his elimination diet, and it is still his most requested dinner.
Chicken is gentle on sensitive stomachs and sweet potato adds fiber and beta carotene without any of the common allergens found in grain heavy kibble.
Ingredients
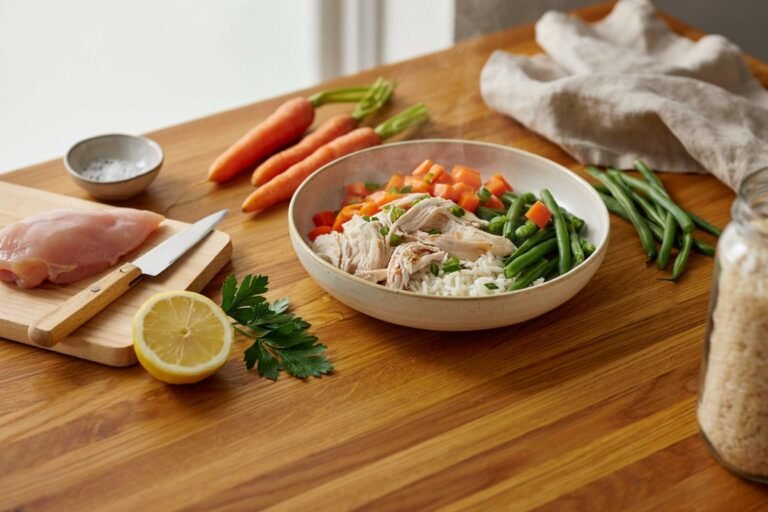
2 boneless, skinless chicken breasts, about 1 pound total
Why it helps: a lean, easily digestible protein that supports muscle maintenance and rarely triggers food sensitivities
How to prep: boil in plain water until fully cooked through, then shred with two forks once cool
1 medium sweet potato, about 8 ounces
Why it helps: provides fiber and beta carotene, which support digestion and eye health
How to prep: peel and steam until soft, then mash well with a fork
1 tablespoon plain canned pumpkin
Why it helps: adds extra soluble fiber, which helps keep digestion regular
How to prep: use unsweetened pumpkin with no added spices, straight from the can
1 teaspoon fish oil
Why it helps: provides omega three fatty acids that support skin health and a shiny coat
How to prep: stir in just before serving, since fish oil can go rancid quickly once opened
1 serving vet approved calcium and multivitamin supplement
Why it helps: fills nutritional gaps like calcium and trace minerals that meat and vegetables alone cannot provide
How to prep: mix in once the meal has fully cooled, dosed according to your dog’s weight on the label
Instructions
- Boil the chicken breasts until fully cooked through, about 15 minutes.
- Shred the chicken once cool enough to handle.
- Peel and steam the sweet potato until soft, then mash it well.
- Combine the shredded chicken, mashed sweet potato, pumpkin, and fish oil in a bowl.
- Let the mixture cool completely, then mix in the supplement before serving.
2. Turkey and Pumpkin Mash
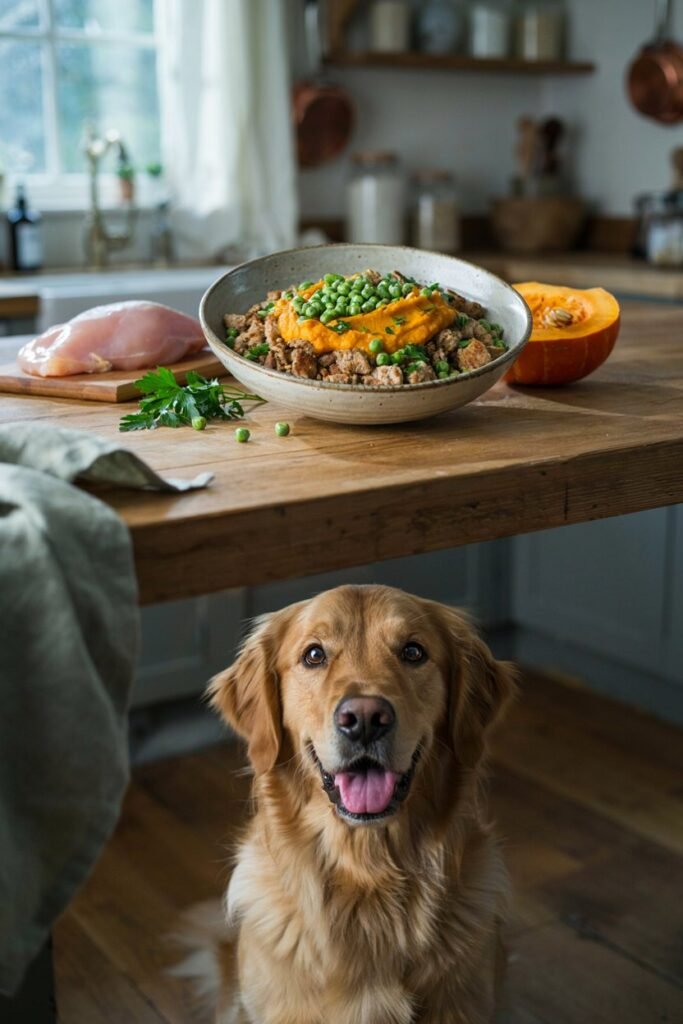
Turkey became our go to protein once Bruno’s skin had calmed down and we wanted to add variety without triggering another flare up.
It is leaner than chicken and easy to digest.
Ingredients
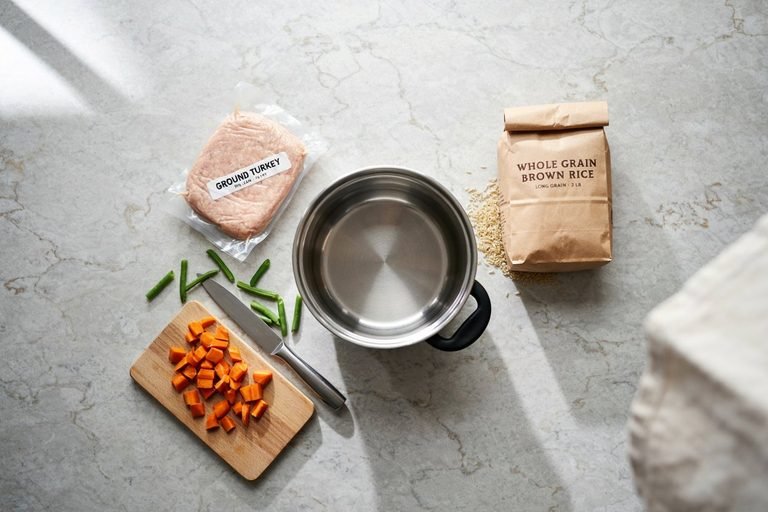
1 pound ground turkey, 93 percent lean or leaner
Why it helps: a lean source of protein that is gentle on digestion and works well for a sensitive stomach
How to prep: cook thoroughly in a pan with no oil, breaking it apart as it browns
1/2 cup plain canned pumpkin
Why it helps: adds fiber and moisture, which helps the meal go down easily and supports regular digestion
How to prep: use unsweetened pumpkin with no added spices
1/4 cup peas, fresh or frozen
Why it helps: adds plant based vitamins including vitamin K and small amounts of protein
How to prep: steam until soft before adding to the mixture
1 tablespoon fresh parsley, finely chopped
Why it helps: adds antioxidants and can help freshen breath
How to prep: chop finely so it blends evenly through the meal
1 serving vet approved calcium and multivitamin supplement
Why it helps: rounds out the meal with calcium and micronutrients that turkey and vegetables alone do not fully provide
How to prep: mix in once the meal has fully cooled, dosed according to your dog’s weight on the label
Instructions
- Cook the ground turkey in a pan over medium heat with no oil, breaking it apart as it browns.
- Once fully cooked through, remove from heat and drain any excess liquid.
- Stir in the pumpkin, steamed peas, and chopped parsley.
- Cool completely, then mix in the supplement before serving.
3. Beef and Brown Rice Stew
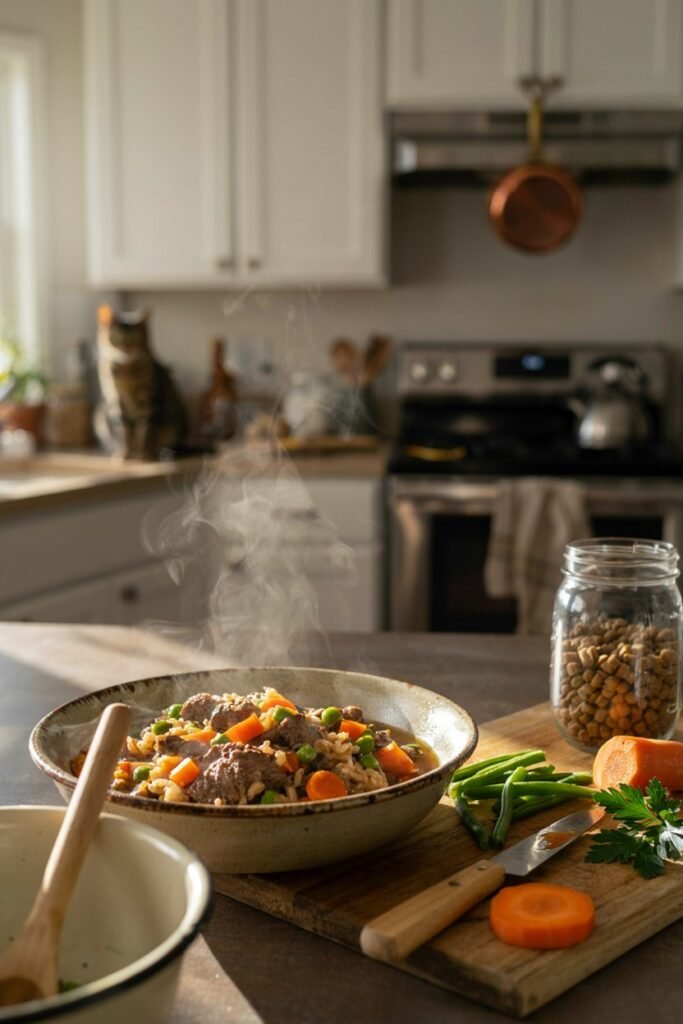
On cold weekends I make a big batch of this one and freeze it in portions.
The brown rice gives it a heartier texture that dogs who used to eat dry kibble seem to find comforting.
Ingredients
1 pound lean ground beef, 90 percent lean or leaner
Why it helps: provides iron, zinc, and B vitamins that support energy levels and a healthy immune system
How to prep: brown thoroughly in a pot over medium heat, then drain any excess fat
1 cup cooked brown rice
Why it helps: adds slow digesting carbohydrates and a small amount of fiber, giving the stew a heartier texture
How to prep: cook plain with no salt or butter before adding to the pot
1/2 cup carrots, diced small
Why it helps: provides beta carotene and a satisfying texture many dogs enjoy
How to prep: peel and dice small so they cook evenly and are easy to chew
1/2 cup green beans, fresh or frozen
Why it helps: adds fiber and volume without many extra calories, which is useful for dogs watching their weight
How to prep: cut into small pieces before adding to the stew
1 serving vet approved calcium and multivitamin supplement
Why it helps: fills the nutritional gaps in calcium and trace minerals that beef, rice, and vegetables alone do not cover
How to prep: mix in once the stew has fully cooled, dosed according to your dog’s weight on the label
Instructions
- Brown the ground beef in a pot over medium heat, draining any excess fat once fully cooked.
- Add the cooked brown rice, diced carrots, and green beans.
- Cover with water and simmer uncovered for 20 minutes, until the vegetables are soft.
- Cool the stew fully, then mix in the supplement before serving.
4. Salmon and Quinoa Plate
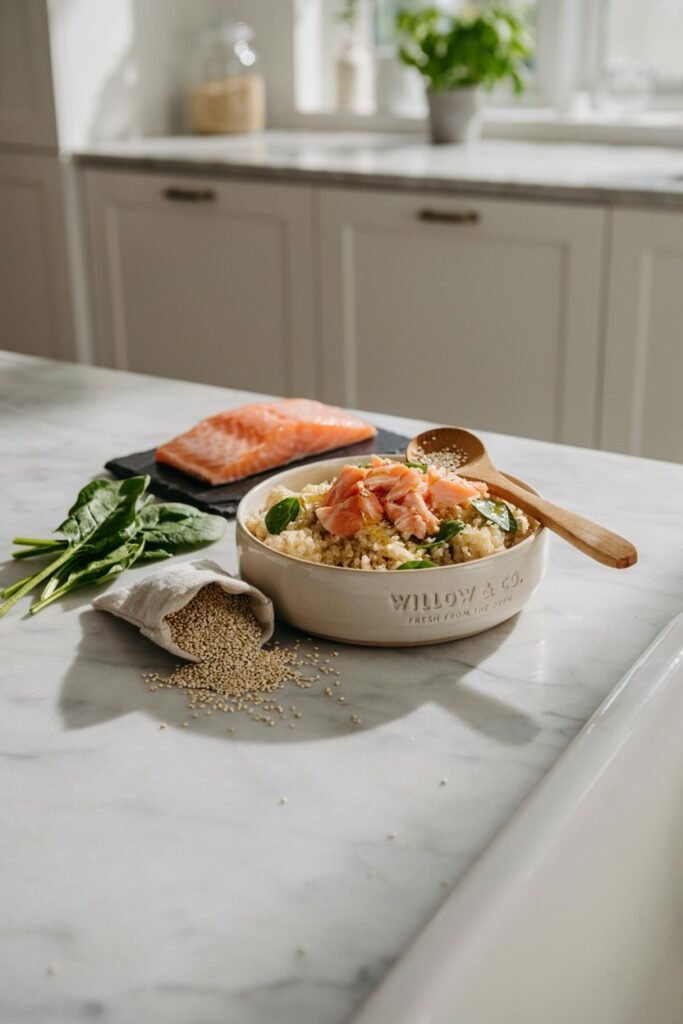
If your dog has joint stiffness or a dull coat, ask your vet about this one.
The omega three content in salmon was actually part of what helped restore the shine in Bruno’s coat after his skin healed.
Ingredients
1 pound salmon fillet, skinless and boneless
Why it helps: rich in omega three fatty acids, which support joint health and a shiny, healthy coat
How to prep: bake until it flakes easily, then check carefully for any small bones before serving
1/2 cup quinoa
Why it helps: a complete plant protein that also provides fiber and a range of trace minerals
How to prep: rinse well before cooking to remove its natural bitter coating, then cook in plain water
1/4 cup spinach, chopped
Why it helps: adds vitamins A, C, and K along with iron and antioxidants
How to prep: wash thoroughly and steam lightly before chopping into small pieces
1 serving vet approved calcium and multivitamin supplement
Why it helps: adds the calcium and micronutrients that fish and grains alone do not fully provide
How to prep: mix in once the plate has fully cooled, dosed according to your dog’s weight on the label
Instructions
- Preheat the oven to 375 degrees and bake the salmon for about 15 minutes, until it flakes easily.
- Cook the quinoa according to the package instructions.
- Flake the cooled salmon and combine it with the quinoa and spinach.
- Cool completely, then mix in the supplement before serving.
5. Egg and Vegetable Scramble
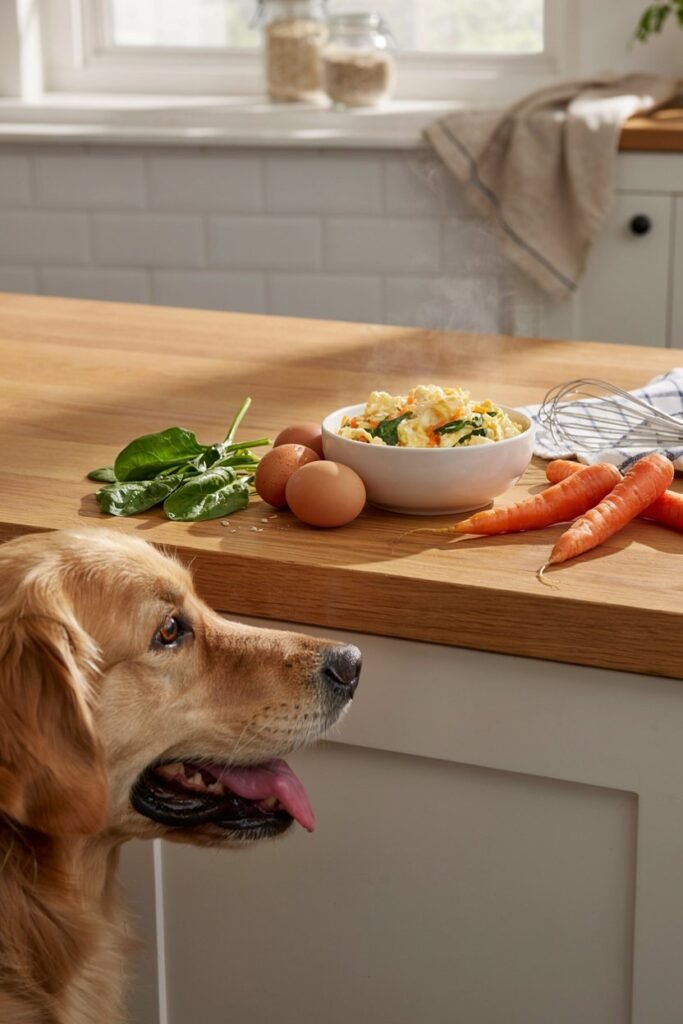
This is not a complete meal on its own, but I use it a few times a week as a topper over kibble or as a small extra breakfast.
It takes fifteen minutes and Bruno treats it like a special occasion every time.
Ingredients
2 large eggs
Why it helps: a highly digestible source of protein that provides biotin, which supports healthy skin and coat
How to prep: whisk thoroughly and scramble in a pan with no oil, butter, or seasoning
1/4 cup spinach, finely chopped
Why it helps: adds vitamins A, C, and K along with iron and antioxidants
How to prep: wash thoroughly and steam lightly before chopping into small pieces
1/4 cup carrot, grated
Why it helps: adds beta carotene and a bit of natural sweetness that many dogs enjoy
How to prep: grate finely so it cooks quickly and blends evenly into the eggs
Instructions
- Whisk the eggs in a bowl until fully combined.
- Scramble the eggs in a nonstick pan over medium heat with no oil, butter, or seasoning.
- Add the spinach and grated carrot in the last minute of cooking, stirring until slightly softened.
- Let cool before serving as a topper over your dog’s regular meal.
6. Lamb and Lentil Simmer
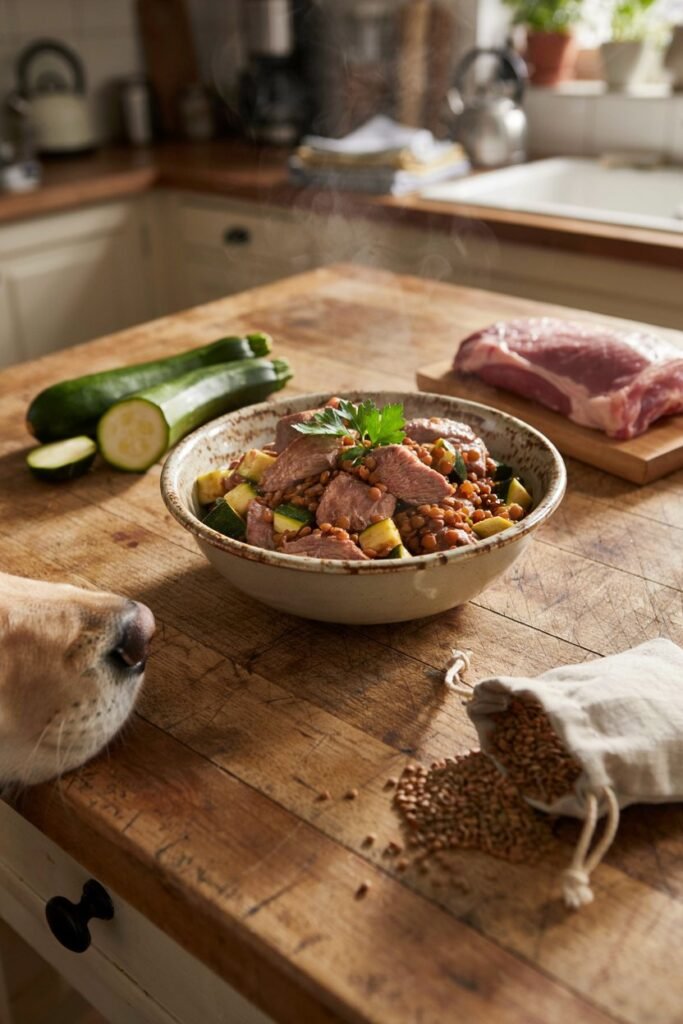
Lamb was one of the last proteins we introduced during Bruno’s elimination diet, and it turned out to be one of his favorites.
Lentils add plant based protein and fiber, which helped with his digestion during a period when his stomach was still sensitive.
Ingredients
1 pound ground lamb, as lean as you can find
Why it helps: a novel protein for many dogs that provides iron, zinc, and B vitamins
How to prep: brown thoroughly in a pot over medium heat, breaking it apart as it cooks
1/2 cup lentils, cooked
Why it helps: adds plant based protein and fiber, which can help support steady digestion
How to prep: cook until fully soft with no added salt before adding to the pot
1/2 cup zucchini, diced small
Why it helps: adds moisture and a mild source of fiber and potassium
How to prep: dice small so it softens fully during simmering
1 serving vet approved calcium and multivitamin supplement
Why it helps: fills the calcium and micronutrient gaps that lamb, lentils, and zucchini alone do not cover
How to prep: mix in once the meal has fully cooled, dosed according to your dog’s weight on the label
Instructions
- Brown the ground lamb in a pot over medium heat.
- Add the cooked lentils, diced zucchini, and enough water to cover by about an inch.
- Simmer uncovered for 25 minutes, until the zucchini is tender.
- Cool completely, then mix in the supplement before serving.
7. White Fish and Zucchini Bowl
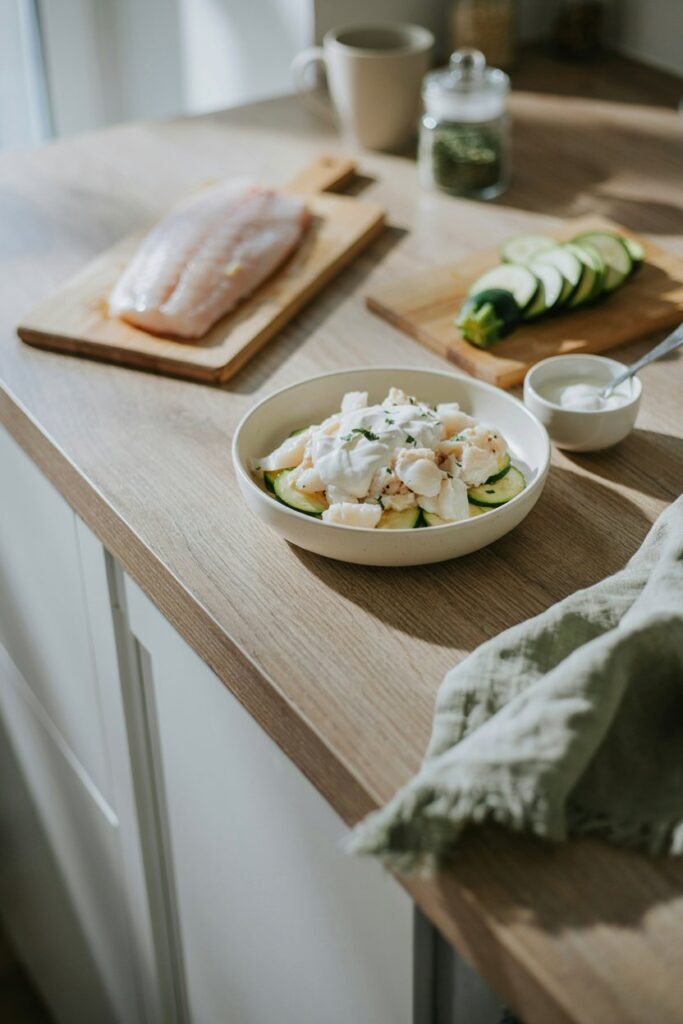
Mild white fish like cod or tilapia is gentle on digestion, which makes this a good option if your dog has had a rough stomach week or is recovering from an illness.
Ingredients
1 pound white fish fillet, such as cod or tilapia
Why it helps: a lean, easily digestible protein that is gentle on a recovering or sensitive stomach
How to prep: poach in plain water until fully cooked and flaky, then check for any small bones
1/2 cup zucchini, diced
Why it helps: adds moisture and a mild source of fiber that is easy on digestion
How to prep: steam until soft, then mash lightly with a fork
1 tablespoon plain yogurt
Why it helps: a small amount can support gut health with natural probiotics
How to prep: use unsweetened yogurt with no added flavoring or sweeteners
1 serving vet approved calcium and multivitamin supplement
Why it helps: adds the calcium and micronutrients that fish, zucchini, and yogurt alone do not fully provide
How to prep: mix in once the bowl has fully cooled, dosed according to your dog’s weight on the label
Instructions
- Poach the fish in water over medium heat until fully cooked and flaky, about 10 minutes.
- Steam the zucchini until soft, then mash it lightly.
- Flake the fish and combine it with the mashed zucchini and yogurt.
- Cool completely, then mix in the supplement before serving.
8. Liver and Oat Loaf
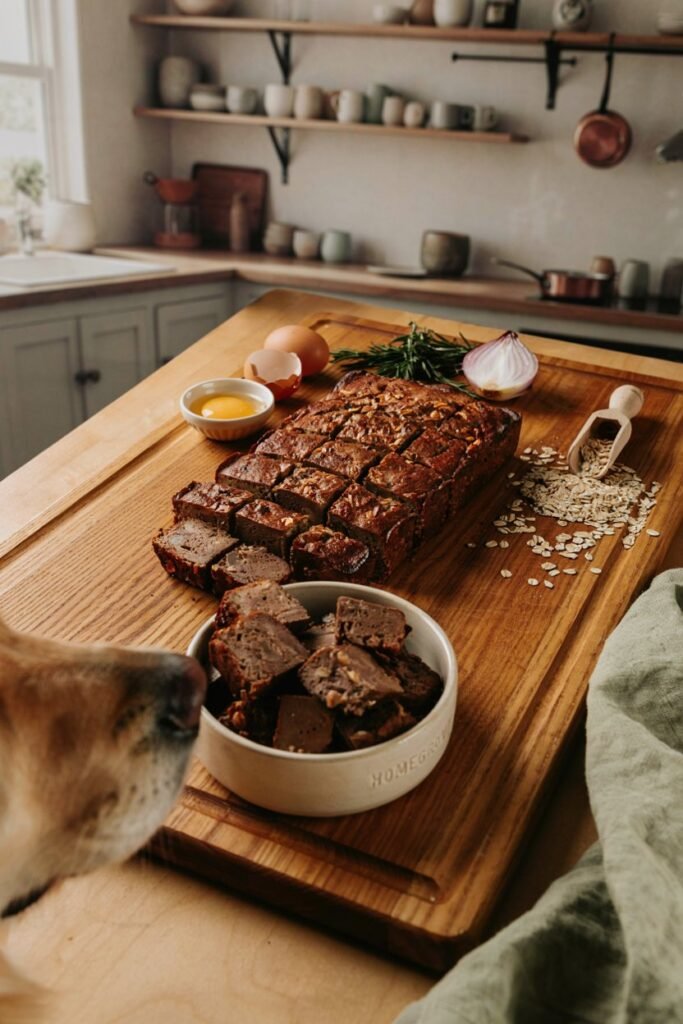
Liver is nutrient dense but rich, so this one is meant as an occasional topper rather than a daily meal.
I bake a batch every couple of weeks and freeze it in small squares that I crumble over regular meals.
Ingredients
1/2 pound raw beef liver
Why it helps: extremely nutrient dense, providing vitamin A, iron, and B vitamins in concentrated amounts
How to prep: trim off any tough membrane before blending, using fresh liver rather than previously frozen if possible
2 large eggs
Why it helps: binds the loaf together and adds extra protein and biotin for skin and coat health
How to prep: crack directly into the blender with the other ingredients
1 cup rolled oats
Why it helps: adds fiber and helps give the loaf a firm, sliceable texture
How to prep: use plain, unflavored oats with nothing added
Instructions
- Preheat the oven to 350 degrees and line a loaf pan with parchment paper.
- Blend the liver, eggs, and oats together until smooth.
- Pour the mixture into the loaf pan and bake for 35 minutes, until firm and set in the center.
- Let cool fully, slice into small cubes, and store in the fridge or freezer to use as a topper.
9. Chicken and Pumpkin Soup
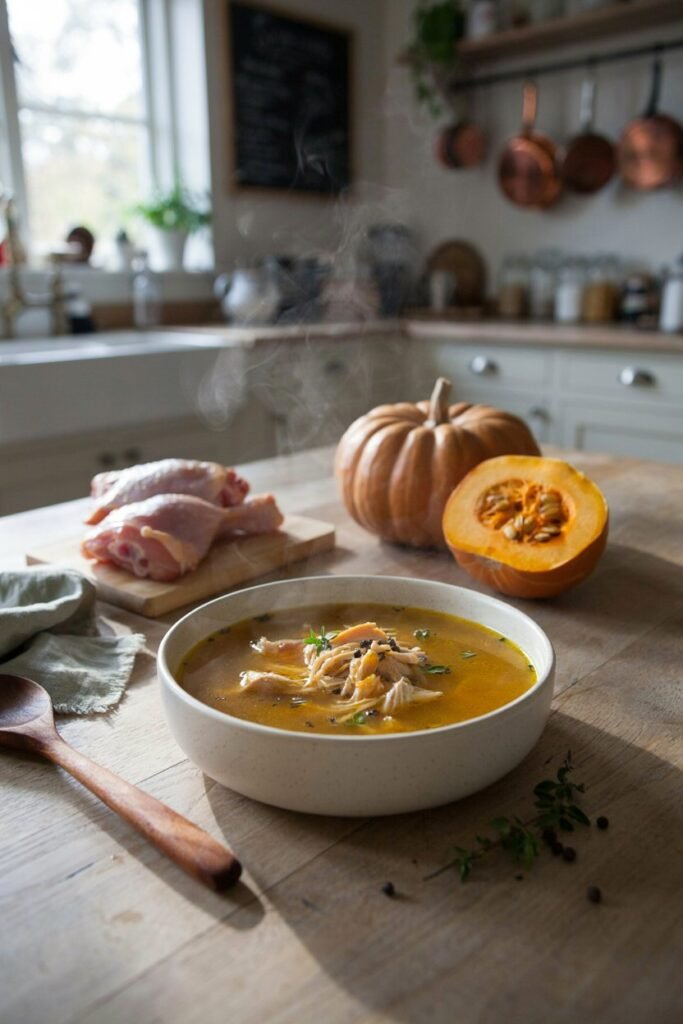
This became our go to meal during a stretch when Bruno had a mild stomach bug and needed something soft and easy to keep down.
It is now a regular in our rotation because he loves the texture.
Ingredients
2 boneless, skinless chicken thighs, about 10 ounces total
Why it helps: easy to digest and slightly higher in fat than chicken breast, which can help a dog who needs a gentle, calorie dense meal
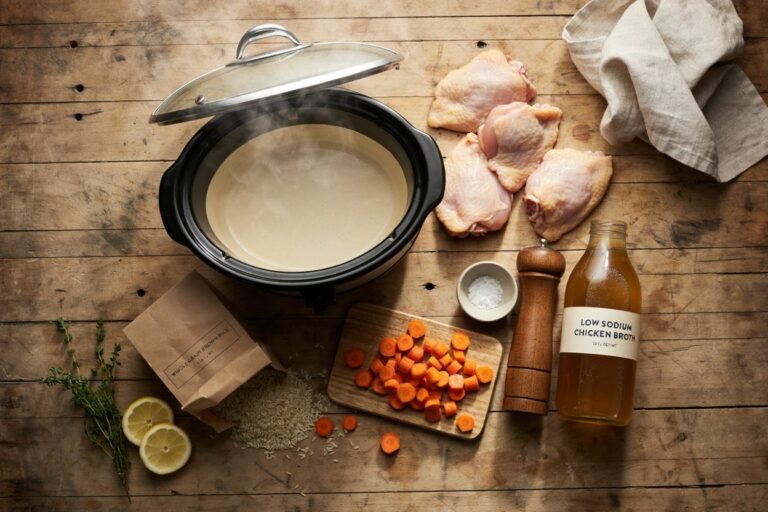
How to prep: simmer in water until fully cooked, then shred finely
1/2 cup plain canned pumpkin
Why it helps: adds fiber and helps settle an upset stomach, which is part of why this became our sick day meal
How to prep: use unsweetened pumpkin with no added spices
1 cup water, reserved as broth after cooking the chicken
Why it helps: loosens the soup to an easy to eat consistency and adds a bit of extra hydration
How to prep: reserve it straight from the pot after simmering the chicken
1 serving vet approved calcium and multivitamin supplement
Why it helps: fills the calcium and micronutrient gaps that chicken and pumpkin alone do not cover
How to prep: mix in once the soup has fully cooled, dosed according to your dog’s weight on the label
Instructions
- Simmer the chicken thighs in water until fully cooked, about 15 minutes.
- Remove the chicken and shred it finely, reserving the cooking broth.
- Return the shredded chicken to the pot with the pumpkin and enough broth to reach a soup like consistency.
- Cool completely, then mix in the supplement before serving.
10. Rabbit and Squash Bowl
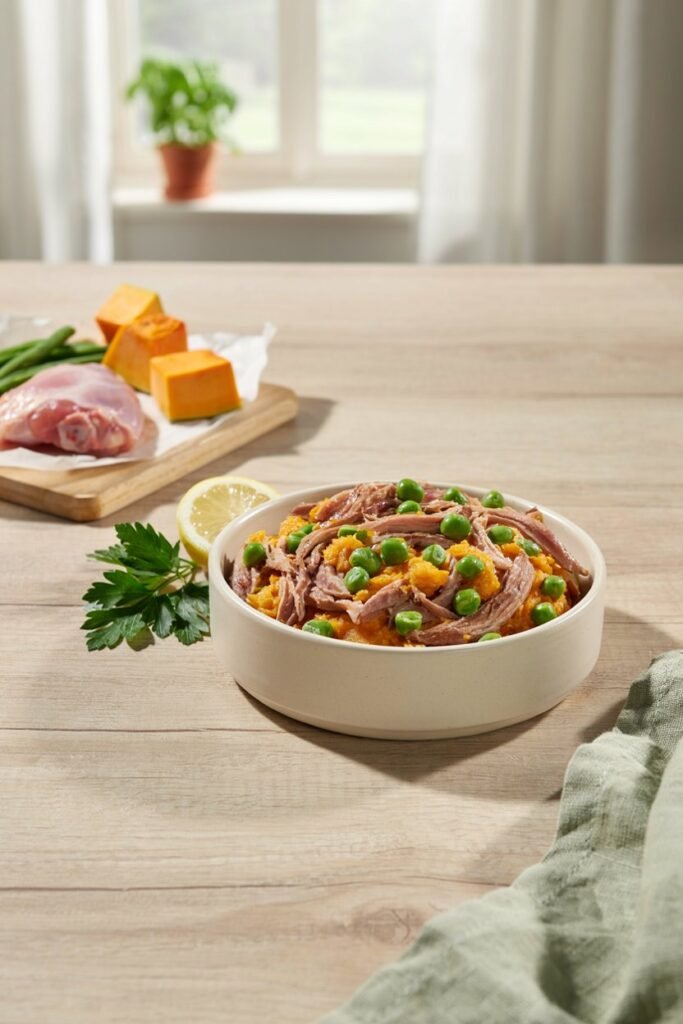
Rabbit is a novel protein, meaning most dogs have never eaten it before, which makes it a useful option if you are working through a food sensitivity and need to rule out more common proteins.
Our vet suggested this one specifically for that reason.
Ingredients
1 pound ground rabbit
Why it helps: a lean, novel protein that most dogs have never been exposed to, useful for identifying food sensitivities
How to prep: cook thoroughly in a pan over medium heat, breaking it apart as it browns
1/2 cup butternut squash, diced
Why it helps: provides beta carotene and a naturally mild, slightly sweet flavor most dogs enjoy
How to prep: peel and dice before steaming until fully soft
1/4 cup green beans, fresh or frozen
Why it helps: adds fiber and volume without many extra calories
How to prep: steam until tender, then cut into small pieces
1 serving vet approved calcium and multivitamin supplement
Why it helps: adds the calcium and micronutrients that rabbit, squash, and green beans alone do not fully provide
How to prep: mix in once the bowl has fully cooled, dosed according to your dog’s weight on the label
Instructions
- Cook the ground rabbit in a pan over medium heat until fully browned.
- Steam the butternut squash until soft, then mash it with a fork.
- Combine the cooked rabbit, mashed squash, and steamed green beans.
- Cool completely, then mix in the supplement before serving.
Extra Tips Before You Start
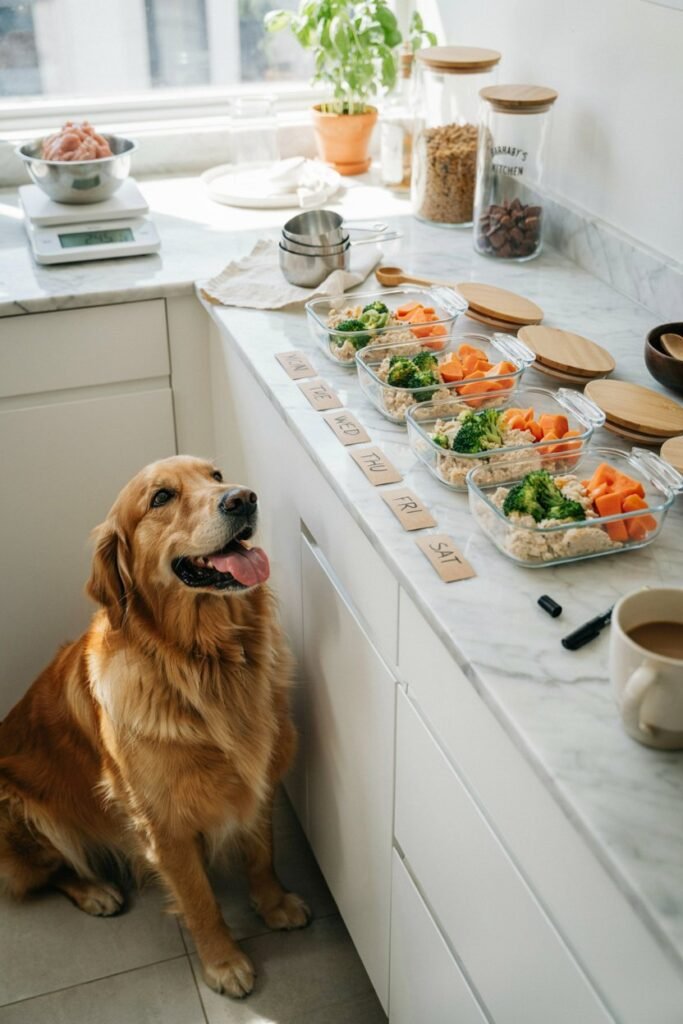
A few practical things that made this whole process easier once I figured them out.
- Batch cook on one day of the week. I cook on Sundays and portion everything into containers for the next five to seven days, which turned this from a daily chore into a once a week task.
- Weigh your dog’s portions rather than eyeballing them. A kitchen scale removes the guesswork and makes it much easier to keep your dog at a healthy weight.
- Introduce one new recipe at a time. Switching proteins too quickly can upset your dog’s stomach, so give each new meal three to five days before adding another.
- Keep a simple log of what your dog eats and how they react, especially if you are working through allergies. This was the single most useful thing I did during Bruno’s elimination diet.
- Always let food cool to room temperature before serving. Warm food can cause minor burns and most dogs are not in a rush anyway.
- Talk to your vet about the right supplement brand for your dog’s size and life stage rather than picking one at random. Puppies, adult dogs, and senior dogs often need different calcium ratios.
Common Questions
Is homemade dog food healthier than commercial food? Not automatically. It gives you full control over ingredients and quality, which matters a lot for dogs with allergies or sensitivities, but it only works if the meals are nutritionally complete.
A well formulated commercial diet can be perfectly healthy, and a poorly balanced homemade diet can cause real deficiencies over time.
How much homemade food should I feed my dog? This depends on your dog’s weight, age, and activity level, so it is worth asking your vet for a specific calorie target rather than guessing.
As a general starting point, most adult dogs need about twenty five to thirty calories per pound of body weight per day, split across one or two meals.
Can I feed homemade food every single day? Yes, as long as the meals are complete and balanced with the right calcium and micronutrient supplementation.
The recipes marked as complete meals above are designed for daily feeding. The ones marked as toppers are meant to be added to a complete meal, not fed alone.
Do I need a supplement for every meal? For any meal meant to be a full daily diet, yes. Meat and vegetables alone are missing key nutrients like calcium in the right ratio, which matters for bone health, especially in puppies and senior dogs.
A vet formulated supplement made for homemade diets solves this in a simple way.
How long can I store homemade dog food? I keep portions in the fridge for up to three days and freeze the rest in individual containers for up to three months.
Always thaw in the fridge overnight rather than at room temperature.
A Final Thought
Cooking for Bruno turned out to be less about fixing a skin problem and more about understanding what actually goes into his bowl every day.
If you are starting this journey because your own dog is dealing with allergies, a sensitive stomach, or you simply want more control over their diet, start slow. Pick one recipe, run it by your vet, and watch how your dog responds before adding more.
That is exactly how we did it, and six months later this has become one of my favorite parts of the week rather than a chore.