
Making homemade dog treats is one of those small things that feels extra rewarding.
It’s simple, affordable, and you know exactly what’s going into your dog’s food.
No mystery ingredients, no fillers, and nothing questionable hiding on a label.
This peanut butter and pumpkin dog treat recipe has become one of my go-to favorites.

It’s easy enough to make on a regular day, but special enough to feel like a treat.
The texture is just right, the ingredients are dog-safe, and the optional icing makes them feel a little extra without being complicated.
If you enjoy cooking for your pets—or just want a healthier alternative to store-bought treats—this recipe is a great place to start.
Disclaimer: This post contains affiliate links. If you make a purchase through these links, we may earn a small commission at no extra cost to you.
Amazon Shopping List: Homemade Peanut Butter & Pumpkin Dog Treats (With a Simple Dog-Safe Icing)
- Stainless Steel Mixing Bowls Set
Perfect for safely mixing dog treat ingredients.
BUY NOW ON AMAZON - Measuring Cups & Spoons Set
Helps ensure accurate portions for balanced, healthy dog treats.
BUY NOW ON AMAZON - Silicone Dog Treat Molds
Makes fun shapes for peanut butter and pumpkin dog treats.
BUY NOW ON AMAZON - Non-Stick Baking Sheet
Ideal for baking treats evenly without sticking.
BUY NOW ON AMAZON - Spatula & Whisk Set
Essential for mixing dough and icing smoothly for your dog’s treats.
BUY NOW ON AMAZON
Why I Love Making Homemade Dog Treats
I started making dog treats at home because I wanted something simple and dependable.
Store-bought treats can be convenient, but they often contain preservatives, added sugars, or ingredients I wouldn’t normally choose.
Homemade treats let you:
- Control every ingredient
- Avoid harmful sweeteners like xylitol
- Adjust recipes for allergies or sensitivities
- Make treats that actually smell and taste fresh
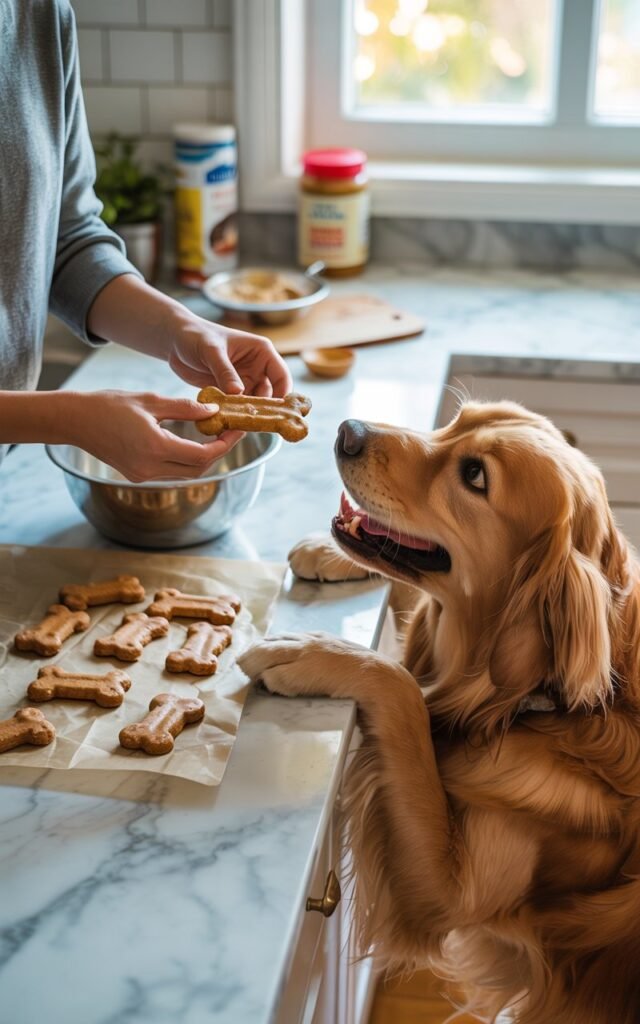
These peanut butter pumpkin dog bones check all those boxes, and my dogs genuinely get excited when they smell them baking.
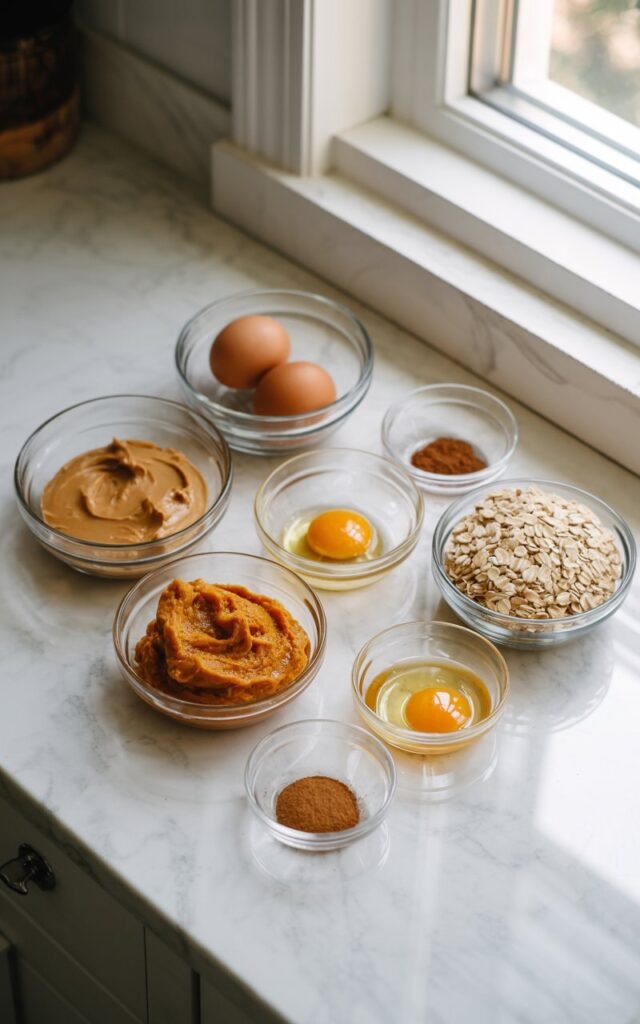
Ingredients for Peanut Butter Pumpkin Dog Treats

I keep this recipe simple, using ingredients that are safe, wholesome, and dog-friendly. Here’s what you’ll need for a batch of soft, chewy treats with optional dog-safe icing:
- 1 cup pumpkin puree – Unsweetened, plain pumpkin for natural flavor and digestive benefits.
- ½ cup natural peanut butter – Make sure it contains no xylitol or added sugar.
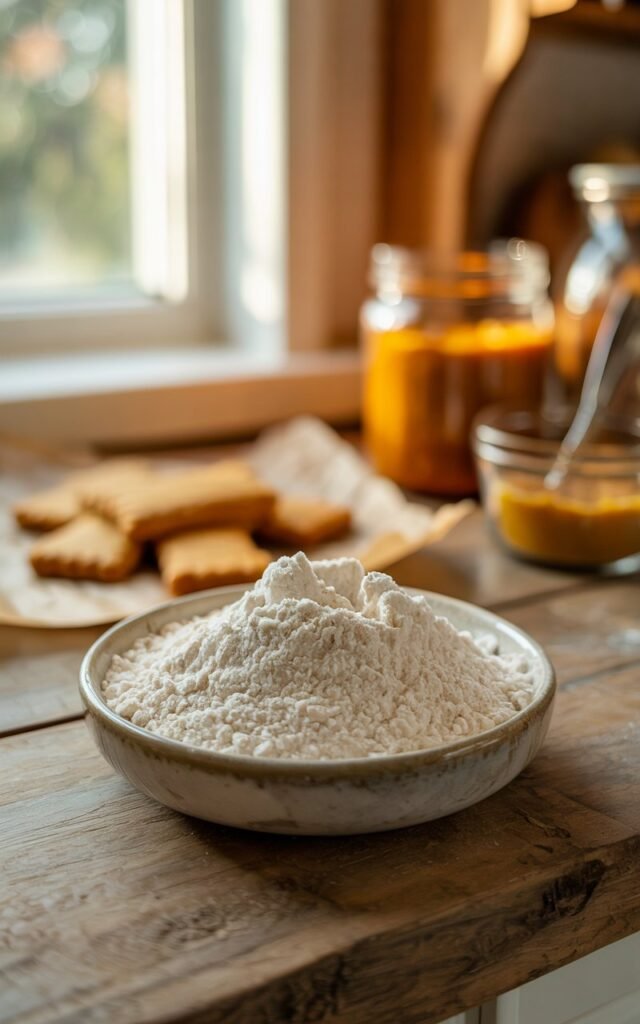
- 2 cups whole wheat flour – Or oat flour for a gluten-free option.
- 1 egg – Acts as a binder and adds extra protein.
- 1 teaspoon cinnamon (optional) – A small pinch for flavor; safe for dogs in moderation.
- Dog-safe icing (optional):
- 2 tablespoons plain Greek yogurt
- 1 teaspoon peanut butter
These ingredients are easy to find, gentle on your dog’s stomach, and make treats that are soft, chewy, and irresistibly aromatic.
Ingredient Notes & Substitutions
When I make these peanut butter and pumpkin dog treats, I like to keep things flexible while making sure every ingredient is safe and nutritious for my pup. Here’s a quick guide:
- Pumpkin Puree – Use plain, unsweetened pumpkin (not pumpkin pie filling). It’s great for digestion and adds natural moisture. You can substitute sweet potato puree if needed.
- Natural Peanut Butter – Always check the label to ensure it has no xylitol or added sugar, which is toxic to dogs. Almond butter can be used in small amounts for variety.
- Whole Wheat Flour – Provides structure, but oat flour or rice flour works for dogs with gluten sensitivities.
- Egg – Acts as a binder and adds protein; you can replace it with flaxseed meal mixed with water (1 tbsp flax + 3 tbsp water) for an egg-free version.
- Cinnamon (Optional) – Adds flavor, but only a tiny pinch is needed. Avoid nutmeg, which is unsafe for dogs.
- Dog-Safe Icing – Plain Greek yogurt mixed with peanut butter makes a simple, healthy topping. You can also leave it off entirely if your dog prefers plain treats.
These substitutions make the recipe versatile, allergy-friendly, and perfect for customizing to your dog’s taste and dietary needs.
Mixing the Dough
Making the dough for these peanut butter and pumpkin dog treats is simple, and it’s where the magic starts—your kitchen will smell irresistible! Here’s how I do it:
- Combine Wet Ingredients – In a large bowl, mix the pumpkin puree, natural peanut butter, and egg until smooth and well combined. If you’re using cinnamon, add it here.
- Add the Flour – Gradually stir in the whole wheat or oat flour until a thick, workable dough forms.
- Check Consistency – The dough should be soft but not sticky. If it’s too sticky, add a little more flour. If it’s too dry, add a small splash of pumpkin or water.
- Optional Twist – For extra flavor or texture, you can fold in a few tiny, dog-safe mix-ins like finely chopped apple or carrot.
I like to knead the dough gently for a minute or two to make sure all the ingredients are evenly distributed.
At this stage, it’s ready to be rolled out and shaped into bite-sized treats your dog will love.
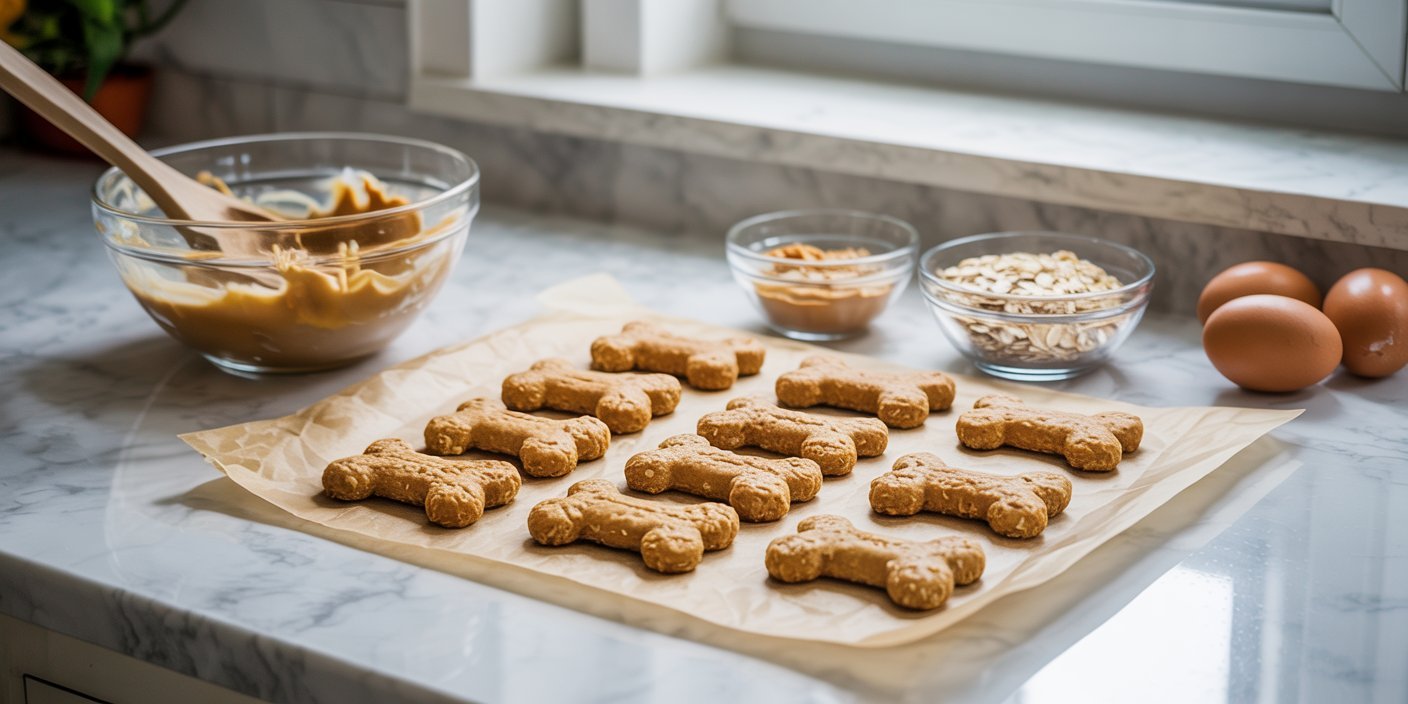
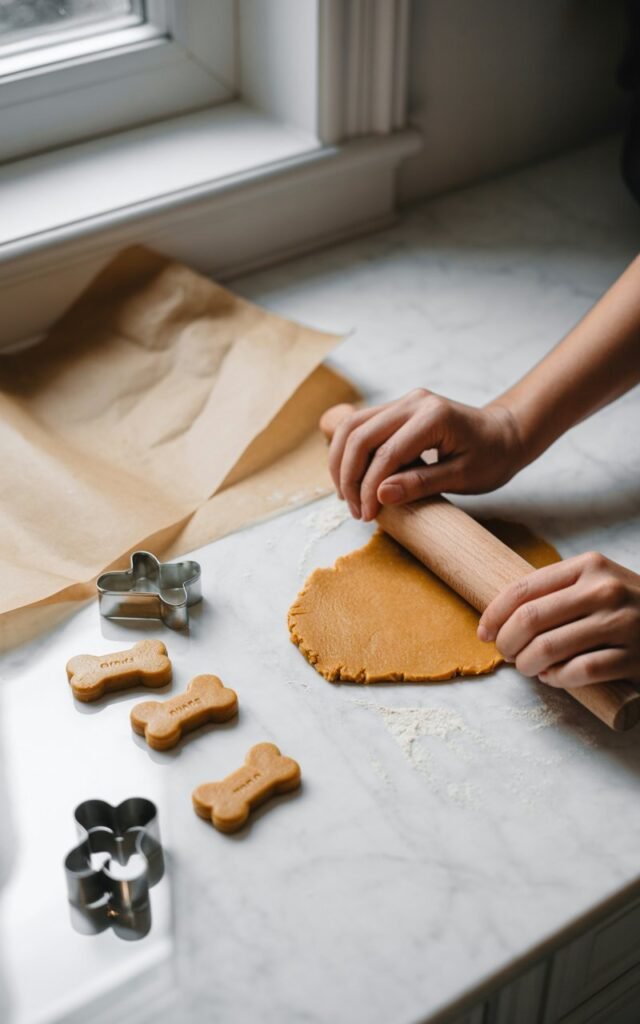
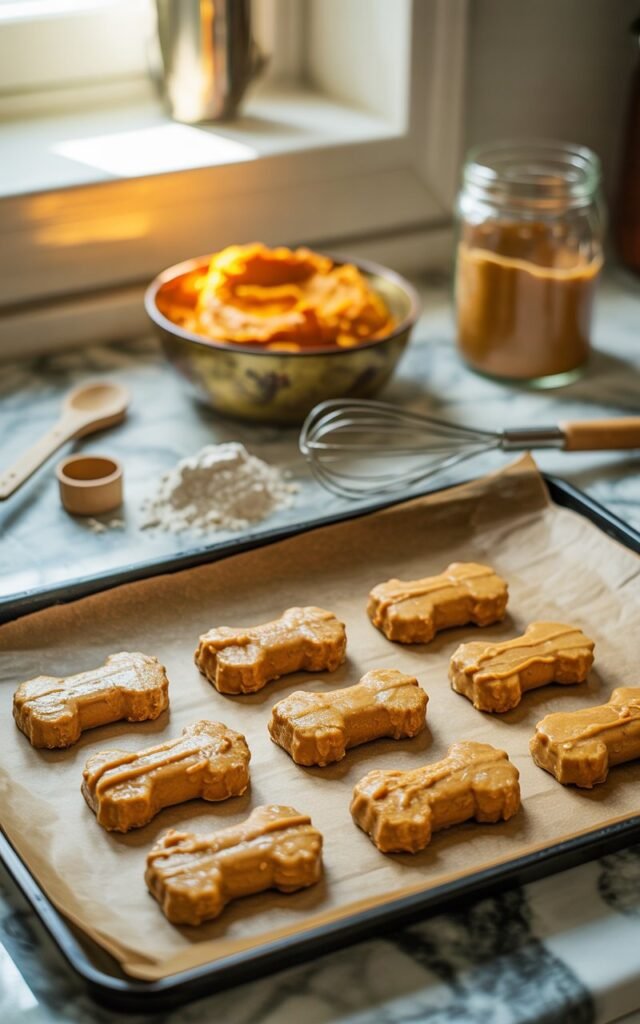
Rolling and Shaping the Treats

This is the fun part—no need to stress about perfection! I usually keep the treats small and bite-sized, perfect for training rewards or quick snacks. Here’s how I do it:
- Prep the Surface – Lightly flour a clean countertop or use a silicone baking mat to prevent sticking.
- Roll the Dough – Roll out the dough to about ¼ inch (0.6 cm) thick. Thinner treats bake faster and stay soft, thicker ones are chewier.
- Cut or Shape – Use small cookie cutters, a knife, or just your hands to form bite-sized pieces. I often make simple circles or little bones for fun.
- Optional Playfulness – You can press a fork gently on top for a little texture or leave them plain. Your dog won’t care about perfect shapes—they just want the taste!
- Size Matters – Keep treats small, around 1 inch (2.5 cm), so they’re easy to chew and portion control is simple.
Once shaped, the treats are ready to go on the baking tray and into the oven. This step is where your kitchen smells amazing, and your dog usually starts watching very closely!
Baking the Dog Treats
Baking these peanut butter and pumpkin dog treats is simple, and it’s the step that turns soft dough into chewy, flavorful bites your dog will love. Here’s how I do it:
- Preheat the Oven – Set your oven to 350°F (175°C) and line a baking sheet with parchment paper.
- Arrange the Treats – Place the shaped treats on the tray, leaving a little space between each one so they bake evenly.
- Bake – Cook for 15–20 minutes, depending on thickness. The edges should be lightly golden, but the center should stay soft and chewy.
- Check for Doneness – A gentle press on the top should feel firm but not hard. Overbaking can make the treats too dry.
- Cool Completely – Let the treats cool fully on a wire rack before serving or adding icing. Cooling prevents burns and helps the treats set perfectly.
The kitchen will smell irresistible, and your dog will probably be waiting patiently—or not so patiently!
Baking these treats fills the house with cozy, fall-inspired aromas and makes treat time even more special.
Simple Dog-Friendly Icing (Optional)
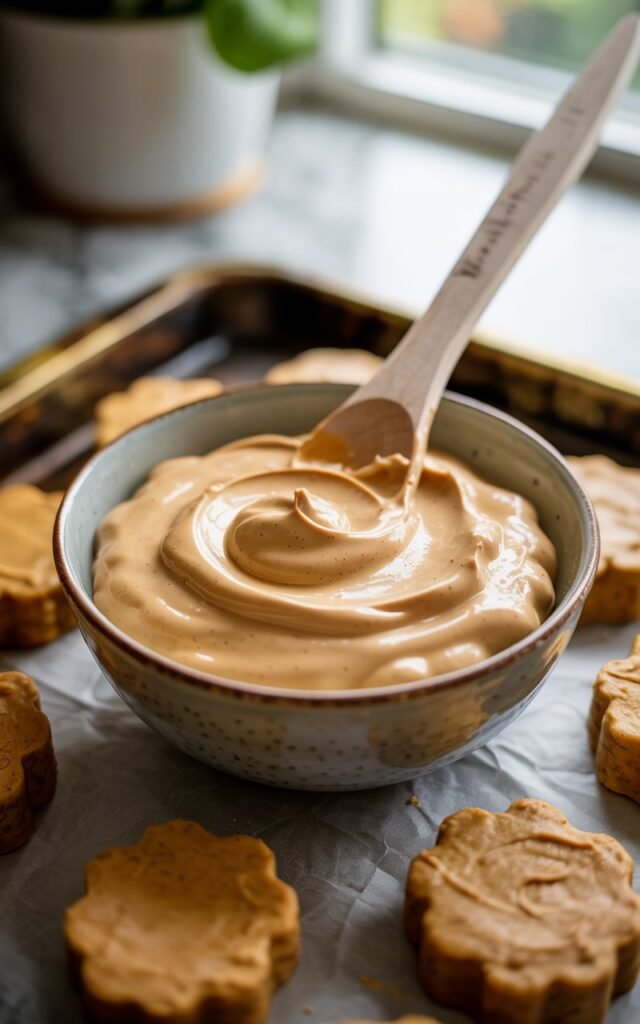
Adding a little dog-safe icing makes these treats extra fun, especially for birthdays, special occasions, or just to spoil your pup a little. I like to keep it simple and healthy.
Ingredients for Icing:
- 2 tablespoons plain Greek yogurt
- 1 teaspoon natural peanut butter (ensure no xylitol or added sugar)
How I Make It:
- Mix the yogurt and peanut butter until smooth and creamy.
- Spread a thin layer over cooled treats using a small spoon or spatula.
- Optional: Refrigerate for 10–15 minutes to let the icing set slightly.
This icing adds a little extra flavor without being sugary or harmful. Even plain treats are delicious, so the icing is just a fun bonus that most dogs go crazy for!
Is Tapioca Flour Safe for Dogs?
Yes—tapioca flour is generally safe for dogs when used in moderation.
It’s a starchy, gluten-free flour made from the root of the cassava plant, and it’s often used as a binder or thickener in homemade dog treats.
Here’s what I keep in mind when using it:
- Use in Small Amounts – Too much starch can upset a dog’s stomach, so it’s best used as part of a balanced treat recipe rather than the main ingredient.
- Gluten-Free Option – Tapioca flour is great for dogs with wheat or gluten sensitivities, making it a versatile substitute for whole wheat or oat flour.
- Check Your Dog’s Response – Introduce any new ingredient gradually. Most dogs tolerate tapioca well, but every dog’s digestive system is unique.
I often use tapioca flour when I want soft, chewy treats that hold together well without adding wheat or oats, and my dog always loves the texture!
Mixing the Icing the Right Way
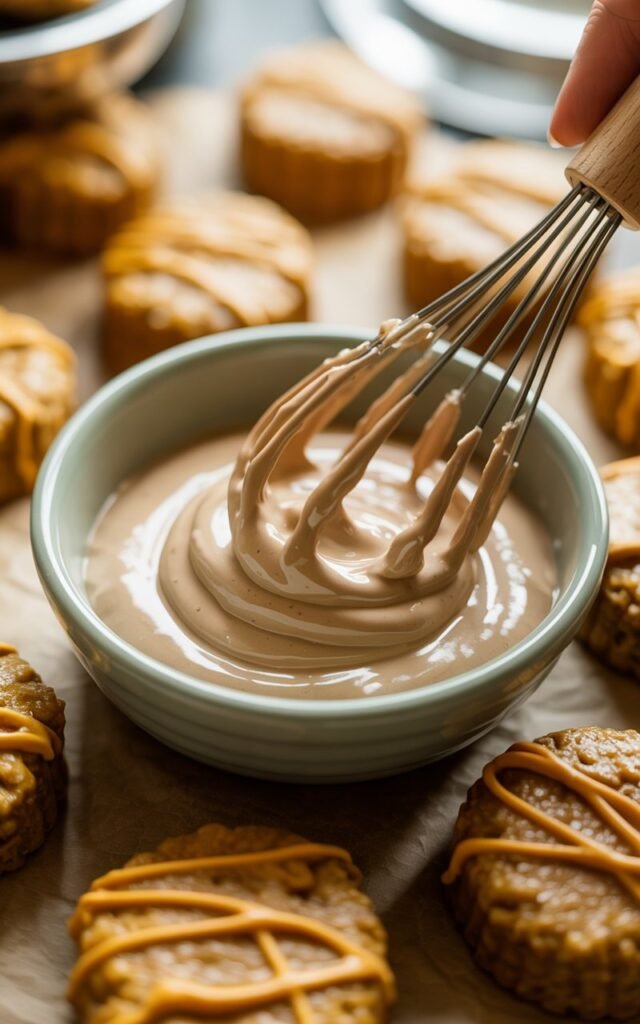
Making the dog-friendly icing for your peanut butter and pumpkin treats is quick, but a few simple tips make it smooth, creamy, and easy to apply:
- Use a Small Bowl – Combine 2 tablespoons plain Greek yogurt with 1 teaspoon natural peanut butter in a small bowl.
- Mix Until Smooth – Stir thoroughly until the yogurt and peanut butter are fully blended, with no lumps. A small whisk or spoon works perfectly.
- Adjust Consistency if Needed – If the icing is too thick, add a tiny drop of water or yogurt to thin it slightly. Too runny, and it won’t stay on the treats.
- Cool Treats First – Always spread the icing on fully cooled treats. Warm treats can cause the icing to melt or slide off.
- Optional Setting – For a slightly firmer topping, refrigerate the iced treats for 10–15 minutes before serving.
By mixing the icing carefully and applying it on cooled treats, you get a neat, tasty coating that your dog will love—without any mess or fuss.
Decorating the Treats
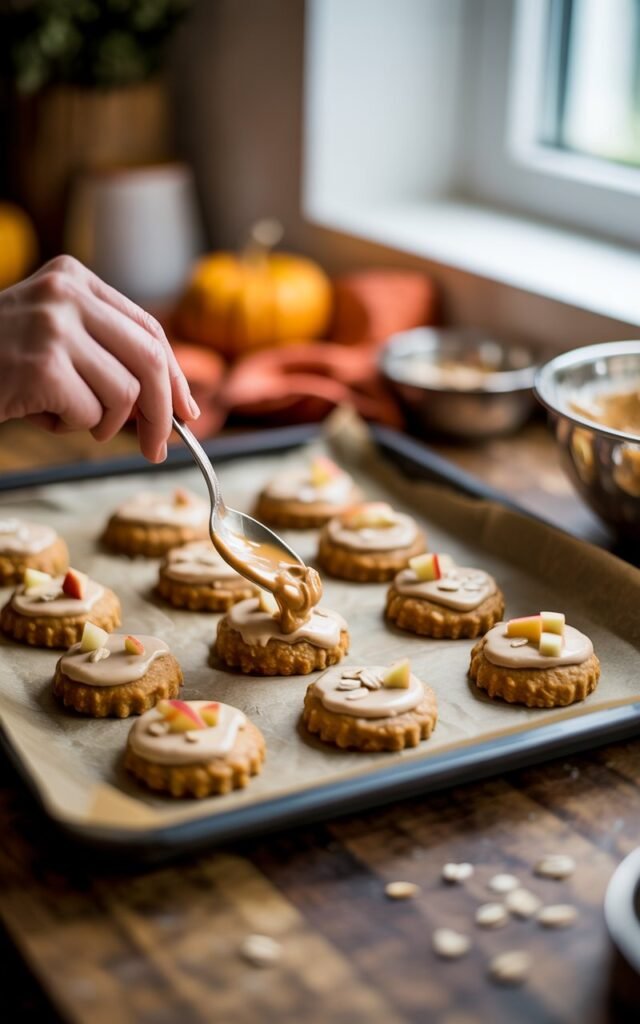
Adding a little decoration makes these peanut butter and pumpkin dog treats even more fun—perfect for birthdays, holidays, or just a special snack.
I like to keep it simple and dog-safe:
- Spread the Icing – Use a small spoon or spatula to gently cover the cooled treats with a thin layer of the Greek yogurt and peanut butter icing.
- Add Fun Toppings (Optional) – Tiny dog-safe toppings like a few oats, small pieces of carrot, or finely chopped apple can make the treats look extra festive. Avoid any human-only toppings like chocolate, sugar, or nuts.
- Keep It Small – Less is more—just a light touch of decoration keeps treats healthy and still soft.
- Let It Set – Place the decorated treats in the fridge for 10–15 minutes so the icing firms slightly.
Decorating is optional, but it adds a little charm and makes the treats feel extra special—your dog doesn’t care about looks, but you get a cute, fall-inspired homemade treat ready to share!
Storage Tips
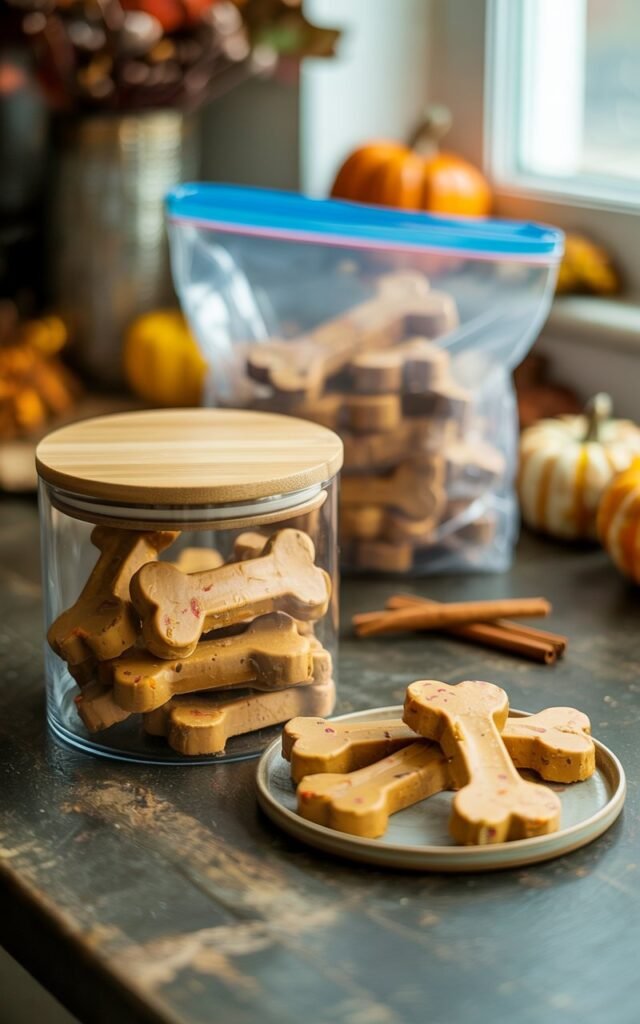
Proper storage keeps your homemade peanut butter and pumpkin dog treats fresh, soft, and safe for your pup. Here’s how I handle it:
- Refrigerate – Store cooled treats in an airtight container in the fridge for up to 1 week. This keeps them soft and prevents spoilage.
- Freeze for Longer – You can freeze treats in a sealed container or freezer bag for up to 2–3 months. Thaw a few at a time as needed.
- Portion Ahead – I like to separate treats into daily or snack-sized portions so I don’t have to handle the whole batch every time.
- Check Freshness – Always smell and inspect treats before serving. If they seem off, discard them to keep your dog safe.
Following these storage tips ensures your dog can enjoy fresh, homemade treats any time, without losing flavor or texture.
Final Thoughts
These homemade peanut butter and pumpkin dog treats are one of those recipes that feels good to make.
They’re simple, affordable, and made with ingredients you can trust.
Whether you’re making them for training, special occasions, or just because your dog deserves something homemade, this recipe is easy to come back to again and again.
If you’re looking for a wholesome way to treat your dog without overcomplicating things, this is a great place to start.