
Learn How To Make Cat Gravy – 4 Delicious Recipes for Your Feline
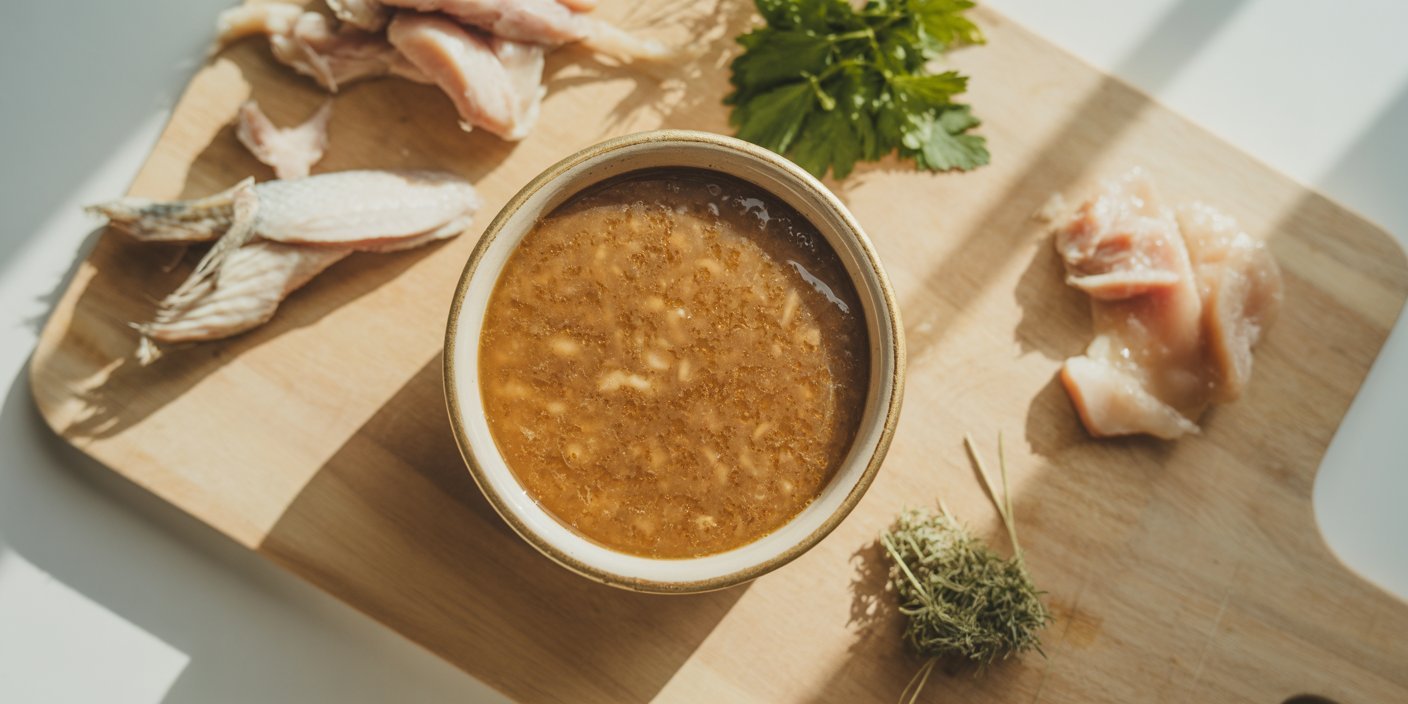
My cat has never been what I would call an easy eater. Some mornings she sniffs her bowl, gives me a long unimpressed look, and walks away without touching a bite.
It took me a while to realize that what she actually wanted wasn’t a different food entirely, just a little more moisture and a little more flavor sitting on top of it.
That is how I first started making gravy at home, and it changed mealtime completely. It has since become one of the regular staples in my homemade cat food recipes rotation.
If your cat turns her nose up at dry food, is recovering from an illness, or is simply getting older and needs softer meals, homemade gravy can solve a lot of that frustration at once.
It adds moisture to a diet that often does not have enough of it, and it makes even a plain bowl of kibble feel like something worth showing up for.
I first started experimenting with gravy while putting together my homemade cat food for senior cats guide, since older cats tend to respond especially well to softer, more aromatic meals.
Making it yourself also means you know exactly what is going into it, without wondering what is hiding in a store bought topper, and it costs a fraction of what those little pouches charge for a few tablespoons of sauce.
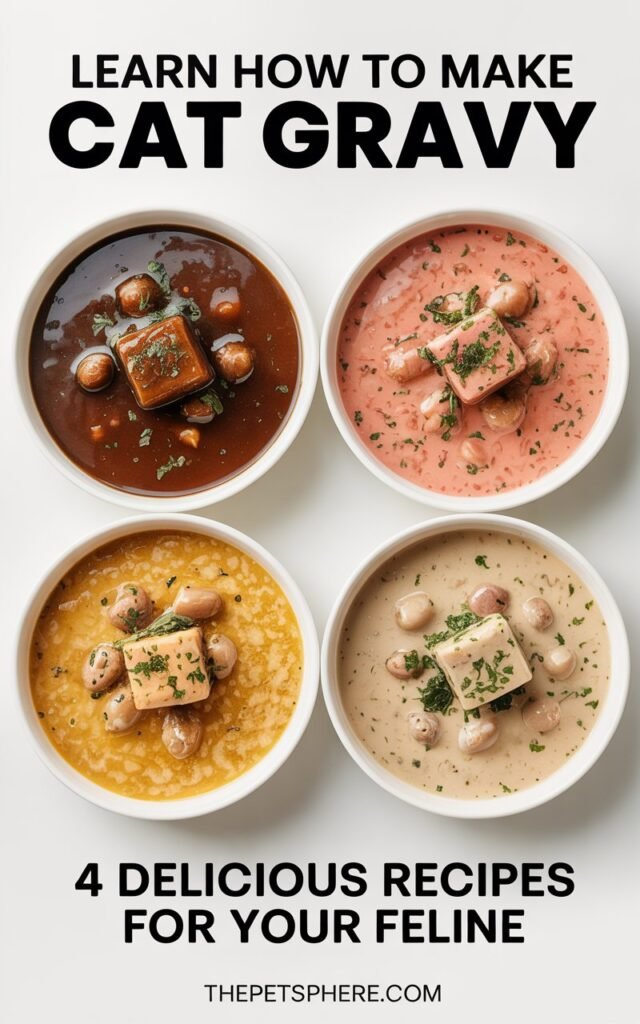
Homemade cat gravy is one of the easiest ways to make ordinary cat food more appealing while adding extra moisture to your cat’s diet.
Whether your cat is a picky eater, recovering from illness, or simply enjoys richer flavors, a simple homemade gravy can transform mealtime without relying on artificial flavors or unnecessary additives.
If you are also looking to help a lean cat gain some healthy weight, this gravy works wonderfully as a topper alongside my cat weight gain meals.
This guide shares four easy homemade cat gravy recipes made with simple ingredients, along with ingredient tips, storage advice, serving suggestions, and common mistakes to avoid so you can confidently prepare a delicious topper your cat will actually enjoy.
Disclaimer
This post may contain affiliate links. As an Amazon Associate, I earn from qualifying purchases at no additional cost to you. I only recommend cat products and kitchen tools that I genuinely believe make preparing homemade cat food easier and more enjoyable. The information in this article is for general informational purposes only. Always use cat safe ingredients and consult your veterinarian before making changes to your cat’s diet.
AMAZON SHOPPING LIST You Need
- Stainless Steel Cat Food Bowl (Set of 2)
Perfect for serving homemade gravy safely and hygienically
BUY NOW ON AMAZON - Small Non-Stick Saucepan
Ideal for gently cooking cat gravy without sticking
BUY NOW ON AMAZON - Mini Whisk or Silicone Spoon
Mix ingredients smoothly to create a silky gravy texture
BUY NOW ON AMAZON - Measuring Cups & Spoons Set
Accurate measurements for consistent recipes
BUY NOW ON AMAZON - Airtight Food Storage Container (Small)
Keeps homemade cat gravy fresh for multiple servings
BUY NOW ON AMAZON
A Quick Amazon Prime Tip
I usually keep a few of the ingredients and supplies I use for my dogs on my Amazon list because I hate realizing I am out of something at the last minute. If you order from Amazon regularly, Prime can be helpful for getting everyday essentials delivered without having to make an extra shopping trip. You can learn more about Amazon Prime here.
Why You’ll Love These Recipes
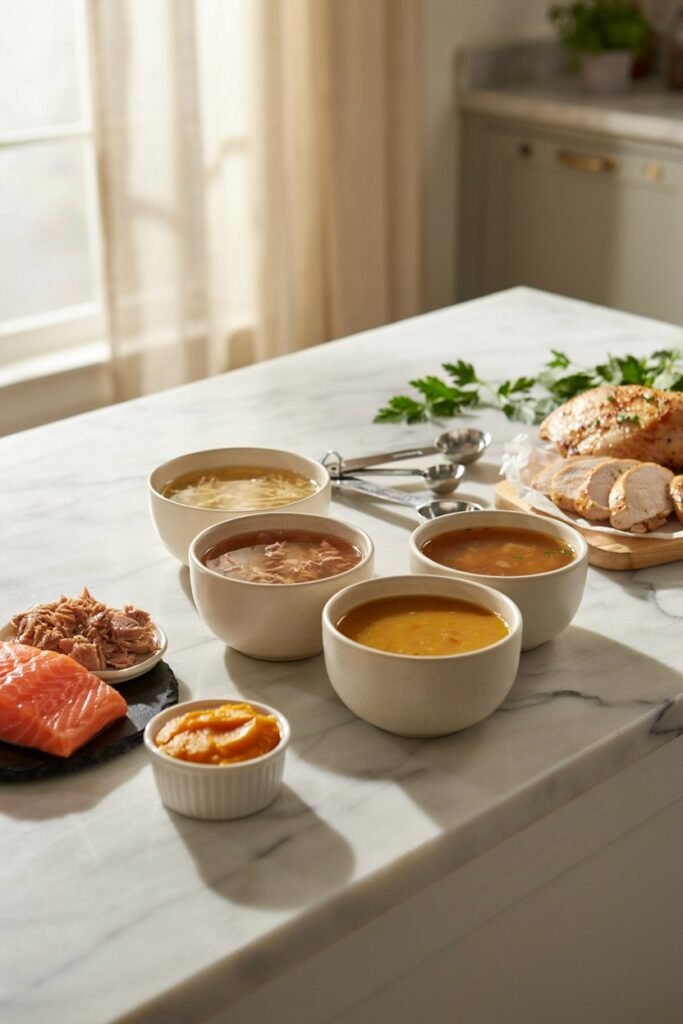
Uses simple everyday ingredients you likely already have in your kitchen
Ready in under 20 minutes from start to finish
Naturally rich in moisture, which supports better hydration, something I cover in more depth in my daily cat care routine
No artificial preservatives or unnecessary fillers
Great for picky eaters who need a little extra encouragement
Freezer friendly, so you always have a batch on hand
Easy to customize based on what your cat likes best, similar to the flexibility in my easy chicken based homemade cat recipes
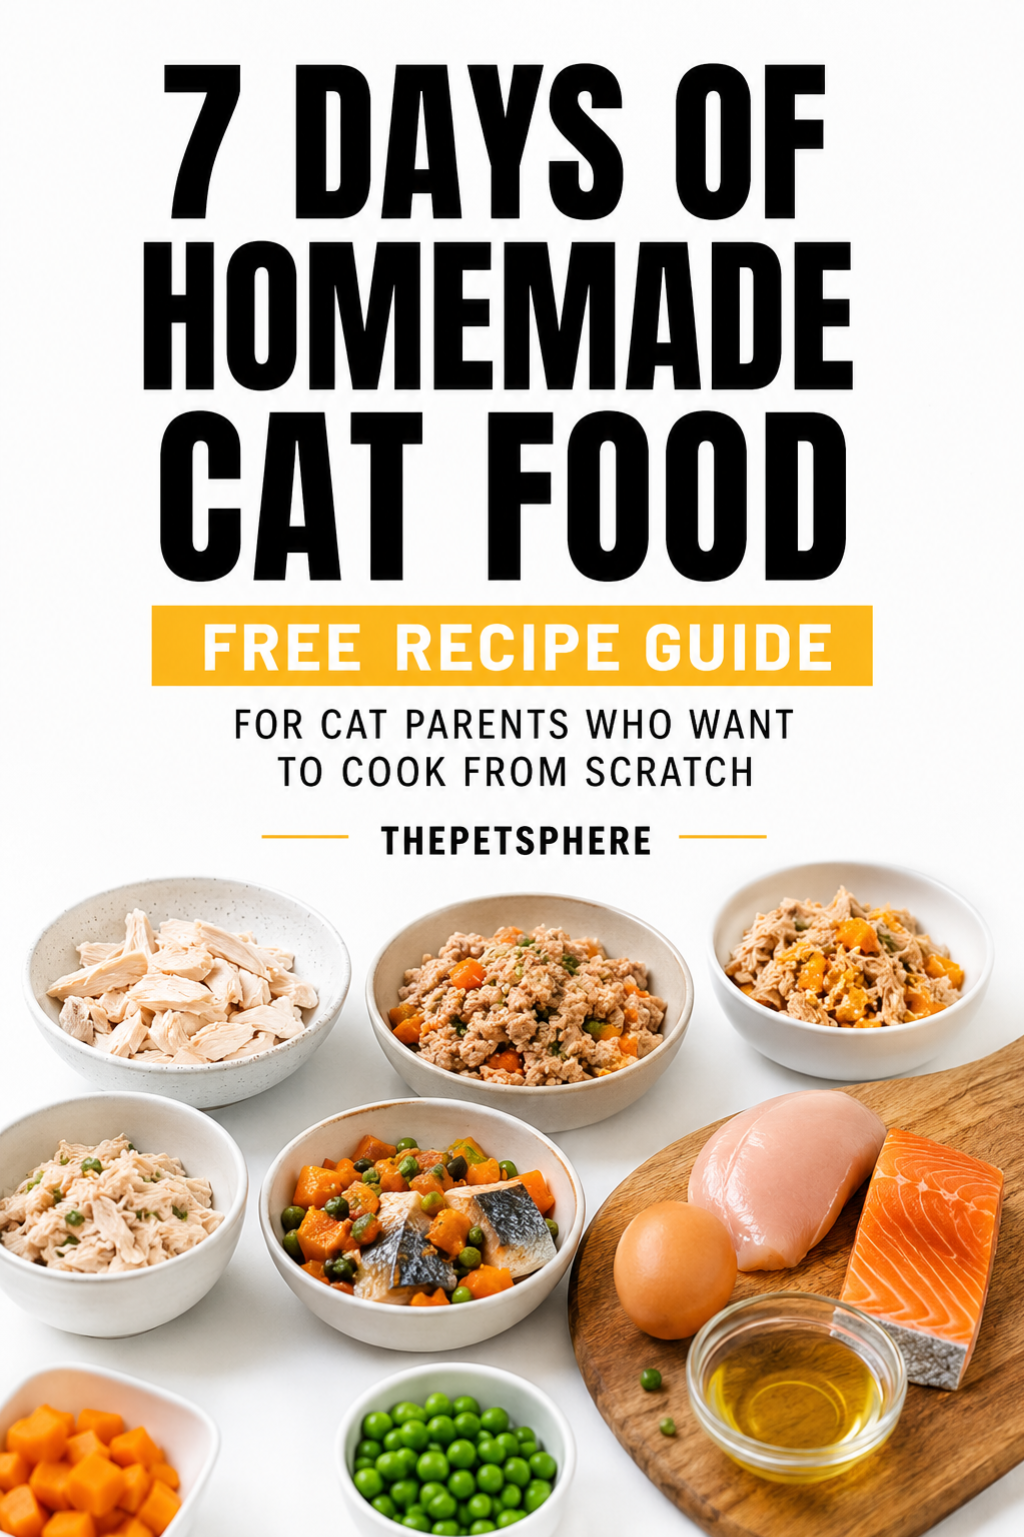
Is Homemade Cat Gravy Good for Cats?

In general, yes, when it is made thoughtfully with the right ingredients.
Cats are notorious for not drinking enough water on their own, and extra moisture from a food source like gravy can genuinely help support hydration, especially for cats who mostly eat dry kibble.
It can also help stimulate appetite in cats who are recovering from illness, going through a stressful period, or simply being fussy about their usual meals.
Senior cats often benefit the most, since softer, more aromatic food is easier to eat and more appealing when a reduced sense of smell or dental discomfort makes dry food less appealing.
That said, gravy should always be treated as an addition to a balanced diet rather than a replacement for one, and it should be given in moderation rather than poured over every single meal.
If your cat has a specific medical condition, such as kidney disease, diabetes, or a prescription diet, it is always worth checking with your veterinarian before introducing homemade gravy regularly, just to make sure the ingredients align with their specific needs.
Benefits of Homemade Cat Gravy
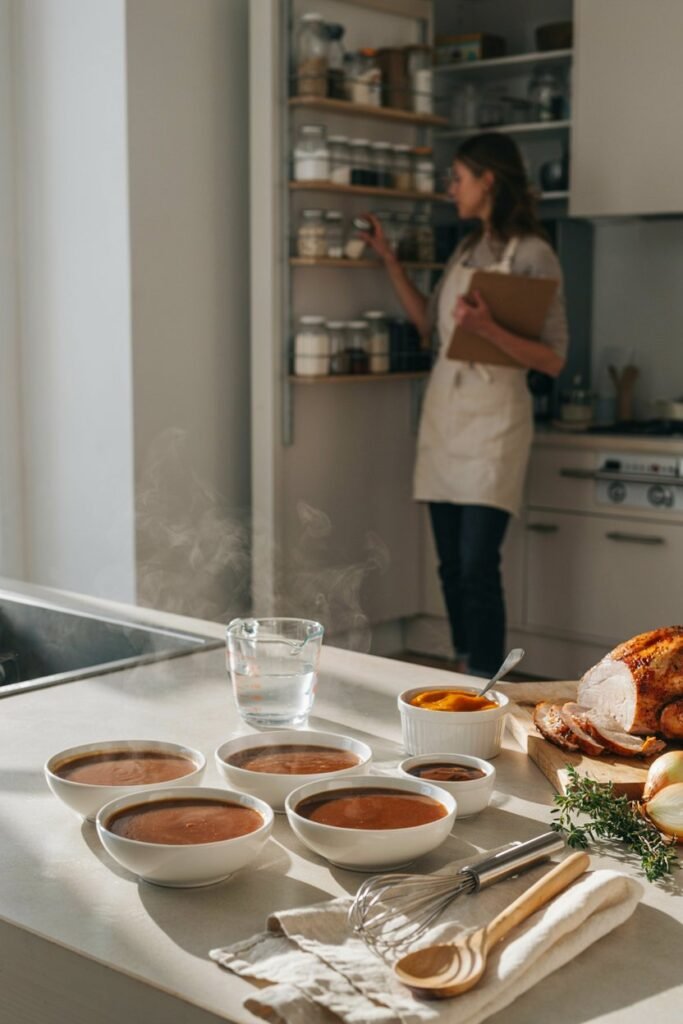
More moisture in every meal, which supports overall hydration and urinary health, a topic I touch on further in my happy healthy cat tips
Better ingredient quality, since you choose exactly what goes into the pot
No unnecessary fillers, dyes, or preservatives that are common in some store bought toppers
Support for picky eaters who need a bit more encouragement to finish a meal
An easy to digest option for cats recovering from illness or dental procedures
A budget friendly alternative to specialty toppers, which are often expensive for the amount you get, similar in spirit to my affordable homemade cat gravy budget recipes
A way to make medication easier to administer, when appropriate and approved by your veterinarian, since a flavorful gravy can help mask the taste of a pill or liquid medicine
General Ingredients You’ll Need
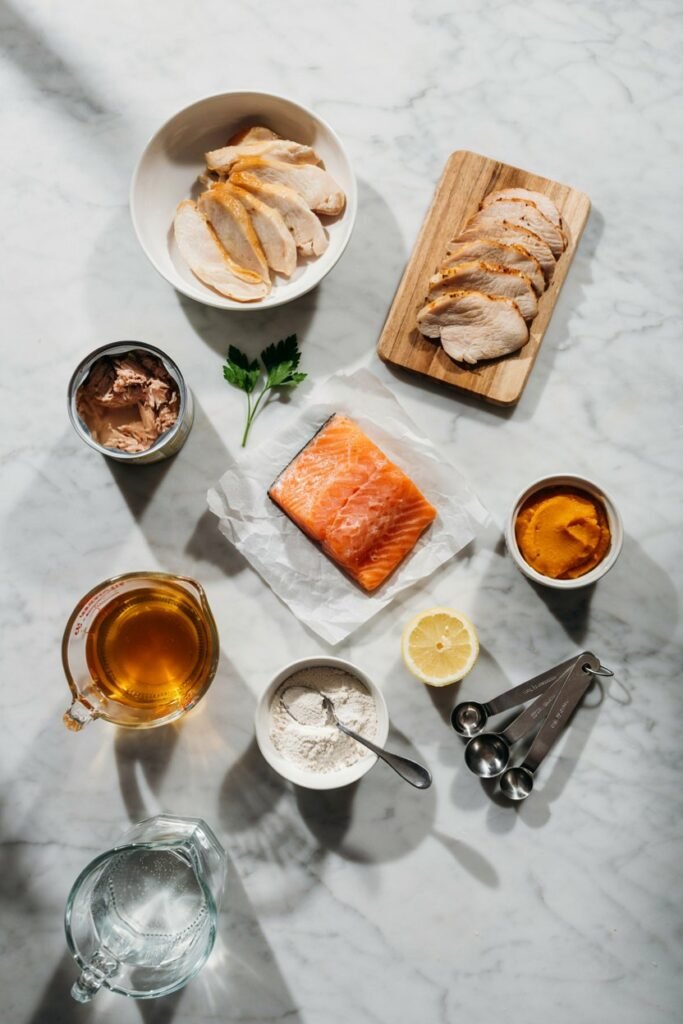
Chicken Broth
Use an unsalted broth with no onion or garlic powder included, since both are unsafe for cats.
This forms the flavorful base of most of these recipes while adding a significant amount of extra hydration to the finished gravy.
Cooked Chicken, Turkey, Tuna, or Salmon
These proteins form the heart of each individual recipe below.
They provide lean protein and give the finished gravy a richer, more satisfying texture that cats respond to.
Pumpkin Puree
A small amount of plain pumpkin puree adds fiber and helps create a naturally thicker gravy without needing much else.
It is optional but genuinely useful if your cat tends toward a sensitive stomach.
Cornstarch
This is optional and should be used sparingly, only if you want a noticeably thicker consistency.
A small amount whisked into the broth before heating is usually enough.
Water
Plain water can be used to thin the gravy to your cat’s preferred consistency, especially for cats who prefer a thinner, more pourable topper.
Kitchen Equipment
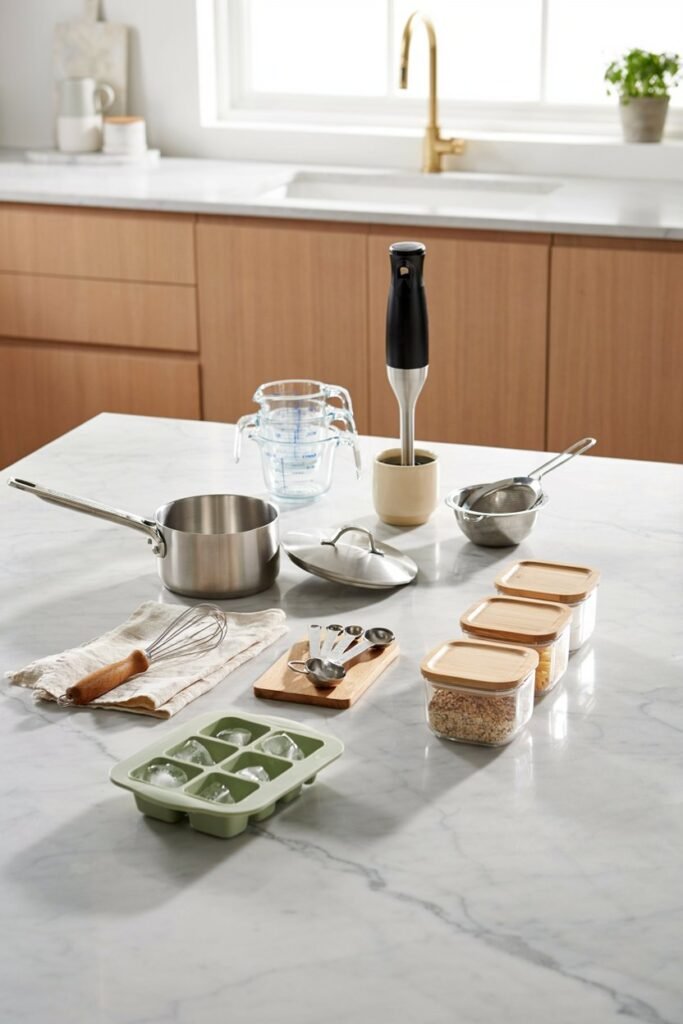
You only need a few basic kitchen tools to make homemade cat gravy.
Having everything ready before you begin makes the process faster and helps the gravy come together smoothly.
- Small saucepan
- Blender or immersion blender (optional for a smoother texture)
- Whisk or wooden spoon
- Fine mesh strainer (optional for an extra silky gravy)
- Measuring cups and measuring spoons
- Airtight storage container
- Ice cube tray for freezing individual portions
Most of these tools are common kitchen staples, and the recipe comes together in just one saucepan, making cleanup quick and easy.
Four Homemade Cat Gravy Recipes
Chicken Cat Gravy
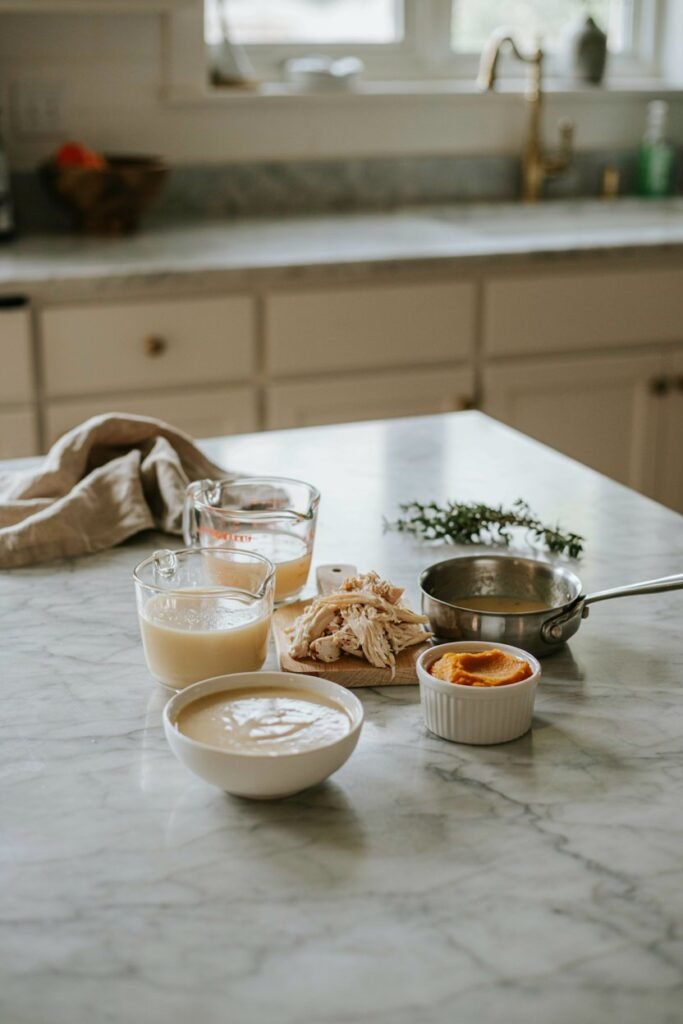
This is the recipe I recommend making first if your cat has never tried homemade gravy.
Chicken is a familiar flavor that most cats already enjoy, and the ingredients are simple enough that you probably have most of them on hand.
It comes together quickly, stores well, and works beautifully as a topper for both wet and dry food.
Why Cats Love This Recipe
Chicken has a mild, savory flavor that most cats naturally recognize.
Combined with a warm, silky broth, it creates a gravy that adds moisture and makes everyday meals much more appealing, especially for picky eaters.
Ingredients
- 1 cup unsalted chicken broth
- 1/2 cup cooked chicken breast or thigh, finely shredded
- 1 tablespoon plain pumpkin puree
- 1/2 teaspoon cornstarch mixed with 1 tablespoon cold water (optional)
Ingredient Notes
Unsalted chicken broth
The broth creates the base of the gravy and provides extra hydration.
Always choose a broth labeled no salt added, and carefully check the ingredient list to make sure it does not contain onion, garlic, or added seasonings.
Cooked chicken
Use plain cooked chicken breast or thigh with no oil, butter, salt, or spices.
Finely shredding the meat instead of leaving large pieces helps it blend evenly throughout the gravy.
Plain pumpkin puree
Pumpkin naturally thickens the gravy while adding a gentle source of fiber.
Be sure to use plain canned pumpkin rather than pumpkin pie filling, which contains ingredients that are not suitable for cats.
Cornstarch (Optional)
If you prefer a thicker gravy, whisk the cornstarch with cold water before adding it to the saucepan.
This simple step prevents lumps and creates a smoother consistency.
Before You Start
Cook the chicken completely and allow it to cool slightly before shredding. Measure all of your ingredients before heating the broth so everything is ready when you need it.
If using cornstarch, prepare the slurry first because it thickens best when added gradually to warm liquid.
How to Make Chicken Cat Gravy
- Pour the chicken broth into a small saucepan and warm it over medium low heat.
- Stir in the shredded chicken and pumpkin puree until everything is evenly combined.
- If using cornstarch, slowly whisk in the prepared slurry and continue stirring for 1 to 2 minutes until the gravy thickens slightly.
- Remove the saucepan from the heat.
- Allow the gravy to cool completely before serving it to your cat.
Texture Tips
For kittens, senior cats, or cats that prefer smoother food, blend the finished gravy for a few seconds until creamy.
If your cat enjoys a little more texture, simply leave the shredded chicken as it is for small, tender bites throughout the gravy.
Easy Variations
- Blend in a small amount of cooked carrot for extra nutrients.
- Add a little more broth if your cat prefers a thinner gravy.
- Swap chicken breast for cooked chicken thigh for a slightly richer flavor.
Storage
Store the gravy in an airtight container in the refrigerator for up to 3 days.
For longer storage, freeze individual portions in an ice cube tray for up to 2 months. Thaw a cube overnight in the refrigerator before serving.
Serving Suggestions
- Spoon over dry kibble to add moisture.
- Stir into wet food for extra flavor.
- Serve a small amount on its own as a light, hydrating treat.
- Warm slightly before serving if refrigerated, making sure it is only lukewarm and never hot.
Prep Time: 15 minutes
Yield: About 1 cup, enough for several servings depending on your cat’s size.
Turkey Cat Gravy
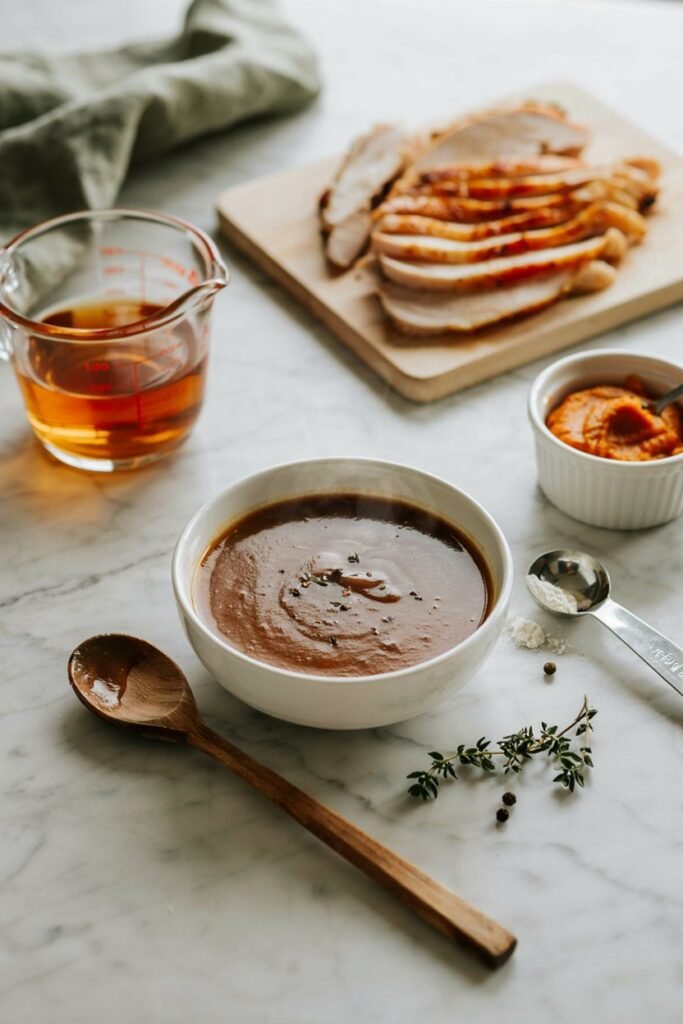
If your cat seems less excited about chicken, this turkey version is a great alternative.
Turkey has a slightly richer aroma and flavor that many cats find just as appealing, making it an easy way to add variety to their meals while still providing extra moisture.
Why Cats Love This Recipe
Turkey has a savory flavor and aroma that feels different from chicken without being overwhelming.
It is a simple way to keep mealtime interesting for cats that have become bored with eating the same protein every day.
Ingredients
- 1 cup unsalted chicken or turkey broth
- 1/2 cup cooked turkey breast, finely shredded
- 1 tablespoon plain pumpkin puree
- 1/2 teaspoon cornstarch mixed with 1 tablespoon cold water (optional)
Ingredient Notes
Unsalted broth
Either chicken or turkey broth works well as the base. If you want a stronger turkey flavor, choose a broth made from turkey.
Always use a broth with no added salt, onion, garlic, or seasonings.
Cooked turkey
Use plain cooked turkey breast without butter, oil, salt, or spices.
Finely shredding the meat helps create a softer texture that mixes evenly into the gravy.
Plain pumpkin puree
Pumpkin naturally thickens the gravy while adding a gentle source of fiber.
Be sure to use plain pumpkin puree rather than pumpkin pie filling.
Cornstarch (Optional)
For a thicker, more sauce like consistency, whisk the cornstarch with cold water before adding it to the warm broth.
Before You Start
Cook the turkey completely and allow it to cool before shredding it into small pieces.
Measure your ingredients ahead of time and prepare the cornstarch slurry if you plan to use it.
Having everything ready makes the recipe quick and easy to prepare.
How to Make Turkey Cat Gravy
- Warm the chicken or turkey broth in a small saucepan over medium low heat.
- Add the shredded turkey and pumpkin puree, stirring until everything is well combined.
- If you prefer a thicker gravy, slowly whisk in the cornstarch slurry and cook for another 1 to 2 minutes while stirring continuously.
- Remove the saucepan from the heat.
- Let the gravy cool completely before serving it to your cat.
Texture Tips
Turkey can be slightly drier than chicken, so blending the finished gravy for a few seconds creates a smoother consistency that many cats find easier to eat.
If your cat prefers more texture, simply leave the shredded turkey as it is.
Easy Variations
- Blend in a small spoonful of plain cooked sweet potato for a gentle touch of natural sweetness.
- Add a little extra broth if you would like a thinner gravy for pouring over dry kibble.
- Mix in a small amount of cooked carrot for additional nutrients.
Storage
Store the gravy in an airtight container in the refrigerator for up to 3 days.
Freeze individual portions in an ice cube tray for up to 2 months, then thaw overnight in the refrigerator before serving.
Serving Suggestions
- Spoon over dry kibble to encourage hydration.
- Stir into wet food for extra flavor.
- Serve a small amount on its own as a savory topper.
- This recipe is especially useful for tempting cats with a reduced appetite, although any ongoing illness should always be discussed with your veterinarian.
Prep Time: 15 minutes
Yield: About 1 cup
Tuna Cat Gravy
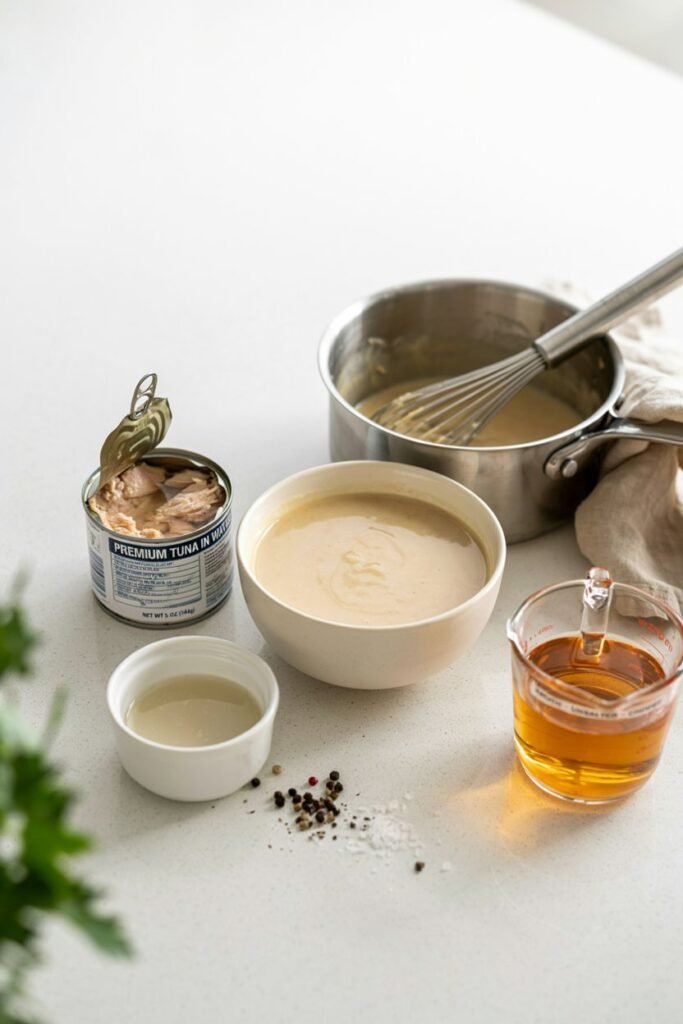
If your cat is a particularly picky eater, this tuna gravy is worth trying.
Tuna has a rich aroma that many cats find irresistible, making it a great choice for adding extra flavor and moisture to everyday meals.
Because of its stronger smell, this recipe is often the one that gets the quickest reaction from cats who are usually hesitant at mealtime.
Why Cats Love This Recipe
Tuna has a bold, fishy aroma that naturally attracts many cats.
Even a small spoonful mixed into their regular food can make a meal much more appealing.
Ingredients
- 1 small can tuna packed in water, drained (reserve the liquid)
- 1/2 cup unsalted chicken broth
- 1/2 teaspoon cornstarch mixed with 1 tablespoon cold water (optional)
Ingredient Notes
Tuna packed in water
Choose tuna packed in water, never oil or brine.
The reserved tuna liquid adds plenty of natural flavor while avoiding the extra salt and fat found in other varieties.
Unsalted chicken broth
The broth creates a larger batch of gravy while balancing the intensity of the tuna flavor.
Always use broth without added salt, onion, garlic, or seasonings.
Cornstarch (Optional)
Since tuna gravy is naturally quite thin, cornstarch can be used to create a thicker, more sauce like consistency.
Before You Start
Drain the tuna and save the liquid before opening the broth. Prepare the cornstarch slurry if you plan to thicken the gravy.
Gather all of your ingredients before heating the saucepan so the recipe comes together quickly.
How to Make Tuna Cat Gravy
- Pour the reserved tuna liquid and chicken broth into a small saucepan.
- Warm the mixture over medium low heat.
- Add the drained tuna and gently stir, breaking it into small flakes.
- If you prefer a thicker gravy, slowly whisk in the cornstarch slurry and cook for another 1 to 2 minutes while stirring.
- Remove from the heat and allow the gravy to cool completely before serving.
Texture Tips
Tuna naturally breaks into soft flakes, so blending is usually unnecessary.
If your cat prefers a smoother consistency, pulse the mixture in a blender for a few seconds before serving.
Easy Variations
- Replace part of the tuna with finely flaked cooked white fish for a milder flavor.
- Add a little more broth if you prefer a thinner gravy.
- Mix with a spoonful of wet food to create an extra flavorful meal topper.
Storage
Store leftovers in an airtight container in the refrigerator for up to 2 days.
Freeze individual portions for up to 6 weeks, then thaw overnight in the refrigerator before serving.
Serving Suggestions
- Spoon over dry kibble for extra moisture.
- Mix into wet food to increase flavor.
- Use as a meal topper for picky eaters.
- Because of its strong aroma, this recipe can be especially appealing to cats with a reduced appetite, although any ongoing illness or loss of appetite should always be discussed with your veterinarian.
Prep Time: 10 minutes
Yield: About 1 cup
Salmon Cat Gravy
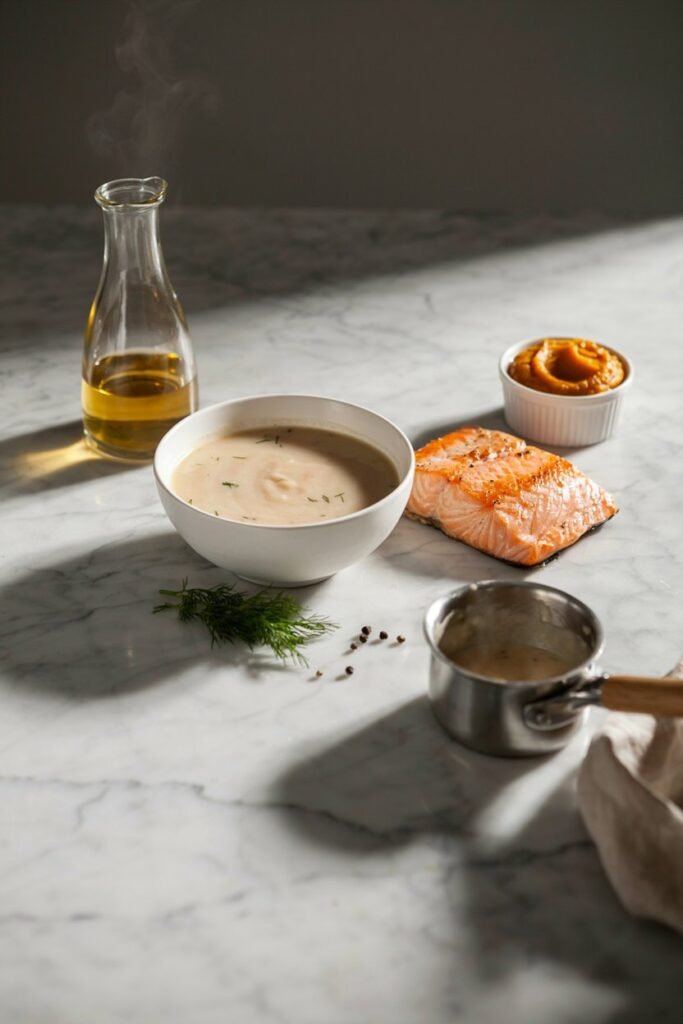
Salmon is a fantastic choice if you want a homemade gravy that is both flavorful and nutritious.
Its naturally rich taste makes it a favorite with many cats, while its healthy fats provide an added nutritional boost.
This recipe is simple to prepare and works especially well as a topper for dry kibble or mixed into wet food.
Why Cats Love This Recipe
Salmon has a rich, slightly oily flavor that many cats find irresistible.
It is also naturally high in omega fatty acids, which help support healthy skin and a shiny coat.
Ingredients
- 1 small can salmon packed in water, drained
- 1/2 cup unsalted chicken broth
- 1/2 teaspoon cornstarch mixed with 1 tablespoon cold water (optional)
Ingredient Notes
Salmon packed in water
Choose canned salmon packed in water, not oil.
Before using it, carefully remove any skin and check for small bones, even though canned bones are usually soft.
Unsalted chicken broth
Chicken broth balances the richness of the salmon while creating a smooth gravy.
A light, unsalted fish stock can also be used if you have one available.
Cornstarch (Optional)
Cornstarch helps create a thicker, more cohesive gravy and blends well with the natural oils found in salmon.
Before You Start
Drain the salmon well and remove any visible skin or bones before flaking it into small pieces.
Measure your ingredients ahead of time and prepare the cornstarch slurry if you plan to use it for thickening.
How to Make Salmon Cat Gravy
- Warm the chicken broth in a small saucepan over medium low heat.
- Add the flaked salmon and stir gently until it is evenly distributed throughout the broth.
- If you prefer a thicker gravy, slowly whisk in the cornstarch slurry and continue stirring for 1 to 2 minutes until slightly thickened.
- Remove the saucepan from the heat.
- Allow the gravy to cool completely before serving.
Texture Tips
For a smoother gravy that coats food more evenly, blend the finished mixture for a few seconds.
If your cat enjoys a little texture, leave the salmon in small flakes.
Easy Variations
- Stir in a small spoonful of plain pumpkin puree for extra fiber.
- Add a little extra broth for a thinner consistency.
- Mix with cooked white fish for a slightly milder seafood flavor.
Storage
Store the gravy in an airtight container in the refrigerator for up to 2 days.
Freeze individual portions for up to 6 weeks, then thaw overnight in the refrigerator before serving.
Serving Suggestions
- Pour over dry kibble to soften it.
- Mix into wet food for extra flavor and moisture.
- Use as a nutritious topper for cats that enjoy seafood.
- Serve at room temperature or slightly warm, never hot.
Prep Time: 10 minutes
Yield: About 1 cup
Expert Tips for Perfect Cat Gravy

These simple tips will help you make homemade cat gravy that is safe, flavorful, and the perfect consistency every time.
- Let the gravy cool completely before serving. Even slightly hot food can burn your cat’s mouth.
- Blend for a smoother texture if your cat is a kitten, a senior, or simply prefers a silky gravy without chunks.
- Never add salt or extra seasonings. Cats have very different nutritional needs and do not require added sodium.
- Avoid onion and garlic completely. Fresh, dried, powdered, or dehydrated forms are all toxic to cats.
- Use fresh, high quality ingredients whenever possible instead of heavily processed meats or flavored broths.
- Freeze individual portions in an ice cube tray so you can thaw only what you need for each meal.
- Stir well before serving since the ingredients may naturally separate during storage.
- Introduce new recipes gradually by mixing a small amount into your cat’s regular food and watching for any digestive upset.
- Use gravy as a meal topper, not a complete meal. It is meant to add moisture and flavor while your cat continues eating a balanced diet.
- Refrigerate leftovers promptly and never leave homemade gravy sitting at room temperature for long periods, as it can spoil quickly.
Ingredient Substitutions

If you are missing an ingredient or want to add a little variety to your cat’s meals, these simple substitutions work well while keeping the recipes safe and nutritious.
- Chicken – Replace with cooked turkey, rabbit, or another lean, unseasoned poultry.
- Turkey – Substitute with cooked chicken using the same quantities and preparation method.
- Salmon – Swap for plain cooked white fish such as cod, haddock, or pollock.
- Tuna – Replace with a small amount of cooked white fish if you prefer a milder seafood flavor.
- Pumpkin puree – Use plain cooked and mashed sweet potato for a similar texture and a gentle source of fiber.
- Chicken broth – Substitute with homemade unsalted bone broth or another unsalted broth made without onion, garlic, or added seasonings.
Whenever you introduce a new ingredient, start with a small serving and monitor your cat for any signs of digestive upset or food sensitivities before making it a regular part of their diet.
Ingredients to Never Use
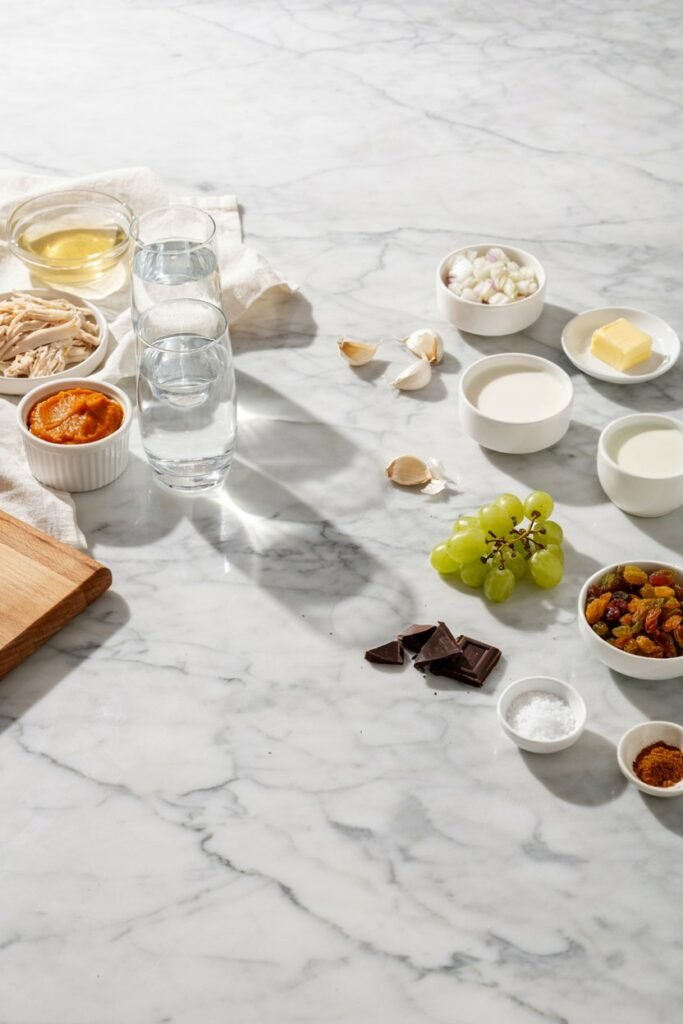
Onion. Toxic to cats in any form, including powder, and can cause damage to red blood cells.
Garlic. Similarly toxic and should never be included, even in small amounts.
Salt. Cats require very little sodium, and added salt offers no benefit while posing unnecessary risk.
Butter. Unnecessary fat that most cats do not digest well in large amounts.
Heavy cream. Many cats are lactose intolerant, and dairy can cause digestive upset.
Grapes and raisins. Toxic to many animals and should never be included in any pet recipe.
Chocolate. Extremely toxic to cats and should never be anywhere near a homemade recipe.
Xylitol. A sugar substitute that is highly toxic to pets, even in small quantities.
Alcohol. Should never be present in any food prepared for a cat.
Excess seasonings. Herbs, spices, and flavor enhancers that are safe for humans are often unnecessary or unsafe for cats, so it is best to keep every recipe as simple as possible.
Serving Suggestions
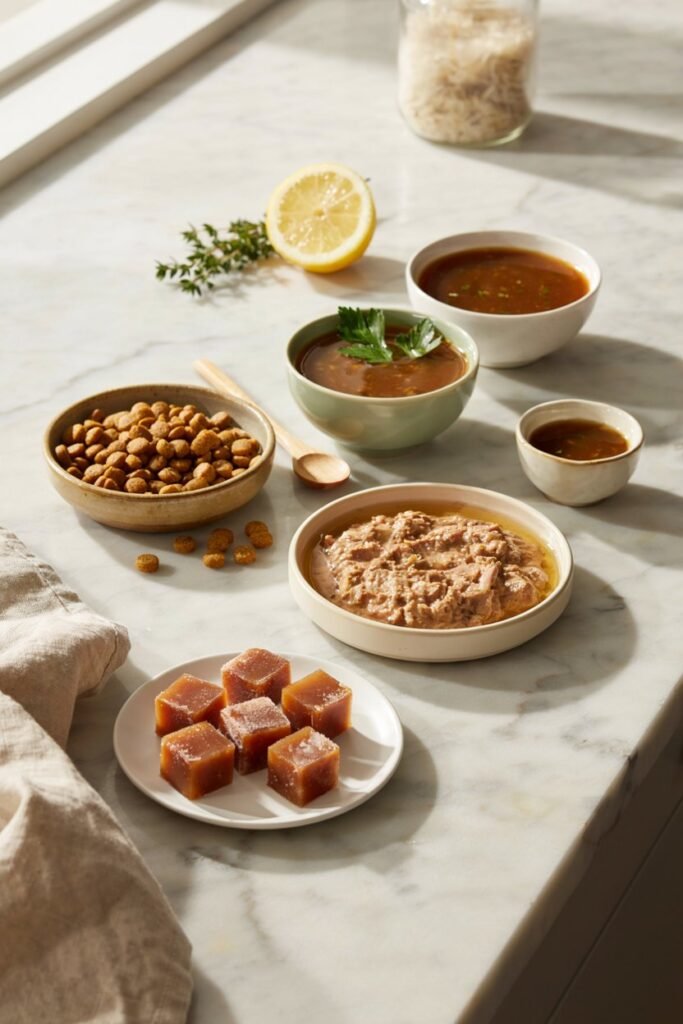
Homemade cat gravy is incredibly versatile and can be used in several ways to make mealtime more enjoyable.
- Pour over dry kibble to add moisture and encourage cats that are reluctant to eat.
- Stir into wet food for extra flavor, aroma, and a softer texture.
- Serve as a light topper over your cat’s regular meal instead of replacing a complete, balanced diet.
- Freeze into small portions for convenient single servings that can be thawed as needed.
- Offer to senior cats who may appreciate softer, more aromatic meals that are easier to eat.
- Use for picky eaters to make everyday meals more appealing and encourage better food intake.
- Save for special occasions such as birthdays, adoption anniversaries, or simply as an occasional homemade treat.
Always serve homemade gravy in moderation and as a complement to your cat’s regular nutritionally balanced food.
Storage Instructions
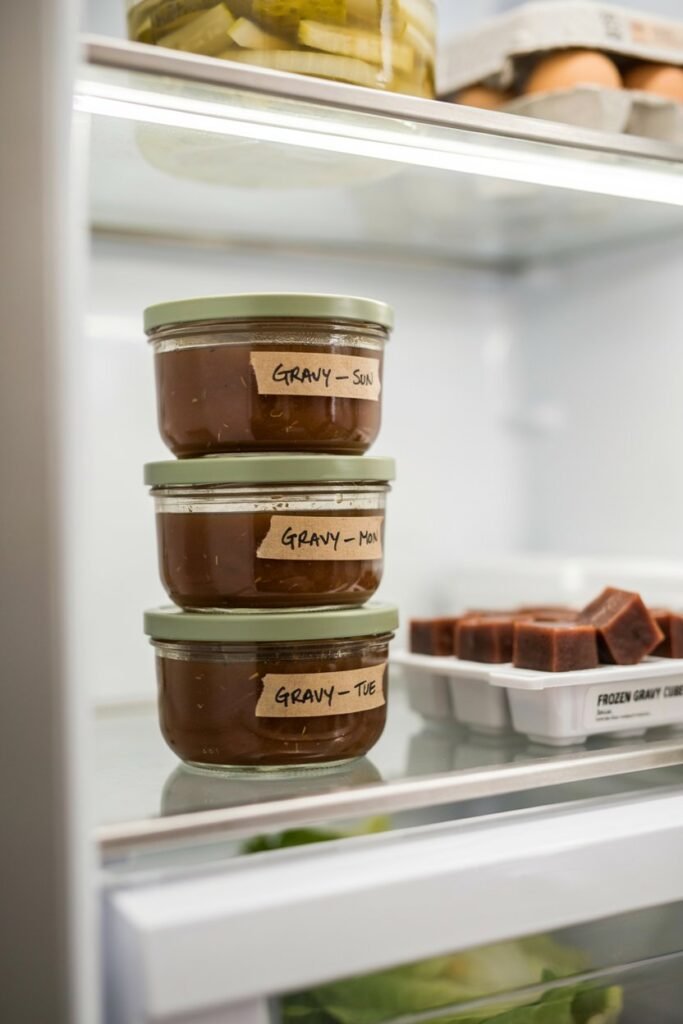
Refrigerator
Poultry based gravies keep for up to 3 days when stored in an airtight container. Fish based gravies are more delicate and should be used within 2 days.
Freezer
Poultry based gravies freeze well for up to 2 months, while fish based versions are best used within 6 weeks for the best flavor and texture.
Reheating
Gravy should be served cool or at room temperature rather than reheated, since warming it again can affect both texture and food safety once it has already been cooled once.
Signs It Has Spoiled
Watch for a sour or off smell, any visible mold, a slimy texture, or separation that does not stir back together. If anything seems off, it is always safer to discard the batch.
Common Mistakes to Avoid

Avoiding a few common mistakes will help keep your homemade cat gravy both safe and enjoyable for your cat.
Using gravy as a complete meal – Homemade gravy is meant to be a topper that adds moisture and flavor, not a replacement for your cat’s balanced daily diet.
Serving the gravy while it is still hot – Always let it cool completely before offering it to your cat to prevent burns.
Using salted or seasoned broth – Choose an unsalted broth that contains no onion, garlic, or added spices.
Making the gravy too thick – It should be smooth and pourable so it easily coats your cat’s food rather than turning into a paste.
Adding milk, cream, or other dairy products – Many adult cats are lactose intolerant and may experience digestive upset.
Leaving gravy at room temperature for too long – Refrigerate leftovers promptly to reduce the risk of bacterial growth.
Frequently Asked Questions
Can kittens eat homemade gravy? Yes, in small amounts once they are eating solid food, though it should always be a gentle addition to an already balanced kitten diet rather than a replacement for it.
How often can I serve cat gravy? A few times a week is generally reasonable for most healthy cats, though it should never replace the bulk of their regular diet.
Can I freeze homemade cat gravy? Yes, freezing in small portions, such as an ice cube tray, makes it easy to thaw exactly what you need.
Can I use beef broth? Yes, as long as it is unsalted and free of onion or garlic, beef broth can be used in place of chicken broth.
Is cornstarch safe for cats? In the small amounts used for thickening, cornstarch is generally considered safe, though it offers no nutritional benefit and is entirely optional.
Can I make gravy without meat? A meat based gravy is more appealing to most cats, since they are obligate carnivores, but a very small vegetable based version can be made in a pinch using broth and pumpkin alone.
How long does homemade gravy last? Around 2 to 3 days refrigerated depending on whether it contains poultry or fish, and up to 2 months frozen.
Can diabetic cats eat homemade gravy? Plain, unsweetened versions without added starches are generally more suitable, but it is best to check with your veterinarian first if your cat has diabetes or another condition requiring a specific diet.
What is the best broth for cats? An unsalted, onion and garlic free broth, ideally homemade, offers the most control over ingredients and sodium content.
Can I use canned chicken? Yes, as long as it is plain and unsalted, canned chicken can be used in place of freshly cooked chicken.
Final Thoughts
Homemade cat gravy is a simple way to make everyday meals more exciting while giving your cat extra moisture and flavor.
By choosing high quality ingredients and avoiding harmful seasonings, you can prepare a fresh topper that suits your cat’s preferences without any guesswork about what is actually in the bowl.
Start with one recipe, observe how your cat responds, and keep a small batch on hand for those days when mealtime needs a little extra encouragement.
If you want to keep building out your cat’s homemade meal rotation, take a look at my homemade cat food recipes, the budget friendly homemade cat gravy recipes, and the chicken and catnip homemade cat treat recipe for even more ways to make mealtime something your cat genuinely looks forward to.
If your cat is on the smaller or thinner side and could use a more calorie dense option, my guide to cat weight gain meals pairs nicely with any of these gravies as a topper.
And if you are caring for an older cat, the tips in my homemade cat food for senior cats post go hand in hand with the softer, more aromatic meals a good gravy helps create.

2 Comments