The Best Homemade Brown Gravy for Dogs
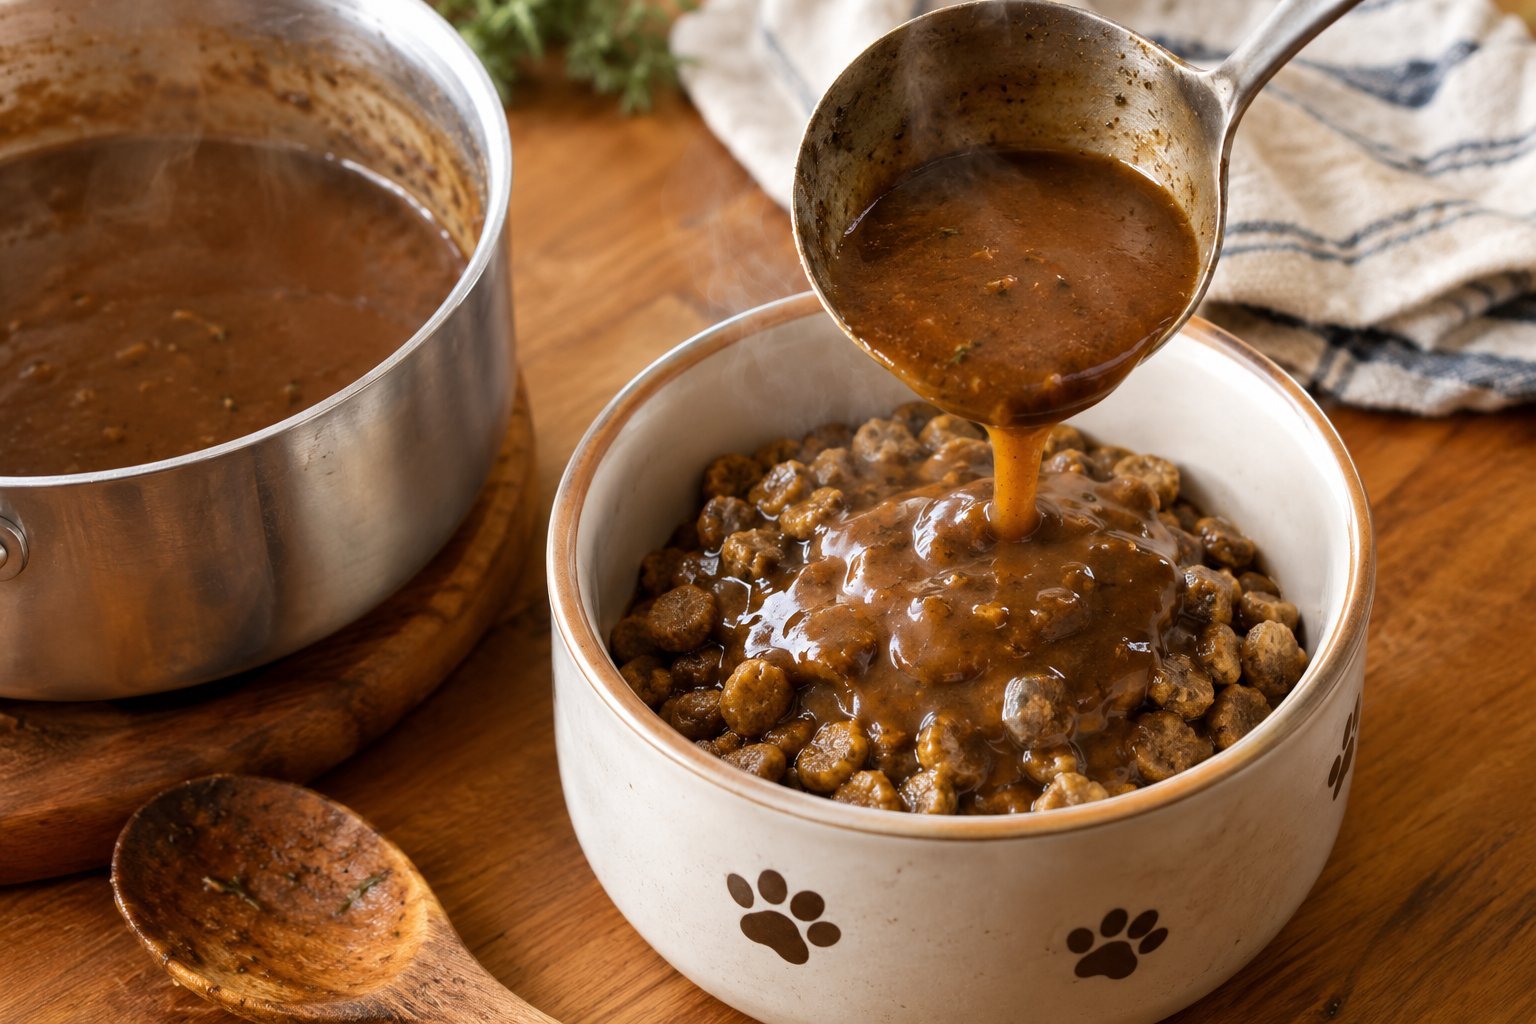
There’s a reason classic brown gravy has such a deep, rich flavor, and it comes down to one simple step most quick gravy recipes skip: browning the flour before adding any liquid.
This version borrows that same technique, giving your dog’s gravy a deeper color and a rounder, toastier flavor than a basic broth based version.
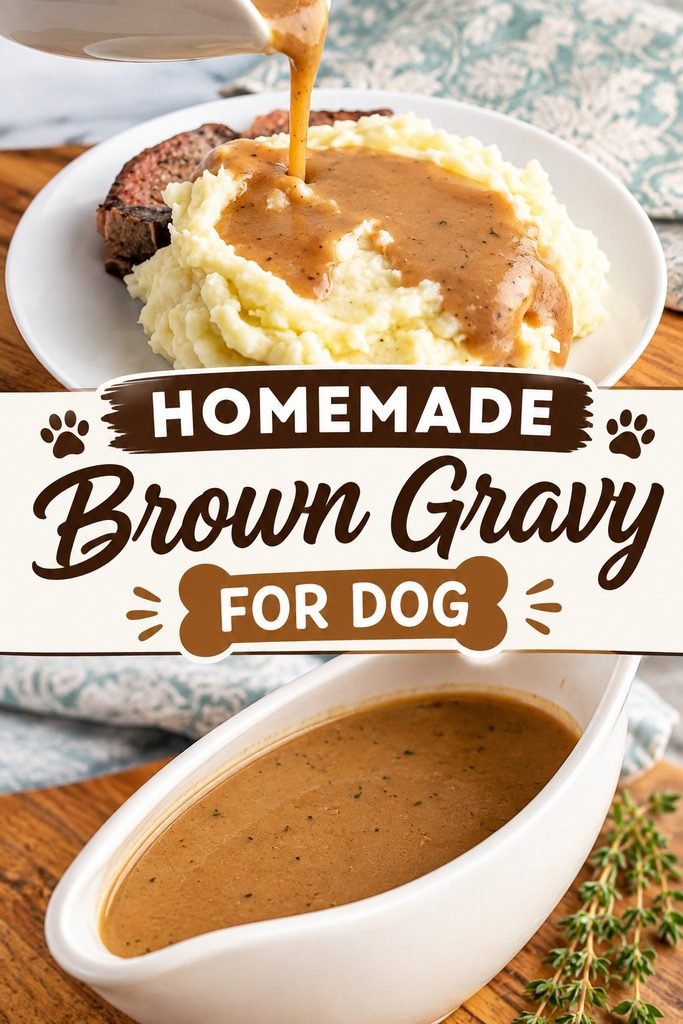
It takes a few extra minutes compared to my other gravy recipes, but the payoff is a gravy that tastes like it took real effort, which makes it a nice option for a special dinner or any time you want mealtime to feel a little more indulgent.
Why You’ll Love This Homemade Brown Gravy
A few reasons this version stands out from a basic gravy.
Deeper flavor. Browning the flour first adds a toasty, rounder taste you don’t get from a quick cornstarch gravy.
Rich, classic color. This gravy looks and tastes like the real thing, just made safe for dogs.
Simple technique. Just one extra step compared to a basic broth gravy.
Great for special meals. A nice way to dress up dinner for a birthday, a holiday, or just because.
Freezer friendly. Portion it into small containers or an ice cube tray and thaw only what you need.
Is This Gravy Safe for Dogs?
Since this version uses a classic roux technique, a few points are worth understanding.
Flour, browned in a bit of fat, forms the base of the roux. This is a small amount relative to the full batch, so it’s generally well tolerated by most dogs, though dogs with a grain sensitivity may do better with one of our other gravy recipes instead.
Broth should always be low sodium and completely free of onion or garlic, both of which are toxic to dogs. Always double check the label, even on broths marketed toward pets.
Fat, used to brown the flour, should be kept to a small, modest amount. A little coconut oil or plain unsalted butter works well, though butter should be used sparingly given some dogs’ sensitivity to dairy.
Cool it before serving. Warm gravy that’s fresh off the stove can burn a dog’s mouth, so always let it cool to a safe, warm temperature before pouring it over food.
Ingredients You’ll Need
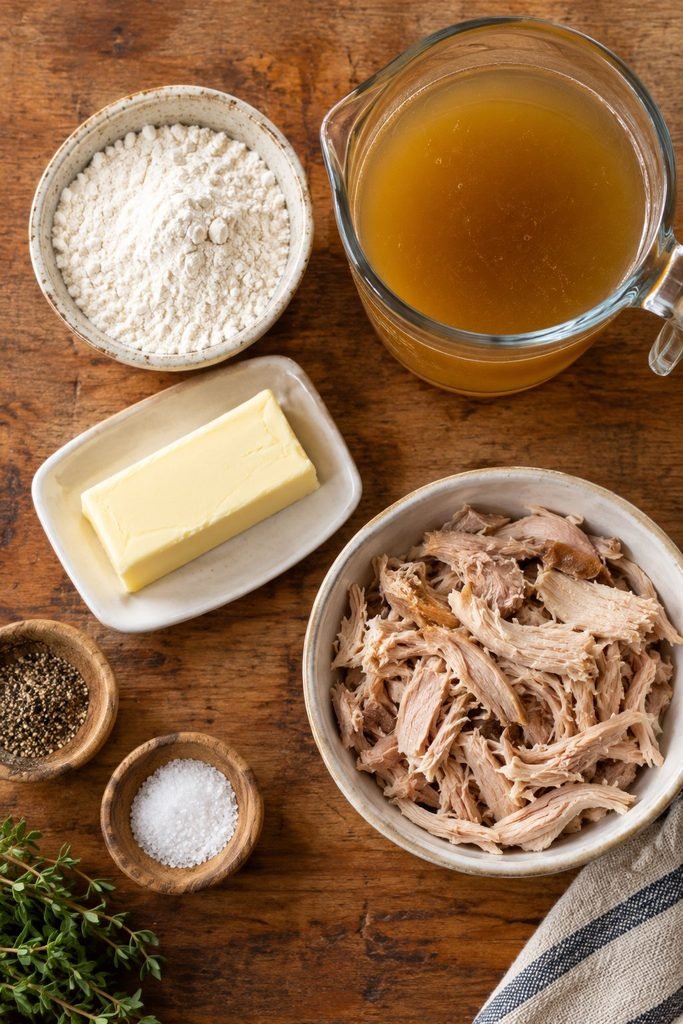
Here’s what goes into this classic style brown gravy.
A small amount of coconut oil or unsalted butter is used to brown the flour, forming the base of the roux.
Flour browns in the fat to build the gravy’s deep color and flavor.
Low sodium broth, free of onion and garlic, provides the liquid base.
A small amount of shredded, plain cooked meat, optional, adds extra flavor and protein.
Ingredient List
- 2 tablespoons coconut oil or unsalted butter
- 2 tablespoons flour
- 2 cups low sodium beef or chicken broth, no onion or garlic
- 1/4 cup shredded, plain cooked meat, optional
How to Make The Best Homemade Brown Gravy
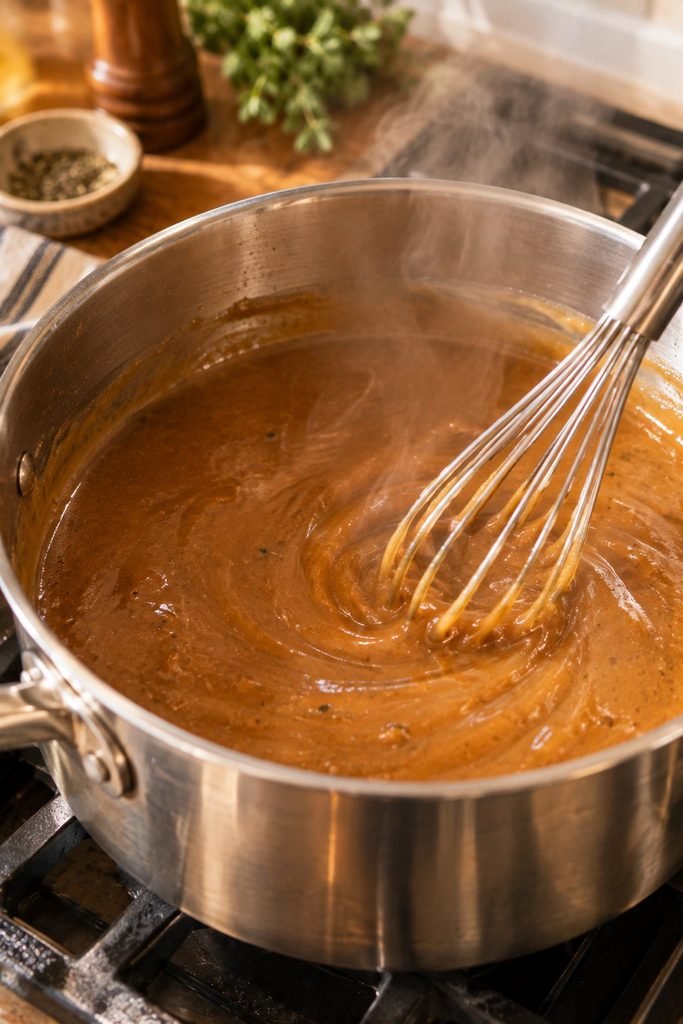
- Melt the coconut oil or butter in a saucepan over medium low heat.
- Add the flour and whisk continuously, cooking for 3 to 5 minutes, until the mixture turns a light golden brown and smells lightly toasted. Watch it closely, since flour can go from browned to burnt quickly.
- Slowly whisk in the broth, a little at a time, making sure each addition is fully incorporated before adding more, to avoid lumps.
- Continue whisking and let the gravy simmer for 3 to 5 minutes, until it thickens to a smooth, pourable consistency.
- Stir in the shredded meat, if using, and let it warm through for another minute.
- Remove from heat and let the gravy cool slightly before serving.
- Pour over your dog’s regular food, using just enough to moisten it without soaking the bowl.
Getting the Right Consistency
A few notes on texture for this recipe.
If the gravy turns out too thick, whisk in a small amount of warm broth until it loosens to a pourable consistency.
If it turns out too thin, mix a small amount of additional flour with a splash of cold water until smooth, then whisk it into the simmering gravy for another minute or two.
Keep in mind that gravy continues to thicken slightly as it cools, so it’s best to stop just shy of your ideal consistency while it’s still on the stove.
Recipe Variations
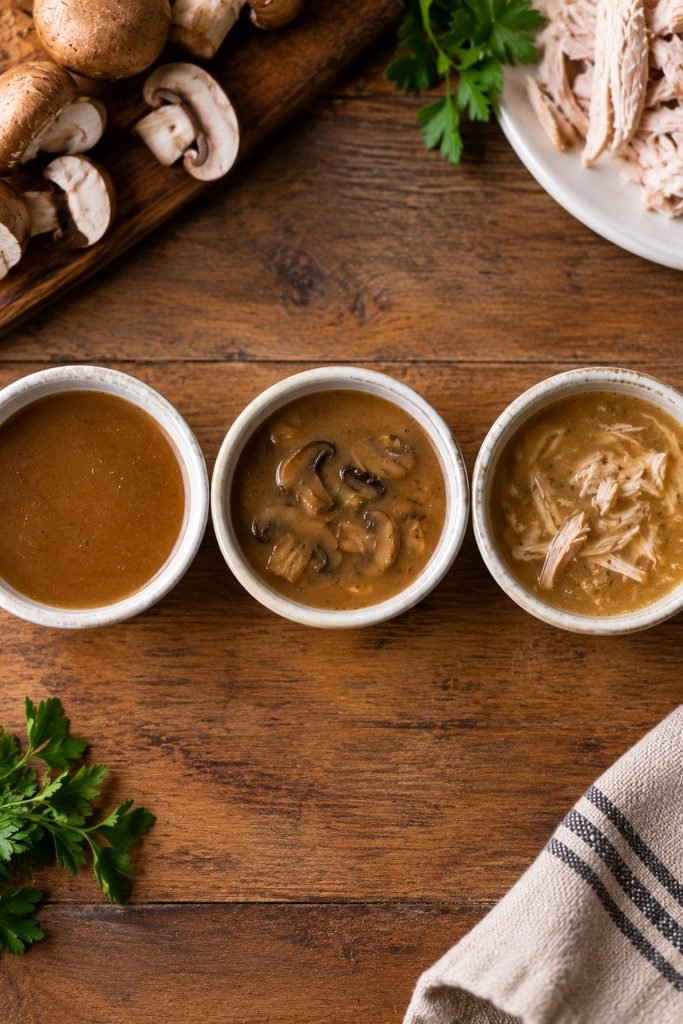
Once you’ve made the base recipe, these variations are worth trying.
Beef and mushroom brown gravy. Add a small amount of finely chopped, plain cooked mushroom for extra depth.
Turkey brown gravy. Use turkey broth and shredded turkey for a lighter version, especially nice around the holidays.
Bone broth brown gravy. Use a homemade bone broth in place of store bought stock for even more flavor.
Grain free version. For dogs with a grain sensitivity, try our original Homemade Dog Gravy or Best Homemade Dog Gravy Recipe instead, both of which use gentler thickening methods.
Common Mistakes to Avoid
Browning the flour too quickly. Keep the heat at medium low and whisk constantly, since flour can burn fast once it starts to brown.
Adding all the broth at once. Pouring it in gradually while whisking helps prevent lumps from forming.
Using a broth with onion or garlic. Always check the label, even on broths marketed for pets.
Adding salt or seasoning. Keep this gravy entirely plain from start to finish.
Serving it too hot. Let the gravy cool to a safe, warm temperature before pouring it over your dog’s food.
How Much Gravy Should You Use?
A small amount goes a long way. For most dogs, two to four tablespoons poured over a regular meal is enough to add flavor and moisture without turning the bowl into a soup. Larger dogs can use a bit more, while smaller dogs need only a spoonful.
How to Store This Homemade Brown Gravy
Refrigerator. Store cooled gravy in an airtight container in the fridge for up to four days.
Freezer. For longer storage, freeze the gravy in small portions using an ice cube tray, then transfer the frozen cubes to a freezer bag once solid.
Always check gravy before serving, and discard anything that smells off or shows any sign of spoilage.
Can You Freeze This Gravy?
Yes, and freezing in small portions is one of the most convenient ways to keep this recipe on hand.
- Let the gravy cool completely before freezing.
- Pour it into an ice cube tray or small freezer safe containers.
- Once frozen solid, transfer the cubes into a labeled freezer bag.
- Thaw a portion in the fridge overnight, or warm gently on the stove before serving.
Frozen gravy generally keeps its quality for up to two months.
Frequently Asked Questions
What makes this different from your other gravy recipes? This version browns the flour in fat first, building a deeper color and flavor similar to a classic roux based gravy. For a simpler, quicker option, try our original Homemade Dog Gravy, or for a chunkier, meat forward version, try our Best Homemade Dog Gravy Recipe.
Can I use butter instead of coconut oil? Yes, a small amount of unsalted butter works well, though it should be used sparingly given some dogs’ sensitivity to dairy.
Why did my roux turn out lumpy? This usually means the broth was added too quickly. Whisk in the liquid gradually, making sure it’s fully incorporated before adding more.
Can I use store bought broth? Yes, as long as it’s low sodium and free of onion and garlic.
How long does this gravy last? About four days in the fridge and up to two months in the freezer when stored properly.
Can puppies have this gravy? In small amounts, most puppies can enjoy this gravy, but check with your veterinarian first, especially for very young puppies.
Is it okay to use this gravy every day? It’s best used as an occasional topper rather than a daily addition, especially for dogs managing their weight.
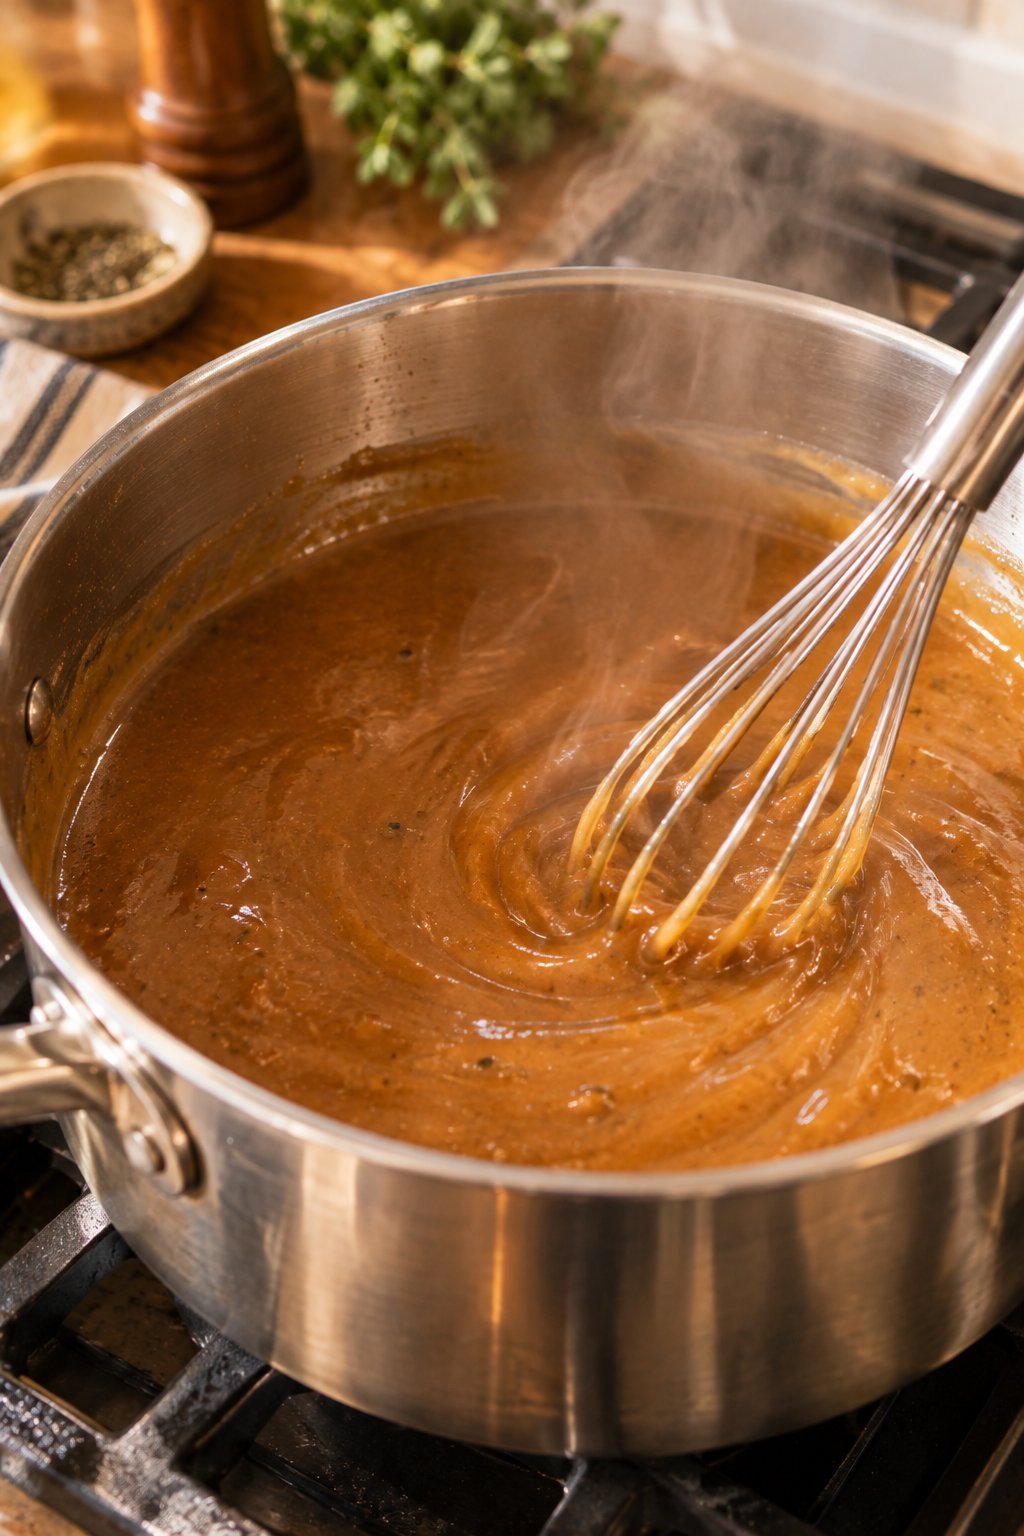
Homemade Brown Gravy for Dogs
Ingredients
Equipment
Method
- Heat a skillet over medium heat. Add the ground turkey and cook thoroughly, breaking it into small pieces as it cooks.
- Once the turkey is fully cooked, remove it from the heat. Drain any excess fat if needed.
- Add the unsalted chicken broth to a small saucepan and warm it over medium heat.
- Place the oat flour in a small bowl and add a few tablespoons of the warm broth. Whisk until smooth. This helps prevent lumps from forming in the gravy.
- Pour the oat flour mixture back into the saucepan and whisk continuously.
- Add the pumpkin puree and cooked ground turkey. Continue stirring as the mixture gently simmers.
- Cook for approximately 5 to 7 minutes, stirring regularly, until the gravy thickens to a smooth consistency.
- Remove the saucepan from the heat and allow the gravy to cool to a safe serving temperature.
- Spoon a small amount over your dog’s regular food and serve.
- Broth Tip: Always check the ingredient label carefully. Many regular broths contain onion, garlic, excessive salt, or seasonings that should not be included in a dog gravy.
- Consistency: For a thinner gravy, add a little more unsalted broth. For a thicker gravy, simmer it for another few minutes.
- Serving: Use the gravy as a small meal topper rather than replacing your dog’s complete and balanced food.
- Storage: Store cooled gravy in an airtight container in the refrigerator for up to 3 days. You can also freeze small portions for convenient future use.
- Common Mistake to Avoid: Do not add salt, onion, garlic, pepper, butter, seasoning cubes, or human gravy mixes. Dogs do not need these ingredients for a flavorful meal topper.
- Serving Tip: I like to let the gravy cool completely before adding it to food, especially when preparing several portions ahead of time.
A Final Note on Serving This Gravy
This has become the gravy I reach for when I want dinner to feel a little more special, whether that’s a birthday, a holiday, or just a night that calls for something a bit richer than usual.
The extra few minutes spent browning the flour make a real difference, and it’s become one of those small touches that makes mealtime feel like more of an event.
More Homemade Recipes to Try
If you’re building out your dog’s homemade meal rotation, these recipes pair well with this gravy.
- Homemade Dog Gravy
- Best Homemade Dog Gravy Recipe
- Meatloaf Dog Cake
- Healthy Homemade Beef and Apple Stew for Dogs
For a wider look at feeding your dog at home, check out 7 Healthiest Homemade Dog Foods.