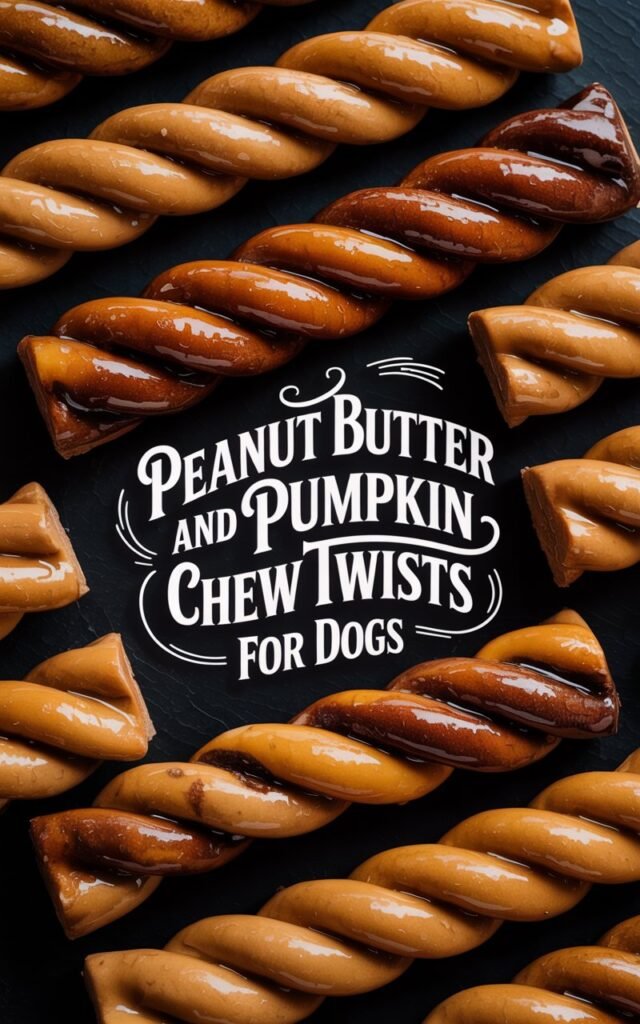
Peanut Butter and Pumpkin Chew Twists for Dogs
A Homemade Treat That Became a Family Favorite
I never planned to become the kind of person who makes homemade dog treats.
Honestly, between work, family responsibilities, kids running around the house, and trying to squeeze in moments of rest, it felt like one more thing on an already full plate.
But life has a funny way of pushing you into small habits that quietly become meaningful.
These peanut butter and pumpkin chew twists for dogs started as a simple experiment on a quiet weekend afternoon.
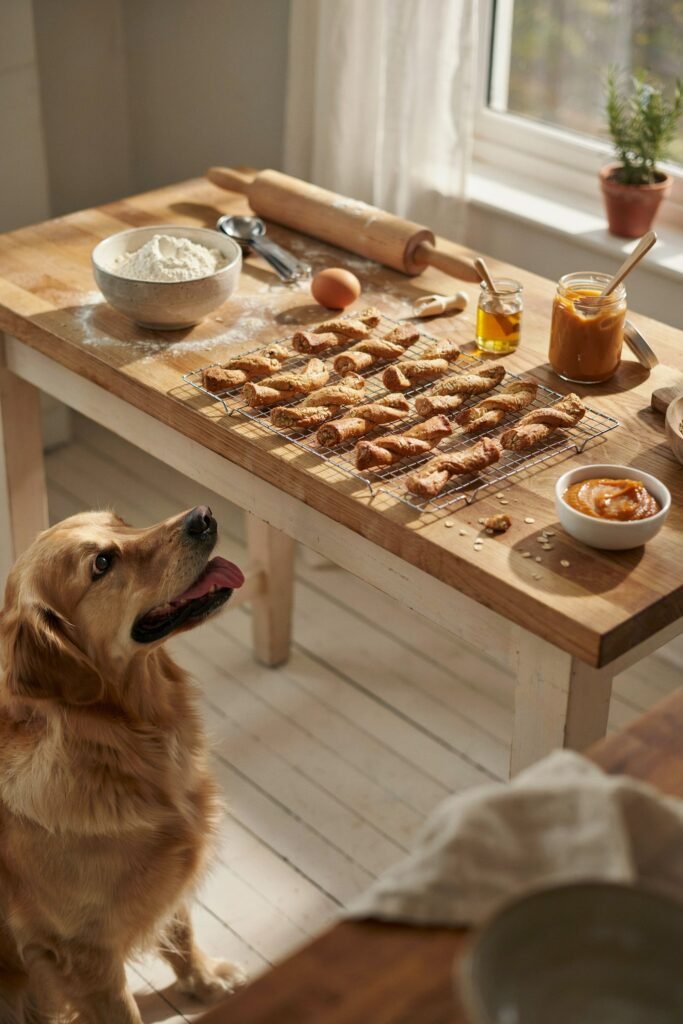
They ended up becoming something my family now associates with laughter, messes in the kitchen, kids sneaking tastes of ingredients, and our dog sitting patiently by the oven like he knows something special is coming.
This post isn’t just about a dog treat recipe. It’s about how something small can turn into a shared moment in a busy household.
Disclaimer: This post may contain affiliate links, which means I may earn a small commission at no extra cost to you. Homemade dog treats should be offered in moderation and should not replace a complete and balanced diet. Consult your veterinarian if your dog has allergies, dietary restrictions, or health concerns.
Amazon Shopping List: Peanut Butter and Pumpkin Chew Twists for Dogs
- Dog-Safe Peanut Butter (Xylitol-Free)
- Pure Pumpkin Purée (Unsweetened)
- Silicone Dog Treat Twist Molds
- Stainless Steel Mixing Bowl Set
- Measuring Cups and Spoons Set
- Nonstick Baking Sheet
- Airtight Dog Treat Storage Container
How This Recipe Became Part of My Routine
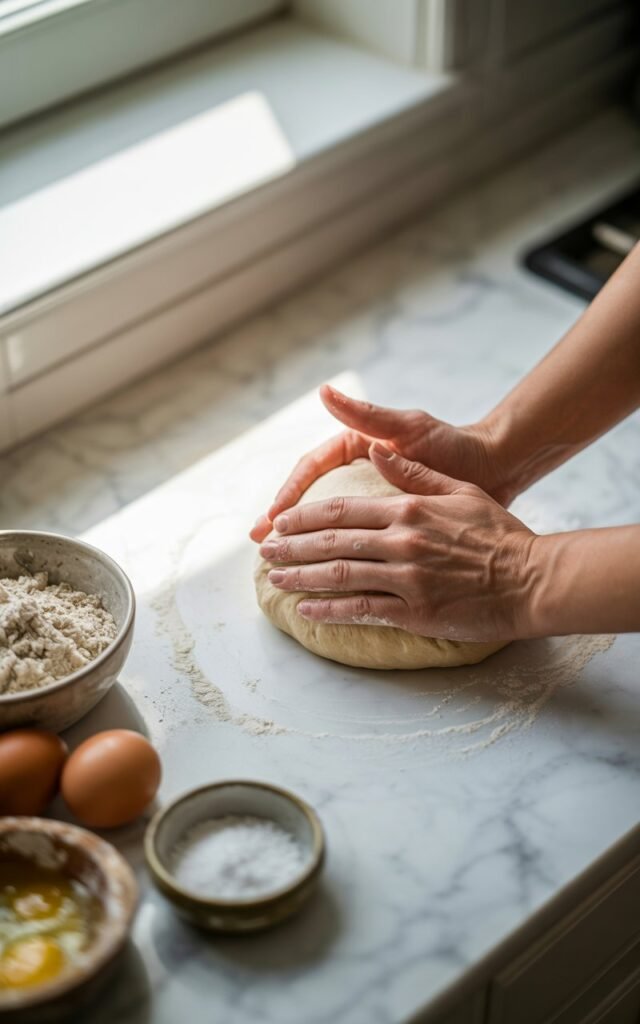
I work long hours, and some days feel like a blur of deadlines, chores, school pickups, and trying to be present for everyone at once.
Our dog has always been a source of calm in the chaos. No matter how loud the house gets or how tired I feel, he’s there, tail wagging, completely unfazed.
One evening, after reading ingredient labels on store-bought dog treats and not loving what I saw, I decided to try making something myself.
I wasn’t aiming for perfection. I just wanted something simple, safe, and homemade.
The first batch was far from pretty. The twists weren’t uniform, the shapes were awkward, and flour ended up everywhere.
The kids thought it was hilarious. My youngest kept asking why the dog got “cookies” and he didn’t.
My friends laughed when I sent pictures, but they also asked for the recipe.
That’s when I knew this was worth sharing.
Why Peanut Butter and Pumpkin Work So Well Together
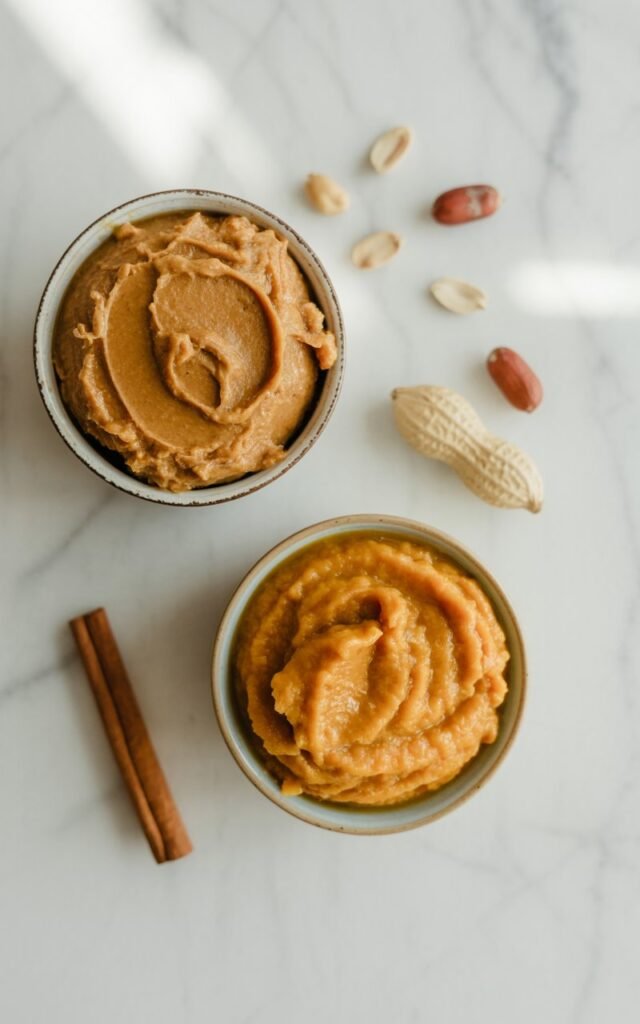
What I love about this combination is how uncomplicated it is.
Peanut butter has a smell dogs instantly recognize.
The moment I open the jar, our dog is suddenly right beside me, sitting perfectly still like he’s trying to prove he deserves the treat already.
Pumpkin, on the other hand, was a pleasant surprise. I originally used it because I had leftover canned pumpkin from a family baking project.
Over time, I noticed how gentle it is on digestion and how much dogs seem to enjoy the taste.
Together, they create a soft but chewy texture that works well for twists, especially when baked slowly.
A Treat That Fits Into Family Life
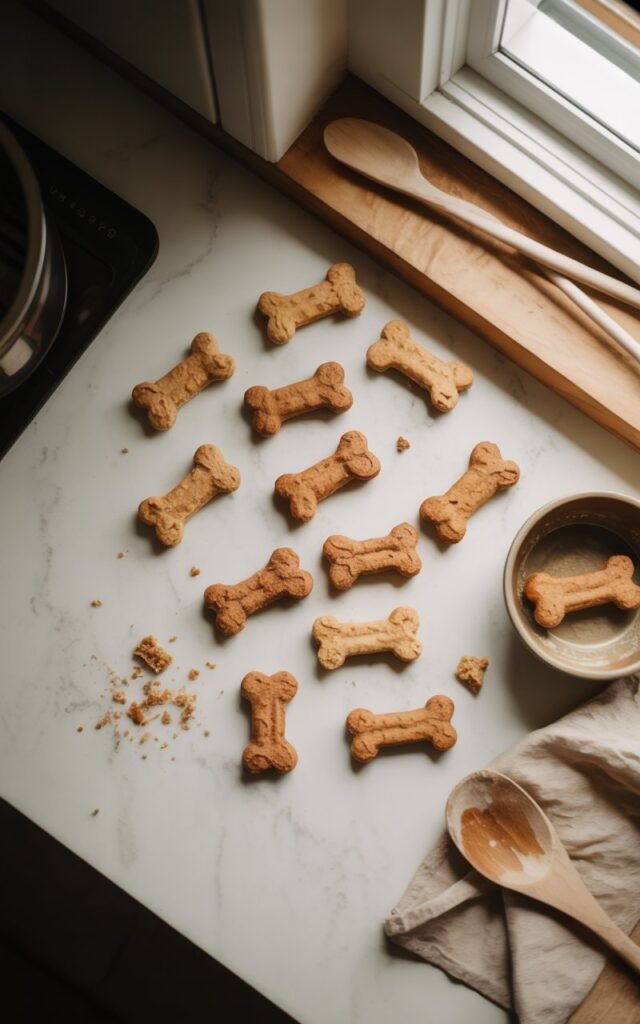
This recipe fits into my life because it doesn’t demand perfection or silence.
I usually make these on weekends when the house is alive with noise.
Sometimes the kids help roll the dough, sometimes they just sit at the counter telling me stories about school while I work.
My friends have come over during baking sessions, coffee in hand, joking about how our dogs eat better than we do.
Even on days when I’m exhausted from work, there’s something grounding about kneading dough and knowing it’s for a creature who gives nothing but loyalty in return.
Ingredients I Always Keep Simple
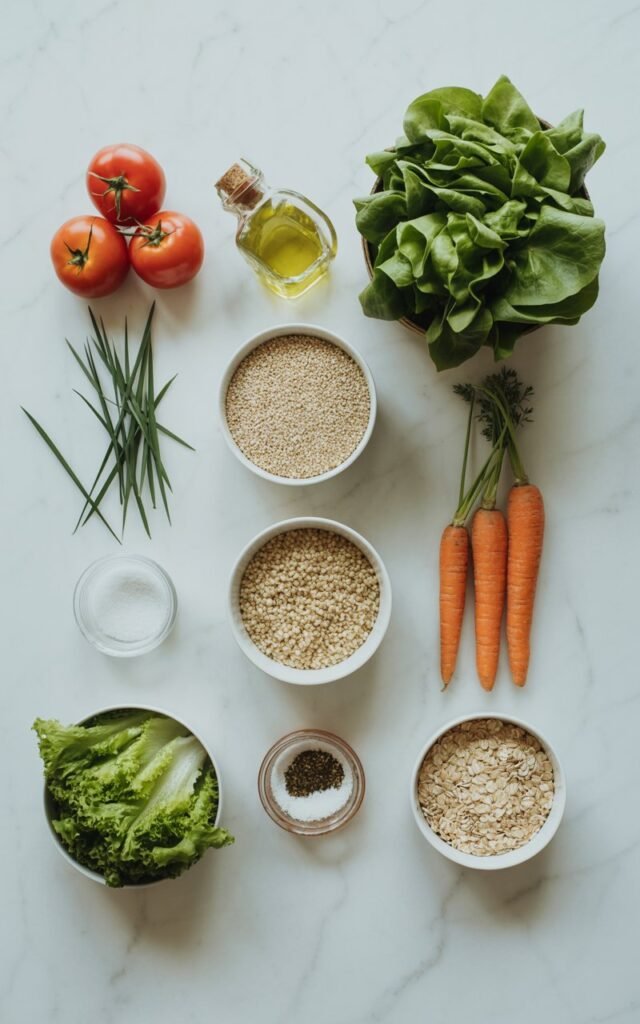
I’m not someone who likes complicated recipes, especially when kids are involved and distractions are constant.
For these chew twists, I stick to basics:
1 cup oat flour
I use oat flour because it’s gentle on most dogs’ stomachs and gives the chew twists a soft, chewy texture.
It also adds fiber to help support healthy digestion.
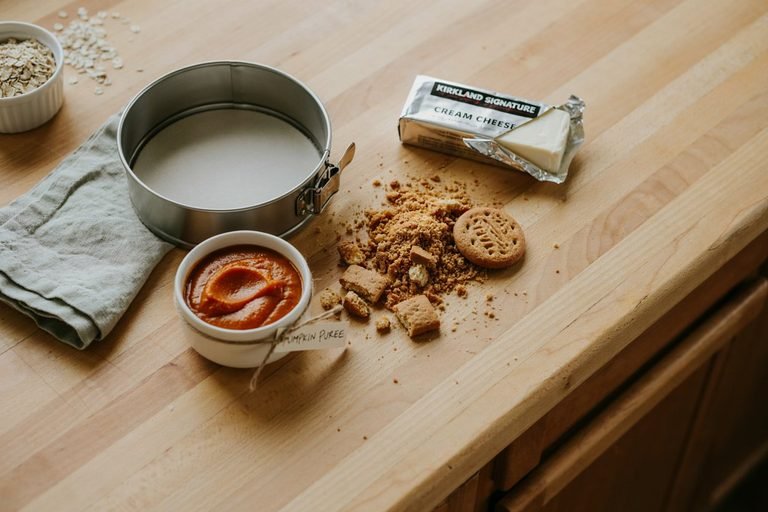
½ cup plain pumpkin puree
Pumpkin puree keeps the dough moist while adding natural sweetness and fiber.
It’s one of my go to ingredients because my dogs love the flavor and it supports healthy digestion.
¼ cup natural peanut butter
Natural peanut butter gives these treats their rich, nutty flavor that dogs can’t seem to resist.
I always choose one that’s free from xylitol, added sugar, and artificial sweeteners.
1 large egg
The egg helps bind the dough together while adding high quality protein and essential nutrients that support strong muscles and overall health.
1 tablespoon coconut oil, melted
I like adding a little coconut oil because it helps create a smoother dough and provides healthy fats that support a shiny coat and healthy skin.
2 tablespoons water, if needed
Depending on the pumpkin puree, I sometimes add a little water to bring the dough together.
It helps create a soft, easy to shape dough that’s perfect for twisting before baking.
How I Make the Chew Twists
Step 1: Get Everything Ready
I like to start by preheating my oven to 325°F (163°C) and lining a baking sheet with parchment paper.
Having everything ready before I mix the dough makes the whole process much more enjoyable.
Step 2: Mix the Wet Ingredients
In a large bowl, I combine the pumpkin puree, natural peanut butter, egg, and melted coconut oil.
I stir until everything is smooth and creamy, and by this point my dogs are usually already waiting in the kitchen, hoping for a taste.
Step 3: Add the Oat Flour
Next, I gradually mix in the oat flour until a soft dough forms.
If it feels a little dry, I add a splash of water, just enough to make the dough easy to handle without becoming sticky.
Step 4: Knead the Dough
I transfer the dough onto a lightly floured surface and knead it gently for a minute or two.
This helps bring everything together and makes the dough smooth enough to shape.
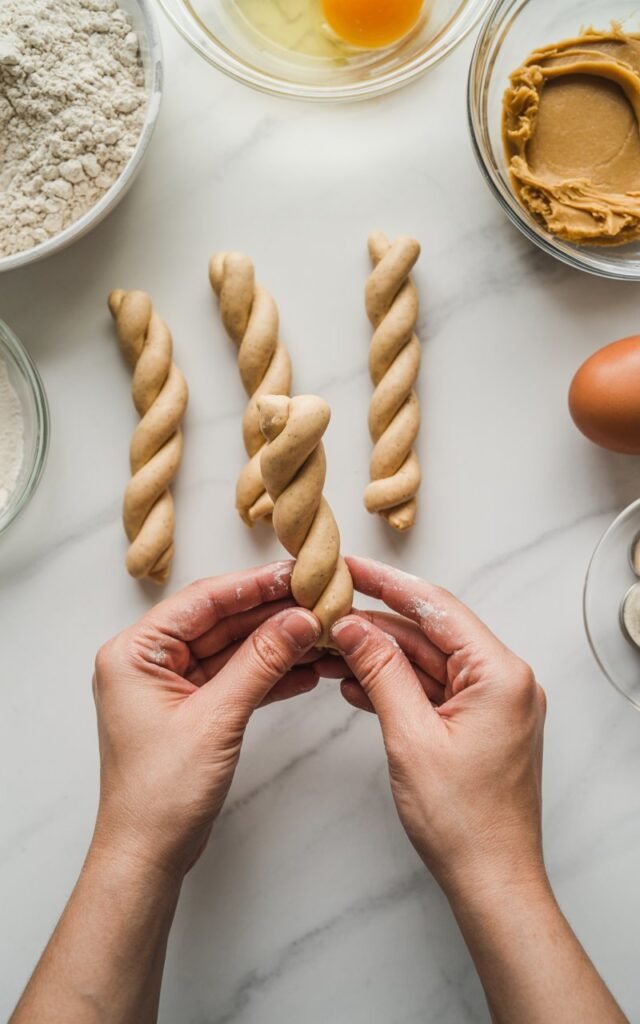
Step 5: Roll and Twist
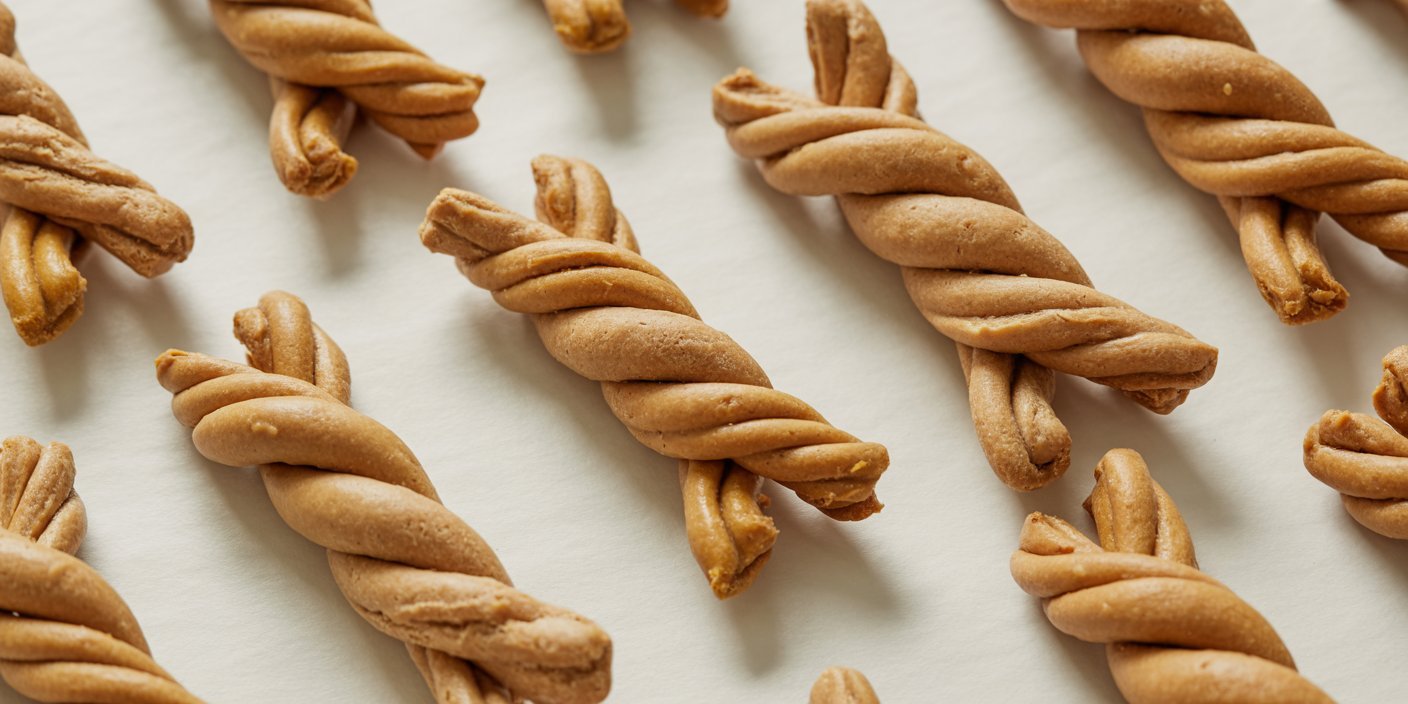
I divide the dough into small portions, roll each one into a rope about 6 inches long, then gently twist it.
This is my favorite part because the treats start looking like real chew sticks, and they’re surprisingly fun to make.
Step 6: Bake Until Golden
I place the twists on the prepared baking sheet and bake them for 25 to 30 minutes, until they’re lightly golden and firm around the edges.
Step 7: Let Them Cool
Once they’re out of the oven, I let the chew twists cool completely on a wire rack.
They become a little firmer as they cool, giving them the perfect chewy texture.
Step 8: Store for Later
If there are any treats left after the taste test, I store them in an airtight container.
They stay fresh for several days in the refrigerator, and I often freeze a batch so I always have a homemade reward ready for my dogs.
The First Time My Dog Tried Them
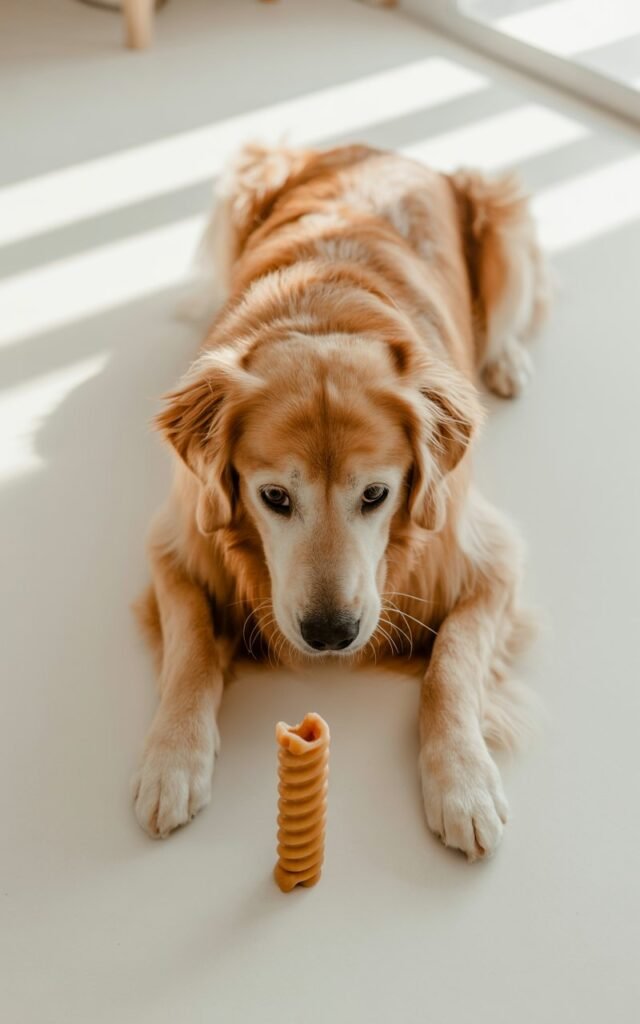
I still remember the first time I gave him one.
He sniffed it carefully, looked up at me like he was checking for permission, and then took it gently from my hand.
No hesitation. No second thoughts.
That moment made every messy counter and flour-covered surface worth it.
Since then, these chew twists have become our go-to treat for training, rewards, or just because.
Sharing Them With Friends and Family
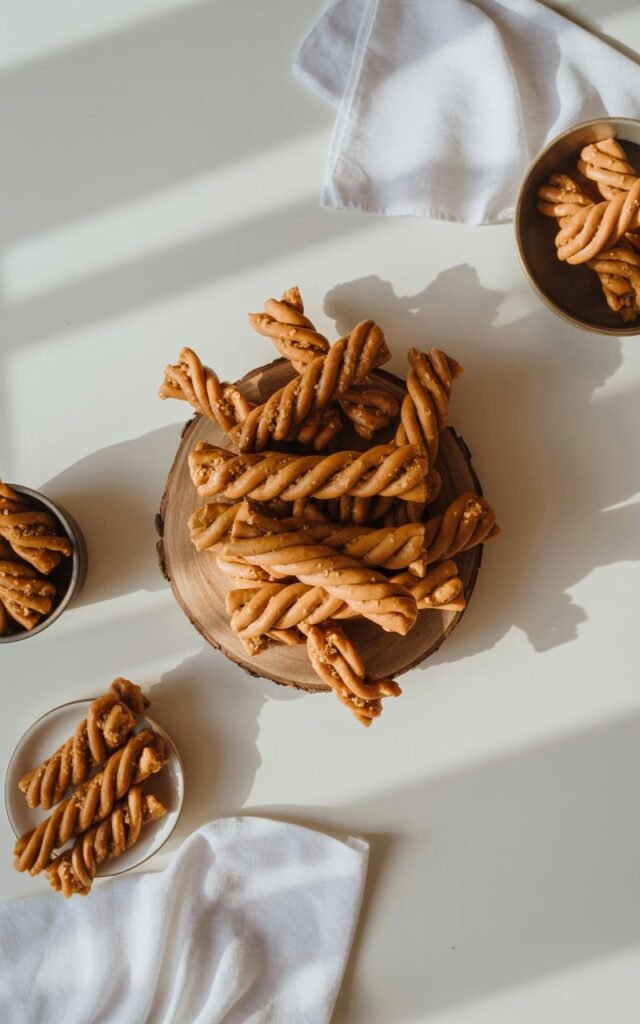
Over time, friends started asking for extras when they visited.
Family members with dogs requested batches during holidays. It became one of those small things people associate with me.
I’ve packed them in little bags for friends, handed them out after playdates, and even had my kids proudly explain how “we make these at home.”
There’s something special about sharing something homemade, even when it’s for dogs.
Why I Keep Coming Back to This Recipe
Life gets busy. Work gets demanding. Kids grow fast. Friends move, schedules change, and days blur together.
But this recipe remains simple, comforting, and grounding.
It reminds me to slow down, include my family in small rituals, and find joy in doing things with my hands instead of rushing through everything.
Storage and Shelf Life in My Home
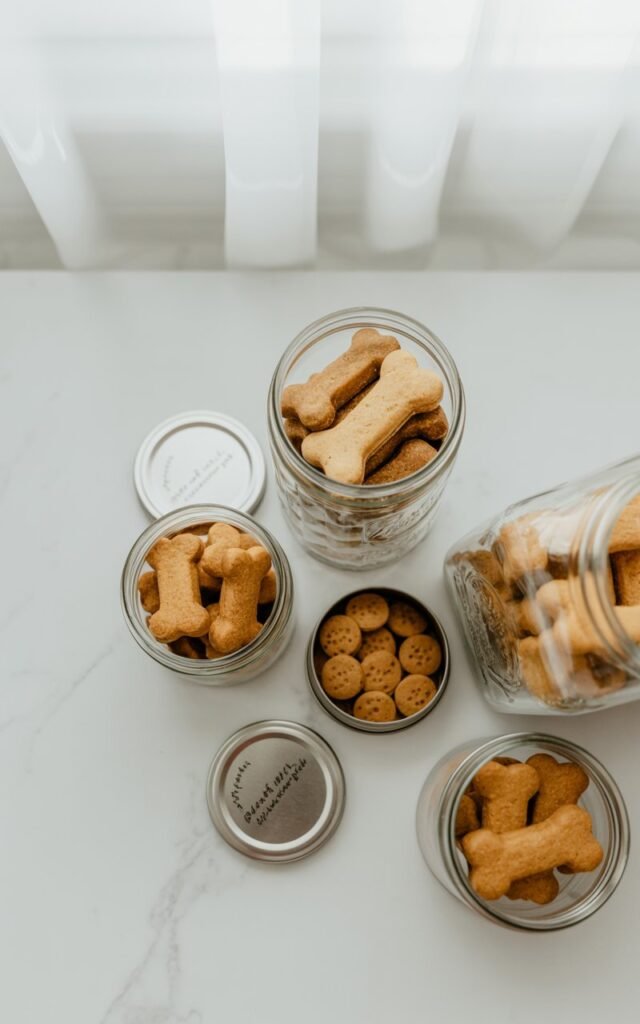
I usually store these chew twists in an airtight container on the counter for short-term use or in the fridge if I make a larger batch.
They also freeze well, which has saved me on more than one hectic week when I wanted to give our dog something special without extra effort.
Extra Tips for the Best Peanut Butter and Pumpkin Chew Twists
- Always use natural peanut butter and double check that it does not contain xylitol, as this sweetener is toxic to dogs.
- If the dough feels sticky, sprinkle in a little more oat flour until it’s easy to roll and twist.
- Try to make each twist about the same size so they bake evenly.
- For a softer chew, bake for the lower end of the recommended time. For a firmer, longer lasting treat, leave them in the oven a few extra minutes.
- Let the chew twists cool completely before giving them to your dog. They’ll become firmer as they cool.
- Store a few in the refrigerator for the week and freeze the rest so you always have homemade treats ready.
- If your dog is new to homemade treats, start with one small chew twist and see how they tolerate the ingredients.
- These treats are meant to be an occasional reward and should be fed alongside a balanced diet.
Frequently Asked Questions
Can I use canned pumpkin?
Yes. Just make sure you’re using 100% plain pumpkin puree, not pumpkin pie filling, which contains added sugar and spices.
What kind of peanut butter is safe for dogs?
Choose a natural peanut butter that contains only peanuts or peanuts and a little salt.
Always make sure it’s free from xylitol and artificial sweeteners.
How should I store these chew twists?
Store them in an airtight container at room temperature for up to 5 days, in the refrigerator for up to 2 weeks, or freeze them for up to 3 months.
Can puppies eat these treats?
Yes, if they’re already eating solid food. Offer small pieces first and introduce any new treats gradually.
Can I make these gluten free?
Yes. Since oat flour is naturally gluten free when certified, these chew twists can be a great gluten free option for many dogs.
How many chew twists can I give my dog?
These treats should be given in moderation.
Small dogs can enjoy half to one twist, while medium and large dogs can usually have one whole twist, depending on their size and daily calorie intake.
Final Thoughts
Peanut butter and pumpkin chew twists for dogs may seem like a small thing, but in my home, they represent time spent together, laughter in the kitchen, and a reminder that care doesn’t always have to be complicated.
Sometimes, the best routines are the ones that fit naturally into real life.
If you’ve ever thought about making something homemade for your dog but felt unsure, this is your sign to try.
It doesn’t need to be perfect. It just needs to be made with intention.
And trust me, your dog will notice.