Blueberry & Coconut Gummies for Dogs Recipe

I’ll never forget the first time I tried baking something special for Max, our golden retriever.
It was his fourth birthday, and I wanted to do something more than just give him his usual kibble or a store-bought treat.
I wanted him to feel included in the celebration — like he was part of the family fun.
I remember my kids standing on stools in the kitchen, eyes wide with excitement, and Max sitting patiently on the floor, tail wagging so fast it could sweep crumbs off the counter.
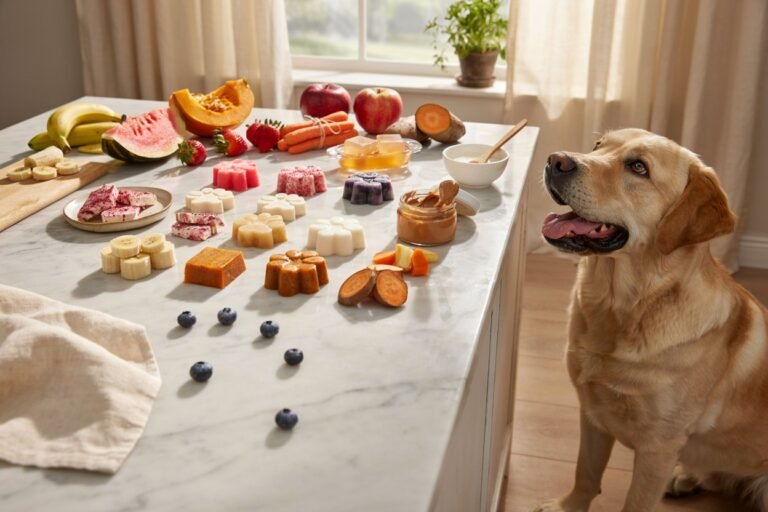
That day, I experimented with blueberries and coconut, two of Max’s favorite flavors, and ended up creating gummies that he absolutely loved.

Over the years, these little treats have become a staple in our home. They’re perfect for birthdays, training rewards, or just a mid-day snack.
The combination of sweet blueberries and creamy coconut is irresistible to dogs, while also being wholesome and nourishing.
I love making them not just because Max enjoys them, but because it’s a small way for my family and I to spend time together, teaching my kids about cooking, creativity, and caring for animals.
Disclaimer: This post may contain affiliate links, which means I may earn a small commission at no extra cost to you. Always ensure ingredients are safe for dogs and consult your veterinarian before introducing new treats into your dog’s diet.
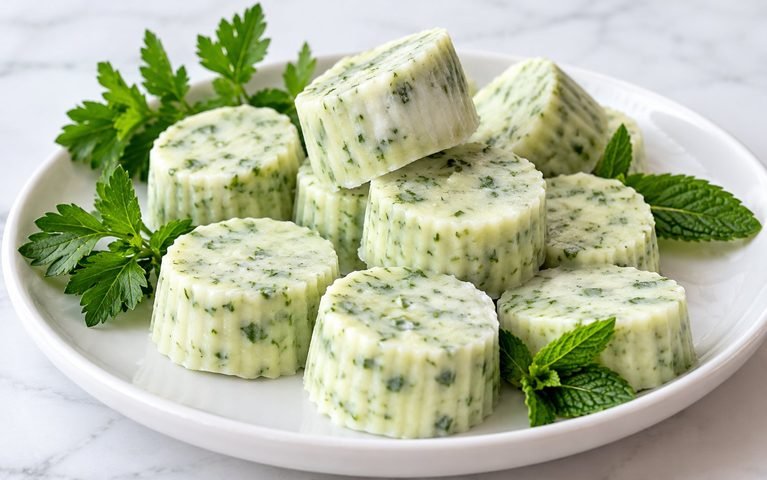
Amazon Shopping List: Chicken Bone Broth Gummy Treats for Dogs (3-Ingredient Snack)
- Silicone Dog Treat Molds (Bone or Paw Shapes)
- High-Quality Chicken Bone Broth (Low Sodium, Dog Safe)
- Unflavored Gelatin Powder (Natural Gelling Agent)
- Stainless Steel Mixing Bowl Set
- Whisk or Silicone Mixing Spatula
- Measuring Cups and Spoons Set
- Airtight Treat Storage Container
Why I Choose Blueberries and Coconut

When I started experimenting with homemade dog treats, I wanted ingredients that were both safe and beneficial.
Blueberries were an easy choice — Max had always been curious about the fruit when he saw me snacking, and I learned that they’re full of antioxidants and fiber, supporting his immune system and digestion.
Coconut adds richness and flavor that dogs seem to adore, and it has its own health benefits.
It contains healthy fats that help maintain a shiny coat and provide energy, and its natural sweetness means I don’t have to use artificial ingredients.
Together, blueberries and coconut make a treat that feels indulgent but is actually nutritious and safe.

Ingredients You’ll Need
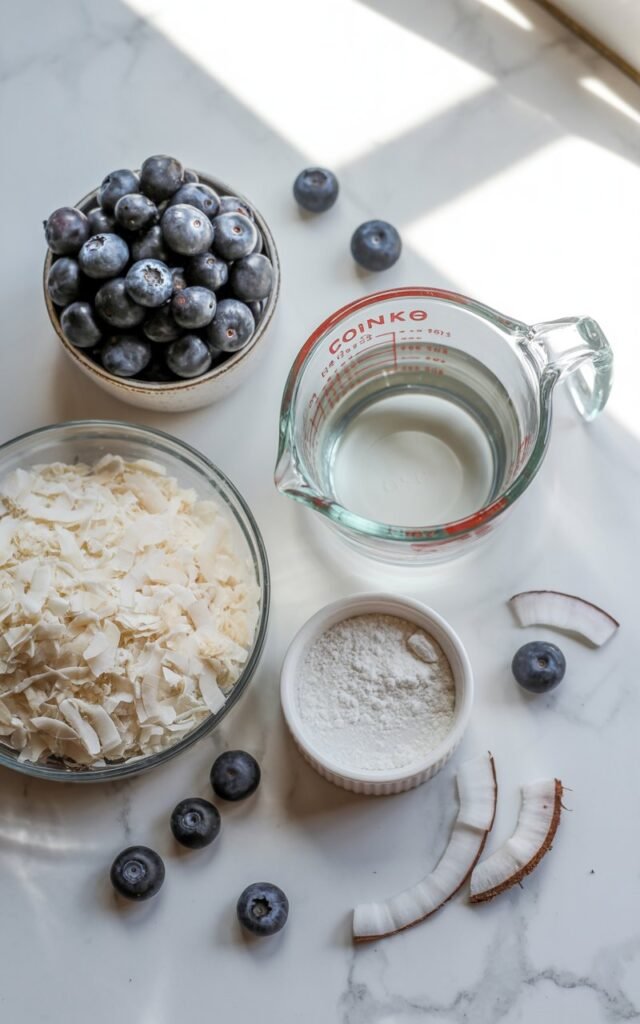
One of the reasons I keep coming back to this recipe is because every ingredient is simple, wholesome, and chosen with my dogs in mind.
I love making treats that are both delicious and nourishing, and these are the ingredients I always reach for.
1 cup fresh blueberries
Blueberries are my favorite fruit to use because they’re naturally sweet and packed with antioxidants, vitamins, and fiber.
They add great flavor while giving these gummies a healthy nutritional boost.
½ cup unsweetened coconut milk
I use unsweetened coconut milk to create a smooth, creamy texture that my dogs love.
It also adds healthy fats that help support a soft, shiny coat.
2 tablespoons plain gelatin powder
Gelatin is what transforms the mixture into soft, chewy gummies.
I also like that it provides collagen, which may help support healthy joints and overall mobility.
1 tablespoon unsweetened shredded coconut
A little shredded coconut gives these treats extra texture and a subtle coconut flavor.
It also adds a bit of healthy fat and fiber without overpowering the recipe.
1 teaspoon honey (optional)
Sometimes I add a small drizzle of honey if I want a touch of extra sweetness.
It’s completely optional, but my dogs certainly don’t complain when I include it.
I only use it for adult dogs and never for puppies.
1 tablespoon water
I use a little water to help everything blend together into a smooth mixture, making it easy to pour into the molds for perfectly shaped gummies every time.
Step 1: Prepare the Molds
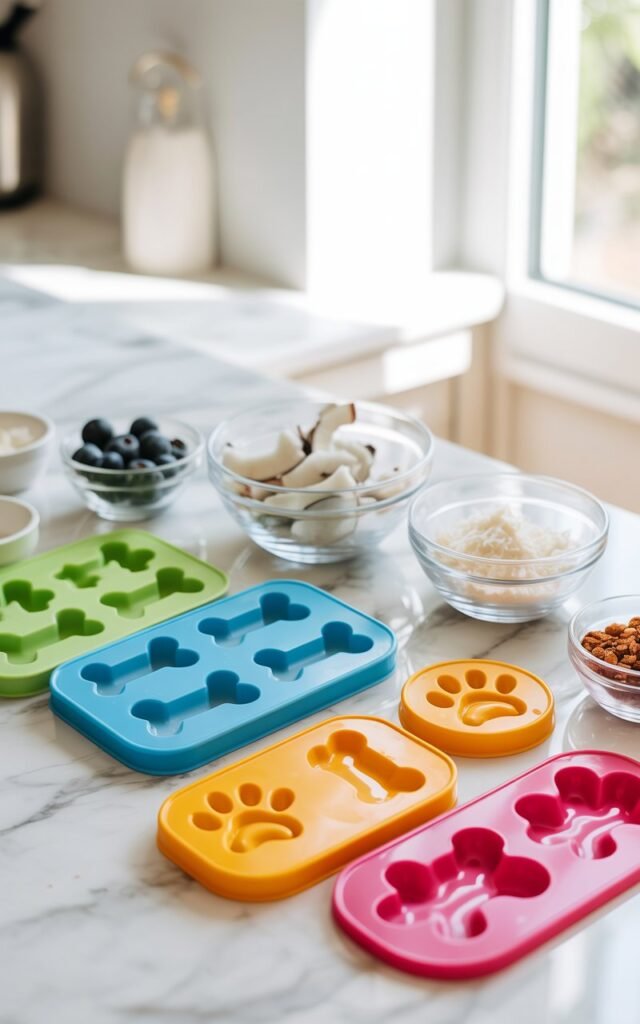
I like to use silicone molds or an ice cube tray because they make it easy to remove the gummies once set.
Max usually sits beside me, watching every move as if he knows something delicious is on the way.
My kids love helping at this stage too, filling the molds carefully and making sure each one has just the right amount.
Step 2: Blend the Ingredients
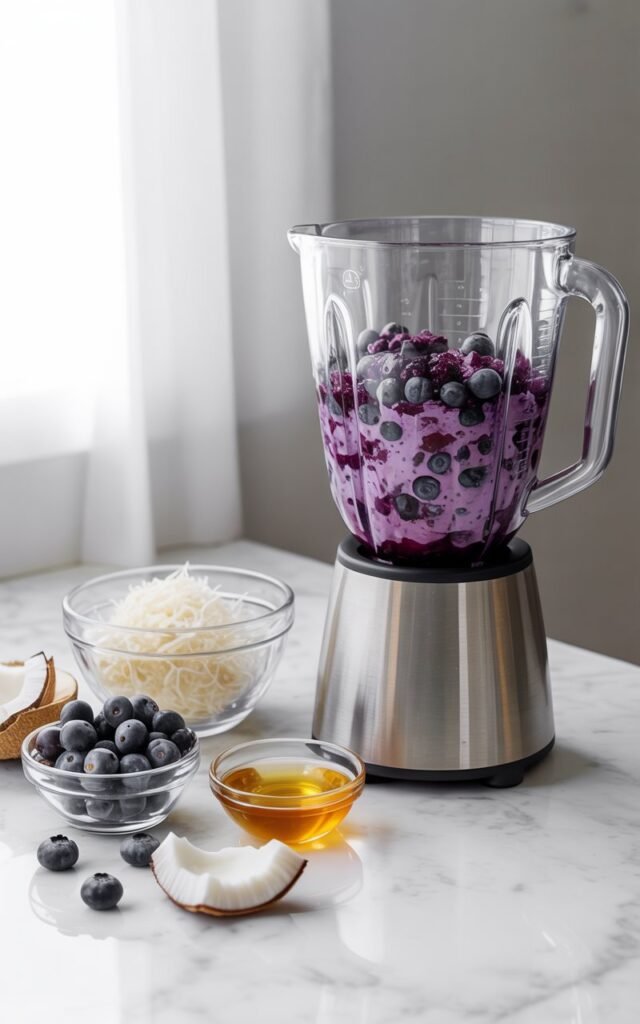
I blend the blueberries, coconut milk, and coconut oil until smooth.
The color is vibrant, and the scent of blueberries fills the kitchen — even the kids can’t resist a little taste (strictly human, of course!).
- Tip: If using frozen blueberries, let them thaw slightly for smoother blending.
Step 3: Heat and Add Gelatin
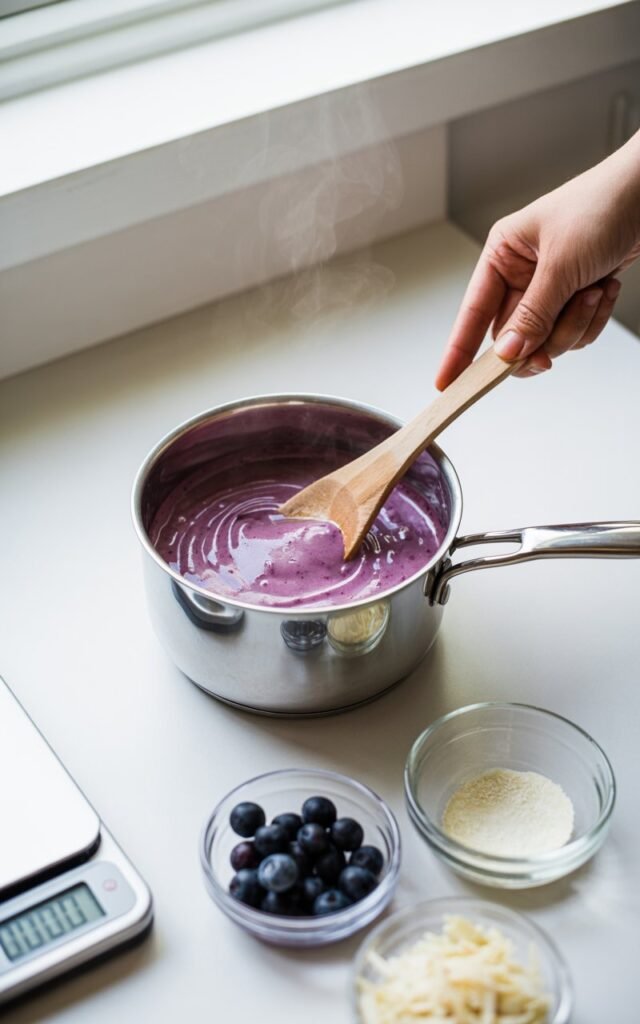
In a small saucepan over low heat, I gently warm the mixture, stirring constantly.
Then I gradually add the gelatin, making sure it dissolves completely.
This is the step where the liquid begins to thicken and transform into something gummy-like.
I’ve learned to keep the heat low to preserve the nutrients and prevent burning.
Step 4: Pour Into Molds
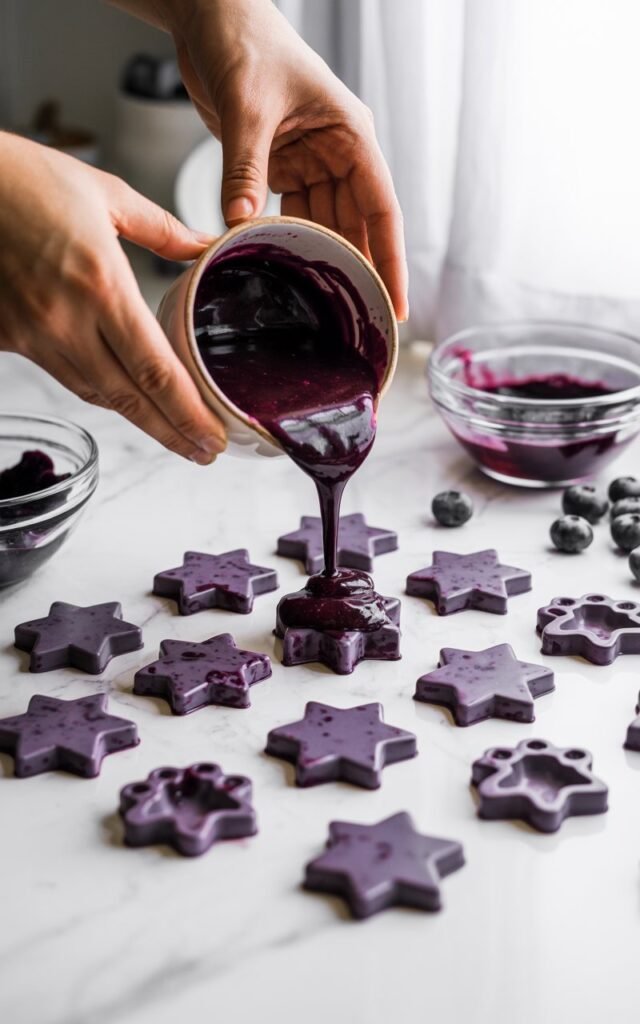
Once the gelatin is fully incorporated, I carefully pour the mixture into the prepared molds.
Max watches intently, and sometimes I catch him gently pawing at the edge of the counter in excitement.
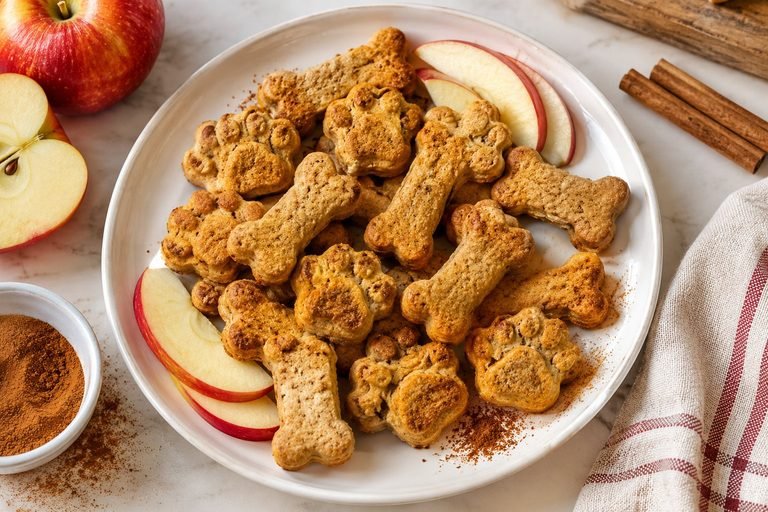
Silicone molds make this step easy, and they allow for fun shapes like stars, hearts, or little paw prints, which my kids adore.
Step 5: Chill Until Firm
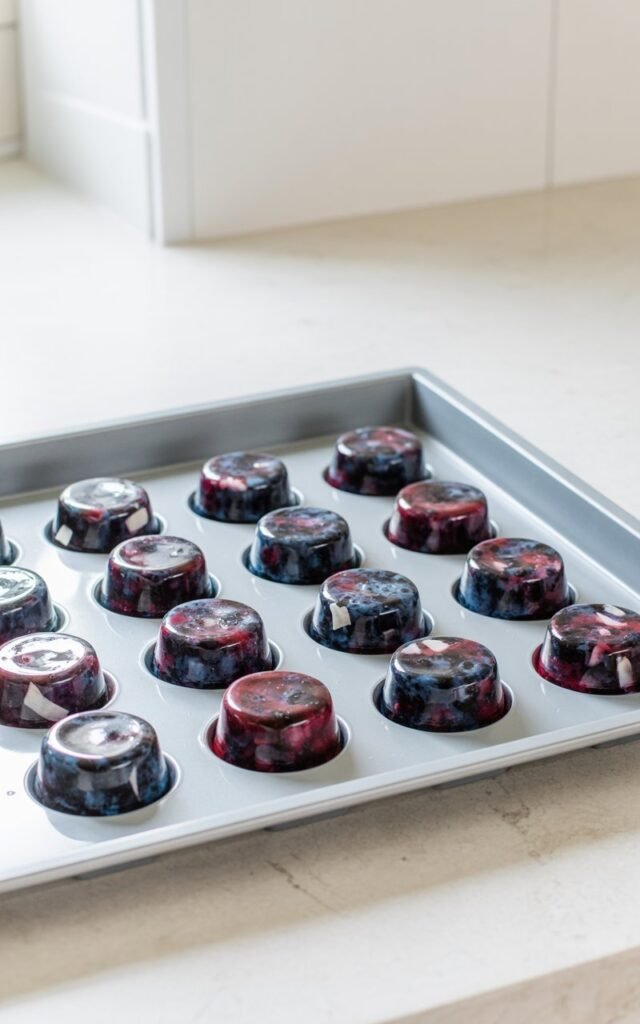
The molds go into the refrigerator for at least two hours.
This is the hardest part for Max — and for my kids — because the aroma alone is enough to make them anxious.
I often use this time to clean up or prepare a little birthday setup if we’re celebrating.
After chilling, the gummies are firm, slightly jiggly, and ready for decorating or serving.
Step 6: Serve or Store
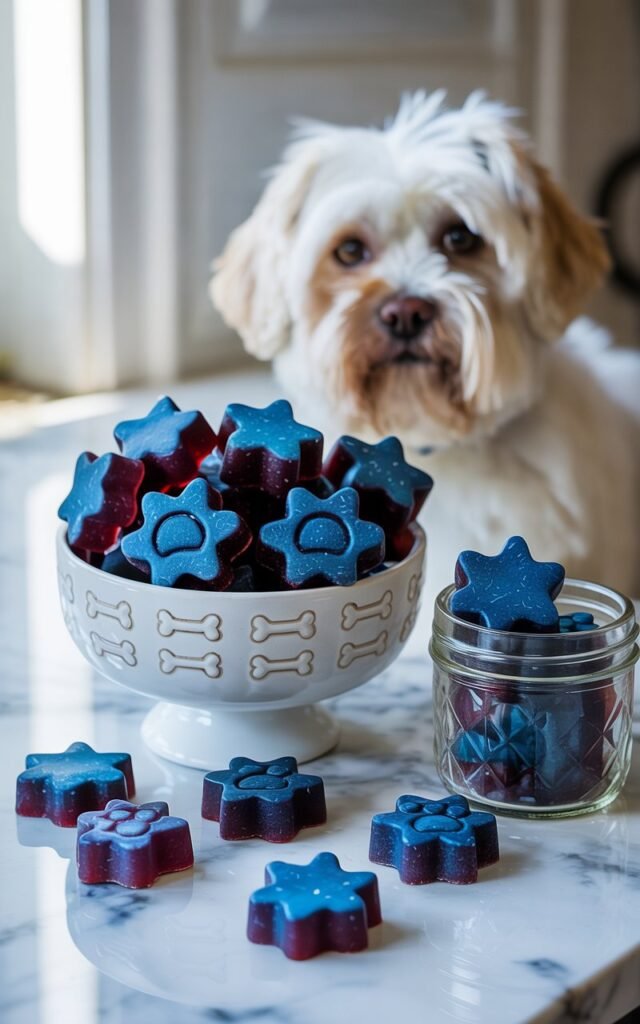
Once set, I pop the gummies out of the molds and store them in an airtight container in the fridge.
Max goes wild when he sees the first one — tail wagging, eyes sparkling, and excitement written all over his face.
These treats are great for training sessions because they’re small, low in calories, and easy to handle.
- Tip: You can freeze extra gummies for up to a month, which makes them convenient for later use.
Tips for Perfect Dog Gummies
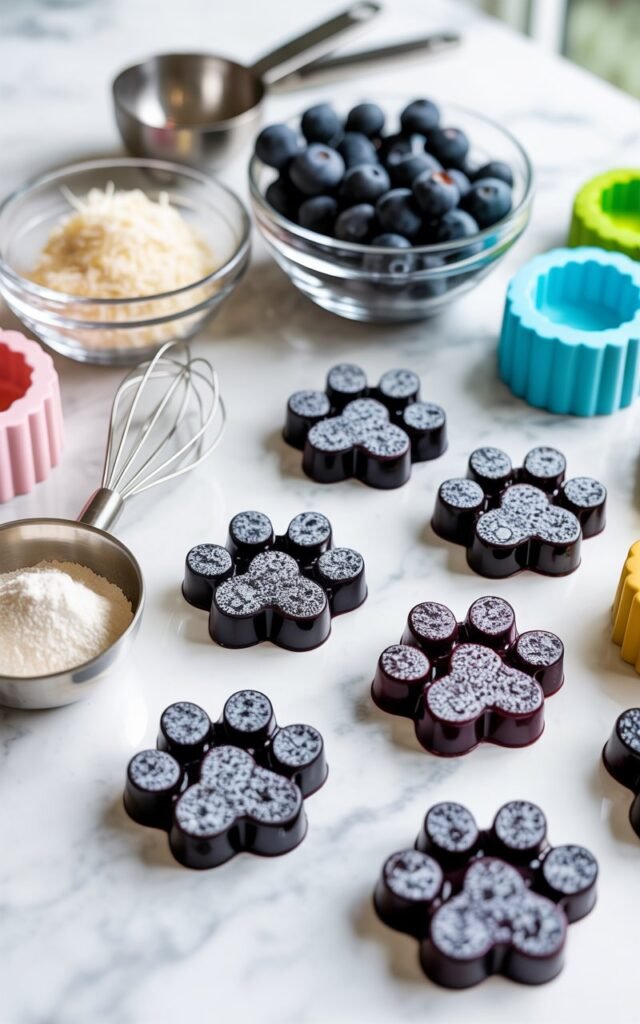
- Portion sizes matter: Even healthy treats can add up if given in large amounts. I usually give one or two at a time.
- Get creative with shapes: Using different molds makes the process fun for kids and visually appealing.
- Use quality ingredients: Fresh or organic blueberries and unsweetened coconut milk give the best flavor and nutritional value.
- Avoid artificial sweeteners: Ingredients like xylitol are toxic to dogs. Stick to natural sweetness from fruit or a small amount of honey for adult dogs.
Why I Love Making Treats at Home
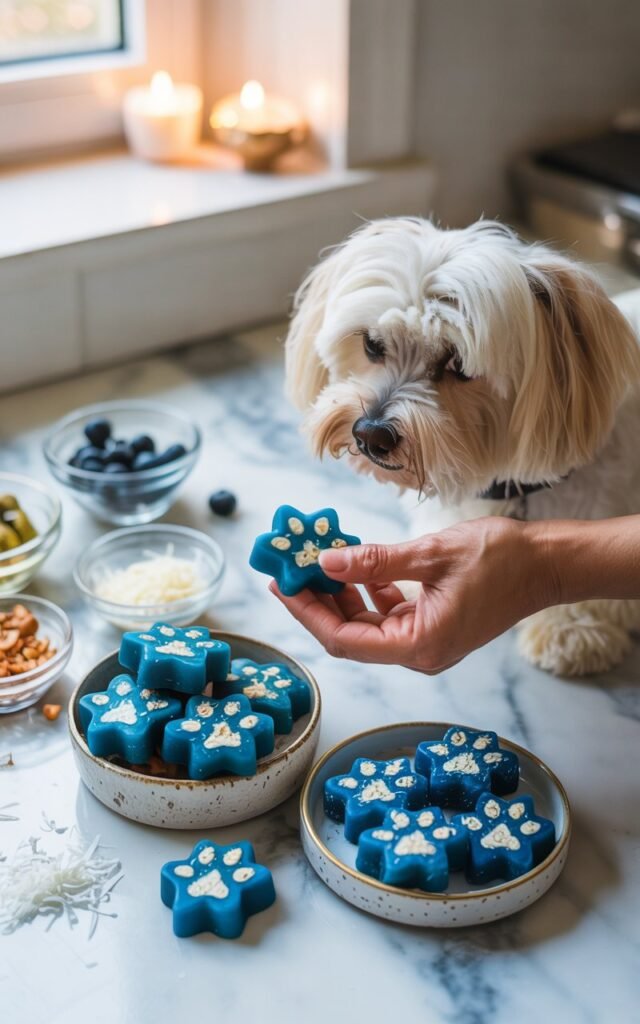
Baking these gummies isn’t just about feeding Max; it’s about creating memories.
My kids have learned to measure, stir, and pour while understanding the importance of safe, healthy ingredients.
Max has learned patience (most of the time!), and I’ve found joy in crafting something that is good for him and fun for us to make together.
Homemade treats like these also let me control exactly what goes into them, ensuring there’s no unnecessary sugar, preservatives, or unhealthy additives.
For me, that peace of mind is worth every minute spent in the kitchen.
Frequently Asked Questions
Can dogs eat blueberries?
Yes. Blueberries are a safe, healthy snack for most dogs and are packed with antioxidants, fiber, and vitamins.
Can I use frozen blueberries?
Absolutely. Frozen blueberries work just as well as fresh ones.
Just thaw them slightly before blending.
How should I store these gummies?
Store the gummies in an airtight container in the refrigerator for up to 1 week, or freeze them for up to 3 months.
Can I make these without coconut milk?
Yes. You can substitute plain water or a dog safe, unsalted bone broth if your dog doesn’t tolerate coconut.
Are these gummies safe for puppies?
They can be, but it’s best to check with your veterinarian before introducing homemade treats to young puppies, especially if they haven’t tried the ingredients before.
How many gummies should I give my dog?
Offer the gummies as an occasional treat.
Small dogs usually need one gummy, while larger dogs can enjoy two or three, depending on their size and daily calorie needs.
Final Thoughts
These Blueberry & Coconut Gummies have become a beloved treat in our home.
They’re healthy, easy to make, and a way to include dogs in celebrations and everyday fun.
If you want a snack that’s delicious, nutritious, and guaranteed to make your dog happy, this recipe is perfect.
For me, it’s more than a treat — it’s a way to celebrate, connect, and create joy with my family and my furry companion, one bite at a time.