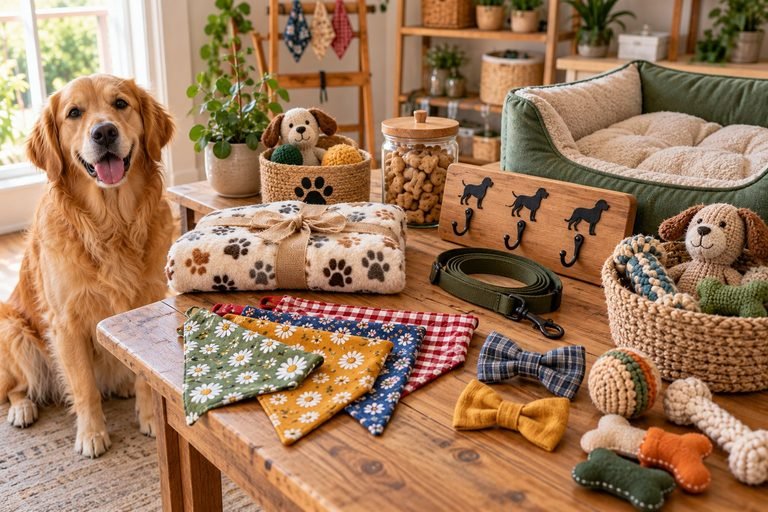
Sew a Dog Training Treat Bag With 3 Closure Options (DIY Sewing Tutorial)
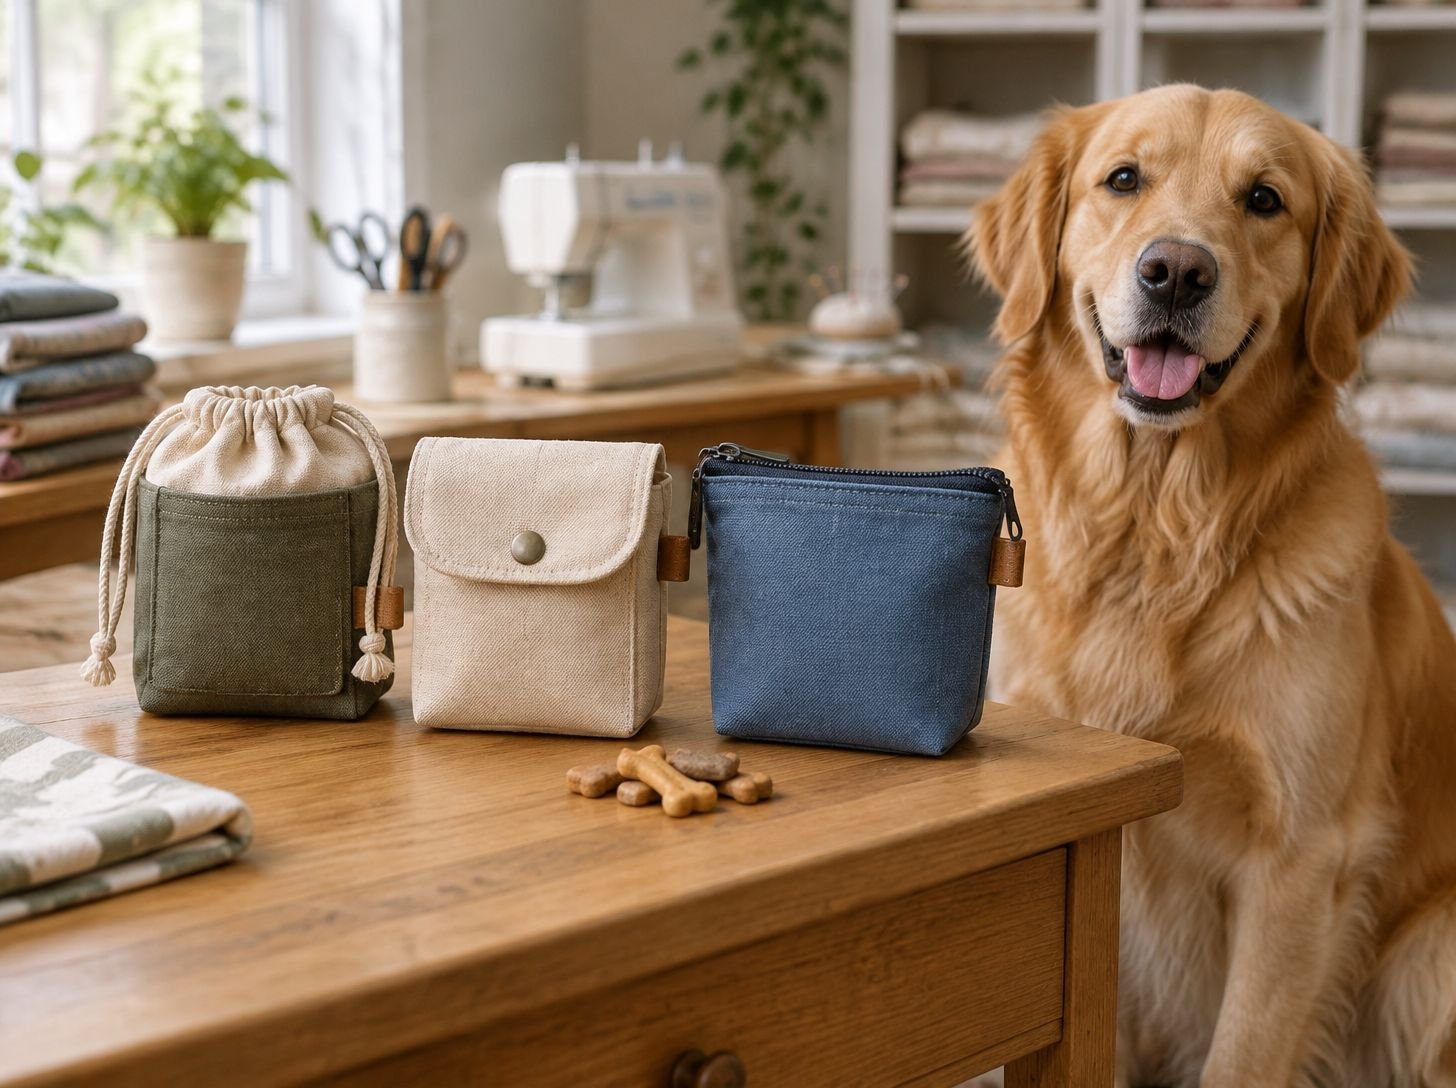
A dog training treat bag is one of those small accessories that can make everyday training sessions much easier.
Whether you’re teaching your dog basic commands, practicing leash manners, or working on recall, having treats within easy reach means you can reward good behavior without fumbling through your pockets or carrying a bulky bag.
The best part is that you don’t need to buy an expensive training pouch. With a little fabric, basic sewing supplies, and a sewing machine, you can make one at home that suits your needs.
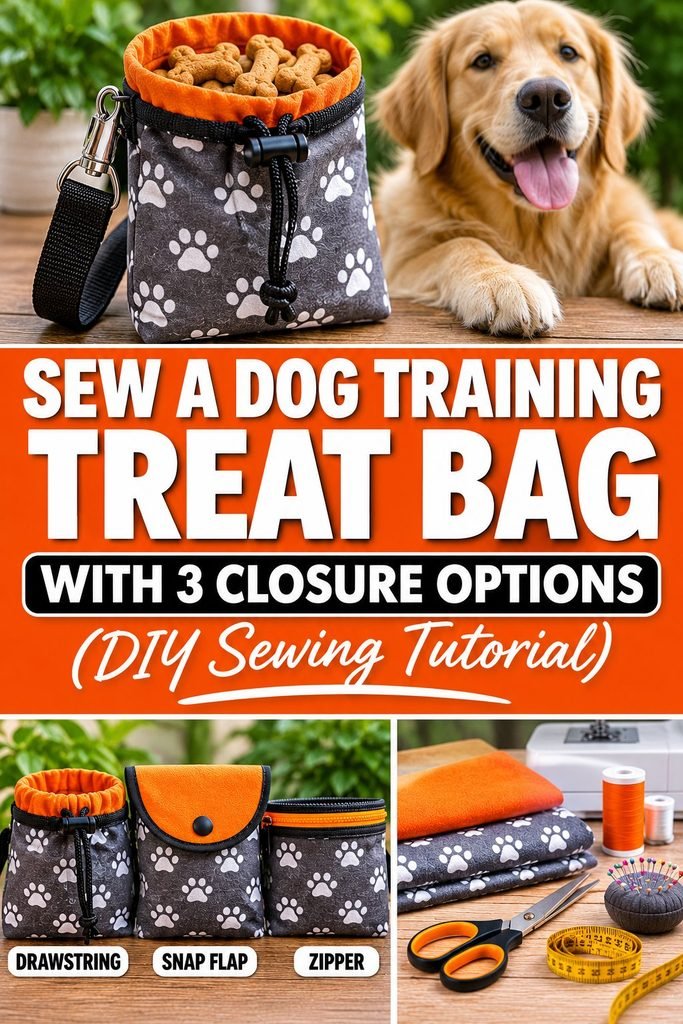
You can also customize the size, fabric, strap, and closure to create something practical and comfortable to carry.
In this tutorial, I’ll walk you through how to sew a dog training treat bag and explore three closure options: a drawstring, a snap closure, and a zipper.
Each option has its own advantages, so you can choose the design that works best for your training routine and sewing experience.
Why Make Your Own Dog Training Treat Bag?
A homemade dog treat bag gives you more control over its size, appearance, and functionality. Store-bought pouches can be useful, but they don’t always have the pockets, opening style, or carrying options you prefer.
When you sew your own, you can make a pouch that holds enough treats for a training session without becoming uncomfortable or bulky.
Here are a few reasons to make one:
- Choose your preferred size: Make a compact pouch for short walks or a larger one for longer training sessions.
- Keep treats accessible: A thoughtfully designed opening makes it easier to reward your dog quickly.
- Customize the fabric: Use durable cotton canvas, denim, or another washable material.
- Add useful storage: Include a small pocket for waste bags, a clicker, or other lightweight accessories.
- Save money: Use leftover fabric or repurpose suitable material from an old project.
- Choose your closure: Decide whether a drawstring, snap, or zipper works best for you.
A homemade treat bag can also make a thoughtful gift for someone who enjoys dog training.
Choosing the Right Fabric for Your Treat Bag
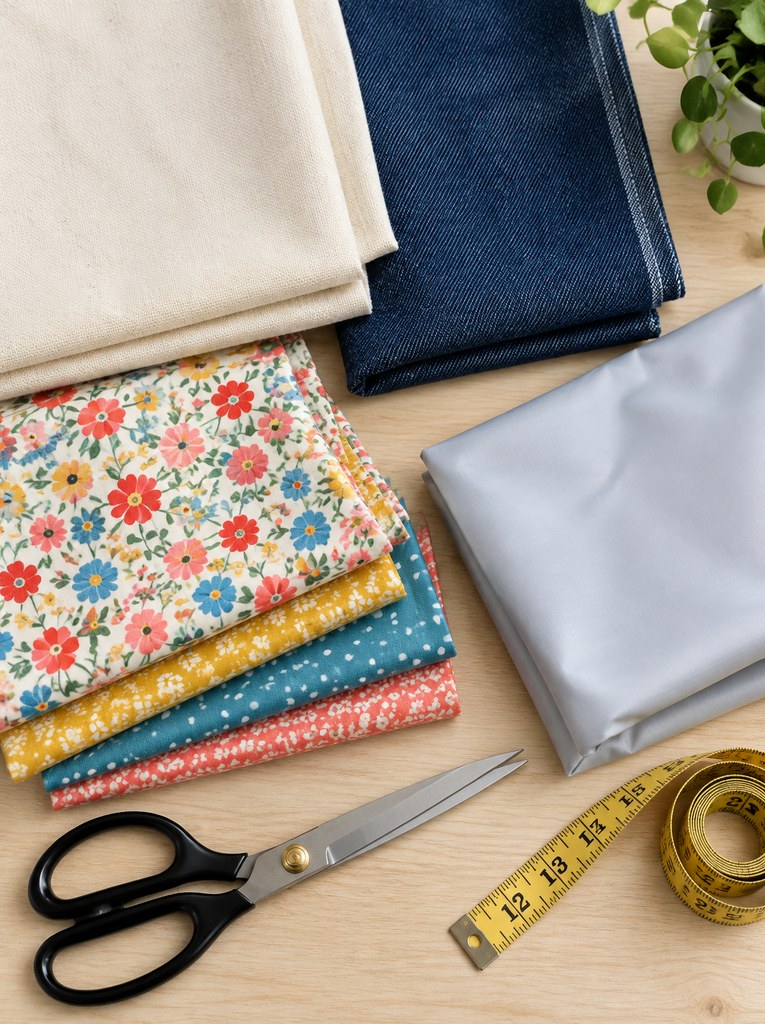
Fabric choice matters because a training pouch gets handled frequently and may collect crumbs, oils, and moisture from dog treats.
I recommend choosing a material that is sturdy enough to hold its shape but still flexible enough to sew comfortably.
1. Cotton Canvas
Cotton canvas is a good option for a practical everyday treat bag. It is stronger than lightweight quilting cotton and comes in many colors and patterns.
It works particularly well for drawstring and snap closure designs.
2. Denim
Denim is a durable choice if you want a more rugged pouch. You can repurpose clean old jeans, making this a budget-friendly sewing project.
Keep in mind that thick denim can be harder to sew through several layers, especially around the top edge and closure.
3. Quilting Cotton
Quilting cotton is lightweight, easy to handle, and available in countless prints. It is a good choice for beginners, although it may need interfacing to give the finished pouch more structure.
4. Waterproof or Wipeable Lining
A wipeable lining can make cleaning easier, especially if you regularly carry soft or slightly oily treats.
Choose a fabric that is suitable for repeated contact with the treats you use, and avoid materials that peel or shed. Make sure the lining is securely sewn and easy to inspect and clean.
Supplies You’ll Need to Sew a Dog Training Treat Bag
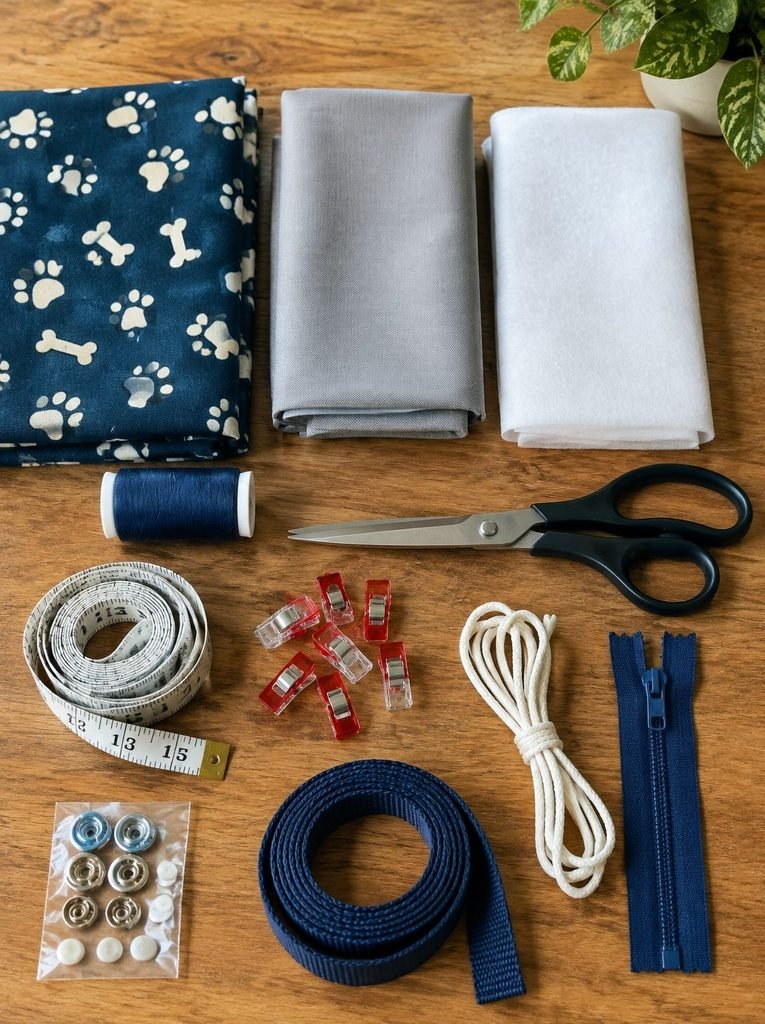
Before starting, gather your materials and sewing tools. The exact supplies will depend on which closure option you choose.
Basic materials:
- Outer fabric, approximately ¼ yard
- Lining fabric, approximately ¼ yard
- Lightweight fusible interfacing, if needed
- Matching sewing thread
- Fabric scissors or rotary cutter
- Measuring tape or ruler
- Fabric clips or sewing pins
- Sewing machine
- Iron and ironing board
Additional supplies for the closure options:
- Drawstring cord and cord lock for the drawstring version
- Sew-on snaps or suitable snap fasteners for the snap version
- Zipper for the zipper version
- Webbing or a fabric strap for carrying
- Optional swivel clips or D-rings
You can use one outer fabric and lining combination for all three designs, then change the top construction depending on the closure.
How to Measure and Cut Your Treat Bag Fabric
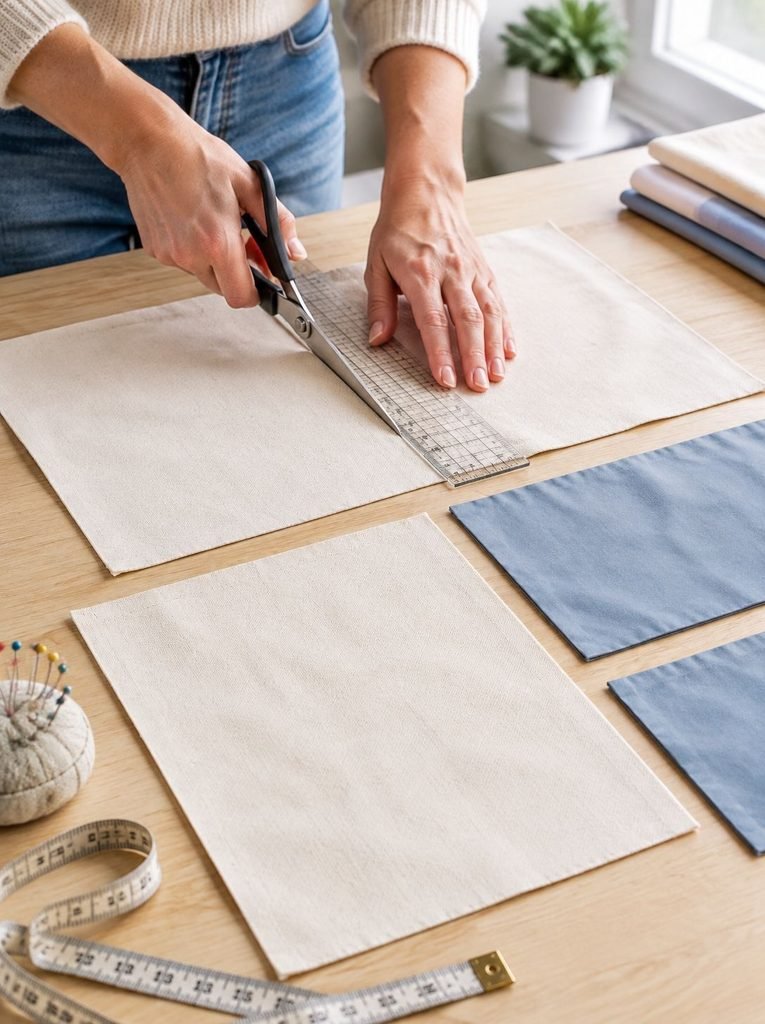
For a useful beginner-friendly pouch, start with a finished size of approximately 6 inches wide and 7 inches tall. This provides room for a reasonable training-session supply of treats without making the pouch too large.
You can adjust these measurements depending on your preferred treat size and carrying style.
For a basic lined pouch, cut:
| Piece | Measurement |
|---|---|
| Outer fabric | 2 pieces, 7 × 9 inches |
| Lining fabric | 2 pieces, 7 × 9 inches |
| Interfacing | 2 pieces, 7 × 9 inches |
These measurements are a starting point and include a seam allowance. The final dimensions will vary slightly depending on your seams and how you construct the base.
Before cutting:
- Wash and dry washable fabric if necessary.
- Iron the fabric to remove wrinkles.
- Measure carefully and mark your cutting lines.
- Cut the outer fabric and lining into matching pieces.
- Apply interfacing according to its manufacturer’s instructions.
If you’re using thick denim or canvas, test your sewing machine with a few layers before starting the pouch.
Part 1: Sew the Basic Treat Bag Body
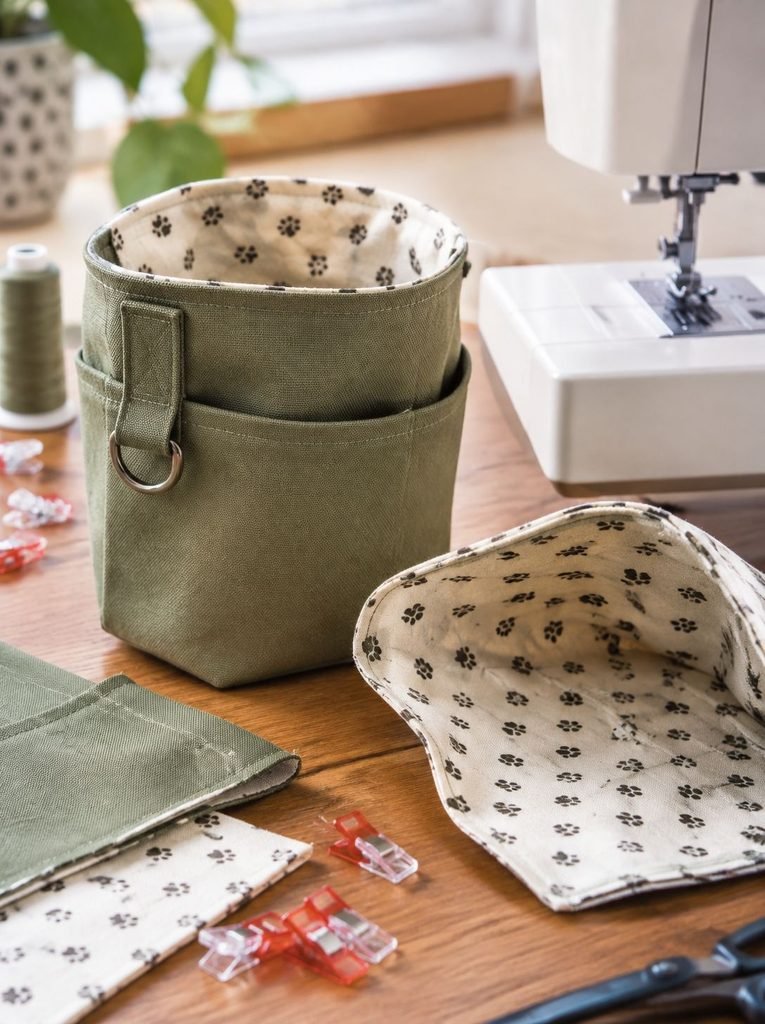
We’ll begin with the main pouch body. Once this is assembled, you can adapt the top edge for your preferred closure.
Step 1: Prepare the Fabric Pieces
Place your two outer fabric pieces together with their right sides facing each other. Repeat with the two lining pieces.
Make sure the edges line up neatly. Secure the sides and bottom with sewing clips or pins.
Step 2: Sew the Outer Bag
Using approximately a ½-inch seam allowance, sew along both sides and the bottom of the outer fabric pieces.
Leave the top open.
Backstitch at the beginning and end of each seam to help secure the stitching.
If you want a flat-bottomed pouch, you can box the corners before closing the lining. This gives the bag more room and helps it stand upright.
Step 3: Sew the Lining
Repeat the same process with the lining fabric, but leave a small opening of approximately 3 inches along the bottom seam.
This opening will allow you to turn the finished pouch right side out later.
Step 4: Join the Outer Bag and Lining
Keep the outer bag turned inside out. Turn the lining right side out and place it inside the outer bag.
The right sides of the two fabrics should face each other.
Align the top edges and side seams, then pin or clip them together.
Sew around the entire top edge.
Step 5: Turn and Finish the Bag
Pull the outer bag through the opening in the lining until the pouch is right side out.
Push the lining neatly inside and gently shape the corners.
Close the opening in the lining with a neat sewing-machine stitch or hand stitching. Press the top edge carefully.
You now have the basic lined treat bag body, ready for one of the three closure options.
Three Dog Treat Bag Closure Options
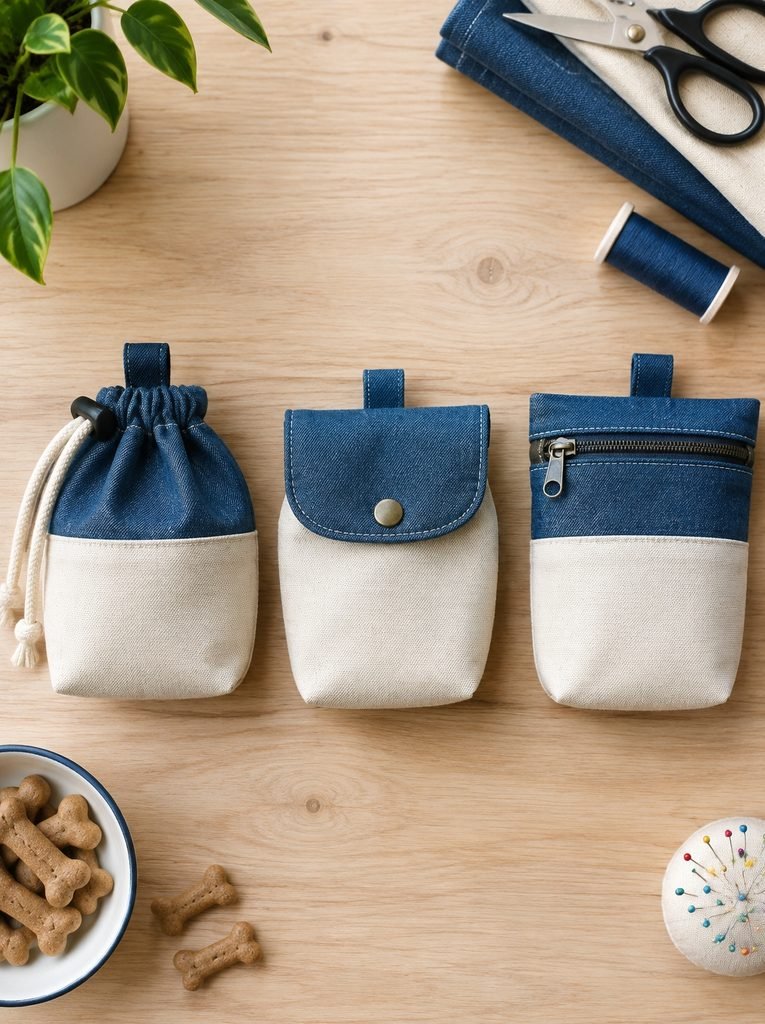
Now that the basic lined pouch is ready, it’s time to choose how you want to close it. Each option has a slightly different construction method, so you can decide which one suits your sewing skills and training routine.
1. How to Sew a Drawstring Dog Treat Bag
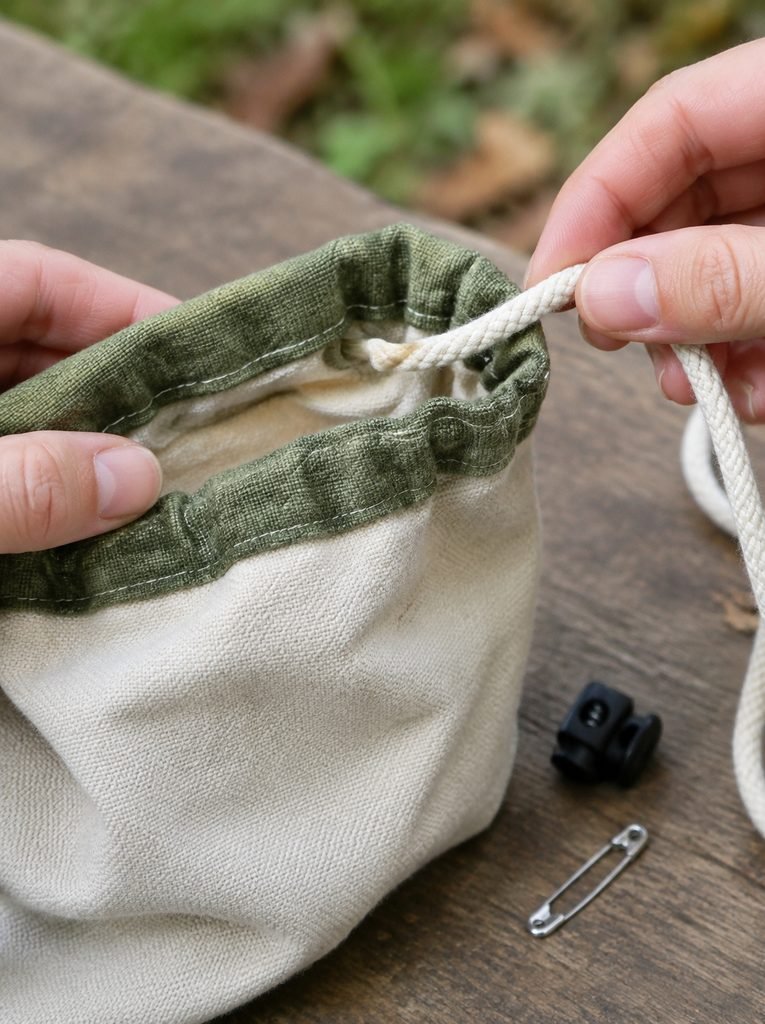
A drawstring closure is one of the easiest options to make. It gives you a flexible opening that can be tightened when you’re walking or moving around.
It’s especially useful if you want a simple pouch that opens quickly when your dog earns a reward.
What you’ll need:
- Drawstring cord
- One cord lock
- Fabric for the drawstring casing
- Safety pin or bodkin
- Sewing machine and matching thread
Step 1: Prepare the Casing
Cut a strip of fabric long enough to fit around the top of your pouch. Make it approximately 2 inches wide, allowing room for the cord channel and seam allowances.
Fold the short ends inward and stitch them neatly.
Step 2: Attach the Casing
Fold the strip lengthwise with the wrong sides together and press it.
Position it around the top edge of the pouch, keeping the raw edges aligned. Stitch it securely in place, leaving a channel wide enough for your drawstring.
Step 3: Insert the Cord
Attach a safety pin to one end of your cord and carefully guide it through the casing.
Bring both ends out through the same opening. Add a cord lock if desired, then tie secure knots at the cord ends.
Step 4: Test the Closure
Pull the cord to tighten the opening, then release it to make sure the pouch opens easily.
Avoid making the opening so tight that you struggle to reach the treats during training.
2. How to Sew a Snap Closure Dog Treat Bag
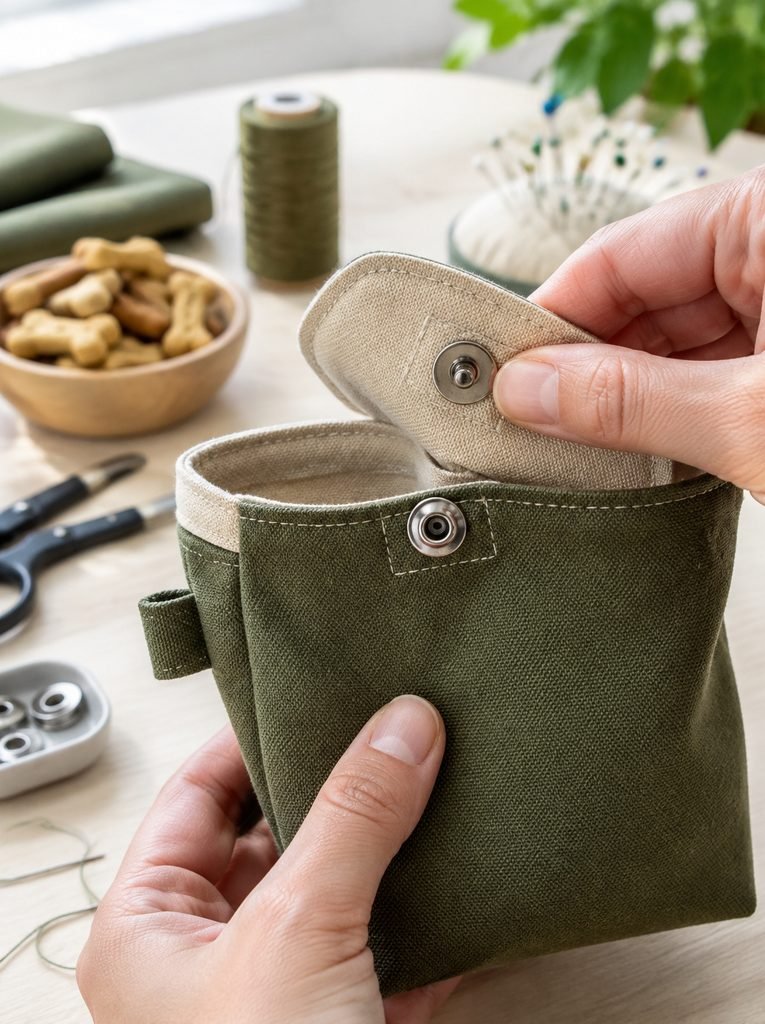
A snap closure gives your treat bag a neat, structured finish. It is a good option if you prefer a pouch that stays mostly closed but can still be opened quickly.
You can use sew-on snaps or suitable snap fasteners designed for fabric projects.
What you’ll need:
- Sew-on snap fastener or compatible snap hardware
- Matching thread
- Small fabric reinforcement pieces
- Sewing tools
Step 1: Prepare the Top Edge
Fold the top edge of your finished pouch inward by approximately ½ inch and press it.
Stitch around the edge to create a clean, reinforced finish.
If you want a flap-style closure, cut an additional fabric piece, fold and stitch its edges, then attach it securely to the back of the pouch.
Step 2: Position the Snap
Close the pouch naturally and decide where the two snap sections should meet.
Mark their positions carefully. The snap should close without pulling or distorting the fabric.
Step 3: Attach the Snap Fastener
If you’re using sew-on snaps, stitch each half firmly to the fabric using strong thread.
For a snap-setting kit, follow the manufacturer’s instructions and use the correct tool for the specific fastener.
Reinforce the fabric behind the snap if it is lightweight.
Step 4: Test the Closure
Open and close the pouch several times to check that the snap holds securely.
Make sure there are no exposed sharp components or loose hardware inside the treat compartment.
3. How to Sew a Zipper Dog Treat Bag
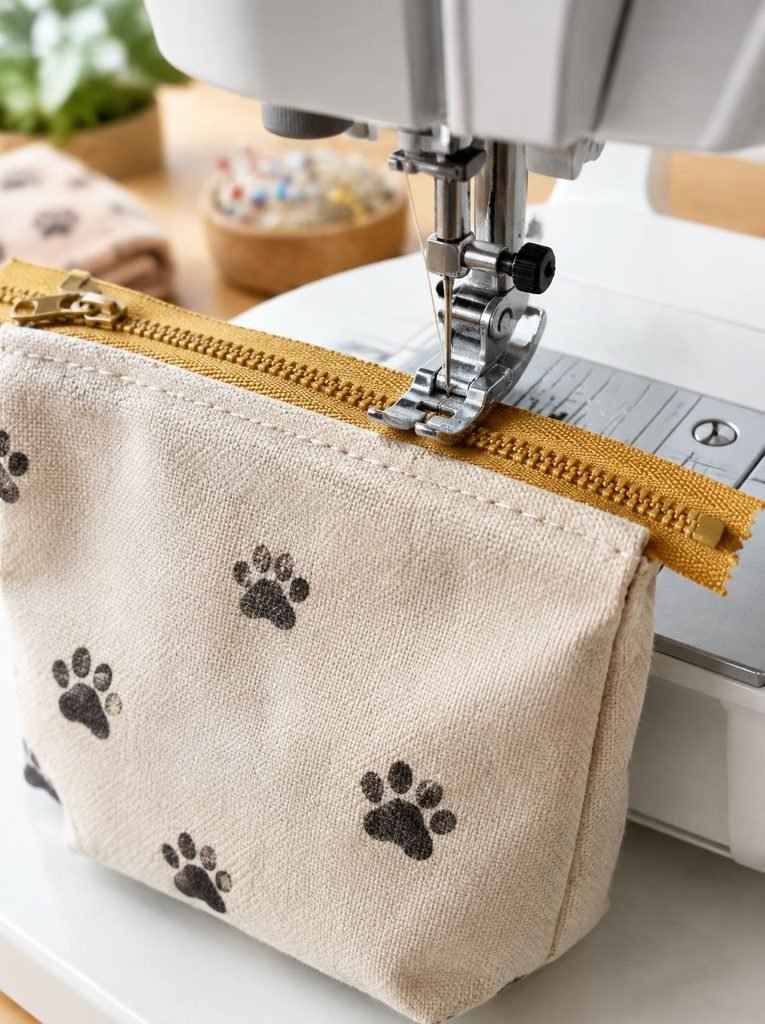
A zipper is the most secure of the three options when properly installed. It can help keep treats inside the pouch when you’re walking, bending, or carrying other training equipment.
However, it requires a little more sewing experience than the drawstring and snap versions.
What you’ll need:
- One zipper that fits the width of your pouch
- Matching thread
- Zipper foot for your sewing machine
- Sewing clips or pins
- Fabric scissors
Step 1: Choose the Right Zipper
Measure the width of your pouch opening and choose a zipper that fits comfortably between the side seams.
A zipper that is slightly shorter than the opening can work, provided you finish the ends neatly.
Step 2: Position the Zipper
Place one side of the zipper face down against the right side of the outer fabric at the top opening.
Align the edges and secure them with clips.
Attach the zipper using a zipper foot, stitching carefully along the zipper tape.
Step 3: Attach the Other Side
Bring the opposite side of the zipper to the other top edge of the pouch.
Make sure the fabric is not twisted and that the zipper will close in the correct direction.
Stitch the second side securely.
Step 4: Finish the Inside
Check the zipper tape and raw fabric edges. Finish exposed edges with a suitable seam finish or lining so the inside looks neat and treats cannot easily catch on loose threads.
Step 5: Test the Zipper
Open and close the zipper several times.
Make sure it moves smoothly and does not catch the lining. Check that both ends are secured and that the pouch opens wide enough for easy treat access.
Which Closure Option Is Best for a Dog Training Treat Bag?
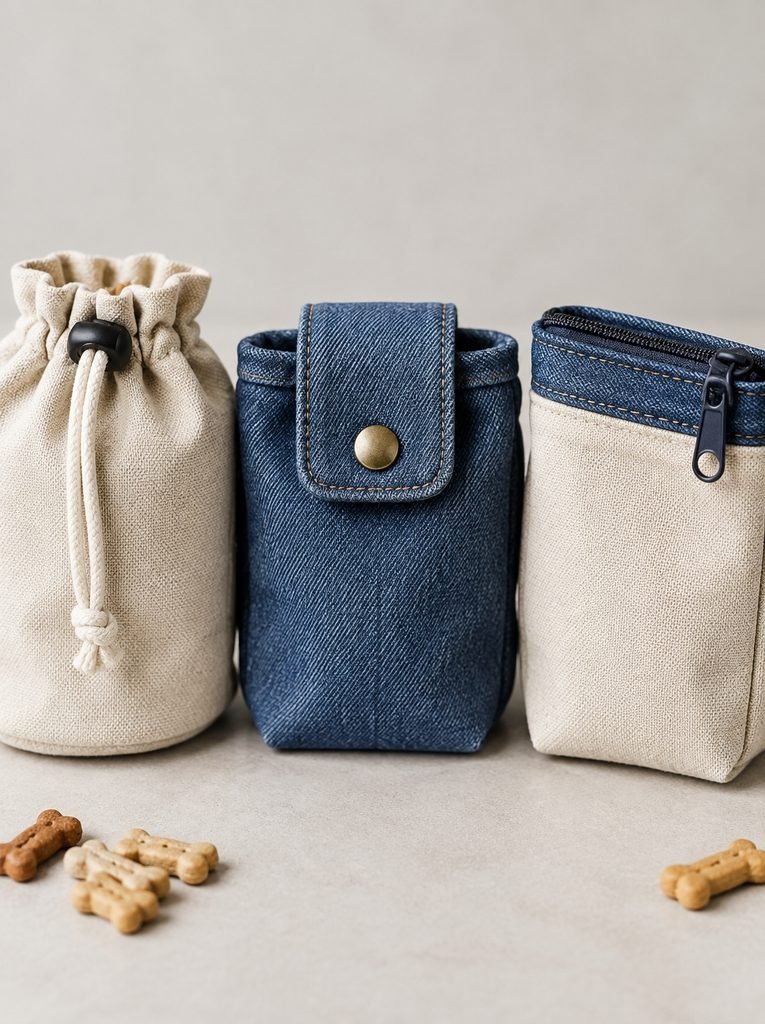
Each closure has its own benefits. The best choice depends on how you plan to use the pouch.
| Closure | Main advantage | Best for |
|---|---|---|
| Drawstring | Adjustable opening | Quick everyday training |
| Snap | Simple and convenient | A neat, structured pouch |
| Zipper | More secure when closed | Carrying treats during walks |
My recommendation is to start with the drawstring version if you’re a beginner. It requires fewer specialized materials and is relatively easy to customize.
If keeping the treats securely contained is your priority, consider the zipper version.
How to Add a Strap, Belt Loop, or Clip
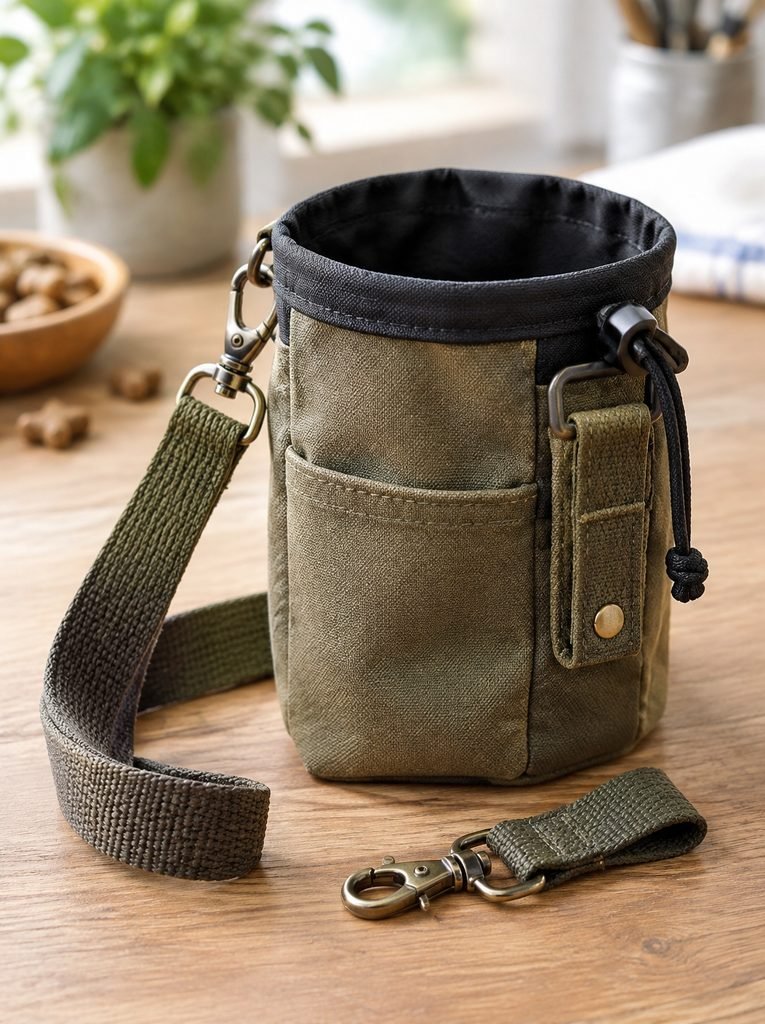
A treat bag becomes much more convenient when you can carry it without holding it.
There are several ways to attach it to your clothing or training equipment.
1. Add a Fabric Strap
Cut a strip of sturdy fabric or webbing to your preferred length.
Fold fabric strips lengthwise, press, and stitch along the edges to make a durable strap.
Attach each end securely to the upper sides of the pouch. Reinforce the stitching because the strap will carry the weight of the treats.
2. Add a Belt Loop
Cut a strip of sturdy fabric or webbing and fold the ends under.
Position it vertically or horizontally on the back of the pouch, leaving enough room for your belt to pass through.
Stitch both ends securely, reinforcing the attachment points.
3. Add a Clip
You can also attach a suitable swivel clip or carabiner using a securely sewn webbing loop.
Choose hardware that is strong enough for the intended use and has no sharp edges. Make sure it cannot easily detach or create a snagging hazard.
How to Customize Your Homemade Dog Treat Bag
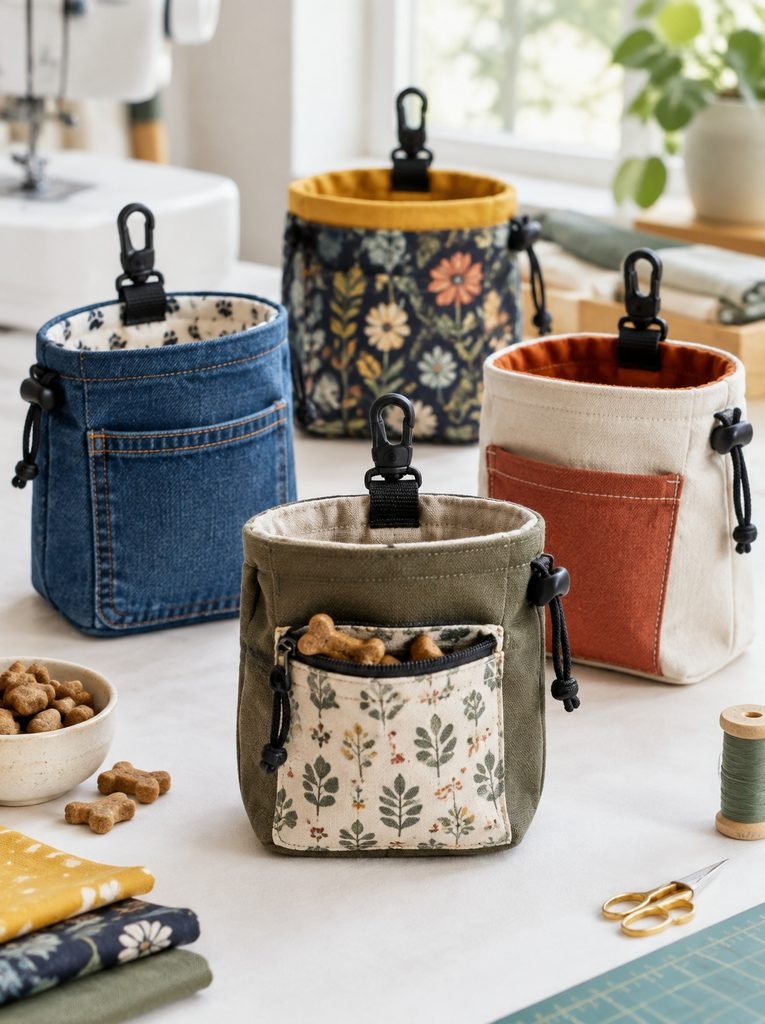
One advantage of sewing your own pouch is that you can change the design to suit your needs.
Here are some practical ideas.
Add a Small Front Pocket
A small front pocket can hold waste bags, a clicker, or another lightweight accessory.
Keep the pocket separate from the treat compartment so non-food items do not come into direct contact with treats.
Make a Larger Training Pouch
If you regularly work with your dog for longer sessions, increase the width or depth of the bag.
A wider opening can make it easier to reach treats without looking down.
Use Different Fabric Patterns
Mix solid canvas with printed cotton or denim to create a more personalized design.
You can also use leftover fabric from other sewing projects.
Add a Reinforced Base
If you want your bag to hold its shape, use suitable interfacing or a fabric reinforcement layer.
Avoid making the pouch unnecessarily stiff, as it should remain comfortable to carry.
How to Clean and Maintain Your Dog Training Treat Bag
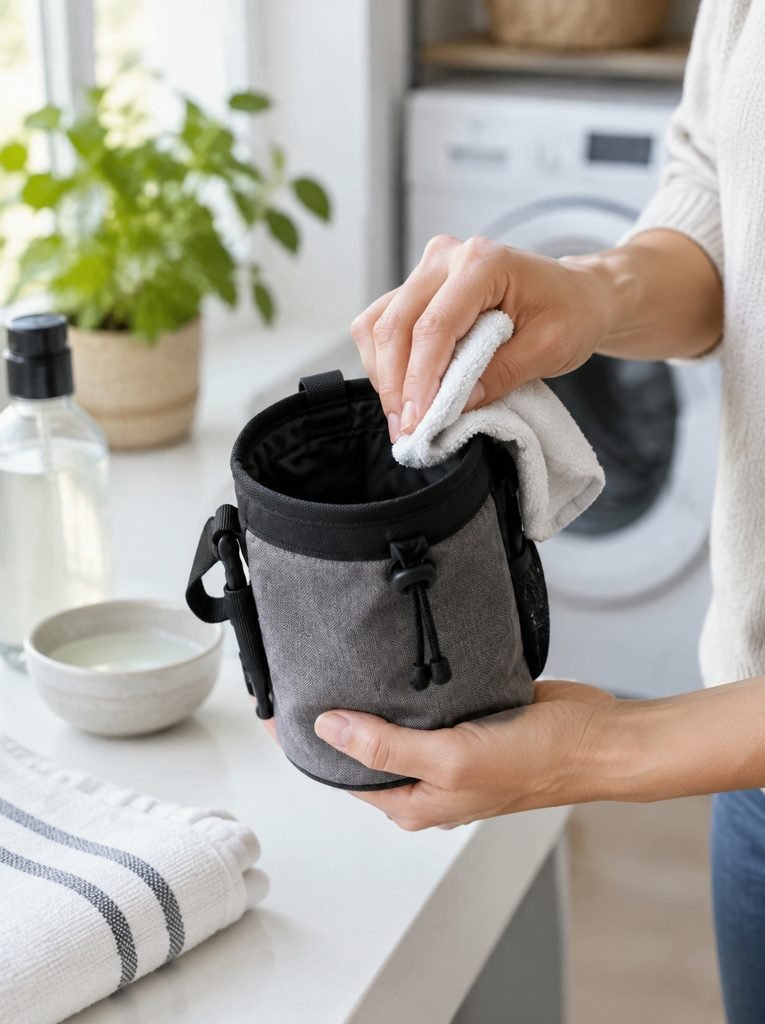
Treat bags can collect crumbs, grease, saliva, and moisture, especially when you use soft or homemade treats.
Regular cleaning helps keep the pouch fresh and reduces unpleasant odors.
Here are a few simple maintenance tips:
- Empty the bag after every training session.
- Shake out crumbs and inspect the inside for leftover food.
- Follow the fabric care instructions when washing the pouch.
- Remove detachable straps or accessories before washing if necessary.
- Allow the bag to dry completely before storing it.
- Check the seams, straps, closures, and lining regularly for damage.
If you use a wipeable lining, clean it according to the manufacturer’s care instructions. Do not assume every waterproof fabric is machine washable.
Common Mistakes to Avoid When Sewing a Dog Treat Bag
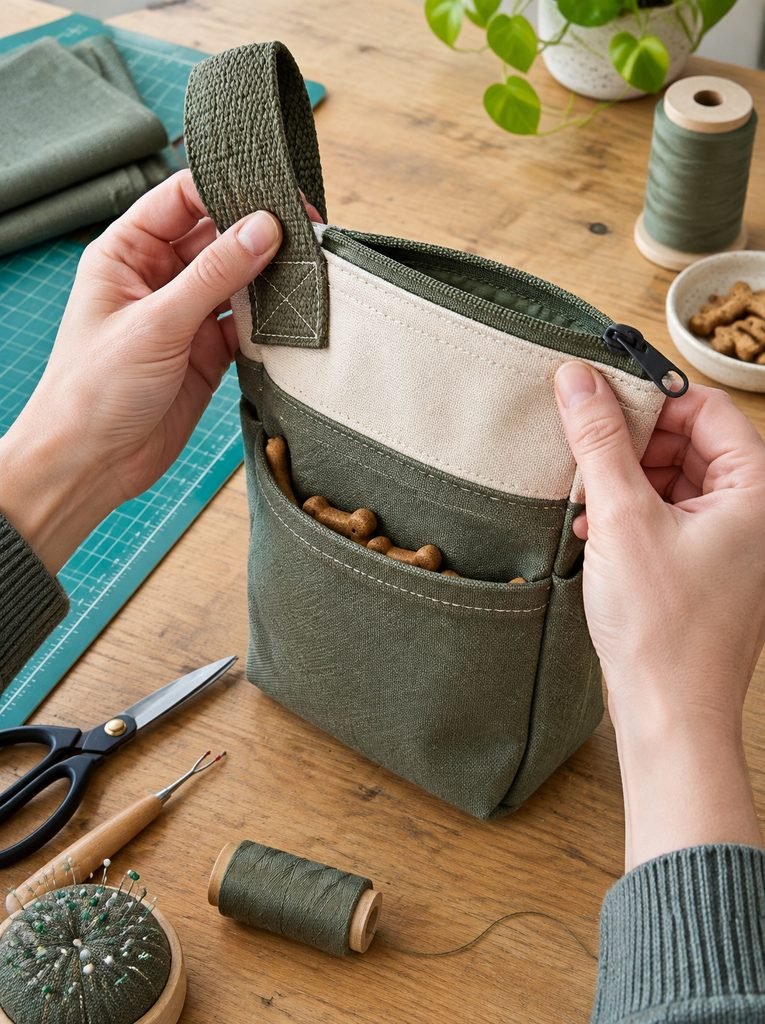
Even a simple sewing project can become frustrating if you overlook a few details.
Here are some mistakes worth avoiding.
Choosing fabric that is too thin: Lightweight fabric may sag when filled with treats. Use suitable interfacing or a stronger outer material.
Making the opening too small: You should be able to reach inside easily and remove a treat without struggling.
Skipping reinforcement: Straps, belt loops, and closure points experience repeated pulling. Reinforce these areas with secure stitching.
Choosing an awkward zipper: A zipper that is too short or poorly positioned can make the bag difficult to use.
Leaving raw edges exposed: Unfinished edges can fray and create loose threads inside the pouch.
Making the pouch too bulky: A treat bag should be comfortable to carry. Avoid adding unnecessary layers or oversized pockets.
How to Use Your Homemade Dog Training Treat Bag
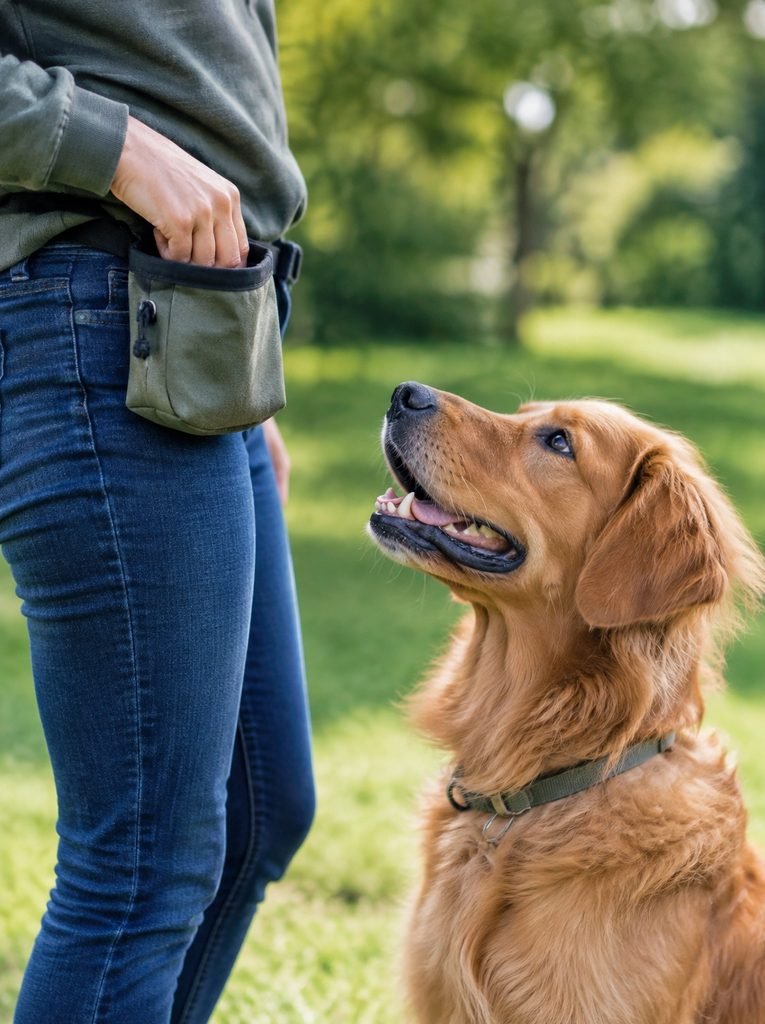
Once your pouch is finished, you can start using it during everyday training.
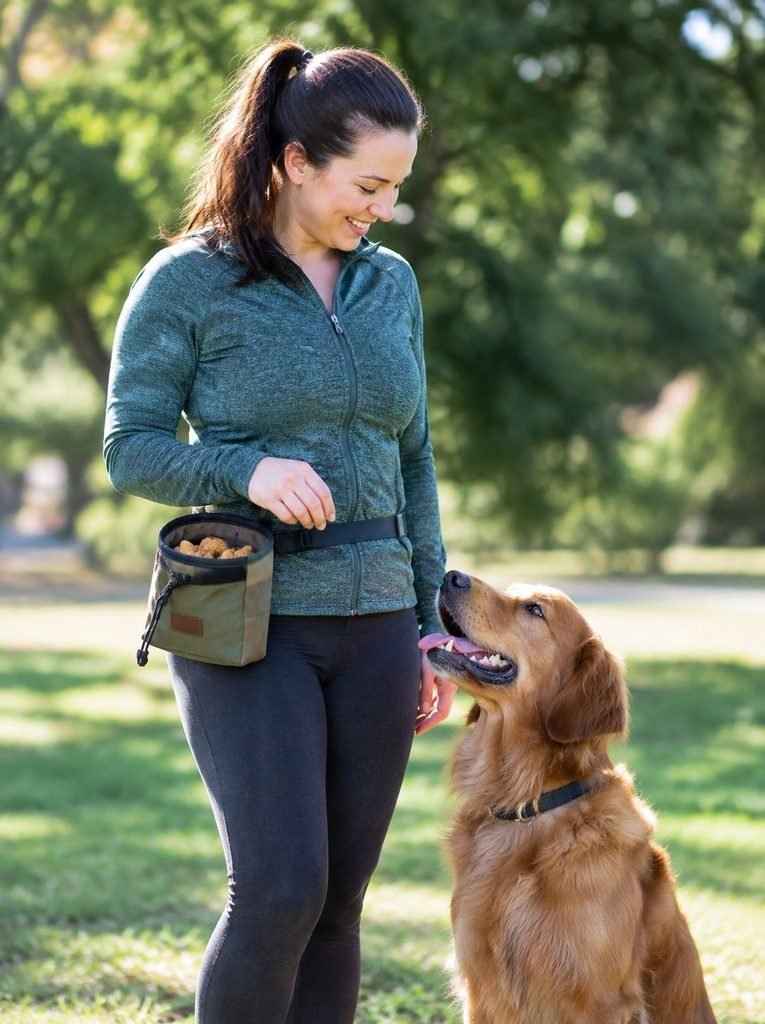
Place a small amount of your dog’s regular training treats inside before you begin. Keep the bag somewhere easy to reach, such as your waist or a belt loop.
When your dog performs the behavior you’re teaching, reward them promptly.
You can use the pouch during:
- Basic obedience training
- Loose-leash walking practice
- Recall exercises
- Puppy training
- Reward-based behavior practice
- Short outdoor training sessions
Choose treats that are appropriate for your dog’s size and dietary needs. Keep portions small so frequent rewards do not contribute too many extra calories.
Frequently Asked Questions
1. What is the best fabric for a dog training treat bag?
Cotton canvas and denim are good choices because they are relatively sturdy. Quilting cotton can also work when reinforced with interfacing.
2. Is a drawstring or zipper better for a treat pouch?
A drawstring is generally easier to sew and offers quick access. A zipper provides a more secure closure when fully closed.
3. Can beginners sew a dog training treat bag?
Yes. The basic lined pouch and drawstring closure are beginner-friendly projects. A zipper may require more practice, especially if you have not installed one before.
4. What size should a dog training treat bag be?
A pouch approximately 6 inches wide and 7 inches tall is a useful starting point. You can adjust the dimensions based on how many treats you carry and how you prefer to wear it.
5. Can I use old jeans to make a dog treat bag?
Yes. Clean denim from old jeans can make a sturdy outer layer. Check the thickness before sewing, and use a suitable needle for heavier fabric.
6. Should I line my homemade treat bag?
I recommend lining it because the inside is easier to finish neatly and can help protect the outer fabric from crumbs and residue. Choose a lining that is easy to clean and inspect.
7. Can I wash a homemade dog treat pouch?
That depends on the fabric, lining, zipper, and other hardware. Follow the care instructions for the materials you use and make sure the pouch dries completely before adding treats.
8. Can I add a pocket for dog waste bags?
Yes. A small exterior pocket is useful for carrying waste bags or a clicker. Keep these accessories separate from the treats.
9. Which closure is easiest to sew?
The drawstring closure is usually the easiest option for beginners. It does not require zipper installation or snap-setting tools.
10. Can I sell handmade dog training treat bags?
Yes. You can make different sizes, colors, and closure styles to offer customers more choices. Before selling, test the construction, use durable materials, and provide clear fabric care instructions.
Final Thoughts
Sewing your own dog training treat bag is a practical project that lets you create something useful without spending much on a store-bought accessory.
The drawstring, snap, and zipper options each offer something different. If you’re new to sewing, start with the drawstring version.
Once you’re comfortable with the basic pouch construction, you can experiment with more structured designs and additional pockets.
Most importantly, make the bag easy to open, comfortable to carry, and simple to clean. A well-made treat pouch can become a handy part of your everyday training routine.