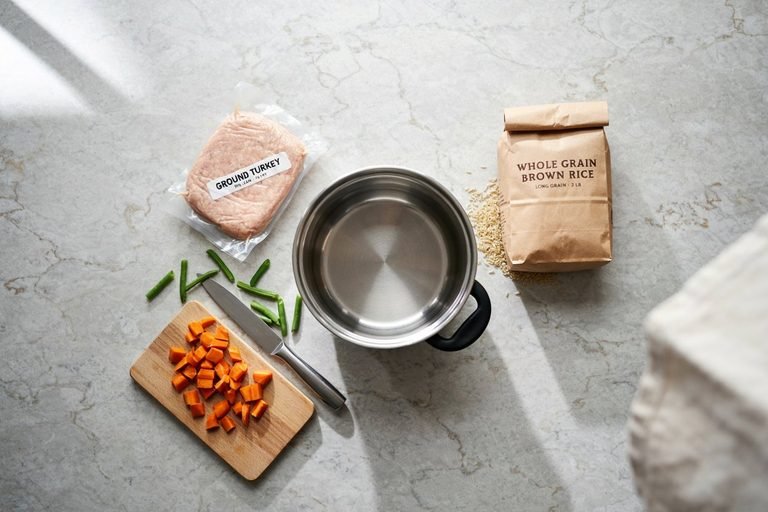
Crunchy Homemade Dog Kibble
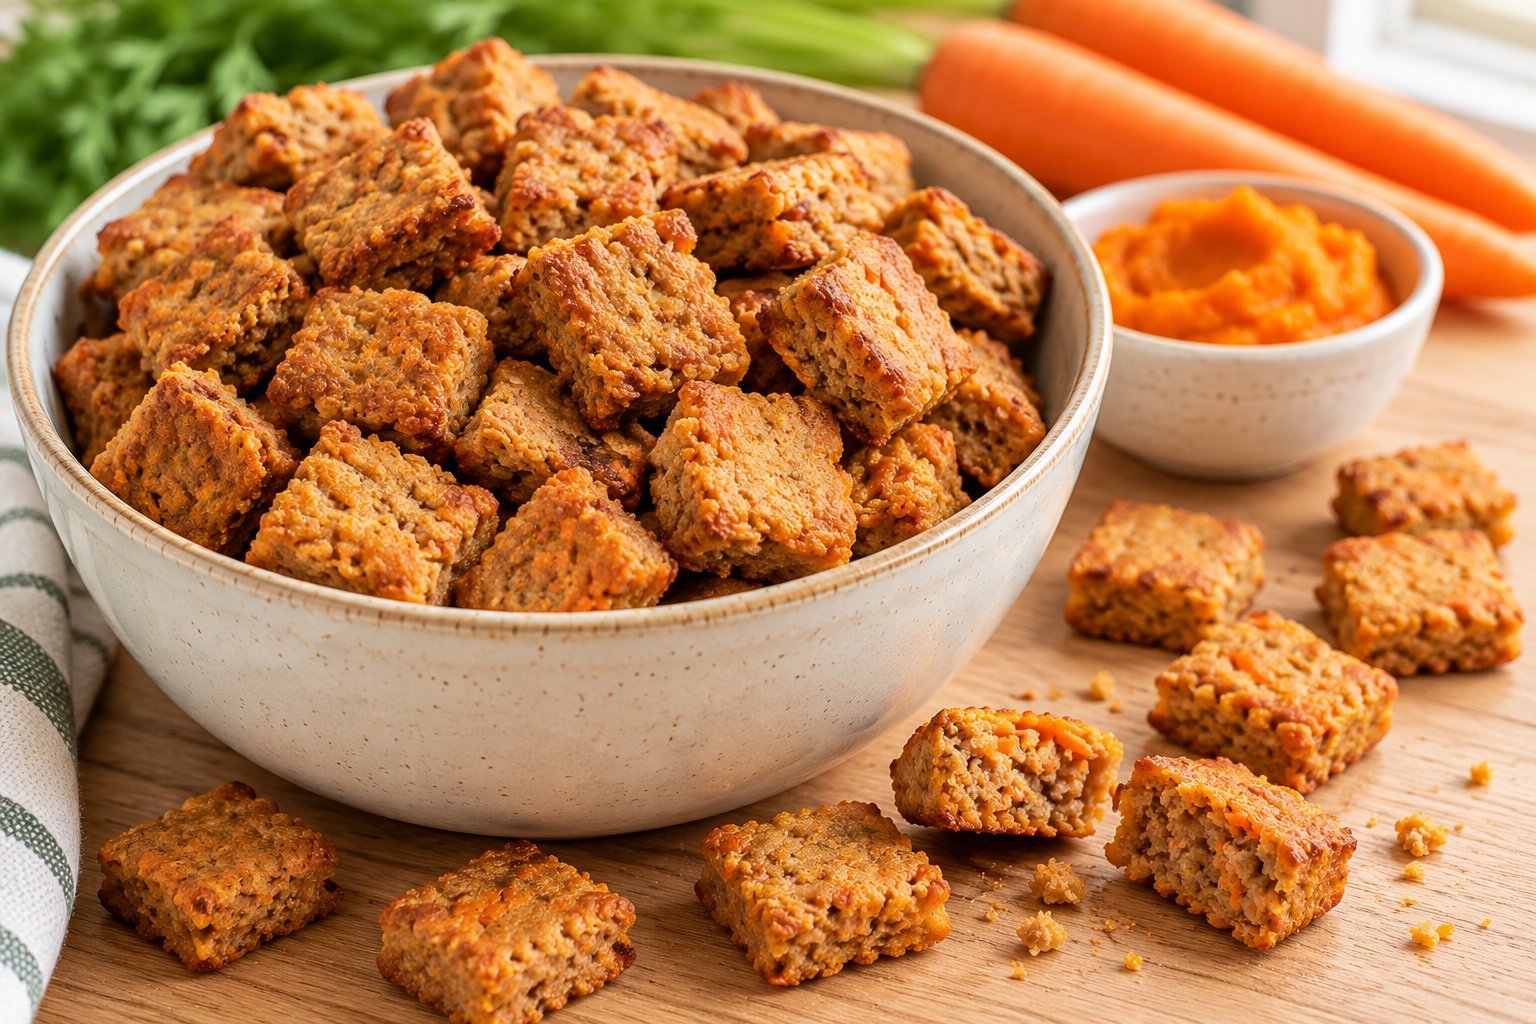
Kibble gets a bad reputation, but the part dogs love is the crunch. That satisfying bite is what keeps many dogs coming back to the bowl, and it is something you can recreate at home with a few simple ingredients and a baking sheet.
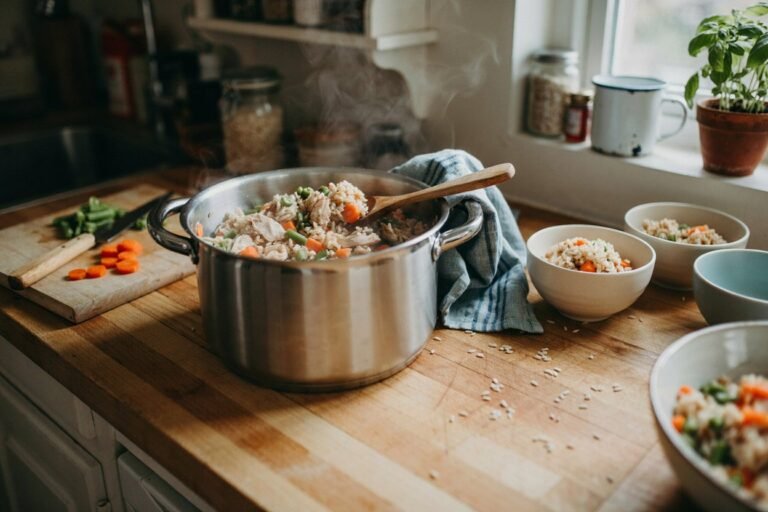
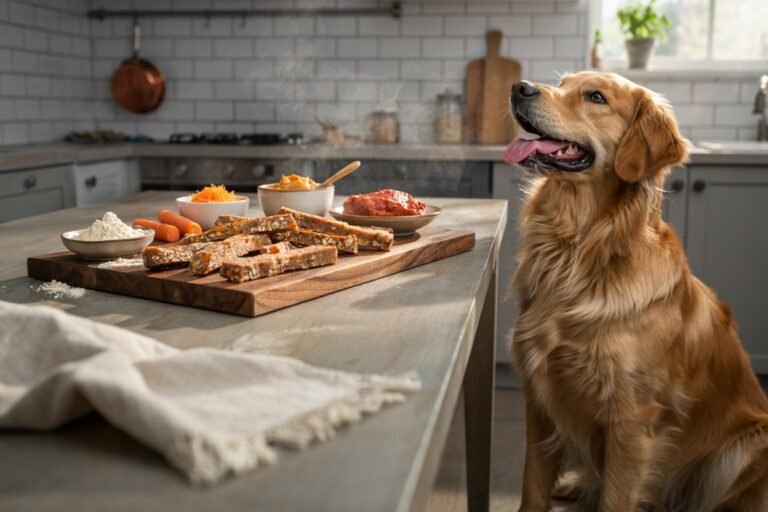
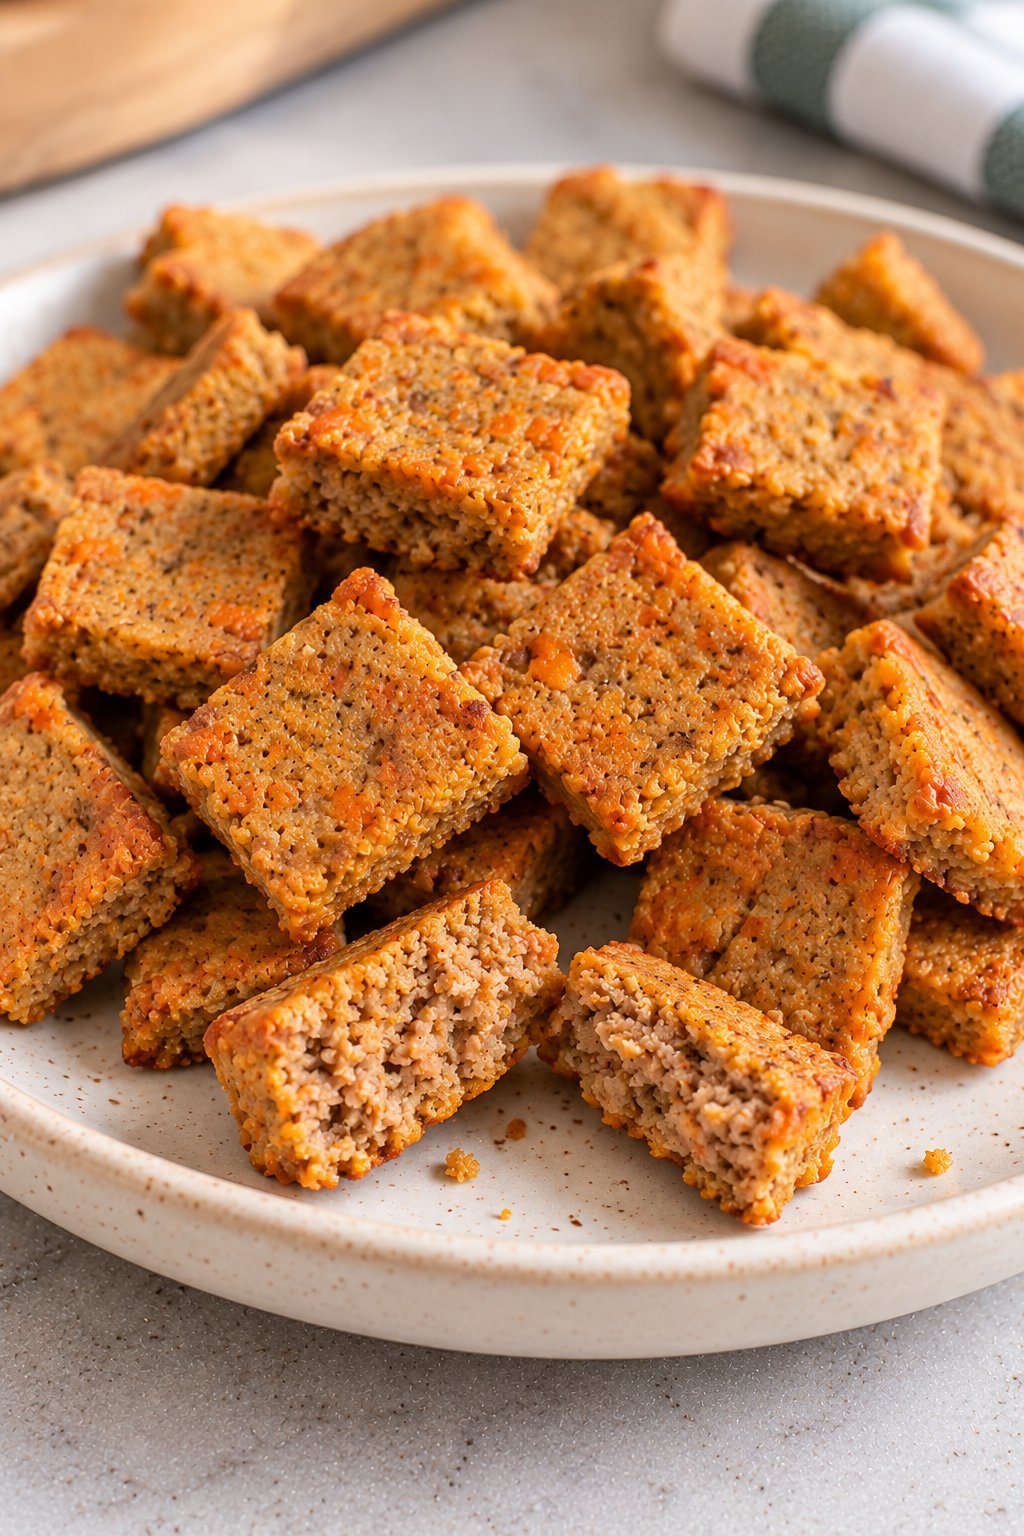
This crunchy homemade dog kibble combines lean turkey, whole wheat flour, pumpkin, and carrot, then bakes and dries until the pieces become firm and crisp.
I like making a batch to use as a crunchy topper, a training treat, or a little mix-in with regular food.
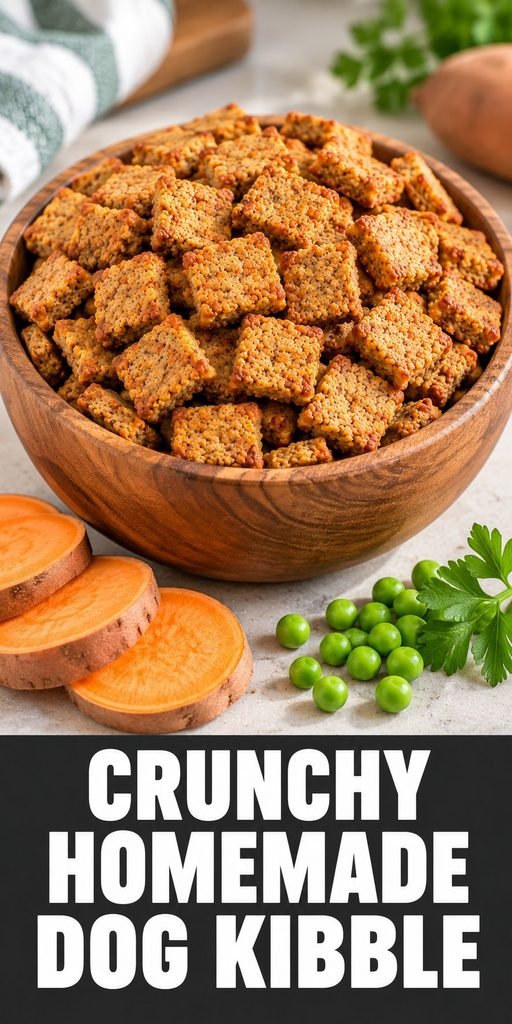
It takes more time than a basic biscuit because of the slow drying step, but most of that time is hands-off. Once the dough is prepared and scored, the oven does most of the work.
The best part is that you can choose the size of the pieces. Make them tiny for training rewards or slightly larger if you plan to crumble them over your dog’s regular meal.
The key is to dry them evenly, cool them completely, and store them safely. Homemade meat-based kibble needs more careful storage than commercially manufactured dry kibble.
Why You’ll Love This Crunchy Homemade Dog Kibble
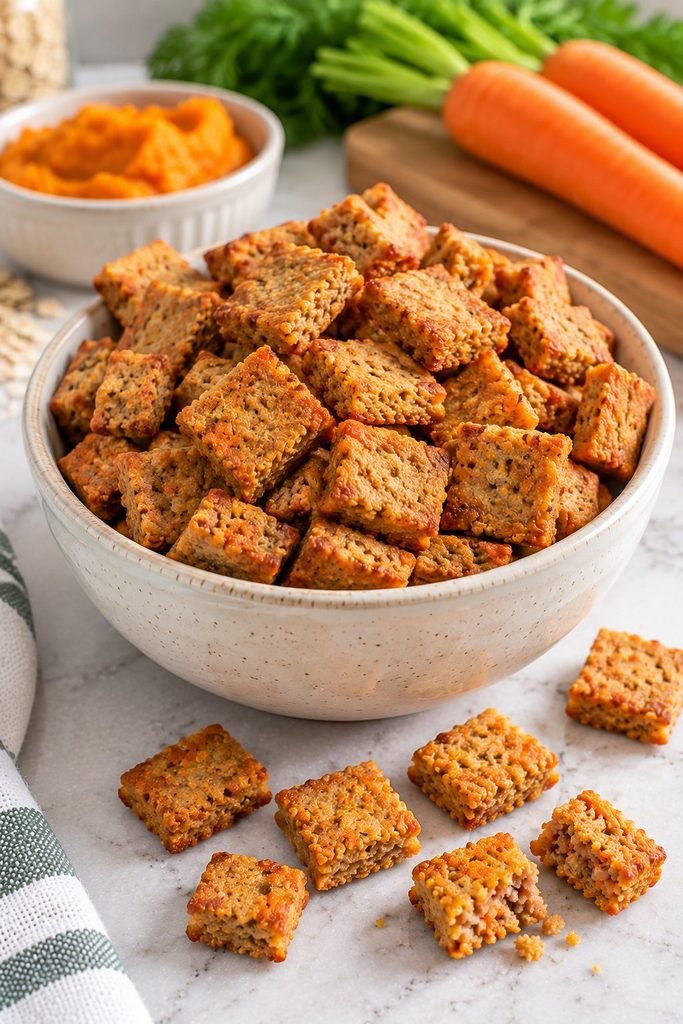
A few reasons this recipe is worth the effort.
Real, recognizable ingredients. Lean turkey, pumpkin, carrot, egg, and whole wheat flour make up the base. There is no need for added salt, seasoning, or complicated ingredients.
Satisfying crunch. The slow drying step helps remove additional moisture and creates a firmer texture than a soft baked treat. The final crunch depends on the thickness of the dough and how evenly the pieces dry.
Bite-sized pieces. Scoring the dough before baking makes it easier to break into small pieces. You can adjust their size to suit the way you plan to use them.
Easy to customize. You can experiment with other plain proteins or dog-safe vegetables, provided your dog tolerates them and the ingredients are suitable for their needs.
Useful as a topper or treat. Sprinkle a small amount over your dog’s usual food or offer a few pieces as a treat. This recipe should not replace a complete and balanced diet.
Convenient batch preparation. Prepare several portions at once, refrigerate what you will use soon, and freeze the rest. This saves time on busy days.
Important Nutrition Note
This recipe is intended as a treat or food topper, not a complete and balanced diet. Commercial dog food is formulated to meet dogs’ nutritional requirements, including appropriate amounts of calcium, essential fatty acids, vitamins, and minerals.
Meat, flour, vegetables, and egg do not automatically provide the correct nutritional balance.
If you want to feed homemade food as your dog’s main diet, ask your veterinarian or a board-certified veterinary nutritionist to formulate a balanced recipe for your dog’s age, size, and health needs.
Puppies have particularly specific nutritional requirements, and dogs with health conditions may need carefully controlled diets.
For occasional treats or toppers, keep portions modest and count them toward your dog’s daily calorie intake. If your dog has food allergies, digestive sensitivities, or a veterinary-prescribed diet, check with your veterinarian before introducing this recipe.
Is Homemade Dog Kibble Safe?
It can be suitable as an occasional treat for many dogs when prepared and stored carefully. Use plain, dog-safe ingredients and follow good food-handling practices.
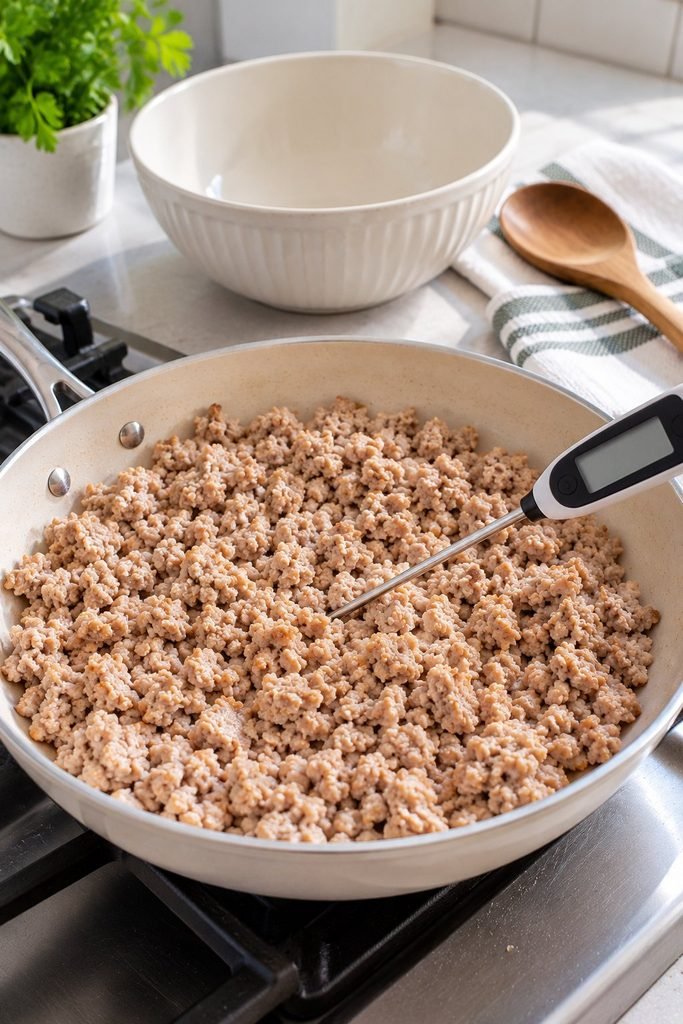
Cook the meat fully. Ground turkey should reach an internal temperature of 165°F before you use it in the dough. Check with a food thermometer and allow the meat to cool before mixing.
Skip onion, garlic, and seasoning. Onion and garlic can be toxic to dogs, including when cooked or included in seasoning blends. Avoid sauces and flavored seasonings.
Keep added salt out. The recipe does not need added salt. Plain ingredients make it easier to control what your dog eats.
Dry the pieces thoroughly. The extra drying step helps create a crunchier texture, but crunch alone does not prove that all moisture has been removed or that the kibble is safe for long-term pantry storage.
Check your broth. If you use broth instead of water, choose an unsalted or low-sodium option with no onion or garlic. Water works well, so broth is optional.
Introduce new food gradually. Start with a small amount and watch for digestive upset or signs of a food reaction. Stop feeding it if your dog develops a concerning reaction.
Ingredients You’ll Need
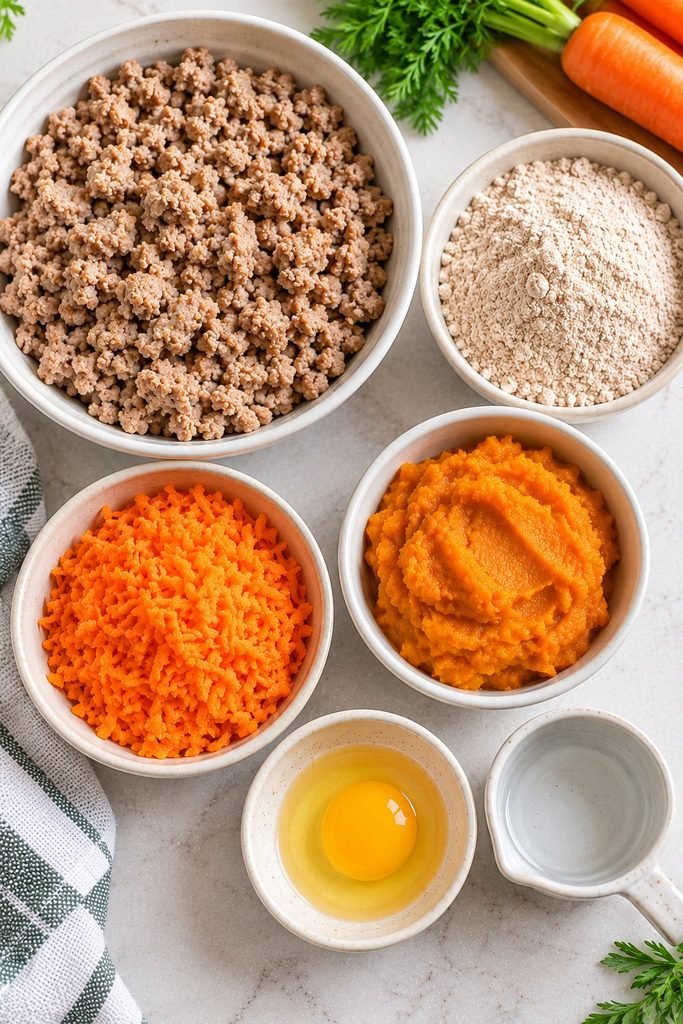
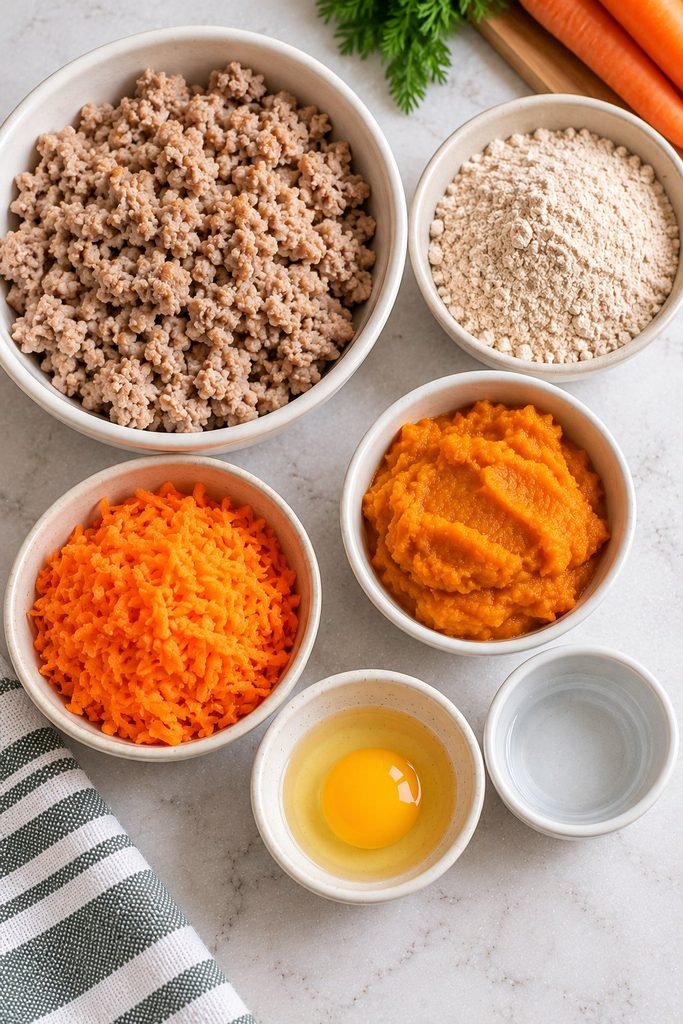
Here’s what goes into the dough and why each ingredient is included.
Lean ground turkey, cooked and cooled, provides the main savory flavor and contributes protein. Choose lean turkey and drain away excess fat. Finely crumbling it helps distribute the meat throughout the dough.
Whole wheat flour gives the kibble its structure and helps the dough roll into a thin sheet. It contains wheat, so it is not suitable for dogs that must avoid wheat.
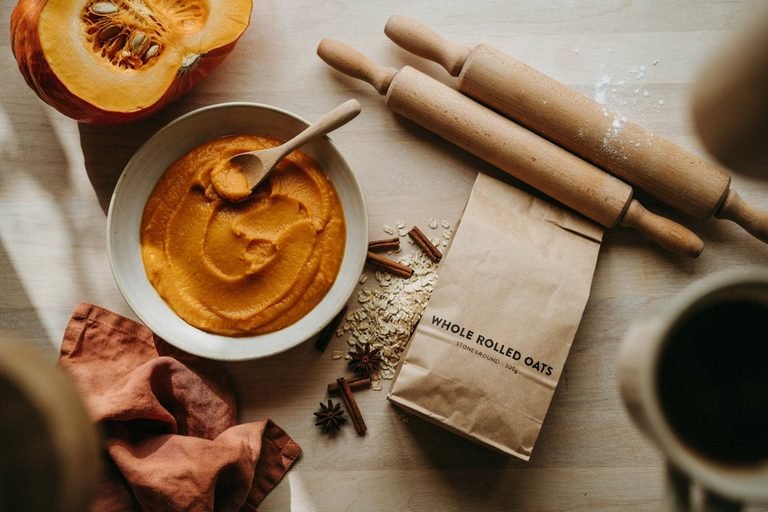
Plain pumpkin puree adds moisture and helps bring the dough together. Use 100 percent pumpkin, not pumpkin pie filling, which may contain added sugar and spices.
Grated carrot adds color, texture, and natural sweetness. Finely grate it so it distributes evenly and does not leave large, moist pieces in the finished kibble.
One egg helps bind the ingredients and makes the dough easier to handle.
Water or low-sodium broth brings the mixture together. Add liquid gradually because the moisture in the turkey, pumpkin, and carrot can vary.
Ingredient List
- 1/2 pound lean ground turkey, cooked, drained, and cooled
- 2 cups whole wheat flour, plus more for rolling
- 1/2 cup plain pumpkin puree
- 1/2 cup finely grated carrot
- 1 large egg
- 1/4 cup water or low-sodium broth with no onion or garlic, plus more if needed
How to Make Crunchy Homemade Dog Kibble
- Preheat your oven to 350°F and line a large baking sheet with parchment paper.
- Cook the ground turkey until it reaches an internal temperature of 165°F. Drain excess fat and let the meat cool.
- Crumble the cooked turkey very finely, or pulse it a few times in a food processor.
- In a large bowl, combine the turkey, whole wheat flour, pumpkin, grated carrot, egg, and water or suitable broth.
- Mix until a stiff dough forms. If it feels too dry to hold together, add water a tablespoon at a time. If it is sticky, add a little more flour.
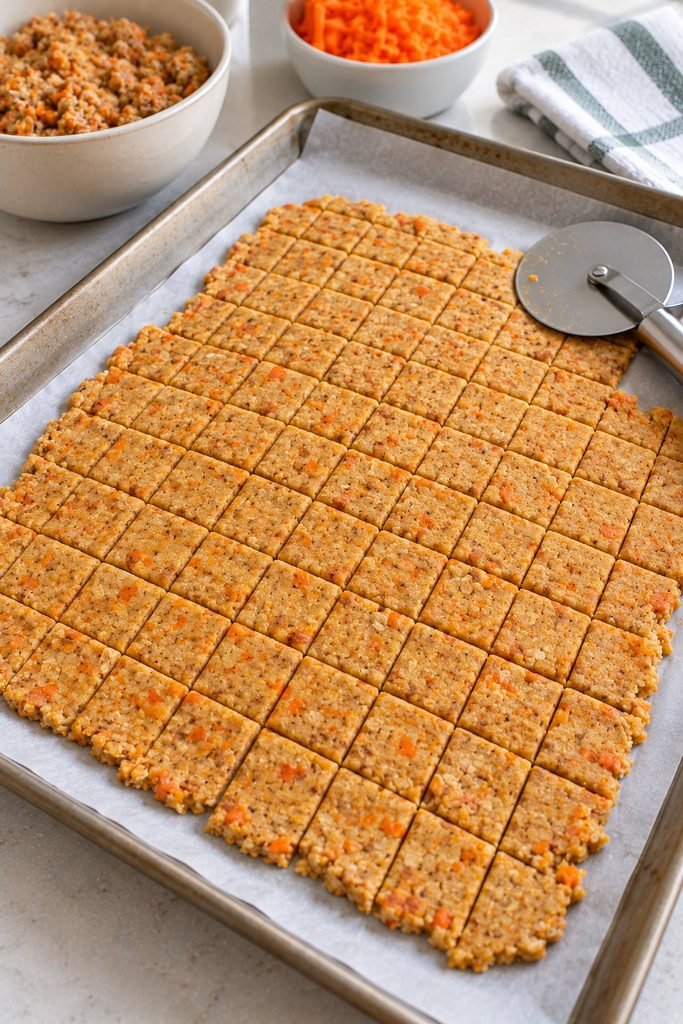
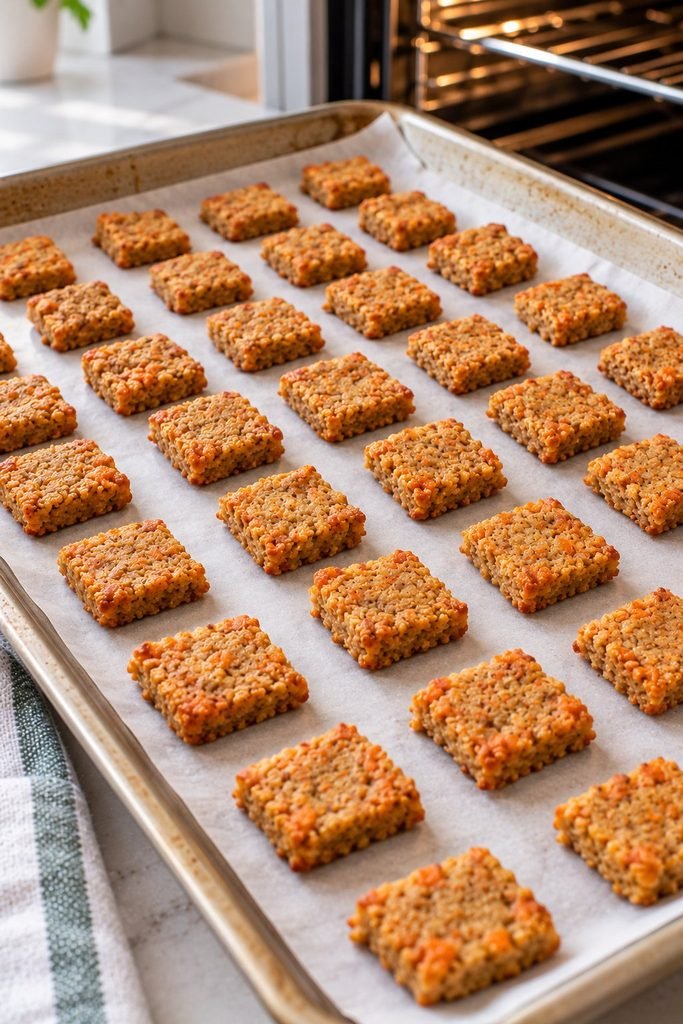
- Place the dough on the prepared parchment and roll it into an even sheet about 1/4 inch thick.
- Use a knife or pizza cutter to score the dough into small squares about 1/2 inch wide.
- Bake for 20 minutes, then lower the oven temperature to 225°F.
- Remove the tray carefully and break the dough apart along the score lines. Spread the pieces out so they are not overlapping.
- Return the pieces to the oven and dry for 1 1/2 to 2 hours, stirring or turning them once or twice. Check regularly because oven performance and piece thickness affect the timing.
- Check several of the largest pieces. They should feel firm throughout rather than soft or damp in the center. If needed, dry them for another 20 to 30 minutes.
- Transfer the pieces to a wire rack and cool completely before serving or packing them for storage.
Keep the pieces small enough for your dog to chew comfortably, and supervise your dog when offering any new treat. The appropriate size depends on your dog’s size and chewing habits.
Getting the Right Texture
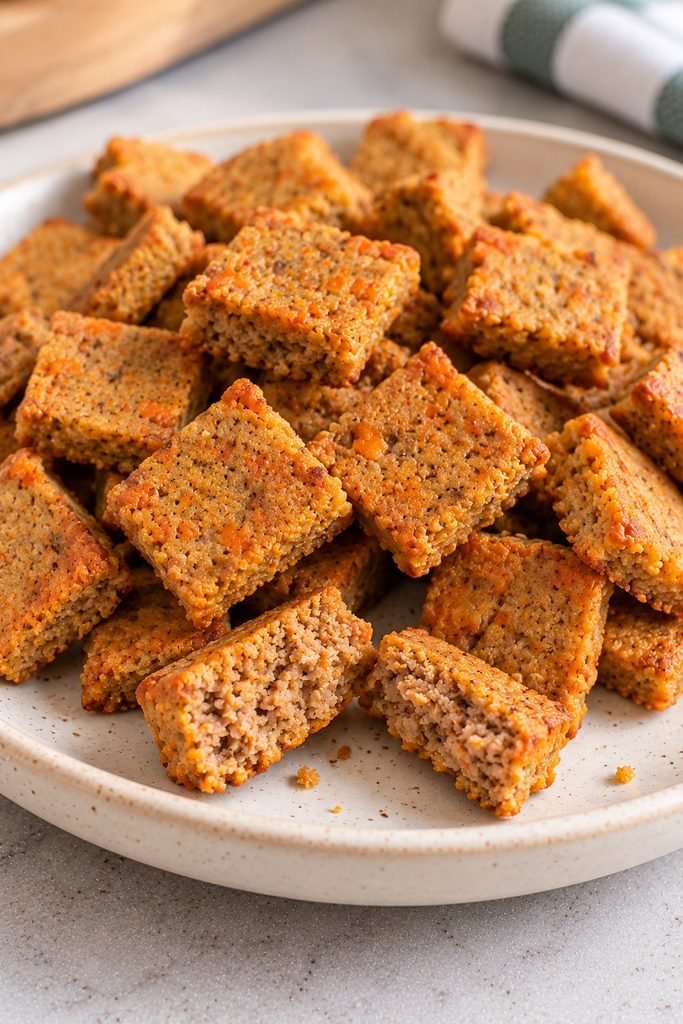
The secret to a crunchier finish is an even sheet of dough followed by a long, low drying step. Baking alone may leave the middle soft, particularly when some sections are thicker than others.
Roll the dough evenly so every piece dries at a similar rate. Scoring it before the first bake also makes the pieces easier to separate without crushing them.
If your kibble is still chewy in the center, return it to the oven at a low temperature for another 20 to 30 minutes. Allow a sample to cool before checking its texture because warm pieces can feel softer than they will after cooling.
For smaller dogs, score the dough into smaller squares, around 1/4 inch wide, and check the pieces regularly because small pieces dry faster. Choose a size and texture appropriate for your dog.
If you own a dehydrator, it may help dry the pieces more evenly. Follow the appliance manufacturer’s instructions and check the kibble regularly. A dehydrator does not automatically make a meat-based homemade recipe safe for long-term room-temperature storage.
Recipe Variations
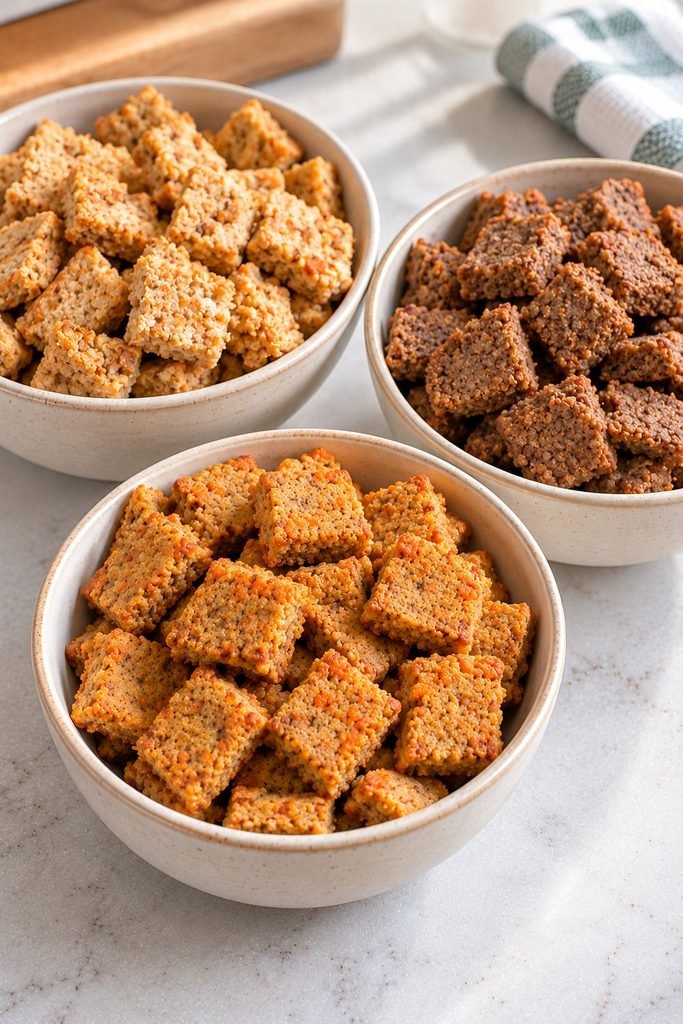
Once you’ve made the base recipe, these are simple ideas to try if the ingredients suit your dog. Introduce new ingredients gradually and keep every variation plain.
Chicken kibble. Replace the turkey with cooked, finely minced chicken. Cook poultry to 165°F and remove all bones before mixing.
Beef kibble. Use lean ground beef, cook it thoroughly, and drain excess fat. Ground beef should reach 160°F internally before being added to the dough.
Sweet potato kibble. Replace the pumpkin with plain, cooked, mashed sweet potato. Since moisture levels vary, adjust the water or flour gradually until the dough is workable.
Oat version. Experiment with replacing part of the whole wheat flour with oat flour. The dough may have a different texture, so add liquid slowly and check that the pieces dry evenly.
Fish kibble. Plain cooked, boneless white fish can be used as a variation. Carefully remove all bones, flake the fish finely, and avoid seasonings or sauces.
Try changing one ingredient at a time so you can identify which foods your dog tolerates. If your dog follows a veterinary-prescribed diet, ask your veterinarian before experimenting.
Common Mistakes to Avoid
Skipping the drying step. The first bake cooks the dough, but the additional drying helps create a firmer texture. Pieces that remain moist may soften quickly and spoil more readily.
Using fatty meat. Excess fat can make the pieces greasy and may not suit dogs that need a lower-fat diet. Choose lean meat and drain it well.
Adding onion, garlic, or seasoning. These ingredients are unnecessary and can be unsafe for dogs. Keep the mixture plain.
Rolling the dough too thick. Thick pieces take longer to dry and can remain soft in the center. Aim for an even sheet and check the largest pieces before finishing the batch.
Crowding the tray. Spread the pieces out after breaking them apart so moisture can escape. Dry in batches if needed.
Storing it while still warm. Warm food can create condensation inside a container. Cool the pieces completely before packing them, then refrigerate or freeze promptly.
Assuming crunch means shelf-stable. Homemade meat-based kibble is different from commercially manufactured dry kibble. Do not leave it in a pantry for long periods based on texture alone.
Feeding it as a complete diet. This recipe is not nutritionally complete. Use it as a treat or topper unless a veterinary nutrition professional has balanced it for full-time feeding.
How Much Should You Feed?
Think of this as a topper or treat, not a replacement for your dog’s regular complete food. The right amount depends on your dog’s weight, age, activity level, daily calorie needs, and health.
Start with a small amount, especially if the recipe is new to your dog. You can crumble a few pieces over the usual meal or use tiny pieces during training. If you add the kibble as a topper, account for those calories when planning the rest of the day’s food.
Treats and extras should generally make up no more than about 10 percent of a dog’s daily calories, with most nutrition coming from a complete and balanced diet. Ask your veterinarian for an individual recommendation if you are unsure how much is suitable.
How to Store Homemade Dog Kibble
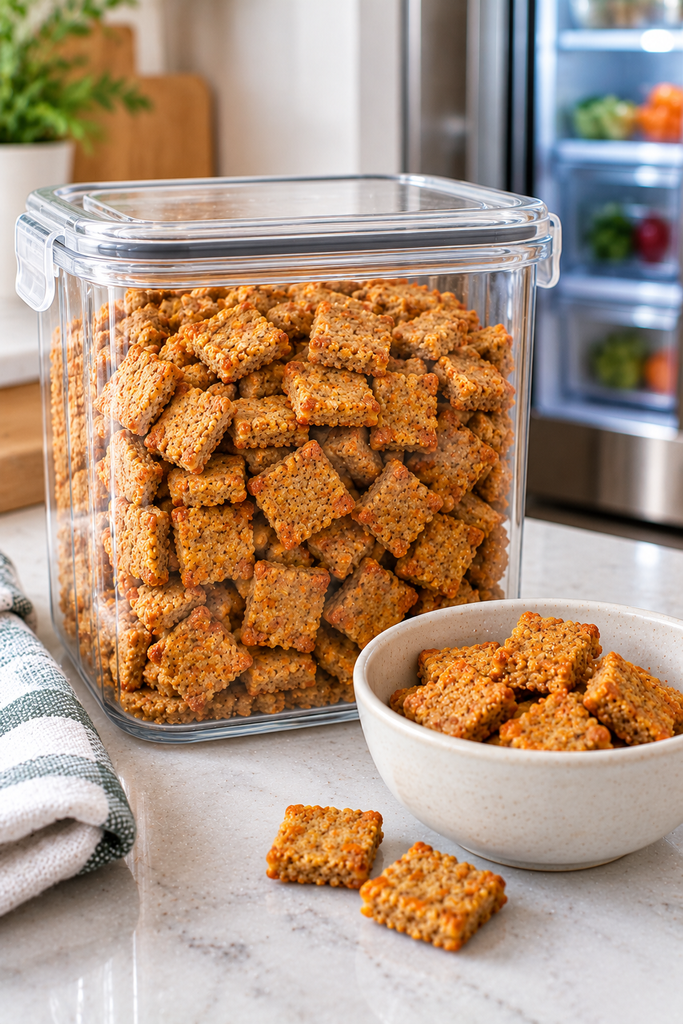
Homemade kibble contains cooked meat, egg, and vegetables, so it should not be stored in the same way as commercial dry kibble. Even if the pieces feel crunchy, residual moisture and handling can affect how long they remain safe.
Refrigerator. Once the pieces are completely cool, place them in a clean, airtight container and refrigerate promptly. Use refrigerated portions within 3 to 4 days as a conservative approach.
Freezer. Freeze the kibble in sealed, freezer-safe bags or containers for up to 3 months for best quality. Divide it into small portions so you only need to thaw what you plan to use.
Room temperature. Do not rely on the drying time alone to make this recipe shelf-stable. Because the recipe includes meat and egg and has not been validated for shelf stability, refrigerating or freezing is the safer approach.
Label each container with the preparation date. Discard any portion that develops mold, an unusual smell, or other signs of spoilage. When in doubt, throw it out. Do not return uneaten pieces from your dog’s bowl to the main storage container.
Can You Freeze Homemade Dog Kibble?
Yes. Freezing is a practical way to manage a batch when you have made more than your dog will eat within a few days.
- Let the kibble cool completely on a wire rack.
- Divide it into portions that suit your dog’s usual treat or topper use.
- Place the portions in freezer-safe bags or containers.
- Press excess air from bags, seal them, and label them with the date.
- Move one portion to the refrigerator to thaw when needed. Keep thawed portions refrigerated and use them promptly.
Avoid thawing a large batch on the counter for an extended period. Take out only the amount needed for a serving and return the rest to safe storage.
More Homemade Recipes to Try
- Homemade Dog Biscuit
- Portion Perfect Meat Muffins for Dogs
- Homemade Fresh Dog Food Recipe
- Simple Homemade Dog Food Recipes
- Easy Crockpot Dog Food Recipes
For a wider look at feeding your dog at home, check out 7 Healthiest Homemade Dog Foods.
Frequently Asked Questions
Is homemade kibble a complete diet?
No, not on its own. This recipe does not provide a verified balance of all the nutrients dogs need. Work with your veterinarian or a board-certified veterinary nutritionist if you want to feed homemade food full-time.
Why isn’t my kibble crunchy?
It may need more drying time, or the dough may have been rolled too thick. Spread the pieces out and return them to a low oven for another 20 to 30 minutes. Let a sample cool before checking it.
Can I use a dehydrator?
Yes, a dehydrator can help dry the pieces. Follow the appliance instructions and check the texture regularly. Dehydrating does not automatically make a meat-based recipe safe for pantry storage.
Can I use raw meat?
The recipe calls for fully cooked meat. Cook turkey to 165°F before mixing it into the dough. Raw meat carries additional food-safety risks, so discuss raw feeding with your veterinarian before considering it.
Can I make it grain-free?
You can experiment with other flours, but they behave differently and may change the texture. Grain-free food is not automatically healthier, so ask your veterinarian whether your dog needs to avoid grains.
How long does it last?
For a cautious storage approach, refrigerate the cooled kibble and use it within 3 to 4 days, or freeze portions for up to 3 months for best quality. Do not assume the drying step makes it shelf-stable at room temperature.
Can puppies eat this kibble?
Puppies have specific nutritional requirements, and this recipe is not a complete puppy diet. Ask your veterinarian before offering it, especially if your puppy is still growing or has a sensitive stomach.
Can I use broth instead of water?
Yes, if the broth is plain and contains no onion or garlic. Choose an unsalted or low-sodium option, or simply use water.
Crunchy Homemade Dog Kibble
Ingredients
Equipment
Method
- Preheat the oven. Set the oven to 350°F (175°C). Line a baking sheet with parchment paper.
- Prepare the carrot. Wash, peel if desired, and finely grate the carrot. Smaller pieces blend more evenly into the dough and make the kibble easier to shape.
- Combine the wet ingredients. In a large mixing bowl, combine the ground turkey, pumpkin puree, egg, and grated carrot. Mix until evenly distributed.
- Add the flour. Stir in the whole wheat flour until a firm dough forms. Add the water a little at a time only if needed. The mixture should hold together without becoming sticky or runny.
- Shape the kibble. Place the dough on a clean work surface and flatten it to about 1/4 inch thick. Cut it into small, similarly sized pieces suitable for your dog’s size. Keep the pieces small enough to chew comfortably.
- Bake the pieces. Arrange the kibble in a single layer on the prepared baking sheet. Bake for 25–30 minutes, turning the pieces halfway through. Because the mixture contains ground turkey, check that the center reaches at least 165°F (74°C).
- Dry for a crunchier texture. Reduce the oven temperature to 250°F (120°C). Continue baking for another 15–20 minutes, checking frequently to prevent the pieces from becoming excessively hard. Larger pieces may need additional drying time.
- Cool completely. Transfer the kibble to a wire rack and allow it to cool fully before storing. The pieces may become firmer as they cool.
- Serve in moderation. Offer a few pieces as a treat or crunchy topper, adjusting the amount to your dog’s size and regular diet.
- Choose the right texture: I cut the dough into small, even pieces so they bake consistently. For puppies, senior dogs, or dogs with dental problems, use a softer texture and ask your veterinarian about suitable treat sizes.
- Check the turkey carefully: Ground turkey must reach an internal temperature of 165°F (74°C). Do not rely on color alone to determine whether it is safely cooked.
- Avoid over-drying: Baking the pieces for too long can make them extremely hard. Check them frequently during the drying stage, especially if you cut them into tiny pieces.
- Storage: Because this recipe contains cooked meat and has no validated shelf-stability process, store the completely cooled kibble in an airtight container in the refrigerator and use it within 3–4 days. Freeze portions for longer storage. Discard pieces that develop an unusual smell, mold, or other signs of spoilage.
- Common mistake to avoid: Cutting some pieces much larger than others can leave the larger ones moist inside while the smaller pieces become too hard. Keep the pieces similar in size and check their texture as they dry.
- Nutrition and feeding: This recipe is not formulated to provide every nutrient dogs need in the correct proportions. Use it as an occasional topper or treat rather than as your dog’s sole food. Consult a board-certified veterinary nutritionist before using any homemade recipe as a regular meal.
- Ingredient safety: Use plain pumpkin puree, not pumpkin pie filling, and avoid adding salt, onion, garlic, seasoning blends, or other ingredients that may be unsafe for dogs.
A Final Note on Making Kibble at Home
It takes a little more work than a quick biscuit, but turning simple ingredients into crunchy little pieces can be a useful way to prepare occasional treats ahead of time.
Keep the pieces small enough for your dog, introduce them gradually, and use them as a topper or treat rather than a replacement for balanced food.
The most important part of homemade feeding is knowing what a recipe can and cannot do. These crunchy pieces can add variety, but they do not replace a complete diet.
If you want to make homemade food a regular part of your dog’s meals, work with your veterinarian to make sure the overall diet meets your dog’s needs.