Homemade Tuna Puffs for Dogs and Cats: Easy High Protein Treats Your Pets Will Love
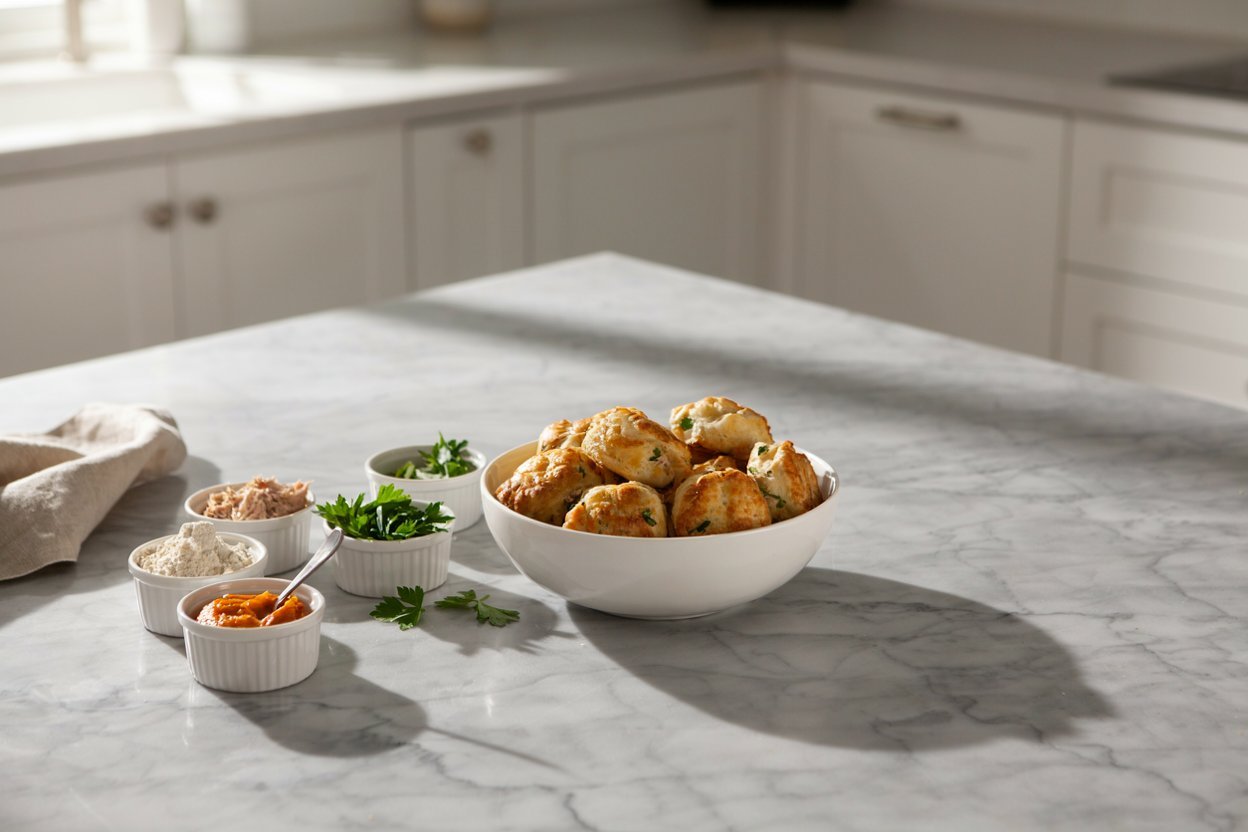
Making homemade treats is one of the easiest ways to know exactly what your dog or cat is eating.
Instead of relying on store bought snacks that may contain preservatives, artificial flavors, or unnecessary fillers, these homemade tuna puffs use a handful of simple ingredients to create a delicious, protein rich treat that many pets enjoy.
These light and fluffy tuna puffs have a soft texture that makes them suitable for many adult dogs and cats, while still being firm enough to use as rewards during training or as an occasional snack.
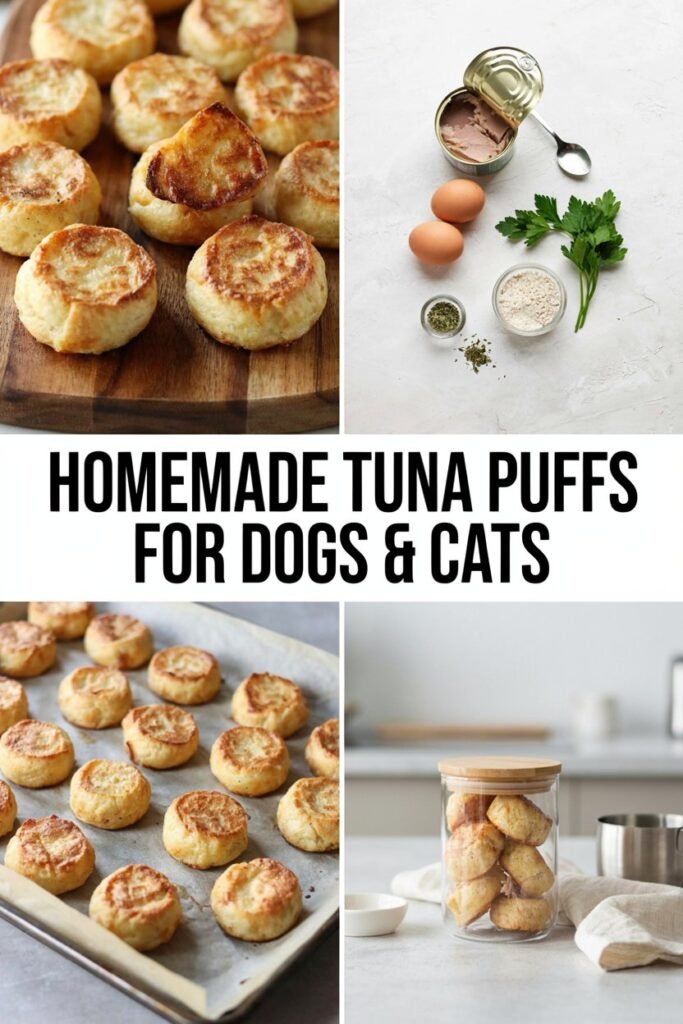
The recipe is easy enough for beginners, requires only a few basic kitchen tools, and comes together without complicated techniques.
Whether you have one pet or a busy household with both dogs and cats, these homemade tuna puffs are an excellent make ahead recipe.
They store well in the refrigerator, freeze beautifully for later, and can save money compared to premium pet treats sold in stores.
While these treats are made with wholesome ingredients, they are intended as an occasional reward and should never replace a complete and balanced diet.
Every pet has unique nutritional needs, so if your dog or cat has food allergies, chronic health conditions, or follows a prescription diet, check with your veterinarian before introducing any new homemade treats.
Disclaimer: This post may contain affiliate links, which means I may earn a small commission at no extra cost to you. Homemade treats should be offered in moderation and should not replace a complete and balanced diet. Always consult your veterinarian before introducing new foods, especially if your pet has allergies, sensitivities, or medical conditions.
Amazon Shopping List: Homemade Tuna Puffs for Dogs and Cats
- Mini Silicone Baking Mold Set
- Stainless Steel Mixing Bowl Set
- Measuring Cups and Spoons Set
- Nonstick Baking Sheet
- Silicone Baking Mat (Reusable)
- Cooling Rack for Homemade Treats
- Airtight Pet Treat Storage Container
Why You’ll Love This Recipe

There are countless homemade pet treat recipes available, but these tuna puffs stand out because they are simple, versatile, and made with ingredients many pet owners already have at home.
High in Protein
Tuna provides high quality protein that helps support healthy muscles and normal body function.
Protein is an essential part of both canine and feline diets, making tuna an excellent ingredient for homemade treats when served in moderation.
Made with Simple Ingredients
This recipe uses everyday pantry staples without complicated specialty products.
Most of the ingredients are easy to find at any grocery store, making it convenient to prepare a fresh batch whenever you need more treats.
Suitable for Dogs and Cats
If your home includes both dogs and cats, you do not need to prepare separate recipes.
These tuna puffs work well for many healthy adult pets, making treat time much easier.
Easy for Beginners
No advanced baking skills are required. The dough comes together quickly, is easy to mix by hand, and can be portioned with a spoon or cookie scoop before baking.
Budget Friendly
Premium pet treats can become expensive, especially in homes with multiple pets.
Homemade treats often cost significantly less per batch while allowing you to control every ingredient that goes into them.
Great for Meal Prep
Prepare one larger batch and freeze portions for later. Having homemade treats ready to go makes rewarding your pets quick and convenient throughout the week.
Free from Artificial Preservatives
Because you are making the treats yourself, you can skip many of the artificial colors, preservatives, and unnecessary additives commonly found in some commercial treats.
Are Homemade Tuna Puffs Safe for Dogs and Cats?
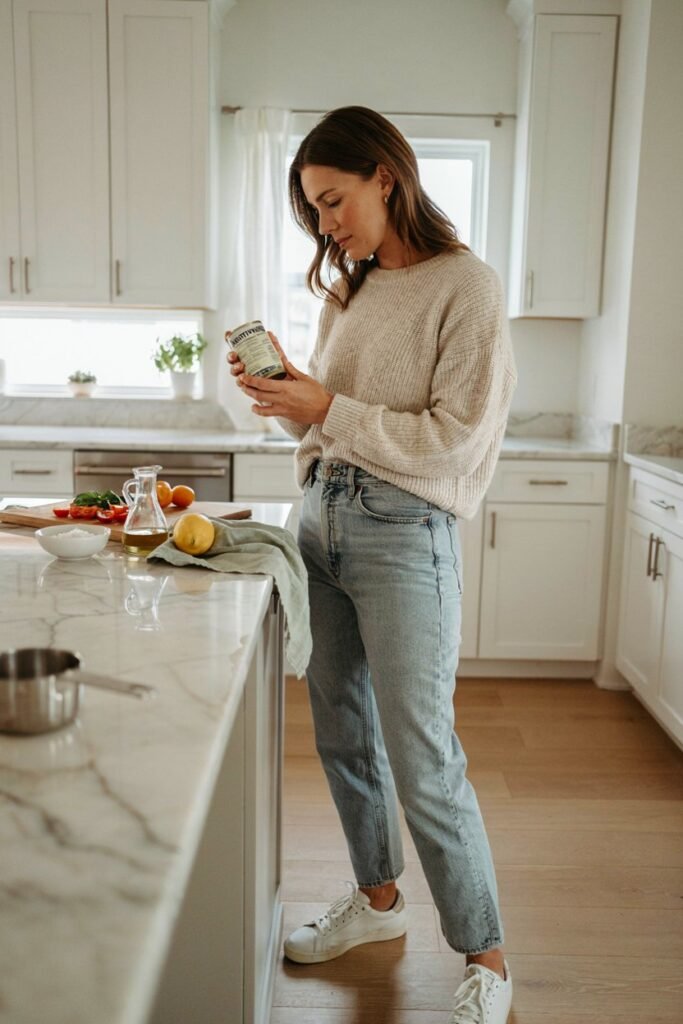
When prepared with pet safe ingredients and served in moderation, homemade tuna puffs can be a delicious occasional treat for many healthy dogs and cats.
Choosing the right type of tuna is important. Look for tuna packed in water with no added salt whenever possible.
Tuna packed in oil adds unnecessary fat, while heavily salted varieties may contain more sodium than your pet needs.
Since tuna is a larger fish, it should not become an everyday food because frequent consumption may increase exposure to naturally occurring mercury over time.
Offering these homemade puffs as an occasional reward rather than a daily snack helps keep them a safe addition to your pet’s routine.
If your pet has never eaten tuna before, introduce only a small piece and monitor for signs of digestive upset or food sensitivity. Every animal responds differently to new foods.
Pets with kidney disease, heart disease, pancreatitis, seafood allergies, or other medical conditions may require special dietary restrictions.
Always follow your veterinarian’s recommendations if your pet has unique nutritional needs.
Ingredients
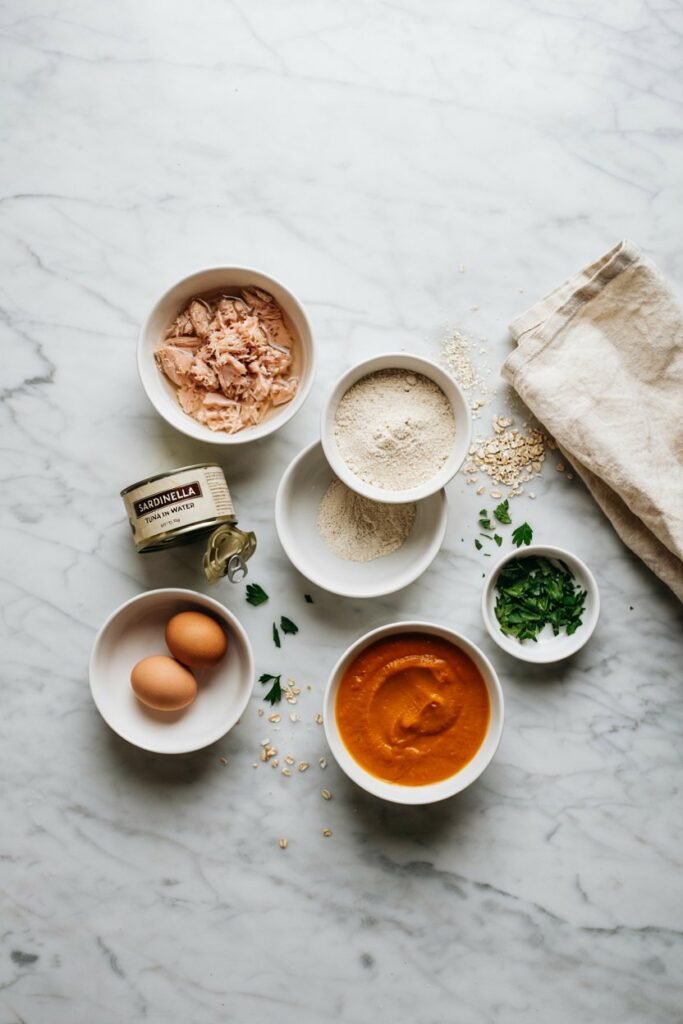
One of the best parts of this recipe is its short ingredient list.
Each ingredient serves a purpose, creating a soft, flavorful treat that is easy to prepare.
Canned Tuna in Water
Tuna is the main source of flavor and protein in this recipe. Choose tuna packed in water without added salt whenever possible.
Drain it thoroughly before mixing to prevent excess moisture from affecting the texture of the dough.
Egg
The egg acts as a natural binder that holds the ingredients together while adding additional protein.
It also helps create the light, fluffy texture that gives these treats their name.
Oat Flour
Oat flour provides structure without making the treats overly dense. It creates a tender texture that works well for both dogs and cats.
If you do not have oat flour, you can easily make your own by blending plain rolled oats into a fine powder.
Plain Pumpkin Puree
Pumpkin puree adds moisture while contributing dietary fiber that supports healthy digestion.
Be sure to use plain pumpkin puree rather than pumpkin pie filling, which contains added sugar and spices that are not suitable for pets.
Fresh Parsley
Fresh parsley is completely optional, but many pet owners enjoy adding a small amount because it contributes freshness and natural flavor.
Use only a small quantity and avoid excessive amounts.
Kitchen Equipment You’ll Need
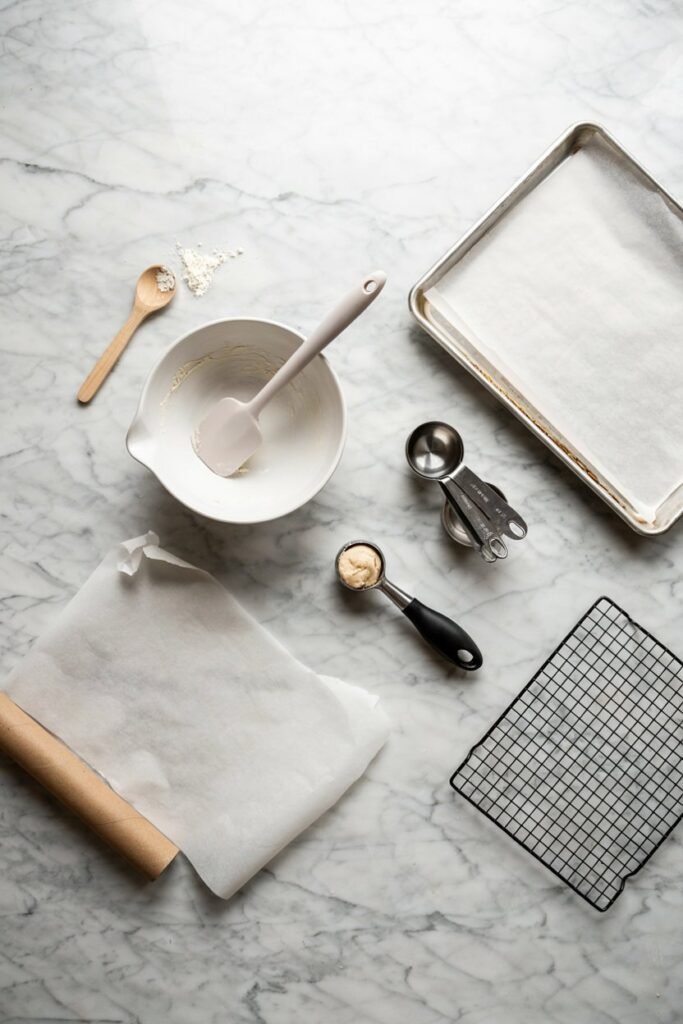
No special equipment is necessary, making this recipe approachable for nearly every home kitchen.
You will need:
- One medium mixing bowl
- Measuring cups and measuring spoons
- A fork for breaking apart the tuna
- A mixing spoon or silicone spatula
- A baking sheet
- Parchment paper or a silicone baking mat
- A small cookie scoop or spoon
- A wire cooling rack
Preparing everything before you begin helps the recipe come together smoothly and makes cleanup much easier.
Ingredient Substitutions
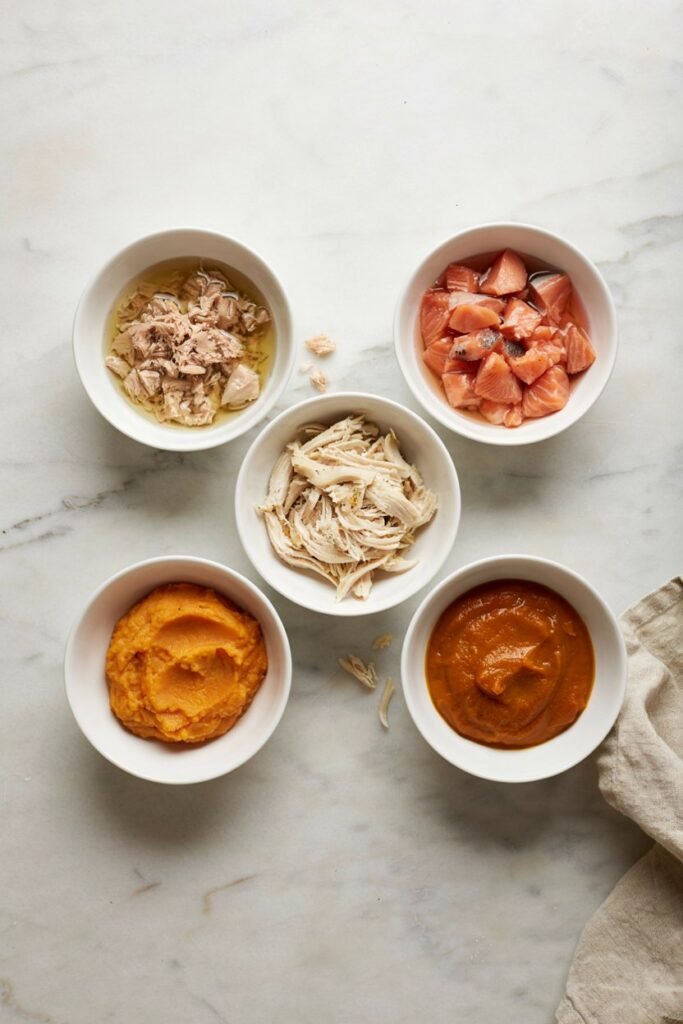
One reason this recipe is so practical is that it can be adapted using several pet friendly alternatives.
If you do not have oat flour, finely blended rolled oats work just as well.
Canned salmon packed in water can replace tuna if your pets prefer its flavor.
Salmon also provides beneficial omega fatty acids while creating a similar texture.
Cooked and finely shredded chicken can be used for pets that do not tolerate fish, although the flavor and moisture level will be slightly different.
If pumpkin puree is unavailable, mashed cooked sweet potato can provide similar moisture and texture while adding natural sweetness.
Whenever you substitute ingredients, introduce the finished treats gradually to ensure your pet tolerates them well.
Tips Before You Start
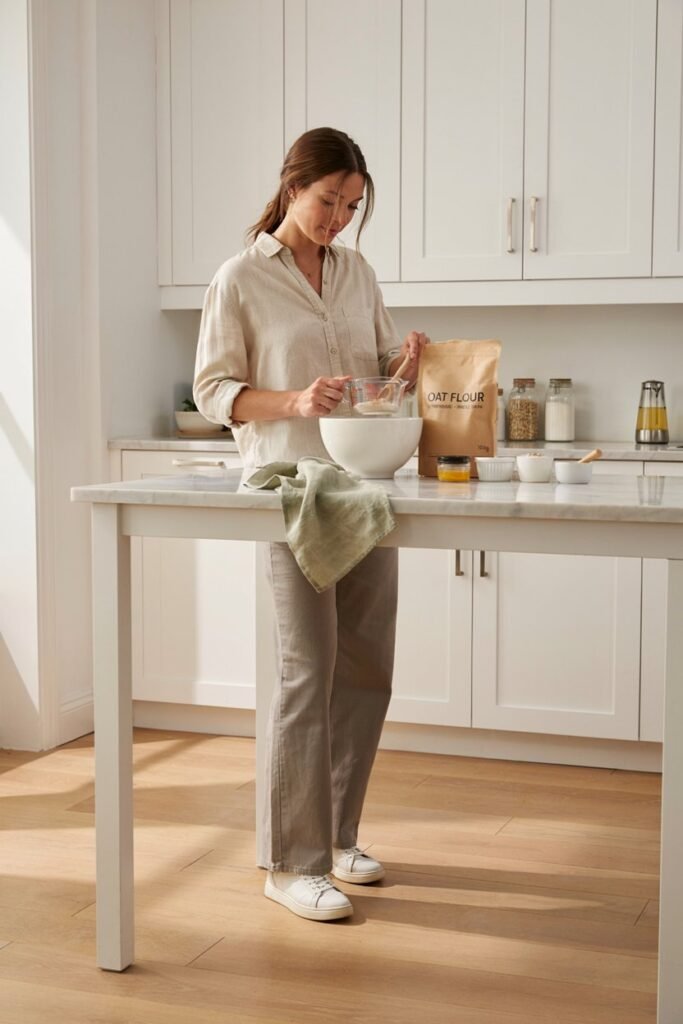
Drain the tuna thoroughly before mixing. Excess liquid can make the dough sticky and difficult to shape.
Measure ingredients accurately to create a dough that is soft but holds together easily.
Line the baking sheet before portioning the mixture to make cleanup quick and prevent sticking.
Use a small cookie scoop if you want evenly sized puffs that bake at the same rate.
Allow enough time for the treats to cool completely before offering them to your pets.
Warm treats may seem finished on the outside while remaining soft in the center.
Step by Step Instructions
This recipe is straightforward, but taking your time with each step will help you achieve soft, flavorful tuna puffs that hold their shape and bake evenly.
Read through the instructions before you begin so you know what to expect from start to finish.
Step 1: Preheat the Oven
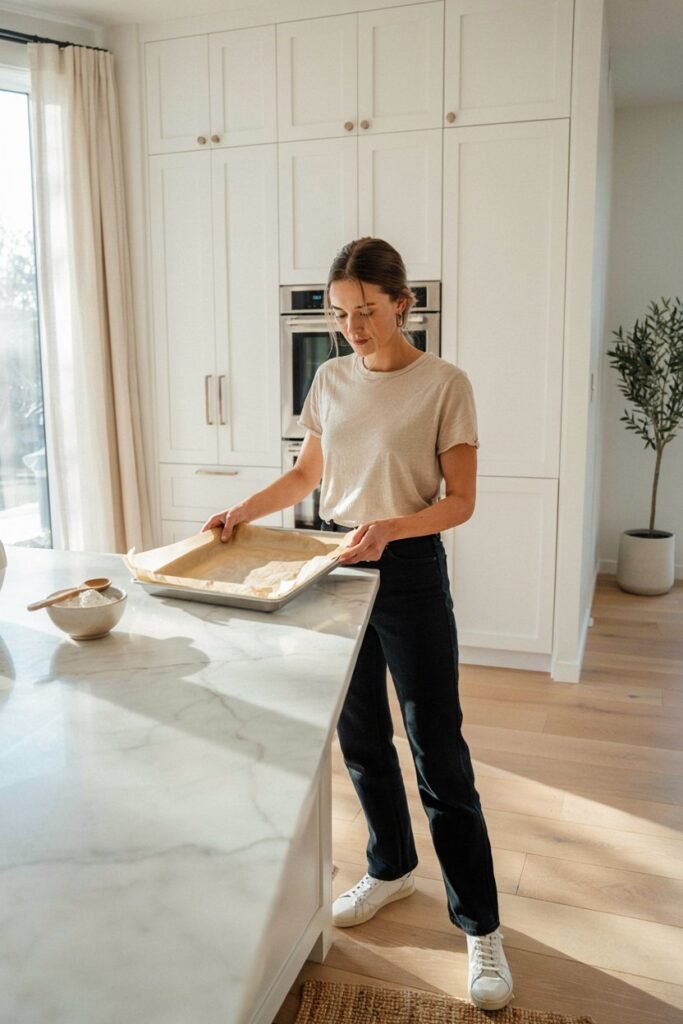
Preheat your oven to 350 degrees Fahrenheit. While the oven is heating, line a baking sheet with parchment paper or a silicone baking mat.
Preparing the baking sheet in advance makes it easier to portion the mixture once it is ready and helps prevent the puffs from sticking during baking.
Step 2: Drain the Tuna Thoroughly
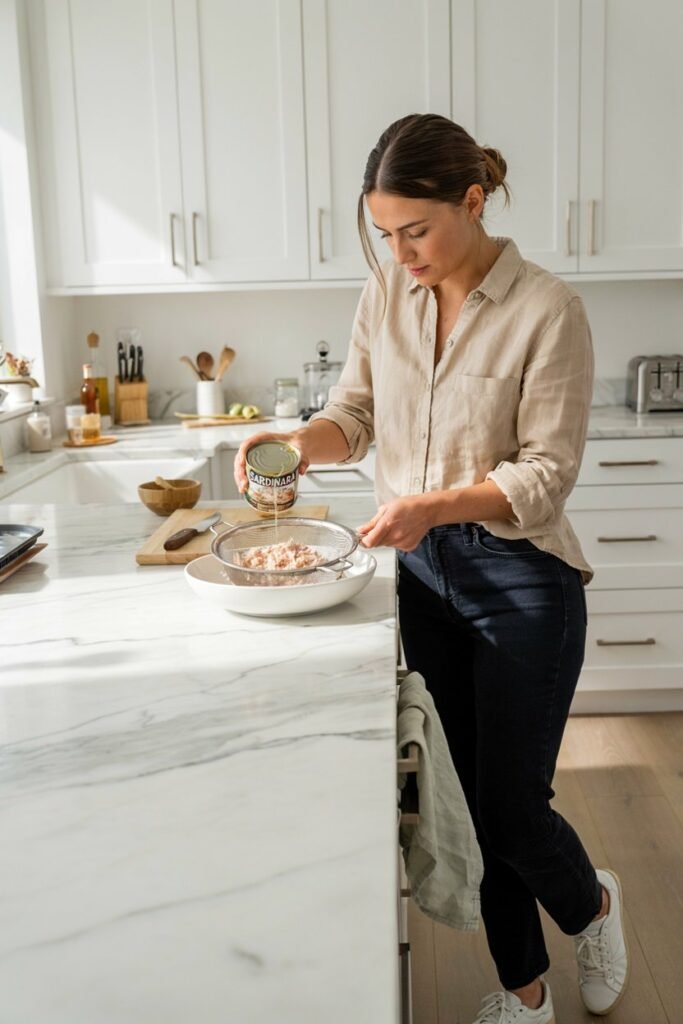
Open the canned tuna and drain away as much liquid as possible.
Transfer the tuna to a medium mixing bowl and use a fork to break it into small flakes.
This is one of the most important steps in the recipe.
Excess moisture can make the mixture too wet, causing the puffs to spread or bake unevenly.
Well drained tuna creates a dough that is easier to mix and shape.
The tuna should appear moist but not dripping with liquid.
Step 3: Add the Wet Ingredients
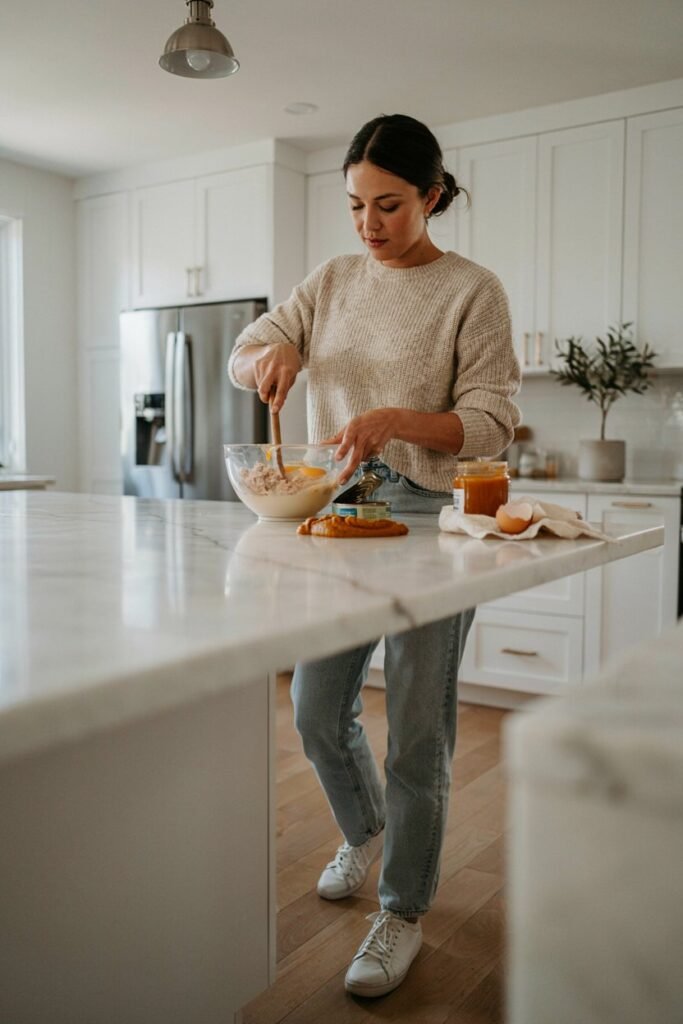
Crack the egg into the bowl with the tuna and add the plain pumpkin puree. If you are using fresh parsley, stir it in at this stage.
Mix everything together until the egg is fully incorporated and the pumpkin is evenly distributed throughout the tuna.
There should be no visible streaks of egg remaining.
The mixture will look soft and creamy with evenly coated flakes of tuna.
Step 4: Mix in the Oat Flour

Gradually add the oat flour while stirring continuously.
Mixing a little at a time helps prevent dry pockets from forming and allows you to judge the consistency more accurately.
Continue stirring until all of the flour has been absorbed.
The finished mixture should be soft, slightly sticky, and thick enough to hold its shape when scooped.
If it seems too wet, sprinkle in a small amount of additional oat flour, one tablespoon at a time.
If it feels dry or crumbly, mix in a teaspoon of water or a little more pumpkin puree until the texture improves.
Avoid adding too much flour, as overly dry dough can produce dense, hard treats.
Step 5: Portion the Mixture
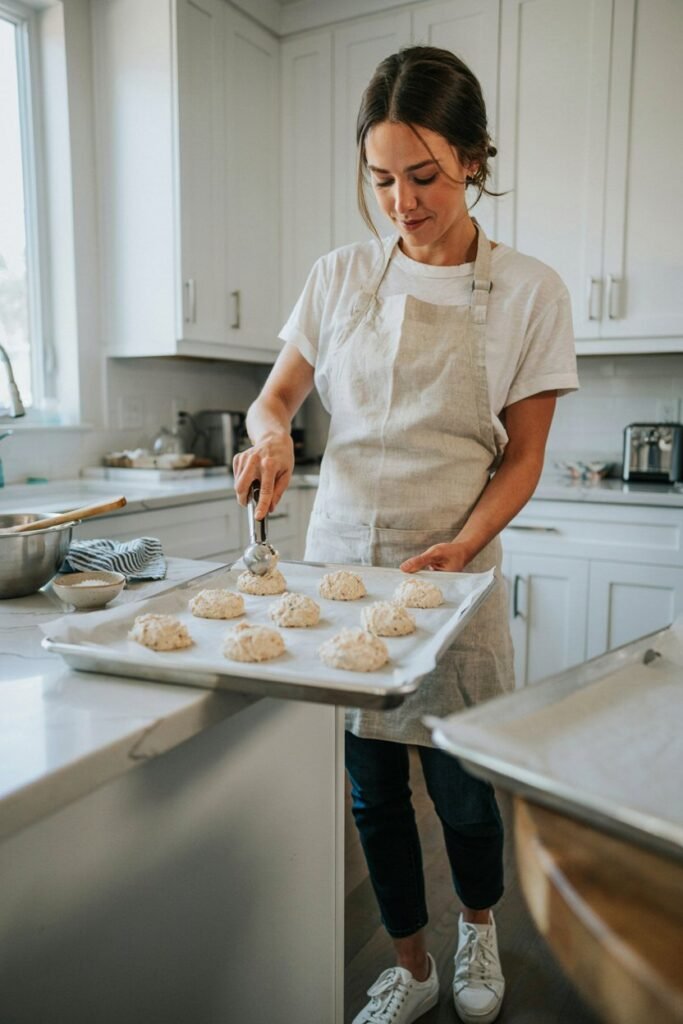
Using a small cookie scoop or spoon, portion the mixture into evenly sized mounds and place them on the prepared baking sheet.
Leave a little space between each puff, although they will not spread very much during baking.
Keeping the portions similar in size helps every puff bake at the same rate, so you are less likely to end up with some overcooked while others remain underdone.
If desired, gently smooth the tops with the back of a spoon for a more uniform appearance.
Step 6: Bake Until Set
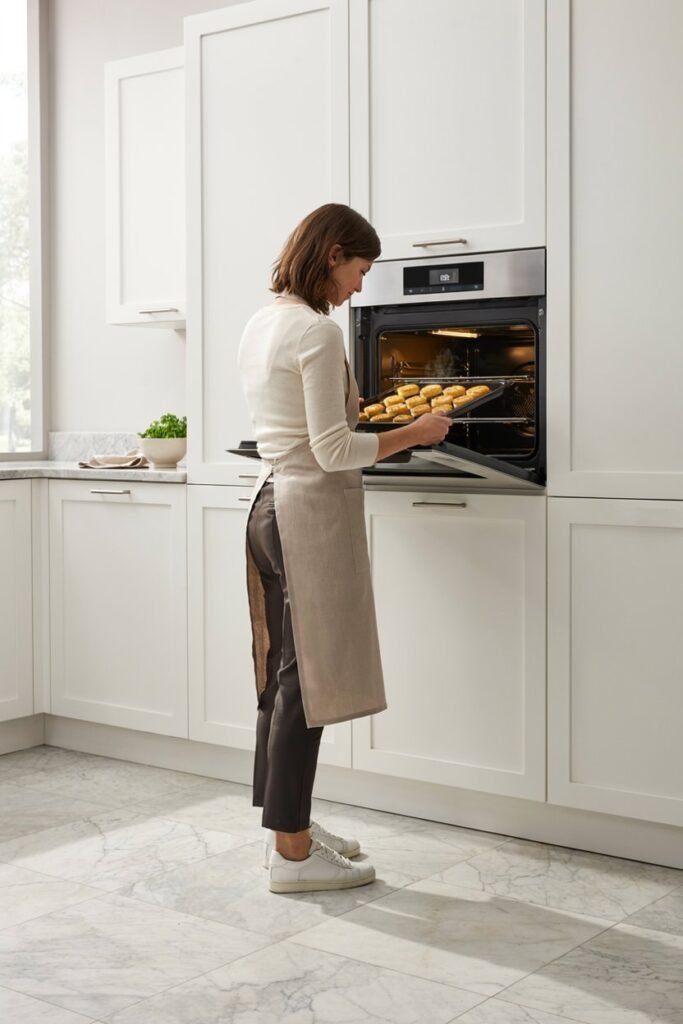
Place the baking sheet in the preheated oven and bake for approximately 18 to 22 minutes.
The exact baking time may vary slightly depending on your oven and the size of your puffs.
As they bake, the puffs will become firmer and develop a light golden color around the edges.
They should feel set when gently touched without being overly hard.
Avoid overbaking, as this can dry the treats and make them less appealing, especially for older pets that prefer a softer texture.
Step 7: Cool Completely
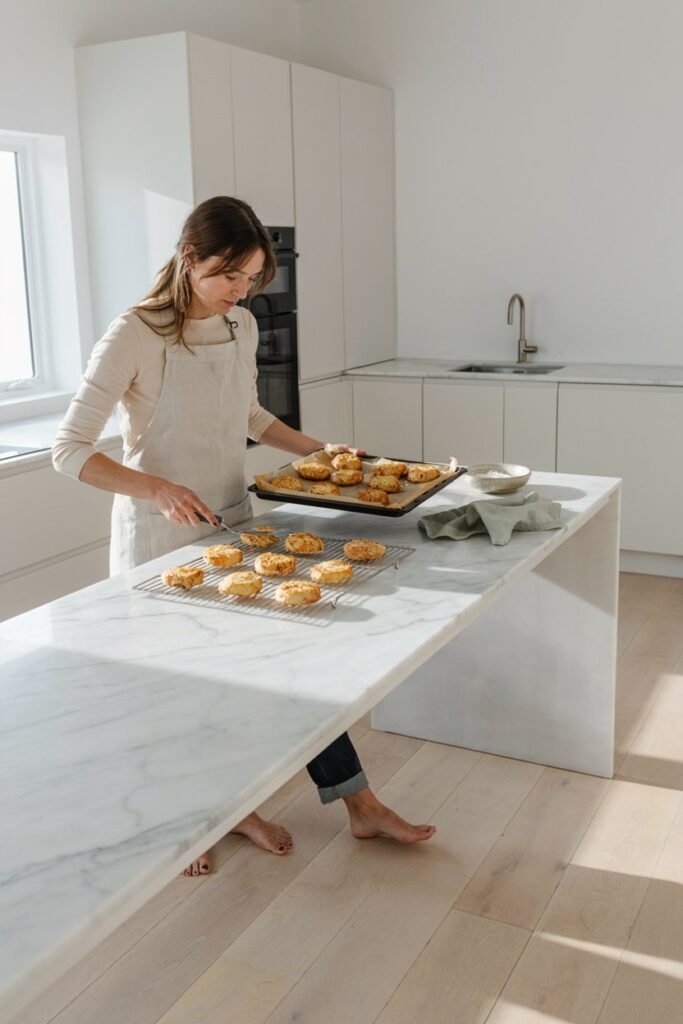
Remove the baking sheet from the oven and allow the tuna puffs to rest for about five minutes.
Carefully transfer them to a wire cooling rack to finish cooling.
Cooling is an important part of the process because the centers continue to firm up as the treats reach room temperature.
Serving them too soon may cause them to crumble or feel softer than intended.
Once completely cool, they are ready to serve or store.
How to Tell When the Tuna Puffs Are Done
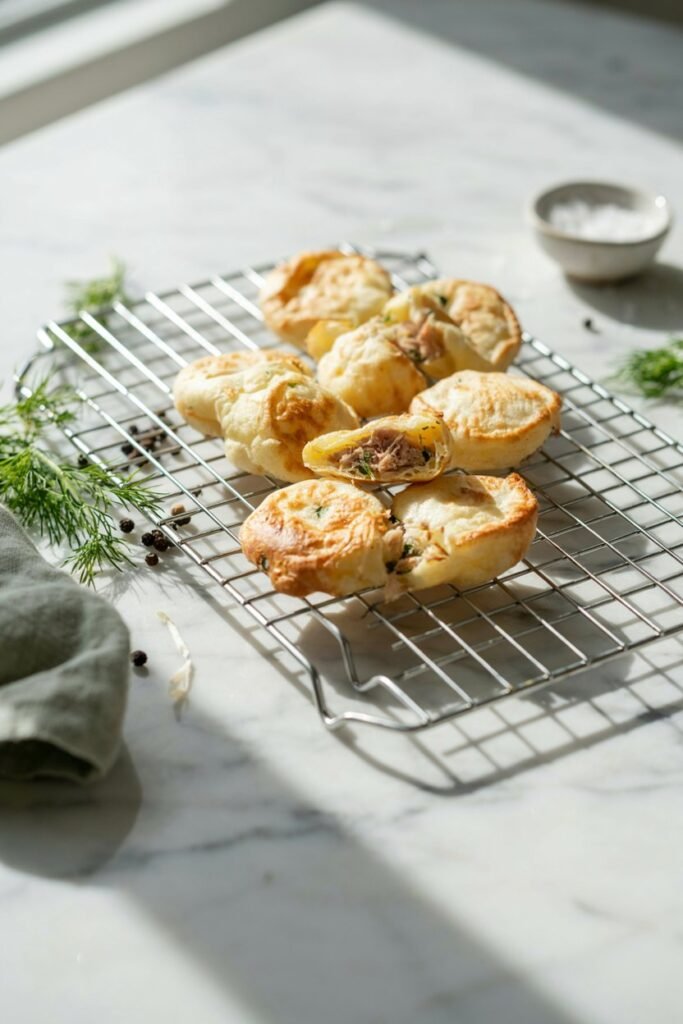
Every oven bakes a little differently, so rely on visual and texture cues instead of watching the clock alone.
Your tuna puffs are ready when:
- The tops look dry rather than wet.
- The edges have turned lightly golden.
- The puffs hold their shape when gently pressed.
- The centers feel set without being mushy.
- They lift easily from the parchment paper.
If the centers still appear wet or very soft, return the baking sheet to the oven for another two to three minutes before checking again.
Pro Tips for Perfect Tuna Puffs

Drain the tuna as thoroughly as possible before mixing. This simple step helps create the ideal dough consistency.
Use plain canned pumpkin puree rather than pumpkin pie filling, which contains ingredients that are not suitable for pets.
Measure the oat flour accurately instead of packing it into the measuring cup, as too much flour can make the treats dry.
Bake similar sized portions so every puff finishes cooking at the same time.
Allow the treats to cool completely before storing them to prevent moisture from becoming trapped inside the container.
If making treats for smaller dogs, puppies, or cats, use a smaller scoop to create bite sized portions that are easier to eat.
Common Mistakes to Avoid

Even a simple recipe can produce disappointing results if a few important details are overlooked.
Not Draining the Tuna
Too much liquid creates a wet mixture that may spread during baking and produce soft, fragile treats.
Adding Too Much Flour
Extra flour can make the puffs dense and dry. Add only enough to create a soft dough that holds together.
Overbaking
Leaving the treats in the oven too long removes too much moisture and creates a tougher texture.
Making the Puffs Too Large
Oversized portions require longer baking times and may cook unevenly, leaving the centers softer than the outside.
Skipping the Cooling Time
Freshly baked treats continue to firm up as they cool. Giving them time to rest improves both texture and flavor.
Storing Before Completely Cool
Warm treats release steam inside storage containers, which can introduce excess moisture and shorten their freshness.
Storage Tips

One of the best things about these homemade tuna puffs is that they store well, making it easy to prepare a larger batch and have treats ready whenever your pets deserve a reward.
Room Temperature
If your home is cool and dry, the tuna puffs can be kept in an airtight container for up to two days.
Because they contain egg and pumpkin, avoid leaving them out longer than necessary.
Refrigerator
For longer freshness, store the cooled tuna puffs in an airtight container in the refrigerator for up to one week.
Place a paper towel inside the container to help absorb excess moisture and keep the treats from becoming soggy.
Freezer
These treats freeze exceptionally well. Arrange the cooled puffs in a single layer on a baking sheet and freeze until firm.
Once frozen, transfer them to a freezer safe container or freezer bag.
Label the container with the preparation date and use the treats within three months for the best quality.
Thawing
Remove only the number of treats you need and allow them to thaw in the refrigerator or at room temperature for a short time before serving.
Never refreeze treats that have already been thawed.
Serving Suggestions
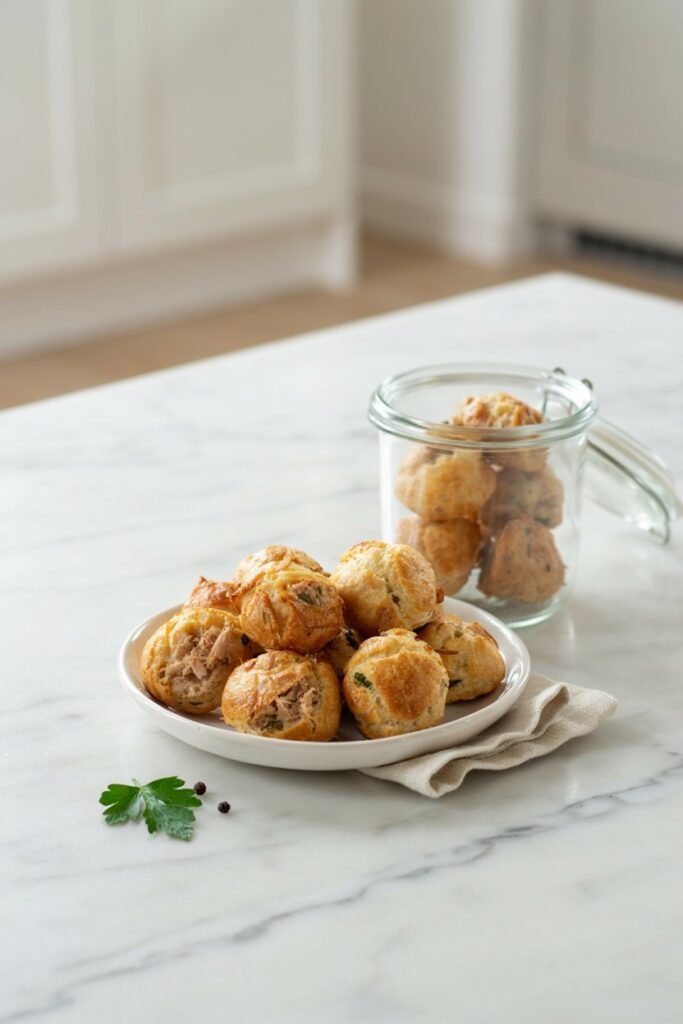
These tuna puffs are intended as occasional treats rather than meal replacements.
There are plenty of fun ways to serve them throughout the week.
You can offer one as a reward after a walk or play session.
Break larger puffs into smaller pieces for training rewards.
Hide a few pieces inside a food puzzle to encourage mental stimulation.
Pack several treats when traveling with your pet for a convenient snack.
Use them as a special reward during grooming sessions or veterinary visits to create positive associations.
Always provide fresh drinking water whenever treats are served.
Recipe Variations
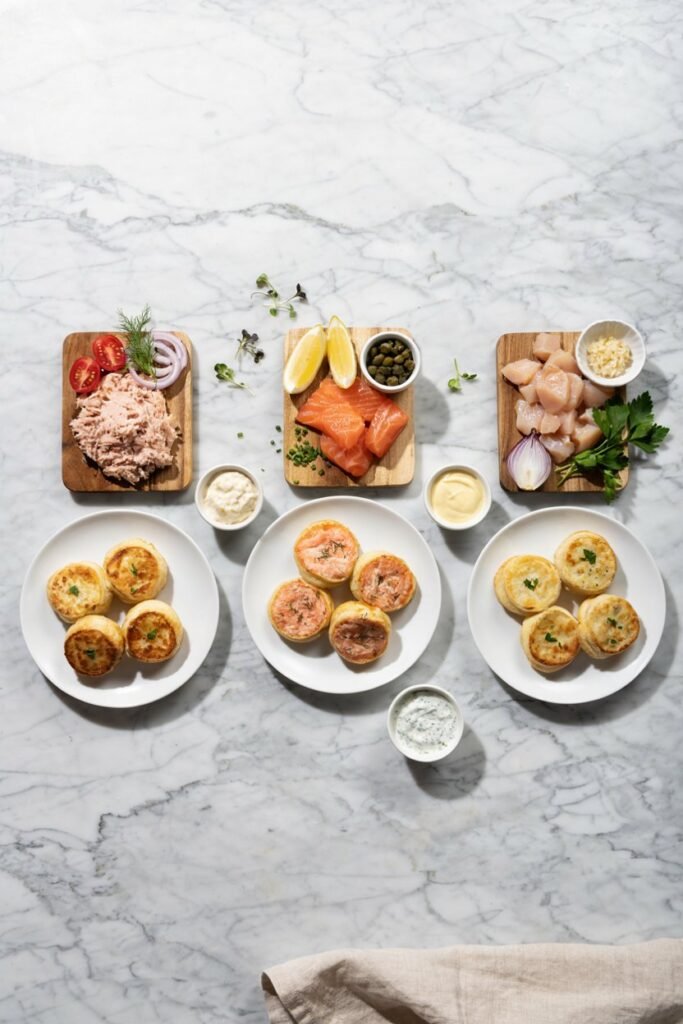
Once you have mastered the basic recipe, you can easily change the flavor while keeping the preparation process nearly the same.
Salmon Puffs
Replace the tuna with canned salmon packed in water for a slightly richer flavor and additional omega fatty acids.
Chicken Puffs
Use cooked shredded chicken for pets that prefer poultry over fish.
Turkey Puffs
Cooked lean turkey creates another high protein option that many dogs and cats enjoy.
Sweet Potato Tuna Puffs
Replace the pumpkin puree with mashed cooked sweet potato for a naturally creamy texture.
Mini Training Puffs
Use a teaspoon instead of a cookie scoop to create smaller treats that are perfect for training sessions.
Softer Senior Pet Version
Reduce the baking time slightly to create a softer texture that may be easier for some older pets to chew.
Nutrition Notes
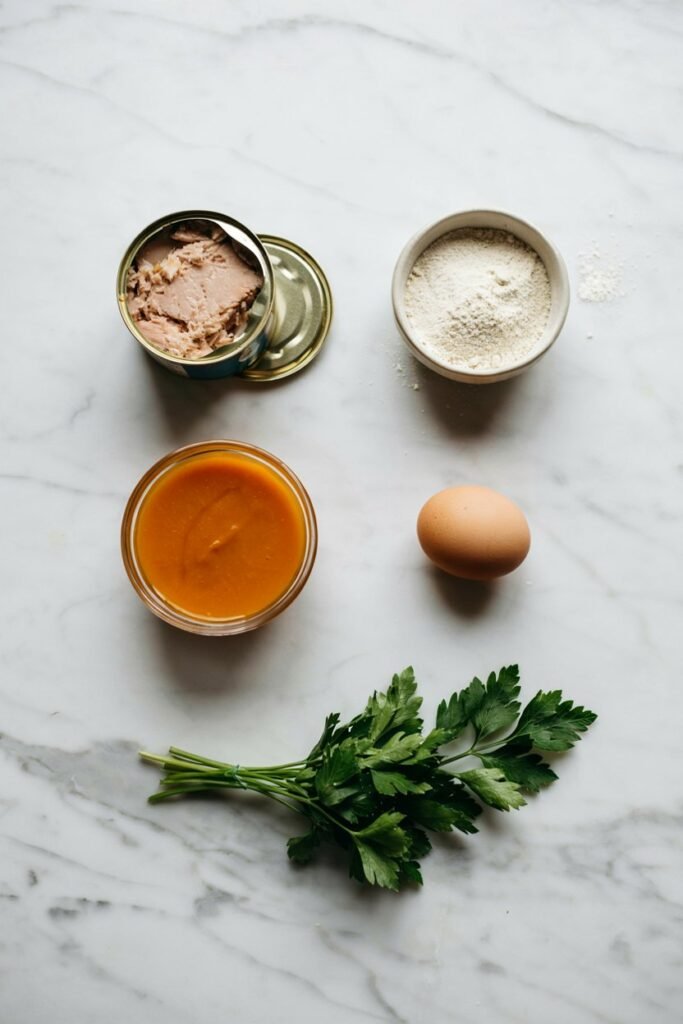
These homemade tuna puffs contain ingredients that naturally provide protein, healthy fats, vitamins, and dietary fiber.
Tuna supplies high quality protein that supports normal muscle maintenance.
Egg contributes additional protein along with essential nutrients.
Pumpkin provides fiber that supports normal digestion.
Oat flour contributes carbohydrates and fiber while creating a tender texture.
Although these treats contain nutritious ingredients, they are not formulated to provide complete and balanced nutrition.
They should always be offered as an occasional reward alongside your pet’s regular complete diet.
Treats should generally make up only a small portion of your pet’s daily calorie intake.
Recipe Summary
Prep Time: 10 minutes
Cook Time: 18 to 22 minutes
Cooling Time: 20 minutes
Total Time: About 50 minutes
Yield: Approximately 24 small tuna puffs
Difficulty: Easy
Suitable For: Healthy adult dogs and cats
Frequently Asked Questions
Can dogs eat these tuna puffs?
Yes. Healthy adult dogs can usually enjoy these homemade tuna puffs in moderation as an occasional treat.
Can cats eat these treats?
Yes. Many cats enjoy the flavor of tuna, making these puffs an appealing homemade snack when served occasionally.
Can puppies eat them?
Puppies can sometimes enjoy small pieces after they have started eating solid foods, but check with your veterinarian before introducing homemade treats, especially for very young puppies.
Can kittens eat these treats?
Small amounts may be suitable for older kittens that are already eating solid food, but always introduce new foods gradually and consult your veterinarian if you have concerns.
Can I use fresh tuna instead of canned tuna?
Yes. Cook fresh tuna thoroughly without seasoning, oil, butter, garlic, onions, or other ingredients before using it in the recipe.
Can I substitute salmon?
Absolutely. Canned salmon packed in water works very well and creates a similar texture.
Why did my tuna puffs fall apart?
The mixture may have contained too much moisture or not enough binding ingredients. Thoroughly draining the tuna and measuring ingredients carefully usually solves this problem.
Why are my treats too dry?
Too much flour or overbaking can remove too much moisture. Measure carefully and begin checking for doneness near the end of the recommended baking time.
How many treats should I give my pet?
The appropriate amount depends on your pet’s size, age, activity level, and overall diet.
Small pets may only need one or two treats, while larger dogs can enjoy a few more. Treats should always be offered in moderation.
Can I make a large batch?
Yes. This recipe is excellent for meal preparation because the treats freeze well and thaw quickly whenever you need them.
Final Thoughts
Homemade tuna puffs are a simple way to give your dog or cat a wholesome treat made with ingredients you can recognize and trust.
They require very little preparation, use everyday pantry staples, and can be customized with a few easy substitutions to suit your pet’s preferences.
Whether you are preparing treats for training, rewarding good behavior, or simply adding a little variety to your pet’s snack routine, this recipe offers a practical and budget friendly option that is easy to make again and again.
Keep a batch in the refrigerator for the week or freeze extra portions for future use.
With proper storage and moderate serving sizes, these homemade tuna puffs can become a convenient addition to your collection of favorite pet treat recipes.