11 DIY Pet Crafts to Sell That Actually Earn
A few years ago I started making the occasional catnip toy for Milo just because store-bought ones fell apart within a week.
A neighbor saw one on my porch table, asked if I’d make her one, and paid me for it without me even asking.
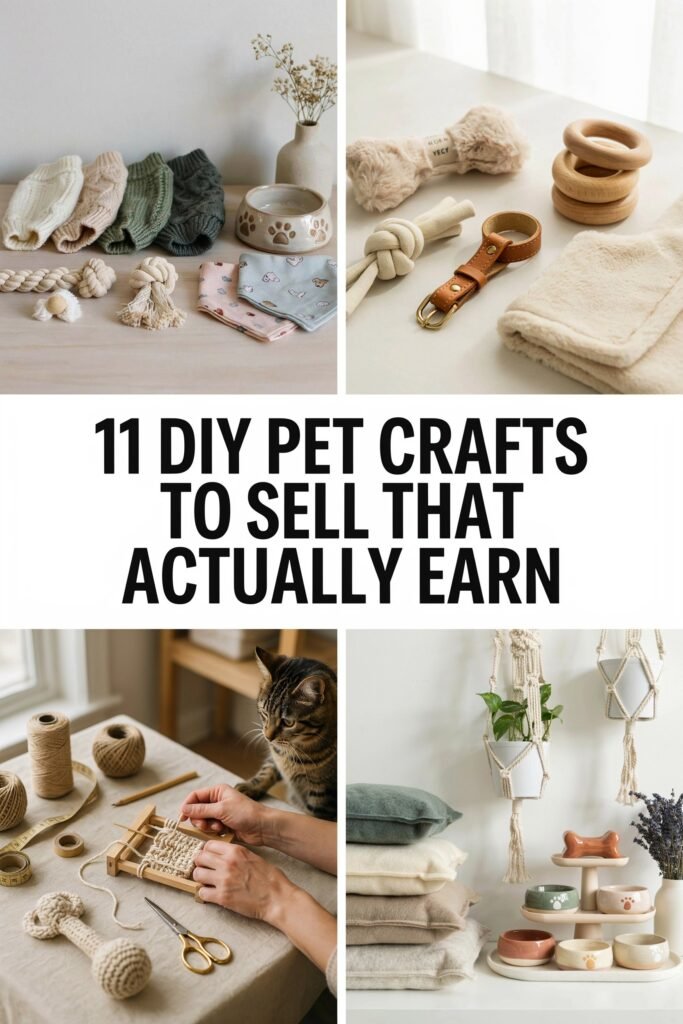
That single five dollar sale turned into a small Etsy side hustle that’s brought in real, consistent money ever since.
Below are the eleven crafts that actually sell, with the exact materials and steps I use for each one.
Disclaimer
This post may contain affiliate links. As an Amazon Associate, I earn from qualifying purchases at no additional cost to you. I only recommend craft supplies and tools that I genuinely believe are useful for making and selling DIY pet products. The information in this article is for general informational purposes only. Always choose pet safe, non toxic materials for any products intended for animals.
Amazon Shopping List
- Hot Glue Gun Kit – I use this for so many quick and easy pet craft projects.
- Acrylic Paint Set– I love adding colorful, pet safe designs to my crafts.
- Cricut Joy Xtra – I use this to make personalized pet gifts and decals.
- Self Healing Cutting Mat – I always keep one on my craft table for clean cuts.
- Precision Craft Knife Set – I use this for detailed crafting and finishing touches.
- Jute Twine and Rope – One of my favorite materials for making pet toys and décor.
- Cellophane Gift Bags and Twist Ties – I like using these to package finished crafts for customers.
Why Pet Crafts Actually Sell Well
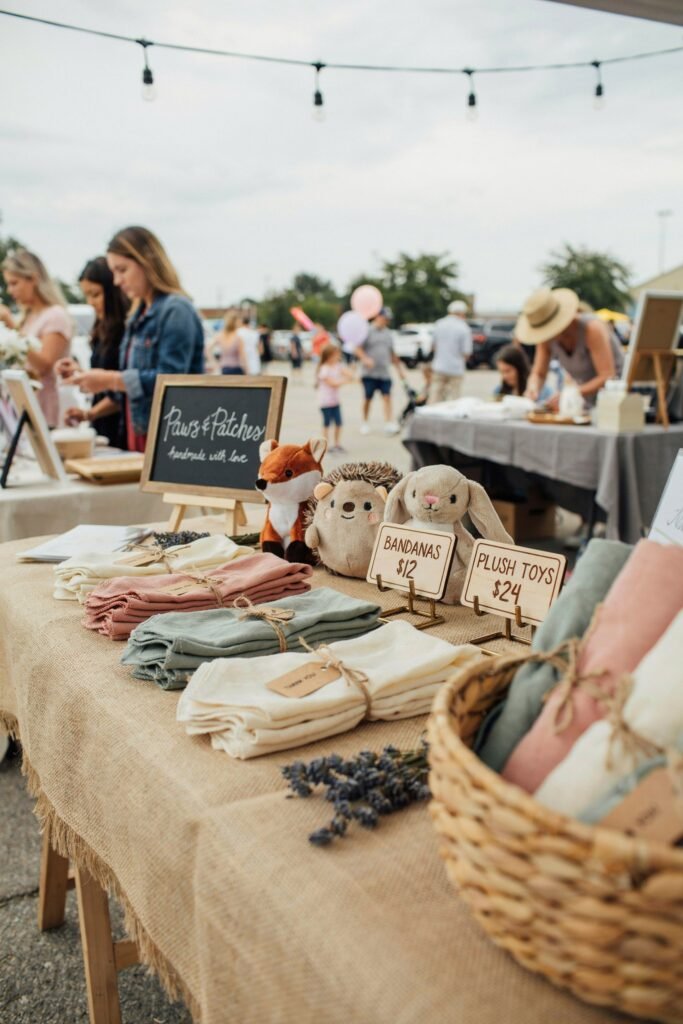
Pet owners spend money differently than most shoppers.
They’ll happily pay a premium for something handmade, personalized, or clearly made with care, especially if it’s for a pet they treat like family.
That emotional pull is exactly why small, simple pet crafts consistently outsell more “impressive” handmade goods in other niches.
I learned this quickly when a plain fleece blanket with a dog’s embroidered name outsold a much fancier item I’d spent twice as long making.
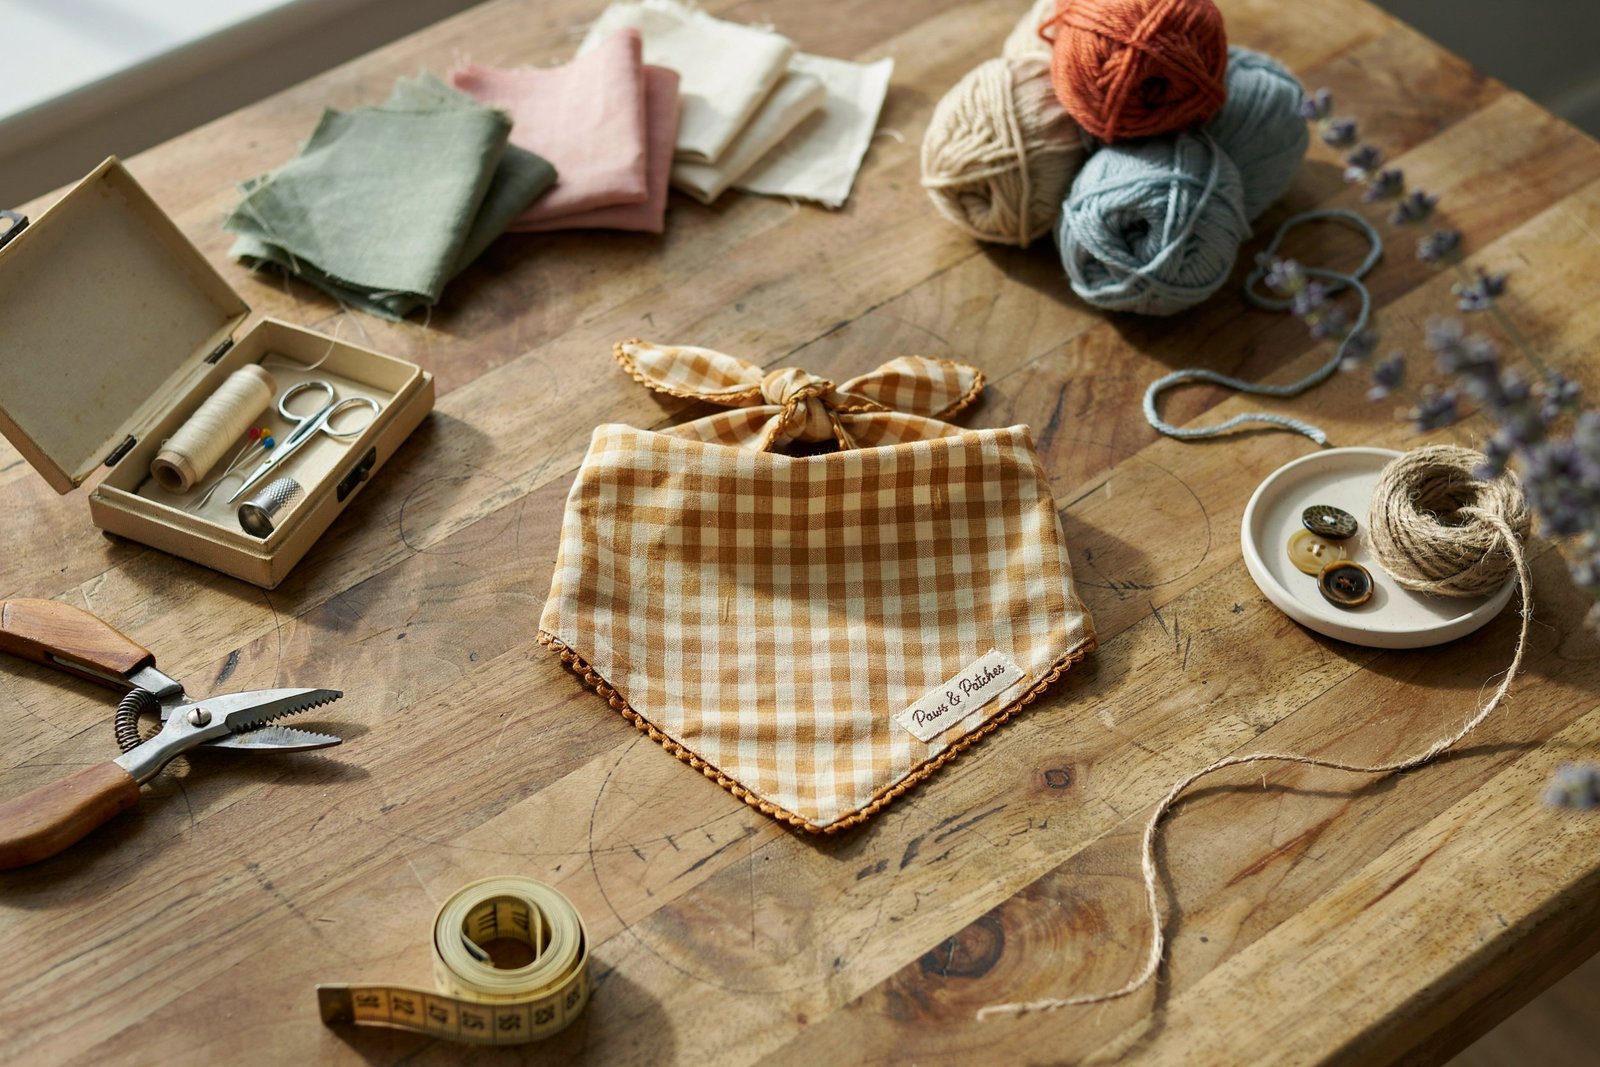
1. Custom Embroidered Pet Bandanas
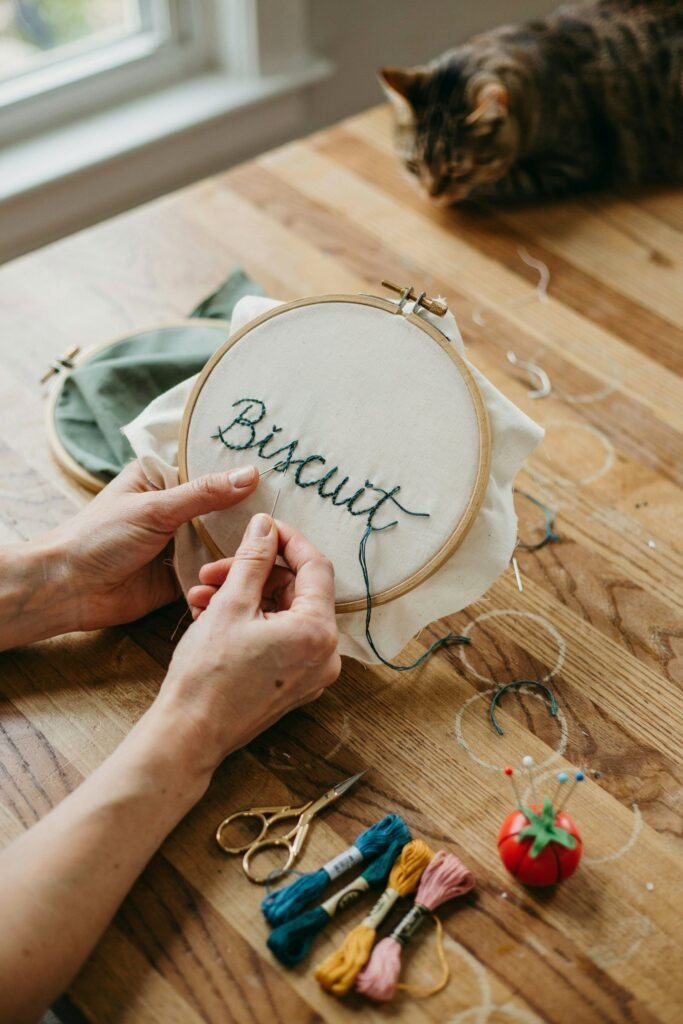
This was my very first real seller, and it’s still my best one.
It costs me under two dollars to make and sells for twelve to fifteen.
Materials needed:
- Cotton or flannel fabric
- Scissors and a ruler
- Sewing machine or fabric glue
- Embroidery machine or iron-on letters
- Small clear packaging bags
How to make it:
- Cut a triangle from the fabric, roughly 20 by 20 by 28 inches.
- Hem the edges with a straight stitch, or use fabric glue if you don’t sew.
- Embroider or iron on the pet’s name in the center.
- Package flat in a clear bag with a care card.
2. Handmade Catnip Toys
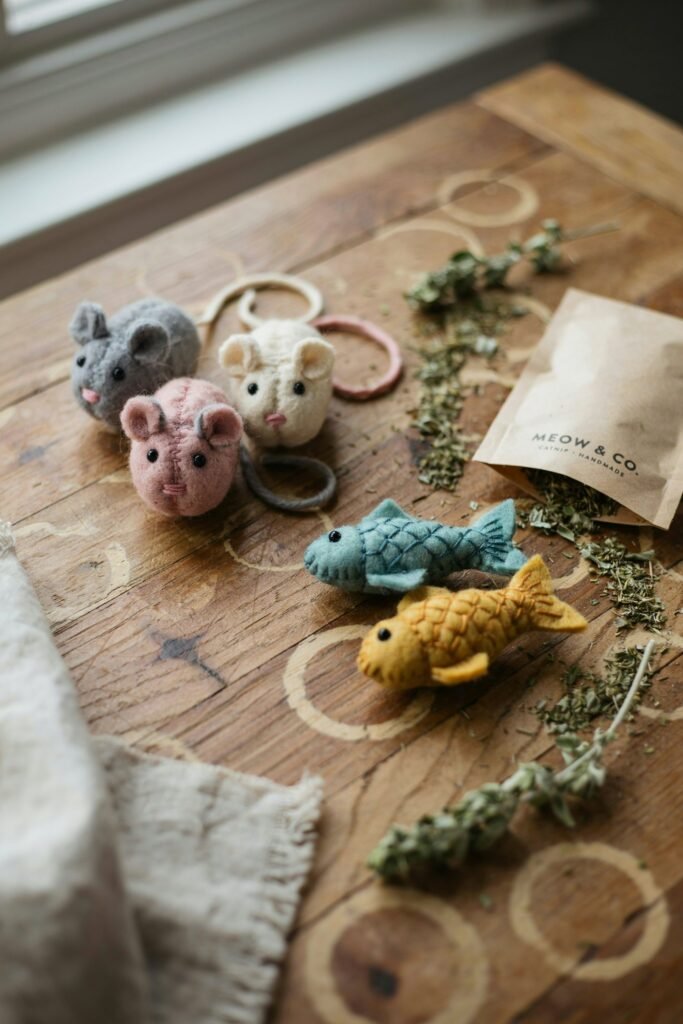
My original product, and still a steady earner.
Selling these in sets of three pushed my average order value up significantly.
Materials needed:
- Felt sheets in two colors
- Needle and thread or fabric glue
- Dried organic catnip
- Polyester stuffing
How to make it:
- Cut two matching felt shapes, like a mouse or fish, about three inches long.
- Sew around the edges, leaving a small gap.
- Fill with a spoonful of catnip and a bit of stuffing.
- Sew the gap closed and trim loose threads.
3. Crocheted Pet Beds
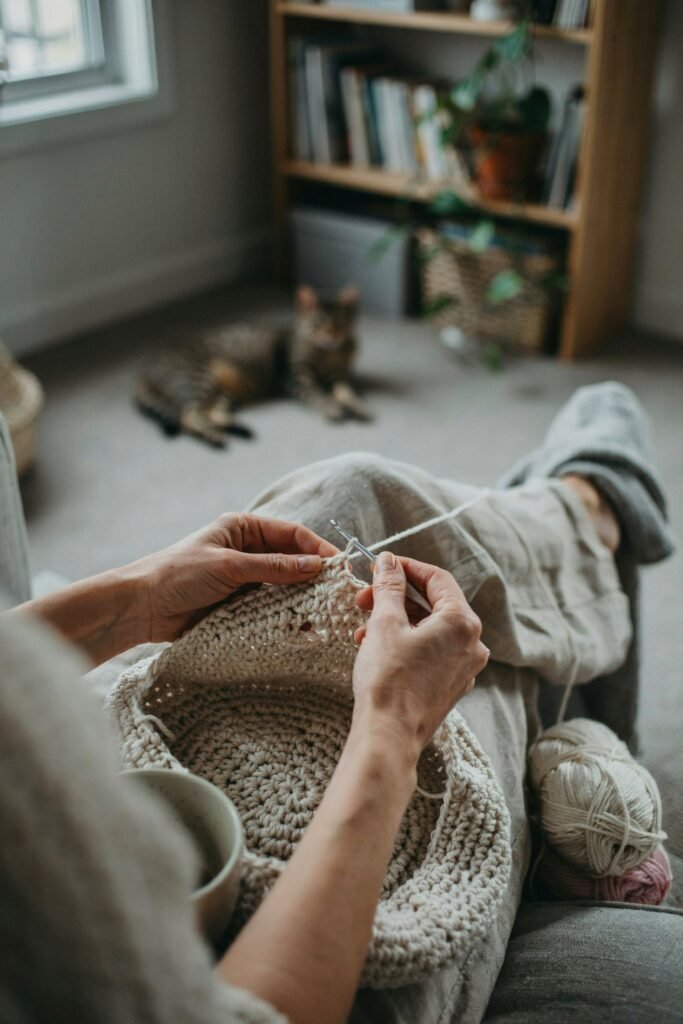
These take longer to make but sell for considerably more.
Materials needed:
- Bulky weight yarn
- Large crochet hook (size N or P)
- Foam or fabric cushion insert
- Yarn needle for weaving ends
How to make it:
- Crochet a basic oval base using single crochet stitches.
- Build up the sides in rounds until you reach about four inches of height.
- Insert a folded fabric or foam cushion for support.
- Weave in all loose ends and steam block the edges flat.
I based my first pattern on the structure in our free crochet pet bed patterns post, then adjusted the size after studying the features buyers look for in our best dog beds roundup.
4. No-Sew Fleece Pet Blankets
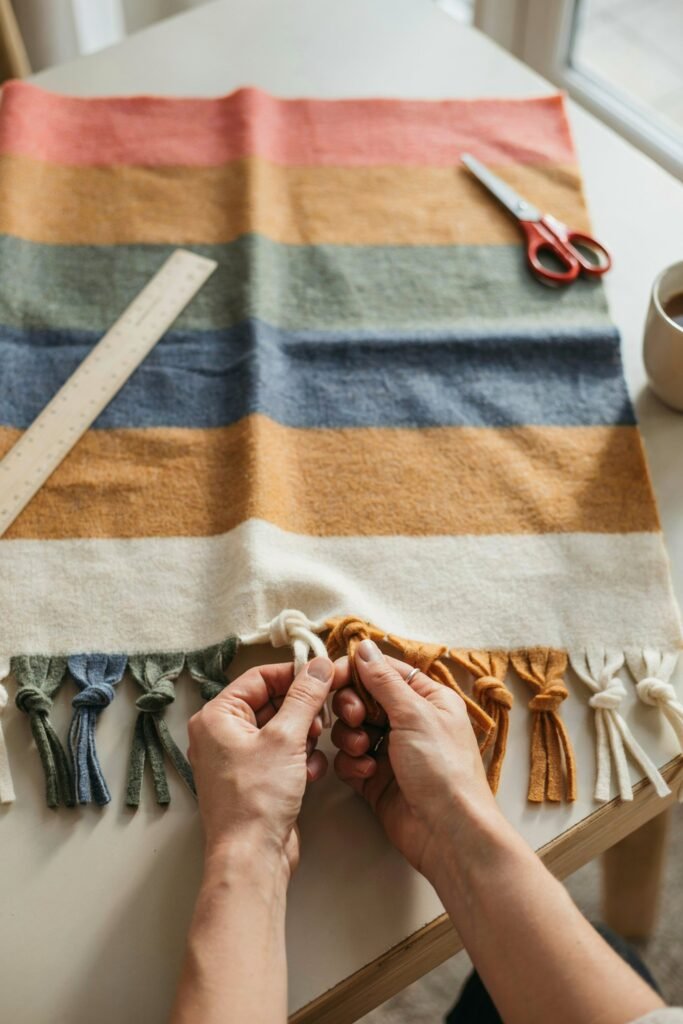
My go-to craft fair item because it needs zero sewing machine. I can make one in under fifteen minutes.
Materials needed:
- Two coordinating pieces of fleece fabric
- Fabric scissors
- Ruler or fringe cutting guide
How to make it:
- Cut two layers of fleece into matching 24 by 30 inch rectangles.
- Stack the layers and trim a two inch fringe around all four edges.
- Tie each matching pair of fringe strips into a double knot around the perimeter.
- Trim any uneven ends for a clean finish.
5. Homemade Baked Dog Treats
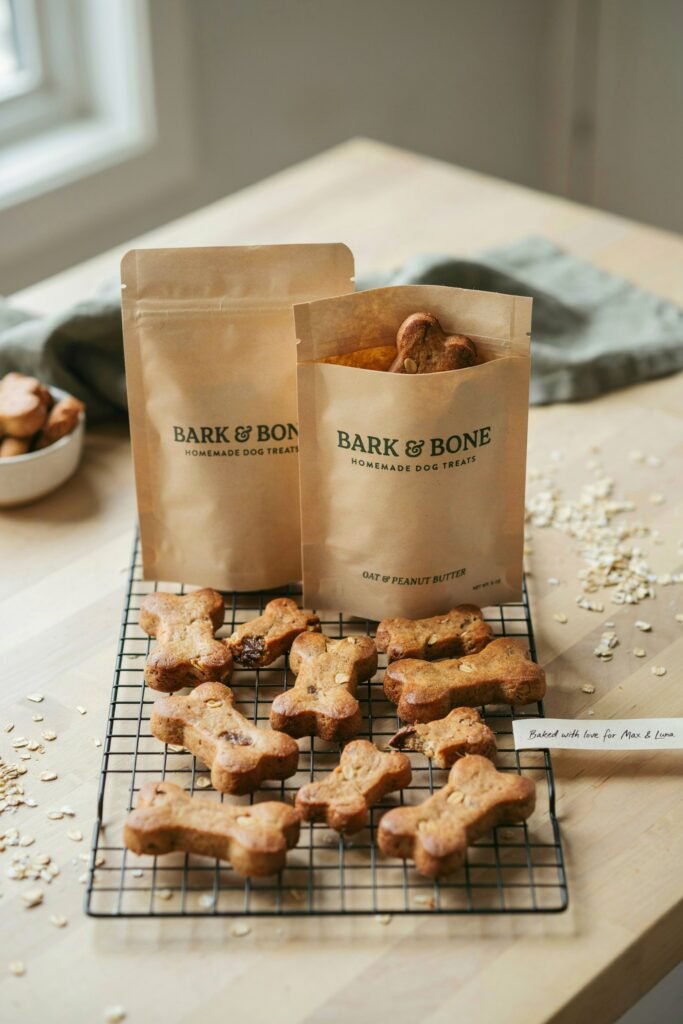
A fantastic low-cost entry point that became a consistent farmers market seller within weeks.
Materials needed:
- Oat flour
- Canned pumpkin
- One egg
- Peanut butter (xylitol-free)
- Cookie cutters
- Kraft packaging bags and labels
How to make it:
- Mix the oat flour, pumpkin, egg, and peanut butter into a stiff dough.
- Roll to half an inch thick and cut into shapes.
- Bake at 350 degrees for about 20 minutes until firm.
- Cool completely before packaging.
I adapted a few of my own recipes from our apple carrot chew sticks for dogs post to land on this one.
6. Macrame Dog Leashes
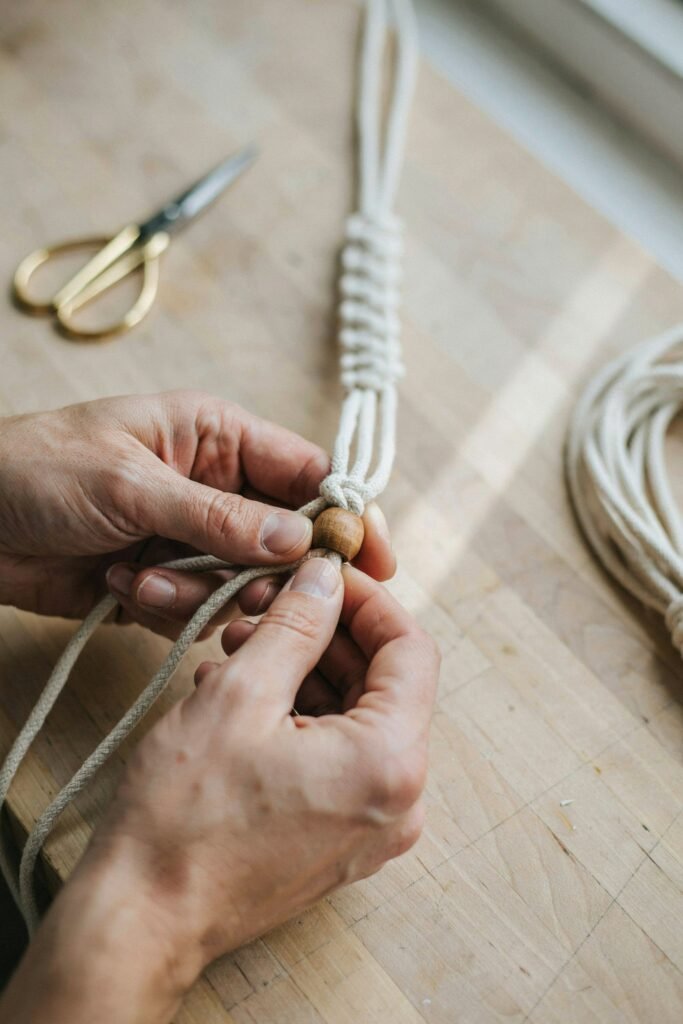
The highest margin item on this list. A finished leash sells for thirty to forty dollars with maybe five dollars in materials.
Materials needed:
- 4mm cotton macrame cord
- Metal clip hardware
- Wooden bead for the handle
- Scissors and a tape measure
How to make it:
- Cut four lengths of cord, each about ten feet long.
- Fold in half around the metal clip and secure with a lark’s head knot.
- Work a spiral or square knot pattern down the length, keeping tension even.
- Attach the wooden bead handle and finish with an overhand knot.
It took me nearly a dozen practice attempts before my first one was sturdy enough to sell.
7. Pet Bowties and Collar Flowers
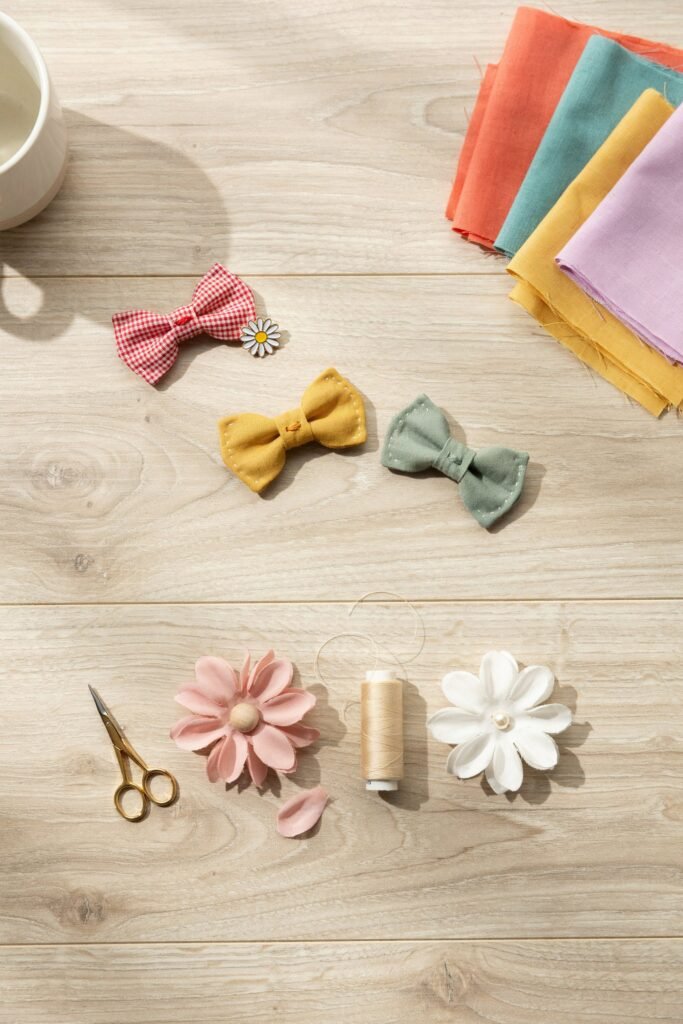
Small, fast, and cheap to make, and they sell especially well bundled with bandanas during holidays and wedding season.
Materials needed:
- Fabric scraps
- Needle and thread or hot glue gun
- Flat elastic loop or collar slide
How to make it:
- Cut a small rectangle of fabric, fold, and pleat it in the center.
- Secure the pleats with a few stitches or hot glue.
- Wrap a matching fabric strip around the center to hide the pleats.
- Glue the elastic loop or slide to the back and attach to a collar.
8. Catnip-Infused Scratch Mats
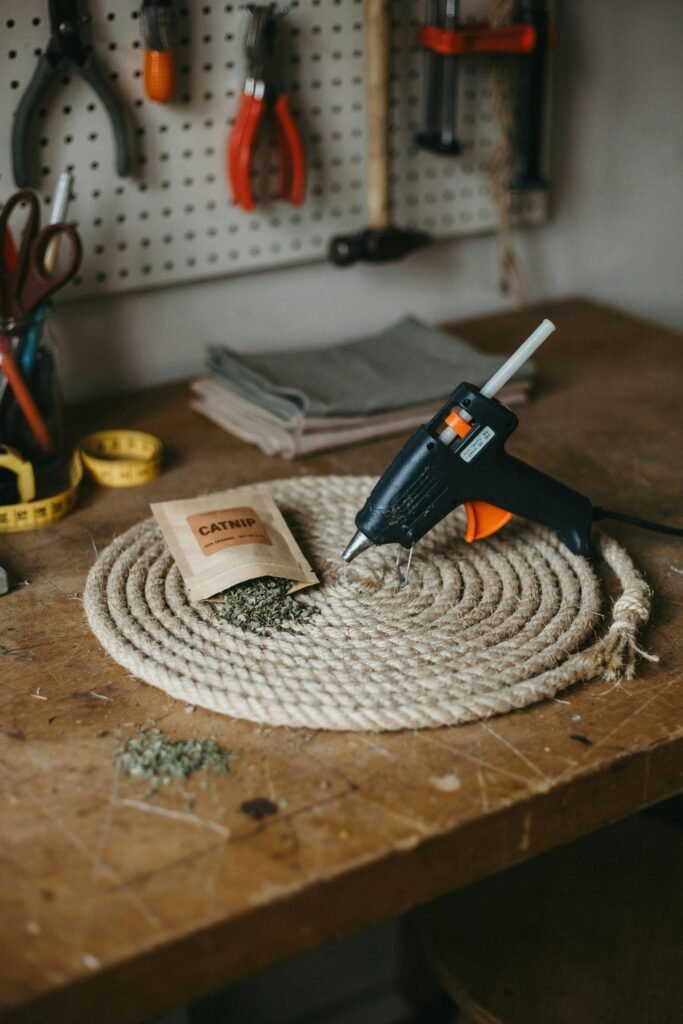
These took a few failed attempts before I found a shape that actually holds up, but they became a loyal repeat purchase item.
Materials needed:
- Natural sisal rope
- Hot glue gun
- Thin wood or cardboard backing
- Dried catnip
How to make it:
- Coil the sisal rope tightly into a flat spiral, gluing as you go.
- Once dry, rub a generous amount of catnip into the rope fibers.
- Glue the wood or cardboard backing underneath for stability.
- Let cure for 24 hours before packaging.
9. Resin Pet Paw Print Charms
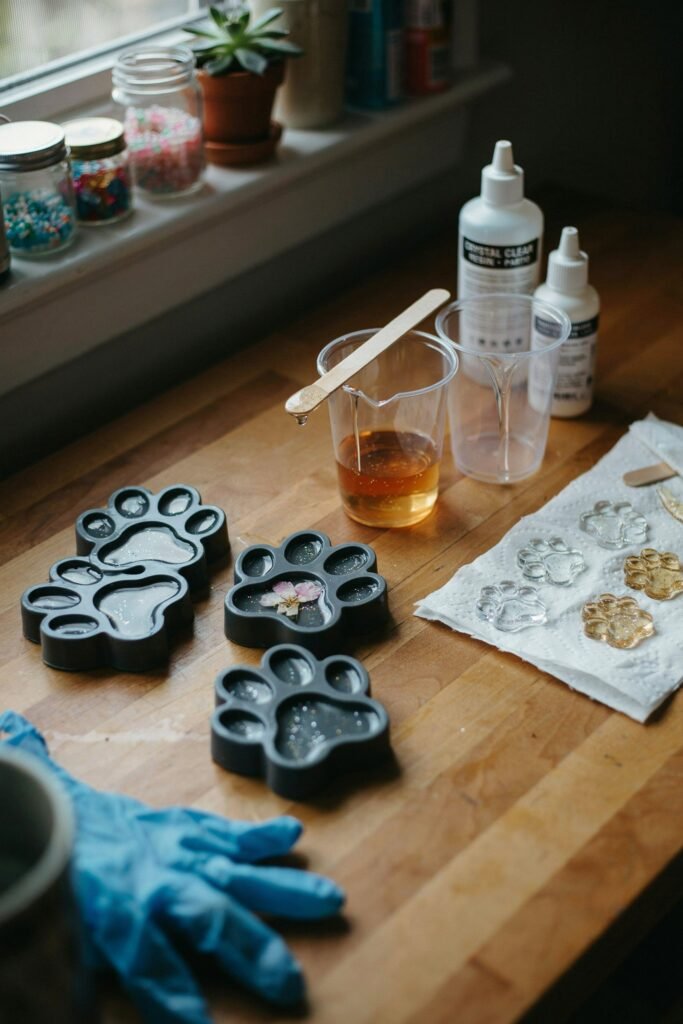
Excellent margins once you’re set up, and one of my most meaningful sellers.
Materials needed:
- Air-dry clay or a silicone paw print mold
- Clear casting resin and hardener
- Jump rings and keyring or chain hardware
- Mixing cups and stir sticks
How to make it:
- Press a paw print into clay or use the silicone mold directly.
- Mix a small batch of resin according to the product instructions.
- Pour into the mold and let cure for 24 to 48 hours.
- Attach a jump ring and chain once fully hardened.
10. Personalized Pet Food and Treat Jars
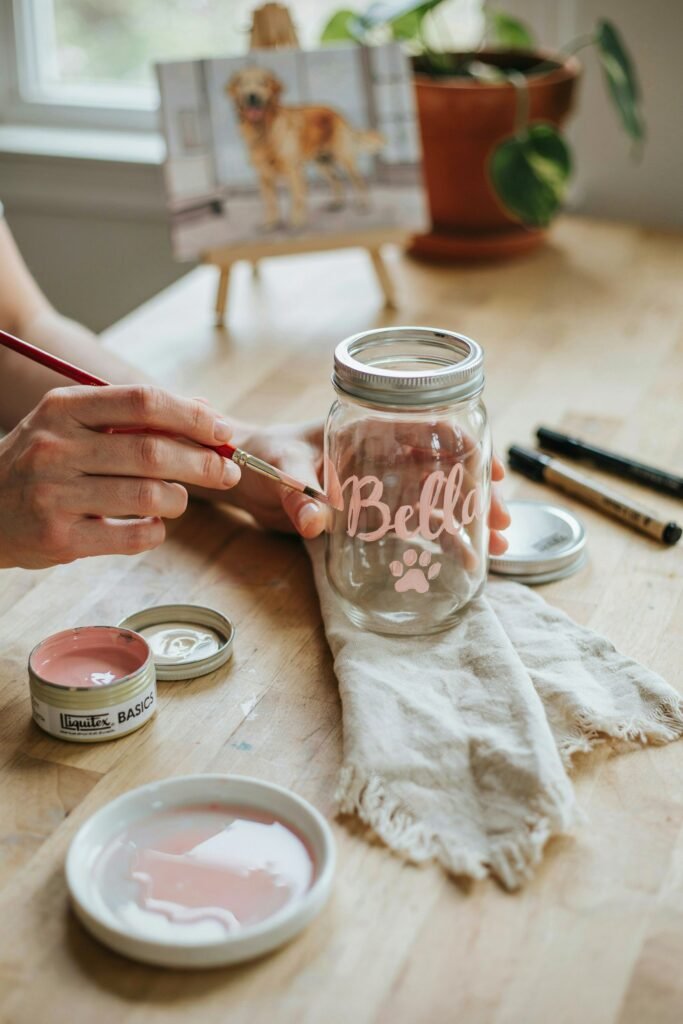
A surprise hit as a gift item, especially paired with homemade treats inside.
Materials needed:
- Wide-mouth mason jars
- Paint pen or vinyl stencil
- Clear sealant spray
- Homemade treats for filling
How to make it:
- Clean and fully dry the mason jar.
- Paint or stencil the pet’s name onto the glass.
- Seal the design with a light coat of clear sealant spray.
- Fill with homemade treats before gifting or selling.
I leaned on ideas from our vet-approved homemade dog foods post to make sure whatever went inside was actually safe and appealing.
11. Seasonal Pet Accessories
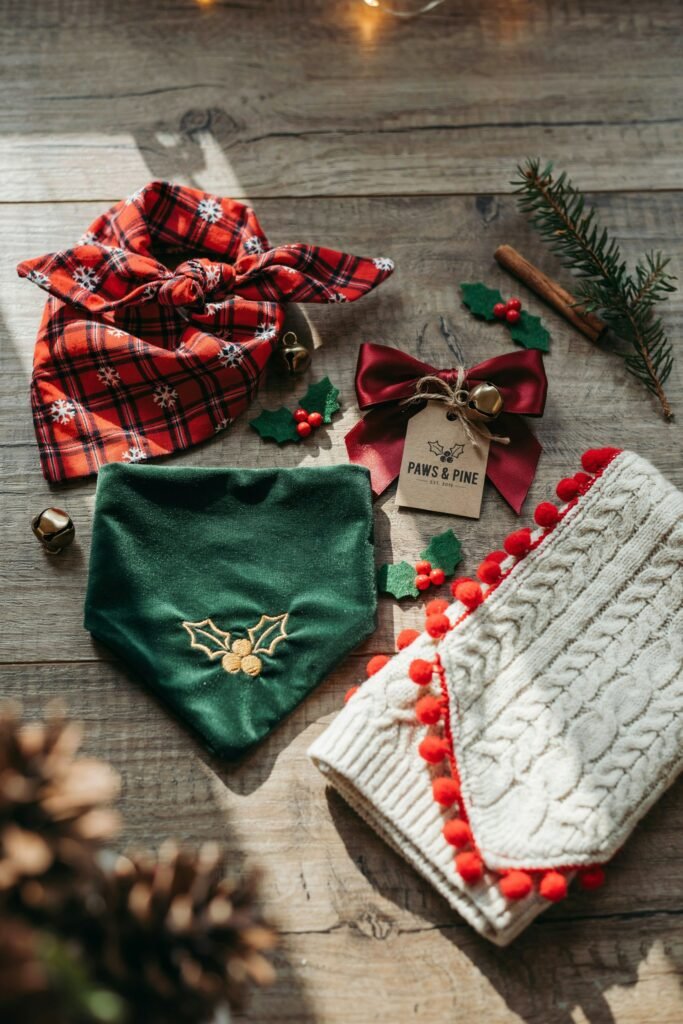
Where I make the bulk of my seasonal income, after learning the hard way that waiting until December meant missing the biggest sales window.
Materials needed:
- Holiday print fabric
- Same bandana or bowtie pattern from earlier
- Small embellishments like felt holly leaves, mini bells, or buttons
How to make it:
- Cut the bandana or bowtie pattern from holiday print fabric.
- Add small seasonal embellishments before final assembly.
- Batch cut and sew several pieces at once to save time.
- Photograph and list at least six to eight weeks before the relevant holiday.
Extra Tips Before You Start Selling
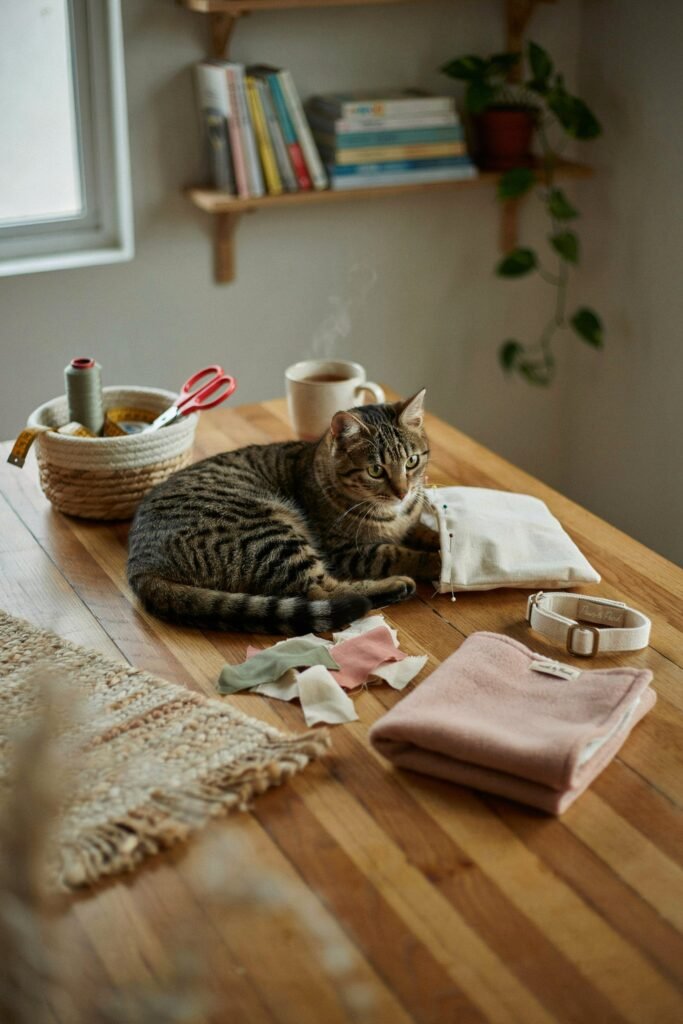
Start with your own pet as the tester. Everything I sell gets tested on Milo first, both for durability and general appeal, similar to the caution outlined in our daily cat care routine guide.
Price for your time, not just materials. My biggest early mistake was pricing based purely on supply cost, which left me earning almost nothing per hour on detailed items like the crocheted beds.
Photograph items in use, not just flat lays. Listings showing an actual dog wearing the bandana consistently outsold plain product photos.
Base new designs on real play habits. After reading our 8 fun games to play with your dog post, I made a simple tug toy that mirrored a game featured there, and it quickly became a bestseller.
Keep a scent-free, hypoallergenic option available. A surprising number of buyers search specifically for these, something I picked up after digging into the notes in our natural dog odor solutions post.
FAQ About Selling DIY Pet Crafts
What is the easiest pet craft to start selling? Handmade catnip toys and no-sew fleece blankets are the easiest entry points, requiring minimal tools, low upfront cost, and very little sewing experience.
How much can you realistically earn selling pet crafts? It varies widely, but many sellers earn anywhere from fifty to several hundred dollars a month from consistent small sales, with higher margin items like macrame leashes bringing in more per piece.
Where is the best place to sell handmade pet crafts? Etsy, local craft fairs, and farmers markets tend to work best, since buyers often want to see or feel the quality before purchasing, especially for treats and bedding.
Do I need special licensing to sell homemade pet treats? Requirements vary by location, so it’s worth checking your local regulations before selling homemade treats commercially, since some areas require a food handling permit.
What pet crafts have the highest profit margin? Items like macrame leashes and resin charms tend to have the highest margins, since materials are relatively inexpensive compared to the final selling price.
How do I figure out what pet crafts will actually sell? Start by making something for your own pet first. If it holds up to real use and gets attention, it’s usually a strong sign the item will resonate with other pet owners too.
Final Thoughts
What started as one catnip toy for Milo has genuinely turned into a side income I never expected from a hobby.
Not every craft on this list will suit your skills or your schedule, and that’s fine.
I’d rather you pick two or three from this list and actually master the steps than try to make all eleven and burn out in a month.
If you already put this much care into daily routines, the kind covered in our happy, healthy cat tips post, there’s a real market waiting for exactly that.