
Homemade Pumpkin Applesauce Dog Treats: Healthy, Delicious, and Dog-Approved
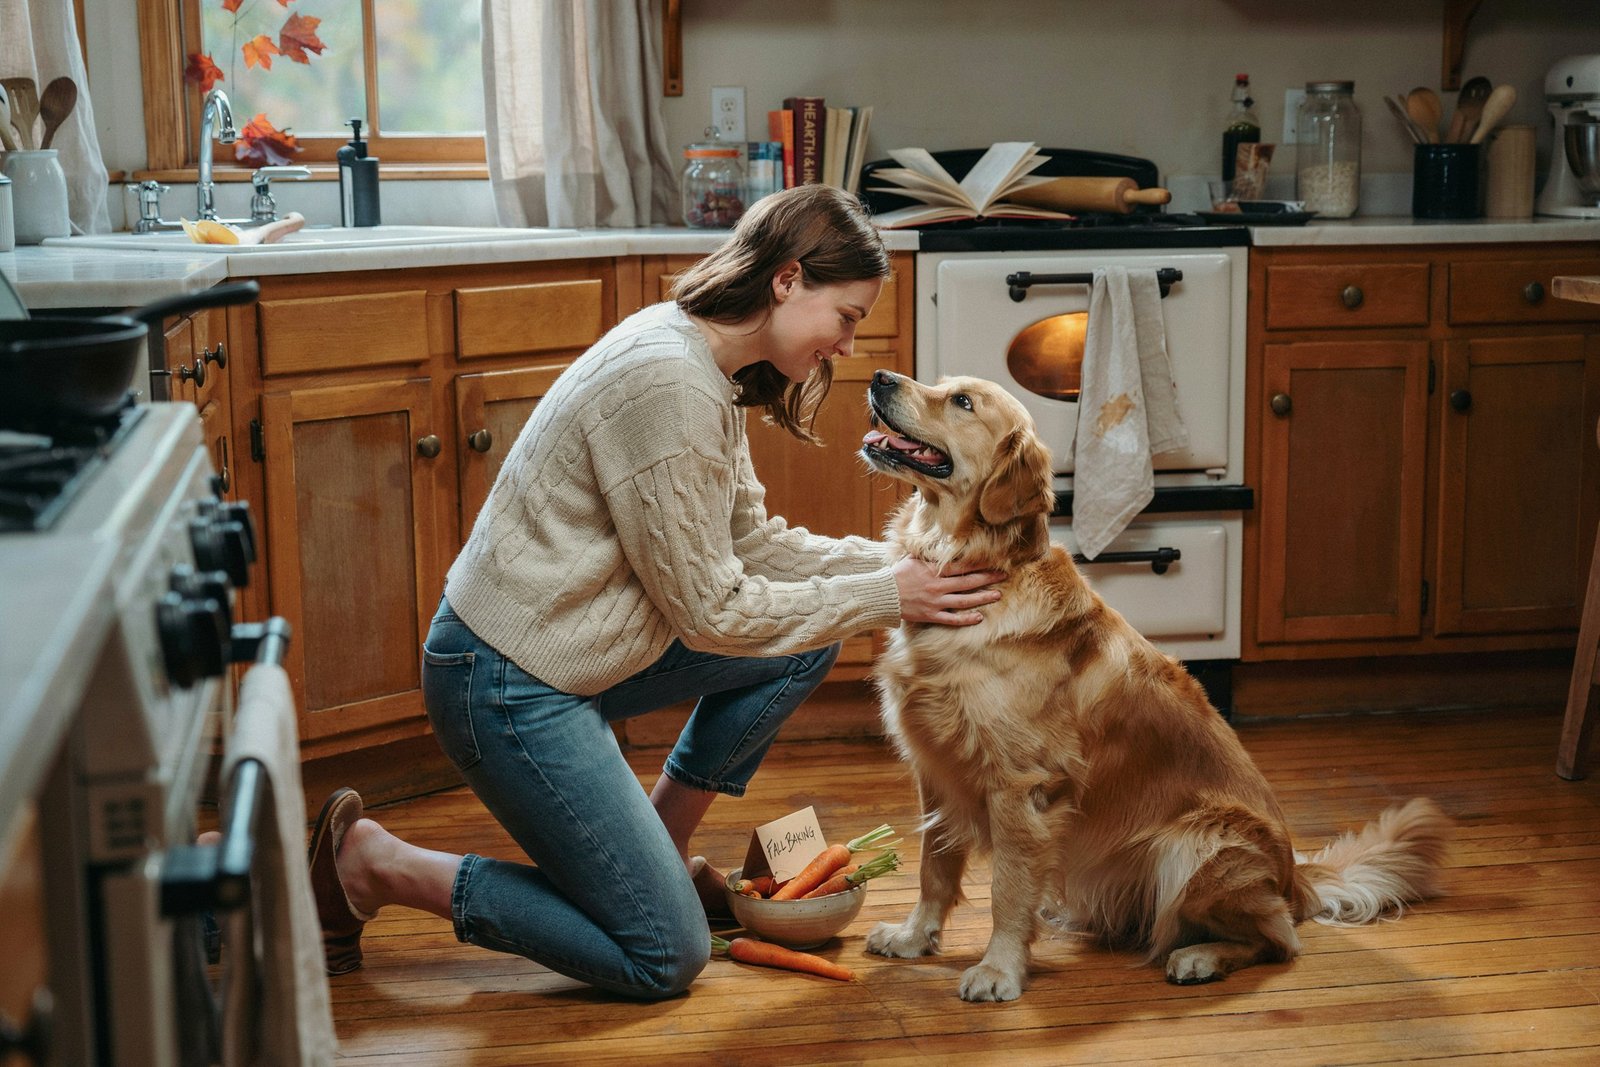
There’s a particular kind of joy that comes from watching your dog’s tail thump against the floor the second they smell something baking in the oven.
That’s exactly what happens in my kitchen every single time I make a batch of these homemade pumpkin applesauce dog treats.
My own dog practically camps out by the oven door, and honestly, I don’t blame him.
These treats smell like fall in a jar, warm, sweet, and a little spiced, and they’re made entirely from ingredients I trust, with nothing hidden, nothing artificial, and nothing that will upset his stomach.
If you’ve ever flipped over a bag of store-bought dog treats and squinted at an ingredient list packed with preservatives, unpronounceable additives, and mystery “meat by-products,” you already understand the appeal of making treats yourself.
Homemade dog treats put you back in control.
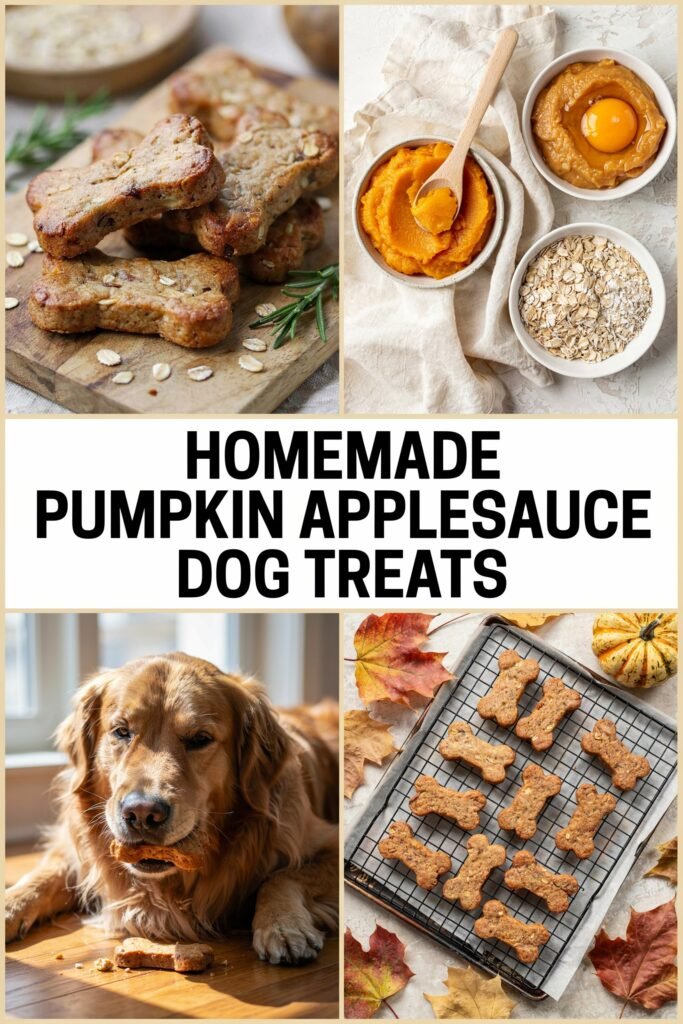
You know exactly what’s going into your dog’s body, you can tailor the recipe to their needs (grain-free, low-sugar, allergy-friendly), and you get the satisfaction of watching them enjoy something you made with your own two hands.
This recipe combines two ingredients dogs absolutely love and that offer real nutritional benefits: pumpkin and applesauce.
Together, they create a soft, chewy, naturally sweet treat that’s gentle on sensitive stomachs and packed with fiber, vitamins, and antioxidants.
Whether you’re baking for a food-motivated puppy, a senior dog with digestive sensitivities, or just want a healthier alternative to the treats on pet store shelves, this recipe is about to become a staple in your kitchen.
Let’s walk through exactly why these ingredients matter, how to put them together, and how to make sure every batch turns out perfectly.
Disclaimer: This post contains affiliate links. If you make a purchase through these links, we may earn a small commission at no extra cost to you.
Amazon Shopping List: Homemade Pumpkin Applesauce Dog Treats
- Pumpkin Puree (100% Pure, Unsweetened)
Perfect base ingredient for soft, healthy homemade dog treats.
BUY NOW ON AMAZON - Unsweetened Applesauce
Adds natural sweetness and moisture without harmful sugars or additives.
BUY NOW ON AMAZON - Whole Wheat Flour or Oat Flour
Helps bind ingredients together for easy baking and shaping.
BUY NOW ON AMAZON - Silicone Dog Treat Baking Mold
Makes it easy to shape and remove perfectly sized homemade treats.
BUY NOW ON AMAZON - Mixing Bowls Set
Essential for combining ingredients smoothly and mess-free.
BUY NOW ON AMAZON
Why Pumpkin and Applesauce Are So Good for Dogs
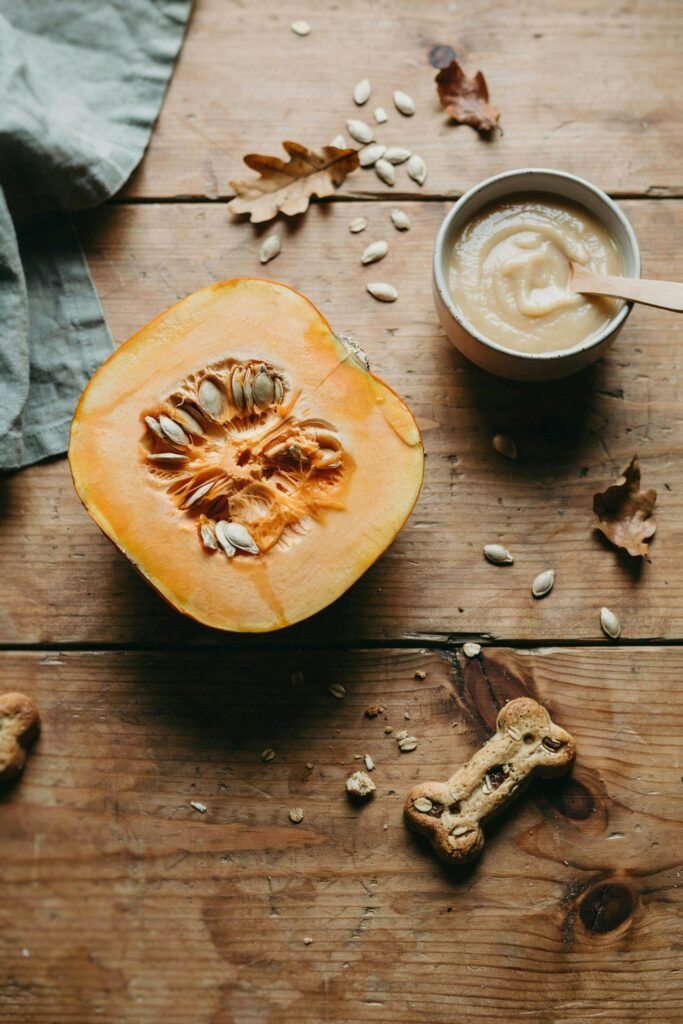
Before we get into the recipe itself, it’s worth understanding why these two ingredients are such a popular combination in the world of homemade dog treats.
This isn’t just about flavor. Pumpkin and applesauce genuinely support your dog’s health in several important ways.
Pumpkin is one of the most vet-recommended foods for dogs, and for good reason.
It’s naturally rich in soluble fiber, which helps regulate digestion.
Whether your dog is dealing with occasional constipation or diarrhea, a small amount of pumpkin can help firm things up or get things moving, depending on what’s needed.
Pumpkin is also loaded with beta-carotene (which converts to vitamin A), supporting healthy vision, skin, and coat.
It contains potassium, iron, and antioxidants that support immune function, and it’s naturally low in calories, making it a smart choice for dogs who need to watch their weight.
Applesauce brings its own set of benefits to the table. Apples are a great source of vitamin C and vitamin A, and they contain dietary fiber that supports gut health.
Applesauce also has a naturally sweet flavor that dogs go crazy for, which means you can create a treat your dog will love without relying on added sugars, honey, or artificial sweeteners.
Apples contain polyphenols, plant compounds with antioxidant properties that may help support overall cellular health.
Together, pumpkin and applesauce create a treat that’s naturally sweet, fiber rich, and gentle on digestion, a combination that’s especially useful if your dog has a sensitive stomach or if you’re looking for treats that won’t contribute to weight gain.
One important note before we move forward: always use plain, unsweetened canned pumpkin (not pumpkin pie filling, which contains added sugar and spices like nutmeg that can be harmful to dogs) and plain, unsweetened applesauce with no added sugar, spices, or preservatives.
This distinction matters enormously for your dog’s safety, and I’ll explain exactly why in the ingredients section below.
Ingredients: What You’ll Need and Why Each One Matters
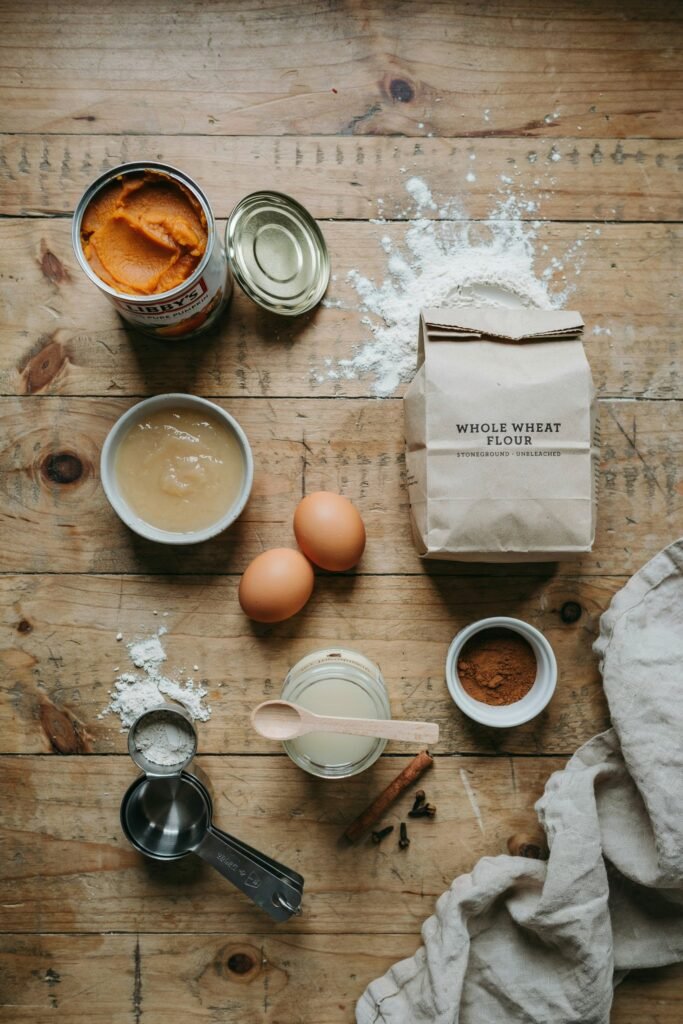
This recipe uses simple, wholesome ingredients that you likely already have in your kitchen or can easily find at any grocery store.
I’ve broken down not just what to use, but why each ingredient plays its role, along with substitution notes in case you need to adjust for allergies or what you have on hand.
1 cup canned pumpkin puree (plain, 100% pumpkin, not pumpkin pie filling) This is the heart of the recipe.
Make sure you’re reaching for a can labeled “100% pure pumpkin” or “pumpkin puree.”
Pumpkin pie filling contains added sugars and spices such as nutmeg, which is toxic to dogs in larger amounts.
If you’d rather use fresh pumpkin, you can roast and puree your own. Just make sure it’s fully cooked, cooled, and free of skin and seeds.
1/2 cup unsweetened applesauce Again, the word “unsweetened” is doing a lot of work here. Many store-bought applesauces are loaded with added sugar or even contain xylitol in “no sugar added” varieties marketed to humans, and xylitol is extremely toxic to dogs, even in small amounts.
Always double-check the label, or better yet, make your own applesauce at home by simmering peeled, cored apples with a splash of water until soft, then mashing or blending them smooth.
2 large eggs Eggs act as a binder, holding the dough together while also adding protein, biotin, and healthy fats that support your dog’s skin and coat.
1 3/4 to 2 cups whole wheat flour (or oat flour for a grain-sensitive option) Flour gives the dough its structure.
Whole wheat flour is a great everyday choice, but if your dog has a grain sensitivity or wheat allergy, oat flour or a gluten-free all-purpose blend works beautifully as a substitute.
I recommend starting with 1 3/4 cups and adding more gradually, since flour absorbency can vary.
1 teaspoon ground cinnamon (optional but recommended) Cinnamon is safe for dogs in small amounts and adds a warm, cozy aroma that makes your kitchen smell incredible.
It also has mild anti-inflammatory properties.
Avoid nutmeg entirely, as it can be toxic to dogs even in small quantities.
1 tablespoon coconut oil or olive oil A small amount of healthy fat helps keep the treats from becoming too dry and adds a subtle richness.
Coconut oil in particular is often praised for supporting skin and coat health in dogs, though it should be used in moderation.
Optional mix-ins:
- 2 tablespoons rolled oats, for extra texture and fiber
- 1 tablespoon natural peanut butter (xylitol-free), for an extra layer of flavor dogs adore
That’s it. No refined sugar, no salt, no artificial flavorings, and no preservatives.
Just real, recognizable ingredients that support your dog’s health while giving them a treat that tastes like a genuine indulgence.
How to Make Homemade Pumpkin Applesauce Dog Treats
Now for the fun part.
This recipe comes together quickly, requires no special equipment, and fills your home with the coziest baking smell.
Here’s exactly how to do it, step by step.
Step 1: Preheat Your Oven and Prep Your Pan

Preheat your oven to 350°F (175°C).
Line a baking sheet with parchment paper or a silicone baking mat.
This prevents sticking and makes cleanup effortless, especially since this dough can be a little tacky.
Step 2: Combine the Wet Ingredients
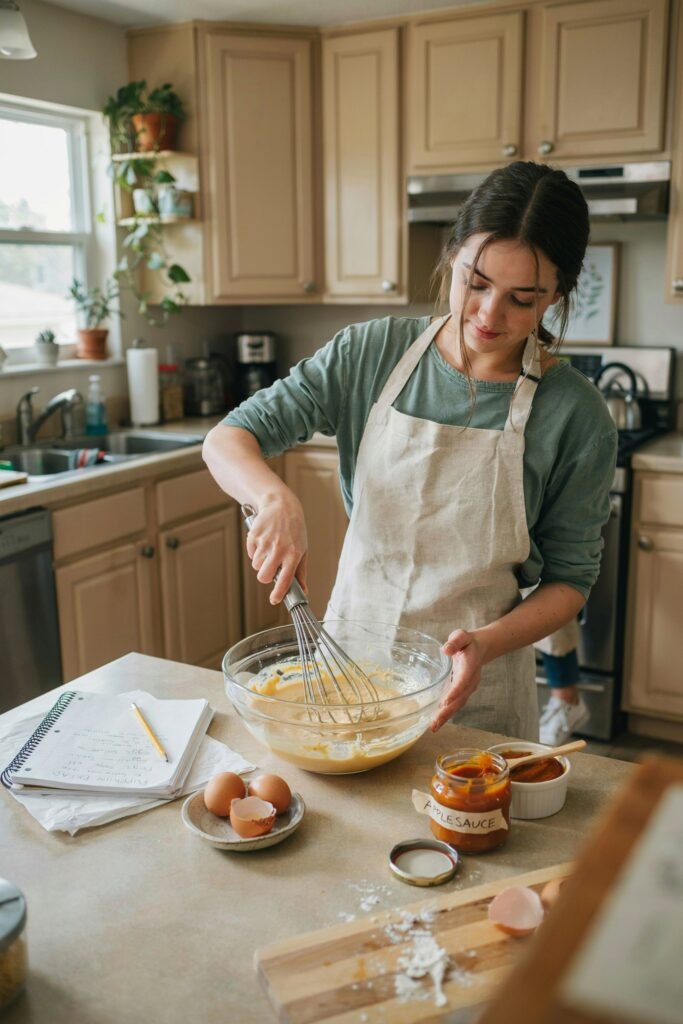
In a large mixing bowl, whisk together the pumpkin puree, unsweetened applesauce, and eggs until the mixture is smooth and fully combined.
If you’re adding peanut butter, stir it in at this stage while the mixture is still loose, since it blends more evenly before the flour goes in.
Take a moment here to really whisk thoroughly, since any streaks of egg left unmixed can cause uneven baking.
Step 3: Add the Dry Ingredients Gradually

Add the cinnamon to your wet mixture and stir to combine.
Then begin adding the flour, about half a cup at a time, mixing gently with a wooden spoon or spatula between additions.
Adding the flour gradually (rather than dumping it all in at once) helps you control the final texture and avoid overworking the dough, which can make the treats tougher than they need to be.
Keep adding flour until the dough comes together into a soft, slightly sticky ball that holds its shape but isn’t wet or runny.
Depending on humidity and the exact size of your eggs, you may need slightly more or less than the 1 3/4 to 2 cups called for.
The dough should feel similar to a slightly tacky cookie dough, not as wet as a batter, but not dry and crumbly either.
Step 4: Knead and Roll the Dough

Lightly flour a clean surface and turn the dough out onto it. Knead it gently for about 30 seconds to bring it fully together.
This isn’t bread dough, so there’s no need to knead vigorously.
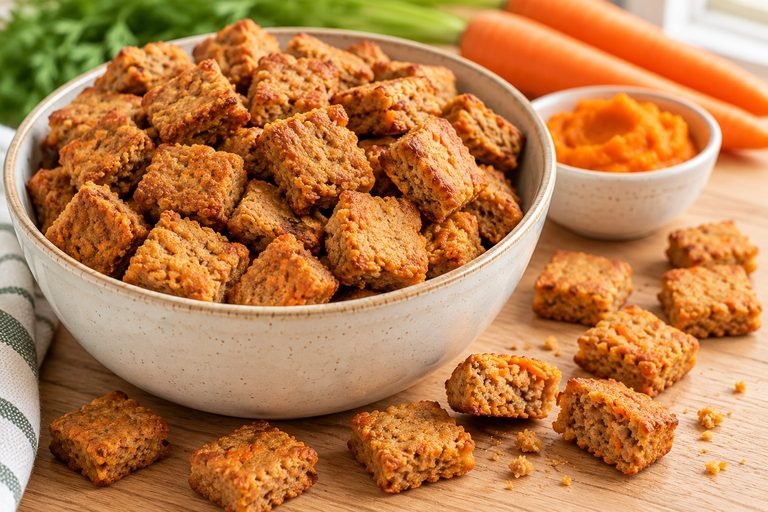
Using a rolling pin, roll the dough out to about 1/4-inch thickness. Rolling it slightly thicker will give you a softer, chewier treat, while rolling thinner will give you a crunchier result.
Both are great, so choose based on your dog’s preference and any dental needs (softer treats are gentler for puppies or senior dogs with weaker teeth).
Step 5: Cut Into Shapes
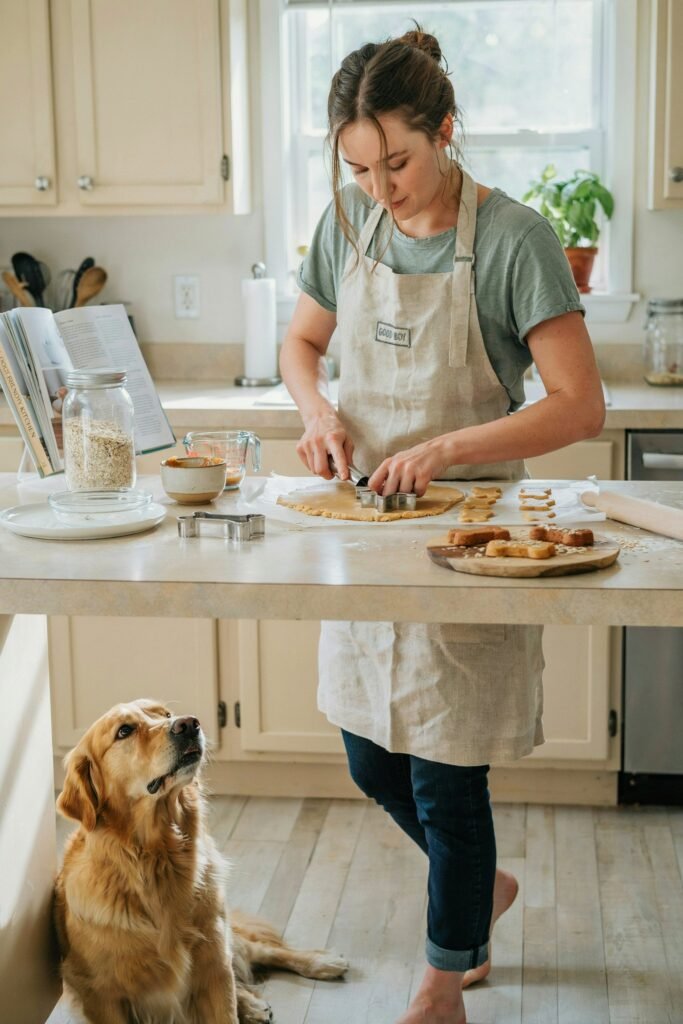
Use a cookie cutter (bone shapes are classic and fun, but any shape works) to cut the dough into individual treats.
If you don’t have a dog bone cookie cutter, a simple knife or pizza cutter works just fine to cut the dough into small squares or rectangles.
Your dog genuinely will not mind the shape.
Gather and re-roll the scraps until you’ve used up all the dough, which typically yields between 30 and 40 treats depending on size and thickness.
Step 6: Arrange and Bake
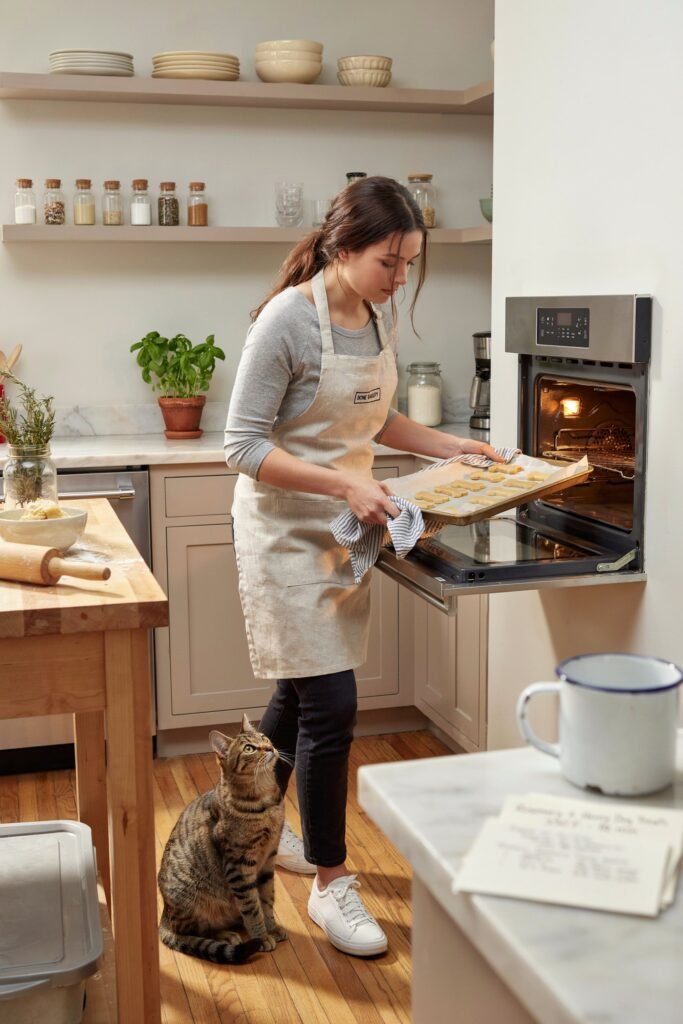
Place the cut treats on your prepared baking sheet, spacing them about half an inch apart.
They won’t spread much, so you don’t need to leave a lot of room.
Bake for 20 to 25 minutes, until the treats are firm to the touch and lightly golden around the edges.
For extra-crunchy treats (great for dogs who enjoy a longer-lasting chew), turn off the oven after the initial baking time and leave the treats inside with the door slightly ajar for an additional 30 to 60 minutes.
This slow-dries them further without burning, giving you that satisfying crunch similar to store-bought biscuits.
Step 7: Cool Completely
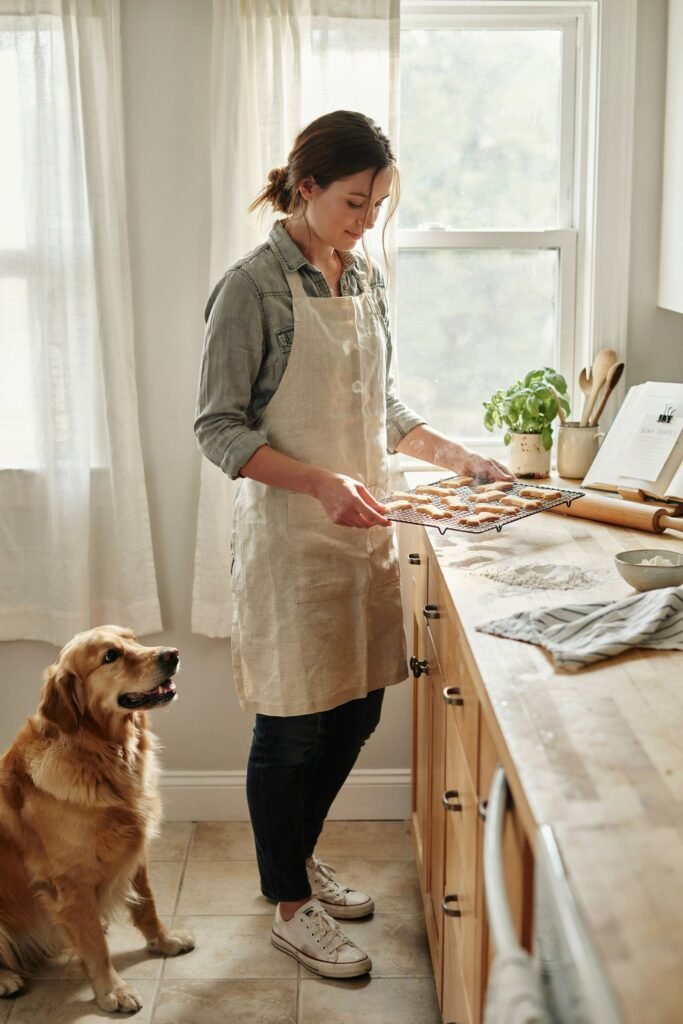
This step matters more than it might seem.
Let the treats cool completely on a wire rack before serving or storing them.
Treats that are still warm will be softer than their final texture and can turn slightly gummy if stored before fully cooling, which can encourage mold growth.
Give them at least an hour on the counter.
Storing Your Homemade Dog Treats
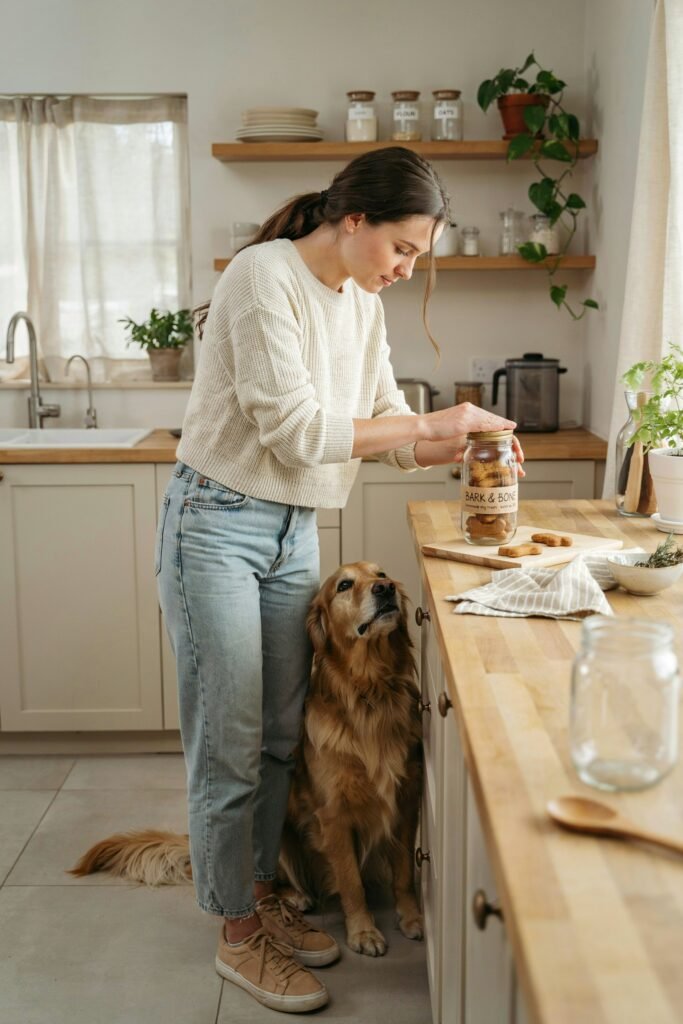
Because these treats contain no preservatives, proper storage is important for both freshness and safety.
- Counter storage: Store cooled treats in an airtight container at room temperature for up to 1 week.
- Refrigerator storage: For extended freshness, refrigerate in an airtight container for up to 2–3 weeks.
- Freezer storage: These treats freeze beautifully. Place them in a freezer-safe bag or container, separating layers with parchment paper, and freeze for up to 3 months. Thaw a few at a time at room temperature before serving.
I like to portion mine into small bags after baking, one for the counter, one for the fridge, and the rest tucked away in the freezer.
It keeps things fresh and means I always have a stash ready to go.
Tips for the Best Results
A few small details make a big difference with this recipe, so here are the tips I’ve picked up from making dozens of batches:
- Always check your labels. This is the single most important food-safety step in this entire recipe. Xylitol, an artificial sweetener found in some “sugar-free” applesauces, peanut butters, and baked goods, is highly toxic to dogs and can cause a rapid, dangerous drop in blood sugar. Read every label, every time, even if you’ve used the same brand before, since recipes and formulations do change.
- Don’t skip the cooling time. It’s tempting to hand your dog a treat straight out of the oven, but letting them cool fully improves both texture and shelf life.
- Adjust size for your dog. If you have a small breed, use a mini cookie cutter or cut smaller squares so treats are easier and safer to chew.
- Watch portion sizes. Even healthy homemade treats should make up no more than about 10% of your dog’s daily caloric intake. These are wholesome, but they’re still treats, not meals.
- Introduce slowly. If this is the first time your dog is trying pumpkin or apple, offer a small piece first and watch for any signs of an upset stomach before giving a full portion.
Frequently Asked Questions
Can I use fresh pumpkin instead of canned? Yes. Roast peeled, seeded pumpkin chunks until soft, then puree until smooth. Make sure there’s no excess liquid, or your dough may turn out too wet.
Is applesauce safe for all dogs? Most dogs tolerate applesauce well, but always use unsweetened, xylitol-free varieties, and introduce it gradually if your dog hasn’t had it before.
Dogs with certain health conditions, like diabetes, should only have apple products with veterinary guidance due to natural sugar content.
Can I make these treats grain-free? Absolutely.
Substitute the whole wheat flour with an equal amount of oat flour or a gluten-free flour blend.
You may need to adjust the quantity slightly, as gluten-free flours can absorb liquid differently.
How do I know if my dog is allergic to an ingredient? Watch for signs like itching, hives, vomiting, diarrhea, or excessive licking after introducing a new food.
If you notice any of these, discontinue the treat and consult your veterinarian.
Can puppies eat these treats? Generally yes, in small, appropriately sized pieces, but it’s always a good idea to check with your veterinarian about introducing new foods to a growing puppy.
A Treat Made With Love
There’s something special about handing your dog a treat you made yourself, knowing every single ingredient was chosen with their health and happiness in mind.
These homemade pumpkin applesauce dog treats aren’t just simple to make.
They’re a small, meaningful way to show your dog some extra love while supporting their digestion, coat, and overall wellbeing.
Whether you’re baking a batch for your own pup, packaging them up as a gift for a fellow dog owner, or bringing a homemade treat to your local dog park meetup, this recipe is bound to become a repeat favorite.
Give it a try, and don’t be surprised if your dog starts recognizing the smell of pumpkin the moment it hits the oven.
Happy baking, and happy tail wagging.



6 Comments