DIY Cat Toys: How to Make a Cat Kicker Toy (Sewn and No Sew Versions)
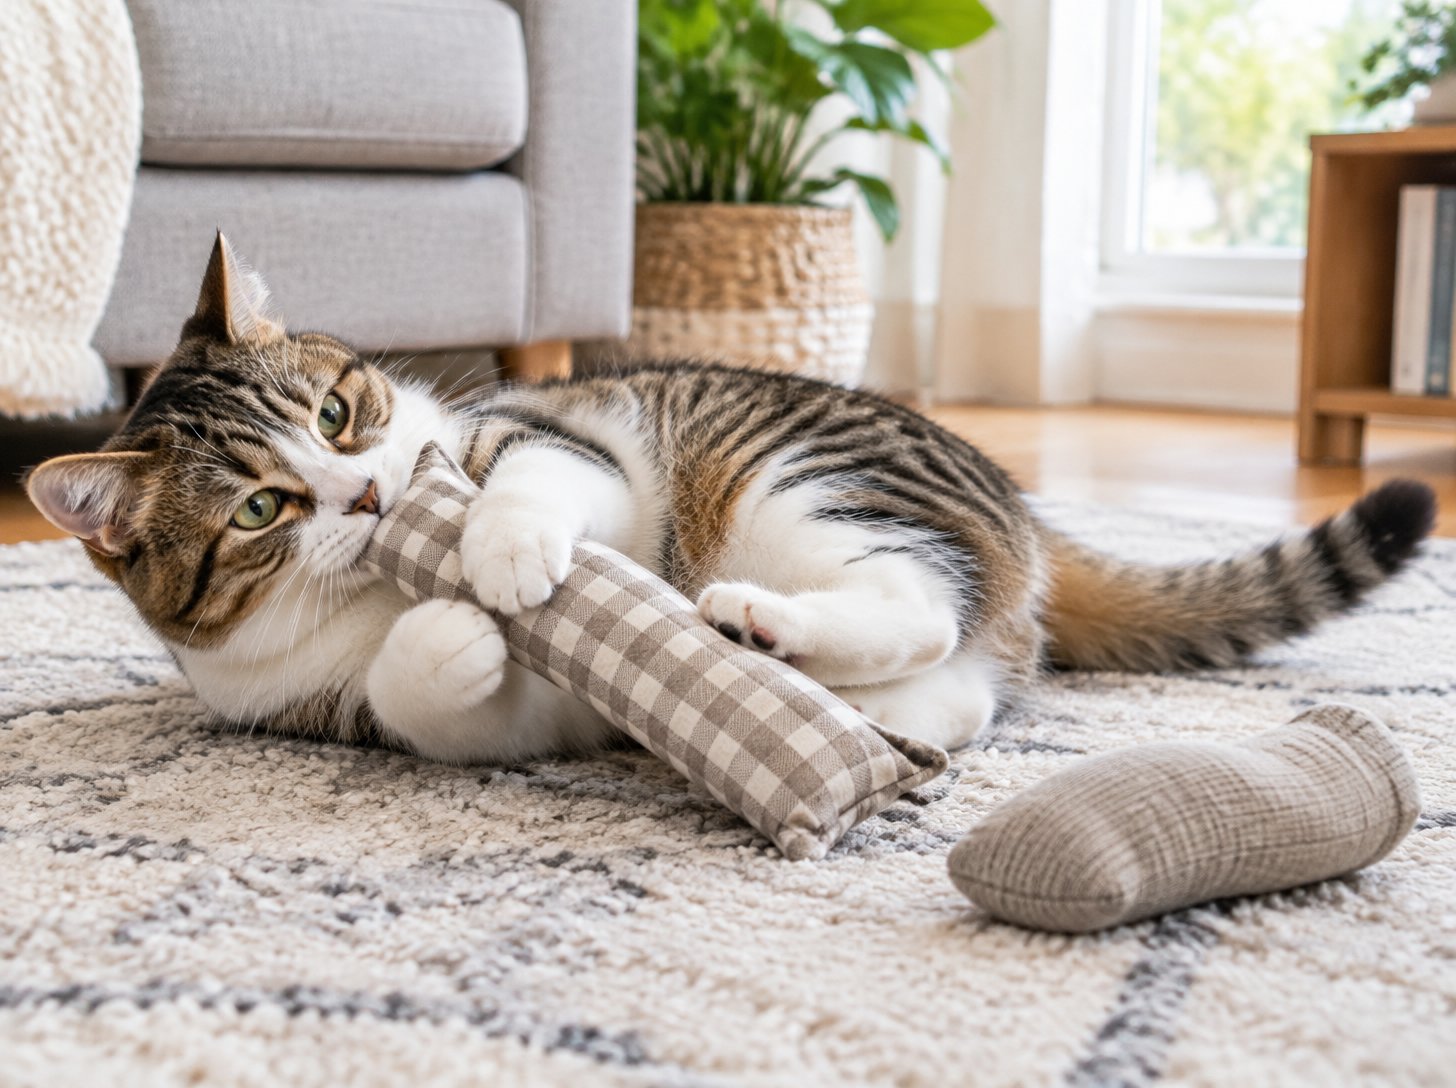
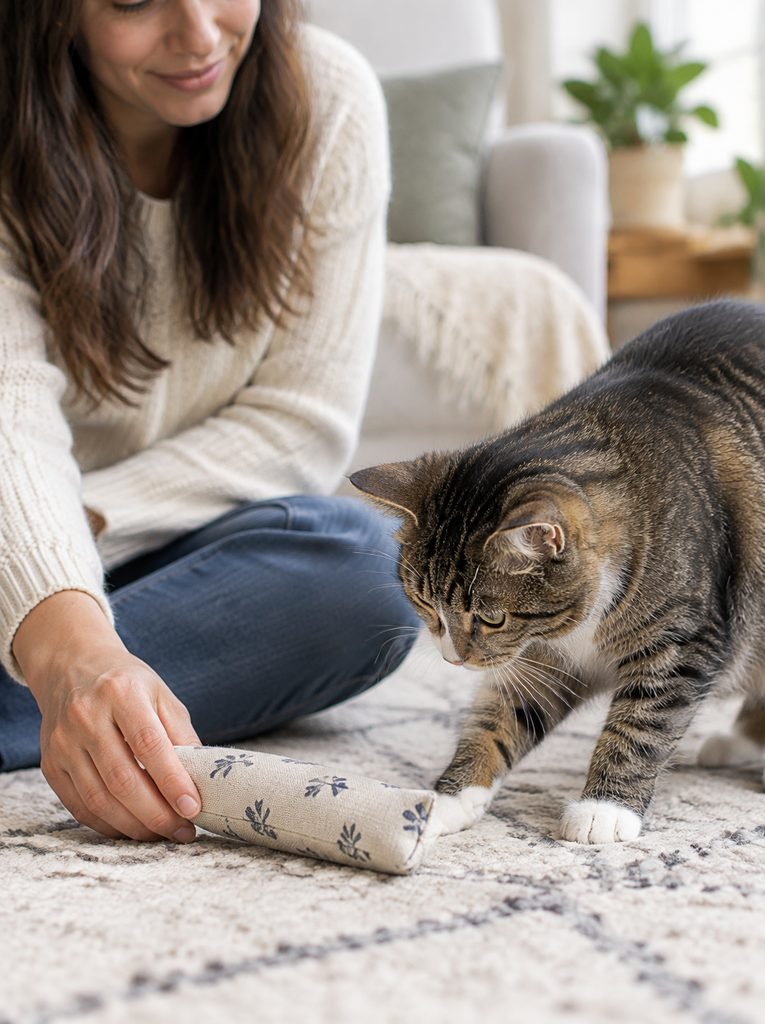
If you’ve ever watched a cat grab a toy with both front paws, wrap their body around it, and bunny kick it with the back legs, you’ve seen why kicker toys are a hit.
That behavior mimics how cats catch and subdue prey, and a good kicker gives your cat a satisfying outlet for energy, hunting instincts, and play.
Store bought kickers can be pricey, and they’re surprisingly easy to make at home from fabric scraps.
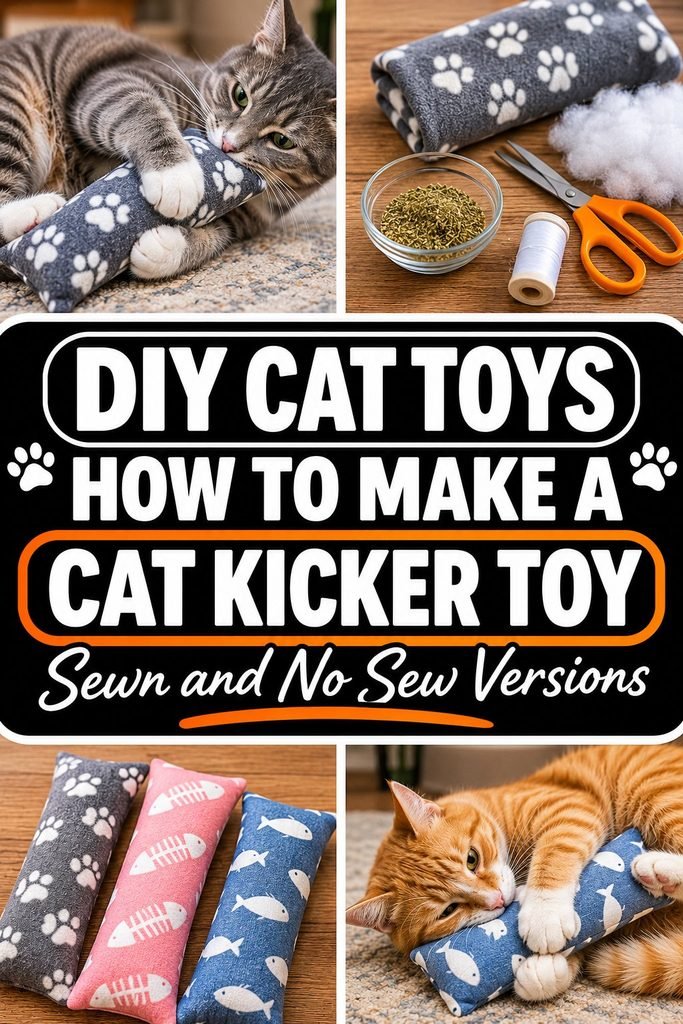
This guide shows you how to make a classic fabric kicker toy two ways, a sewn version that lasts and a quick no sew version made from a sock.
You’ll also learn which materials are safe, how to size the toy, how to fill it, and when to throw it out.
If you want more ideas after this one, my 6 DIY Cat Toy Ideas Including a Slow Feeder You Can Make at Home is a good companion.
Why Make a Kicker Toy?
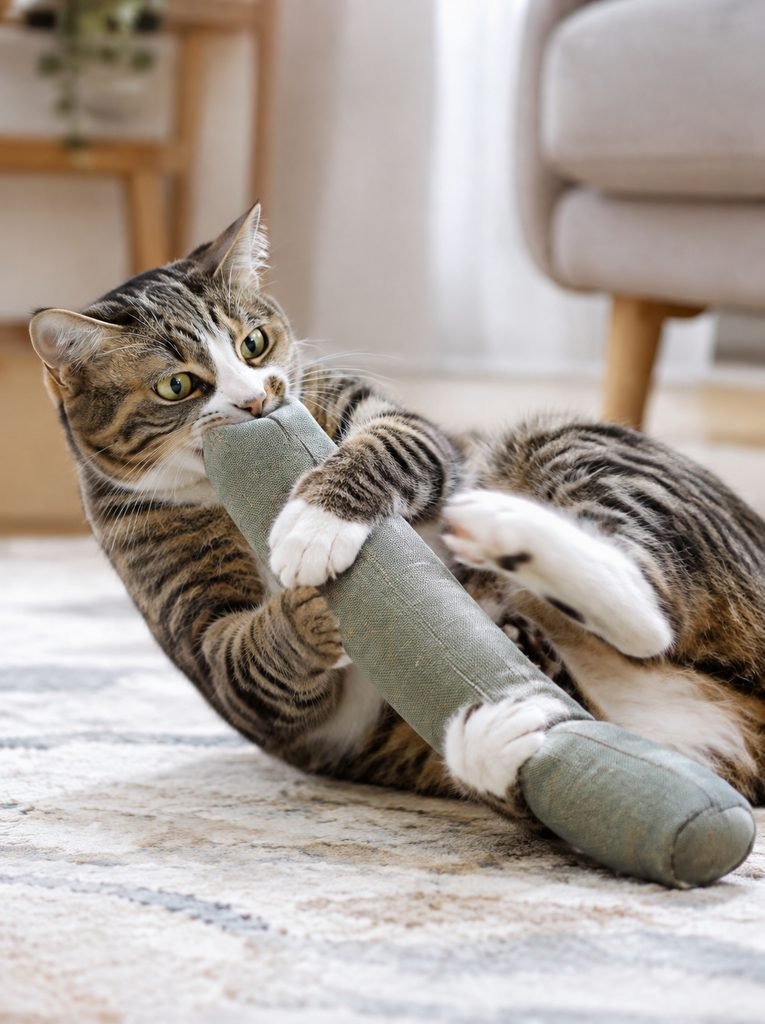
Satisfies natural instincts. Grabbing, biting, and bunny kicking are normal, healthy play.
Great exercise. Active play helps keep cats at a healthy weight and relieves boredom.
Cheap and customizable. Scrap fabric makes a toy in any size, color, or texture.
Easy to wash. Fabric kickers go in the washing machine, unlike many store bought toys.
Beginner friendly. The sewn version uses only straight stitching, and the no sew version needs no sewing at all.
Good for kittens and adult cats. Choose the right size for your cat.
Safety First
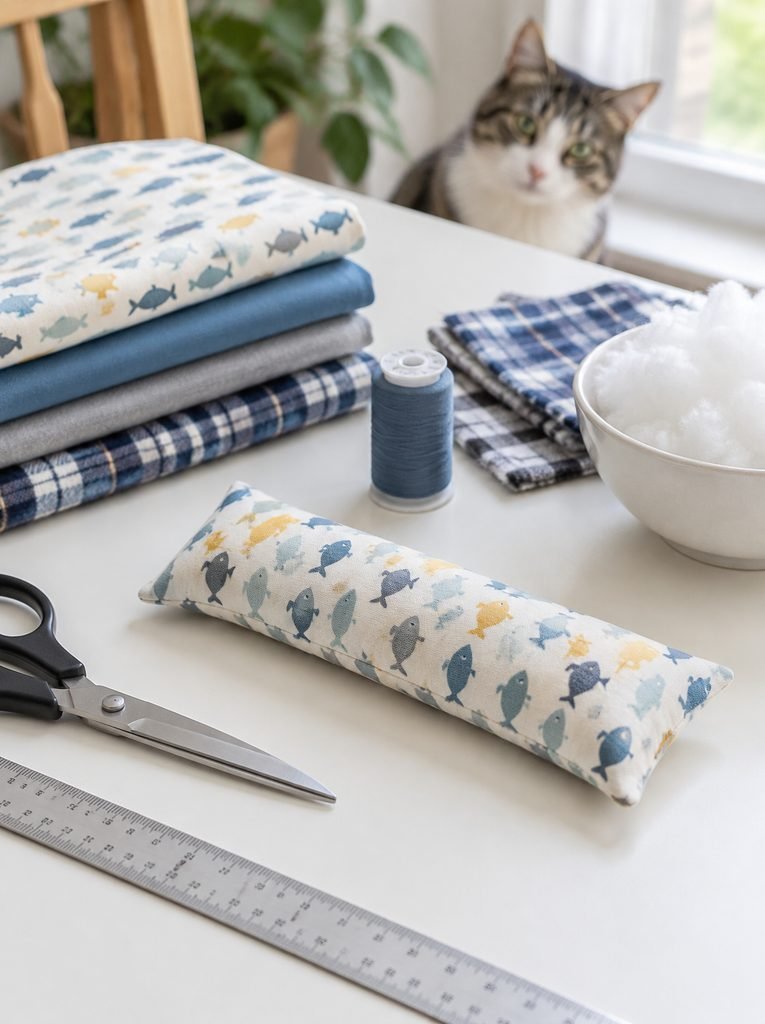
A cat toy is only a good toy when it’s built and used safely. Read these rules before you start.
No string, yarn, ribbon, or elastic. Cats can swallow linear materials, which can cause serious, life threatening problems. Never add a tail, tassel, or dangling trim.
No small parts. Skip buttons, beads, bells, plastic eyes, googly eyes, and glued on decorations that can be chewed off and swallowed.
Use tightly woven, washable fabric. Cotton, flannel, or canvas work well. Avoid loosely woven or stretchy fabric that frays or unravels easily, and avoid fleece with long, loose fibers if your cat chews.
Sew strong seams. Use strong thread, small stitches, and backstitch at the start and end. Trim thread tails short.
Use safe filling. Use fiberfill only if it’s fully enclosed in a tightly sewn cover and you retire the toy as soon as seams open. Many owners prefer rolled fabric or batting scraps, since there’s less loose stuffing to swallow.
Use cat safe catnip only. Plain, dried catnip is safe for most cats, but some cats aren’t affected, and kittens under a few months old often don’t respond. Don’t use scented sprays, essential oils, or anything with unknown ingredients.
Supervise play. Don’t leave your cat alone with a fabric toy, especially a new one.
Inspect after every use. Look for loose stitches, frayed fabric, holes, or exposed stuffing, and throw the toy away at the first sign of damage.
Skip it for chewers and eaters. If your cat chews and swallows fabric, ask your veterinarian about safer toys.
If your cat swallows thread, stuffing, or a piece of the toy, or vomits, stops eating, or seems unwell, call your veterinarian right away.
What Size Should a Kicker Toy Be?
Size matters for both fun and safety.
Length. A kicker toy should be about as long as your cat’s body, so they can hug it with the front legs and kick with the back legs. Many kickers are about 8 to 12 inches long, with smaller versions for kittens and small cats.
Width. Make it thick enough to grab, but not so wide your cat can’t wrap around it. About 2 to 3 inches wide when filled is a good start.
Too small is risky. Never make a toy small enough for your cat to swallow.
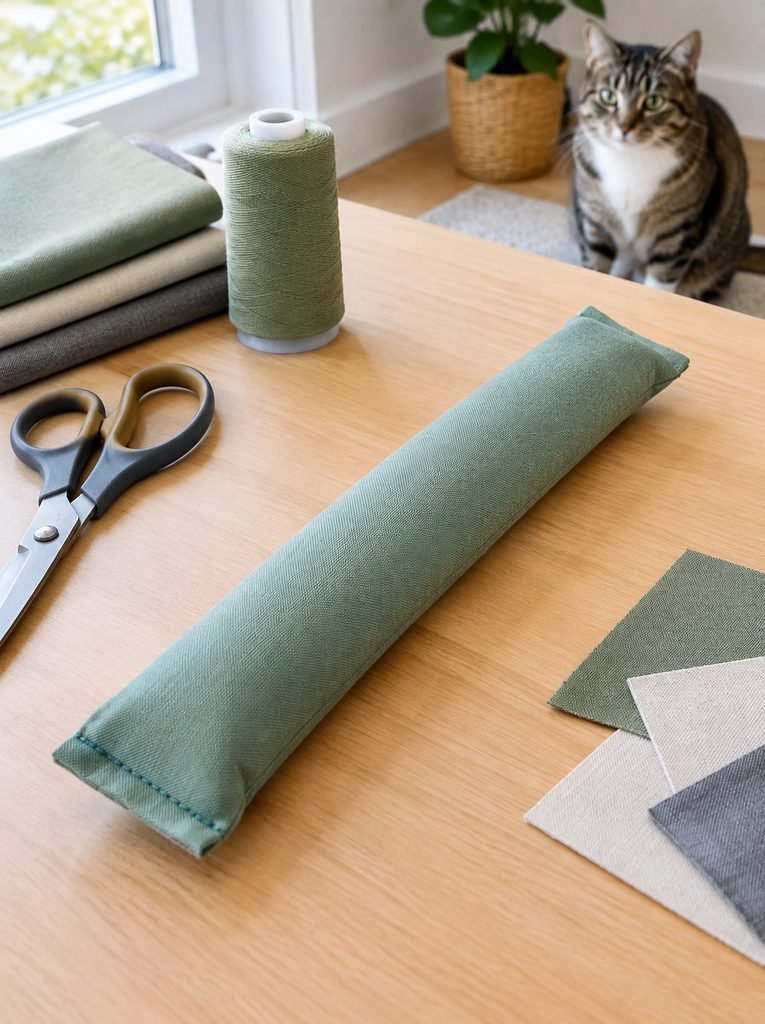
Version One: Sewn Fabric Kicker Toy
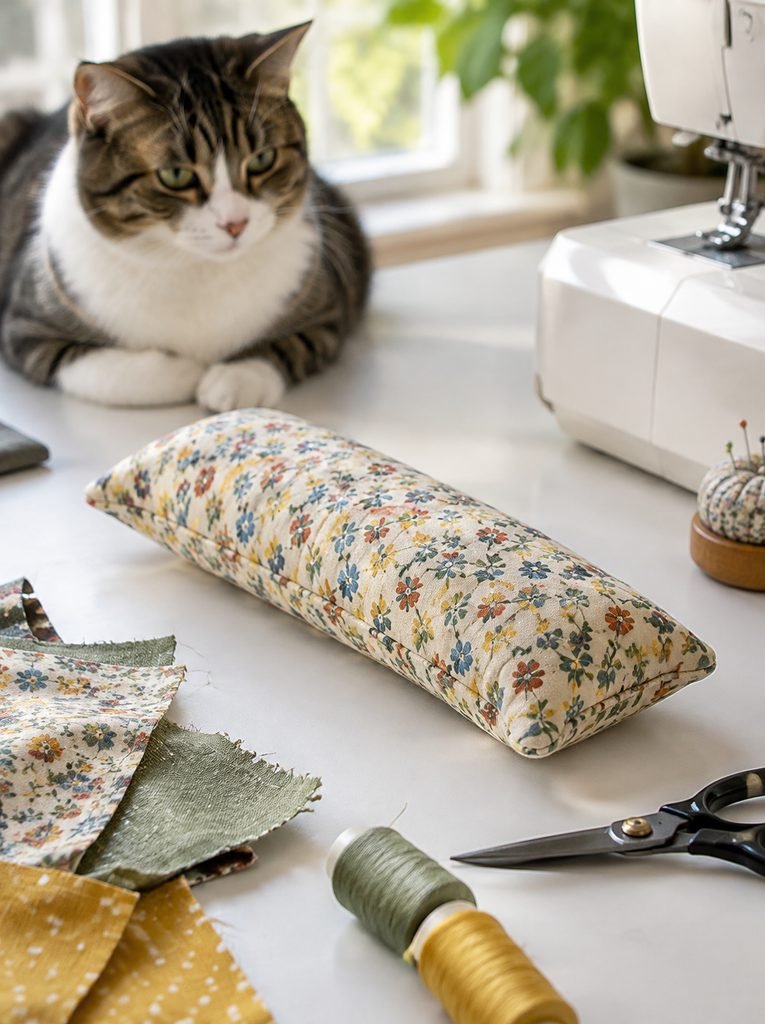
This is the sturdy option, and it lasts the longest.
What You’ll Need
- Tightly woven cotton, canvas, or flannel scraps, washed first
- Strong thread (cotton or polyester)
- Sharp fabric scissors
- A ruler and fabric chalk or a marker
- Pins or fabric clips
- A sewing machine, or a needle for hand stitching
- Fiberfill or rolled batting scraps for stuffing
- Plain, dried catnip, optional
How to Make It
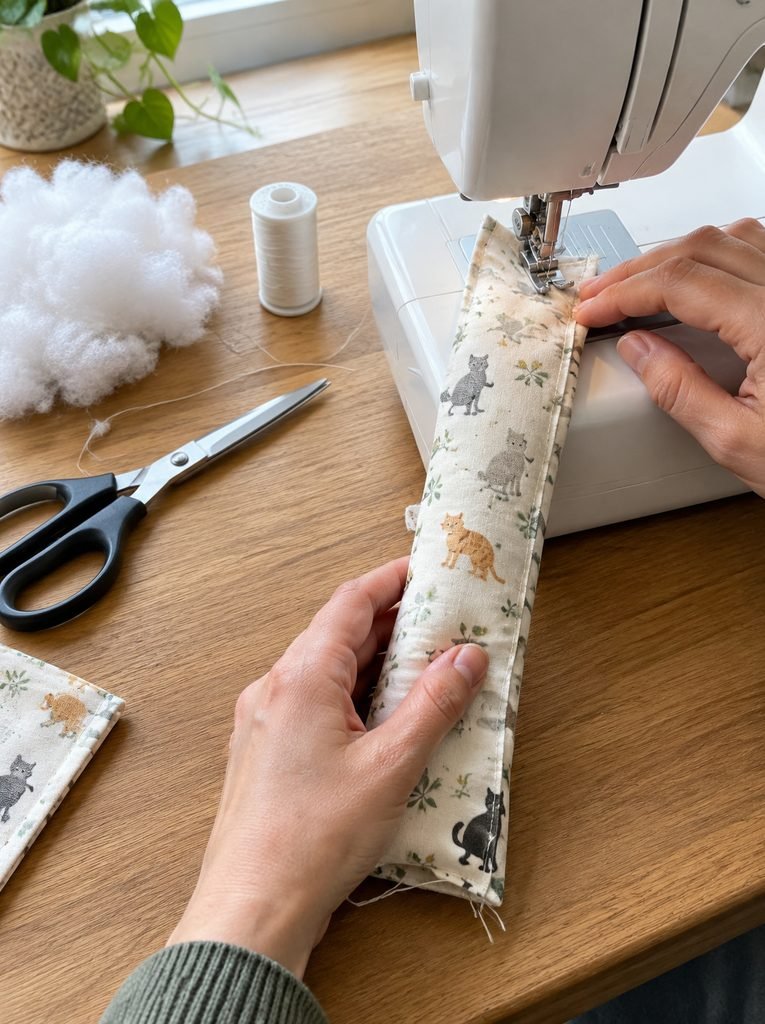
- Wash the fabric. Wash and dry the fabric first to remove chemicals and prevent shrinking later. Skip fabric softener and scented detergent.
- Cut the fabric. Cut two rectangles, each about 5 inches wide and 11 inches long. For a kitten, make them about 3 inches by 7 inches.
- Pin the layers. Place the pieces with right sides together and pin or clip them.
- Sew the edges. Sew around three sides with about a 1/2 inch seam, backstitching at the start and end. Leave one short end open.
- Reinforce the corners. Sew over the corners a second time for extra strength, since this is where toys fail first.
- Trim and turn. Trim the corners, turn the toy right side out, and push out the corners gently.
- Fill it. Stuff firmly, packing the filling evenly so there are no lumps or empty spots. If using catnip, mix a small pinch into the filling, or tuck it in a layer in the middle.
- Close the end. Fold the raw edges in by 1/2 inch, then sew the end closed with small, tight stitches. Go over the seam twice.
- Add extra seams. Sew a few lines across the toy, about every 3 inches, to hold the filling in place and give the toy a segmented look. This also helps keep the stuffing from migrating.
- Trim and test. Trim all thread tails short, then tug and squeeze the toy firmly. Any weak seam should be fixed before play.
Version Two: No Sew Sock Kicker Toy
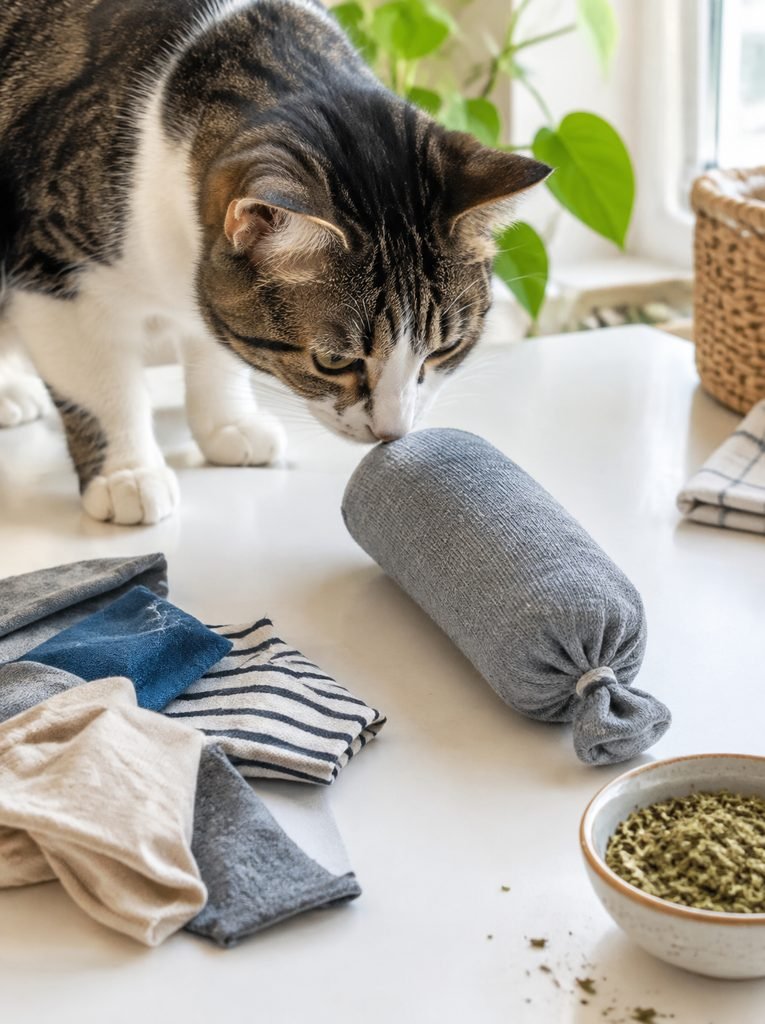
This version is quick, and it’s a good use for an old, clean sock.
What You’ll Need
- A clean, tightly knit cotton sock with no holes
- Rolled fabric scraps or batting for filling
- Plain, dried catnip, optional
- Non toxic fabric glue, optional
How to Make It
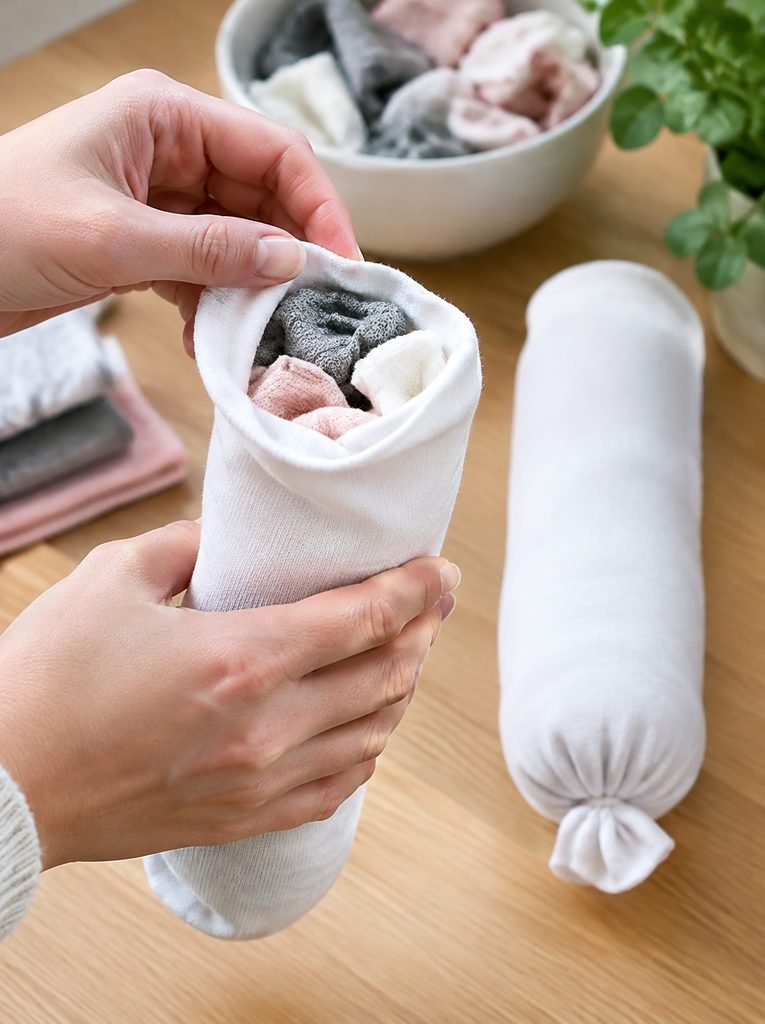
- Choose the sock. Pick a thick, tightly woven cotton sock without holes or loose threads. Avoid socks with rubber grippers, elastic, or beads.
- Add filling. Fill the sock firmly with clean, soft fabric scraps or batting, packing it evenly.
- Add catnip. If you like, mix a pinch of plain catnip into the filling.
- Close the end. Tie a tight, firm knot at the open end, as close to the filling as possible, and trim the extra fabric short so there’s no dangling tail.
- Secure the knot. Add a dab of non toxic fabric glue to the knot, if you like, and let it dry completely.
- Test it. Tug on the knot and squeeze the toy. If it loosens, retie it.
Best for. A quick, temporary toy. Sock kickers don’t last as long as sewn ones, so check them often.
How to Use the Kicker Toy
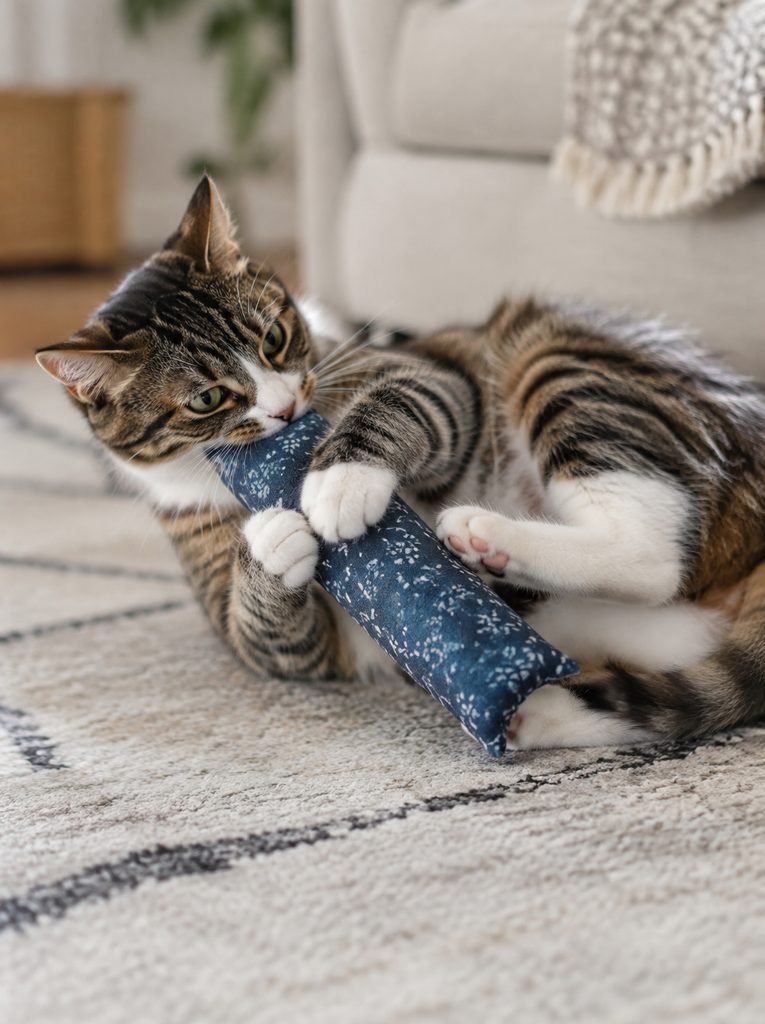
Introduce it calmly. Toss it near your cat or wiggle it along the floor, and let them discover it.
Use catnip wisely. Refresh the scent occasionally, and limit use, since the effect fades with overuse.
Rotate toys. Keep a few toys in rotation, which keeps them interesting.
Play together. Interactive play strengthens your bond. A few short play sessions daily are better than one long one.
Put it away after play. Store the toy somewhere your cat can’t reach when you can’t supervise.
How to Care for a Kicker Toy
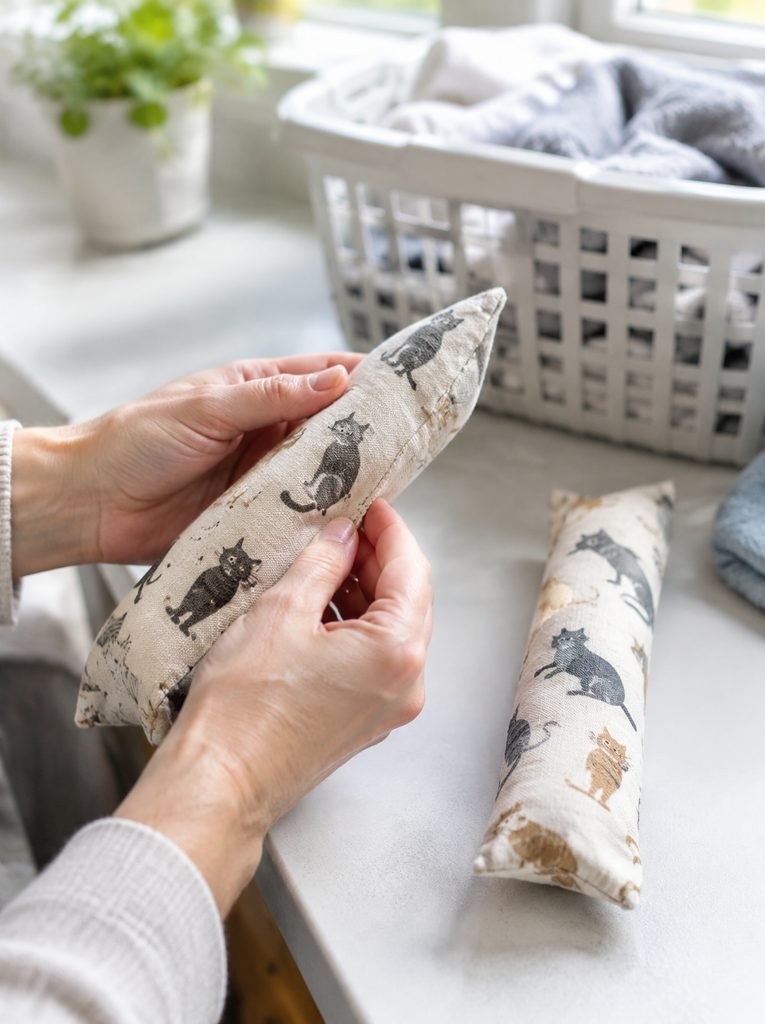
Wash regularly. Machine wash on gentle with unscented detergent, then air dry or tumble dry on low. Catnip may lose some potency after washing.
Check seams and fabric. Look closely before and after each play session.
Refresh the catnip. Open a small seam only if you plan to re-sew it securely, or simply make a new toy.
Replace when worn. Fabric toys aren’t permanent. Throw them away when they’re worn.
Variations
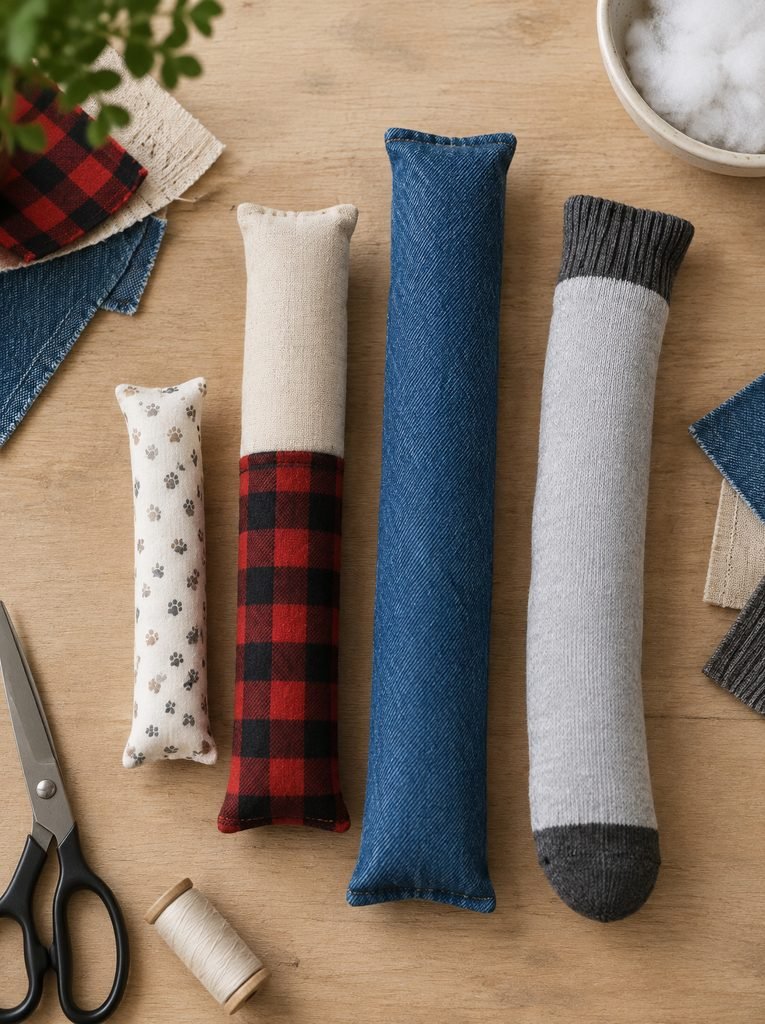
Kitten mini kicker. Make a smaller toy, about 6 inches long, in soft cotton. Skip catnip for very young kittens.
Textured kicker. Use different fabrics on each side, such as canvas on one side and soft flannel on the other, as long as both are tightly woven.
Crinkle kicker. Sew a small piece of crinkly material fully inside the filling, only if it’s safe and won’t come loose. Many owners skip this to keep the toy simpler.
Denim kicker. Use thick, washed denim with all hardware removed. See my 5 DIY Sewn Denim Dog Toys from Old Jeans for tips on working safely with denim, and keep in mind that cat toys should be sized for cats.
Valerian or silvervine alternative. If your cat doesn’t react to catnip, ask your veterinarian whether silvervine or another cat safe herb is appropriate.
Common Mistakes to Avoid
Adding string, tails, or tassels. These are a swallowing risk.
Using small decorations. Buttons and plastic eyes can be chewed off.
Using weak seams or thread. Reinforce the corners, and backstitch.
Making the toy too small. Your cat should not be able to swallow it.
Stuffing it unevenly. Lumps and gaps make the toy harder to kick, and pull apart faster.
Leaving it out unsupervised. Always put it away after play.
Keeping a damaged toy. Throw it away at the first sign of wear.
Using strong scents. Avoid essential oils or perfumed products.
Troubleshooting
My cat ignores the toy. Try a different size, fabric, or a pinch of catnip, and play with it yourself to get your cat interested.
My cat chews the toy instead of kicking it. Supervise, and consider a sturdier fabric or a different type of toy.
The stuffing is escaping. Retire the toy and make a new one with stronger seams.
My cat gets overexcited. Keep play sessions calm and short, and end with a quiet cuddle or a meal.
My cat is sleepy and uninterested in play. Try again later. Age and mood affect play, and a sudden loss of interest can be a reason to check with your veterinarian.
More Helpful Reads
- 6 DIY Cat Toy Ideas Including a Slow Feeder You Can Make at Home
- Essential Supplies for Bringing Home a New Kitten
- Healthy Homemade Cat Treats
- Easy Homemade Cat Treats with Pumpkin
- Homemade Lickable Cat Treats
For more ideas, browse my Homemade Cat Treats.
Frequently Asked Questions
What is a cat kicker toy? A kicker toy is an elongated, filled toy that cats can hug with their front paws and kick with their back legs, mimicking how they handle prey.
Is catnip safe for cats? Plain, dried catnip is considered safe for most cats, though not all cats react to it, and kittens often don’t respond until they’re older. Use it in moderation.
Can I make a kicker toy without sewing? Yes. The sock version uses a firm knot instead of stitching, though it won’t last as long.
What fabric is safest? Tightly woven, washable cotton or canvas, with no loose threads or fraying edges.
Can kittens play with kicker toys? Yes, with a smaller toy and supervision. Ask your veterinarian about suitable toys, especially for very young kittens. See my Essential Supplies for Bringing Home a New Kitten for more kitten basics.
How long does a homemade kicker last? It depends on how rough your cat is. Inspect it often and replace it when it shows wear.
Is it safe to use stuffing? Only when it’s fully enclosed in a sturdy, well sewn cover, and only under supervision. Throw the toy away if the seams open.
Can I sell these toys? You can, but selling pet products involves safety and labeling considerations. See my 7 Dog Crafts to Make and Sell for general guidance.
A Final Note on Making a Cat Kicker Toy
A homemade kicker toy costs almost nothing, uses up fabric scraps, and gives your cat a satisfying outlet for natural behavior.
Choose safe materials, sew strong seams, and supervise play. When your cat has worn it out, make a fresh one.
For a tasty reward after playtime, try my Healthy Homemade Cat Treats.