15 DIY Dog Crafts to Make and Sell That Actually Earned Me Money
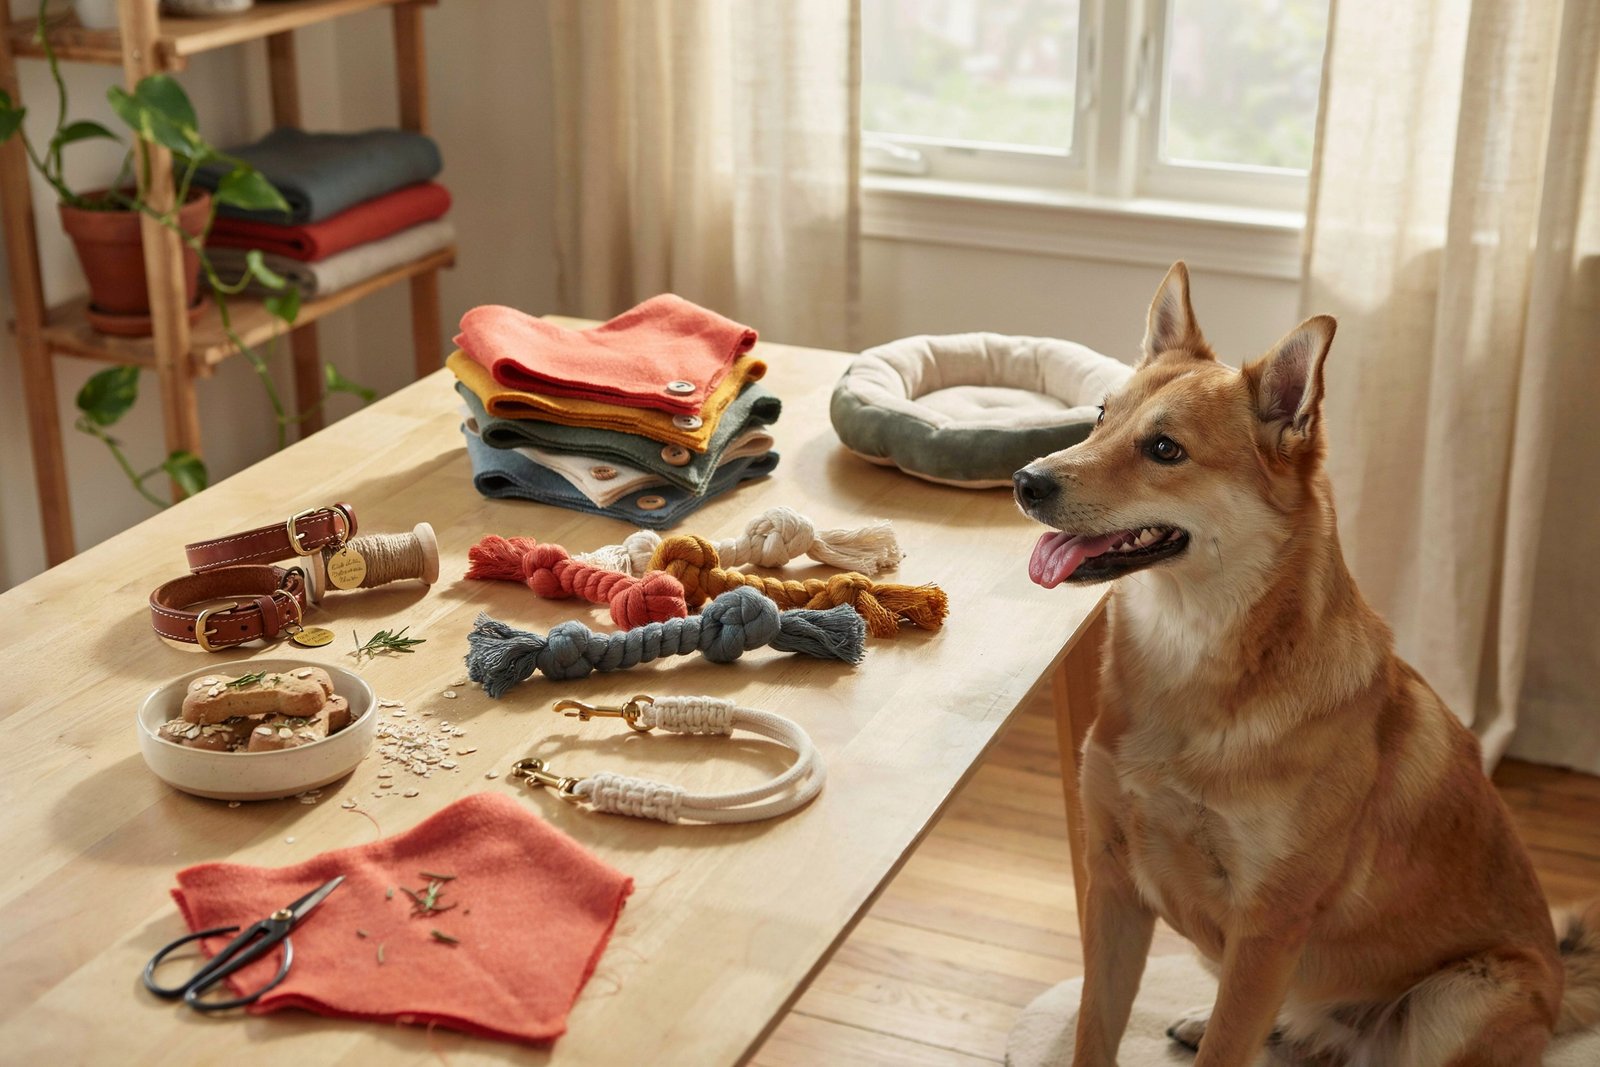
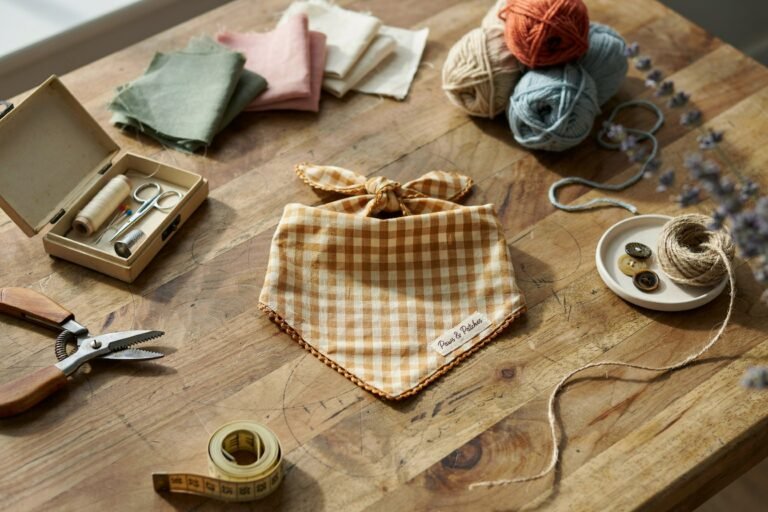
Three years ago, I stitched a very lumpy fleece bandana for my rescue mutt, Biscuit.
I was only trying to use up some leftover fabric sitting in a drawer.
I honestly did not think much of it.
Then a neighbor stopped me during one of our walks and asked where I bought it.
When I told her I had made it myself, she handed me ten dollars and asked if I could make one for her dog too.
That first ten dollars changed the way I looked at my craft supplies.
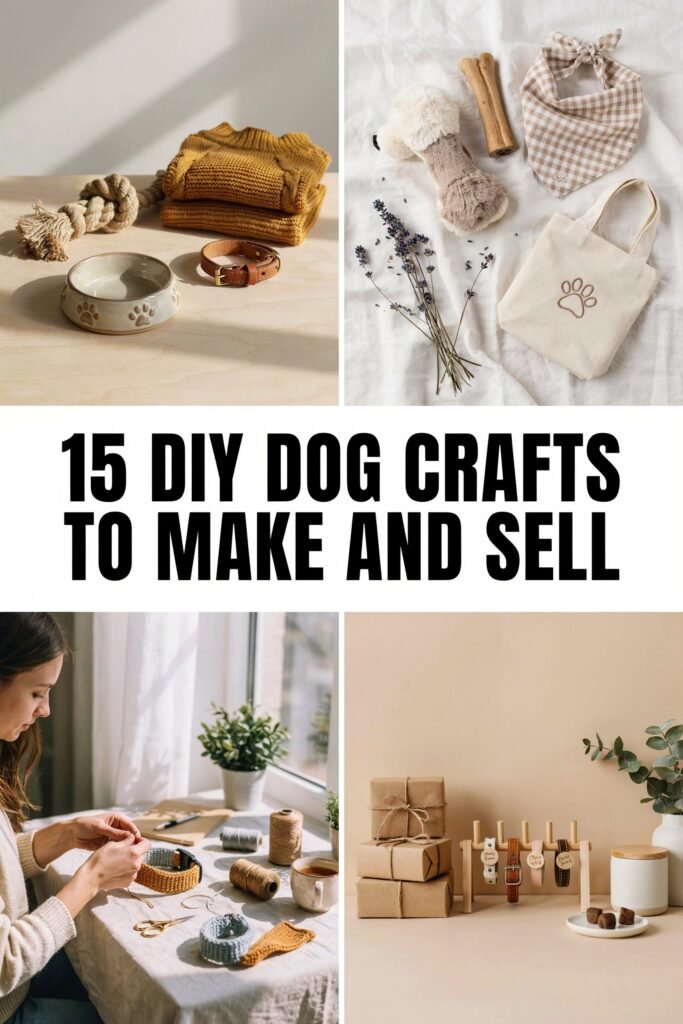
One bandana turned into a small collection of handmade dog products, a few farmers market stalls, an Etsy shop, and eventually a wholesale order from a local pet boutique.
Some crafts sold almost immediately, while others took more time and careful pricing to make worthwhile.
So if you are looking for DIY dog crafts to make and sell, these are the 15 ideas I would genuinely consider starting with.
I have included the materials, basic steps, and the prices that worked for me.
Before You Start Making Dog Crafts to Sell
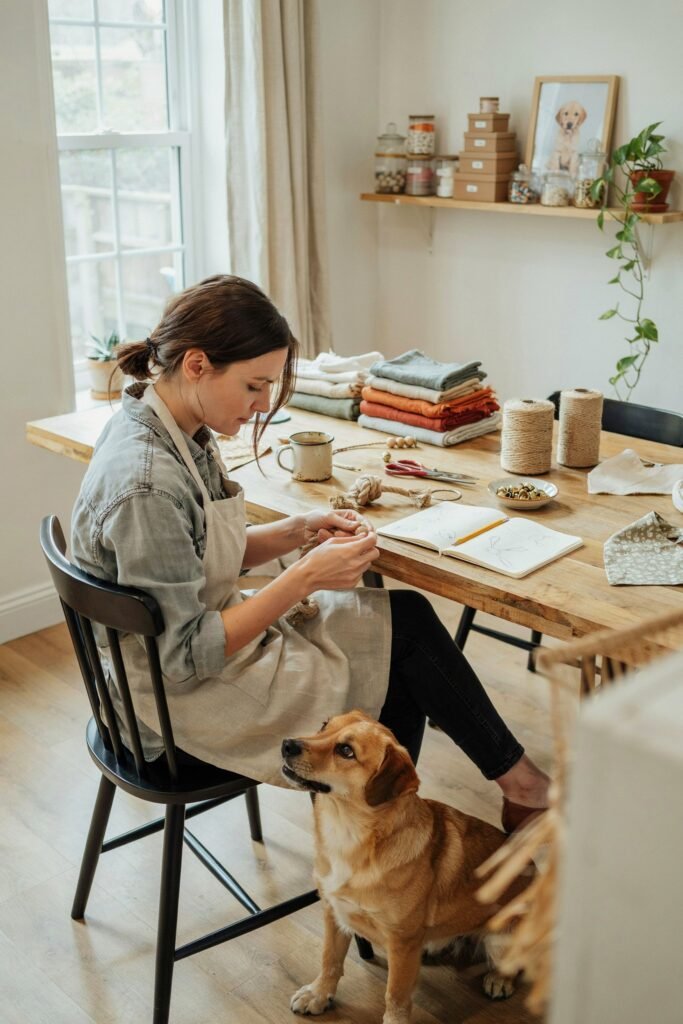
My biggest piece of advice is not to make 15 different products at once.
I made that mistake in the beginning. I had a table covered in fabric, rope, paint, clay, and half finished projects, and I quickly realized that making a craft and selling a craft are two completely different things.
Before you begin, I would start with two or three products and pay attention to:
• How long each item takes to make
• How much the materials actually cost
• Whether customers ask for custom options
• How easy the product is to photograph and package
• Whether you can make several at a time
I also strongly recommend testing anything your own dog will wear or use before selling it.
With collars, leashes, and other wearable items, secure construction matters.
For homemade dog treats, check your local requirements and use clear ingredient labels.
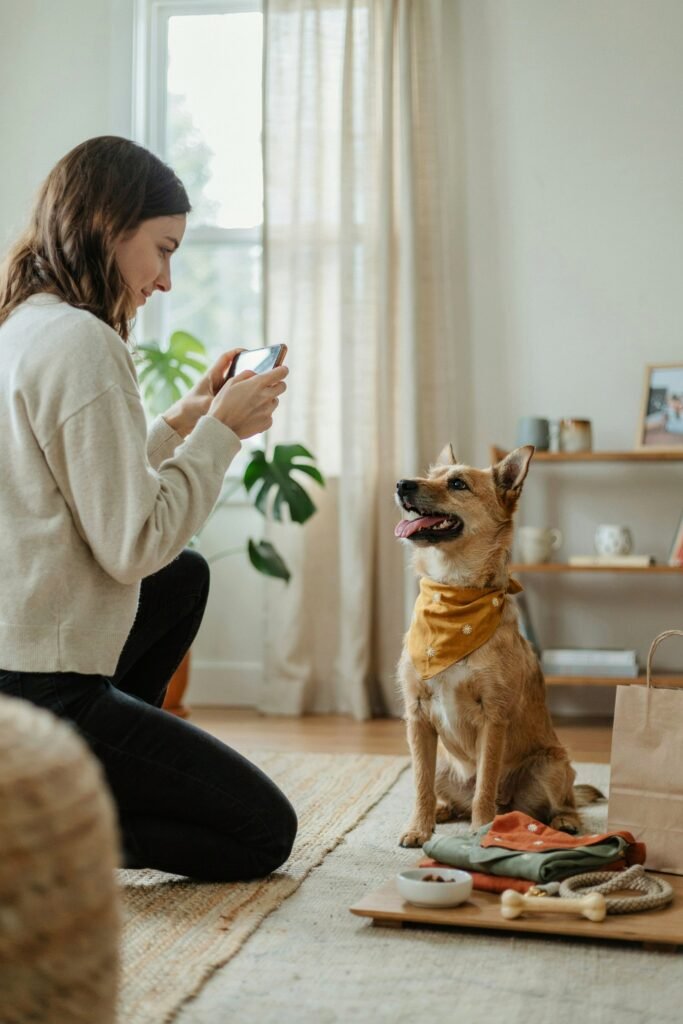
One more thing that made a huge difference for me: photograph your crafts on a real dog whenever possible.
My product photos improved dramatically once Biscuit became my unofficial model.
Why Dog Crafts Sell So Well
Dog owners are often very willing to spend money on products that feel personal, useful, or especially cute.
That personal element is what makes handmade dog crafts different from mass produced pet products.
A customer may not just be buying a bandana.
They may be buying one with their dog’s name, favorite color, or a design that reminds them of their pet.
I also found that dog crafts make excellent gifts.
New puppy owners, dog lovers, and people shopping for a pet birthday often want something more personal than a standard toy from a big box store.
The key is making products that look useful and giftable, not just homemade.
1. No Sew Fleece Dog Bandanas
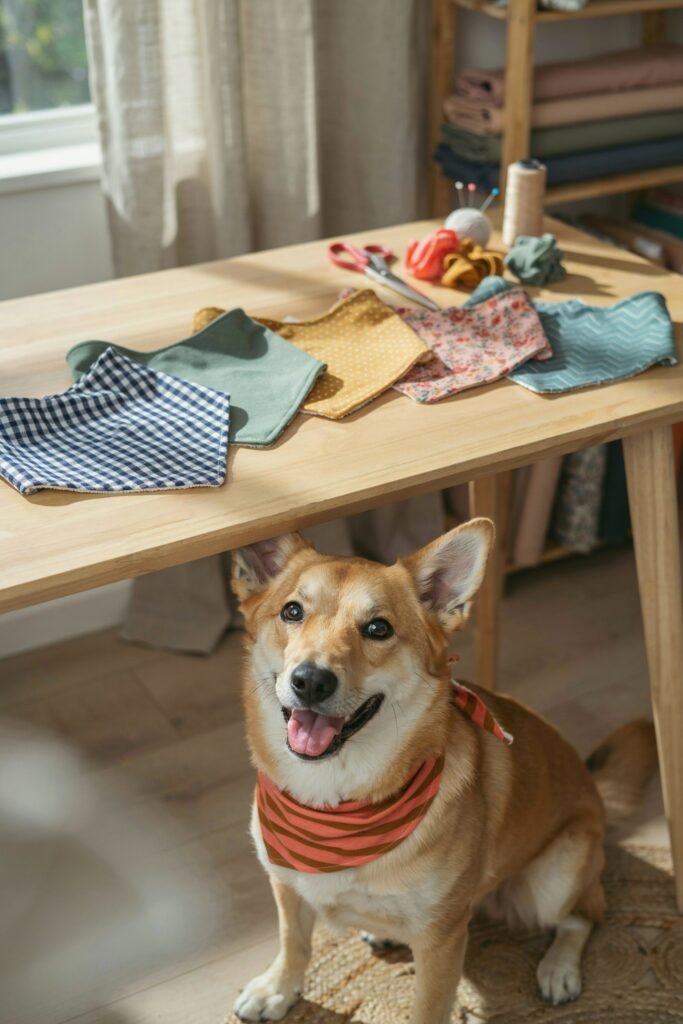
This was my very first dog craft to sell, and I still think it is one of the easiest places for a beginner to start.
You do not need a sewing machine, and you can make several from one piece of fleece depending on the size and shape you choose.
Materials needed:
• Fleece fabric
• Fabric scissors
• Ruler or measuring tape
How to make them:
- Measure and cut a square of fleece. For a medium dog, I often started with a piece around 22 by 22 inches.
- Cut the square diagonally into two triangles.
- Round the corners slightly if you prefer a softer look.
- Tie the long edge around the dog’s collar.
I sold these for around $8 to $12 each.
The reason I liked them so much for selling was that I could make a batch in different colors instead of spending an hour on one product. Seasonal colors also worked well for me.
I noticed that customers often bought more than one when I displayed several patterns together.
2. Personalized Embroidered Collars
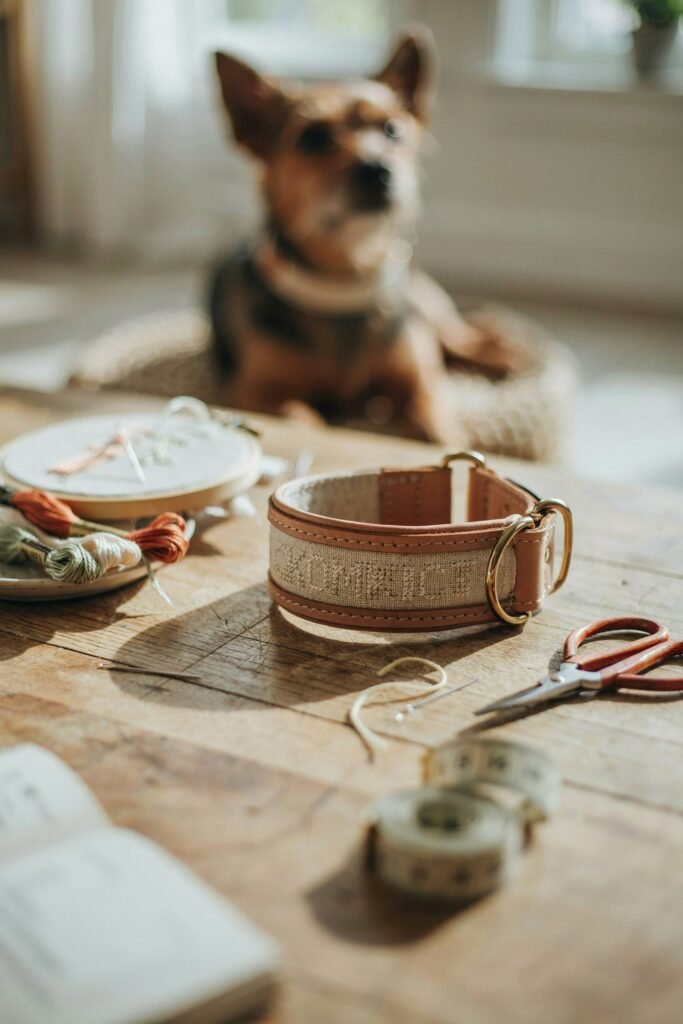
Once I invested in a sewing machine, personalized collars quickly became one of my favorite products.
There is something about seeing a dog’s name stitched onto a collar that makes the item feel like a genuine custom order rather than something picked up from a shelf.
Materials needed:
• Nylon webbing
• Collar buckle and D ring hardware
• Embroidery thread
• Sewing machine or embroidery machine
How to make them:
- Measure the webbing for the dog’s neck size and allow extra length for adjustment and overlap.
- Add the dog’s name or a small design before assembling the collar.
- Sew the buckle and D ring into place.
- Reinforce the attachment points with strong stitching and check the finished collar carefully.
I charged $18 to $25 per collar.
Personalization was the main reason I could charge more.
I also learned not to offer too many design choices at first.
A small selection of colors and fonts made custom orders much easier to manage.
3. Braided Fleece Tug Toys
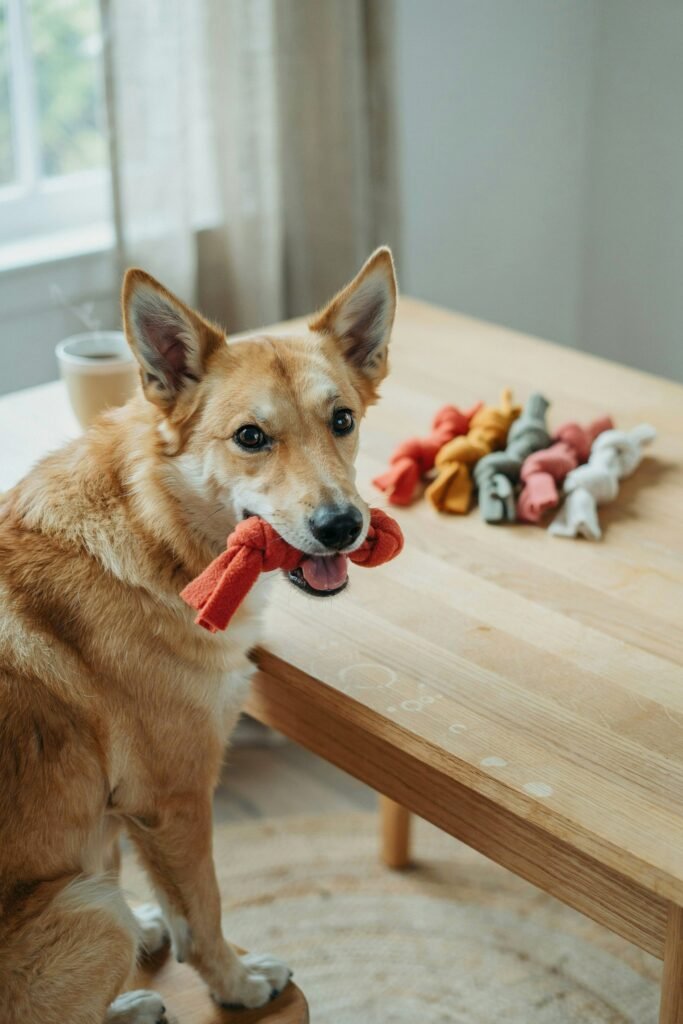
This is one of those crafts that is inexpensive, quick, and easy to batch make.
Materials needed:
• Fleece fabric
• Scissors
How to make them:
- Cut three strips of fleece approximately 3 inches wide and 20 inches long.
- Tie the strips together at one end.
- Braid the strips tightly.
- Tie the opposite end securely.
I priced these at $6 to $9 each.
I especially liked selling them in groups of three during the holidays.
Customers could buy a small gift set without spending a lot of money, and I could use leftover fleece from other projects.
Just make sure finished items are checked for loose or weak parts before selling.
I always preferred to inspect every toy individually rather than assuming the batch was fine.
4. Hand Painted Dog Bowls
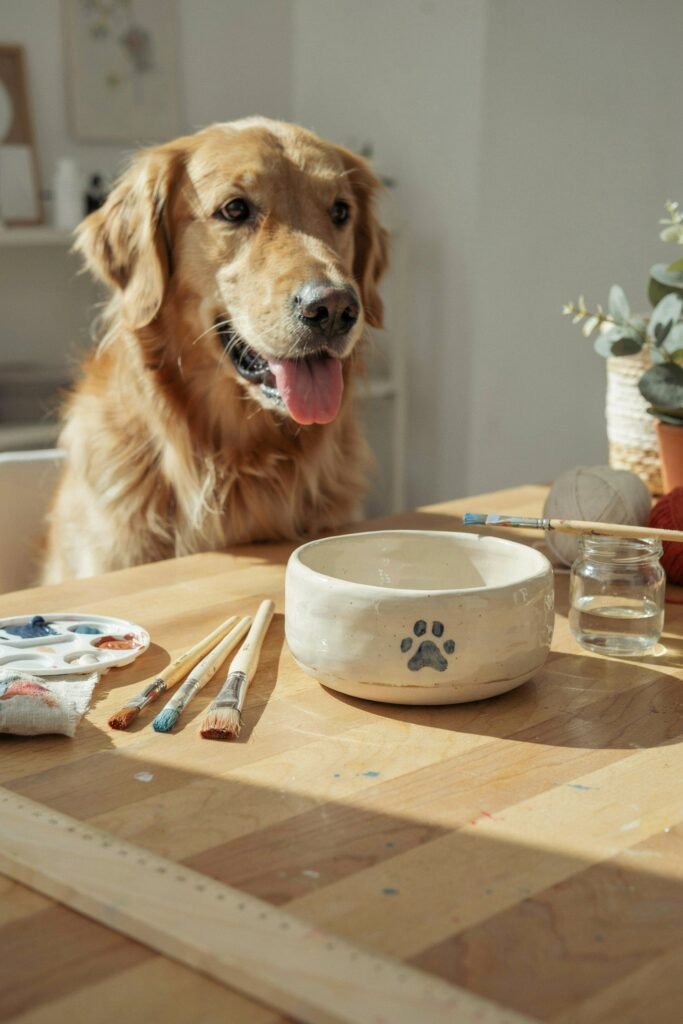
Hand painted dog bowls were popular with new puppy owners and people looking for pet gifts.
Materials needed:
• Plain ceramic bowl
• Paint specifically suitable for the intended use
• Paintbrushes
• Appropriate sealant or glaze
How to make them:
- Clean and completely dry the bowl.
- Paint a simple design or name.
- Allow the paint to cure according to the product instructions.
- Apply any required sealant or glaze and follow the manufacturer’s directions carefully.
I sold these for around $20 to $30.
I would keep the designs simple. Paw prints, names, and small patterns were much easier to make consistently than detailed artwork.
One important thing I learned is to carefully check the instructions for any paint or finish you use.
Products intended for food or water contact need to be appropriate for that use, and I would never rely on a generic craft product without checking its directions first.
5. Frozen Peanut Butter Dog Treats
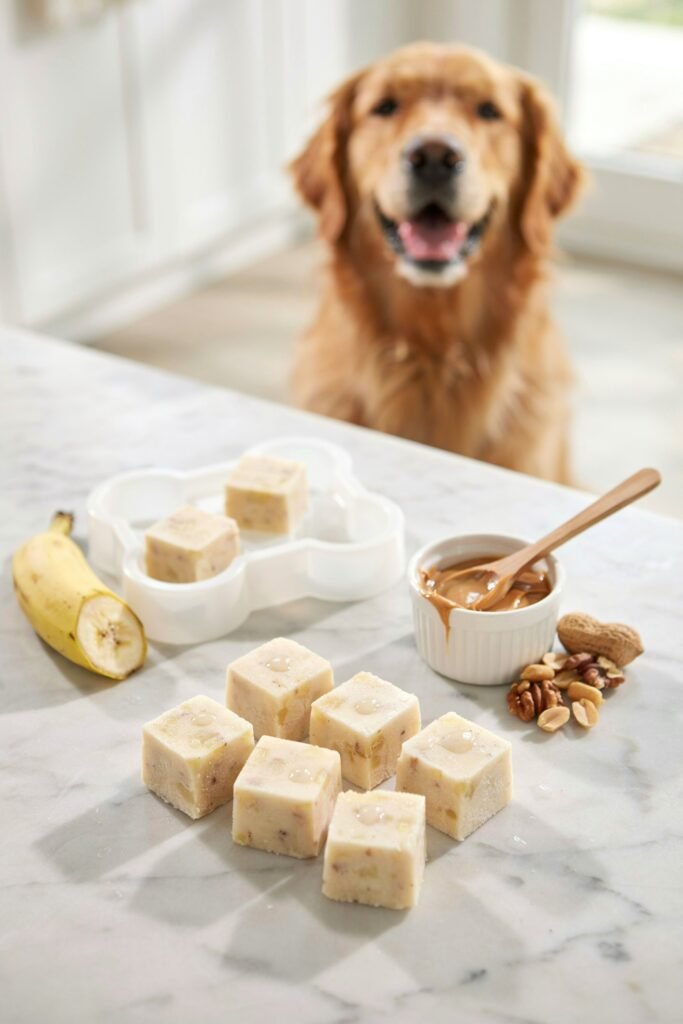
These were one of my favorite summer products because they were simple to make and looked appealing in photos.
Materials needed:
• Xylitol free peanut butter
• Mashed banana
• Plain yogurt
• Silicone molds
How to make them:
- Mix the peanut butter, mashed banana, and yogurt in a bowl.
- Spoon the mixture into silicone molds.
- Freeze until completely firm.
- Package and store according to your local requirements.
Please check every ingredient carefully before making treats for dogs.
Peanut butter must be free from xylitol, which is toxic to dogs.
I would also check current local rules before selling homemade pet food and clearly list every ingredient on the packaging.
I liked this craft because the finished treats looked colorful and fun.
However, I would treat homemade food as a separate category from non food crafts because there are extra safety and regulatory considerations.
6. Baked Dog Treats
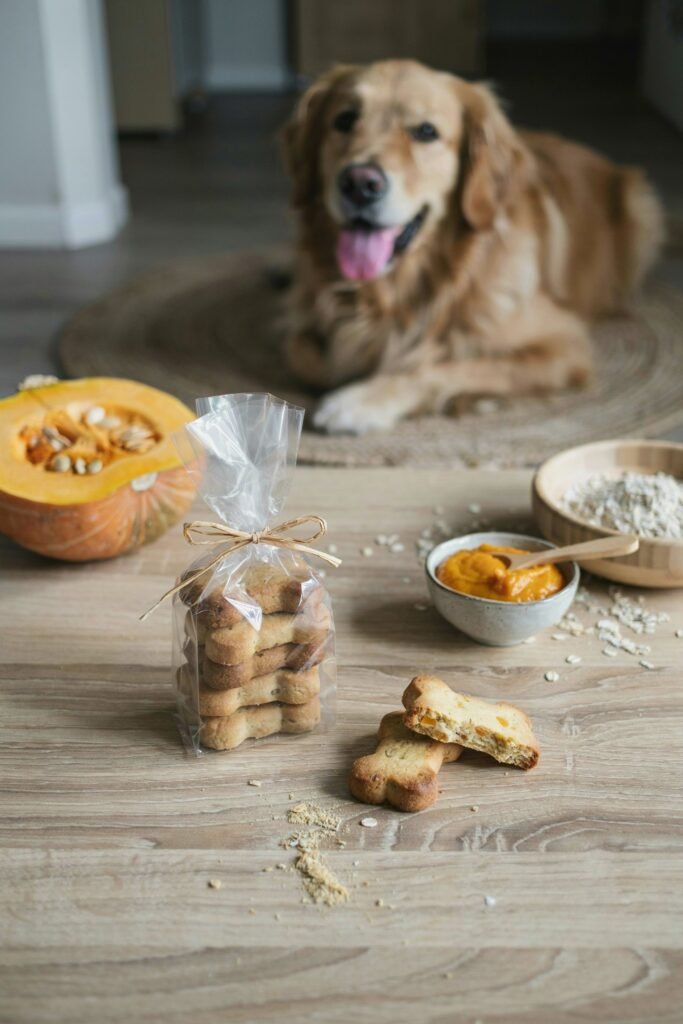
These were another popular product, especially when I packaged them in small gift bags.
My go to combination used oat flour, pumpkin puree, and egg.
Materials needed:
• Oat flour
• Pumpkin puree
• One egg
• Dog safe cookie cutter
How to make them:
- Mix the oat flour, pumpkin puree, and egg until a firm dough forms.
- Roll the dough out on a clean surface.
- Cut the shapes with a cookie cutter.
- Bake at 350°F until firm.
I packaged six treats together and sold them for around $7.
The packaging made a big difference. A plain pile of dog biscuits looked homemade in the wrong way.
A clean bag with a simple ingredient label looked like a thoughtful little gift.
If you sell homemade treats, always use dog safe ingredients, list the ingredients clearly, and follow the regulations that apply where you live.
7. Macramé Dog Leashes
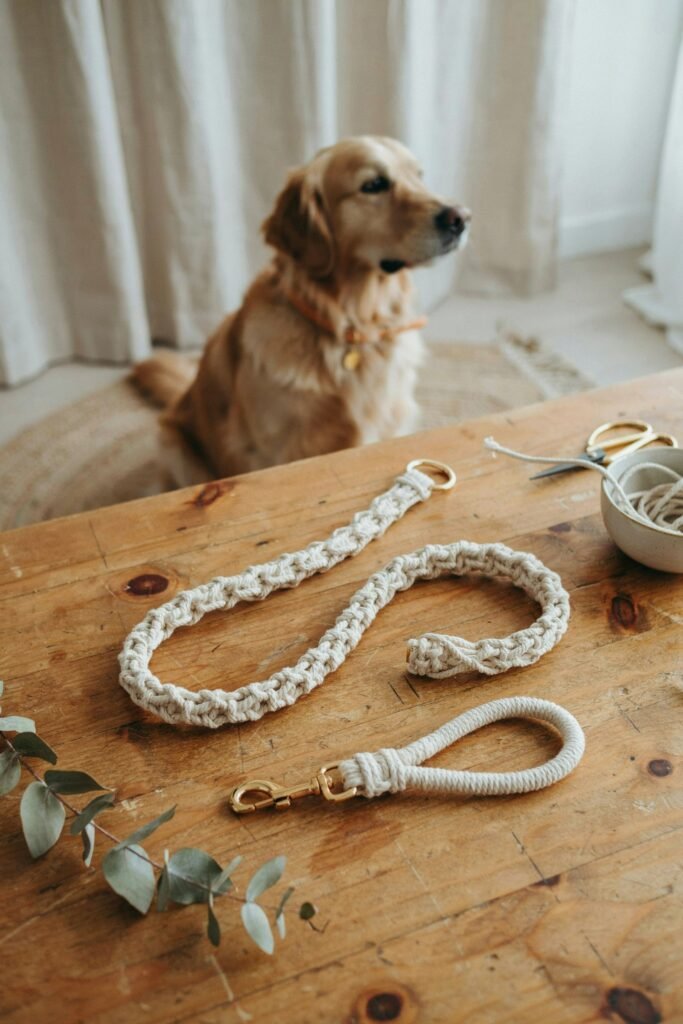
Macramé dog leashes took longer to make, but they were one of my higher priced items.
Materials needed:
• Cotton macramé rope
• Strong swivel clasp hardware
• Measuring tape
How to make them:
- Cut the rope to the length needed for the leash.
- Attach the rope securely to the clasp.
- Braid or knot the rope using your chosen pattern.
- Create a comfortable handle and finish the end securely.
I charged $30 to $45 for these.
The main thing I learned with leashes was that decorative knots are not enough. I paid close attention to the strength of the attachment points and checked every finished leash carefully.
These were especially popular with customers who liked neutral, boho, or handmade styles.
8. Felt Dog Ear Headbands
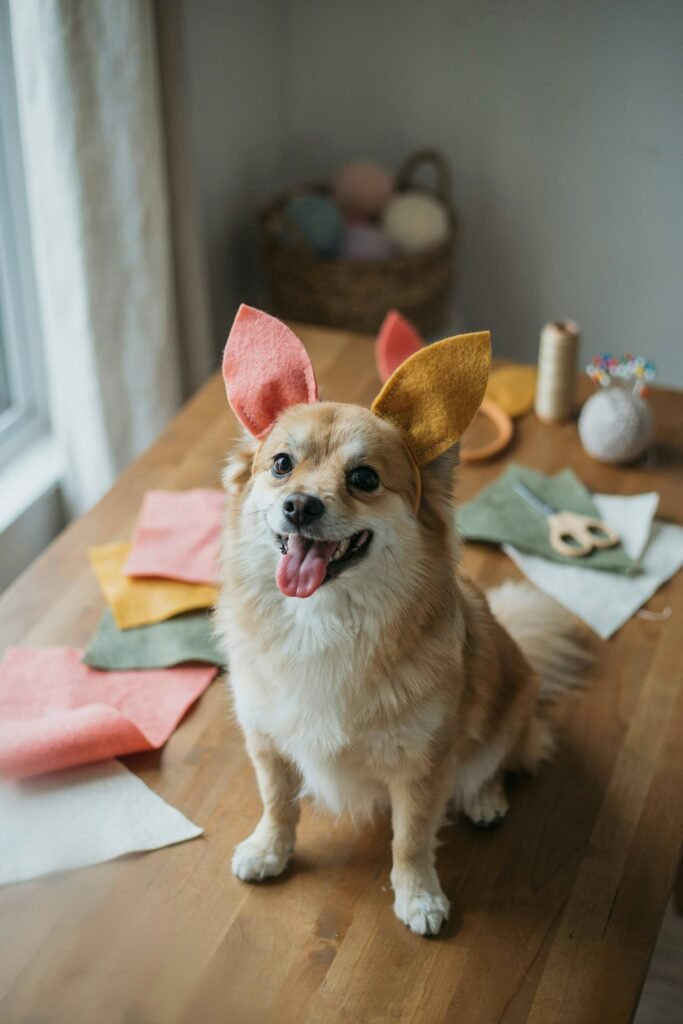
I originally made these as a seasonal experiment, and they ended up being a surprisingly good add on product.
Materials needed:
• Felt
• Elastic band
• Hot glue gun
• Scissors
How to make them:
- Cut two matching ear shapes from felt.
- Fold the bottom of each ear slightly to create shape.
- Secure the folds.
- Attach the ears to an appropriately sized elastic band.
I sold these for about $10.
Halloween was the obvious selling season, but I also saw interest around pet photo events and themed gatherings.
I would consider these more of a fun costume accessory than an everyday item.
I also recommend making sure the fit is comfortable and never leaving a dog wearing a costume accessory unattended.
9. Dog Bed Covers
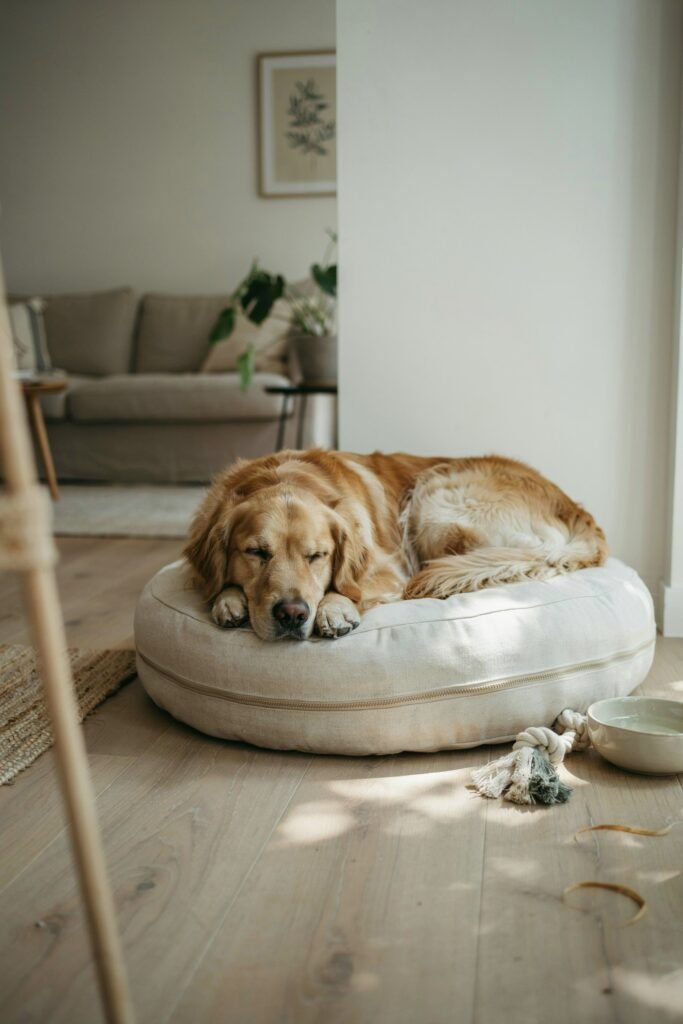
If you are comfortable sewing larger projects, dog bed covers can be a much higher priced product.
Materials needed:
• Upholstery weight fabric
• Zipper
• Sewing machine
• Foam insert
How to make them:
- Measure the foam insert carefully.
- Cut two fabric panels and allow for seam allowance.
- Sew the zipper along one edge.
- Sew the remaining sides with the fabric facing correctly.
- Turn the cover right side out and test the fit.
My prices ranged from $35 to $55, depending on the size.
I personally preferred making covers rather than complete dog beds because customers could use their own foam insert.
It also made the finished product easier to package and transport.
Washable covers were a big selling point. Dog owners understand immediately why a removable cover is useful.
10. Paw Print Keepsake Ornaments
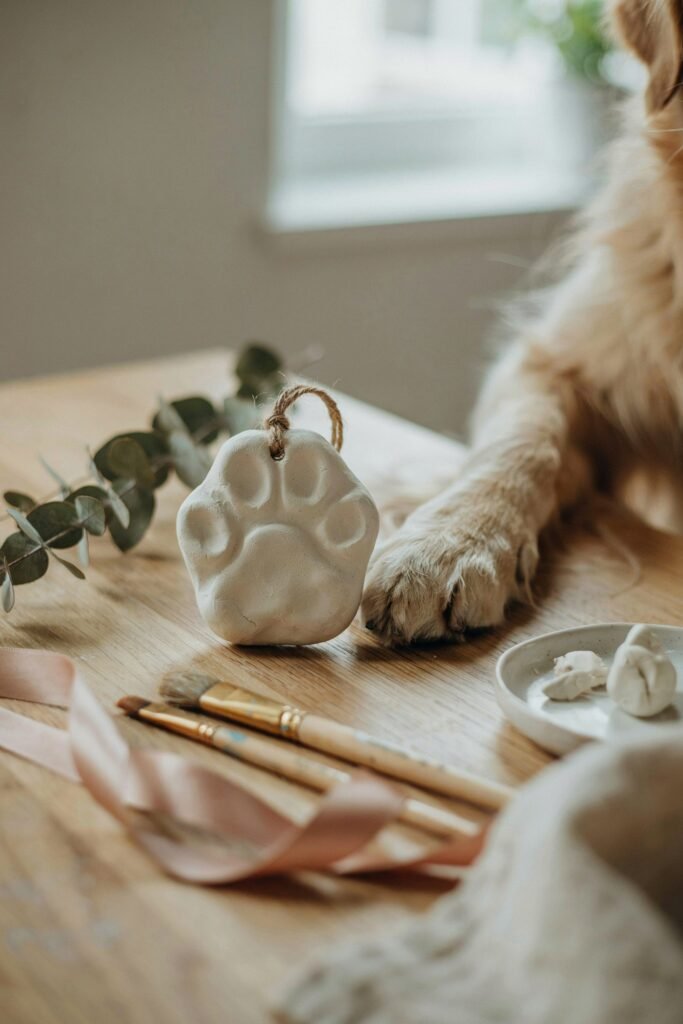
This was one of the most emotional products I made.
I had several customers order paw print keepsakes as memorial pieces, and those orders made me realize how meaningful a simple handmade item can become.
Materials needed:
• Air dry clay
• Rolling pin
• Paint
• Appropriate sealant
• Ribbon or string
How to make them:
- Roll the clay to approximately 1/4 inch thick.
- Cut the clay into a circle or another simple shape.
- Gently press the dog’s paw into the clay to create the print.
- Allow the clay to dry completely.
- Paint, seal, and add a ribbon.
I sold these for $15 to $20.
I would take my time with this craft. The paw print is the entire point of the product, so rushing the imprint can ruin the finished piece.
11. Reflective Safety Vests
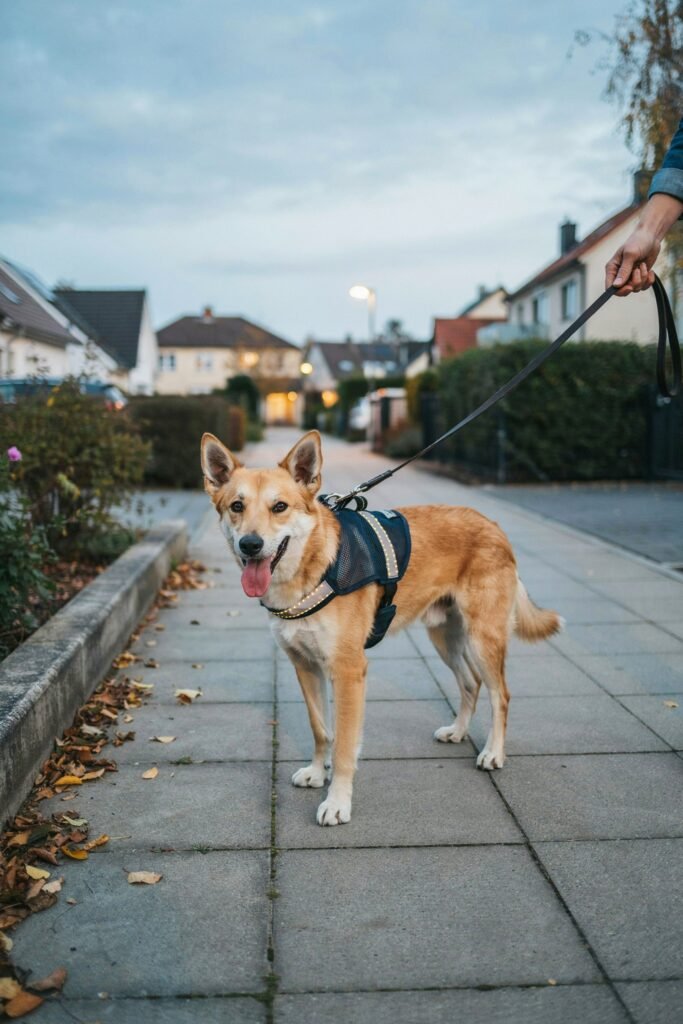
These became especially popular when the evenings started getting darker.
Materials needed:
• Mesh fabric
• Reflective trim or tape
• Hook and loop closures
• Sewing machine
How to make them:
- Create a simple pattern based on the dog’s body measurements.
- Cut the mesh fabric.
- Sew reflective trim along the outer edges and back.
- Add adjustable closures.
I priced these at $18 to $22.
I would be very careful with sizing here. A vest that is too tight is uncomfortable, while one that is too loose may not sit correctly.
For anything designed as a safety product, I would be particularly careful about construction and clearly describe the item honestly.
I would never make exaggerated claims about how much protection a handmade vest provides.
12. Sniff Mats for Slow Feeding
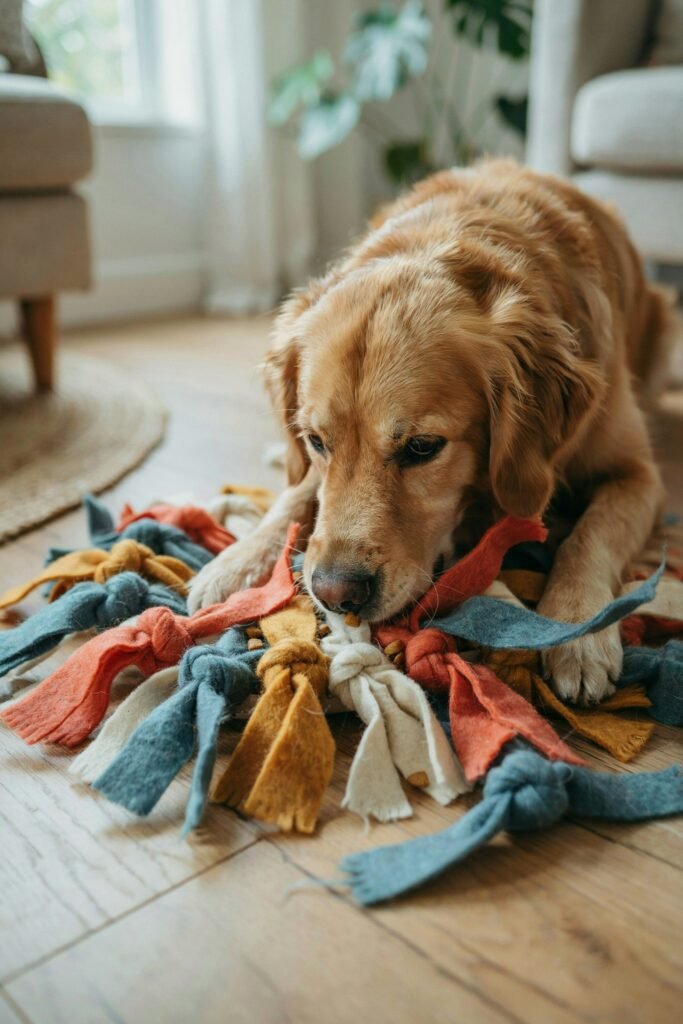
These took much longer to make than I expected.
The first time I made one, I thought I would finish quickly. I was very wrong. Tying all those fleece strips took patience.
Materials needed:
• Rubber sink mat with drainage holes
• Fleece fabric
How to make them:
- Cut fleece into strips approximately 1 inch wide and 8 inches long.
- Fold each strip in half.
- Push the folded end through a hole in the mat.
- Pull the loose ends through the loop and tighten.
- Continue until the mat is densely covered.
I sold these for $25 to $35.
The reason they sold well was that customers saw them as useful, not just cute.
I also found that showing a real dog using the mat made a huge difference in my product photos.
13. Custom Pet Portrait Pins
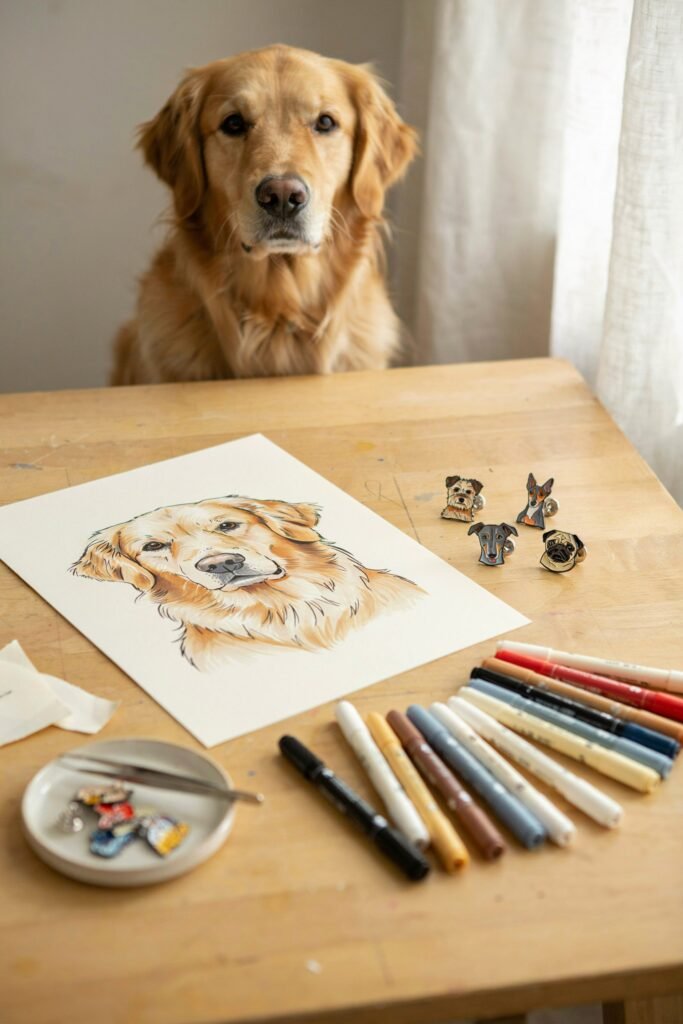
These were a hit at craft fairs, especially when I offered live sketching.
Materials needed:
• Watercolor paper or suitable shrink plastic
• Paint or fine tip markers
• Pin backs
• Clear sealant
How to make them:
- Use a customer’s dog photo as your reference.
- Sketch the portrait.
- Paint or color the design.
- Let it dry completely.
- Seal, cut to shape, and attach the pin back.
I charged around $15 per portrait.
The biggest challenge was getting the face recognizable.
Customers do not necessarily want a perfect artistic portrait.
They want to look at the pin and immediately know it is their dog.
14. Woven Cord Collars
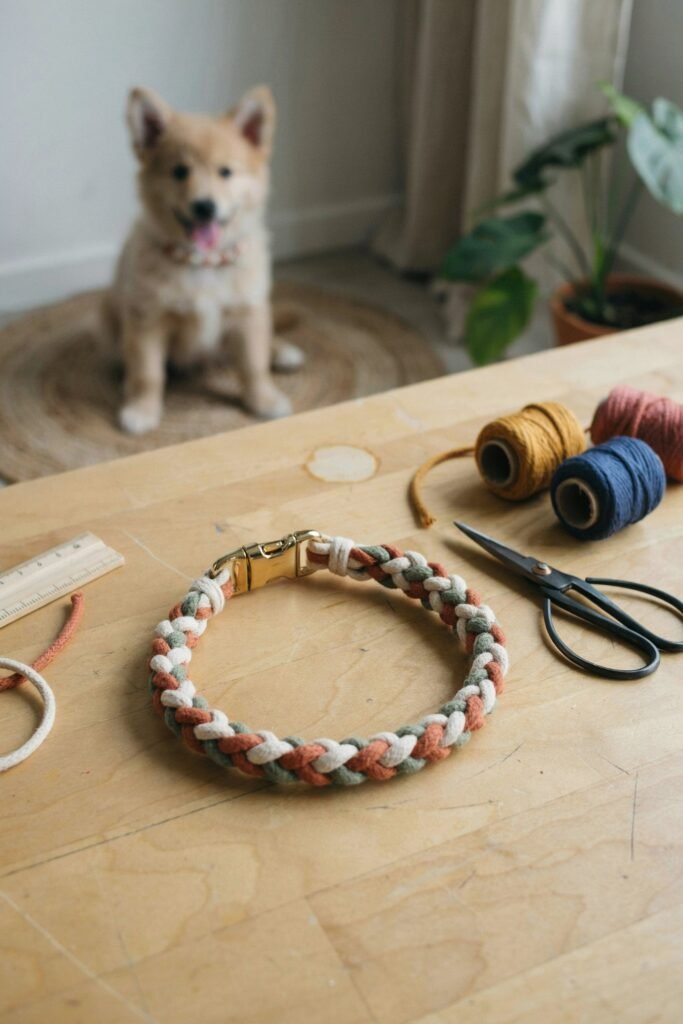
These were a good batch craft, particularly for small dogs and puppies.
Materials needed:
• Paracord or braiding cord
• Buckle and D ring hardware
• Lighter for carefully sealing cord ends
How to make them:
- Measure the cord for the dog’s neck size.
- Weave or braid the cord between the buckle and D ring.
- Finish and secure the ends.
- Carefully seal cut cord ends to help prevent fraying.
I sold these for $10 to $14.
The best thing about this craft was that I could make several collars in one sitting.
I also found that offering a few bright colors helped them stand out at craft fairs.
As with any collar, I would carefully inspect the finished hardware and attachment points before selling.
15. Dog Shaped Wooden Wall Hooks
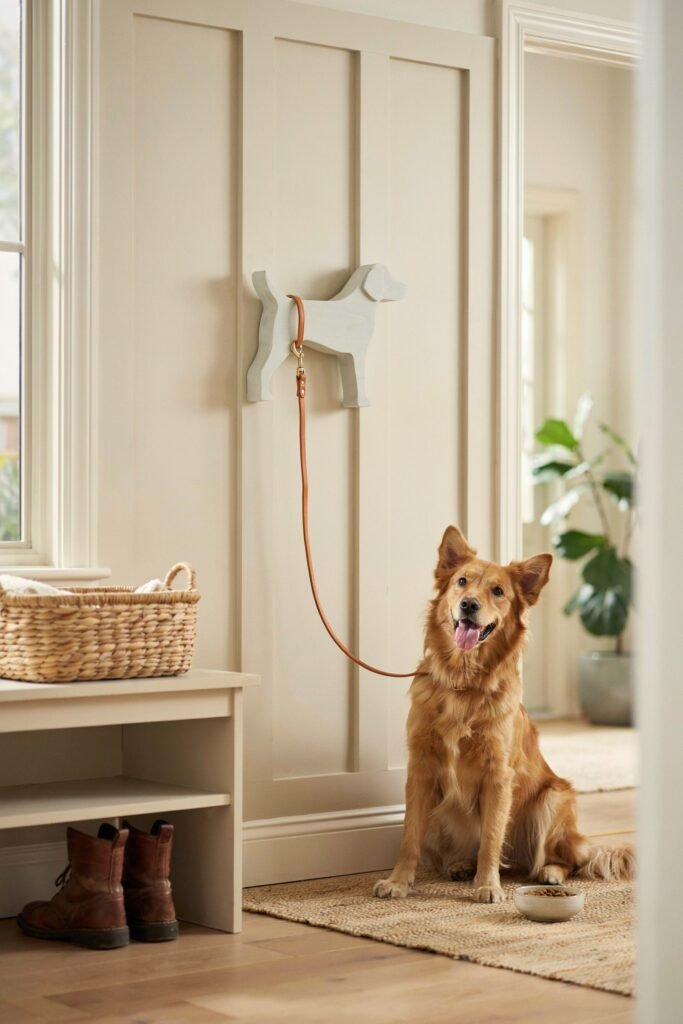
This was one of the crafts that helped me move beyond small wearable dog products.
Materials needed:
• Thin plywood
• Jigsaw or scroll saw
• Sandpaper
• Paint
• Hook hardware
How to make them:
- Trace a simple dog silhouette onto the plywood.
- Carefully cut the shape.
- Sand all edges smooth.
- Paint the wood.
- Attach the hook hardware securely.
I priced these at $20 to $28.
These were especially nice for customers who wanted something for their entryway.
I liked that the finished product was both dog themed and practical.
If you do not have the tools for cutting wood safely, I would not buy expensive equipment just for this one craft.
Start with the products you can make confidently and add new tools as your business grows.
My Biggest Lesson From Selling Handmade Dog Crafts

My biggest early mistake was underpricing everything.
I was nervous that people would think my prices were too high, so I kept charging less than my time was worth.
I remember sitting at my kitchen table making a product that took nearly an hour and realizing I was barely making anything after materials.
That was the point when I started tracking everything.
I wrote down the material cost, the time required, and the price I was charging.
Once I started pricing based on the actual work involved, my margins improved.
The surprising part was that my sales did not suddenly disappear.
People who wanted a handmade, personalized dog product were not necessarily looking for the absolute cheapest option.
They wanted something that looked well made and felt special.
That is the lesson I wish I had understood before my first market stall.
Frequently Asked Questions
Do I need a business license to sell handmade dog crafts?
Requirements depend on your location and the type of product you sell. Non food items may have different requirements from homemade dog treats.
Check with your local business and food safety authorities before selling.
What is the most profitable dog craft to start with?
In my experience, personalized collars and macramé leashes had some of the best margins because customers were willing to pay more for custom, higher priced products.
However, I would personally start with a simpler craft such as bandanas or fleece toys while learning what your customers actually want.
Where can I sell handmade dog crafts?
Farmers markets, craft fairs, Etsy, Facebook Marketplace, and local pet boutiques are all options.
I personally liked starting locally because I could talk directly to customers and quickly learn which products caught their attention.
Are homemade dog treats safe to sell?
Homemade dog treats require extra care. Use dog safe ingredients, avoid toxic ingredients such as xylitol, chocolate, grapes, and onions, and follow the food selling requirements that apply in your location.
Always list ingredients clearly on the packaging.
How much should I charge for handmade dog items?
Start with the cost of your materials and the time required to make the item.
Then add a reasonable profit margin. Do not automatically price your work based on what mass produced products cost.
Handmade products involve your time, skill, and customization.
What supplies do I need to get started?
It depends on the craft you choose. Fleece, scissors, fabric, basic sewing supplies, cord, clay, and simple craft tools can get you started with several ideas in this post. You do not need to buy every supply at once.
My Honest Advice Before You Start
If I were starting over today, I would choose three dog crafts instead of trying to make all 15.
I would start with one easy product, one personalized product, and one higher priced item. For me, that might be fleece bandanas, embroidered collars, and macramé leashes.
Then I would make a small batch of each, photograph them on a real dog, and pay attention to what people actually ask about.
That is how I learned what sold.
Not every craft that looks amazing on Pinterest will become a good product.
Some items take too long to make. Others are difficult to price.
But when you find a handmade dog craft that people genuinely want, it can turn a simple hobby into a surprisingly enjoyable little business.