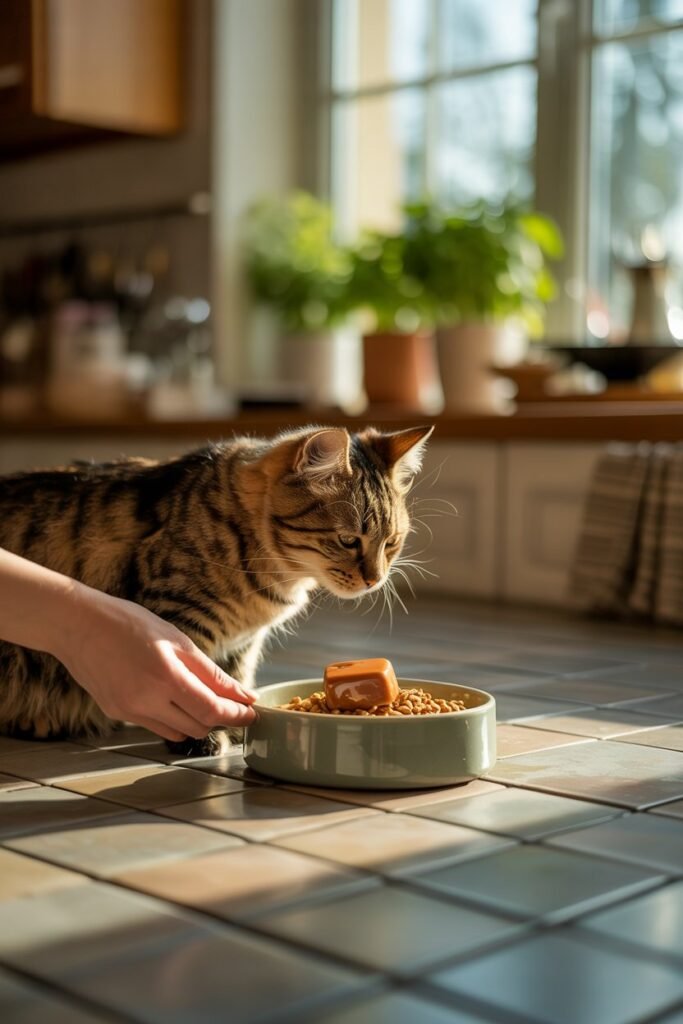
Feeding cats can sometimes feel repetitive, especially if you have a picky eater or a cat that loses interest in dry food quickly.
Over time, I realized that adding small flavor boosters to meals makes a huge difference in appetite and overall feeding routine.
One of the simplest things I started making is homemade cat gravy cubes. They are easy to prepare, affordable, and can be stored in the freezer for quick use.
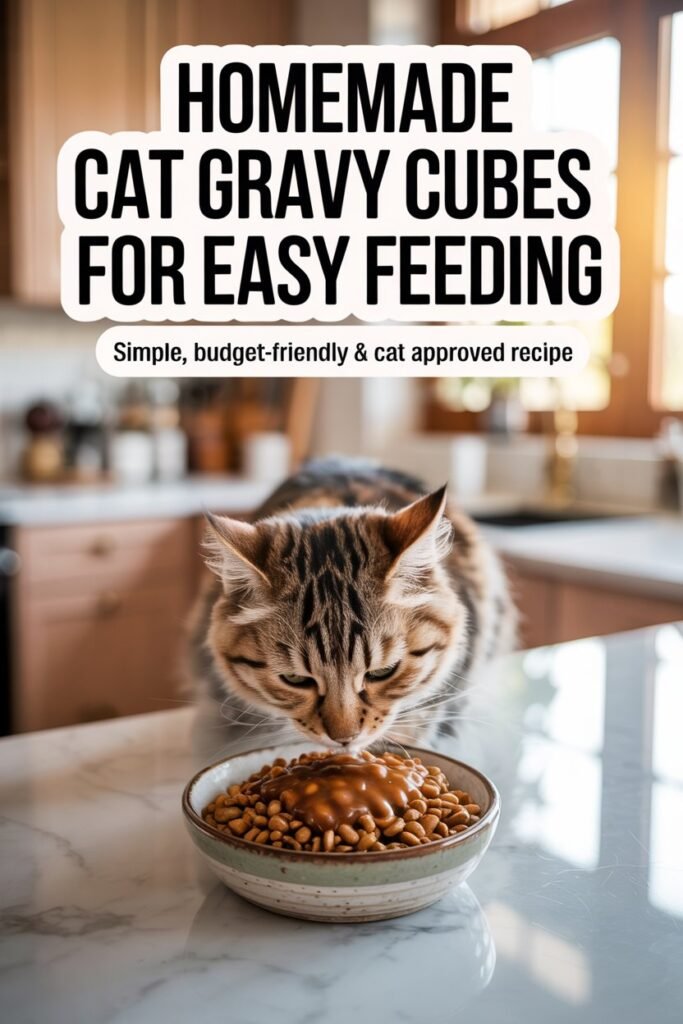
Instead of cooking every day, you just drop a cube into food and it instantly improves taste and hydration.
This method is especially helpful for busy days when you still want your cat’s meal to feel fresh and appealing without extra effort.
Disclaimer: This post may contain affiliate links, which means I may earn a small commission at no extra cost to you. Always consult your veterinarian before introducing homemade meals or changing your cat’s diet to ensure balanced nutrition and safety.
Amazon Shopping List: Homemade Cat Gravy Cubes for Easy Feeding
- Silicone Ice Cube Trays (Small Portion Cubes)
- Nonstick Saucepan with Lid
- Immersion Hand Blender for Smooth Gravy
- Stainless Steel Cat Food Bowls
- Glass Meal Prep Containers with Lids
- Measuring Cups and Spoons Set
- Airtight Freezer Storage Bags or Containers
A Quick Reality Check Before You Start
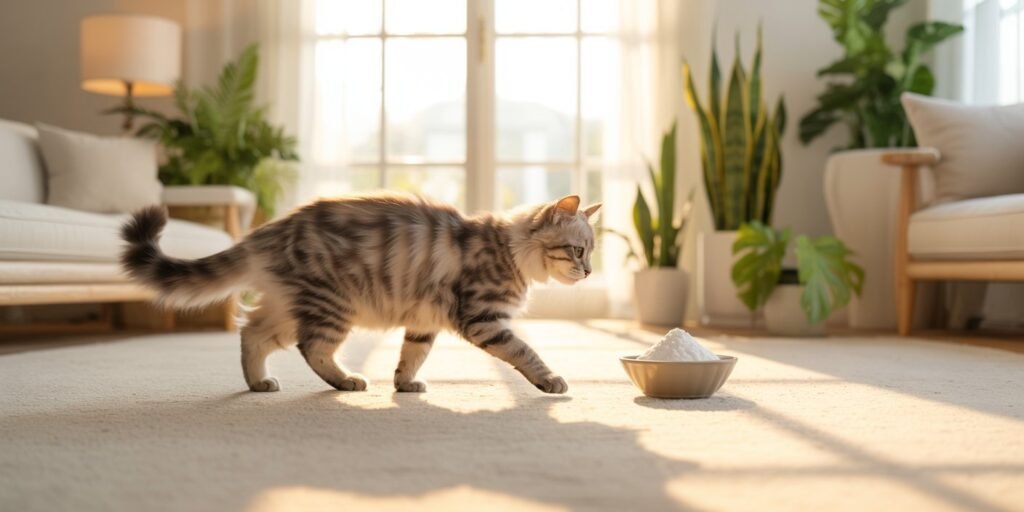
Before jumping into recipes, it’s important to keep things simple and safe. Cats don’t need heavy seasoning or complex ingredients.
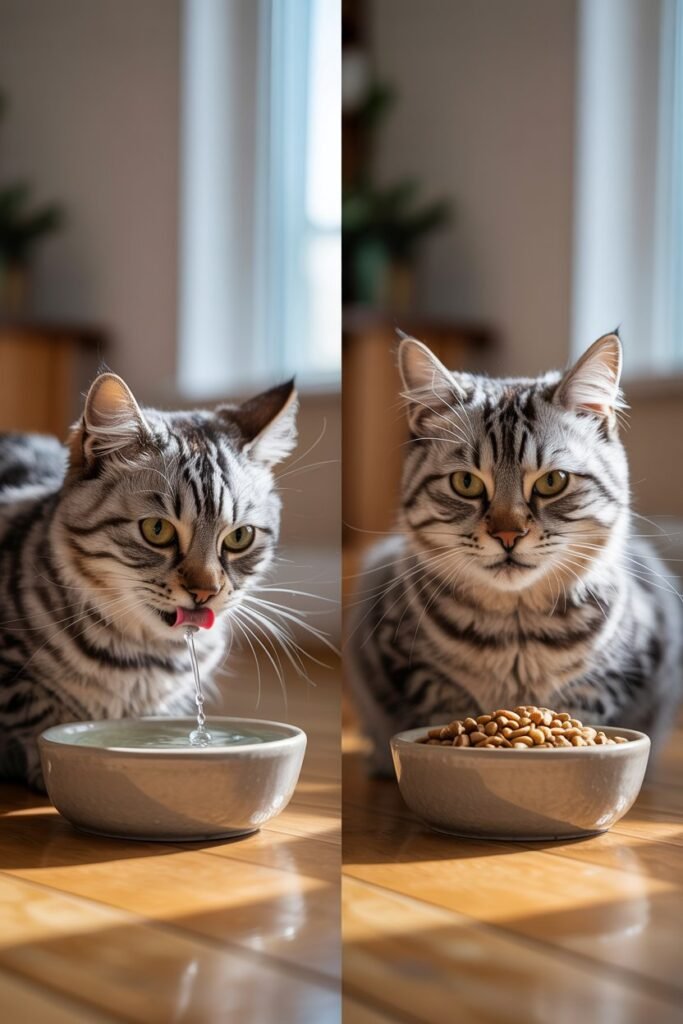
The goal here is hydration, flavor, and gentle nutrition—not replacing their main diet.
Always keep recipes plain, avoid salt, onions, garlic, or seasoning blends, and introduce new foods slowly.
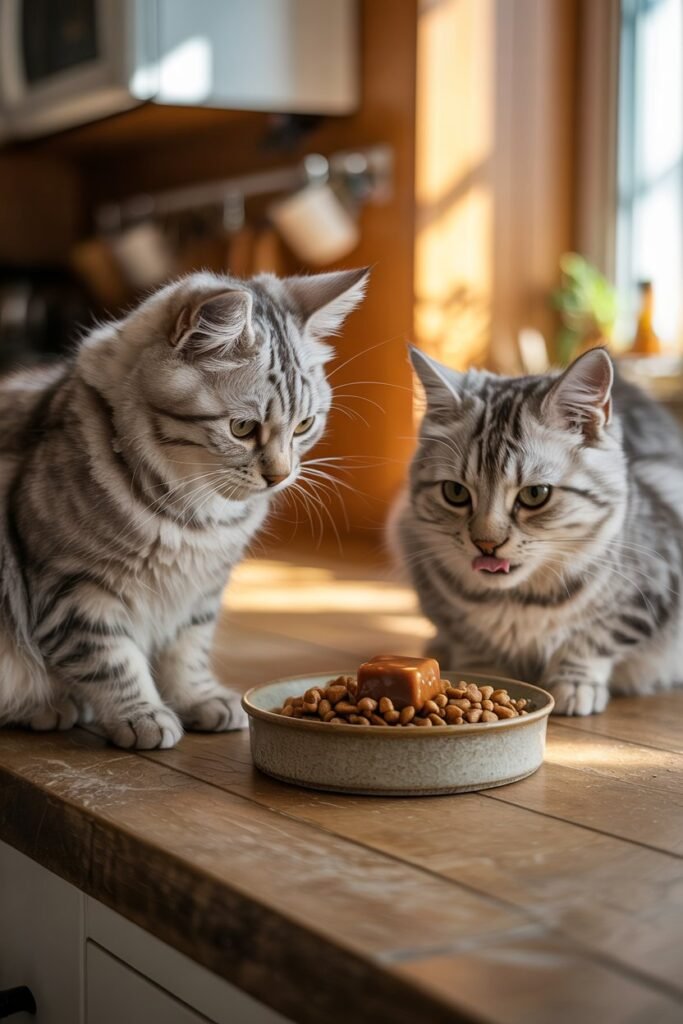
Why Homemade Cat Gravy Cubes Are Useful
Homemade gravy cubes are more than just a feeding hack. They help in practical daily situations:
- They make dry food more appealing for picky eaters
- They help increase hydration naturally
- They reduce food waste when cats lose interest in meals
- They make feeding faster and more consistent
- They are budget-friendly compared to store-bought toppers
Once I started using them, feeding became less stressful, especially on busy mornings.
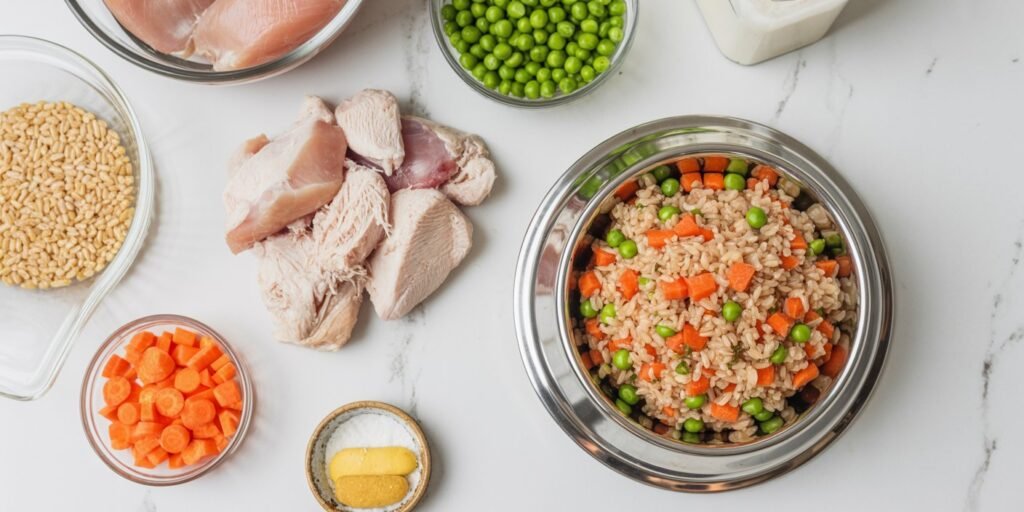
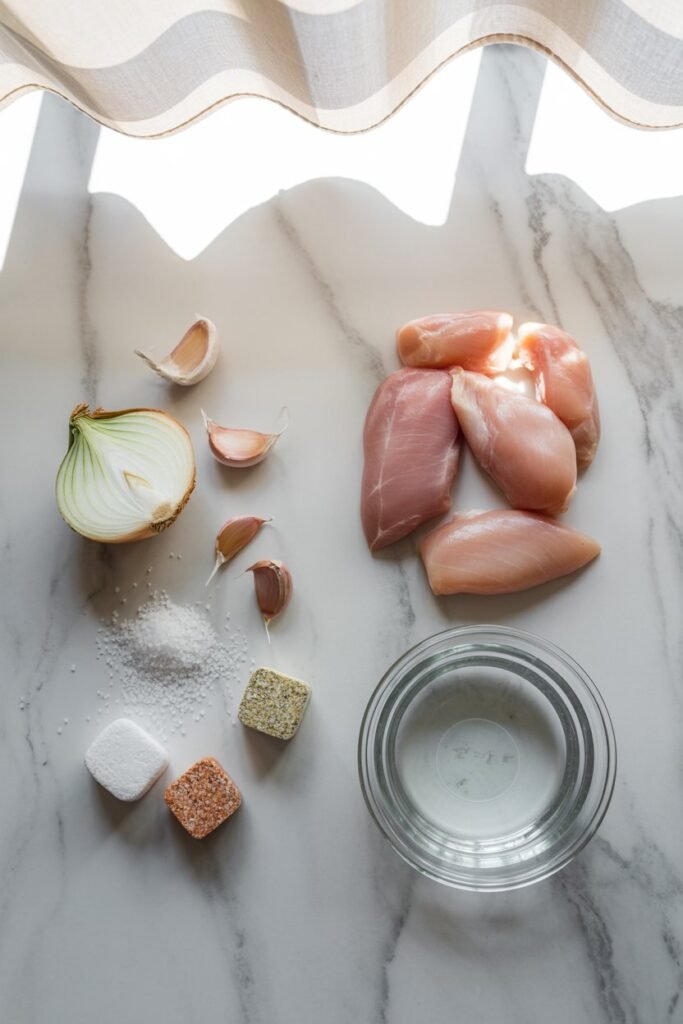
Simple Ingredients for Cat Gravy Cubes

The best part about homemade cat gravy cubes is that you don’t need anything fancy or expensive.
In fact, the simpler the ingredients, the safer and more effective the recipe usually is.
The goal is to create a light, flavorful gravy that encourages eating and supports hydration—without adding anything harmful or unnecessary.
Below is a clean breakdown of the only ingredients you actually need, plus a few optional add-ins if you want to slightly vary things.
Core Ingredients (The Base Recipe)
These are the only essentials you need for a safe and effective cat gravy cube recipe:
1. Chicken (or Turkey)
This is the main protein base.
- Boneless chicken breast or thighs work best
- Turkey is also a great lean alternative
- Always cook thoroughly before blending
- Keep it plain (no seasoning at all)
Chicken is usually the most reliable choice because most cats tolerate it well and enjoy the flavor.
2. Clean Water
Water is what turns the cooked meat into gravy.
- Used during boiling
- Helps create a light, hydrating texture
- Keeps the recipe simple and safe
You can also adjust the final consistency using a little extra water after blending.
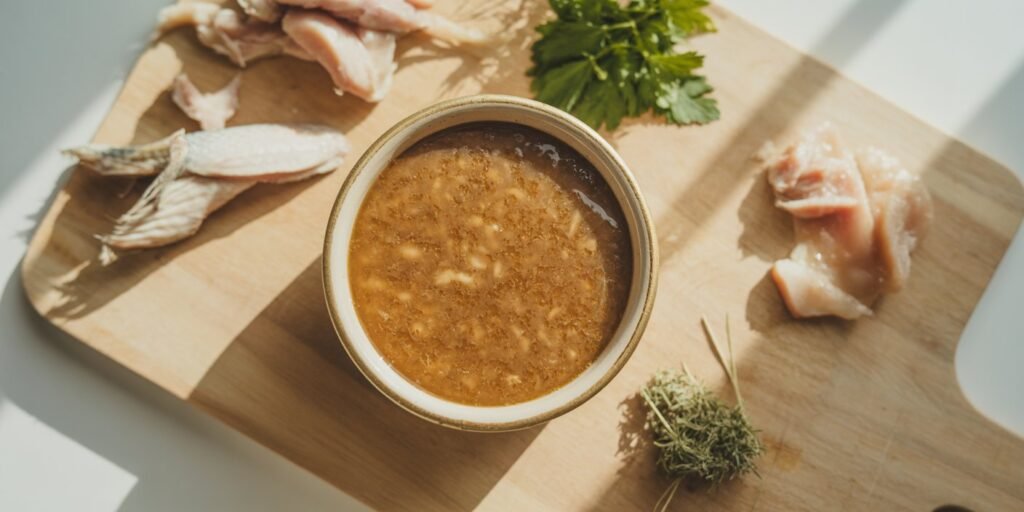
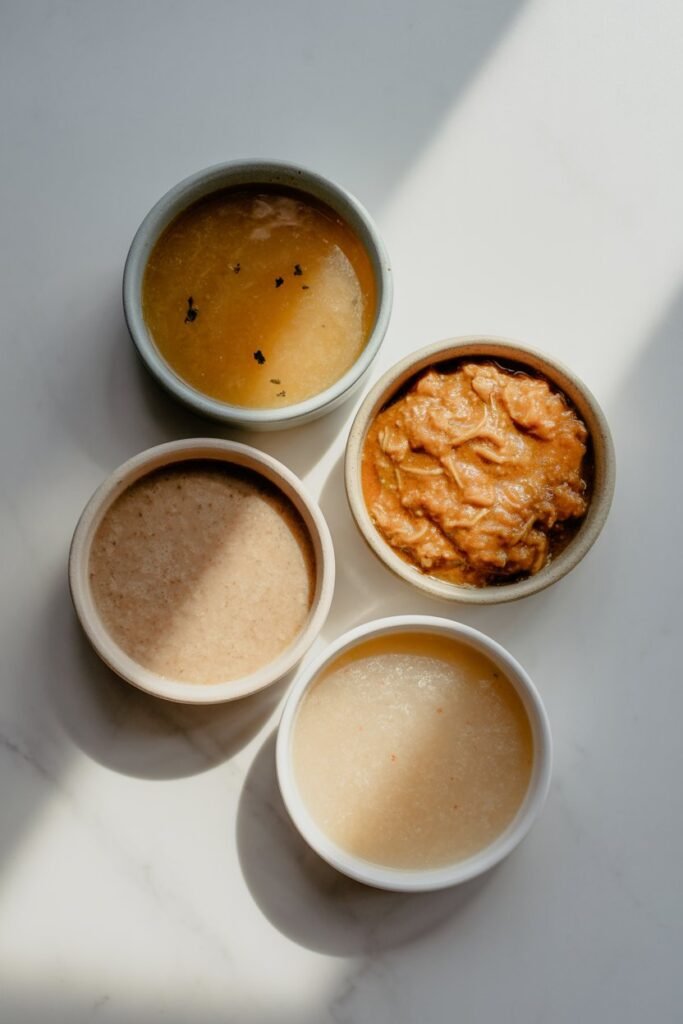
3. Natural Cooking Broth
This is the water used to boil the meat.
- Naturally absorbs flavor from the chicken or turkey
- Becomes a mild, cat-safe broth
- Adds aroma and taste without additives
This broth is one of the most important parts of the recipe because it’s what makes the gravy appealing to cats.
Optional Ingredients (Use Sparingly)
These are not required, but can be added in small amounts depending on your cat’s needs.
4. Pumpkin (Small Amount)
Good for digestion support.
- Helps with mild constipation
- Adds gentle fiber
- Must be plain and cooked
Only a teaspoon or two per batch is enough.
5. Carrot (Cooked and Blended)
A mild vegetable addition.
- Adds slight sweetness
- Supports digestion
- Must be fully soft and blended
Cats don’t need vegetables, but small amounts can be useful for texture variety.
6. Fish (Occasional Use Only)
Such as boiled white fish or tuna water (unsalted).
- Strong aroma can attract picky eaters
- Should not be used daily
- Avoid oily or heavily processed fish
This is more of a “taste booster” than a staple ingredient.
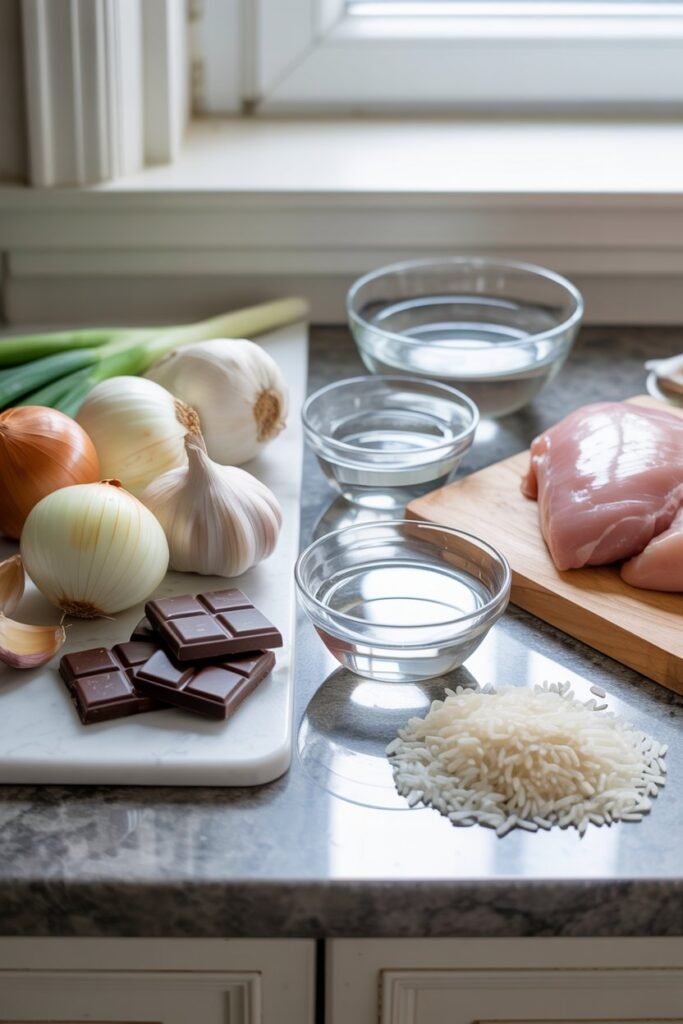
Ingredients You Must Avoid Completely
This is very important for safety. Never include:
- Onion (toxic to cats)
- Garlic (toxic even in small amounts)
- Salt or seasoning cubes
- Spices (pepper, curry, etc.)
- Milk or cream (many cats are lactose intolerant)
- Fried or oily meats
- Processed human foods
Even small amounts of these can cause health issues over time.
Why Simple Ingredients Work Best
Cats are not like humans when it comes to food variety. Their system is designed for protein-rich, simple meals.
Keeping ingredients basic:
- Reduces risk of digestive upset
- Makes the recipe safer long-term
- Helps cats recognize and trust the food
- Improves consistency in feeding routines
In most cases, fewer ingredients actually lead to better results.
Quick Ingredient Formula (Easy Version)
If you want a very simple mental formula:
- Protein (chicken or turkey)
- Water (for boiling + texture)
- Natural broth (for flavor)
That alone is enough to make effective cat gravy cubes.
Step-by-Step: How to Make Cat Gravy Cubes
Making homemade cat gravy cubes is simple, but the key is doing it in a clean, safe, and consistent way so your cat actually enjoys them and they store well in the freezer.
Below is a clear, practical step-by-step guide you can follow even if you’ve never made pet food toppers before.
Step 1: Choose Your Protein Base
Start with a single, cat-safe protein. The most common and reliable options are:
- Chicken (best beginner option)
- Turkey (lean and gentle on digestion)
- Small amounts of white fish (occasional use only)
For beginners, chicken is usually the easiest because it’s mild, affordable, and widely accepted by most cats.
Make sure the meat is fresh and unseasoned. No salt, spices, or marinades.
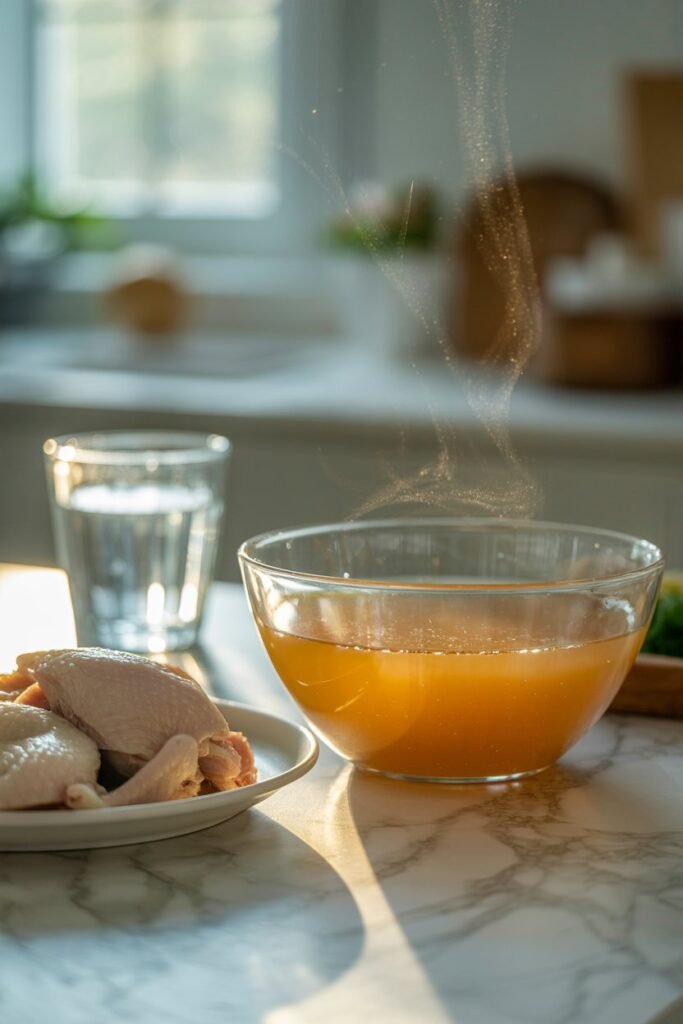
Step 2: Boil the Meat Plainly
Place your chicken or turkey in a pot and cover it with clean water.
- Boil until fully cooked
- Do not add seasoning or stock cubes
- Simmer gently rather than frying or roasting
As it cooks, the natural juices from the meat will mix with the water, forming a light broth base.
Once done, allow it to cool slightly before handling.
Step 3: Separate the Meat and Broth
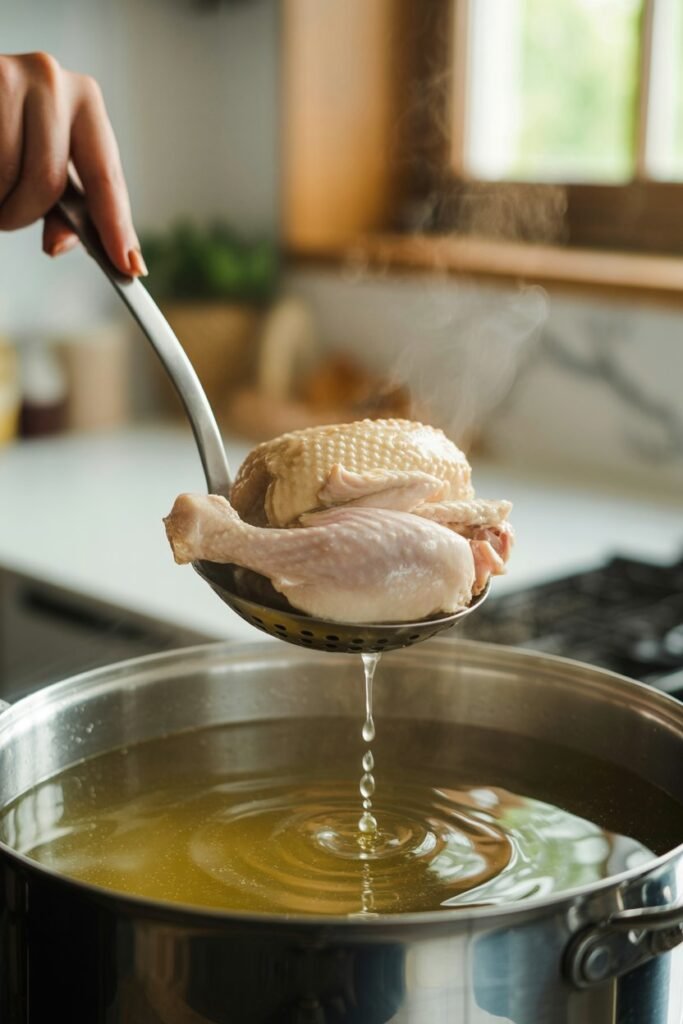
After boiling:
- Remove the meat from the pot
- Keep the cooking water (this is your natural broth)
- Let both cool for a few minutes
This broth is important because it contains natural flavor that cats respond to strongly.
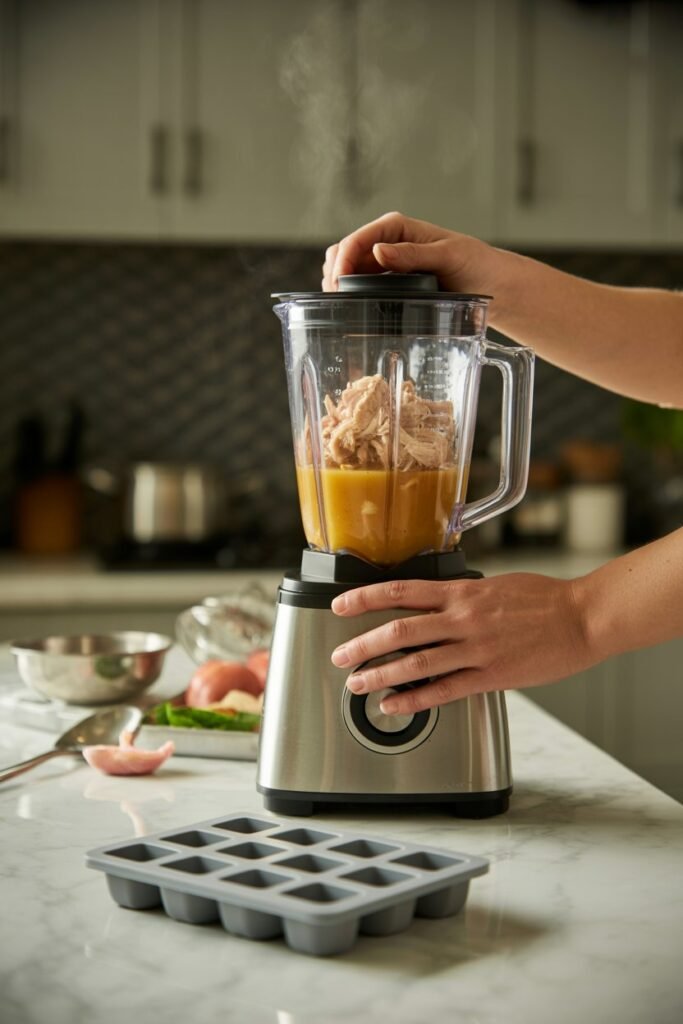
Step 4: Blend Into a Smooth Gravy
Now take:
- Cooked chicken (or turkey)
- A portion of the broth
Blend them together until you get a smooth, gravy-like texture.
You can control the thickness:
- Thicker gravy → stronger flavor topper
- Thinner gravy → better hydration boost
If your cat prefers texture, you can lightly pulse instead of fully blending.
Step 5: Adjust Consistency With Water (Optional)
If the mixture feels too thick, add small amounts of:
- Clean water, or
- Unsalted homemade broth
Mix gradually until you reach a pourable but still slightly rich consistency.
The goal is not soup—it should be a light gravy that coats food nicely.
Step 6: Prepare Ice Cube Trays
Take a clean ice cube tray and ensure it is completely dry.
Then:
- Spoon or pour the gravy mixture into each compartment
- Fill evenly (don’t overfill to avoid mess when freezing)
- Tap lightly to remove air bubbles
Silicone trays are easier for removal later, but any tray works.
Step 7: Freeze Until Solid
Place the tray in the freezer:
- Minimum time: 4–6 hours
- Best: overnight freezing
Do not disturb the tray while freezing so the cubes form properly.
You’ll know they’re ready when they are fully solid and firm.
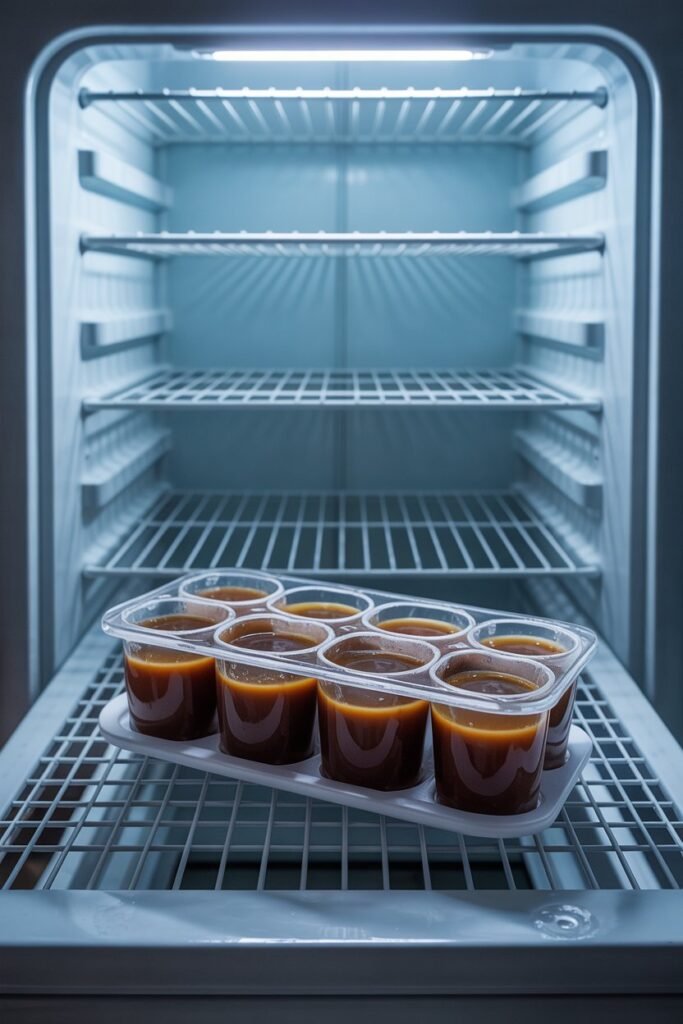
Step 8: Remove and Store Properly
Once frozen:
- Pop cubes out of the tray
- Transfer them into a freezer-safe bag or airtight container
- Label with the date you made them
This helps you keep track of freshness and avoid freezer burn.
Step 9: Serve Safely to Your Cat
When feeding time comes:
- Take 1 cube (or half depending on your cat’s size)
- Add it directly to dry or wet food
- Or let it thaw slightly for easier mixing
You can also warm it slightly by leaving it at room temperature for a few minutes, but never microwave it too hot.
Step 10: Monitor Your Cat’s Reaction
Every cat is different.
After introducing gravy cubes:
- Watch appetite changes
- Check digestion (no vomiting or loose stool)
- Observe preferences (thick vs thin gravy)
If your cat reacts well, you can safely make it part of their feeding routine.
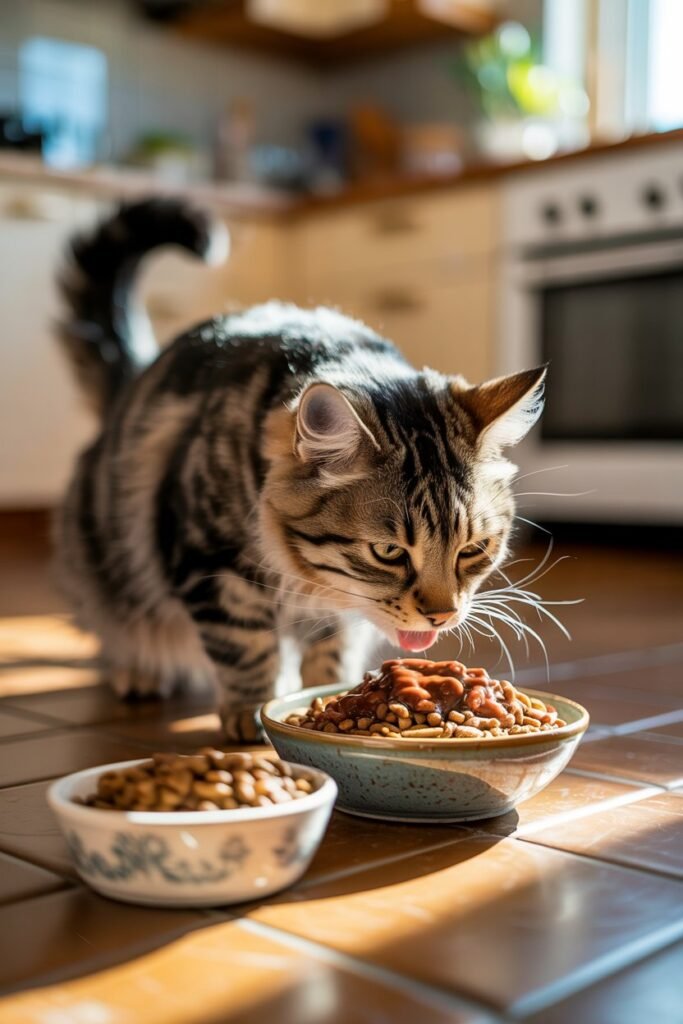
How to Use Cat Gravy Cubes
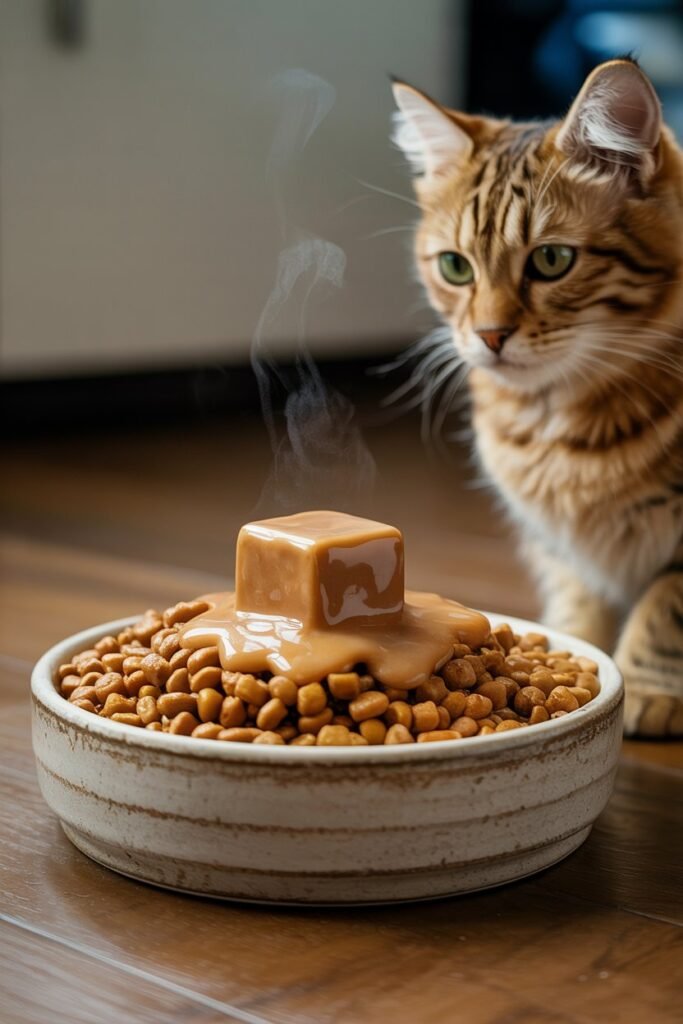
Using them is simple and flexible:
- Add 1 cube to dry kibble
- Mix with wet food for extra flavor
- Melt slightly with warm water for senior cats
- Use as a meal topper once or twice daily
You can adjust based on your cat’s size and appetite.
Storage Tips for Freshness
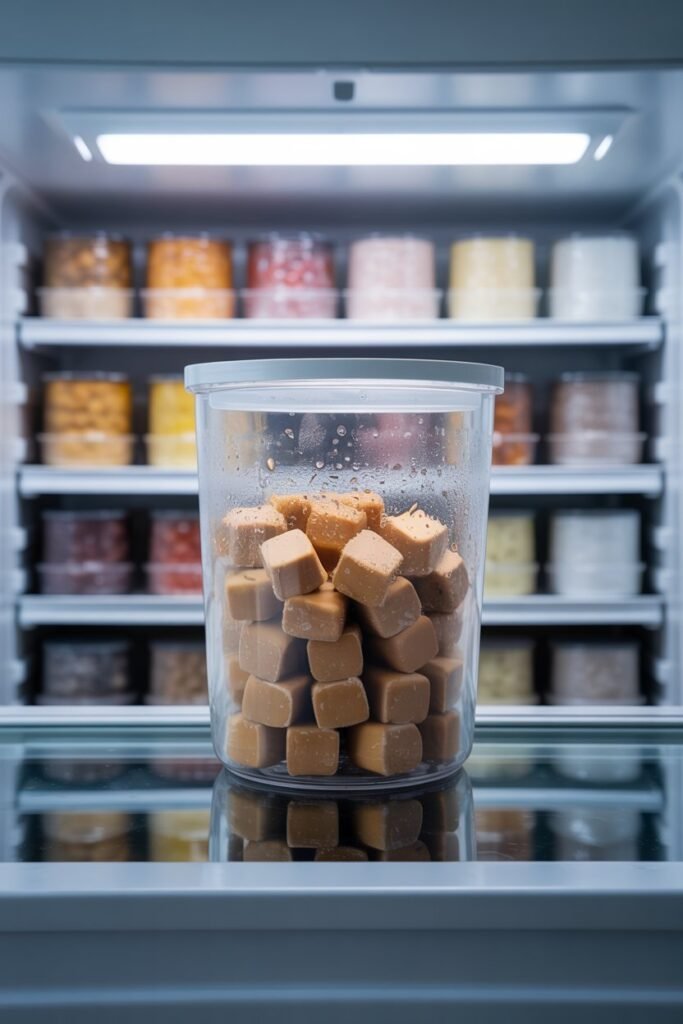
To keep cubes safe and fresh:
- Store in airtight freezer bags
- Label with date
- Use within 2–3 weeks for best quality
- Avoid refreezing once thawed
Common Mistakes to Avoid
A few mistakes can reduce safety or effectiveness:
- Adding salt, onion, garlic, or seasoning
- Using fatty or fried meat
- Making cubes too thick and hard to melt
- Leaving cubes out at room temperature too long
- Overfeeding instead of using as a supplement
Keeping it simple is what makes this work.
Variations You Can Try
Once you’re comfortable with the basic recipe, you can switch things up:
- Chicken + pumpkin gravy cubes for digestion
- Tuna water + fish broth cubes (occasional treat only)
- Turkey + carrot blend for mild sweetness
- Bone broth cubes for hydration support
Always rotate slowly and observe your cat’s reaction.
Helpful Feeding Routine Idea
A simple routine that works well:
- Morning: kibble + 1 gravy cube
- Evening: wet food + optional cube
- Treat days: use cubes as topper only
This keeps feeding structured without overcomplicating it.
Benefits of Homemade Cat Gravy Cubes
1. Helps Picky Eaters
If your cat regularly refuses food, gravy cubes can make meals more appealing without changing the entire diet.
2. Supports Hydration
Cats naturally drink less water than they should. Adding gravy helps increase fluid intake in a natural way.
3. Saves Time
Instead of preparing fresh toppers daily, you just freeze a batch and use when needed.
4. Reduces Food Waste
Leftover food often gets thrown away when cats reject it. Gravy cubes help reduce that issue.
5. Budget-Friendly
You can make a large batch from simple ingredients at home.
Why This Works So Well for Picky Cats
Cats are sensitive to smell and texture. Gravy cubes:
- Enhance aroma instantly
- Make dry food softer and easier to eat
- Add variety without changing full diet
- Help reduce food refusal over time
Small changes like this often solve picky eating issues better than switching brands repeatedly.
FAQ
Can I use store-bought broth?
Yes, but only if it is unsalted and onion/garlic-free.
How many cubes should I give per day?
Usually 1–2 cubes per day depending on your cat’s size and diet.
Can kittens eat these cubes?
Yes, but in smaller amounts and only after introducing solid food.
How long do they last in the freezer?
Up to 2–3 weeks for best freshness.
Final Thoughts
Homemade cat gravy cubes are one of those simple routines that make daily feeding easier without stress or extra cost.
They help improve hydration, encourage eating, and give variety in a very controlled way.
Once you prepare a batch and store them, feeding becomes faster, cleaner, and more predictable—especially if you have a picky cat at home.