How to Start a Dog Treat Business That Sells Like Crazy From Home
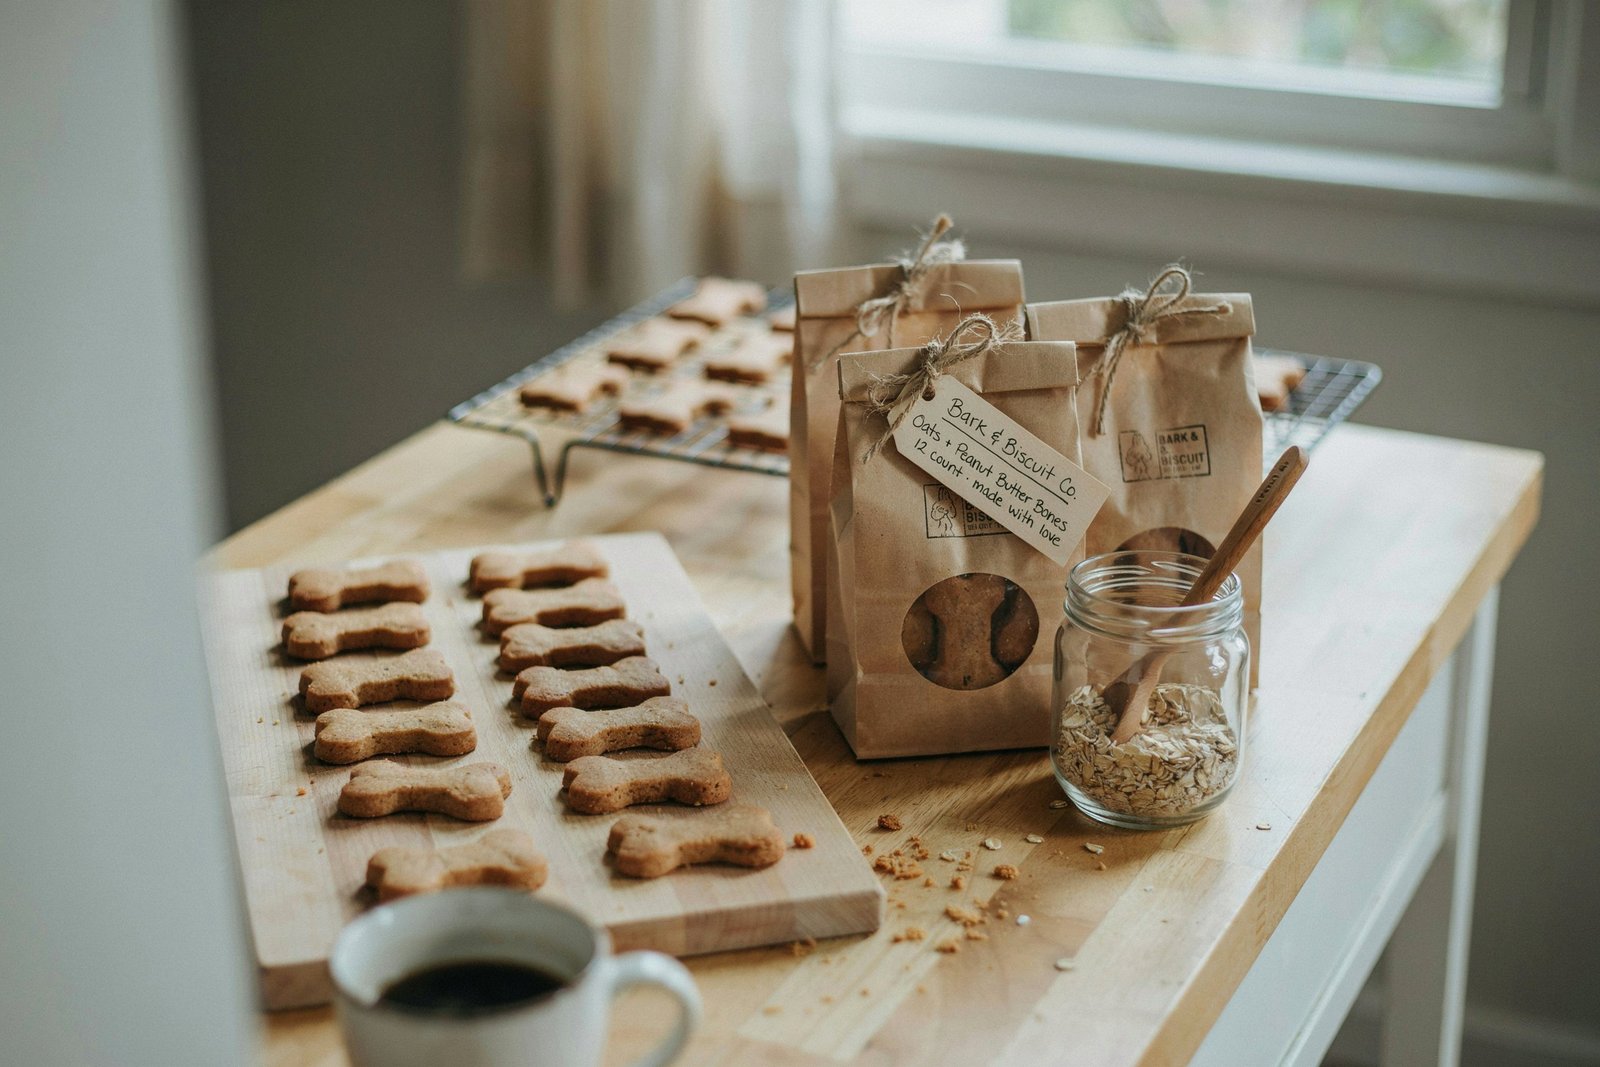
I never planned on running a dog treat business.
It started because Rocky, my sister’s rescue mutt, had a sensitive stomach and kept getting sick on store-bought treats.
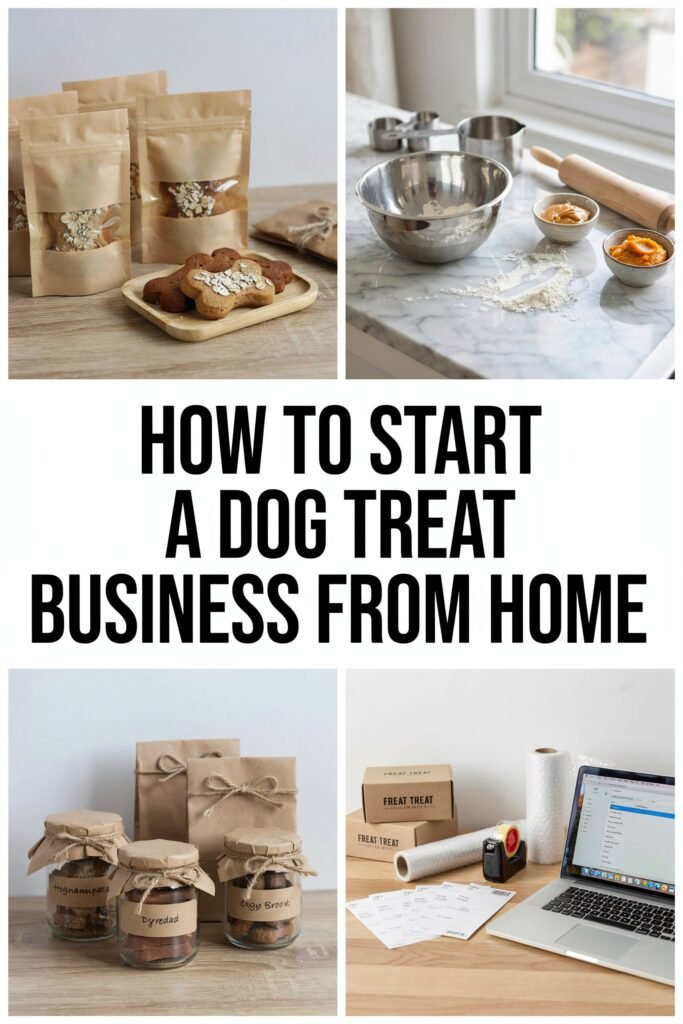
I started baking my own out of necessity, posted a photo online out of pride, and within a week three strangers were asking where they could buy some.
What began as a kitchen experiment turned into a genuine home business, and here’s exactly how I built it from nothing.
Why Homemade Dog Treats Are Such a Strong Home Business
Pet owners are increasingly wary of mass-produced treats after years of recall scares and vague ingredient labels.
A homemade treat business built on simple, recognizable ingredients taps directly into that trust gap, and buyers are often willing to pay a premium for it.
I noticed this immediately when customers started asking me detailed questions about sourcing before they’d even ask about price, something that almost never happened with my craft items.
It also happens to be one of the lowest cost businesses to start from home, since most of the equipment is already sitting in a typical kitchen, and the barrier to entry is far lower than most people assume.
1. Perfect One Recipe Before Anything Else
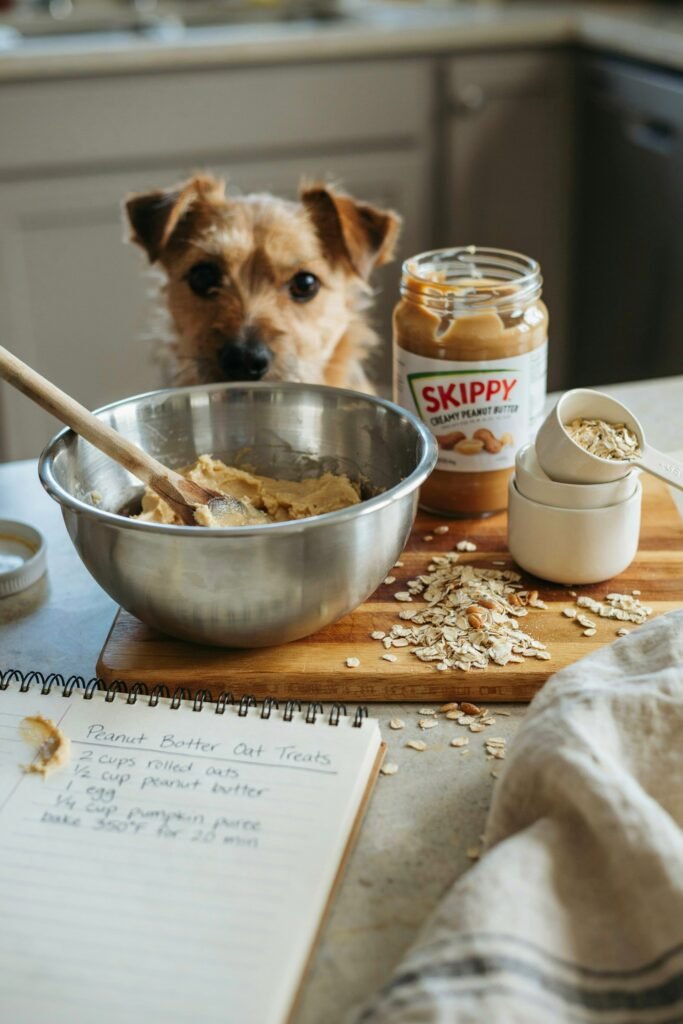
Before I ever sold a single bag, I spent weeks testing one basic recipe until it was consistent every single time, same texture, same smell, same bake time no matter how many batches I made.
I originally built my base formula off the ideas in our apple carrot chew sticks for dogs post, then adjusted texture and baking time until Rocky, my toughest critic, consistently finished every batch instead of sniffing it once and walking away.
Resist the urge to launch with five different flavors right away. One reliable, well-tested recipe builds far more trust with buyers than a messy menu of half-tested ideas, and it gives you a dependable baseline to compare every future flavor against.
2. Understand Your Local Cottage Food Laws

This step gets skipped constantly, and it’s the one that can shut a business down fastest.
Rules around selling homemade pet food vary significantly by location, some areas require a specific pet food handler permit, others have almost no restrictions, and a few require your kitchen to meet certain standards before you can legally sell at all.
I spent an afternoon on the phone with my local health department before selling a single bag, wrote down exactly what was required, and kept a copy of that conversation for my own records.
It saved me from a much bigger headache later when a local market organizer asked for proof of compliance before letting me set up a table, something I genuinely wasn’t prepared for the first time it happened.
3. Source Simple, Recognizable Ingredients

Buyers specifically look for treats with short, pronounceable ingredient lists, and I noticed early on that customers would read the label out loud at my table before ever asking the price.
I built my early recipes around whole ingredients rather than fillers, leaning on structures similar to what’s outlined in our vet-approved homemade dog foods post to keep everything genuinely safe and simple.
Sourcing from a local bulk food store instead of a regular grocery aisle also cut my ingredient costs significantly once order volume picked up, which mattered a lot once I started thinking about margins instead of just recipes.
4. Test Every Batch on a Real Dog First
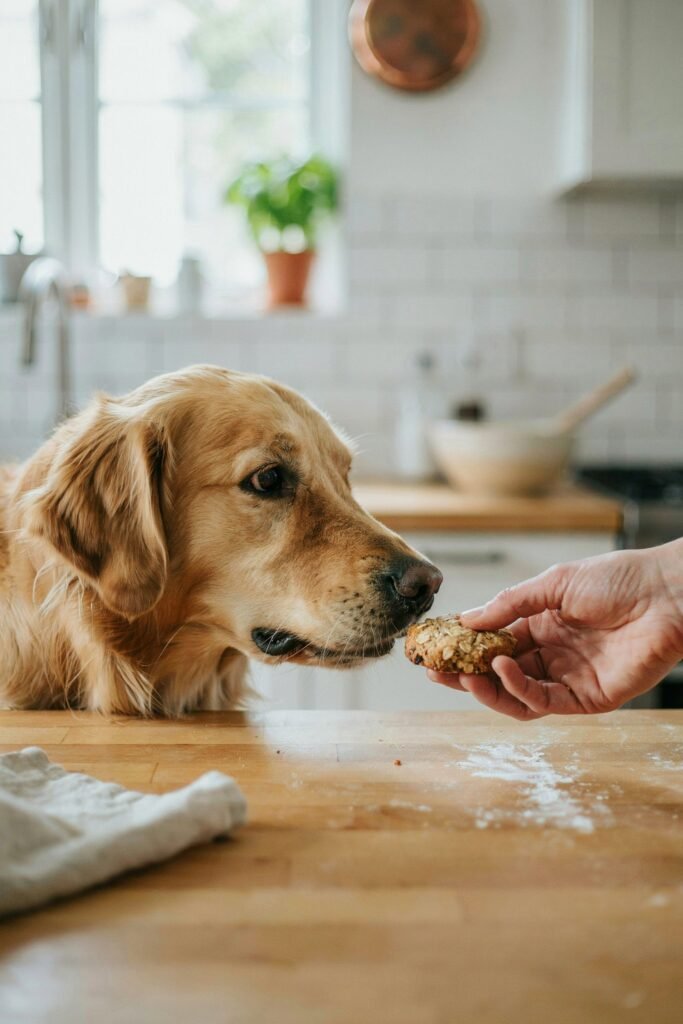
Rocky has eaten more failed batches than I’d like to admit, and a few of them were genuinely rough attempts I’m still a little embarrassed by.
A treat that looks great in the oven doesn’t always hold up to an actual dog’s opinion, and I learned quickly that texture and smell matter just as much as nutrition when it comes to repeat customers.
If you don’t have your own dog, borrow one from a friend or neighbor for testing, since a human taste test tells you almost nothing useful about how a dog will actually react to a new batch.
5. Diversify Beyond a Single Treat Type
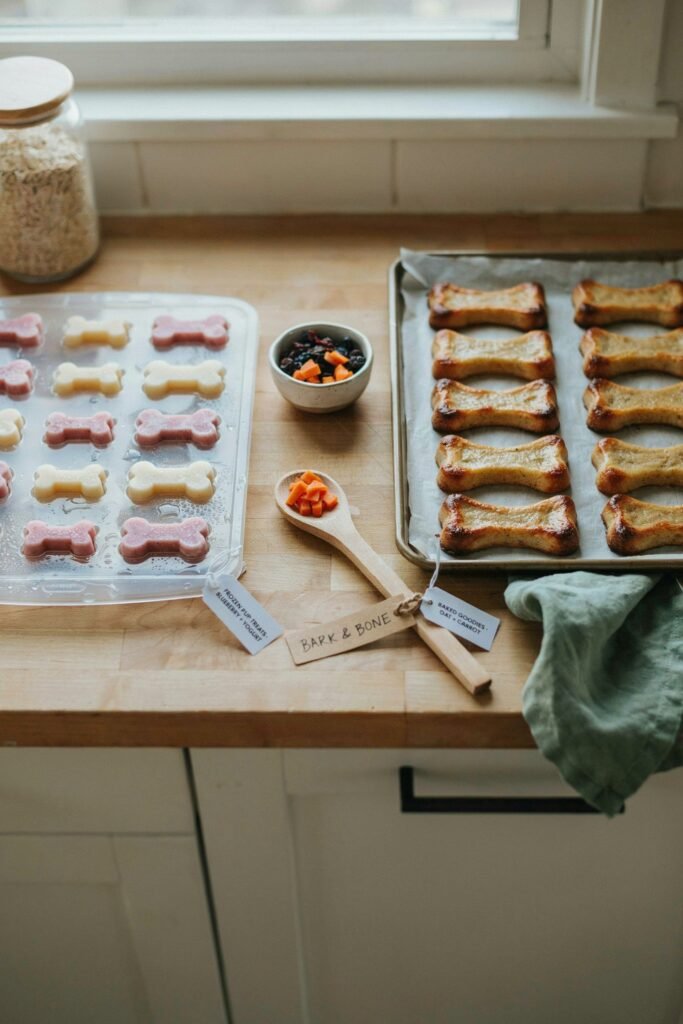
Once my base recipe was solid, I expanded into a small rotating menu, including frozen treats for summer months when baked goods tend to melt buyers’ interest along with the treats themselves.
Ideas from our 2-ingredient pupsicles post and our 10 frozen dog treats roundup became seasonal bestsellers that kept sales steady even when baked treat orders slowed down during the hottest months, and it gave returning customers a reason to keep checking back instead of assuming my menu never changed.
6. Package Simply and Clearly
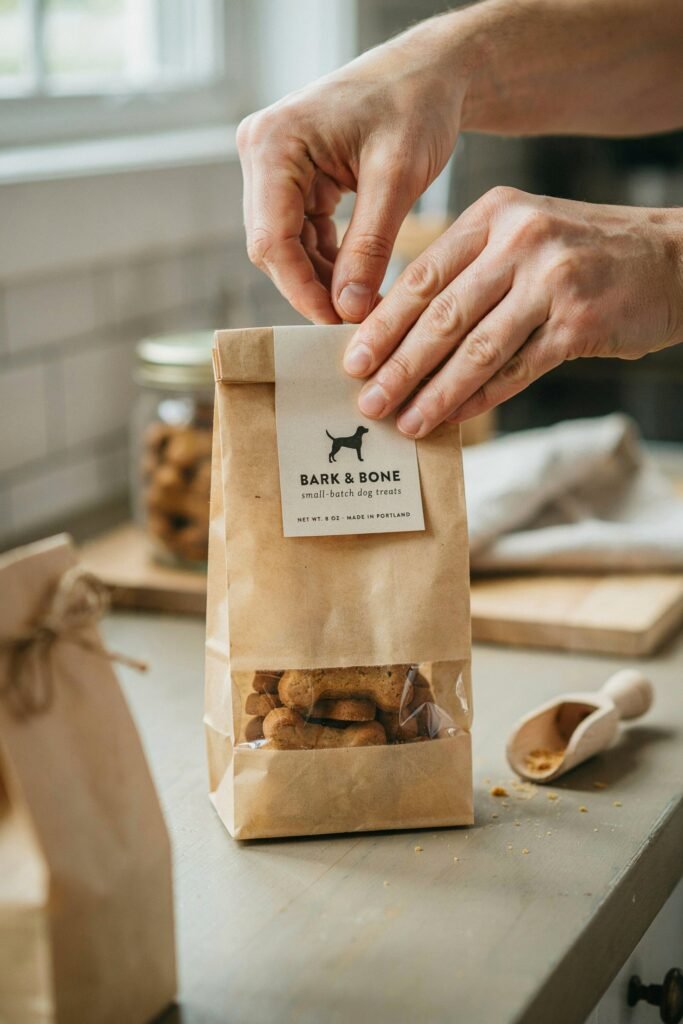
My first packaging attempt was overly fancy and expensive, involving custom printed boxes that ate into my margins for no real benefit.
Buyers care far more about a clear ingredient label and a resealable bag than elaborate branding, something I only realized after comparing sales numbers before and after switching.
I switched to simple kraft bags with a printed label listing ingredients and a best-by date, and saw no drop in sales at all, while cutting my packaging costs by more than half almost immediately.
7. Start Selling Locally Before Going Online
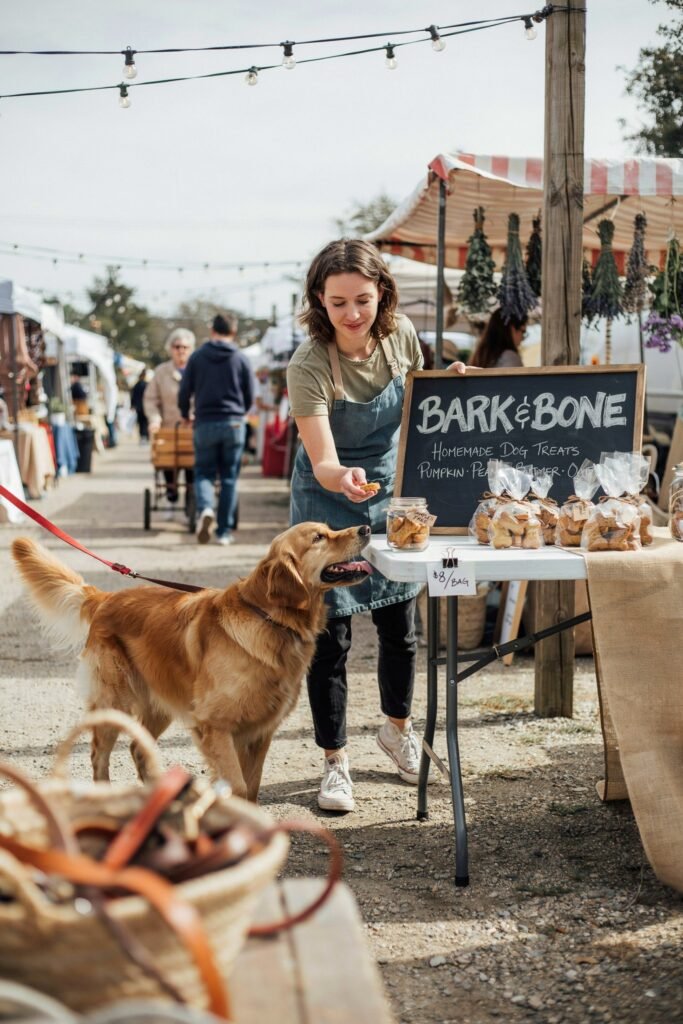
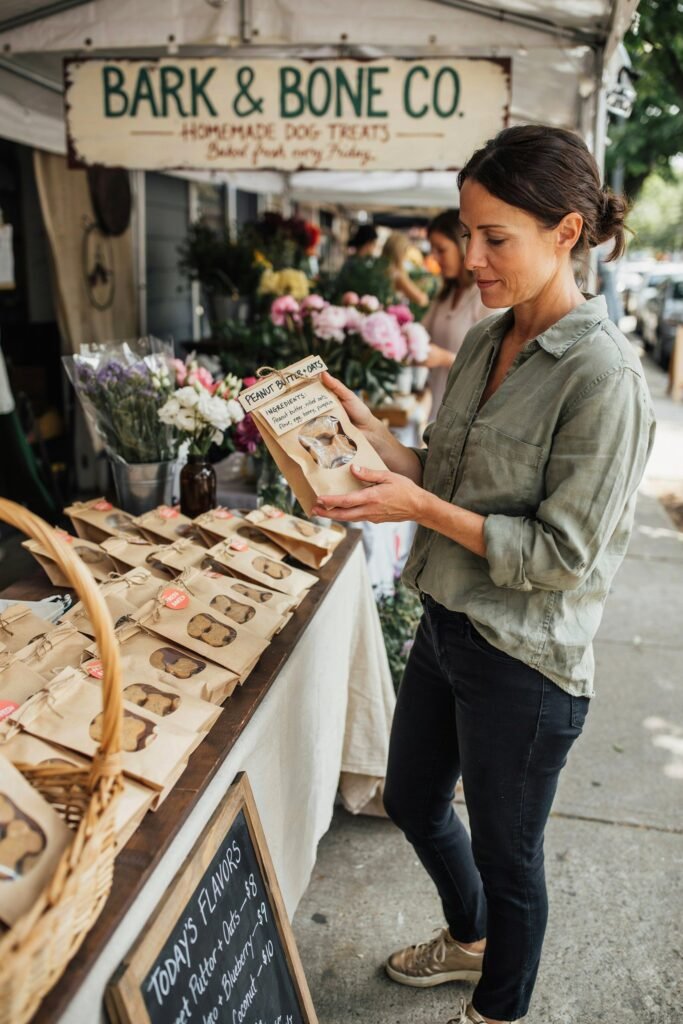
Farmers markets and local pet stores gave me immediate feedback that an online shop never could.
Watching people’s dogs react to a sample treat in real time taught me more about what actually sells than months of online guessing ever did.
I set up a small folding table with samples on toothpicks, and within the first two markets I already knew which flavor to drop and which one to double production on, just from watching tails and sniffs in person, which is feedback no online review can really replicate.
8. Build a Simple Online Presence
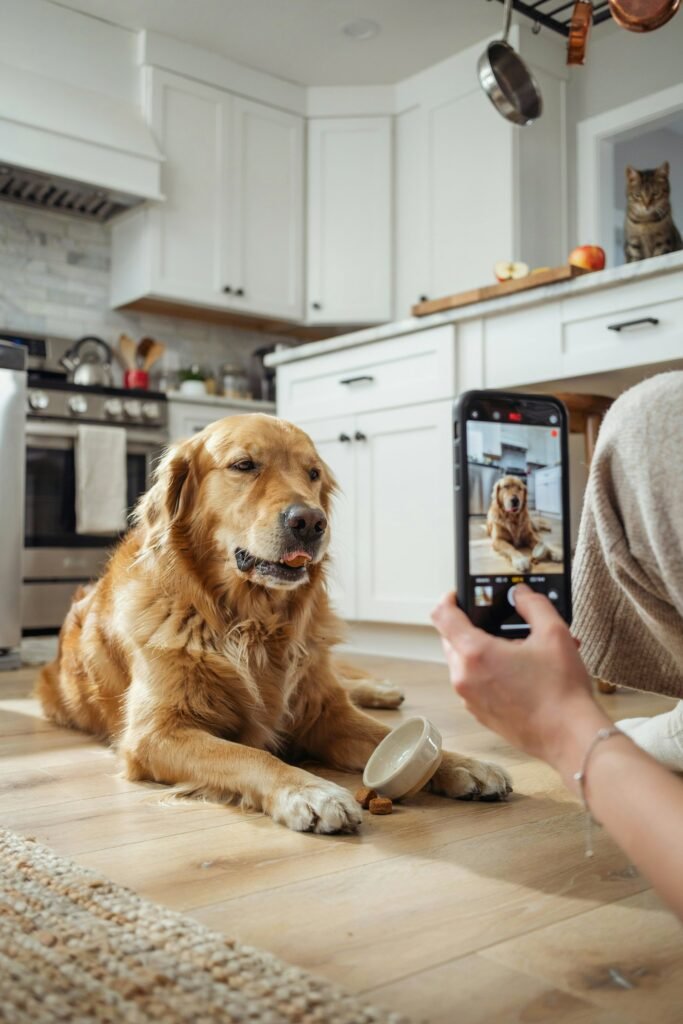
Once local sales were consistent, I moved to Etsy and a basic Instagram page showing behind-the-scenes baking and, of course, plenty of Rocky reaction videos.
Customers trust seeing an actual dog enjoy the product far more than any written description, and those videos consistently outperformed my product photos in engagement.
I also noticed a lot of crossover traffic from readers browsing accessory content like our best dog beds roundup, since pet owners shopping for one upgrade tend to be open to others at the same time.
9. Price for Profit, Not Just Ingredient Cost
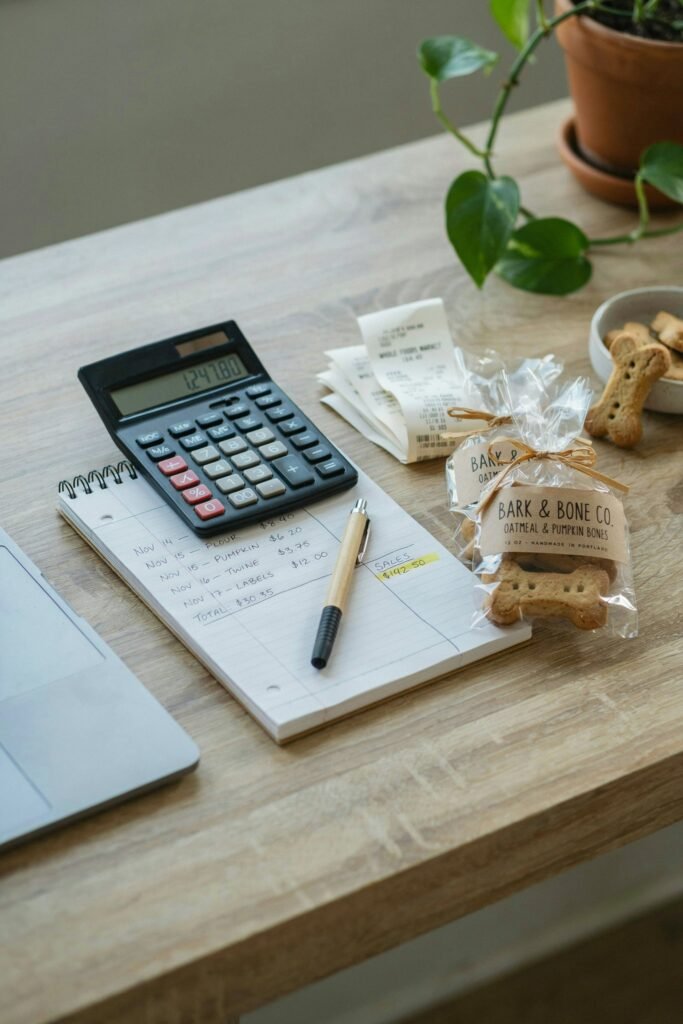
My biggest early mistake was pricing based only on flour and peanut butter costs, which left almost nothing for my actual time.
Once I factored in labor, packaging, and platform fees, my prices went up by nearly forty percent, and I fully expected to lose customers over it.
Instead, sales barely slowed down at all, and a few buyers even commented that the higher price made the product feel more trustworthy, which genuinely surprised me at the time and taught me not to undervalue the work going into every batch.
10. Offer a Rotating Seasonal Menu
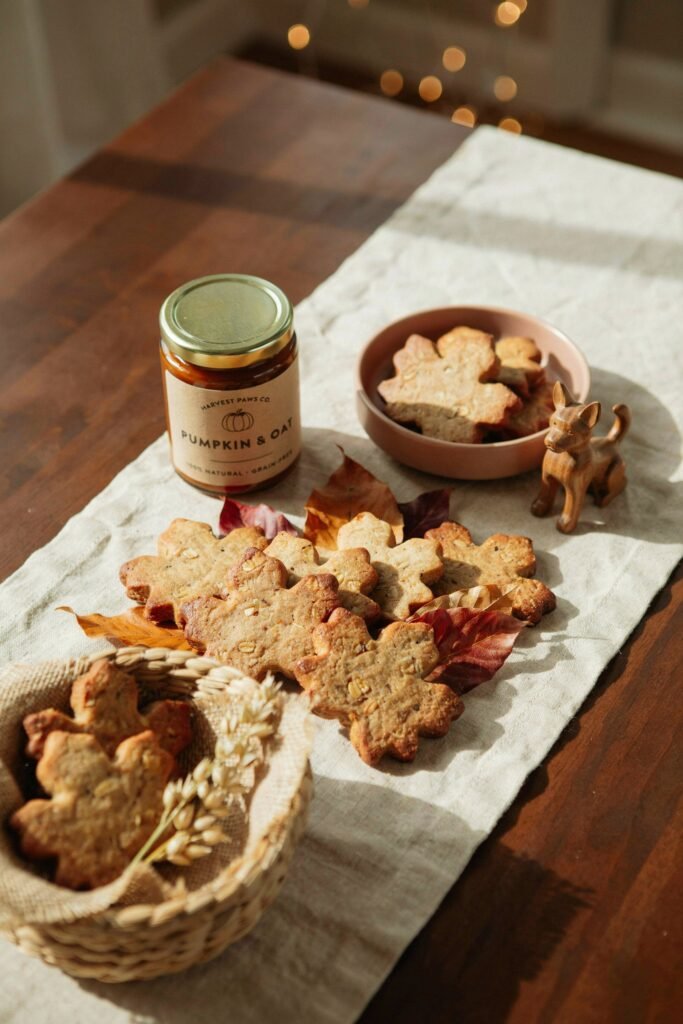
Seasonal flavors, like a fall batch built around ideas from our healthy homemade beef and apple stew for dogs post, or slow cooker batches inspired by our vet-approved crockpot dog food recipes, kept my regular customers ordering more often instead of buying once and disappearing.
I plan my seasonal calendar about two months ahead now, after learning that customers start asking about fall and winter flavors far earlier than I originally expected, especially around major holidays.
Extra Tips for Running a Home Treat Business Smoothly

Batch bake on a consistent schedule. I bake twice a week on fixed days, which keeps ingredients fresh and makes planning around my own schedule far easier.
Keep a detailed ingredient and allergen list for every batch. Buyers with sensitive dogs ask about this constantly, and having it ready before they ask builds trust fast.
Don’t skip liability insurance. It felt like an unnecessary expense at first, but a small home business policy protects you if a customer’s dog ever has an unexpected reaction.
Reinvest early profits into better packaging and ingredients before ads. I made this mistake in reverse initially, and better product quality drove more organic word of mouth than any paid promotion did.
FAQ About Starting a Dog Treat Business From Home
Do I need a license to sell homemade dog treats? Requirements vary significantly by location.
Some areas require a cottage food or pet food handler permit, while others have minimal restrictions, so checking with your local health department before selling is essential.
How much money do I need to start a dog treat business? Many home bakers start with under two hundred dollars in basic ingredients, packaging, and labeling, since most equipment needed is already found in a typical home kitchen.
What ingredients should I avoid in homemade dog treats? Avoid xylitol, chocolate, excessive salt, and any ingredient a dog has known sensitivities to. Stick to simple, whole ingredients with clear sourcing.
How do I price homemade dog treats fairly? Factor in ingredient cost, your time, packaging, and any platform or market fees, rather than pricing based on ingredients alone, which tends to undervalue the work significantly.
Where is the best place to start selling homemade dog treats? Local farmers markets and community pet events are ideal starting points, since they offer direct feedback before committing to a larger online storefront.
How long do homemade dog treats typically last? Shelf life depends on the recipe, but most baked treats without preservatives last one to two weeks at room temperature, while frozen treats should be used within a few weeks for best quality.
Final Thoughts
Rocky’s sensitive stomach accidentally turned into a business I never expected to build, and three years later it’s a steady, genuinely rewarding source of income that started with one very unglamorous batch of burnt first attempts.
It took trial, error, a lot of failed recipes, and one very patient taste tester to get here.
If you’re thinking about starting something similar, start small, get your local rules sorted early, price for your actual worth from day one, and let a real dog be your harshest critic before anyone else ever gets the chance.
The businesses that last in this space aren’t the ones with the fanciest branding, they’re the ones built on treats a dog actually wants to eat twice.