Healthy Homemade Cat Treats
Cats can be a lot pickier than dogs when it comes to treats, so I wanted a recipe simple enough to appeal to even a finicky eater while still being something I felt good about handing over.
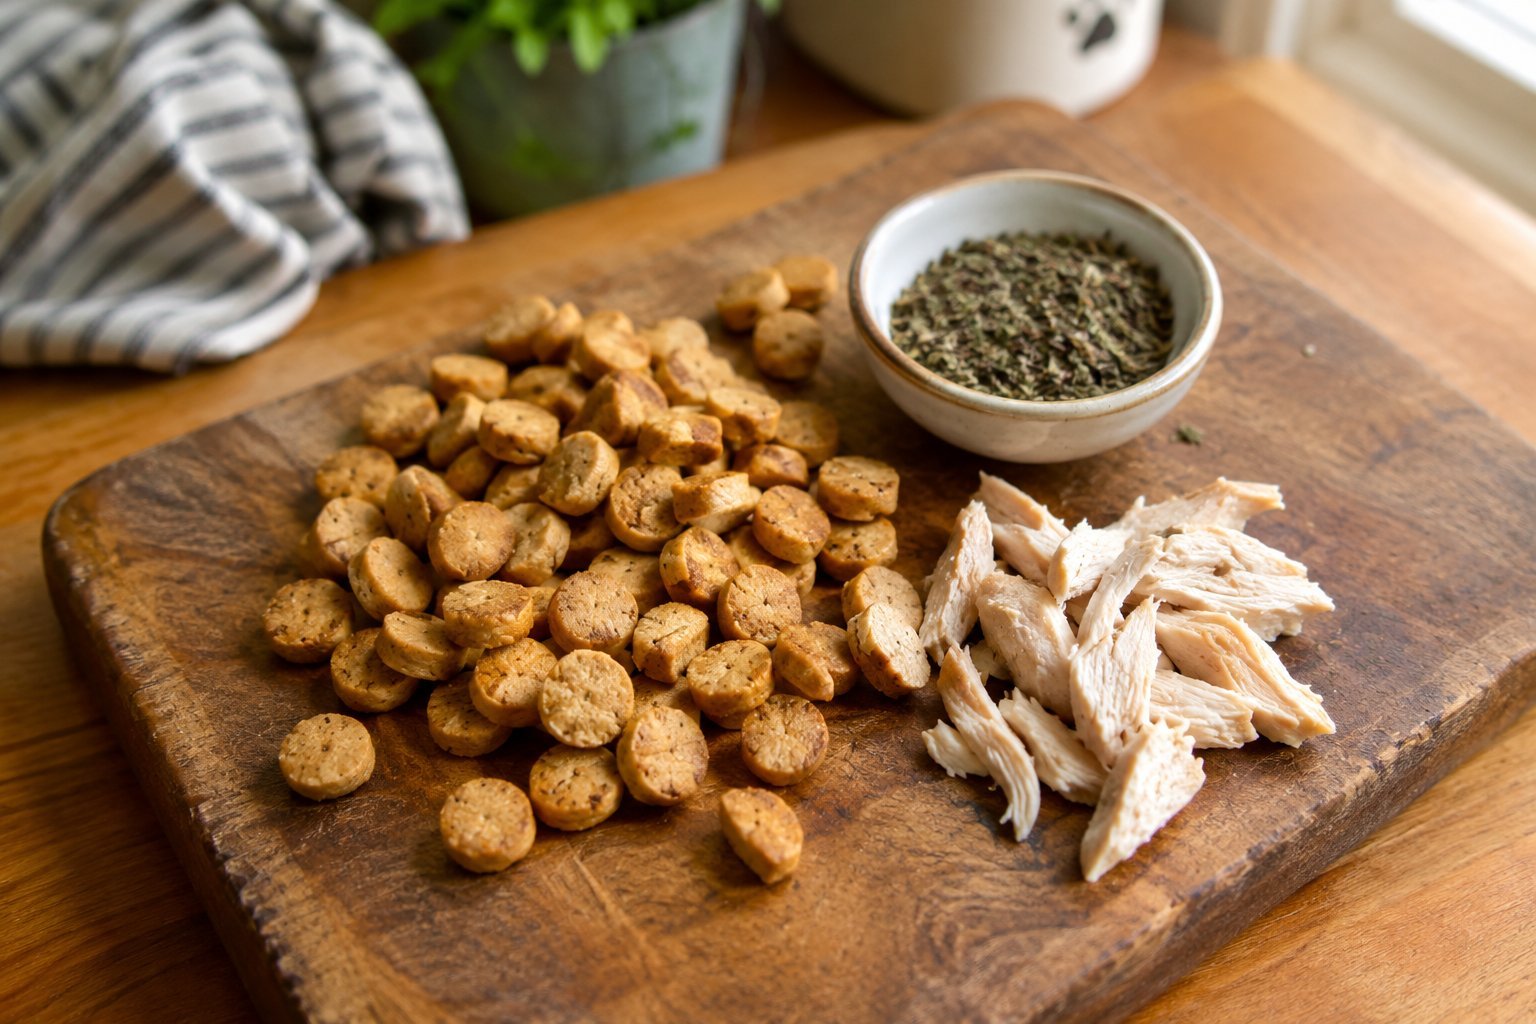
These treats use plain cooked chicken as the base, which tends to win over even the most skeptical cat, along with a small amount of oat flour to help everything hold together in a firm, bite sized shape.
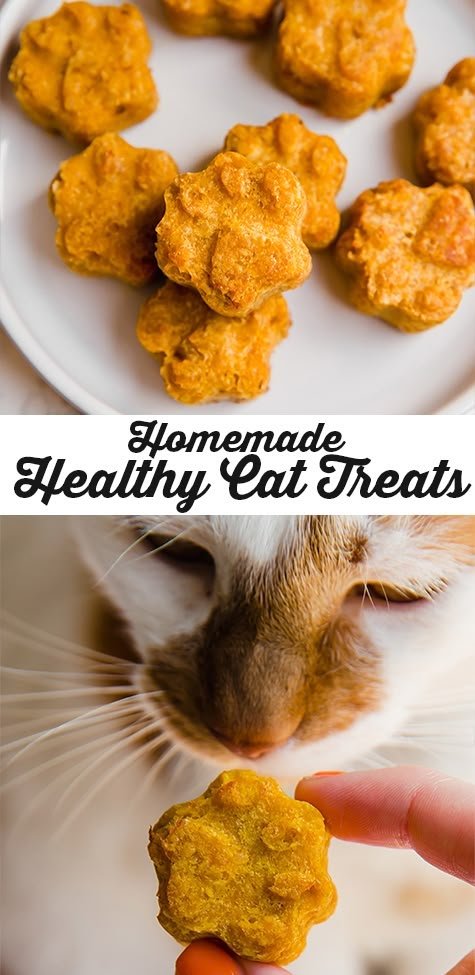
Since cats are obligate carnivores, meaning their diet needs to be built around animal protein, this recipe keeps things simple and meat forward rather than leaning on fruits or vegetables the way a lot of dog treats do.
It’s become an easy way to reward good behavior or just spoil a cat who’s earned a little extra attention.
Why You’ll Love These Healthy Homemade Cat Treats
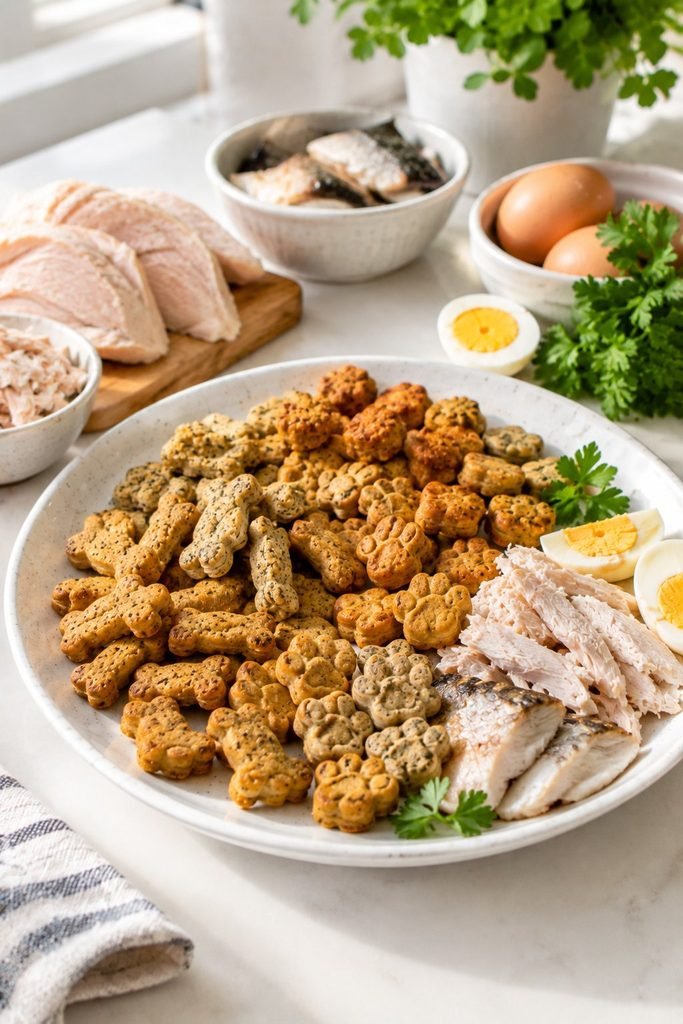
A few reasons these are worth adding to your cat’s routine.
Meat forward recipe. Built around plain chicken, which most cats find hard to resist.
Simple ingredients. A short list of basics, with nothing your cat doesn’t need.
Small, bite sized pieces. Sized appropriately for a cat’s smaller portions.
Great for training or bonding. A useful reward for encouraging good behavior or just building trust.
Freezer friendly. A batch keeps well, so you can bake once and have treats ready for weeks.
Are These Ingredients Safe for Cats?
Cats have some different dietary needs compared to dogs, so a few points are worth understanding before baking for a cat.
Plain cooked chicken is a good base for a cat treat, since cats need a diet built primarily around animal protein. Make sure it’s fully cooked with no seasoning, salt, or added fat.
Onion and garlic should never be included in any cat recipe, since both are toxic to cats, even more so than they are for dogs.
Flour and grains aren’t a natural part of a cat’s diet, so this recipe keeps the amount minimal, using just enough oat flour to bind the treats together rather than as a main ingredient.
Catnip, if you’d like to add it, is a fun optional addition for cats who respond to it, though not all cats do. It’s generally considered safe in small amounts.
Portion size matters even more for cats than dogs, since cats are smaller and treats should make up an even smaller portion of their daily calories. A few small pieces are plenty for most cats.
Ingredients You’ll Need
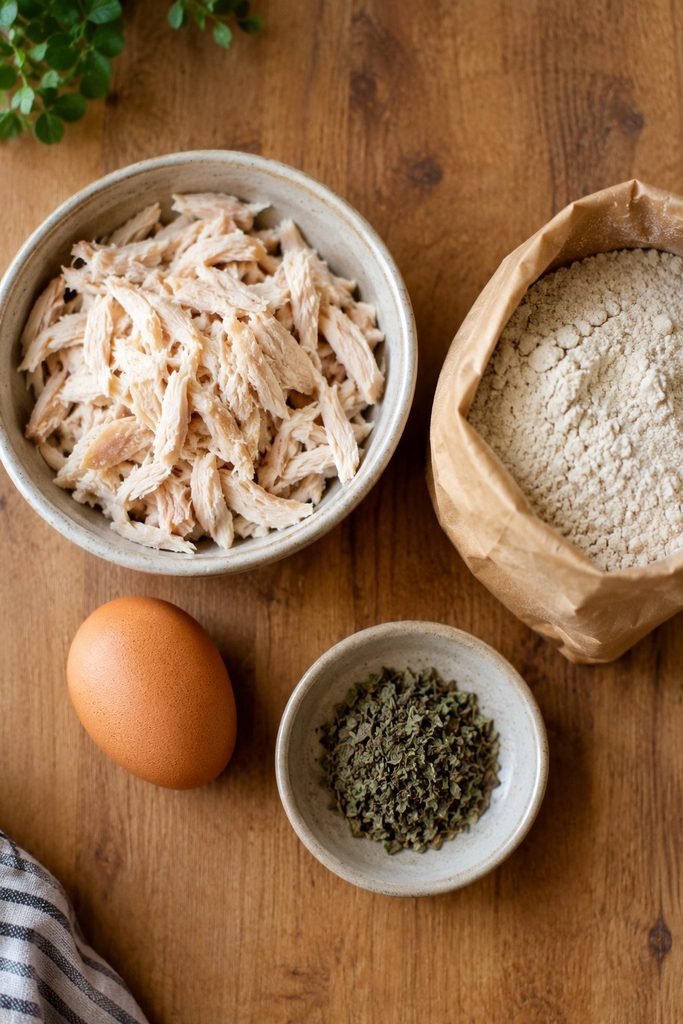
Here’s what goes into this simple, meat forward recipe.
Plain cooked chicken, shredded or finely chopped, forms the base of the treat and provides the protein cats need.
An egg helps bind the mixture together.
A small amount of oat flour helps hold everything into a firm, bite sized shape.
Catnip, optional, adds a fun bonus for cats who enjoy it.
Ingredient List
- 1 cup plain cooked chicken, shredded or finely chopped
- 1 egg
- 1/2 cup oat flour
- 1 teaspoon dried catnip, optional
How to Make Healthy Homemade Cat Treats
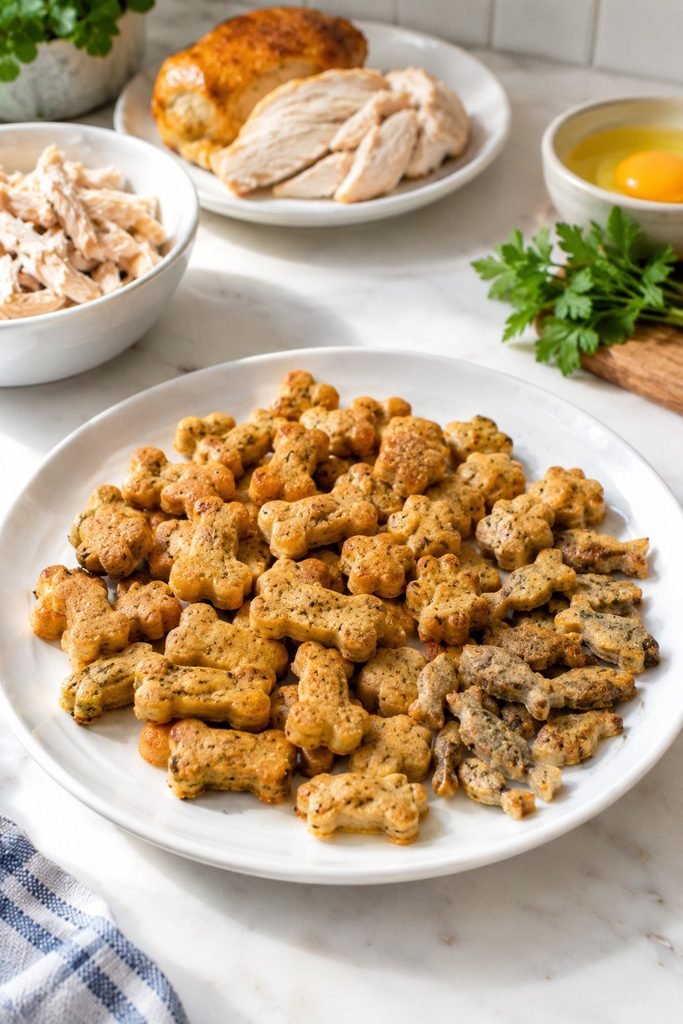
- Preheat your oven to 350°F and line a baking sheet with parchment paper.
- In a food processor, pulse the cooked chicken until finely shredded, almost paste like in texture.
- Transfer the chicken to a bowl and stir in the egg, oat flour, and catnip, if using, until a firm mixture forms.
- Using a small spoon or your hands, shape the mixture into small, bite sized rounds, about the size of a coin.
- Place the shaped treats on the prepared baking sheet, spacing them a bit apart.
- Bake for 15 to 18 minutes, until the treats are firm and lightly golden.
- Let the treats cool completely on a wire rack before serving or storing.
Getting the Right Texture
A few notes on texture for this recipe.
If the mixture feels too wet to shape, add a bit more oat flour a tablespoon at a time until it holds together.
If it feels too dry and crumbly, add a small splash of water until it comes together smoothly.
Keep the treats small and thin, since cats generally prefer a treat they can eat in one or two bites rather than a larger biscuit.
Recipe Variations
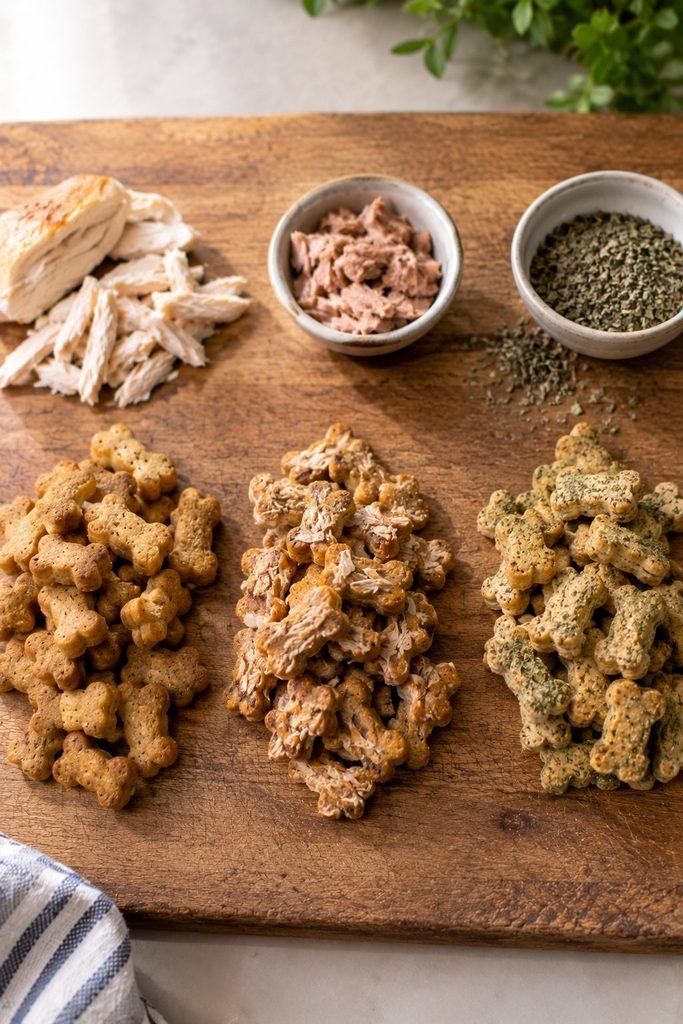
Once you’ve made the base recipe, these variations are worth trying.
Chicken and tuna treats. Replace half the chicken with plain, drained canned tuna packed in water for a fishy twist many cats love.
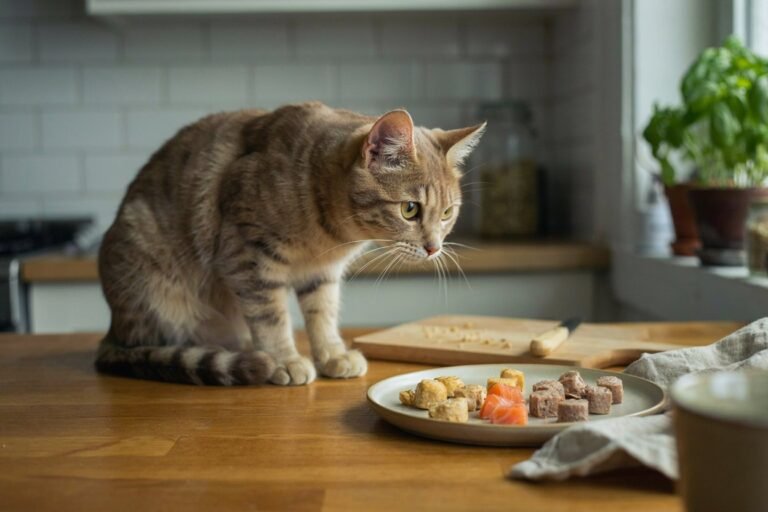
Salmon treats. Use plain, cooked, boneless salmon in place of chicken for a different flavor.
Catnip boosted treats. Increase the catnip slightly for cats who respond strongly to it, keeping the overall amount still modest.
Freeze dried topper. Crumble a finished treat over your cat’s regular food as a flavorful topper instead of serving it whole.
Common Mistakes to Avoid
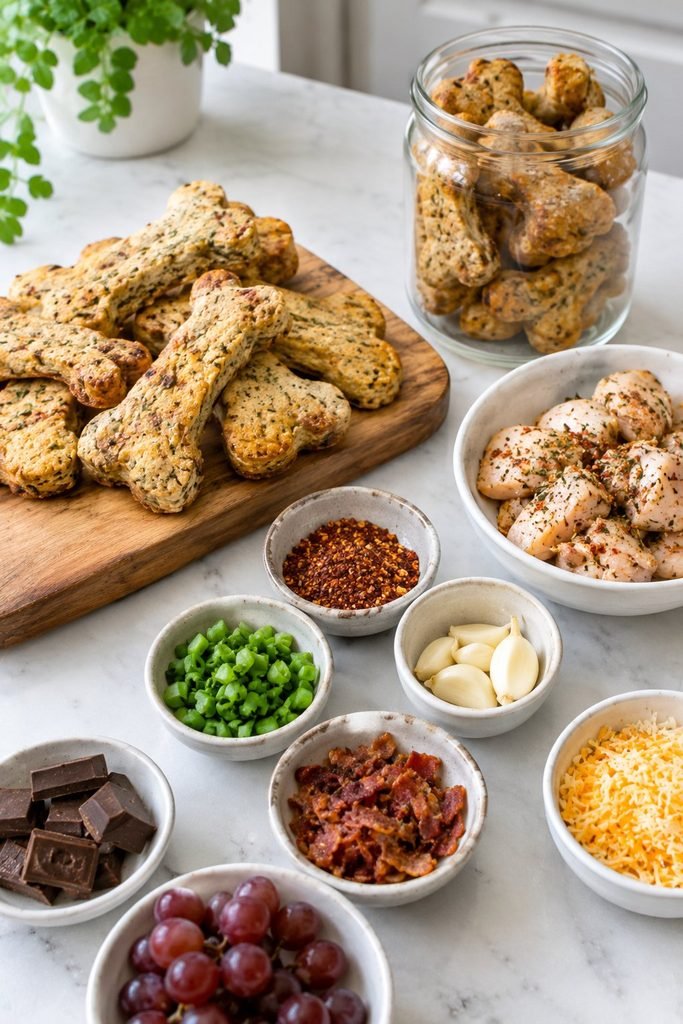
Using seasoned chicken. Keep the chicken entirely plain, with no salt, garlic, onion, or seasoning blends.
Making the treats too large. Cats generally do best with small, bite sized pieces rather than a bigger biscuit.
Using too much flour. Since flour isn’t a natural part of a cat’s diet, keep the amount minimal, just enough to bind the mixture.
Skipping the cooling time. Let the treats cool fully before storing to avoid trapping moisture.
Offering too many at once. Cats need even smaller treat portions than dogs, so a couple of pieces is plenty.
How Many Treats Can a Cat Have?
Cats need treats to make up an even smaller portion of their daily calories than dogs, generally staying under about ten percent of daily caloric intake. A couple of small, bite sized pieces is a reasonable serving for most cats on a given day.
If your cat has any health conditions, particularly related to kidney function or urinary health, check with your veterinarian before introducing a new treat.
How to Store Healthy Homemade Cat Treats
Refrigerator. Since these are made with real chicken, store them in an airtight container in the fridge for up to five days.
Freezer. For longer storage, freeze the treats in a sealed bag or container for up to three months.
Always check treats before serving, and discard anything that shows signs of spoilage.
Can You Freeze These Treats?
Yes, and freezing is a convenient way to keep a batch on hand.
- Let the treats cool completely before freezing.
- Arrange them in a single layer in a freezer safe container or bag.
- Label the container with the date.
- Thaw a few in the fridge for a couple of hours before serving.
Frequently Asked Questions
Can I use canned chicken instead of cooking my own? Yes, as long as it’s plain with no added salt, broth, or seasoning.
Can I add catnip to this recipe? Yes, a small amount of dried catnip is a fun optional addition for cats who enjoy it, though not every cat responds to it.
Why are the treats so small? Cats generally prefer smaller, bite sized treats rather than a larger biscuit, and smaller portions also help keep treat calories in check.
Can I use tuna instead of chicken? Yes, plain tuna packed in water works well as a substitute or addition to the chicken.
How long do these treats last? Up to five days in the fridge and up to three months in the freezer.
Can kittens have these treats? In very small amounts, most kittens can try a bit of plain cooked chicken, but check with your veterinarian first regarding appropriate treats for a kitten’s age.
Do I need the oat flour? Yes, a small amount helps bind the mixture into a shape that holds together, since chicken alone won’t hold its form well once baked.
Healthy Homemade Cat Treats
Ingredients
Equipment
Method
- Preheat your oven to 350°F (175°C) and line a baking sheet with parchment paper.
- Drain the tuna thoroughly and place it in a mixing bowl. Break it apart with a fork so there are no large pieces.
- Add the egg and pumpkin puree. Mix everything together until evenly combined.
- Add the oat flour gradually and stir until a soft dough forms. If the dough seems dry, add the water a little at a time.
- Place the dough between two sheets of parchment paper and roll it to approximately 1/4 inch thick.
- Use a small cookie cutter to cut the dough into bite sized treats. Gather the leftover dough, roll it out again, and continue cutting.
- Transfer the treats to the prepared baking sheet.
- Bake for approximately 10 to 12 minutes, until the treats are firm and lightly golden around the edges.
- Remove them from the oven and allow them to cool completely before serving.
- Once cooled, store the treats in an airtight container in the refrigerator.
- Storage: Refrigerate the finished treats in an airtight container for up to 5 days. You can freeze them in a freezer safe container for longer storage.
- Tuna Tip: Choose tuna packed in water and avoid tuna containing added salt, sauces, spices, garlic, or onion.
- Serving: These homemade treats should be given occasionally and should not replace your cat’s complete and balanced regular food.
- Portion Tip: Keep portions small, particularly for smaller cats. These treats are intended as little rewards rather than a meal.
- Common Mistake to Avoid: Avoid adding milk, sugar, salt, seasoning, garlic, onion, or artificial sweeteners just to make the treats more flavorful.
- Safety Note: Introduce any new treat gradually and stop serving it if your cat develops digestive problems or another unusual reaction.
A Final Note on Serving These Treats
These have become a reliable way to win over even the pickiest cat in the house, and there’s something satisfying about offering a treat made from real, simple ingredients rather than something out of a bag.
Keep a batch in the freezer, and you’ll always have a small, meaningful reward ready whenever your cat earns one.
More Homemade Recipes to Try
If your cat enjoyed these, these recipes are worth trying next.
For more ideas on feeding your pets well beyond treats, check out 7 Healthiest Homemade Dog Foods.