2-Ingredient Puffy Pumpkin Dog Treats: An Easy Homemade Recipe
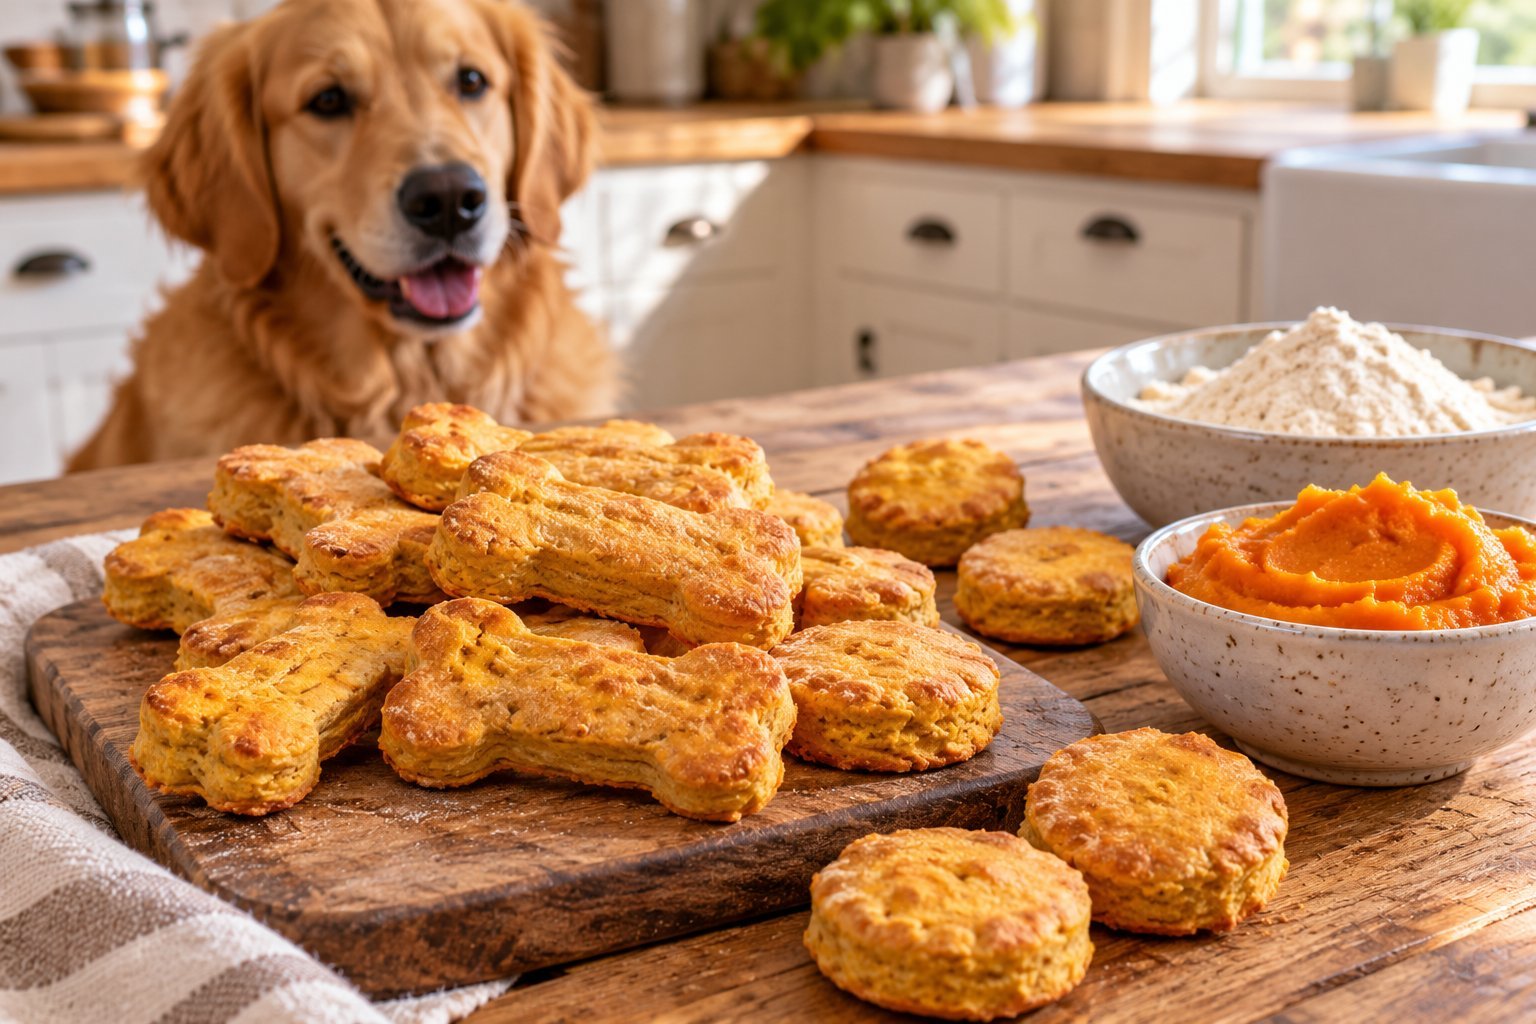
Making homemade dog treats does not have to mean buying a long list of ingredients or spending an entire afternoon in the kitchen.
Sometimes, the simplest recipes are the ones I come back to most often, especially when I want something easy to prepare with ingredients I already have.
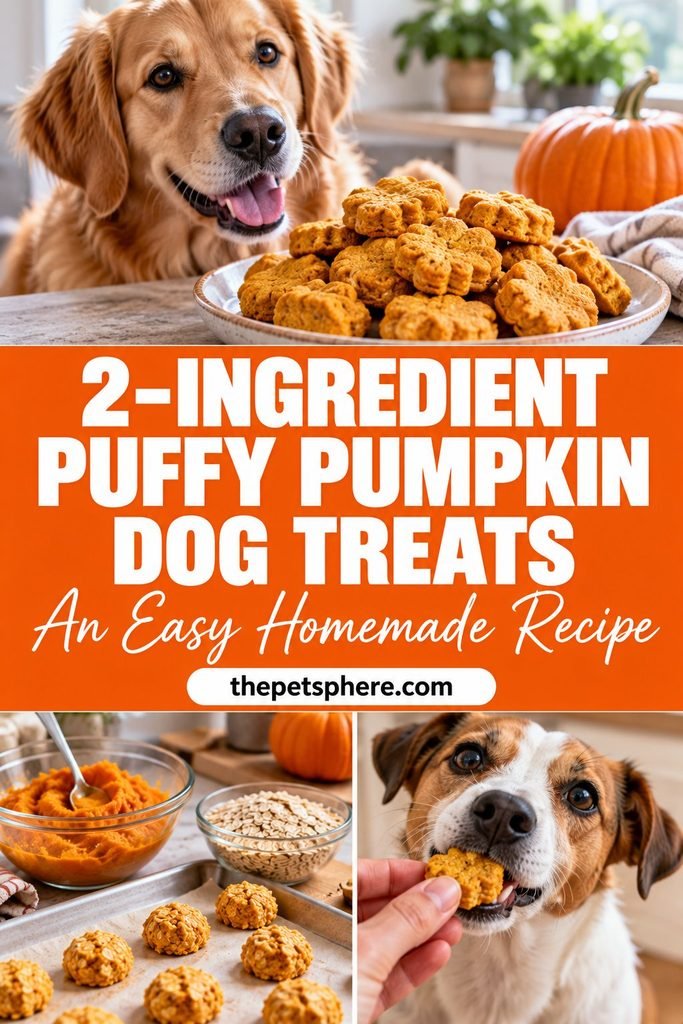
These 2-ingredient puffy pumpkin dog treats are a simple option for dogs who enjoy a crunchy or slightly airy homemade snack.
With plain pumpkin puree and flour, you can prepare a basic dough, shape the treats, and bake them until they puff slightly and develop a firm texture.
What I particularly like about a recipe like this is how straightforward it is. You do not need eggs, added sugar, butter, salt, or complicated flavorings.
The pumpkin contributes moisture and flavor, while the flour helps bring the dough together.
However, the final texture depends on the flour you use, the amount of moisture in your pumpkin, and how thickly you shape the treats.
They may puff slightly during baking, but they will not necessarily become hollow or expand like human pastries.
In this guide, I will walk you through how to make these easy pumpkin dog treats, which ingredients work best, how to get a good texture, and how to store them properly.
I will also share a few practical tips to help you avoid common baking problems.
Why Make 2-Ingredient Puffy Pumpkin Dog Treats?
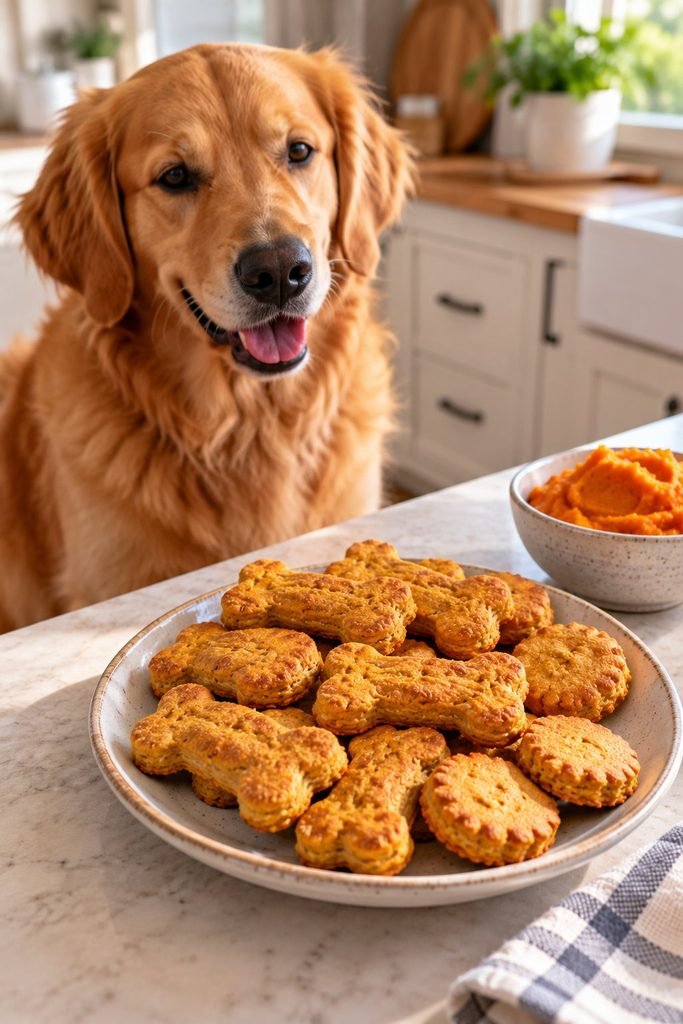
One of the biggest advantages of homemade dog treats is knowing exactly what goes into the recipe. When you prepare them yourself, you can keep the ingredient list simple and avoid unnecessary additions.
These pumpkin treats are particularly useful when you want a straightforward recipe without purchasing several specialty ingredients.
Here are a few reasons to try them:
- Only two basic ingredients: You need plain pumpkin puree and flour, making the recipe easy to prepare.
- Simple preparation: The dough can be mixed and shaped without a food processor or stand mixer.
- Customizable shapes: You can cut the dough into small squares, use a dog-bone cookie cutter, or make simple bite-sized pieces.
- Pumpkin flavor: Plain pumpkin adds flavor and moisture to the dough.
- Easy portion control: You can make smaller treats for training or occasional rewards.
Pumpkin also contains fiber, although the amount your dog receives from a treat depends on the recipe and serving size. It should complement a balanced diet rather than replace your dog’s regular food.
Remember that homemade does not automatically mean suitable for every dog. If your dog has food allergies, digestive problems, or a prescribed diet, check with your veterinarian before introducing a new treat.
Ingredients for 2-Ingredient Puffy Pumpkin Dog Treats
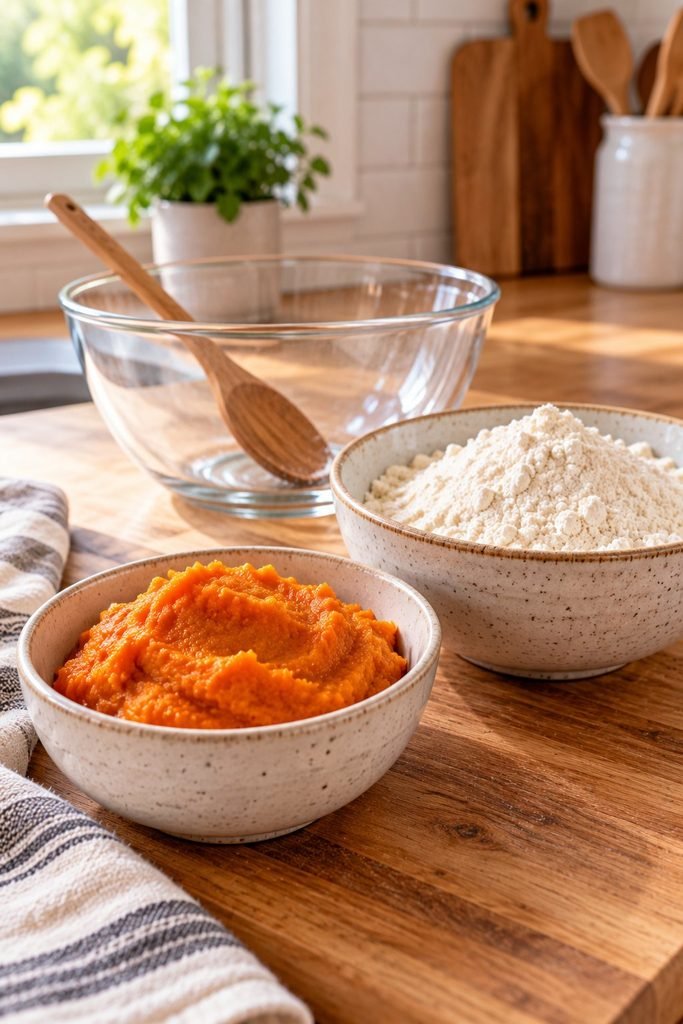
You only need two ingredients to make this basic recipe.
1. Plain Pumpkin Puree
Pumpkin puree provides moisture and gives the treats their pumpkin flavor. It also helps bind the flour into a workable dough.
Use plain pumpkin puree, not pumpkin pie filling. Pumpkin pie filling may contain added sugar, spices, and other ingredients that are not appropriate for dogs.
You can use canned pumpkin puree or homemade pumpkin that has been cooked until soft and blended until smooth. If making it at home, allow it to cool completely before mixing the dough.
Pumpkin puree can vary in thickness. If yours is particularly watery, you may need a little more flour to achieve a dough that is easy to roll and cut.
2. Flour
Flour provides the structure that allows the pumpkin mixture to become a dough and hold its shape during baking.
All-purpose wheat flour is a convenient option for dogs that tolerate wheat. Whole-wheat flour can also work, although it may produce a slightly denser texture and absorb moisture differently.
If your dog has a diagnosed wheat allergy or needs a grain-free diet, choose an appropriate alternative with veterinary guidance. Different flours absorb moisture differently, so you may need to adjust the quantity.
Avoid assuming that every alternative flour can be substituted in exactly the same amount.
Kitchen Equipment You Will Need
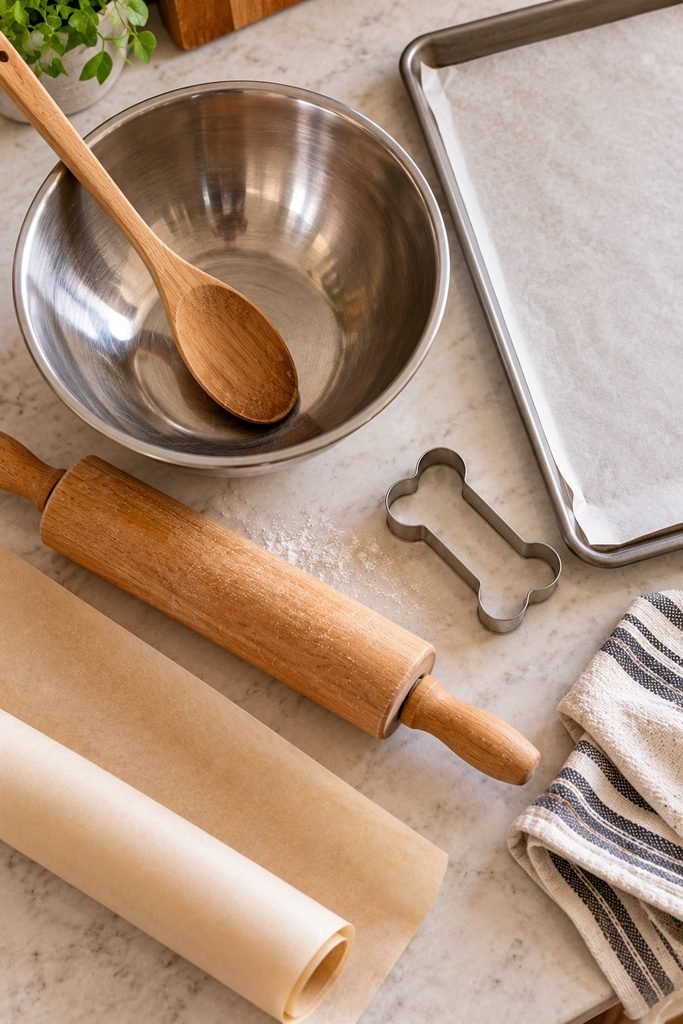
You do not need specialized baking equipment for this recipe. A few basic kitchen tools are enough.
- A medium mixing bowl
- A spoon or spatula
- A clean work surface
- A rolling pin, if you want evenly shaped treats
- A small cookie cutter or knife
- A baking tray
- Baking parchment, if suitable for your tray
If you do not have a rolling pin, you can flatten the dough gently with your hands. The treats do not need to look perfect to be enjoyable for your dog.
How to Make 2-Ingredient Puffy Pumpkin Dog Treats
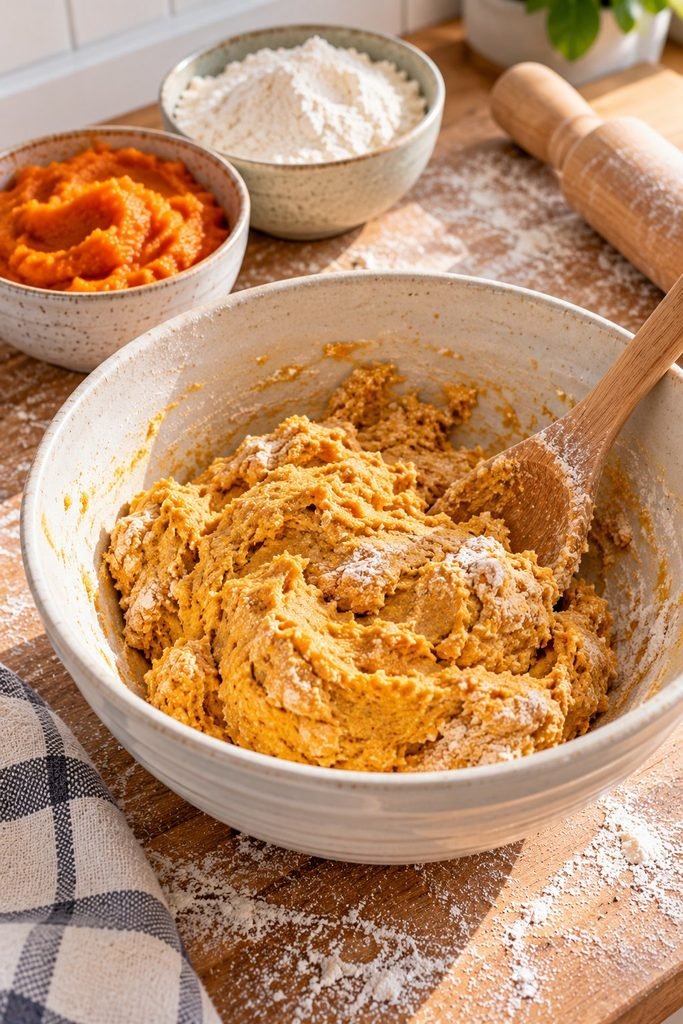
The key to getting a workable dough is balancing the moisture in the pumpkin with the flour. Start with the basic quantities below, then make small adjustments if necessary.
Step 1: Preheat the Oven
Preheat your oven to 350°F (175°C).
Prepare a baking tray with baking parchment or another suitable nonstick lining. This helps prevent the treats from sticking and makes cleanup easier.
Keep in mind that ovens vary, so the baking time may need adjusting depending on the thickness and size of your treats.
Step 2: Mix the Pumpkin and Flour
Add 1 cup of plain pumpkin puree to a mixing bowl.
Gradually stir in approximately 2 cups of flour, adding it in stages rather than all at once. Mix until the ingredients begin to form a dough.
The exact amount of flour may vary because pumpkin puree differs in moisture content. If the mixture is very sticky, add a little more flour. If it becomes too dry and crumbly, add a small amount of pumpkin puree.
The finished dough should be soft enough to handle but firm enough to roll or shape without sticking excessively to your hands.
Step 3: Knead the Dough Gently
Transfer the dough to a lightly floured surface and knead it briefly until it comes together.
You do not need to knead it for a long time. The goal is simply to create a reasonably even dough that can be rolled and cut.
If the dough feels sticky, dust the surface with a little flour. If it cracks badly or falls apart, work in a small amount of additional pumpkin puree.
Avoid adding too much flour at once, because a very dry dough can produce hard, dense treats.
Step 4: Roll and Shape the Treats
Roll the dough to approximately ¼ inch thick for relatively small, firm treats.
Use a small cookie cutter to make dog-bone shapes, or cut the dough into small squares with a knife. You can also shape it into small flat rounds by hand.
Try to keep the pieces similar in size and thickness so that they bake evenly.
For smaller dogs, make the pieces small enough to serve comfortably. Treat size should always reflect your dog’s size, chewing ability, and individual needs.
Step 5: Bake Until Firm
Arrange the shaped treats on the prepared baking tray, leaving a little space between them.
Bake for approximately 20 to 30 minutes, checking them toward the end of the baking time. Smaller or thinner pieces may finish sooner, while thicker pieces may need longer.
The treats should look set and feel firm around the edges. They may puff slightly, but the amount of expansion will depend on the dough and flour used.
For a drier, crunchier texture, you can turn off the oven after baking and allow the treats to dry further in the cooling oven, provided you monitor them carefully to prevent excessive browning.
Step 6: Cool Completely Before Serving
Remove the tray from the oven and allow the treats to cool completely before offering one to your dog.
The treats may become firmer as they cool. Check the texture before serving, especially if your dog is small, older, or has difficulty chewing hard foods.
Start with a small piece to see how your dog tolerates the new treat.
How to Make Your Pumpkin Dog Treats Puffy
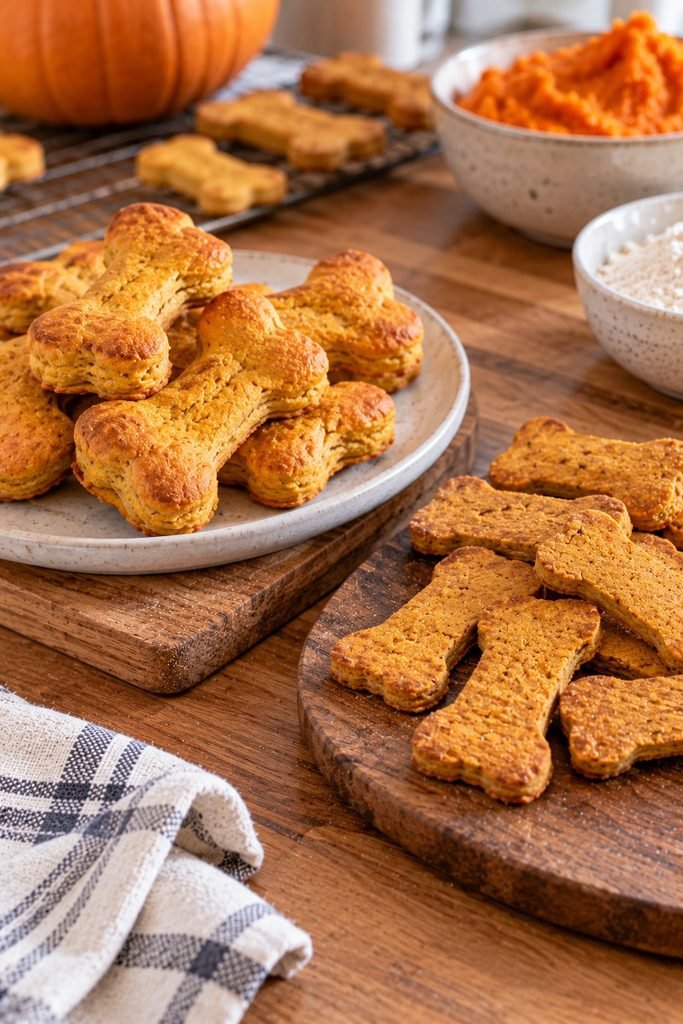
If you want your treats to puff slightly instead of remaining completely flat, start with the consistency of the dough. The right balance of pumpkin and flour helps the treats hold their shape while allowing some expansion during baking.
Here are a few practical tips.
Do not make the dough too wet. Excess moisture can make the dough sticky and difficult to shape. Add the flour gradually until the mixture is manageable.
Avoid adding too much flour. Although extra flour can make sticky dough easier to handle, too much may produce dense, hard treats rather than a lighter texture.
Keep the thickness consistent. Pieces of similar thickness are more likely to bake evenly. If some pieces are much thicker than others, the thinner ones may become hard before the thicker ones are fully baked.
Do not expect dramatic expansion. This recipe does not contain a conventional leavening agent such as baking powder. The treats may puff slightly, but they will generally be more like small baked biscuits than airy pastries.
If a light texture is important to you, experiment with small batches and adjust the thickness and baking time rather than changing several ingredients at once.
Common Mistakes to Avoid
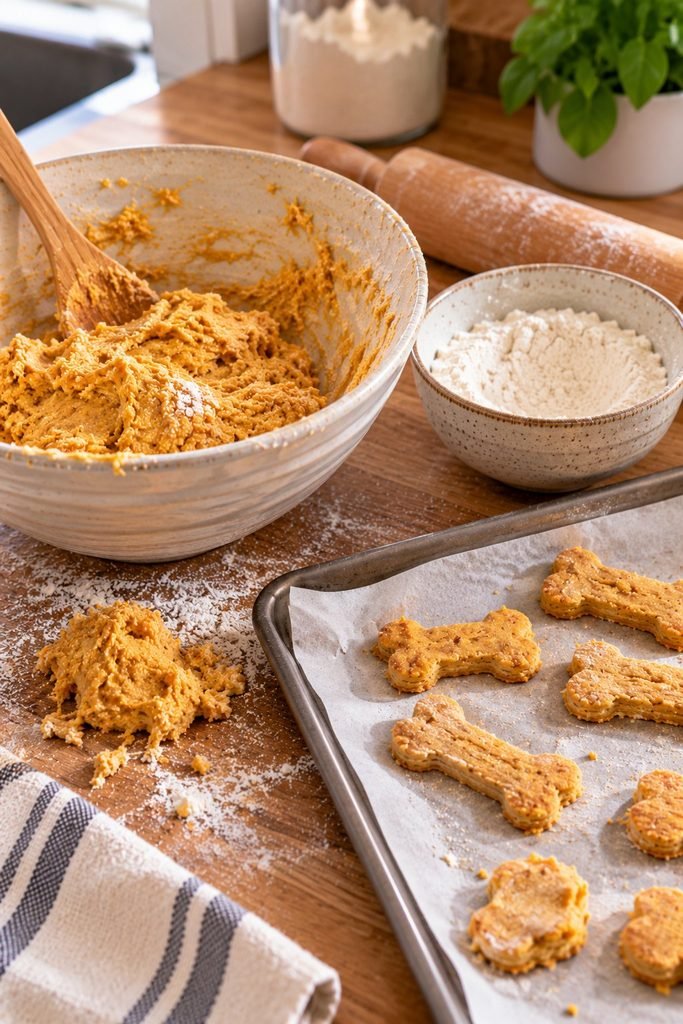
Even a simple two-ingredient recipe can produce disappointing results if the dough is too wet, too dry, or baked for too long.
Using Pumpkin Pie Filling
This is one of the most important mistakes to avoid. Pumpkin pie filling is different from plain pumpkin puree and may contain added sugar, spices, or other ingredients.
Some spice blends can contain ingredients that are unsafe for dogs. Always read the label and use plain pumpkin without unnecessary additions.
Adding All the Flour at Once
Different pumpkin purees contain different amounts of moisture. Adding all the flour immediately can leave you with a dough that is too dry.
Mix in the flour gradually and stop when the dough becomes firm enough to handle.
Making the Treats Too Thick
Thick pieces can remain soft inside while becoming overly brown on the outside. If you prefer a firmer biscuit, make the pieces relatively thin and allow enough time for them to bake through.
Baking at Too High a Temperature
A high temperature can brown the outside before the inside has dried sufficiently. Follow the suggested oven temperature and check the treats toward the end of baking.
Storing Them Before They Are Cool
Warm treats can create condensation inside a storage container. That moisture can encourage spoilage, so let the treats cool completely before storing them.
How to Store Homemade Pumpkin Dog Treats
Because these treats contain moisture from pumpkin and do not contain preservatives, their storage life can vary depending on how thoroughly they are baked, the moisture remaining inside, and the conditions in your kitchen.
I would use conservative storage practices rather than assuming homemade biscuits will remain safe for several weeks.
At room temperature: Store only treats that have been thoroughly baked and dried. Keep them in a clean, airtight container in a cool, dry place, and use them promptly. If they remain soft or moist inside, refrigeration is the safer choice.
In the refrigerator: Place cooled treats in a clean, airtight container and refrigerate them. For a conservative starting point, use them within about five to seven days, discarding them sooner if you notice any signs of spoilage.
In the freezer: Freeze the treats in a freezer-safe container or bag if you want to keep them longer. Separate them into small portions so you can thaw only what you need. Thaw in the refrigerator and use promptly.
Discard treats that develop mold, an unusual smell, or a change in texture. When in doubt, throw them away.
How Many Pumpkin Dog Treats Should You Give Your Dog?
The right serving size depends on your dog’s weight, age, activity level, health, and usual diet. Even treats made with simple ingredients contribute calories.
Veterinary nutrition guidance commonly recommends keeping treats and other extras to around 10% or less of a dog’s daily calorie intake, with the remaining calories coming from a nutritionally complete and balanced diet.
For these homemade pumpkin treats, start with a small piece and see how your dog responds. You can break larger biscuits into smaller portions to make them last longer.
If your dog has diabetes, digestive sensitivities, food allergies, or another medical condition requiring dietary management, ask your veterinarian whether these treats are appropriate.
Can Puppies Eat These Pumpkin Dog Treats?
Puppies may be able to eat small amounts of suitable homemade treats once they are old enough for solid food, but the texture and size matter.
For young puppies, make sure the treat is small, easy to chew, and not excessively hard. Very hard biscuits can be unsuitable for puppies with developing teeth or limited chewing ability.
Introduce new foods gradually and avoid letting treats displace the complete and balanced puppy food needed for growth.
If you are preparing treats for a very young puppy or one with digestive problems, check with your veterinarian first.
Can You Use a Different Type of Flour?
Yes, but the results may change.
All-purpose wheat flour is a convenient starting point for dogs that tolerate wheat. Whole-wheat flour may produce a denser biscuit, while alternative flours can absorb moisture differently and may require different proportions.
If your dog needs a wheat-free recipe, choose an alternative that is suitable for dogs and appropriate for their dietary needs. Rice flour, for example, may work in some homemade dog treat recipes, but you may need to adjust the amount of pumpkin to get a dough that holds together.
Do not assume that every flour can replace wheat flour cup for cup.
If your dog has a diagnosed food allergy, consult your veterinarian about suitable ingredients rather than experimenting with multiple alternatives.
Can You Make These Pumpkin Dog Treats Without a Cookie Cutter?
Absolutely. A cookie cutter is not necessary.
You can roll the dough into small balls and flatten them gently with your fingers, or divide the dough into small squares using a knife.
For a simple homemade batch, uniform pieces are more important than decorative shapes because they help the treats bake evenly.
If you make round treats, flatten them slightly so the centers bake properly. Keep the sizes appropriate for your dog and avoid shapes that could be difficult to chew or swallow.
Are Two-Ingredient Pumpkin Dog Treats Healthy?
These treats can be a simple occasional snack, but their nutritional value depends on the ingredients and your dog’s overall diet.
Plain pumpkin contains fiber and can contribute moisture to the recipe. Flour provides structure and energy, but it also contributes carbohydrates and calories.
The treats are not a complete meal and should not replace your dog’s regular balanced food. Pumpkin is also not a guaranteed remedy for digestive problems. If your dog has persistent diarrhea, constipation, vomiting, or other concerning symptoms, seek veterinary advice instead of relying on treats.
The most useful thing about this recipe is its simplicity: you know which two ingredients you are using and can make a small batch to see whether your dog enjoys it.
Ingredient Safety Tips for Homemade Dog Treats
Before preparing any homemade dog treat, check each ingredient carefully.
- Use plain pumpkin puree without added sugar, spices, or flavorings.
- Choose flour that your dog can safely tolerate.
- Avoid adding chocolate, raisins, grapes, or ingredients containing xylitol, which is toxic to dogs.
- Do not add unnecessary salt, sugar, or sweeteners.
- Wash your hands and use clean utensils and baking equipment.
- Allow the treats to cool completely before serving.
- Introduce new treats gradually and watch for digestive upset or signs of an allergic reaction.
If your dog accidentally eats an ingredient known to be toxic, contact a veterinarian or animal poison service promptly.
Final Thoughts on 2-Ingredient Puffy Pumpkin Dog Treats
These 2-ingredient puffy pumpkin dog treats are a simple way to prepare a homemade snack with plain pumpkin puree and flour. You do not need complicated equipment, expensive ingredients, or elaborate decorating techniques to make a batch.
The most important steps are getting the dough consistency right, keeping the pieces a similar thickness, baking them thoroughly, and storing them safely. The treats may puff slightly, but their final texture will depend on the ingredients and baking conditions.
Start with a small batch, offer an appropriate portion, and see how your dog enjoys them. With a little practice, you can adjust the size and texture to suit your dog’s preferences while keeping the ingredient list simple.
A quick reminder: Homemade treats are occasional extras, not substitutes for complete and balanced dog food. If your dog has dietary restrictions or a medical condition, check with your veterinarian before introducing a new recipe.