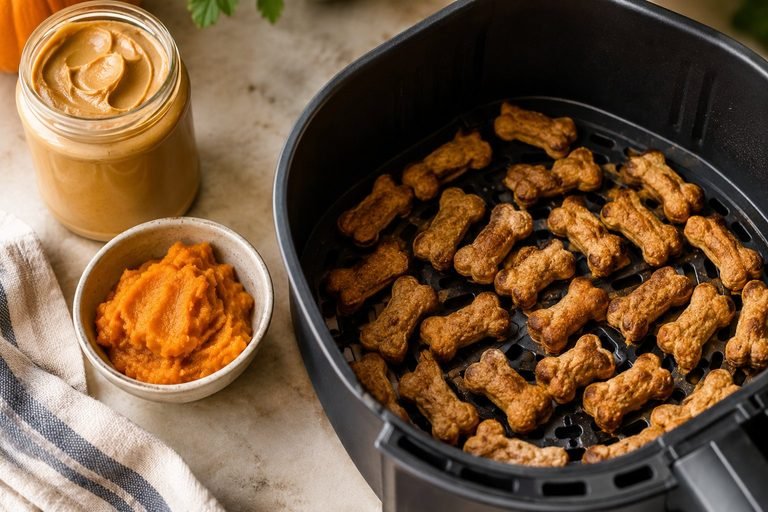
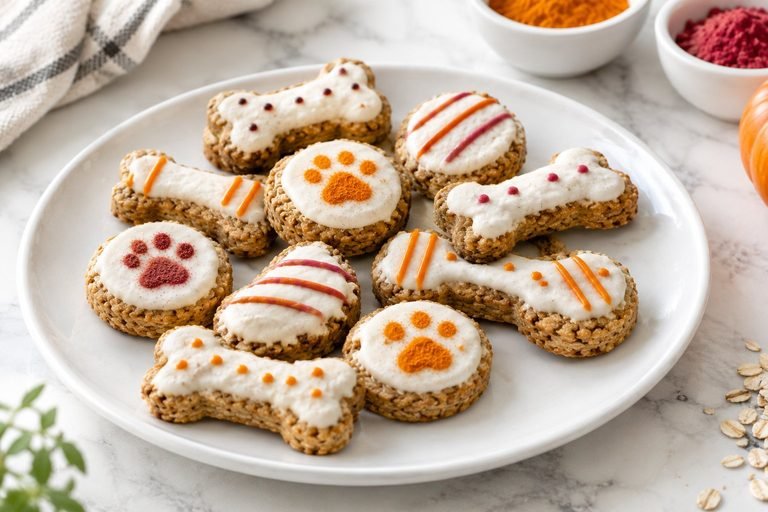
3 Ingredient Dog Treats Recipe: Easy Homemade Treats Your Dog Will Love
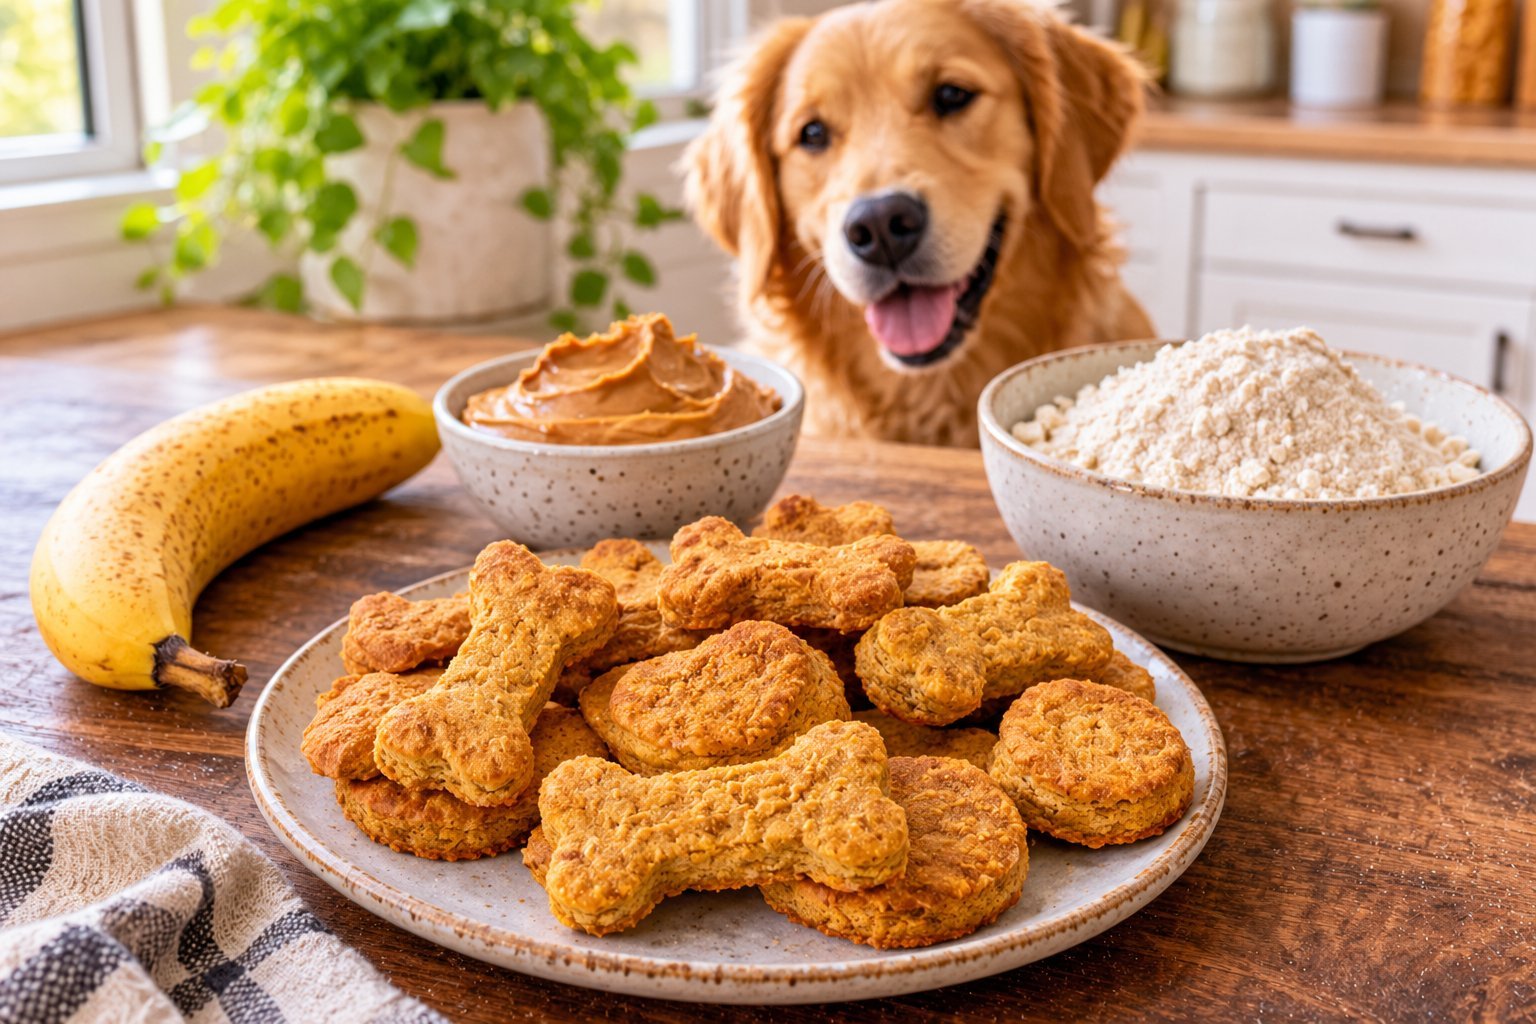
Making homemade dog treats does not have to involve complicated recipes, expensive ingredients, or a kitchen full of baking equipment.
Sometimes, three simple ingredients are all you need to prepare a batch of tasty snacks for your dog at home.
I like the idea of keeping homemade dog treats simple because it makes the process easier to manage.
When you know exactly what goes into each batch, you can avoid unnecessary additives and choose ingredients that suit your dog’s needs.
You can also make smaller batches, which is helpful when you want fresh treats without filling your cupboards with store-bought snacks.
This 3 ingredient dog treats recipe uses peanut butter, banana, and oat flour to create a simple dough that you can mix, shape, and bake.

The ingredients are easy to work with, and you do not need a stand mixer or any specialized equipment.
The banana helps bind the dough and adds natural sweetness, while the oat flour provides structure. Peanut butter contributes flavor, making these treats appealing to many dogs.
The final texture will depend on the moisture in your banana and the consistency of your peanut butter, so a few small adjustments may be necessary.
Before you begin, make sure the peanut butter is xylitol-free. Xylitol is toxic to dogs, and some peanut butter products contain it.
Choose plain, unsweetened peanut butter without chocolate or other potentially harmful additions.
In this guide, I will explain which ingredients to use, how to prepare the dough, how to bake the treats, and how to store them safely.
I will also share practical tips for adjusting the texture and choosing appropriate portions for your dog.
Why Make Homemade 3 Ingredient Dog Treats?
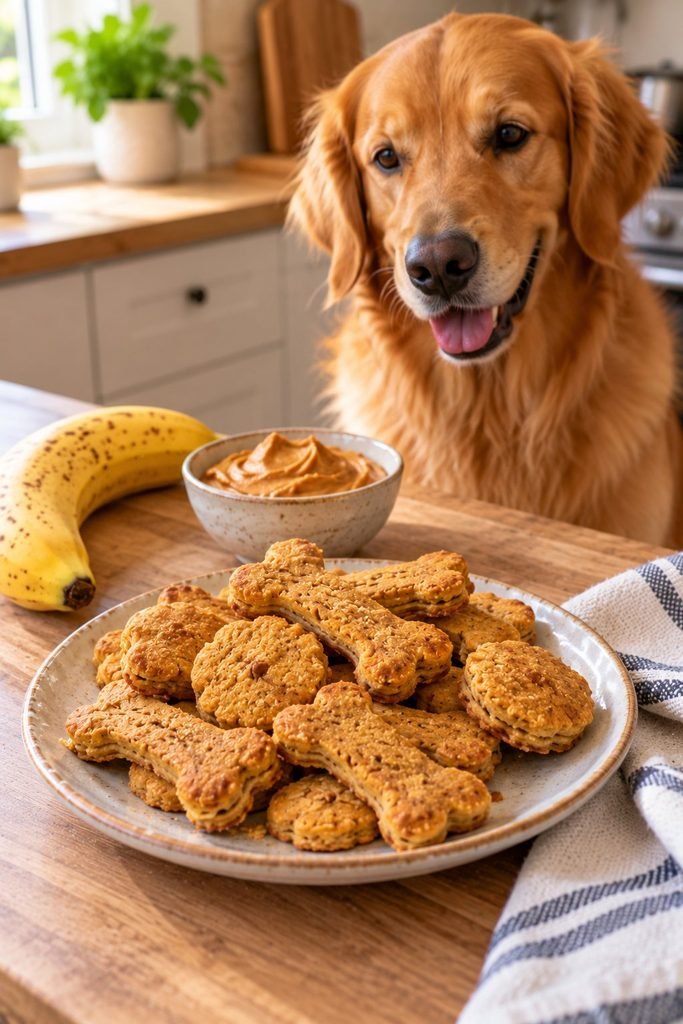
One of the best things about making dog treats at home is having control over the ingredient list.
Instead of buying a product with ingredients you may not recognize, you can prepare a straightforward recipe using a few familiar foods.
These treats are especially useful when you want a simple snack for training, occasional rewards, or something special to offer your dog between meals.
Here are a few reasons to try this recipe:
- Only three ingredients: You can prepare the dough using banana, peanut butter, and oat flour.
- Simple preparation: The ingredients can be mixed by hand in one bowl.
- No complicated equipment: A mixing bowl, spoon, baking tray, and oven are enough.
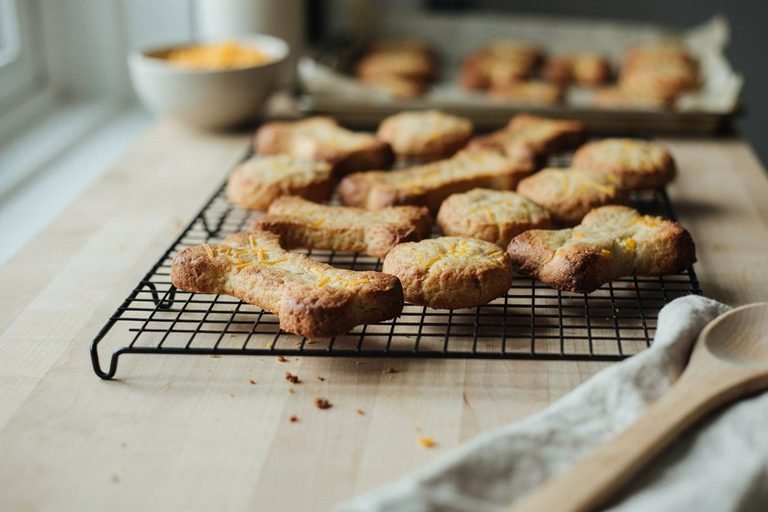
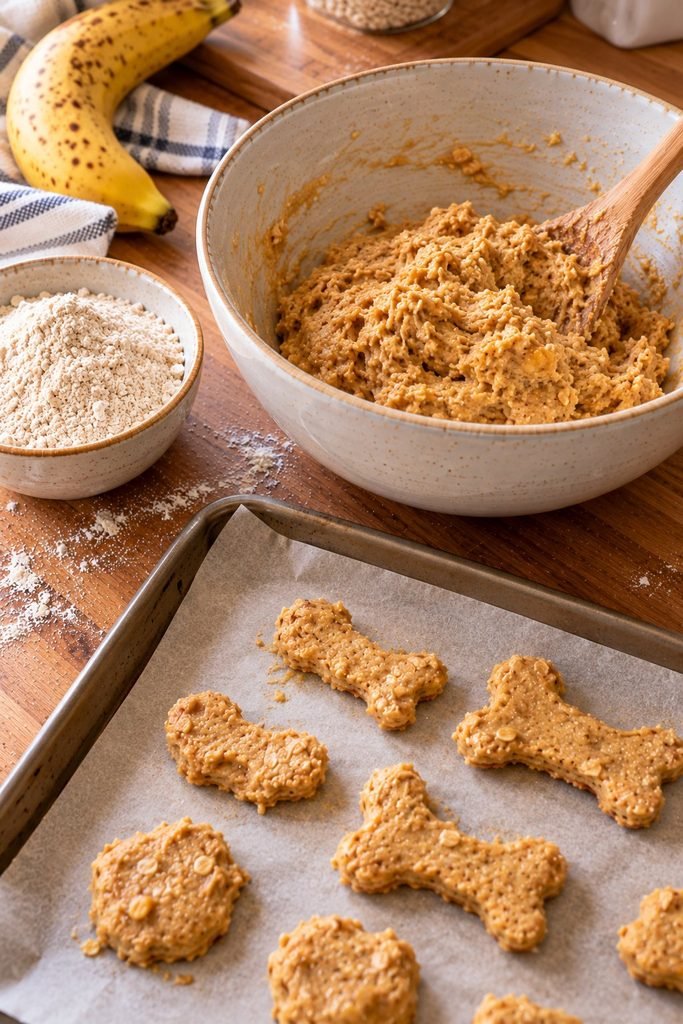
- Easy to customize: You can make small biscuits or use a dog-bone cookie cutter to create different shapes.
- Convenient for batch preparation: You can bake a small quantity and freeze suitable portions for later.
Another advantage is that you can control the size of the treats. Smaller pieces are often more convenient for training because you can reward your dog without giving a large biscuit every time.
However, homemade treats are still treats. They contain calories and should complement a complete and balanced diet rather than replace your dog’s regular food.
Ingredients for This 3 Ingredient Dog Treats Recipe
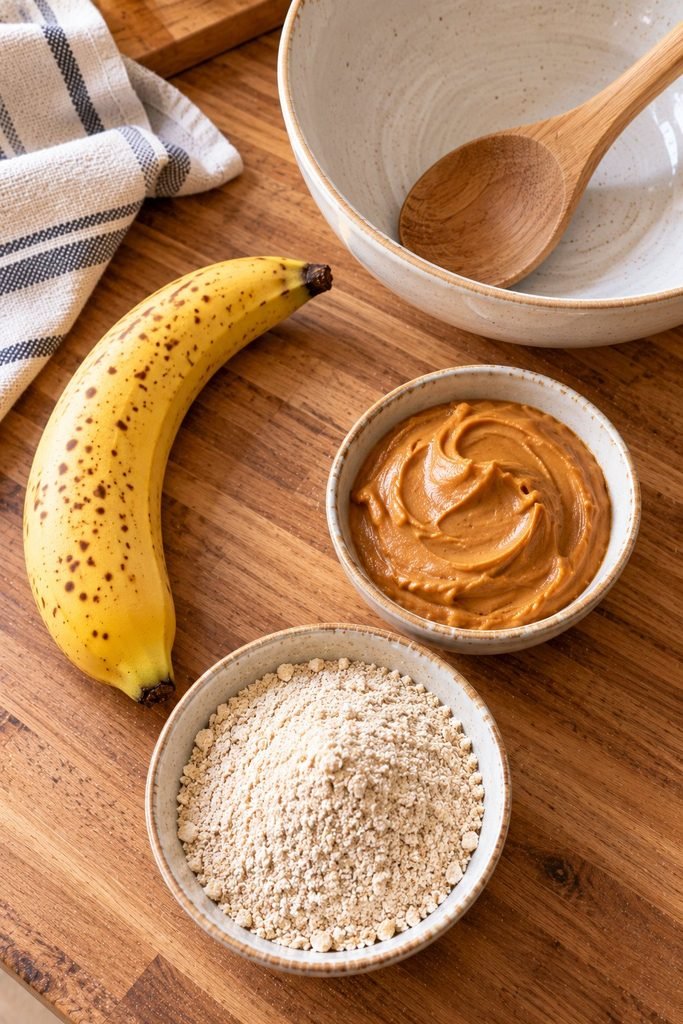
You only need three ingredients for this recipe. The quantities below provide a useful starting point for a small homemade batch.
1. Ripe Banana
A ripe banana helps bind the dough and provides moisture. It also contributes natural sweetness and flavor without requiring added sugar.
Choose a ripe banana that mashes easily with a fork. Very firm bananas can be harder to incorporate evenly, while an overly wet banana may make the dough sticky.
Peel the banana before mashing it, and remove any damaged portions. You do not need to add the peel.
Banana is generally safe for dogs in modest quantities, but it contains natural sugars and carbohydrates. Keep portions appropriate for your dog’s size and overall diet.
2. Plain Peanut Butter
Peanut butter gives these treats a familiar flavor that many dogs enjoy. It also helps bring the ingredients together into a workable dough.
Choose plain peanut butter without xylitol, chocolate, or unnecessary sweeteners. Read the ingredient label every time you buy a new product because formulations can change.
Some peanut butters contain added salt or oils, so a simple, unsweetened option is preferable when available.
If your dog has a history of food allergies, digestive sensitivity, or dietary restrictions, check with your veterinarian before introducing peanut butter.
3. Oat Flour
Oat flour provides the structure needed to shape and bake the treats. You can purchase oat flour or make your own by blending plain rolled oats into a fine powder using a clean blender or food processor.
Use plain oats without added sugar, flavorings, or other ingredients.
Oat flour absorbs moisture differently depending on how finely it is ground. This means you may need slightly more or less than the amount specified to get a dough that is easy to handle.
If your dog has a grain allergy or follows a prescribed diet, ask your veterinarian whether oats are appropriate before using them.
Exact Measurements for the Recipe
For a basic batch, start with these quantities:
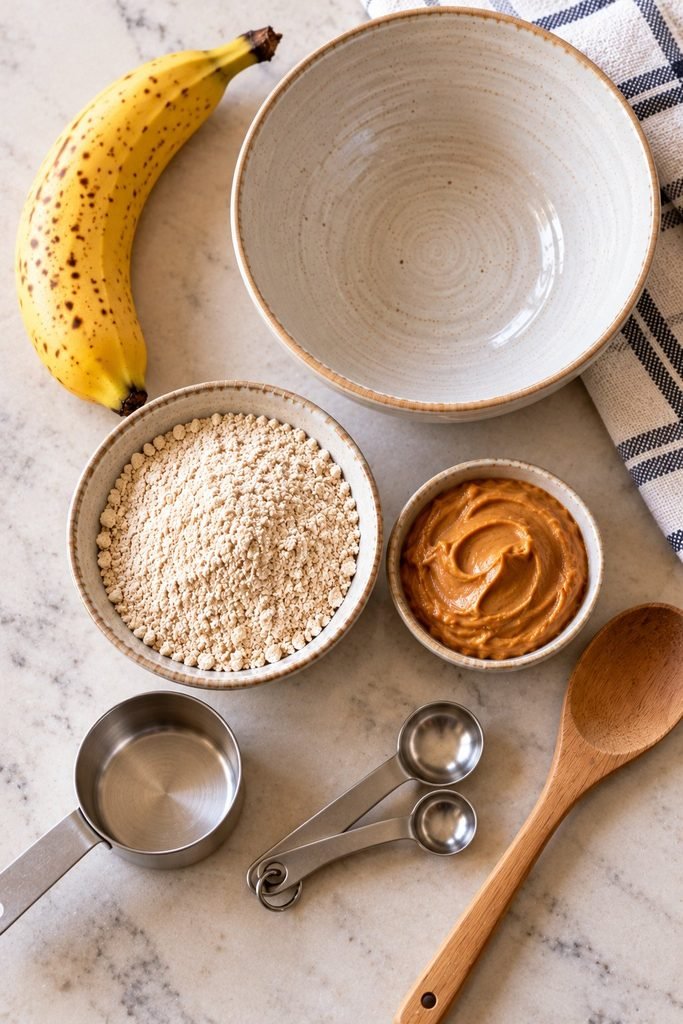
- 1 ripe banana, mashed
- ½ cup plain, xylitol-free peanut butter
- 1 cup oat flour, with a little extra available if needed
The exact amount of flour may vary depending on the size of your banana, the thickness of the peanut butter, and how finely the oats are ground.
Your goal is a soft dough that holds together without sticking excessively to your fingers. If it is too sticky, add oat flour a tablespoon at a time. If it becomes too dry or crumbly, add a small amount of mashed banana or peanut butter until the dough comes together.
Do not add extra ingredients unless you need to adjust the consistency.
Kitchen Equipment You Will Need
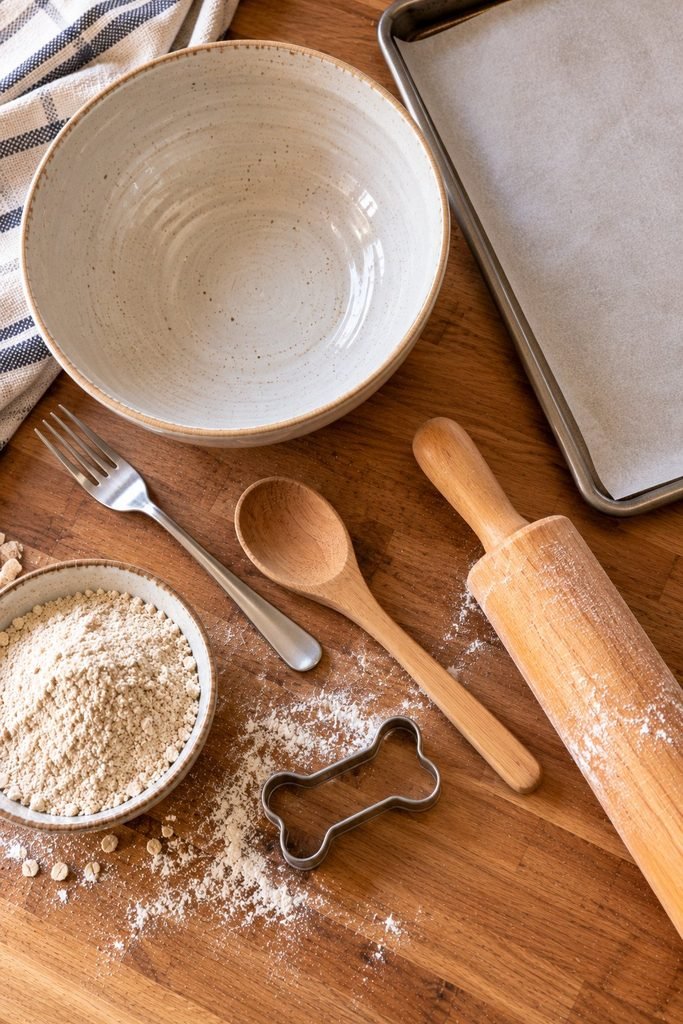
You do not need special baking tools for this recipe. Basic kitchen equipment is enough to prepare the treats.
- A medium mixing bowl
- A fork for mashing the banana
- A spoon or spatula
- A baking tray
- Baking parchment or a suitable nonstick lining
- A small cookie cutter or knife, if you want shaped biscuits
A rolling pin is optional. You can flatten the dough with your hands if you do not have one.
If you are making oat flour from rolled oats, you will also need a blender or food processor.
How to Make 3 Ingredient Dog Treats
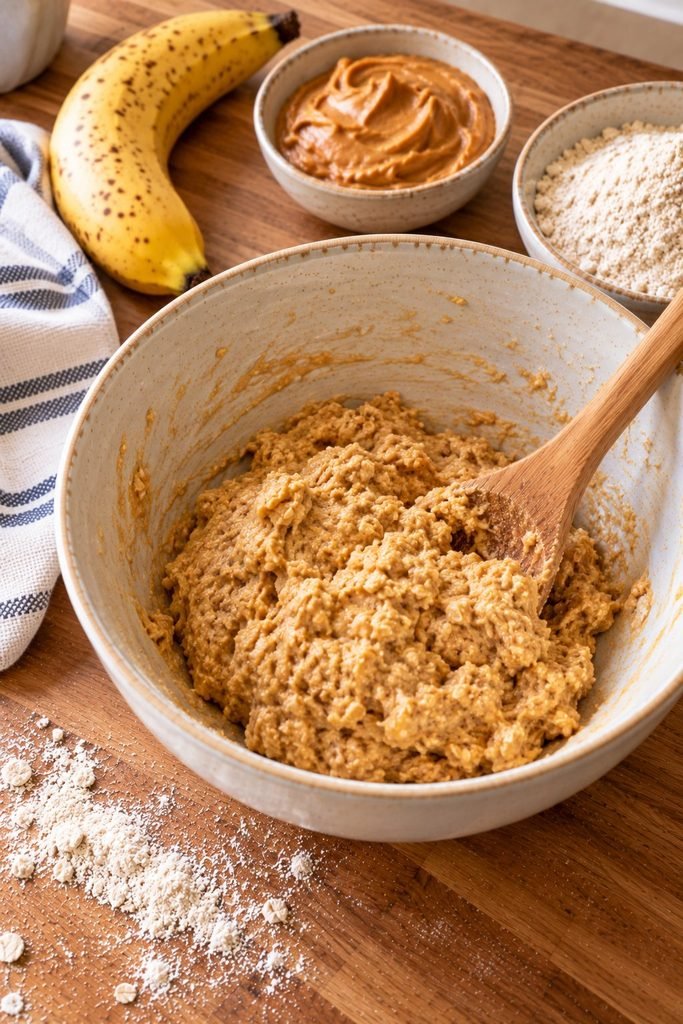
The preparation is straightforward, and the most important step is getting the dough to the right consistency. Follow these steps for a simple batch of homemade banana and peanut butter dog biscuits.
Step 1: Preheat the Oven
Preheat your oven to 350°F (175°C).
Prepare a baking tray by lining it with baking parchment or another suitable nonstick baking surface.
Preparing the tray before mixing the dough makes the next steps easier, especially if you need to work quickly before the dough begins to dry out.
Step 2: Mash the Banana
Peel the ripe banana and place it in a mixing bowl. Mash it with a fork until most of the larger lumps have disappeared.
You do not need to turn it into a completely smooth puree, but a reasonably even consistency helps the ingredients combine more easily.
If the banana is unusually large or watery, you may need a little extra oat flour later.
Step 3: Add the Peanut Butter
Add the plain peanut butter to the mashed banana.
Stir until the mixture looks reasonably smooth and the peanut butter is evenly distributed. Depending on the thickness of your peanut butter, this may take a little effort.
Make sure the peanut butter is safe for dogs and does not contain xylitol.
Step 4: Mix in the Oat Flour
Gradually add the oat flour, stirring as you go.
Continue mixing until the ingredients begin to form a dough. Once the mixture becomes too thick to stir comfortably, use your hands to bring it together.
The dough should be soft and slightly pliable rather than runny. If it sticks heavily to your hands, add a little more oat flour. If it crumbles apart, add a small amount of mashed banana.
Adding the flour gradually gives you better control over the final texture.
Step 5: Roll and Shape the Treats
Place the dough on a lightly floured surface and flatten it to approximately ¼ inch thick.
Use a small dog-bone cookie cutter, a knife, or your hands to shape the treats. Simple squares and small rounds work just as well as decorative shapes.
Try to keep the pieces similar in thickness so they bake evenly. For small dogs, make smaller biscuits that are easier to portion.
Arrange the shaped pieces on the prepared baking tray, leaving a little space between them.
Step 6: Bake the Treats
Bake at 350°F (175°C) for approximately 15 to 20 minutes, checking them toward the end of the baking time.
Smaller or thinner pieces may finish sooner, while thicker biscuits may need longer. The treats should be set and lightly golden, with a firm surface.
Because these treats contain banana and peanut butter, they may remain slightly softer than some dry commercial biscuits. Do not rely on color alone to determine whether they are ready.
If you prefer a drier texture, you can allow the treats to dry further in a low oven after baking, monitoring them carefully to prevent burning.
Step 7: Cool Before Serving
Remove the baking tray from the oven and allow the treats to cool completely before offering one to your dog.
The biscuits may firm up as they cool. Check their texture and break a larger treat into a smaller piece if needed.
Start with a small portion, particularly if your dog has not eaten these ingredients together before.
Tips for Getting the Best Texture
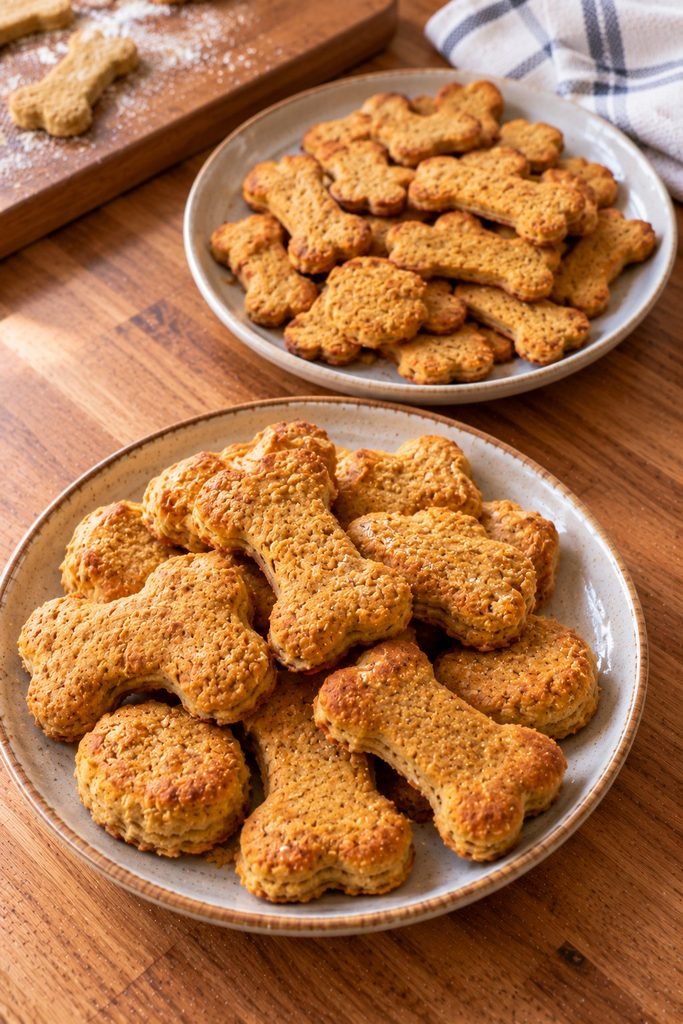
The texture of homemade dog treats depends on the ingredients, the thickness of the dough, and how long the biscuits bake. You do not need to make the recipe complicated to get good results.
Use a ripe banana. A ripe banana is easier to mash and mix into the dough. However, if it is extremely soft or watery, you may need a little extra oat flour.
Add the oat flour gradually. Different brands and grinds of oat flour absorb moisture differently. Adding it in stages helps you avoid making the dough too dry.
Keep the biscuits a similar thickness. Pieces that are approximately ¼ inch thick will generally bake more evenly than a mixture of very thick and very thin pieces.
Avoid adding too much flour. A dry, crumbly dough can produce dense biscuits that break apart easily. If this happens, work in a small amount of mashed banana until the dough holds together.
Allow the treats to cool completely. The biscuits may become firmer as they cool. Letting them cool before storing also helps prevent condensation from forming inside the container.
If your first batch turns out softer than expected, you can try making the next batch slightly thinner or allowing the biscuits to dry for longer at a low temperature.
Common Mistakes to Avoid
Even a three-ingredient recipe can go wrong if the ingredients are unsuitable or the dough is not prepared properly.
Using Peanut Butter That Contains Xylitol
This is the most important ingredient safety issue in this recipe. Xylitol is highly toxic to dogs and may appear in some peanut butter products and other foods.
Read the full ingredient list before using peanut butter. If a product contains xylitol, do not use it for your dog.
If your dog eats peanut butter containing xylitol, contact a veterinarian or animal poison service immediately. Do not wait for symptoms to appear.
Making the Dough Too Sticky
If your dough sticks excessively to your hands or work surface, it may contain too much moisture.
Add oat flour a tablespoon at a time until the dough becomes easier to handle. Avoid adding large amounts at once because that can make the treats dry and hard.
Baking the Treats for Too Long
Overbaking can make the biscuits excessively hard, especially if they are small or thin.
Check them near the end of the suggested baking time. If your dog is small, older, or has difficulty chewing, avoid making treats that are too hard.
Using Flavored or Sweetened Oats
Choose plain oats or plain oat flour. Flavored instant oatmeal may contain added sugar, sweeteners, or other ingredients that are unsuitable for dogs.
Simple ingredients make it easier to control what goes into each batch.
Storing the Treats While They Are Warm
Warm biscuits can release moisture into an airtight container. This can encourage mold and spoilage.
Let the treats cool completely before storing them, and use refrigeration or freezing when appropriate.
Can You Make These Dog Treats Without Oat Flour?
Yes, but the texture and proportions may change.
If you do not have oat flour, you can make it by blending plain rolled oats into a fine powder. This is often the simplest option because it keeps the recipe close to the original.
Other flours may work, but they do not all absorb moisture in the same way. Rice flour, for example, can produce a different texture and may make the dough more crumbly. Wheat flour may work for dogs that tolerate wheat, but it will also change the recipe.
If you substitute a different flour, start with a smaller amount and add more gradually until the dough is manageable.
For dogs with diagnosed food allergies or prescribed diets, consult your veterinarian before introducing alternative ingredients.
Can You Make 3 Ingredient Dog Treats Without a Cookie Cutter?
Absolutely. You can prepare this recipe without purchasing any special baking tools.
After mixing the dough, roll it into small balls and flatten them gently with your fingers. You can also cut the dough into small squares using a knife.
The shape does not affect whether the treats are suitable for your dog, but the thickness does affect how evenly they bake.
Try to make the pieces similar in size and thickness. If you have a small dog, you can make smaller biscuits or break larger ones into manageable portions.
How to Store Homemade 3 Ingredient Dog Treats
Homemade treats made with banana and peanut butter retain moisture, so storage needs a little attention.
Their shelf life depends on how thoroughly they are baked, how much moisture remains, and the conditions in which they are stored.
At room temperature: Do not assume these treats are shelf-stable simply because they have been baked.
If they remain soft or moist inside, refrigeration is the safer option. Only store thoroughly dried treats at room temperature, and use them promptly.
In the refrigerator: Allow the biscuits to cool completely, then place them in a clean, airtight container and refrigerate them.
As a conservative starting point, use them within about five to seven days, discarding them sooner if you notice any signs of spoilage.
In the freezer: Freeze the cooled treats in a freezer-safe container or bag if you want to keep them longer.
Divide them into small portions so you can take out only what you need. Thaw them in the refrigerator and use them promptly.
Discard any treats that develop mold, an unusual smell, or an unexpected change in texture. When in doubt, throw them away.
How Many Homemade Dog Treats Should You Give Your Dog?
The appropriate serving size depends on your dog’s size, age, activity level, health, and normal diet.
These treats contain calories from banana, peanut butter, and oats, so they should be offered in moderation.
A commonly used veterinary nutrition guideline is to keep treats and other extras to around 10% or less of a dog’s daily calorie intake, with the rest coming from complete and balanced food.
For this recipe, start with a small piece and see how your dog responds. You can break larger biscuits into smaller pieces for training or occasional rewards.
If your dog needs to manage its weight, has diabetes, or follows a veterinary diet, ask your veterinarian how these treats can fit into its daily food allowance.
Are These 3 Ingredient Dog Treats Healthy?
These homemade treats can be an occasional snack for many dogs when prepared with suitable ingredients and offered in appropriate portions.
Bananas provide carbohydrates and some fiber. Oats contribute carbohydrates and other nutrients, while peanut butter adds flavor and fat. However, peanut butter can be calorie-dense, so portion size matters.
These treats are not a complete and balanced meal and should not replace your dog’s regular food.
Also, a homemade recipe is not automatically appropriate for every dog. Some dogs may have food sensitivities, allergies, digestive problems, or dietary restrictions that make one or more ingredients unsuitable.
Introduce new treats gradually and contact your veterinarian if your dog develops persistent vomiting, diarrhea, itching, or other concerning symptoms.
Can Puppies Eat These Homemade Dog Treats?
Some puppies can enjoy small pieces of suitable homemade treats once they are eating solid food, but their age, size, and chewing ability matter.
Make the biscuits small enough to serve safely and avoid excessively hard pieces that may be difficult for a puppy to chew. Treats should not displace the complete and balanced puppy food needed for healthy growth.
If you are making treats for a very young puppy or one with digestive issues, check with your veterinarian first.
Ingredient Safety Tips to Remember
Before making this recipe, keep these basic safety points in mind:
- Use peanut butter that is confirmed to be free of xylitol.
- Avoid peanut butter containing chocolate or unnecessary sweeteners.
- Use plain oats or oat flour without added flavorings.
- Do not add chocolate, grapes, raisins, or ingredients containing xylitol.
- Introduce the treats gradually and watch for digestive upset.
- Keep portions small and appropriate for your dog’s size.
- Store the finished treats properly and discard anything that appears spoiled.
If your dog has known food allergies or follows a special diet, ask your veterinarian whether the recipe is appropriate.
Final Thoughts on This 3 Ingredient Dog Treats Recipe
This 3 ingredient dog treats recipe is a straightforward way to make homemade biscuits using banana, plain peanut butter, and oat flour.
The dough is easy to mix, the shapes can be customized, and you do not need specialized baking equipment.
The most important things are choosing safe ingredients, adjusting the dough gradually, baking the biscuits until set, and storing them carefully.
You can make small batches to see which texture your dog prefers without wasting ingredients.
Remember to check your peanut butter label for xylitol, allow the biscuits to cool before serving, and offer them as occasional treats rather than a replacement for balanced dog food.
With a little practice, this simple recipe can become a convenient option when you want to prepare a homemade snack for your dog.