DIY Macrame Cat Hammock Your Cat Will Love
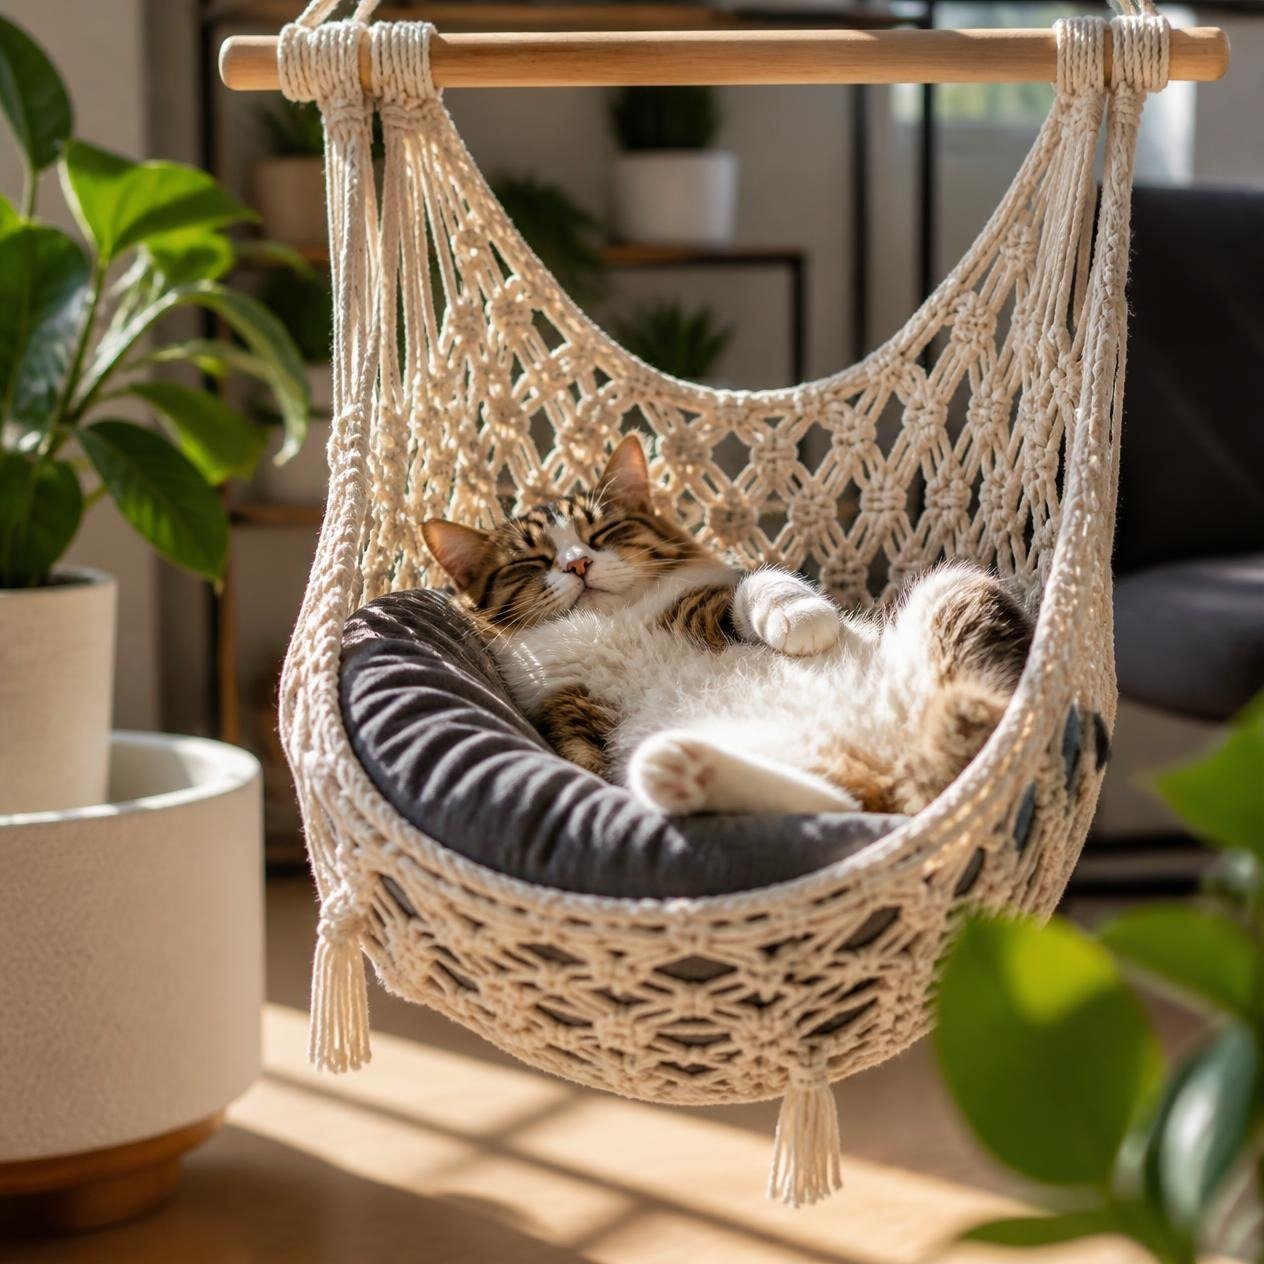
Making a DIY macrame cat hammock is a lovely way to give your cat a cozy place to relax without taking up much floor space.
I especially like the idea of using macrame because the knotted design adds a handmade touch to a room while creating a comfortable little resting spot for a curious cat.
Whether you have a kitten who loves curling up in warm corners or an adult cat who enjoys watching the world from a favorite perch, a hammock can become a useful addition to your home.
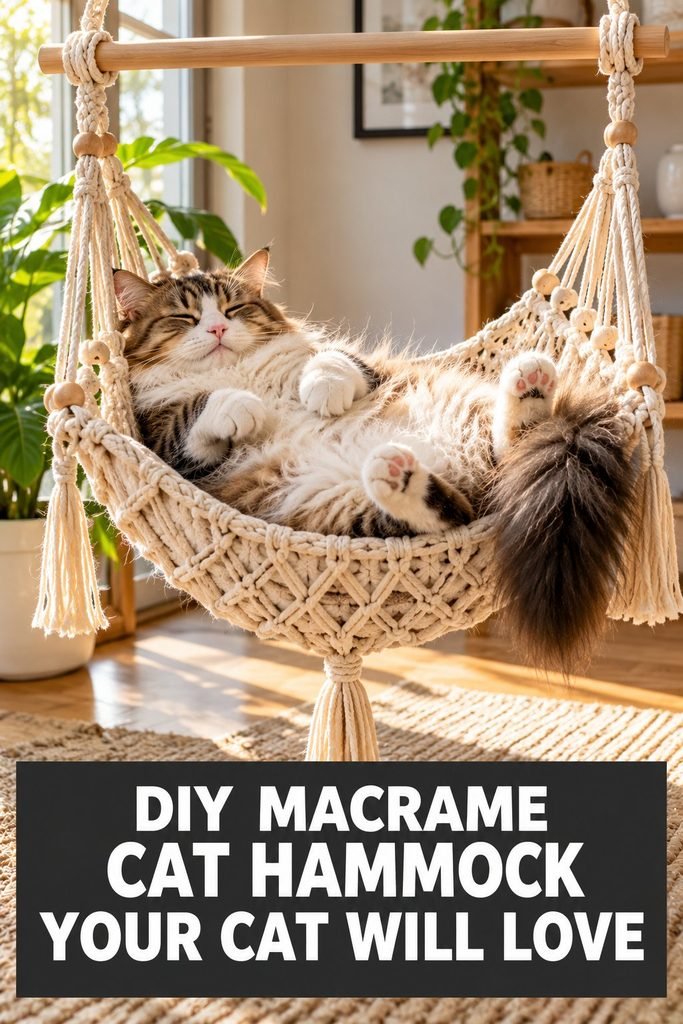
The best part is that you do not need to be an expert at macrame to get started. With sturdy cord, a suitable wooden dowel or frame, a few basic knots, and a little patience, you can create a simple cat hammock that fits your space and your decorating style.
You can keep the design neutral and minimal, add a soft washable cushion, or choose colors that complement your existing furniture.
In this guide, I will walk you through the materials, preparation, basic knots, and step-by-step process for making a DIY macrame cat hammock.
I will also cover mounting, comfort, cleaning, and important safety checks so your finished project is not just attractive but practical for everyday use.
Why Make a DIY Macrame Cat Hammock?
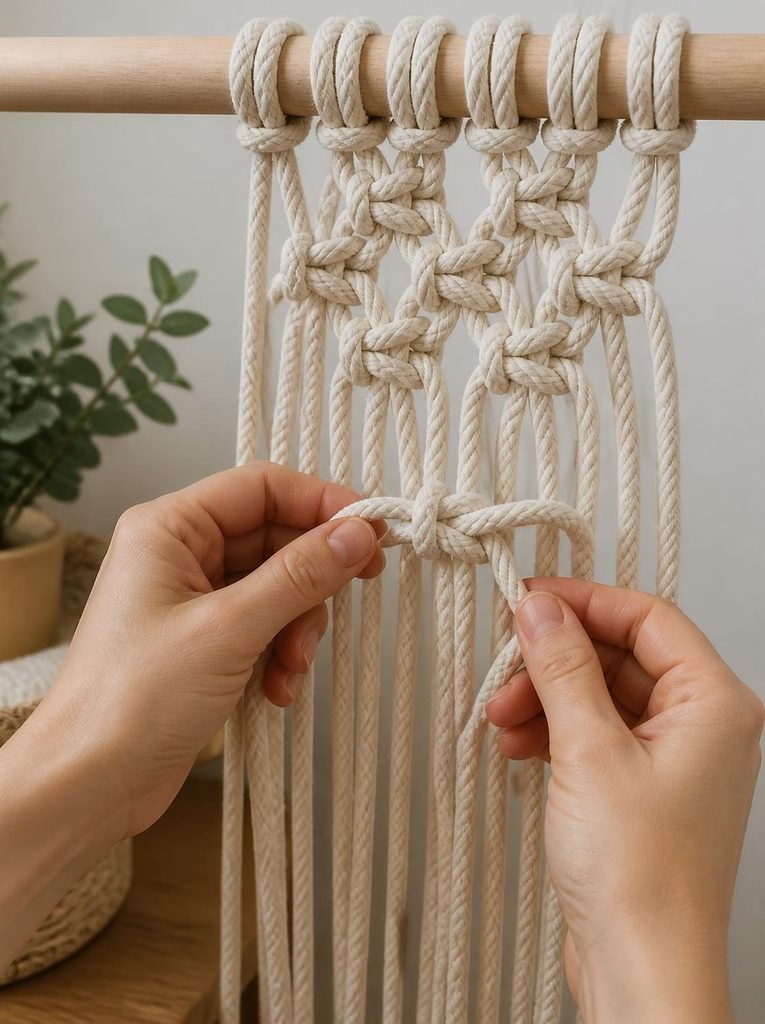
A homemade macrame cat hammock can be a practical alternative to bulky cat furniture, especially if you live in a small apartment or want to make better use of an unused corner.
Instead of buying a ready-made hammock that may not suit your room, you can customize the size, cord color, hanging length, and overall style to fit your home.
Here are a few reasons this project is worth considering.
It Saves Floor Space
One of the biggest advantages of a hanging cat hammock is that it keeps your cat’s resting area off the floor.
You can suspend it from a properly secured, suitable support or build it into a freestanding frame designed to carry your cat’s weight.
This can be particularly helpful in smaller homes where every bit of floor space matters.
Before choosing a hanging location, think about how your cat moves around the room. A hammock should be easy to reach and should not force your cat to make a risky jump to get in or out.
It Adds a Handmade Touch to Your Home
Macrame has a naturally textured appearance that works well with many decorating styles, including bohemian, Scandinavian, rustic, and minimalist interiors.
Cotton-colored cord creates a soft, understated look, while muted green, terracotta, or other earthy shades can make the hammock feel like part of your decor.
You can also keep the design simple. A sturdy, closely knotted sleeping surface with neat fringe or short decorative details can look beautiful without making the project unnecessarily complicated.
You Can Customize It for Your Cat
Cats have different preferences when it comes to resting. Some like curling up in enclosed spaces, while others prefer an open surface where they can stretch out and observe their surroundings.
Making your own hammock gives you more control over the dimensions and shape.
You can create a compact resting spot for a small cat or a wider platform for a larger cat, provided the finished design and support system are appropriate for its size and weight.
A removable cushion or washable fabric insert can also make the hammock more inviting, especially if your cat prefers a soft surface rather than resting directly on knotted cord.
It Can Be an Enjoyable DIY Project
If you enjoy handmade home decor, this project is a useful way to practice basic macrame knots while making something your cat may actually use. You do not need an elaborate pattern to create an attractive result.
The important thing is to focus on construction first. The hammock must have a secure support system, a stable sleeping surface, and knots that will not loosen under normal use. Decorative details should come afterward.
What You Need to Make a DIY Macrame Cat Hammock
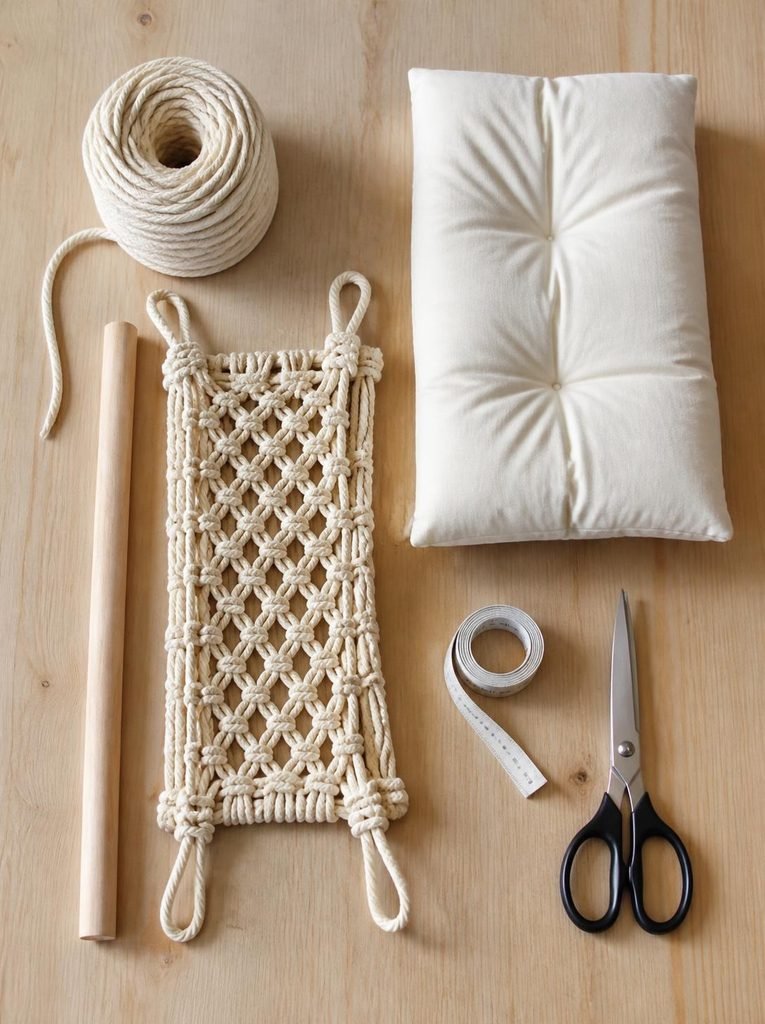
Gather your materials before you begin. Choosing the right cord and support is more important than adding complicated decorative knots.
Here are the basic supplies for a straightforward macrame hammock.
1. Strong Macrame Cord
Choose a durable cord suitable for the size and weight of your cat. Cotton cord is popular because it is soft to handle and gives the hammock a natural appearance, but the finished piece must still be strong enough for its intended use.
Avoid assuming that a cord is safe simply because it feels thick. Check the manufacturer’s specifications, the cord’s condition, and how the knots behave under load. Do not use frayed, brittle, or damaged cord.
For a cat hammock, I would prioritize strength, a secure knotting pattern, and a tightly constructed surface over decorative fringe or delicate openwork.
2. A Wooden Dowel or Suitable Frame
A wooden dowel can help form the upper edge of a simple hanging hammock. Choose one that is appropriately sized and strong enough for the design, and make sure it has no splinters or sharp edges.
The dowel itself is only one part of the support system. The hooks, brackets, frame, wall anchors, or ceiling fixings must also be rated for the expected load and installed into an appropriate structural support.
Ordinary adhesive hooks and lightweight decorative fixtures are not suitable for supporting a cat.
If you prefer not to drill into a wall or ceiling, consider a purpose-built freestanding frame with a stable base. It must not tip or slide when your cat climbs onto the hammock.
3. Scissors and a Measuring Tape
Sharp scissors help you cut the cord cleanly, while a measuring tape makes it easier to keep both sides even. Measure the intended resting area before cutting your cord, and allow extra length for knots and finishing.
Macrame uses more cord than the finished design may initially suggest. Knots consume length, so cutting every strand to the exact length of the hammock can leave you short before the project is complete.
4. A Removable Cushion or Fabric Insert
A cushion is optional, but it can make the hammock more comfortable for cats who prefer a soft sleeping surface. Choose a washable insert that fits securely without covering the entire hammock in a way that hides loose knots or damaged cord.
Avoid buttons, beads, dangling ties, and other small decorative pieces that a cat might chew or swallow. The insert should be easy to remove for cleaning and inspection.
5. Suitable Mounting Hardware
Your mounting hardware depends on whether you are making a wall-mounted, ceiling-mounted, or freestanding hammock. Use hardware intended for the installation surface and rated for the load.
If you are uncertain about wall construction, ceiling joists, anchors, or load capacity, choose a stable freestanding design or ask a qualified person to help with installation. A beautifully knotted hammock is not safe if its mounting point fails.
Before You Start: Choose the Right Hammock Design
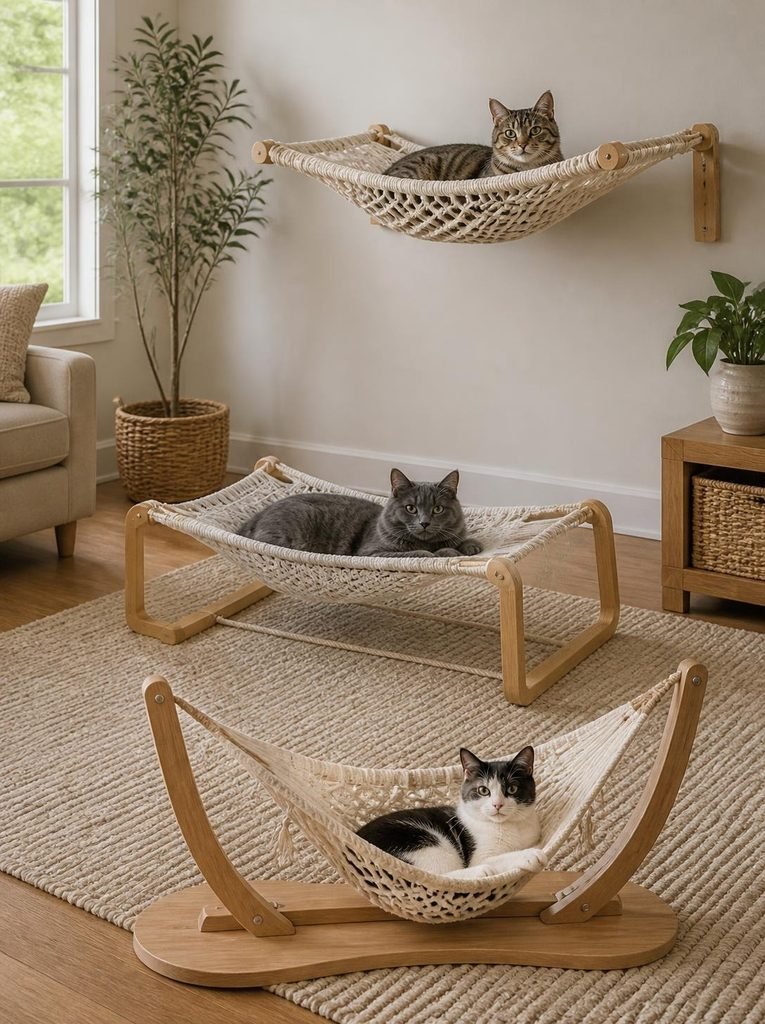
Before cutting any cord, decide how you want the finished hammock to look and where your cat will use it. This helps you estimate the size, select the right support, and avoid wasting materials.
10
Option 1: A Simple Hanging Hammock
This design uses a knotted macrame surface suspended from a suitable support. It is a good choice if you already have an appropriate mounting location and want a lightweight-looking design.
The sleeping surface should be closely knotted enough to support your cat evenly, without large openings where paws or claws can become caught. Keep the finished hammock level and avoid excessive swinging.
Option 2: A Window-Side Hammock
Cats often enjoy watching birds, people, and activity outside. A hammock near a window can provide an appealing resting place, but the location requires extra care.
Do not attach a homemade hammock directly to a window using suction cups or improvised fittings unless the entire system is specifically designed and rated for the cat’s weight and movement.
A securely mounted wall support or stable freestanding frame near the window is a safer approach.
Also make sure the window is securely closed or protected with a strong, properly fitted pet-safe screen. An open window can create a serious fall risk, even for cats that seem confident.
Option 3: A Freestanding Macrame Cat Hammock
A freestanding design is useful if you rent your home or do not want to drill into structural surfaces. You can suspend the macrame bed from a purpose-built frame that rests on the floor.
The frame needs a wide, stable base and secure joints. It should remain steady when your cat climbs in, shifts position, or jumps down. Test the frame for movement before allowing your cat to use it.
For many beginners, this is a sensible design to consider because it avoids uncertainty about wall anchors, provided the frame itself is properly constructed and stable.
How to Measure Your Cat Hammock
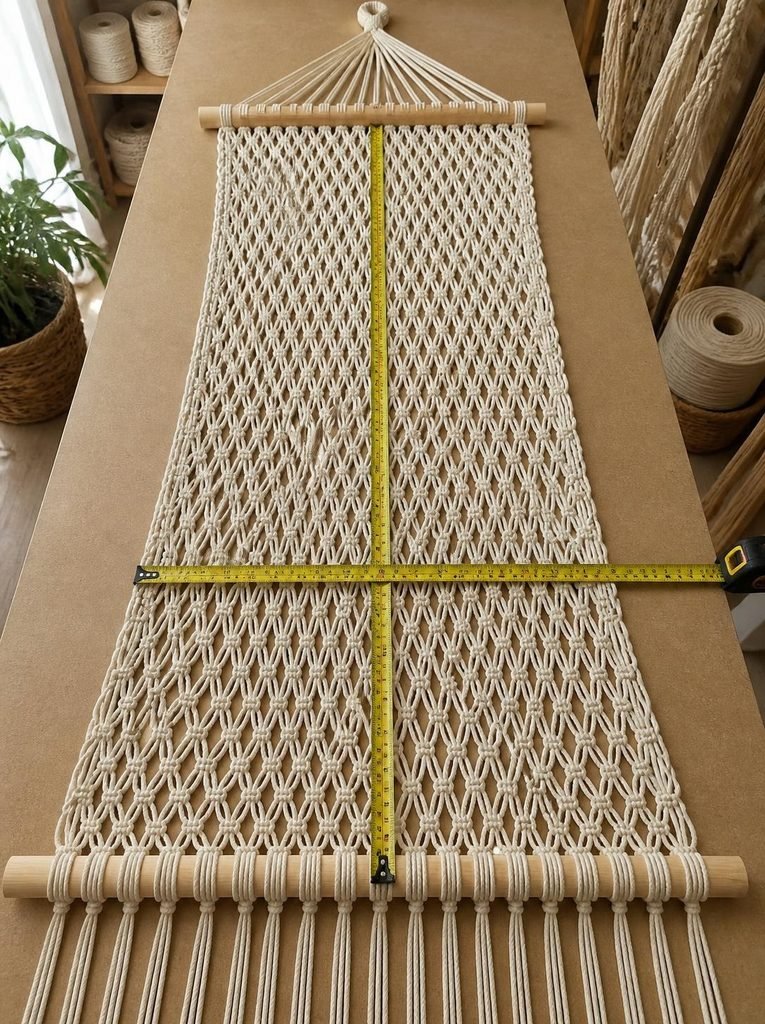
Getting the measurements right makes the project easier and helps create a hammock your cat can comfortably use.
Start by measuring your cat while it is resting in its usual sleeping position. Measure from the nose to the base of the tail, then allow additional room for turning around and stretching. If your cat likes to sleep fully extended, make the resting surface longer than its curled-up body length.
Next, measure the available space where the hammock will sit. Think about the height of the support, the distance from nearby furniture, and how your cat will enter and leave the hammock.
Keep these practical points in mind:
- Make the sleeping surface wide enough for your cat to lie comfortably without balancing on the edges.
- Allow sufficient cord for the knots and finishing work.
- Avoid a design that hangs so low that it drags against furniture or the floor.
- Keep the hammock away from hot appliances, exposed electrical cords, and places where your cat could become trapped.
- Make sure the finished surface stays reasonably level and does not tilt sharply when weight is applied.
For a larger cat, do not simply increase the amount of cord and assume the design will be stronger. The knots, support bar, mounting hardware, and frame must all be suitable for the increased load.
Basic Macrame Knots to Learn First
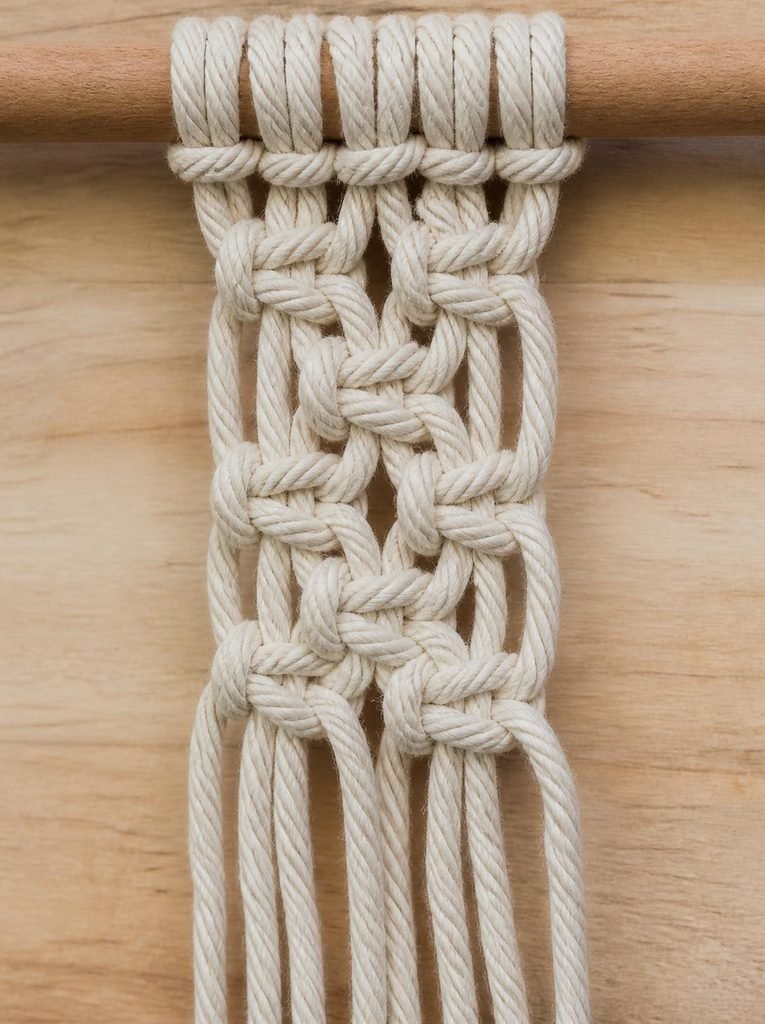
You do not need advanced macrame skills to make a simple cat hammock. Learning two or three basic knots will help you create a neat, consistent sleeping surface.
The Lark’s Head Knot
The lark’s head knot is commonly used to attach cord to a dowel or another suitable starting support. It creates a simple attachment point for the strands you will use to build the hammock.
Keep the knots aligned and check that each strand is secure before continuing. Uneven starting points can make the finished hammock hang at an angle.
The Square Knot
The square knot is one of the most useful knots for basic macrame. It creates a tidy pattern and can be repeated across the width of the hammock.
Practice a few rows on a short piece of cord first. Aim for consistent tension rather than pulling each knot as tightly as possible. Knots that vary significantly in size can leave the sleeping surface uneven.
Alternating Square Knots
Alternating square knots can create a net-like pattern across the hammock. This is where you can build the main sleeping surface while keeping the design visually simple.
For a cat hammock, use a closely spaced pattern rather than a loose decorative net. Open gaps can catch claws or allow a paw to slip through. The completed surface should be firm, even, and supportive, with no loose loops.
Before using the hammock, inspect the whole surface carefully. If you can see large gaps, loose ends, or knots that shift easily when pulled, adjust the construction before allowing your cat onto it.
Step-by-Step: How to Make a DIY Macrame Cat Hammock
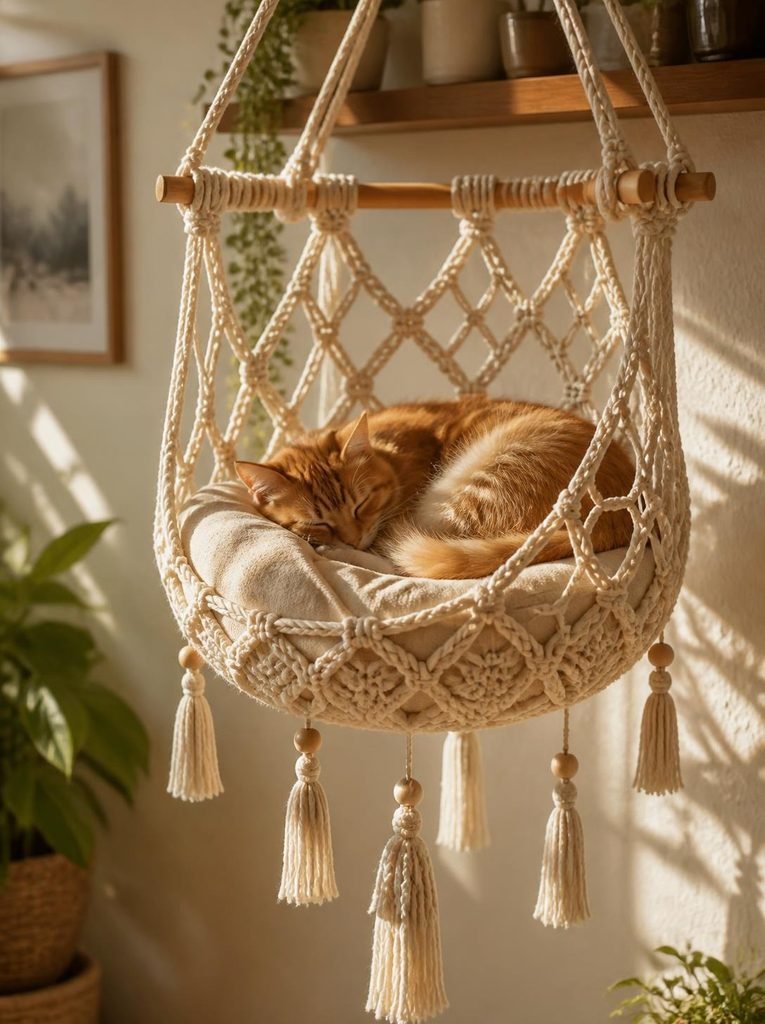
Now that you have your materials and design in mind, you can begin assembling the hammock. The following method describes a basic rectangular macrame bed suspended from a suitable support. Adjust the dimensions and attachment method to suit your chosen frame.
Step 1: Prepare Your Workspace
Choose a clean, flat work surface where you can spread out the cord without tangling it. A table or sturdy craft board works well for smaller projects.
Gather your cord, dowel or frame, measuring tape, and scissors. If your design uses a removable cushion, measure it now so the macrame bed will fit without bunching or slipping.
It is easier to correct measurements at this stage than after several rows of knots have been completed.
Step 2: Measure and Cut the Cord
Determine how many strands you need based on the width of your hammock and the knot pattern you have chosen. Cut the strands longer than the final bed dimensions because each knot uses part of the cord.
If you are new to macrame, make a small sample using the same cord and knot pattern. Measure how much cord the sample consumes, then use that information to estimate the length needed for the full project.
Cutting all the strands to identical lengths helps keep the finished design balanced. If the pattern requires different strand lengths, mark and organize them before you begin.
Step 3: Attach the Cord to the Support
Secure the cord strands to your wooden dowel or the appropriate top support using a consistent attachment method, such as lark’s head knots.
Space the strands evenly across the intended width. Check that the dowel is smooth and that the cord does not slide freely along it when gently pulled.
Do not suspend the hammock for use at this stage. The upper support and its mounting system need to be fully secured before the finished bed can carry your cat.
Step 4: Create the First Row of Square Knots
Separate the strands into groups according to your knot pattern and tie the first row of square knots. Keep the knots similar in size and position.
Work across the entire width before moving to the next row. This makes it easier to spot uneven sections and maintain a rectangular shape.
If one knot looks noticeably tighter or looser than the others, correct it while you can still reach the strands easily.
Step 5: Build the Main Sleeping Surface
Continue working in rows, using alternating square knots to form a closely spaced pattern. Keep the openings small enough that your cat’s paws and claws are unlikely to become caught.
Check the width and length as the surface develops. Macrame can narrow or change shape if the knots are pulled unevenly, so spread the work out regularly and compare both sides.
Do not rush this part. A consistent pattern will help the hammock look neat and distribute your cat’s weight more evenly across the sleeping surface.
Step 6: Finish and Secure the Edges
When the hammock reaches the intended size, finish the edges so the knots cannot unravel easily. Use a secure finishing method appropriate for your cord and construction.
Trim excess cord only after checking that the ends are properly secured. Leave enough length for a reliable finish, but avoid long dangling strands that your cat might chew or play with.
Inspect the edges for loose loops, exposed sharp ends, and areas where the knots could pull apart. Decorative fringe is best kept short and firmly secured, or omitted entirely if your cat tends to chew string.
Step 7: Add the Cushion, If Needed
Place your removable cushion or fabric insert on the finished sleeping surface. It should sit flat and should not slide off when gently pressed from different directions.
Avoid permanently covering the entire macrame surface if doing so would prevent you from inspecting the knots. You want to be able to remove the cushion and check the cord for wear, dirt, or damage.
If your cat prefers the texture of the macrame itself, you may not need a cushion at all. Let your cat’s comfort guide this choice.
Step 8: Secure the Hammock and Test It Without Your Cat
Attach the completed hammock to its intended support or frame, following the hardware manufacturer’s instructions.
Make sure all brackets, anchors, joints, and attachment points are appropriate for the installation surface and expected load.
Before introducing your cat, inspect the installation and gently test the structure using a safe method appropriate to its design.
Do not stand underneath it or use your cat as a test weight. If any part shifts, tilts, creaks, or loosens, take the hammock out of service until the problem is corrected.
Finally, check the sleeping surface again for gaps, loose knots, and unstable edges. Only introduce your cat once the complete assembly has been verified as secure.
How to Get Your Cat to Use the Macrame Hammock
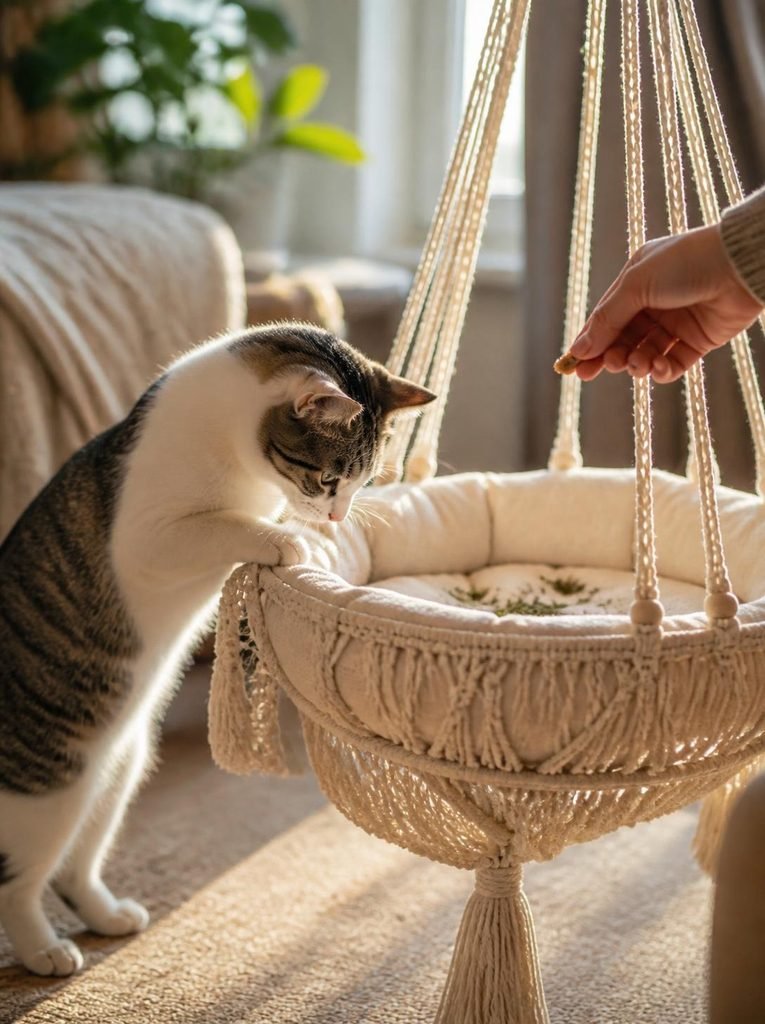
Finishing the hammock is only half the project. The next step is helping your cat feel comfortable enough to explore it and decide whether it is a good place to rest.
Some cats investigate new furniture immediately, while others prefer to observe it from a distance before getting close.
I would avoid placing your cat directly onto the hammock and expecting it to settle down. Give your cat time to explore at its own pace, especially if the hammock moves slightly or sits higher than its usual resting spots.
Place the Hammock Somewhere Your Cat Already Likes
Location can make a big difference. If your cat regularly sleeps beside a sunny window, on a quiet chair, or near a favorite family member, consider placing the hammock nearby.
Choose a calm area where your cat can easily approach and leave. Avoid positioning it beside noisy appliances, busy doorways, or places where people might accidentally bump the frame.
If you choose a window-side location, make sure the window is securely closed or protected with a suitable pet-safe screen. The hammock should never encourage your cat to climb toward an unsecured opening.
Introduce Familiar Bedding
A small washable blanket or removable cushion carrying familiar household scents may help your cat feel more at ease. Choose something that fits securely and does not hide loose knots or create a slipping hazard.
You can also place a favorite toy nearby to encourage your cat to investigate. If your cat responds well to treats, reward calm curiosity around the hammock rather than forcing it to climb onto the bed.
Keep the first few introductions relaxed and brief. Let your cat decide when to approach.
Make Getting In and Out Easy
Cats enjoy climbing, but not every cat is comfortable jumping onto an elevated resting spot. Kittens, older cats, and cats with mobility difficulties may need a lower hammock or a nearby stable step.
Make sure there is enough clear space around the hammock for your cat to enter and exit without hitting a wall, shelf, or piece of furniture. The structure should remain stable when your cat shifts its weight.
If your cat seems nervous, the hammock swings excessively, or the frame moves when touched, stop using it until the issue is resolved. A stable, accessible resting place is more important than the height or appearance of the design.
How to Make Your DIY Cat Hammock More Comfortable
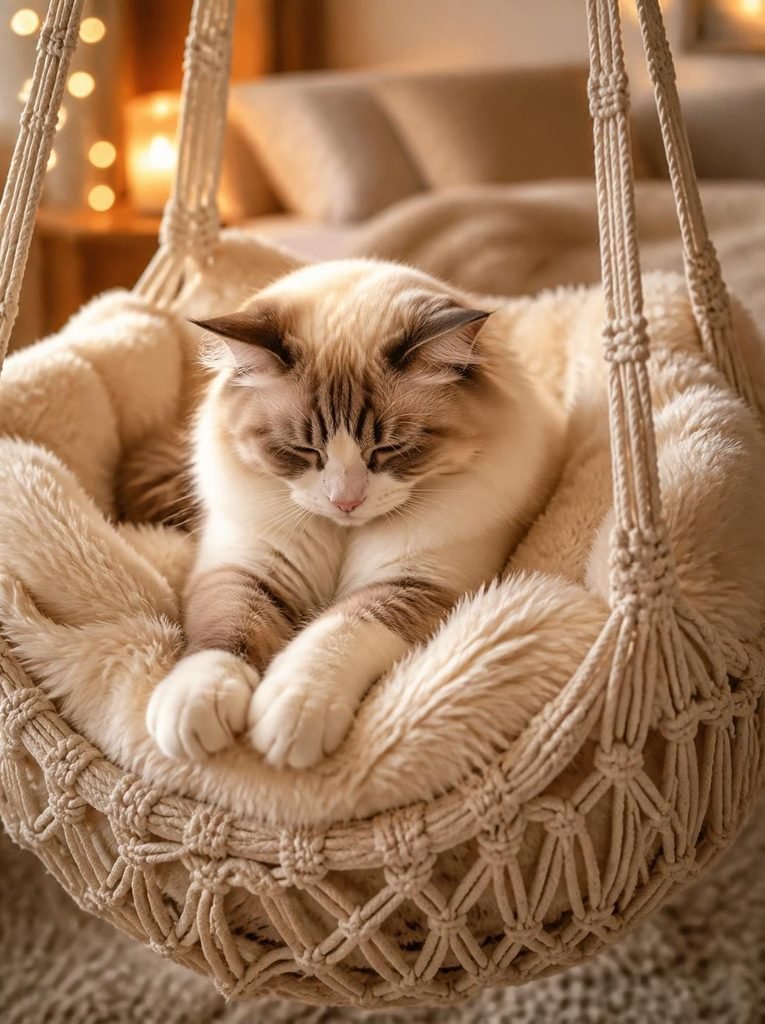
A well-made macrame hammock should be comfortable enough for your cat to settle into naturally. Small adjustments can improve the finished project without making the construction complicated.
Add a Washable Cushion
A removable cushion is one of the easiest ways to make a knotted hammock feel softer. Look for a washable insert that fits the sleeping surface without bunching at the corners.
The cushion should not slide around when your cat turns or stretches. Avoid loose fabric ties, buttons, beads, or other small parts that could become chewing hazards.
Wash the cushion regularly, especially if your cat sheds heavily or spends a lot of time outdoors.
Keep the Surface Even
An uneven sleeping surface can cause your cat to slide toward one side or feel unsteady. When making the hammock, keep the knots consistent and check that the edges remain level.
A little flexibility is normal for a suspended design, but the surface should not sag excessively or form deep pockets that make getting out difficult.
If the hammock becomes noticeably stretched after use, inspect the cord and support points. Do not keep using it if the knots have loosened or the structure no longer holds its shape reliably.
Choose Cat-Friendly Materials
Natural cotton cord is a popular choice for macrame because it is easy to work with and has a soft, understated appearance. However, no cord should be treated as chew-proof.
If your cat frequently bites or pulls at strings, consider a different hammock construction with a solid fabric bed and minimal exposed cord. Inspect the finished project regularly and remove it from use if strands begin to fray or unravel.
Avoid materials with sharp edges, loose embellishments, or coatings that could flake off. The simpler the design, the easier it is to inspect and maintain.
Think About Temperature and Placement
A sunny resting spot may appeal to your cat, but direct sunlight can make the hammock uncomfortably hot. Check the area at different times of day and make sure your cat can move to a cooler place whenever needed.
Keep the hammock away from heaters, fireplaces, and other hot surfaces. Good airflow and a comfortable room temperature will help make it a more practical everyday resting spot.
How to Clean and Maintain a Macrame Cat Hammock
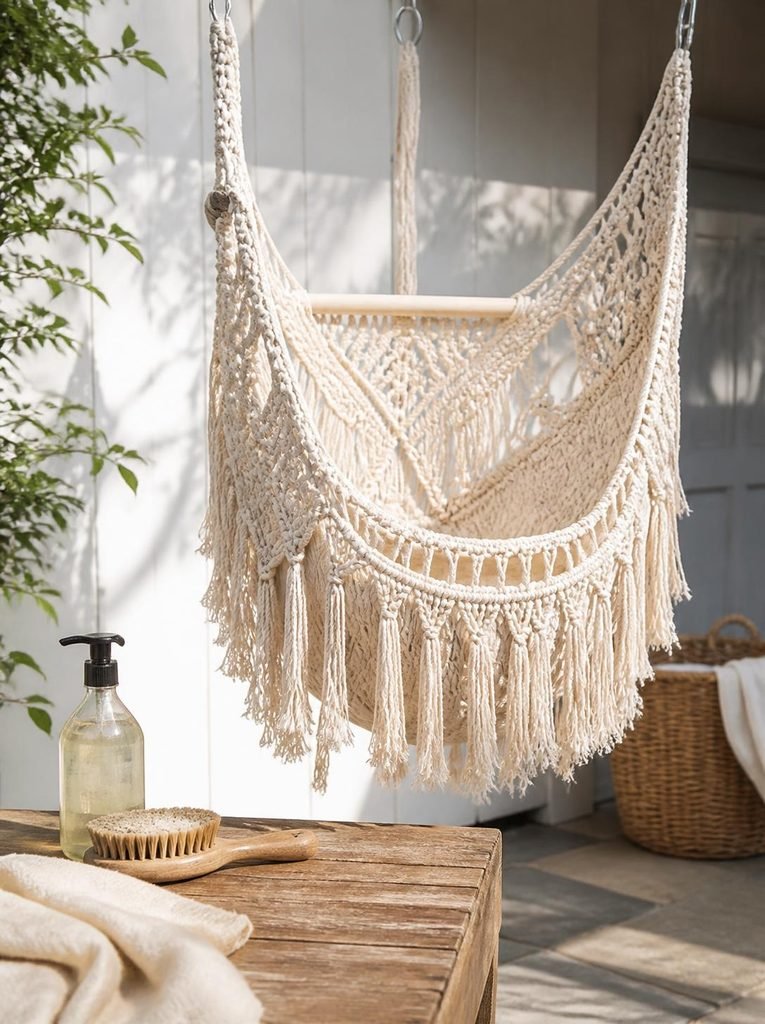
A homemade cat hammock needs regular cleaning and inspection, just like any other piece of pet furniture. Cat hair, dust, loose litter, and skin oils can collect in the knots over time.
The best cleaning method depends on the cord, cushion, and construction materials you use.
Remove Loose Hair and Dust
Use a soft brush or a vacuum attachment on a gentle setting to remove loose hair from the macrame surface. Pay attention to the knots and corners where fur tends to collect.
Avoid pulling forcefully at tangled hair because doing so can loosen the cord or distort the knot pattern. If the surface is difficult to clean, that is another reason to keep the design simple and avoid excessively intricate knots.
Wash Removable Cushions Separately
If you added a cushion, remove it before cleaning the hammock. Follow the fabric manufacturer’s washing instructions and allow the cushion to dry completely before returning it to the bed.
A washable cover can make routine maintenance easier. Keep a spare cover available if your cat uses the hammock frequently.
Clean the Cord Carefully
Check the cord manufacturer’s care instructions before washing the entire hammock. Some macrame materials may shrink, stretch, or lose their shape when soaked or exposed to heat.
If the material allows washing, use a gentle method and a suitable pet-safe detergent. Rinse thoroughly and allow the hammock to dry completely before use. Never reinstall a damp hammock where moisture could remain trapped in thick knots or wooden components.
If the hammock cannot be cleaned thoroughly without damaging its structure, replace it when it becomes heavily soiled rather than continuing to use it.
Inspect the Knots and Mounting Hardware
Cleaning is a good opportunity to check the hammock’s condition.
Look for frayed strands, loose knots, stretched sections, cracked wooden components, corrosion, and movement at attachment points. Inspect wall or ceiling fixings as well as the macrame itself.
A hammock that was secure when first installed may become less reliable as the cord stretches or the hardware loosens. Repair or replace damaged components before allowing your cat to use it again.
Common Mistakes to Avoid When Making a DIY Macrame Cat Hammock
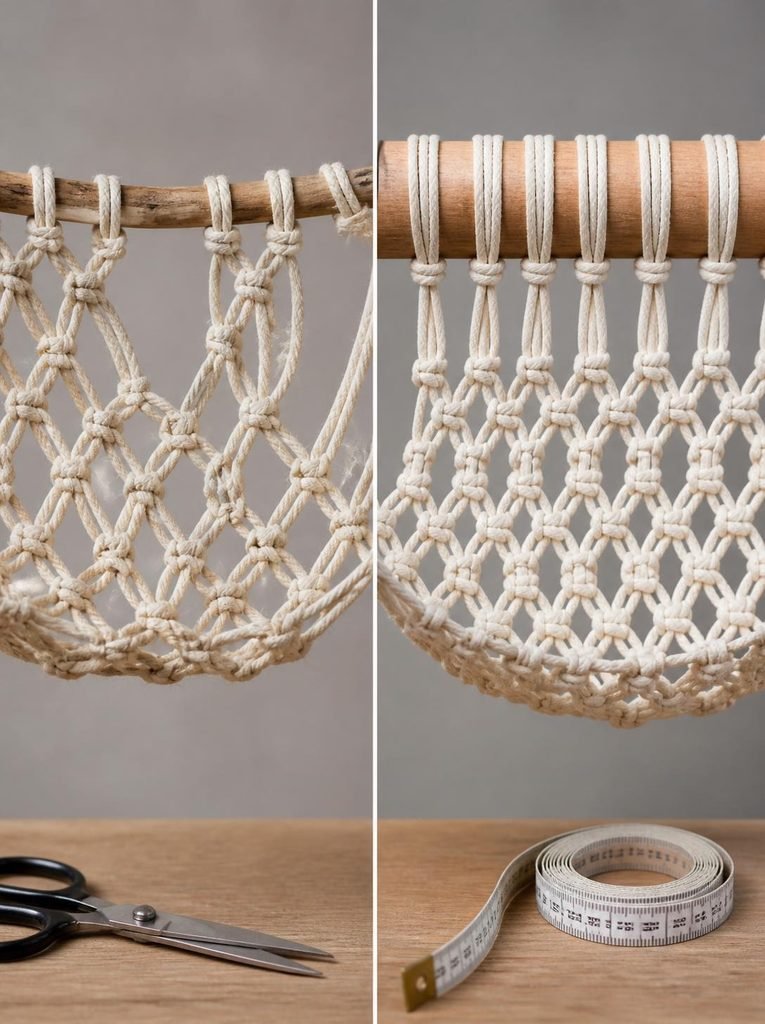
A cat hammock can look beautiful in photographs but still be impractical if the construction is not planned carefully. Avoiding a few common mistakes will help you make a more reliable and comfortable resting place.
Using Decorative Cord Without Checking Its Strength
Not every cord sold for crafts is suitable for supporting an animal. Some decorative materials can fray, stretch, or break under repeated loading.
Choose cord with appropriate strength specifications for your design. Remember that the finished hammock’s safety depends on the knots, frame, and mounting system as well as the cord itself.
Making the Knots Too Loose
Large gaps and loose loops can catch a cat’s claws or allow a paw to slip through. An open decorative pattern may look attractive, but it is not necessarily suitable for a sleeping surface.
Use a close, consistent knot pattern and inspect the entire bed before use. If you notice gaps that could trap toes or claws, revise the pattern rather than trying to cover the problem with a cushion.
Ignoring the Weight of the Cat
A design suitable for a small kitten may not be suitable for a large adult cat. The support bar, cord, knots, frame, and mounting hardware must all be appropriate for the animal that will use the hammock.
Allow for ordinary movement when considering the structure, not just the cat’s resting weight. If the load capacity is uncertain, do not use the design until it has been properly assessed.
Hanging the Hammock From an Unreliable Surface
A weak hook or poorly installed anchor can fail even if the macrame is strong. Avoid adhesive hooks, lightweight curtain fittings, improvised window suction cups, and other hardware that is not specifically rated for the application.
Use an appropriate structural support or a stable purpose-built frame. If you are unsure about the installation, ask a qualified person for help.
Adding Too Many Decorative Details
Long fringe, dangling strings, beads, tassels, and small ornaments may look attractive but can encourage chewing and entanglement.
For a pet hammock, practical construction should come first. Keep the design clean, secure the cord ends, and remove any decorative parts that your cat could pull loose.
Skipping Routine Inspections
Do not assume the hammock will remain safe simply because it passed the first test. Cord can stretch, knots can loosen, and hardware can shift over time.
Check the structure regularly and after any incident that causes a sudden tug or impact. If something looks damaged, prevent access until the issue has been corrected.
DIY Macrame Cat Hammock Ideas to Try
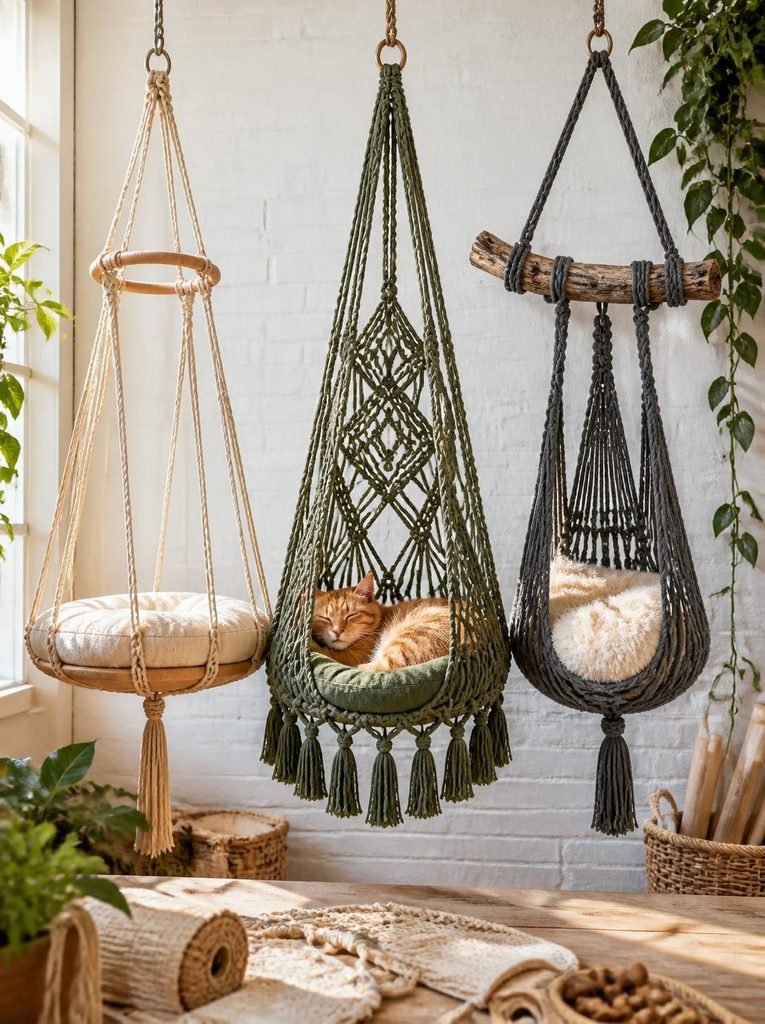
Once you understand the basic construction, you can adapt the design to suit your home. Keep the safety requirements the same, even when changing the shape or decoration.
1. Minimalist Neutral Hammock
Use natural cotton-colored cord, a simple knot pattern, and a removable cream cushion. This style suits neutral interiors and keeps the design easy to inspect and clean.
2. Boho-Inspired Cat Hammock
Try muted terracotta or warm beige cord for a more decorative look. Keep fringe short or omit it, and avoid embellishments that can come loose.
3. Freestanding Hammock
Use a stable frame designed to support the finished bed. This option may suit renters or anyone who prefers not to drill into a wall or ceiling.
4. Low-Height Cat Hammock
A lower resting surface can be more accessible for cats that are uncomfortable jumping onto elevated furniture. Make sure the frame remains stable and the hammock does not touch the floor when loaded.
Frequently Asked Questions
Is a macrame cat hammock suitable for beginners?
Yes, a basic design can be manageable for beginners who are willing to practice a few knots first.
Start with a rectangular shape and a simple pattern rather than a complicated decorative design. Pay particular attention to cord strength, secure finishing, and the stability of the complete support system.
What is the best cord for a DIY macrame cat hammock?
Durable cotton macrame cord is a common choice for its texture and appearance. However, the best material depends on the design and the cat’s behavior.
Check the cord’s strength specifications and inspect it regularly for fraying. If your cat chews strings, a solid fabric sleeping surface may be a better option.
Can I hang a cat hammock from the ceiling?
You can use a ceiling-mounted design only when the support, mounting hardware, and installation are appropriate for the load and the ceiling structure.
Do not rely on an ordinary ceiling hook or a decorative fitting without confirming its suitability. If you cannot verify the support, use a properly constructed freestanding frame instead.
How much weight can a macrame cat hammock hold?
There is no universal weight limit for homemade macrame hammocks. Capacity depends on the cord, knot pattern, frame, attachment points, hardware, and installation quality.
Do not estimate capacity from appearance alone. If the complete assembly has not been assessed for the intended load, do not assume it is safe for your cat.
How can I stop my cat from chewing the macrame cord?
Keep the design simple, remove dangling strands, and supervise your cat during the first introductions.
If your cat repeatedly chews the cord, stop using the hammock and switch to a resting surface with fewer exposed strings.
Swallowing string can cause serious intestinal problems, so contact a veterinarian promptly if you suspect your cat has swallowed any.
How often should I clean a cat hammock?
Remove loose hair and dust as needed, wash removable bedding regularly, and clean the cord according to the material’s care instructions.
The frequency depends on how often your cat uses the hammock and how quickly it becomes dirty. Always let washable components dry completely before use.
Can I make a macrame hammock for a large cat?
Yes, but the design must be sized and constructed for your cat’s dimensions and weight.
A larger bed may need stronger cord, a more supportive knot pattern, a stronger frame, and appropriately rated hardware.
If you cannot verify the capacity of the complete assembly, choose a commercially manufactured hammock with a stated weight limit.
Will my cat automatically use the hammock?
Not necessarily. Some cats love elevated resting spots, while others prefer beds on the floor, enclosed spaces, or familiar furniture.
Give your cat time to explore without forcing it to use the hammock. If it consistently avoids the bed, try a different location or resting surface.
Final Thoughts
A DIY macrame cat hammock can be a useful way to combine handmade decor with a comfortable resting spot for your cat.
With a simple knot pattern, durable materials, a washable cushion, and a design that fits your space, you can create something that looks attractive without making the project unnecessarily complicated.
The most important part is building a hammock that is stable, supportive, and easy to maintain.
Choose suitable cord and hardware, secure every attachment point, avoid loose strings and large gaps, and inspect the finished structure regularly.
Give your cat time to get comfortable with the new bed, and be willing to adjust the design if it does not suit your cat’s preferences.
A little planning before you start can save time later and help you create a handmade cat hammock that fits naturally into your home while putting your cat’s comfort and safety first.