DIY Farmer’s Dog Chicken Recipe Copycat
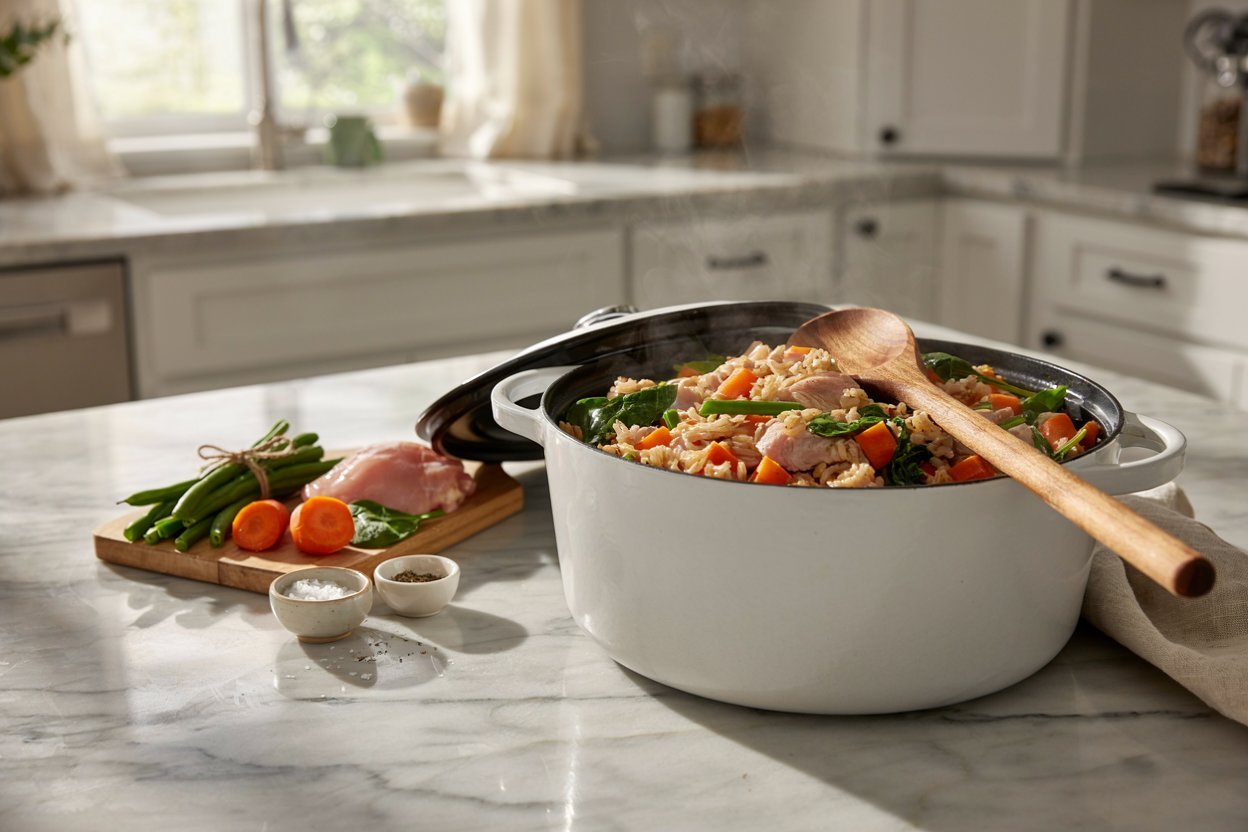
Every time I looked at the price of fresh dog food subscriptions, I found myself wondering if I could make something just as wholesome in my own kitchen.
After comparing ingredient labels, researching balanced homemade meals, and experimenting with simple combinations, I realized that making a Farmer’s Dog inspired chicken recipe at home was much easier than I expected.
It uses everyday ingredients, comes together in one pot, and lets me know exactly what goes into every bowl.
If you have already tried my diy farmer’s dog food instant pot recipe or the healthy homemade farmer’s dog food recipes, this chicken based version rounds out the collection nicely.

It is built around the same idea of fresh, gently cooked ingredients that dogs actually recognize as real food, rather than a long list of processed additives.
This guide walks through exactly how to make a homemade chicken recipe inspired by the fresh food subscription model, why each ingredient earns its place in the pot, how to safely customize it, how to store it properly, and how to think about whether it fits into your dog’s long term diet.
By the end, you will have a complete, repeatable recipe along with the context to make confident decisions about feeding it.
What Is a DIY Farmer’s Dog Chicken Recipe?
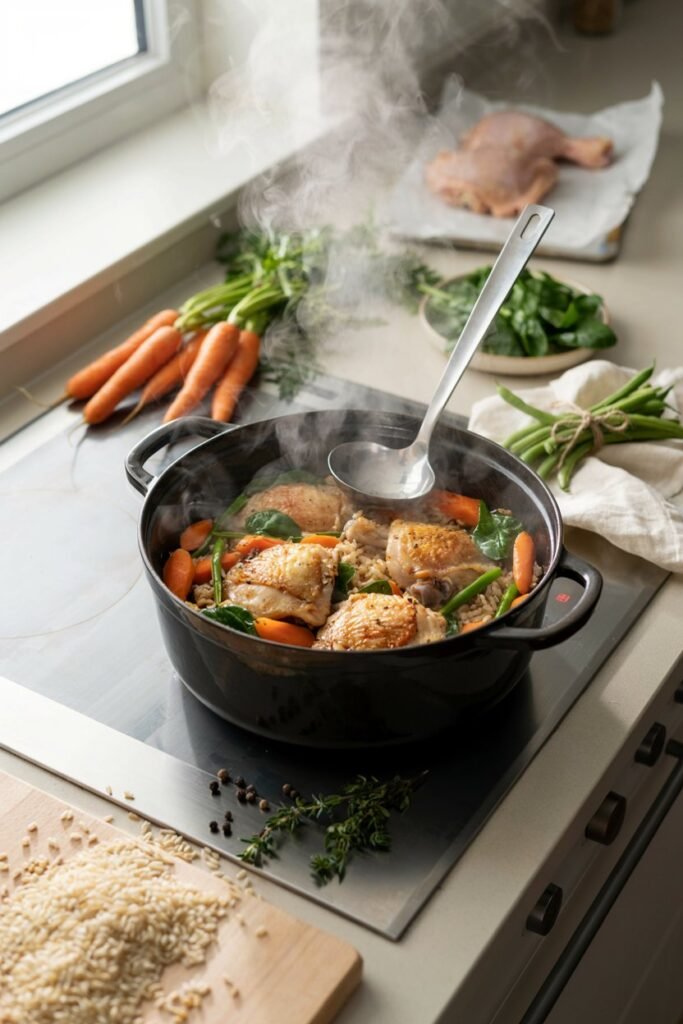
The Farmer’s Dog is a well known fresh food subscription service that delivers gently cooked, human grade meals formulated for dogs.
Part of its appeal is that the food looks and smells like something a person might actually eat, made from recognizable ingredients like chicken, vegetables, and whole grains, rather than the heavily processed kibble many dogs have eaten their entire lives.
A DIY version simply means recreating that same general style of meal at home using similar ingredients and cooking methods. It is not an exact replica of a proprietary formula, since commercial fresh food companies typically work with veterinary nutritionists to balance vitamin and mineral content precisely.
Instead, this is a homemade recipe inspired by that same philosophy of fresh, simple, whole food ingredients cooked gently in one pot.
Many people are drawn to a homemade version because of the cost of ongoing subscriptions, the desire to control every ingredient personally, or simply the satisfaction of cooking for their dog the same way they might cook for the rest of their household.
That said, if you plan to feed a homemade diet like this one as your dog’s primary source of nutrition over the long term, it is worth discussing the recipe with your veterinarian or a board certified veterinary nutritionist to make sure it meets your individual dog’s complete nutritional needs.
Why Make It At Home
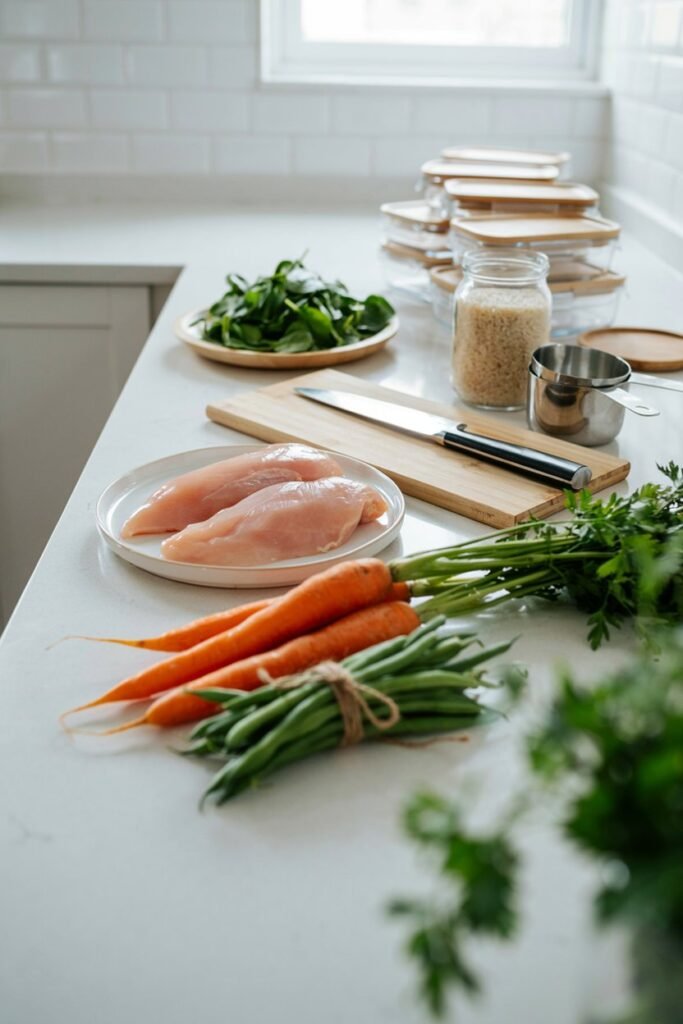
You Know Every Ingredient
When you cook this recipe yourself, there is no guessing involved. You know exactly which chicken you used, whether the vegetables were fresh or frozen, and that nothing questionable slipped into the pot.
Commercial pet food, even higher quality options, can sometimes include fillers, byproducts, or preservatives that serve manufacturing purposes more than nutritional ones.
Cooking at home removes that uncertainty entirely, since every ingredient is something you selected, measured, and prepared yourself.
For owners who have spent time reading ingredient labels and feeling unsure about vague terms, this level of transparency is often the biggest reason to make the switch to homemade cooking in the first place.
Easy to Customize
One of the most practical advantages of a homemade recipe is how easily it adapts to what is actually available.
If carrots are out of season or your store is out of green beans, you can swap in a different dog safe vegetable without derailing the entire recipe. This flexibility also extends to your dog’s individual preferences and needs.
A dog who does well with more fiber can have a slightly higher vegetable ratio, while a dog who needs more calories can have a bit more rice or a drizzle of extra fat.
That kind of adjustment simply is not possible with a fixed commercial recipe, and it becomes second nature once you understand the basic structure of the meal.
Great for Meal Prep
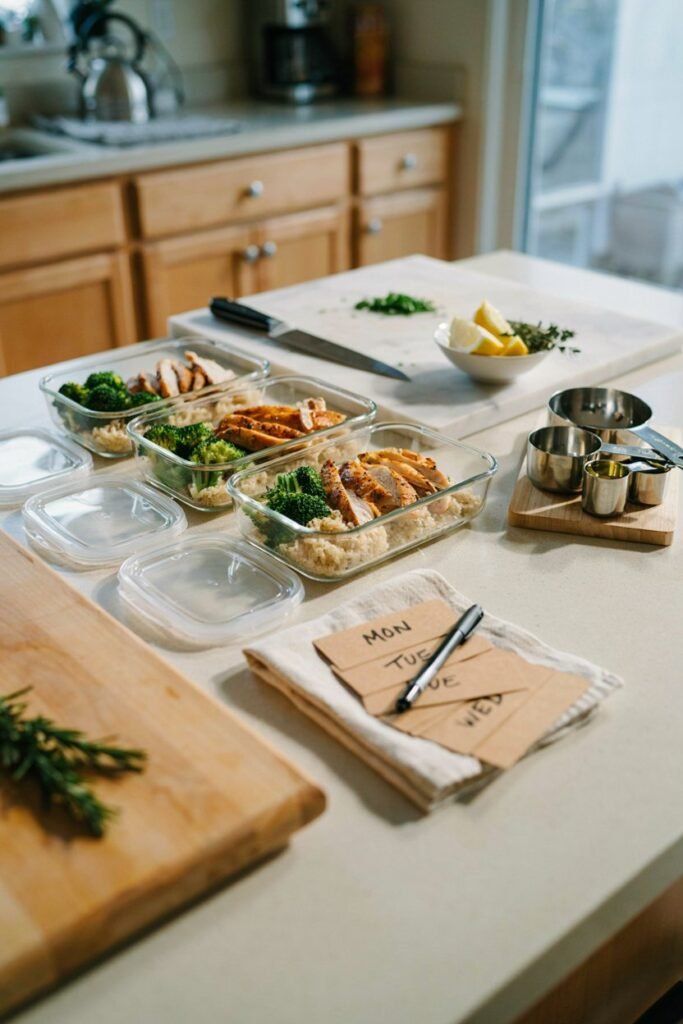
This recipe is built for batch cooking. A single large pot can be portioned into daily servings and frozen, which means you are not cooking fresh food every single day. Instead, you can dedicate one afternoon every couple of weeks to cooking, then simply thaw a portion each morning.
This turns homemade dog food from a daily chore into a manageable routine, similar to how many people meal prep their own lunches for the week.
Freezing individual portions also helps with portion control, since you can measure out exactly the right amount for your dog’s size before freezing rather than eyeballing it fresh each time.
Budget Friendly
Fresh food subscriptions can run into a significant monthly cost, especially for larger dogs who eat more per meal.
Cooking a large batch at home using grocery store ingredients, particularly chicken breast or thighs bought in bulk, typically costs a fraction of that price per serving.
While homemade cooking does require your time and a bit of planning, the ingredient cost alone often makes a compelling case for owners who are looking to feed a fresher diet without the ongoing subscription price tag.
Health Benefits of Every Ingredient
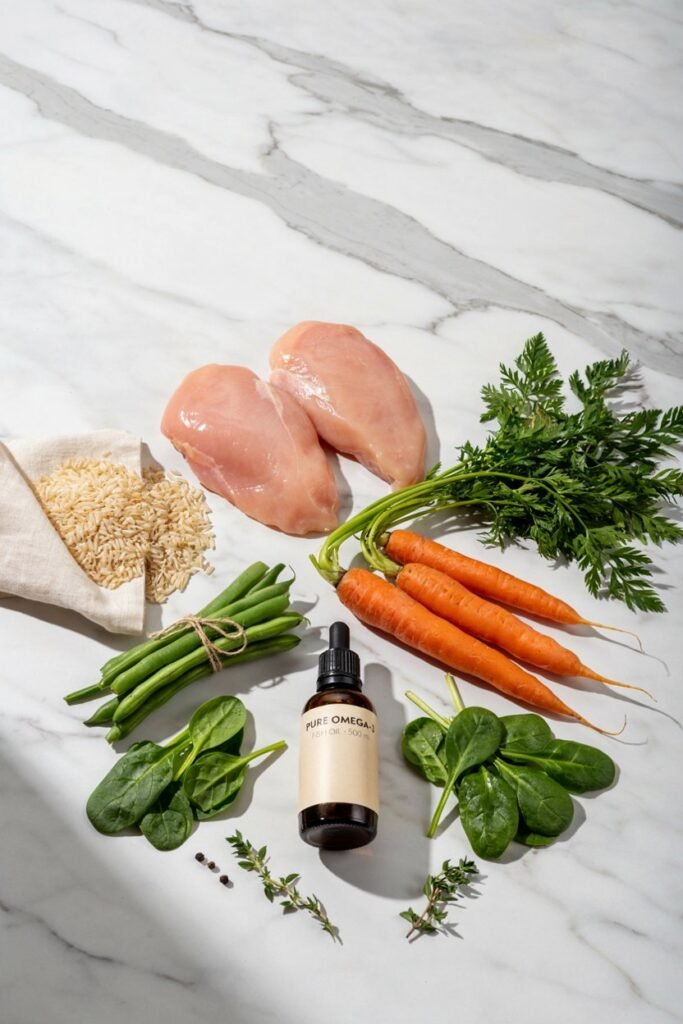
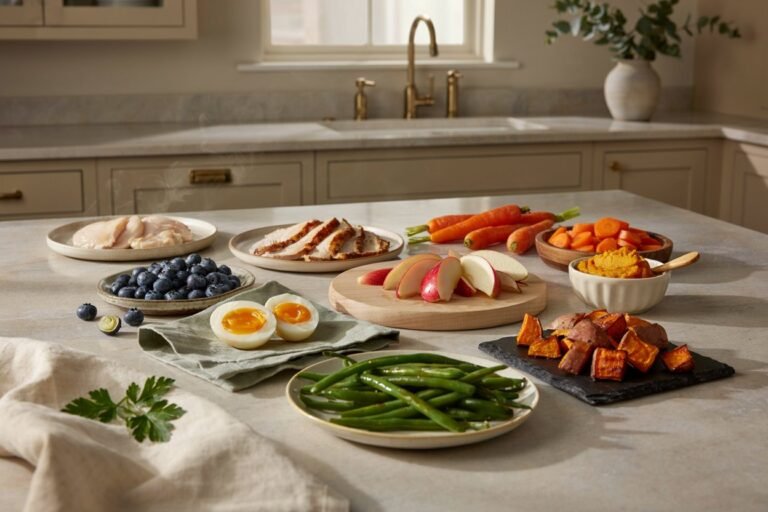
Chicken
Chicken is a lean source of protein that supports muscle maintenance and repair.
It contains a full range of essential amino acids, the building blocks that dogs need for nearly every function in their body, from maintaining healthy muscle mass to supporting a properly functioning immune system.
Because chicken breast in particular is relatively low in fat compared to other proteins, it works well as the primary protein source in a recipe meant to be fed regularly rather than as an occasional treat.
Brown Rice
Brown rice provides a steady source of carbohydrates that many dogs digest gently and comfortably.
It offers more fiber than white rice thanks to the retained bran layer, which can support healthy digestion, and its complex carbohydrate structure provides more sustained energy compared to simpler, more refined grains.
For dogs without any specific grain sensitivity, brown rice is a reliable, affordable base for a homemade meal.
Carrots
Carrots are rich in beta carotene, which the body converts into vitamin A, a nutrient that plays an important role in maintaining healthy eyesight.
They also contribute antioxidants that may help support overall cellular health.
Their natural sweetness makes them an easy vegetable to introduce, since most dogs enjoy the flavor even before they are used to eating vegetables regularly.
Green Beans
Green beans are a low calorie vegetable that adds meaningful fiber to the recipe without contributing significant calories, which makes them a popular choice for dogs who need to manage their weight.
They also provide a range of vitamins, including vitamin C and vitamin K, while adding a pleasant texture to the finished dish.
Spinach
Spinach contributes iron along with a range of vitamins that support overall health.
It should be used in moderation, however, since spinach contains oxalates, naturally occurring compounds that in large quantities can interfere with calcium absorption or contribute to certain health issues in sensitive dogs.
A small amount folded into a larger recipe like this one is generally considered reasonable, but spinach should never make up a large proportion of the meal.
Fish Oil
A small amount of fish oil added after cooking provides omega three fatty acids, which are widely associated with supporting healthy skin, a glossy coat, and joint comfort.
Because fish oil is sensitive to heat, it should always be stirred in after the rest of the meal has cooled slightly rather than added during cooking, which helps preserve its beneficial properties.
Equipment Needed
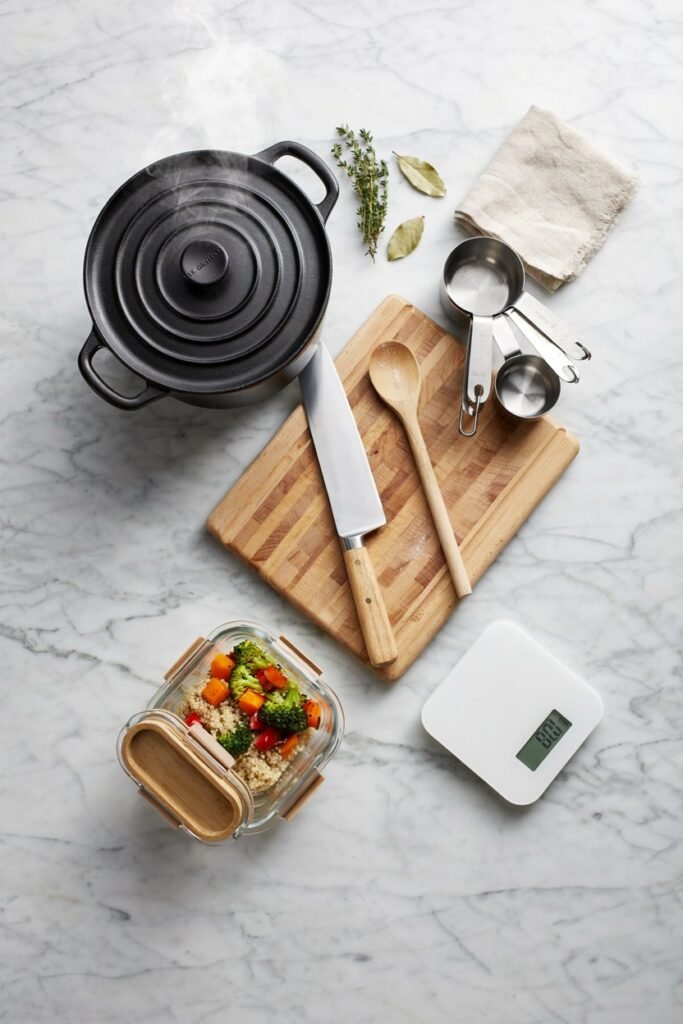
Having the right equipment ready before you start makes the cooking process much smoother and helps ensure everything cooks evenly.
- Dutch oven or heavy bottomed pot – Ideal for even heat distribution and helps prevent the food from sticking or scorching during a longer simmer.
- Large stock pot – A great option if you are making a double or triple batch for meal prep.
- Measuring cups – Help keep the proportions of protein, grains, and vegetables consistent in every batch.
- Sharp knife – Makes it easier to dice the chicken and vegetables into evenly sized pieces for uniform cooking.
- Cutting board – Use a clean cutting board, preferably one designated for raw meat, to help maintain good food safety practices.
- Food scale – Useful for weighing ingredients and portioning meals accurately, especially if your veterinarian has recommended specific serving sizes.
- Storage containers or silicone freezer trays – Perfect for refrigerating leftovers or freezing individual portions for quick and convenient meals later.
Ingredient Substitutions
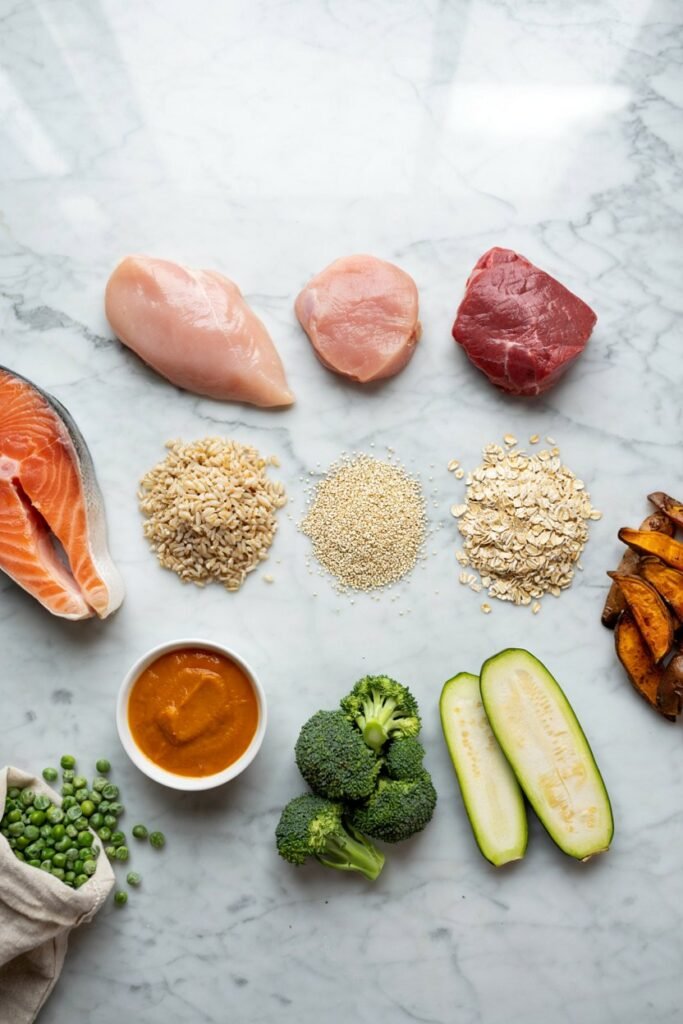
Protein Swaps
Turkey works as a very close substitute for chicken, offering a similarly lean profile with a slightly different flavor that some dogs prefer for variety.
Lean beef can be used for dogs who tolerate red meat well, though it tends to be higher in fat, so trimming visible fat before cooking is important.
Salmon is another option, particularly for dogs who benefit from additional omega three fatty acids, though it should always be thoroughly cooked and checked carefully for bones.
Vegetable Swaps
Zucchini is a mild, low calorie option that cooks quickly and blends easily into the rest of the meal. Peas add a small amount of extra protein and a slightly sweeter flavor.
Pumpkin, in its plain cooked or canned puree form, adds fiber and can help support digestion, particularly for dogs prone to loose stools.
Broccoli can be used in small amounts, though like spinach it should not make up a large portion of the meal, since excessive amounts have been associated with digestive upset in some dogs.
Grain Swaps
Oats are a gentle, easily digestible alternative to rice and work particularly well for dogs with sensitive stomachs.
Quinoa offers a slightly higher protein content than rice, along with a different texture that some dogs enjoy.
Barley provides a heartier, chewier texture and a good amount of fiber, making it a solid option for dogs who need a more filling meal.
Step by Step Recipe
Step 1: Prepare the chicken
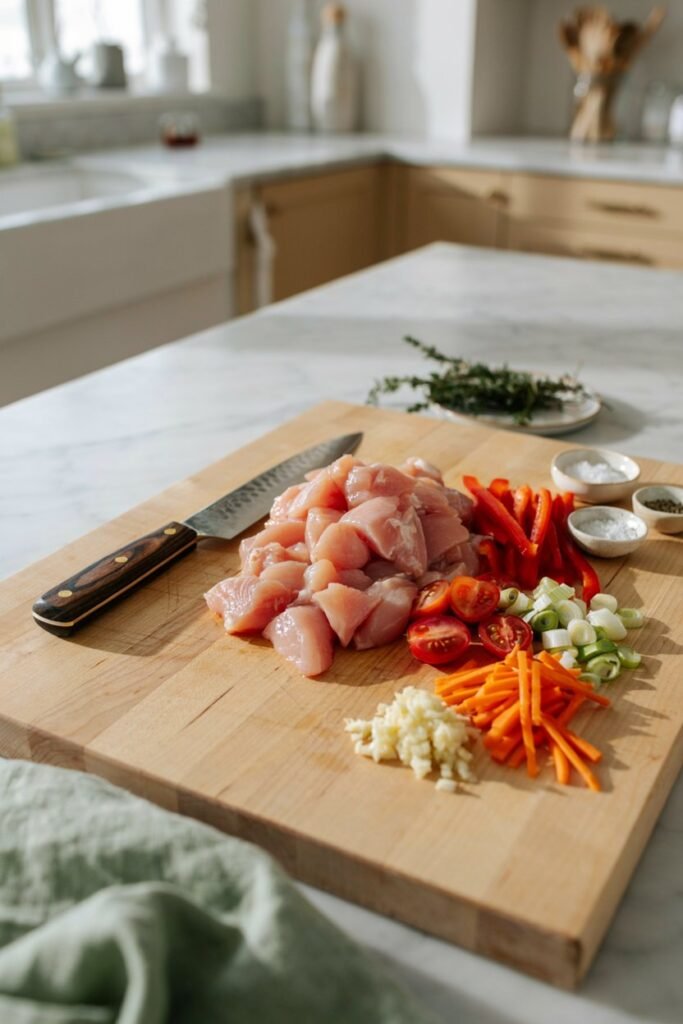
Trim any excess fat from your chicken breast or thighs, then dice it into small, even cubes, roughly half an inch in size.
Cutting the pieces evenly matters because it ensures every piece cooks through at the same rate, avoiding the situation where some cubes are fully cooked while others remain undercooked in the center.
Set the diced chicken aside while you prepare the rest of the ingredients.
Step 2: Cook the chicken
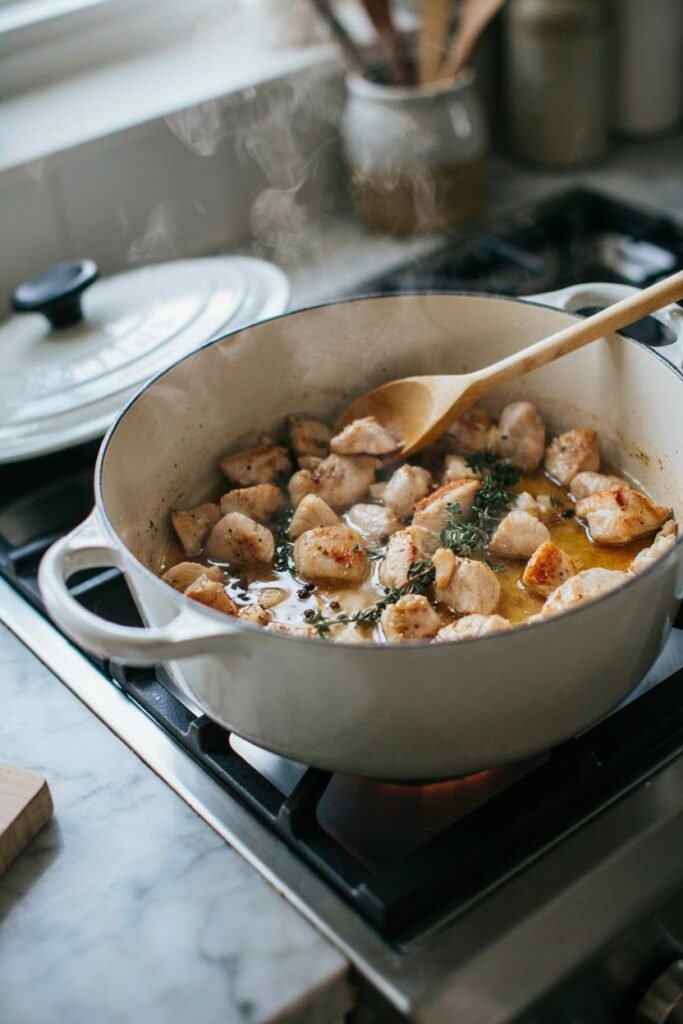
Place the diced chicken into your pot with enough water to just cover it, then bring it to a gentle simmer over medium heat.
Avoid a hard boil, since gentle simmering helps keep the meat tender rather than tough.
You will know the chicken is fully cooked once it turns opaque all the way through and reaches an internal temperature of at least 165 degrees Fahrenheit.
The kitchen should start to fill with a mild, savory aroma as it cooks, without any pink remaining in the center of the largest pieces.
Step 3: Add the rice
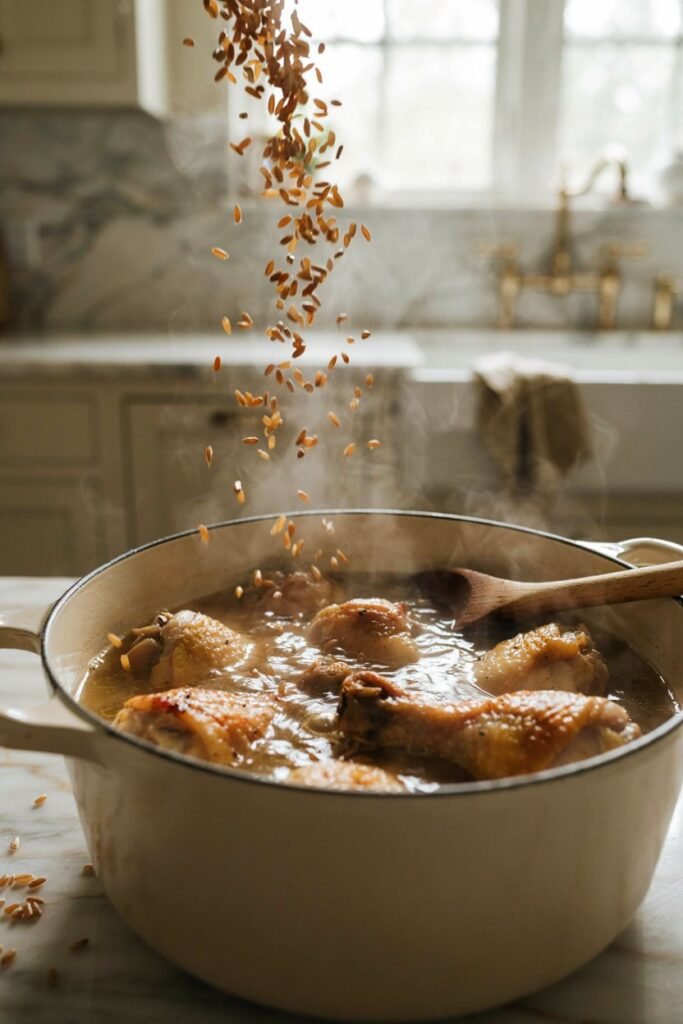
Once the chicken is fully cooked, add your brown rice directly into the same pot along with any additional water needed to fully submerge it.
Bring the mixture back to a simmer, then reduce the heat to low and cover the pot.
Brown rice typically takes about 35 to 45 minutes to become fully tender, so plan for this to be the longest single step in the process.
Check occasionally to make sure the liquid has not fully evaporated before the rice has softened.
Step 4: Add the vegetables
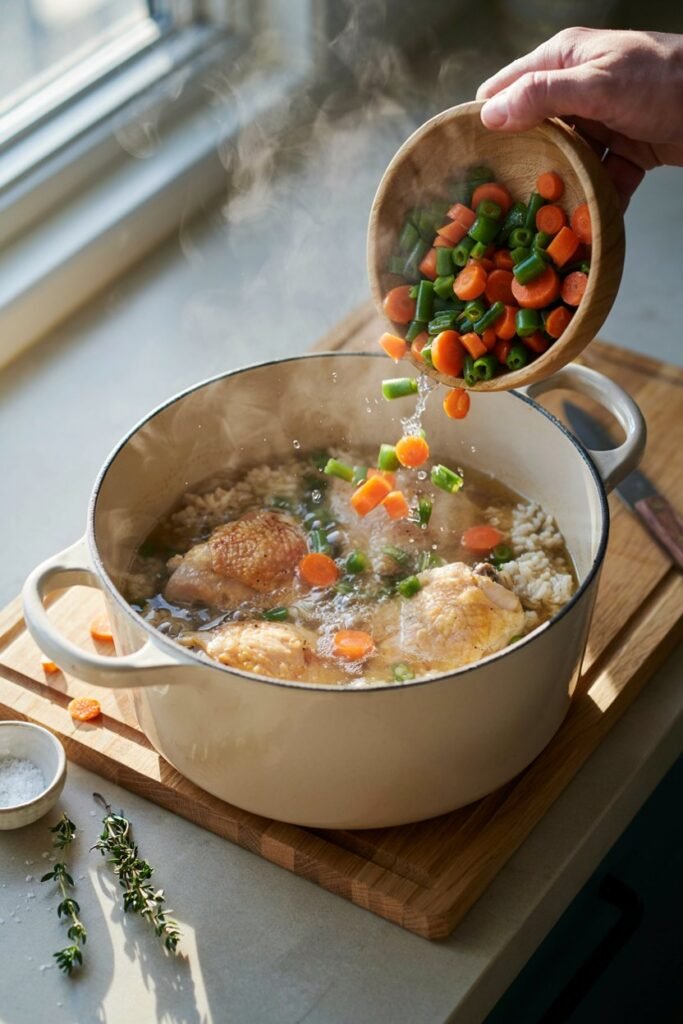
With about 15 minutes of cooking time remaining, add your diced carrots and green beans directly into the pot.
Adding them partway through rather than at the very beginning prevents them from turning mushy by the time the rice finishes cooking.
They should be fork tender by the end, meaning they yield easily to gentle pressure but still hold their shape.
Step 5: Add the spinach
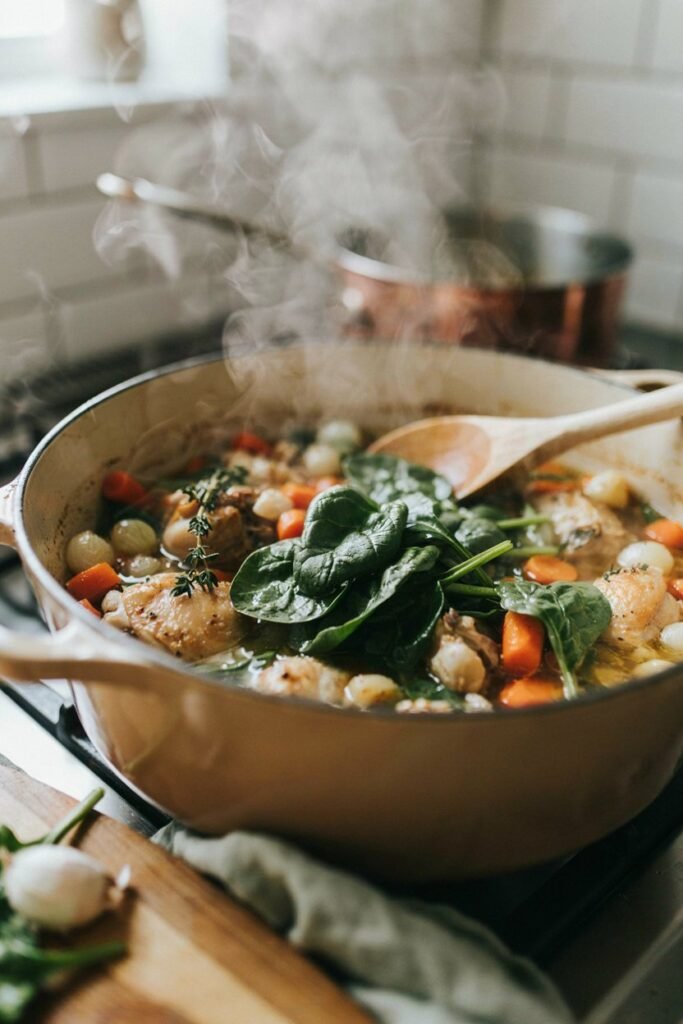
In the final few minutes of cooking, stir in the spinach.
It wilts down very quickly, so there is no need to add it any earlier.
Stir it through gently until it is fully incorporated and has softened completely.
Step 6: Cool and finish
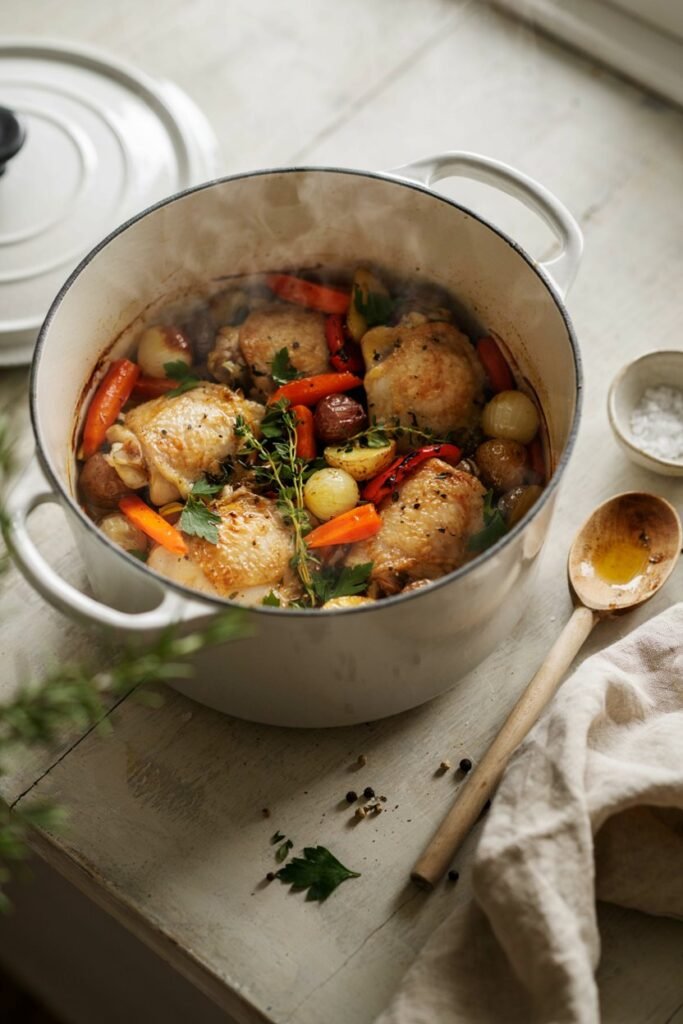
Remove the pot from heat and allow the entire mixture to cool for several minutes before stirring in the fish oil.
Adding it after cooking, once the mixture has cooled slightly, helps preserve its nutritional value, since high heat can degrade the delicate fatty acids it contains.
Step 7: Cool completely before portioning
Let the finished mixture cool fully to room temperature before dividing it into portions for storage.
Portioning while the food is still warm can lead to condensation building up inside sealed containers, which increases the risk of bacterial growth during storage.
Expert Tips
Cook Vegetables Until Soft
Vegetables that are undercooked can be more difficult for dogs to digest fully, since dogs generally process plant matter less efficiently than humans do.
Cooking them until fully tender helps break down their cell walls, making the nutrients inside more accessible and easier on your dog’s digestive system.
Dice Everything Evenly
Consistent piece size is not just about appearance.
It ensures that every bite contains a similar ratio of protein, grain, and vegetables, which matters for both nutritional consistency and for dogs who tend to pick around ingredients they find less appealing.
Let It Cool Completely
Food safety depends heavily on proper cooling before storage.
Placing warm food directly into a sealed container and refrigerating it can create a environment where bacteria grow more easily, since the food takes longer to reach a safe temperature throughout.
Spreading the finished mixture out on a tray for a few minutes before portioning can help speed up this process.
Portion Before Freezing
Freezing the entire batch in one large container might seem convenient, but it makes daily feeding far more difficult, since you would need to thaw the whole batch just to serve a single meal.
Portioning into individual serving sizes before freezing means you can thaw exactly what you need each day without any waste.
Introduce Slowly
Any time you switch a dog’s diet, whether fully or as a partial addition, it is best to introduce the change gradually over several days.
Mixing small amounts of the new food in with their current diet and slowly increasing the ratio helps prevent digestive upset and gives you time to watch for any signs that a particular ingredient does not agree with your dog.
Common Mistakes to Avoid
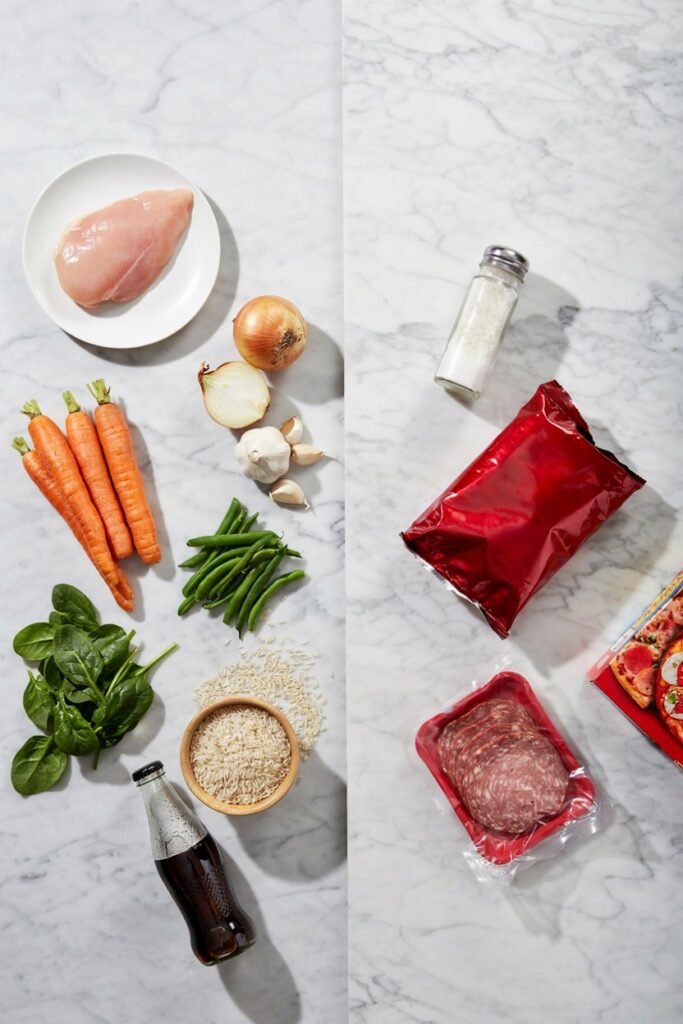
Avoiding these common mistakes will help keep your homemade dog food both safe and nutritious.
- Using onions – Onions are toxic to dogs and can damage red blood cells, even in small amounts.
- Adding garlic – Garlic should also be avoided completely, as it poses similar health risks for dogs.
- Using too much salt – Dogs need far less sodium than humans, so there is no need to season homemade meals with salt.
- Overcooking the vegetables – Cook them until tender but not mushy to help preserve their texture and nutritional value.
- Choosing fatty cuts of chicken – Trim excess fat and remove the skin to keep the recipe lean, especially for dogs prone to digestive issues or pancreatitis.
- Skipping the cooling step – Allow the food to cool before refrigerating or freezing to help maintain food safety.
- Freezing one large batch – Divide the food into meal sized portions before freezing for easier feeding and less waste.
- Not measuring ingredients consistently – Keeping the same balance of protein, grains, and vegetables in every batch helps provide more consistent nutrition over time.
Storage Guide
Refrigerator
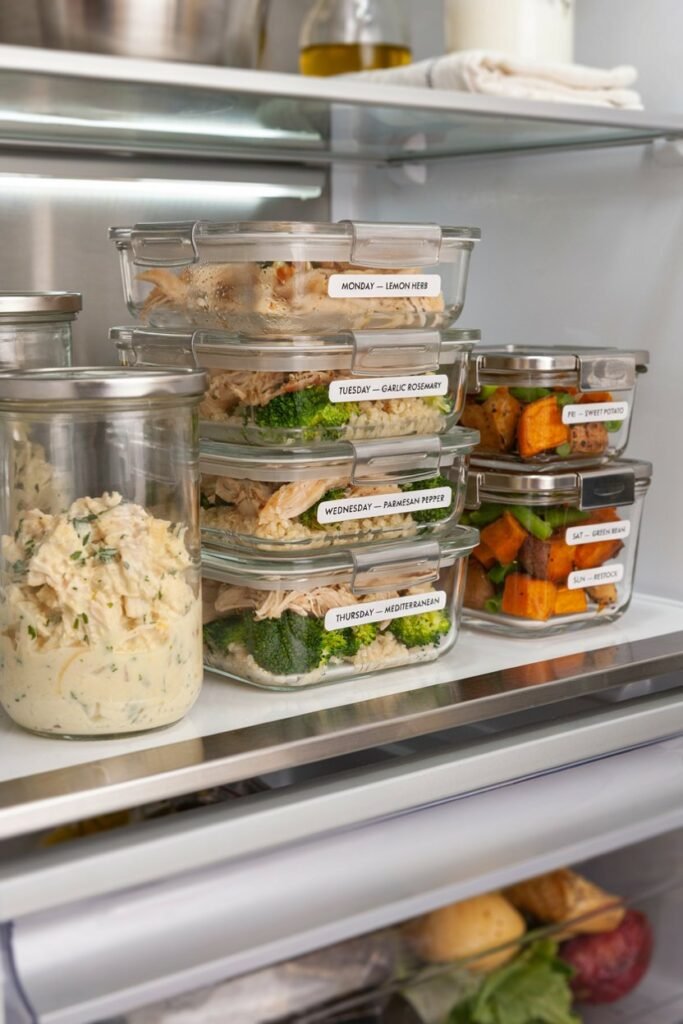
Once fully cooled, this recipe keeps well in the refrigerator for up to 4 days when stored in an airtight container.
Beyond that window, the risk of bacterial growth increases, even under proper refrigeration, so it is best to freeze any portions you do not plan to use within that timeframe.
Freezer
Portioned into individual servings, this recipe freezes well for up to 3 months.
Using flat, stackable freezer safe containers or silicone portion trays makes the most efficient use of freezer space and allows portions to thaw more quickly and evenly than one large frozen block would.
Thawing
The safest way to thaw a frozen portion is in the refrigerator overnight.
If you need a faster option, placing a sealed portion in a bowl of cold water can thaw it more quickly, though it should be fed shortly after thawing rather than left to sit at room temperature for an extended period.
Reheating
If you prefer to serve the food slightly warmed rather than cold, a brief warm up is fine, but always check the temperature carefully before serving to make sure it has cooled enough that it will not burn your dog’s mouth.
Meal Prep
Cooking one large batch every one to two weeks and freezing individual portions turns this recipe into a genuinely manageable routine rather than a daily task.
Labeling each container with the date it was made helps you keep track of freshness and rotate through portions in the order they were prepared.
Containers
Airtight, freezer safe containers or silicone trays work best for this recipe.
Avoid containers that are not specifically rated for freezer use, since they can crack or degrade over repeated freeze and thaw cycles.
Food Safety
As with any homemade pet food, general food safety principles apply.
Wash your hands and all surfaces thoroughly after handling raw chicken, cook the meat fully before serving, and never leave finished food sitting out at room temperature for more than a couple of hours.
Recipe Variations
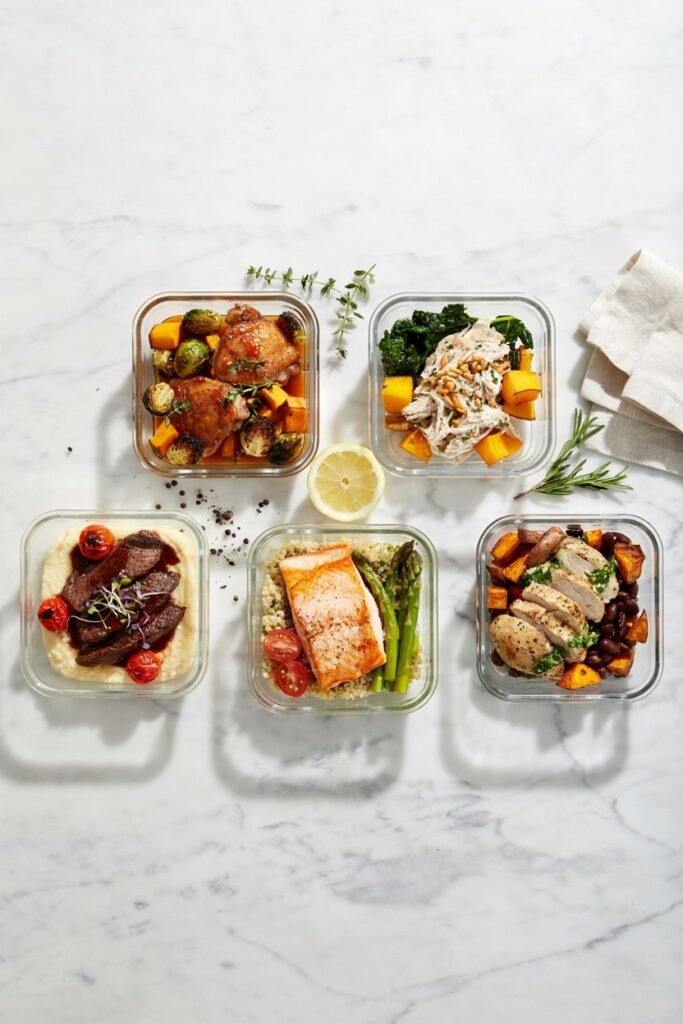
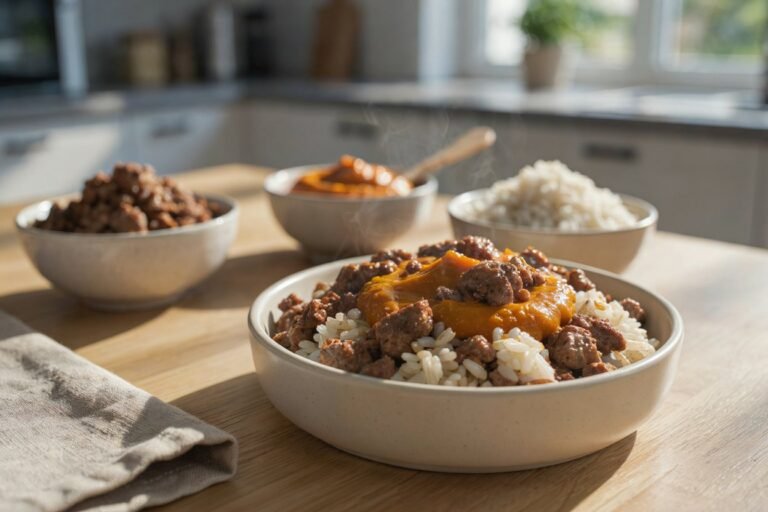
Pumpkin Chicken Recipe
Adding a few tablespoons of plain pumpkin puree in place of a portion of the rice introduces extra fiber, which can help support digestion and is often a good option for dogs prone to occasional loose stools.
Turkey Version
Swapping chicken for ground or diced turkey creates a very similar recipe with a slightly different flavor profile, useful for dogs who need variety or who are cycling through different proteins.
Beef Version
Using lean ground beef instead of chicken offers a richer flavor and a different amino acid profile, though the fat should be well trimmed or drained to keep the recipe from becoming too rich for regular feeding.
Salmon Version
Replacing chicken with cooked, deboned salmon shifts this recipe toward a fish based meal that offers additional omega three fatty acids, which can be especially useful for dogs with skin or coat concerns.
Chicken and Sweet Potato
Swapping the brown rice for cubed, cooked sweet potato creates a naturally sweeter, slightly more nutrient dense version of the base recipe that many dogs find very appealing.
Senior Dog Version
For older dogs, cooking the vegetables and grains a bit longer to create a softer overall texture can make the meal easier to chew and digest, which pairs well with the general considerations in my best dog breeds for seniors post.
Puppy Version
Puppies have different, more demanding nutritional needs than adult dogs, particularly around calcium and phosphorus ratios that support proper bone development.
A homemade recipe like this one should not be fed to a growing puppy as a complete diet without guidance from a veterinarian, since getting those ratios wrong during growth can have lasting effects.
Is This Recipe Complete and Balanced?
This is an important question, and an honest answer matters more than a convenient one.
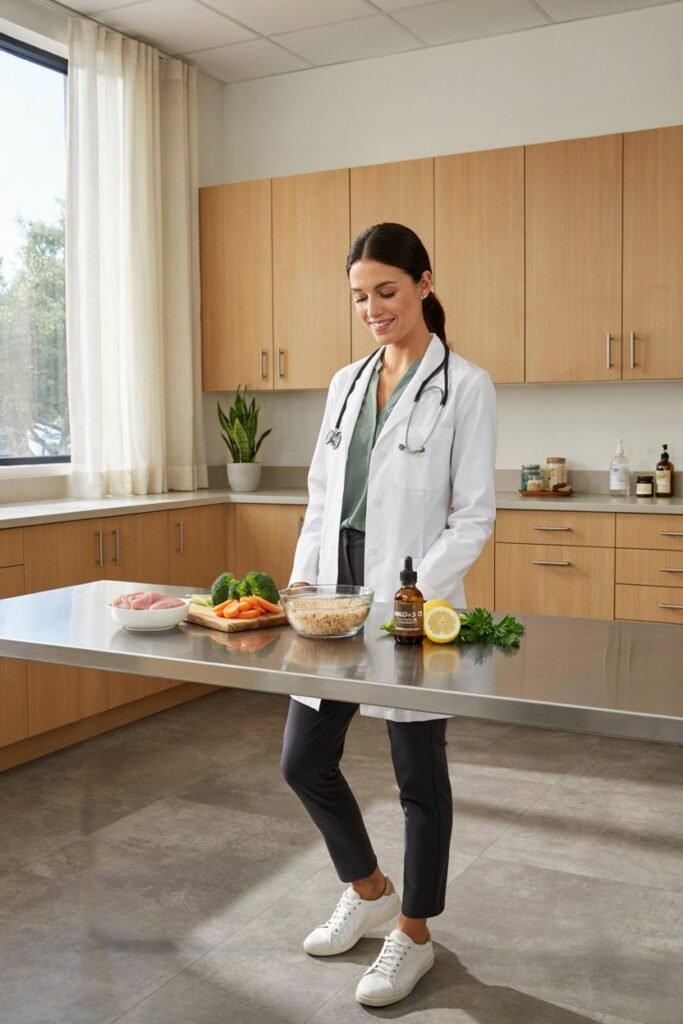
While this recipe contains wholesome, real food ingredients, it is best viewed as a homemade fresh food recipe rather than a certified complete and balanced diet, unless it has specifically been formulated and reviewed to meet those nutritional standards.
Commercial fresh food companies typically work with veterinary nutritionists to calculate exact vitamin and mineral ratios, something that is difficult to replicate precisely at home without professional guidance.
If you plan to feed this recipe occasionally, as a rotational meal, or as a topper alongside a commercial diet, that is generally a reasonable and enjoyable way to add variety to your dog’s routine.
If you are considering feeding a homemade diet like this one exclusively over the long term, it is strongly worth consulting your veterinarian or a board certified veterinary nutritionist first, who can help you adjust the recipe or add appropriate supplements to ensure it fully meets your individual dog’s nutritional needs.
Recipe Card
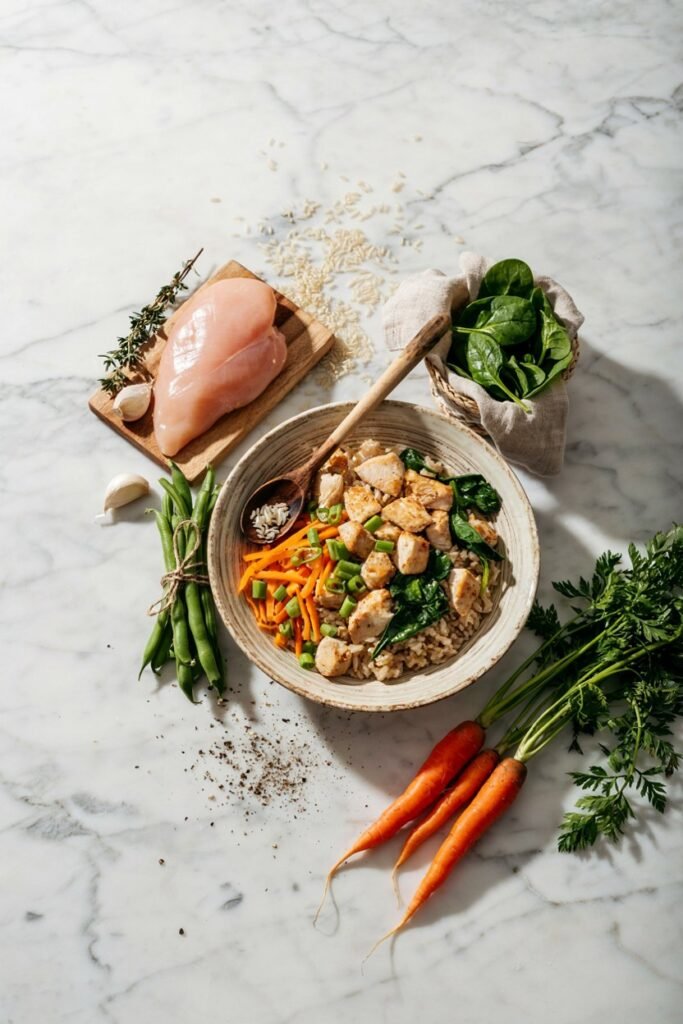
Prep time: 15 minutes Cook time: 50 minutes Total time: About 1 hour 5 minutes Yield: Approximately 8 to 10 servings, depending on your dog’s size
Ingredients Two pounds of boneless, skinless chicken breast or thigh, diced One cup of brown rice, uncooked One cup of diced carrots One cup of trimmed, chopped green beans One cup of fresh spinach One tablespoon of fish oil, added after cooking Water, as needed to cover ingredients during cooking
Instructions Dice the chicken evenly and simmer gently in water until fully cooked through. Add the brown rice along with additional water and simmer until tender, about 35 to 45 minutes.
Add the carrots and green beans during the final 15 minutes of cooking. Stir in the spinach during the last few minutes until wilted.
Remove from heat, cool slightly, then stir in the fish oil. Cool completely before portioning into storage containers.
Notes Always avoid onion, garlic, and added salt. Introduce any new recipe gradually alongside your dog’s current diet.
Storage instructions Refrigerate for up to 4 days or freeze individual portions for up to 3 months.
Nutrition disclaimer This recipe is intended as a homemade fresh food option and has not been formally analyzed or certified as complete and balanced.
Consult your veterinarian before feeding it as a primary, long term diet.
If you enjoyed this recipe, you may also like my simple farmer’s dog food recipes, vet approved crockpot dog food recipes, and seven healthiest homemade dog foods for more ways to keep your dog’s homemade meal rotation fresh and satisfying.
Frequently Asked Questions
Can puppies eat this? Puppies have different nutritional requirements than adult dogs, so this recipe should not be fed as a complete diet to a growing puppy without veterinary guidance.
Can I freeze it? Yes, portioned servings freeze well for up to 3 months in an airtight, freezer safe container.
How long does it last? Up to 4 days in the refrigerator and up to 3 months in the freezer.
Can I use chicken thighs? Yes, though it is best to remove the skin and trim visible fat, since thighs are naturally higher in fat than breast meat.
Can I use frozen vegetables? Yes, frozen carrots and green beans work well in this recipe and can be added directly without thawing first.
Can I replace rice? Yes, oats, quinoa, or barley can all be used as substitutes, each offering a slightly different texture and nutritional profile.
Can I use white rice? Yes, white rice is a gentler option for dogs with sensitive stomachs, though it offers less fiber than brown rice.
Can cats eat this? This recipe is formulated with a dog’s nutritional needs in mind, and cats have different dietary requirements, so it is not recommended as a regular meal for cats.
Can I add eggs? Yes, a fully cooked egg can be added for extra protein, though it should be introduced gradually to watch for any sensitivity.
How much should I feed? Portion size depends heavily on your dog’s size, age, and activity level, so it is best to start with an amount similar to their current food intake and adjust based on their weight and body condition over time.
Should I add supplements? If you plan to feed this recipe long term as a primary diet, a veterinarian or veterinary nutritionist can help identify whether specific supplements are needed to fill any nutritional gaps.
Can I cook it in an Instant Pot? Yes, a pressure cooker can significantly reduce the cooking time for both the chicken and the rice, similar to the approach in my instant pot farmer’s dog food recipe.
Can I meal prep this recipe? Yes, this recipe is specifically designed for batch cooking and portioning, making it well suited for meal prep sessions every one to two weeks.
Can diabetic dogs eat it? Dogs managing diabetes often need a very specific ratio of protein, fat, and carbohydrates, so it is best to review this recipe with your veterinarian before feeding it regularly to a diabetic dog.
Can senior dogs eat it? Yes, with vegetables and grains cooked a bit softer for easier digestion, this recipe generally works well for senior dogs, though individual health conditions should always be taken into account.
DIY Farmer’s Dog Chicken Recipe Copycat
Ingredients
Equipment
Method
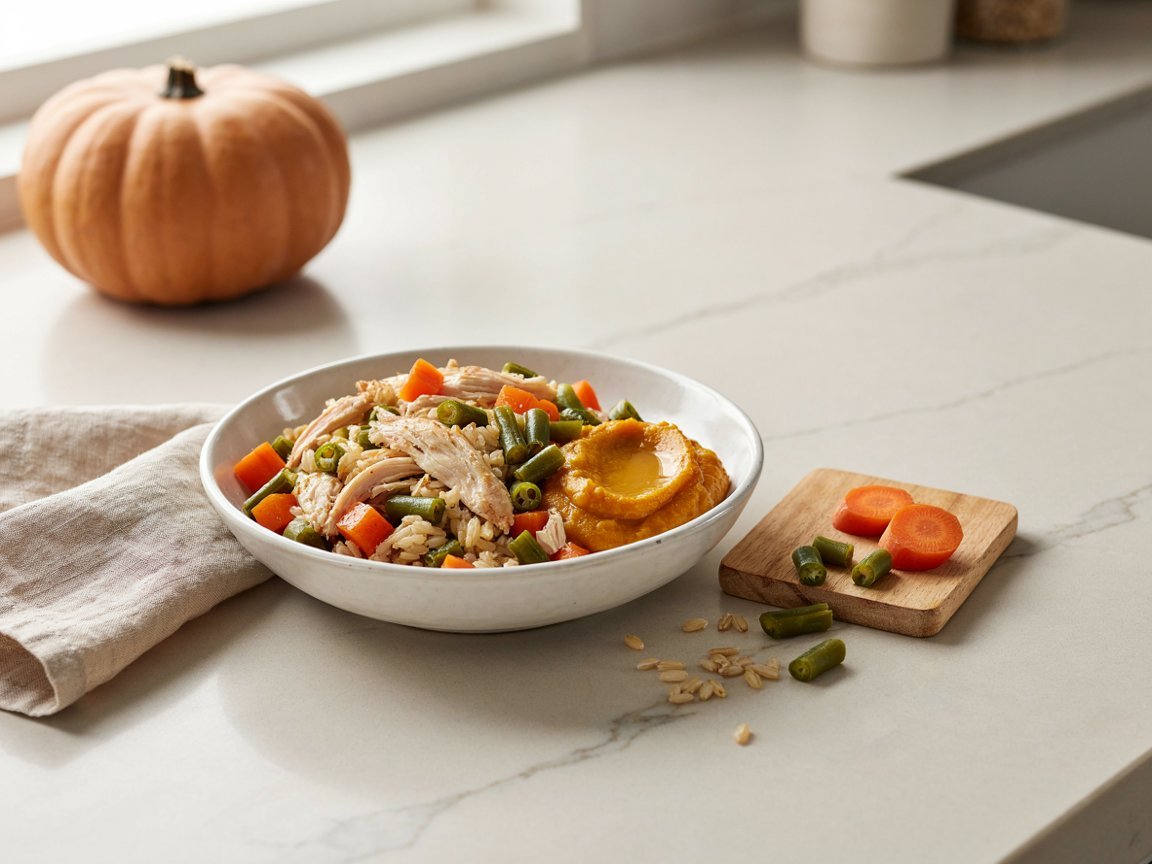
- Step 1:Rinse the rice and prepare the vegetables by washing and chopping them into small, manageable pieces.Step 2:Place the chicken in a large pot with the water and cook thoroughly until the meat reaches a safe internal temperature.Step 3:Remove the cooked chicken from the pot and allow it to cool slightly. Shred or finely chop the chicken into small pieces.Step 4:Cook the rice according to the package directions until tender.Step 5:Cook the carrots and green beans until soft and easy to mash or chew.Step 6:Combine the cooked chicken, rice, vegetables, and plain pumpkin puree in a large mixing bowl.Step 7:Allow the food to cool completely before portioning and serving.
Recipe Notes
This recipe is inspired by fresh dog food recipes and is not an official Farmer’s Dog recipe. Homemade dog food should be nutritionally balanced for your dog's individual needs. For regular feeding, consult your veterinarian or a board certified veterinary nutritionist about the appropriate nutrient balance and portion size.
Final Thoughts
Cooking this recipe at home is about more than saving money, though that is certainly a welcome benefit.
It is about knowing exactly what goes into your dog’s bowl, having the flexibility to adjust ingredients as needed, and finding a bit of genuine enjoyment in the process of cooking for a pet who clearly appreciates the effort.
Many owners find that once they get into a rhythm of batch cooking every couple of weeks, it becomes a satisfying part of caring for their dog rather than a burdensome chore.
As with any significant dietary change, take it slow, watch how your dog responds, and don’t hesitate to loop in your veterinarian, especially if you’re experimenting with new proteins or considering feeding homemade meals as a long term primary diet.