
Green Bean Crunchies for Dogs (The Healthy Homemade Treat My Dogs Actually Beg For)
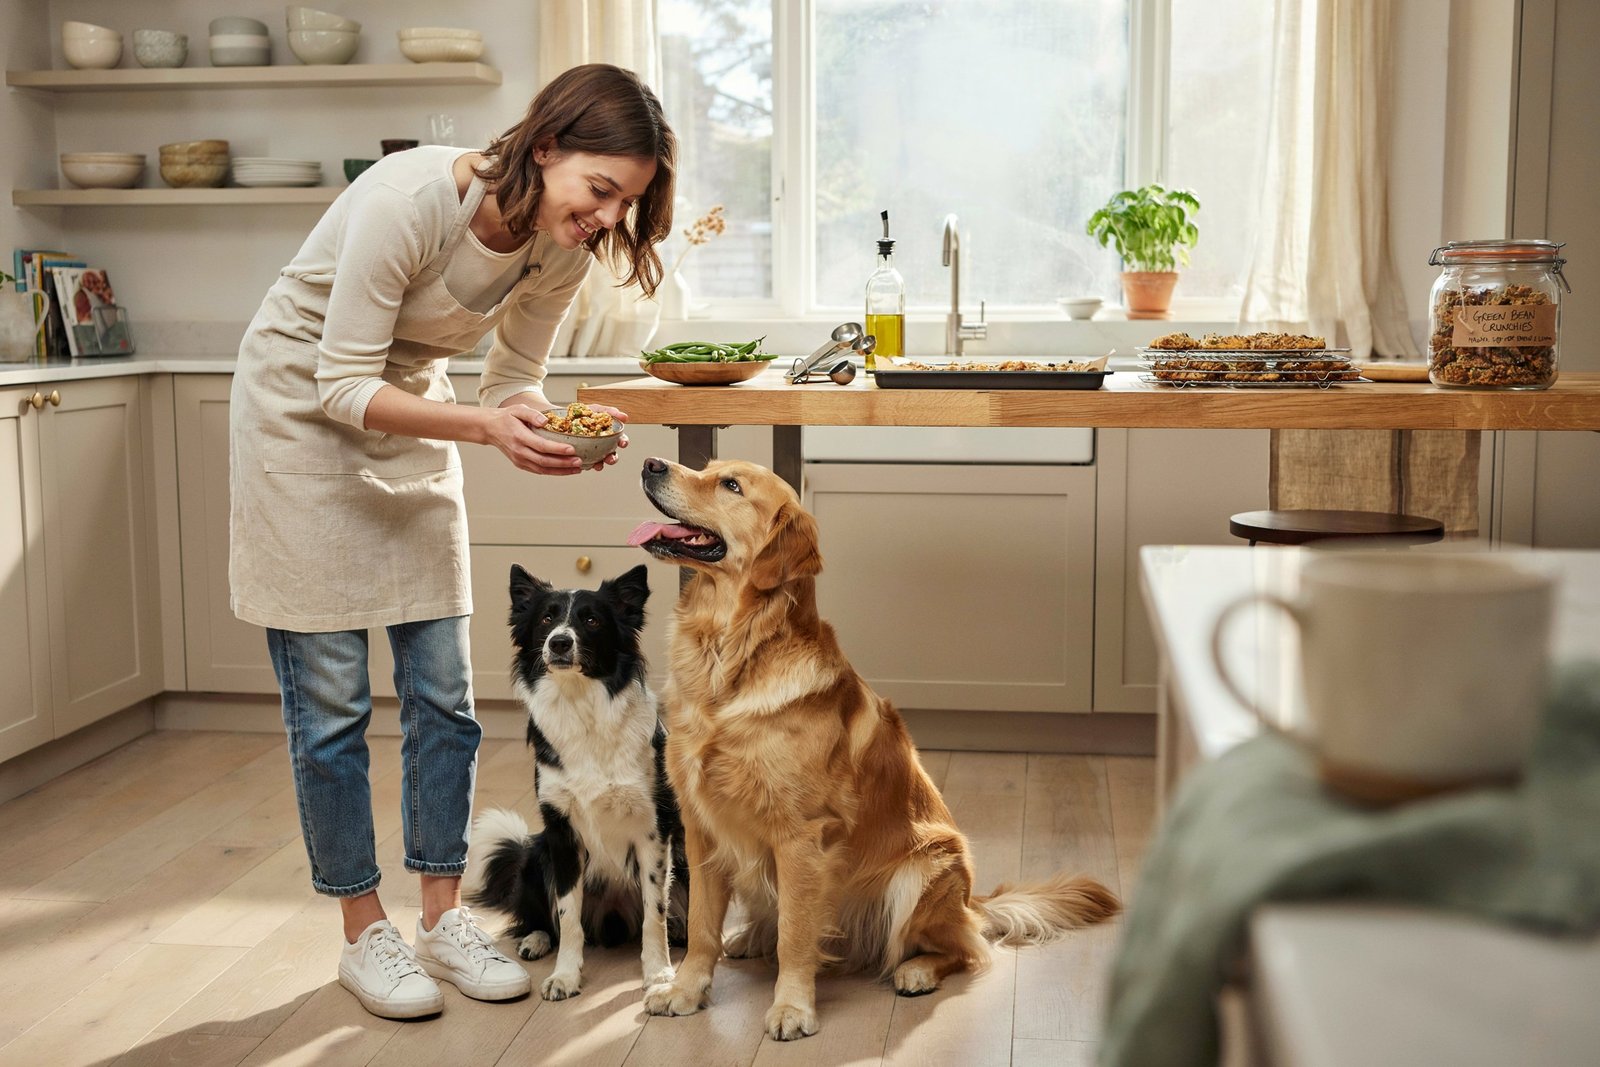
If you have ever stood in the pet aisle squinting at an ingredient list you cannot pronounce, you already know why I stopped buying store bought dog treats.
My two dogs, Biscuit and Loki, are both a little food obsessed, and for years I fed them whatever bag had the cutest packaging.
Then one afternoon I read the back of a treat bag and counted six ingredients I could not identify.
That was the day I decided to start making treats at home, and Green Bean Crunchies became the very first recipe that stuck.
These crunchies are exactly what they sound like.

Thin slices of fresh green beans, seasoned lightly, then baked low and slow until they turn into crispy, snappable little chips that dogs go absolutely wild for.
No flour, no fillers, no mystery meat by products.
Just a vegetable your dog probably already loves, turned into a treat that crunches the way kibble should but rarely does.
In this post I am walking you through exactly how I make them, why each ingredient matters, and all the little tricks I have picked up after making probably a hundred batches of these over the years.
By the end you will have a treat recipe that is cheap, simple, and something your dog will absolutely beg you for.
Affiliate Disclaimer: Some links in this post are affiliate links. I may earn a small commission at no extra cost to you.
AMAZON SHOPPING LIST (GREEN BEAN CRUNCHIES FOR DOGS)
- Stainless Steel Box Grater
Perfect for shredding green beans or other veggies quickly
BUY NOW ON AMAZON - Silicone Baking Mat (2-Pack)
Prevents treats from sticking and makes cleanup easy
BUY NOW ON AMAZON - Mixing Bowl Set (Glass or Stainless Steel)
Ideal for combining ingredients and preparing dough
BUY NOW ON AMAZON - Dog Bone Cookie Cutter Set
Create fun, bite-sized green bean treats for your pup
BUY NOW ON AMAZON - Airtight Treat Storage Container
Keeps homemade green bean treats fresh and crunchy longer
BUY NOW ON AMAZON
Why Green Beans Make a Great Dog Treat
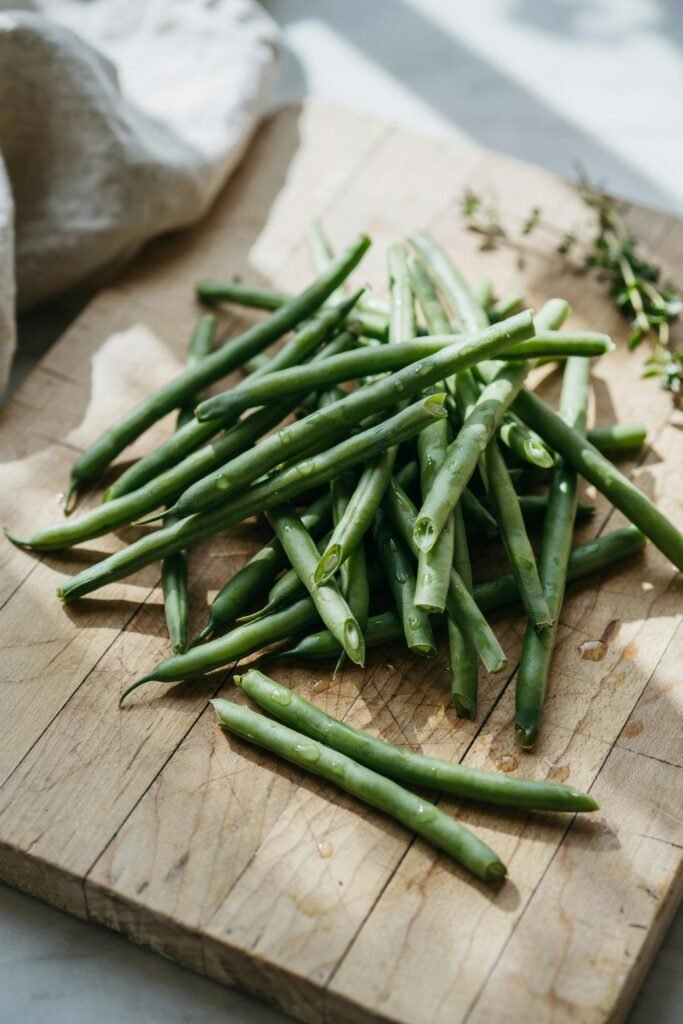
Green beans are one of those vegetables that vets and dog nutritionists tend to agree on.
They are low in calories, high in fiber, and packed with vitamins like vitamin C, vitamin K, and manganese.
That combination makes them a smart choice if your dog needs to watch their weight, since a handful of green bean crunchies has a fraction of the calories of most commercial treats.
They are also naturally low in fat and sodium, which matters a lot once you start reading labels on packaged treats and realize how much salt and oil sneaks into them.
Because green beans are mostly water and fiber, they help dogs feel satisfied without the calorie load, which is part of why so many vets recommend them as a weight management snack.
There is also the texture factor. Dogs love to chew, and that crunch is genuinely satisfying for them, almost like a mini workout for their jaw.
My dog Loki is what I lovingly call a food inhaler, but even he has to slow down and actually chew these because of the crispness, which I love because it turns snack time into something a little more mindful for him.
What You Need Before You Start
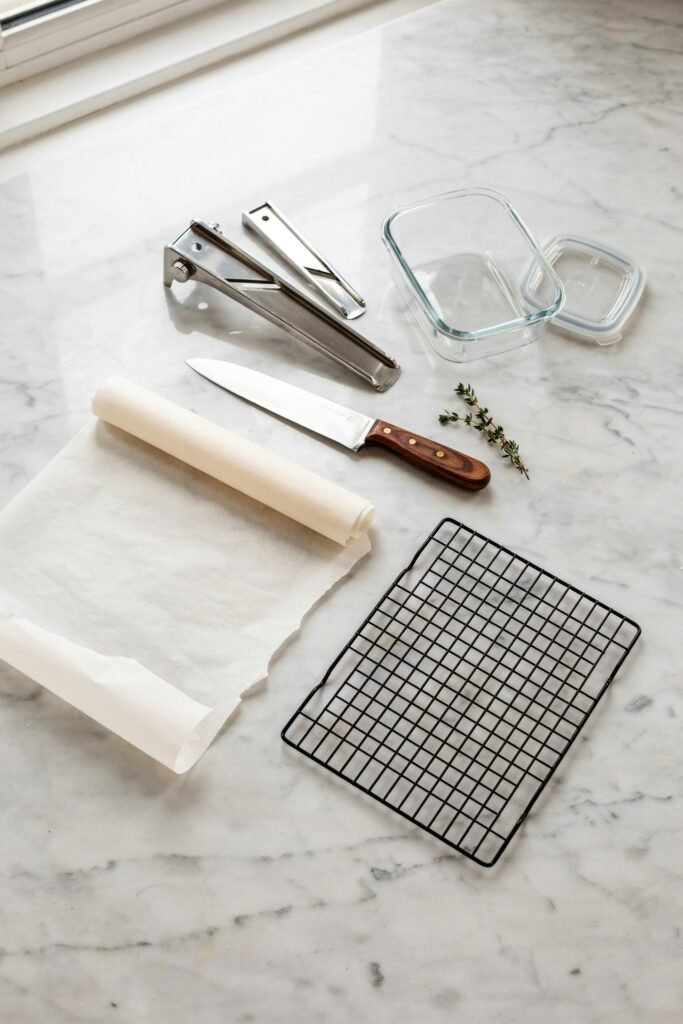
Making these crunchies does not require any fancy equipment, which is honestly part of why this recipe became a regular in my kitchen rotation. Here is what I use every single time.
A sharp knife or a mandoline slicer.
I personally use a mandoline because it gives me thin, even slices in seconds, and even slices are the secret to getting that consistent crunch throughout the whole batch.
If you are using a knife, just take your time and try to keep the slices as uniform as possible.
A large baking sheet lined with parchment paper.
Parchment paper is important here because it keeps the beans from sticking and helps them crisp evenly without burning on the bottom.
A wire cooling rack, which is optional but genuinely helpful.
Letting the crunchies cool on a rack instead of directly on the baking sheet keeps air circulating underneath them, which helps them crisp up even more as they cool.
An airtight storage container for once your batch is done.
Ingredients (Makes About 3 Cups of Crunchies)
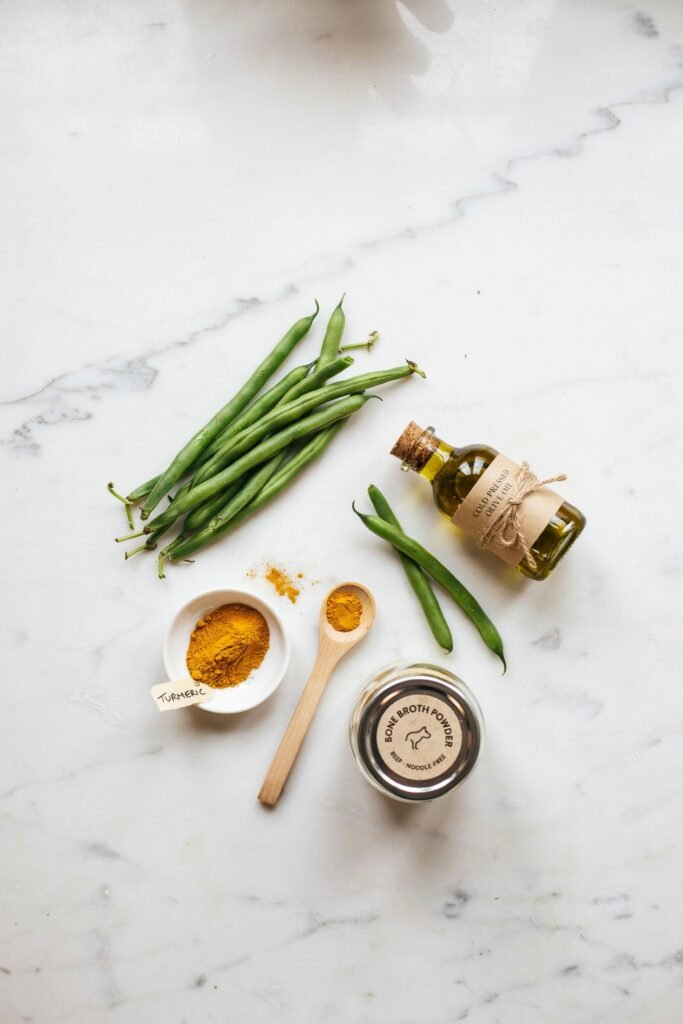
One of the things I love most about these Green Bean Crunchies is how simple the ingredient list is.
Everything I use has a purpose, whether it’s adding nutrition, creating the perfect crunchy texture, or helping the treats hold together.
With just a handful of wholesome, everyday ingredients, you can make a healthy homemade snack your dog will be excited to enjoy.
2 cups fresh green beans, finely chopped
Green beans are the star of this recipe because they are naturally low in calories and packed with fiber, vitamins A, C, and K.
I love using them to create a crunchy treat that helps my dogs feel satisfied without adding unnecessary calories.
1 cup oat flour
Oat flour gives the treats structure while keeping them gentle on most dogs’ stomachs.
It also adds healthy fiber that supports digestion and creates a light, crisp texture after baking.
1 large egg
The egg acts as a natural binder that holds everything together.
It also provides high quality protein along with important nutrients that help support healthy muscles, skin, and a shiny coat.
2 tablespoons unsweetened applesauce
Unsweetened applesauce adds a touch of natural sweetness that many dogs enjoy.
It also provides moisture, making the dough easier to mix without adding refined sugar or artificial ingredients.
1 tablespoon olive oil
A small amount of olive oil helps create a better texture while adding healthy fats that support your dog’s skin, coat, and overall well being.
1 tablespoon chopped fresh parsley
Fresh parsley adds a little burst of flavor and is often included because it may help freshen your dog’s breath.
It also contains antioxidants that contribute to overall health.
Optional: 1 teaspoon ground flaxseed
I like adding ground flaxseed whenever I have it on hand because it provides omega 3 fatty acids and extra fiber, giving these crunchy treats an additional nutritional boost.
How to Make Green Bean Crunchies for Dogs
Step One: Prep and Wash the Green Beans
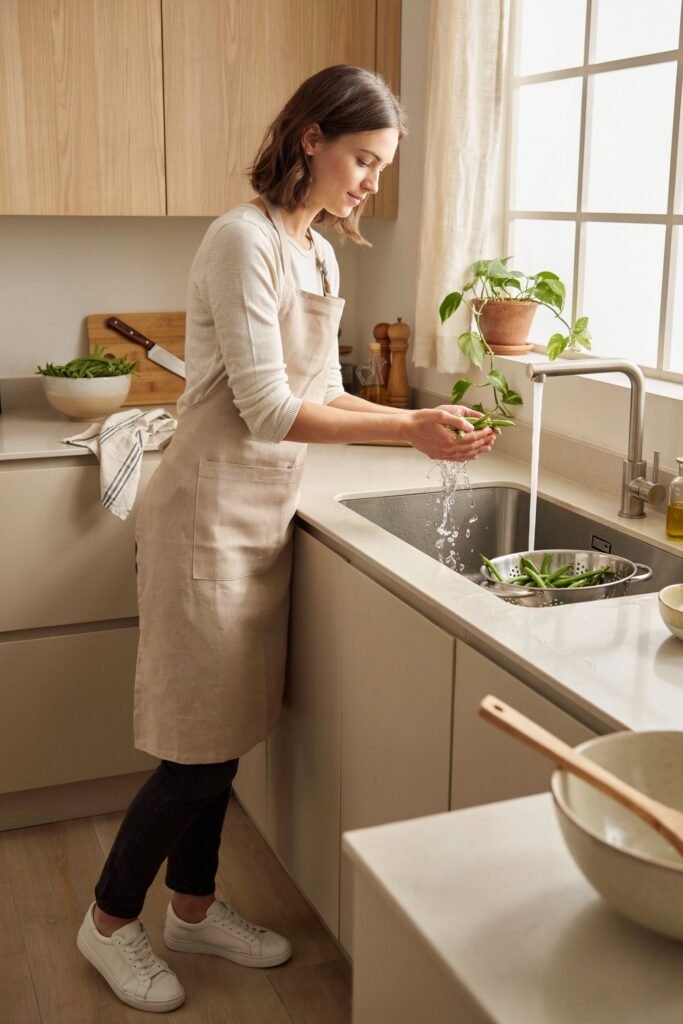
Start by rinsing your green beans thoroughly under cold water to remove any dirt or residue.
Pat them completely dry with a clean towel.
This step matters more than people think, because any extra moisture left on the beans will slow down the drying process in the oven and can leave you with chewy beans instead of crispy ones.
Trim off the stem ends of each bean with a knife or kitchen scissors.
Step Two: Slice the Beans Thin

Using your mandoline or a sharp knife, slice the green beans lengthwise into thin strips, roughly an eighth of an inch thick.
You can also slice them into thin coins if you prefer a chip like shape instead of a long strip.
The thinner and more even your slices are, the crispier and more consistent your final batch will be, so this is worth taking your time on.
If you have a dog who does better with smaller bites, like a small breed or a senior dog with fewer teeth, feel free to cut the strips in half once sliced.
Step Three: Season the Beans
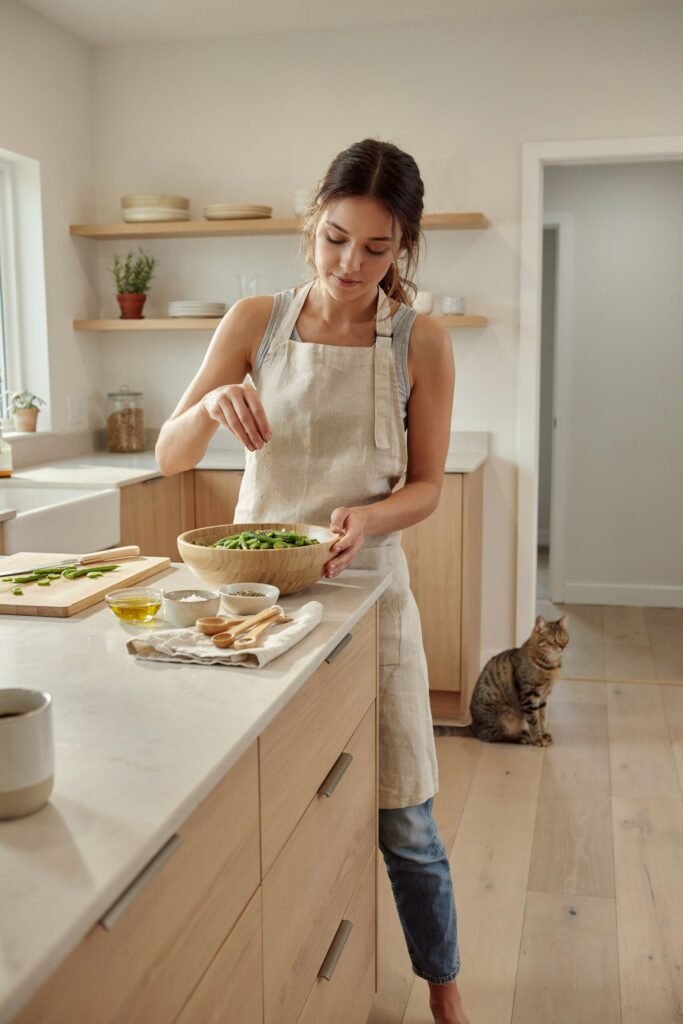
Place your sliced green beans in a large mixing bowl.
Drizzle the olive oil over the top and toss well with your hands or a spatula until every piece is lightly coated.
You want a thin, even coating, not a puddle of oil at the bottom of the bowl.
Sprinkle in the bone broth powder and turmeric if you are using them, then toss again until everything is evenly distributed.
The beans should look lightly glossy and slightly golden from the turmeric at this point.
Step Four: Arrange on the Baking Sheet

Line a large baking sheet with parchment paper and spread the seasoned green beans out in a single layer, making sure none of the pieces are overlapping or touching.
This is an important step, because overlapping pieces trap steam and will leave you with soggy spots instead of crunchy ones.
If your beans do not fit in a single layer, use a second baking sheet rather than crowding the pan.
Step Five: Bake Low and Slow
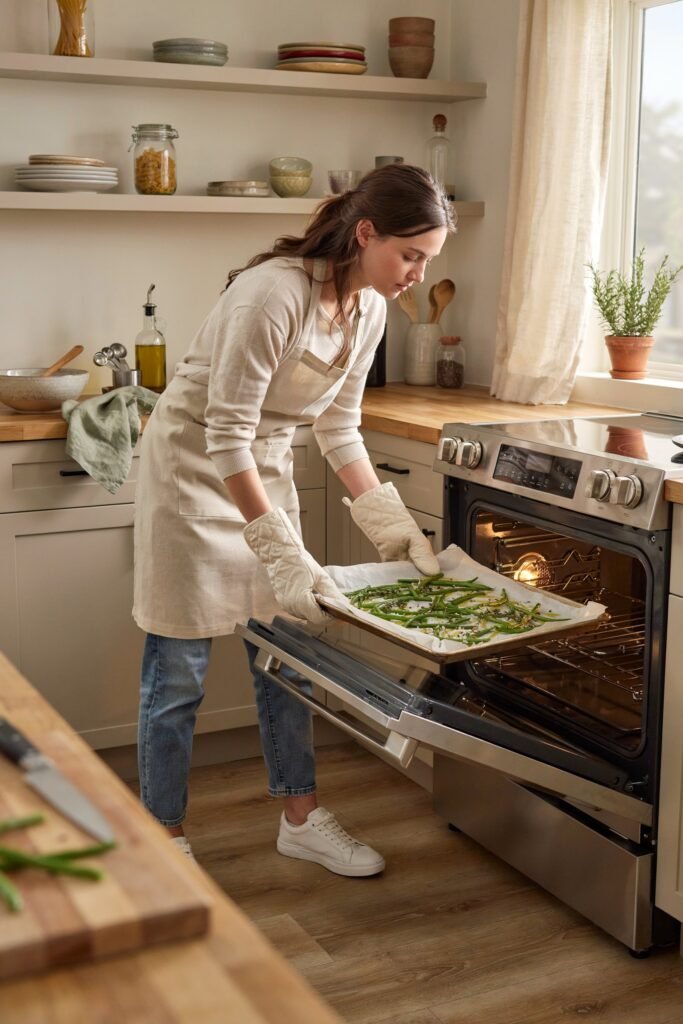
Preheat your oven to 250 degrees Fahrenheit.
This recipe works best at a low temperature because you are essentially dehydrating the beans rather than roasting them, which is what gives them that satisfying crunch instead of just softening them.
Bake for about ninety minutes to two hours, flipping the beans halfway through with a spatula so they dry evenly on both sides.
Every oven runs a little differently, so start checking around the ninety minute mark.
You are looking for beans that are shriveled, deeply golden at the edges, and firm to the touch, almost like a dried vegetable chip.
If after two hours they are still a bit flexible rather than crisp, that is completely normal.
Just leave them in for another fifteen to twenty minutes, checking every few minutes so they do not burn.
Step Six: Cool Completely
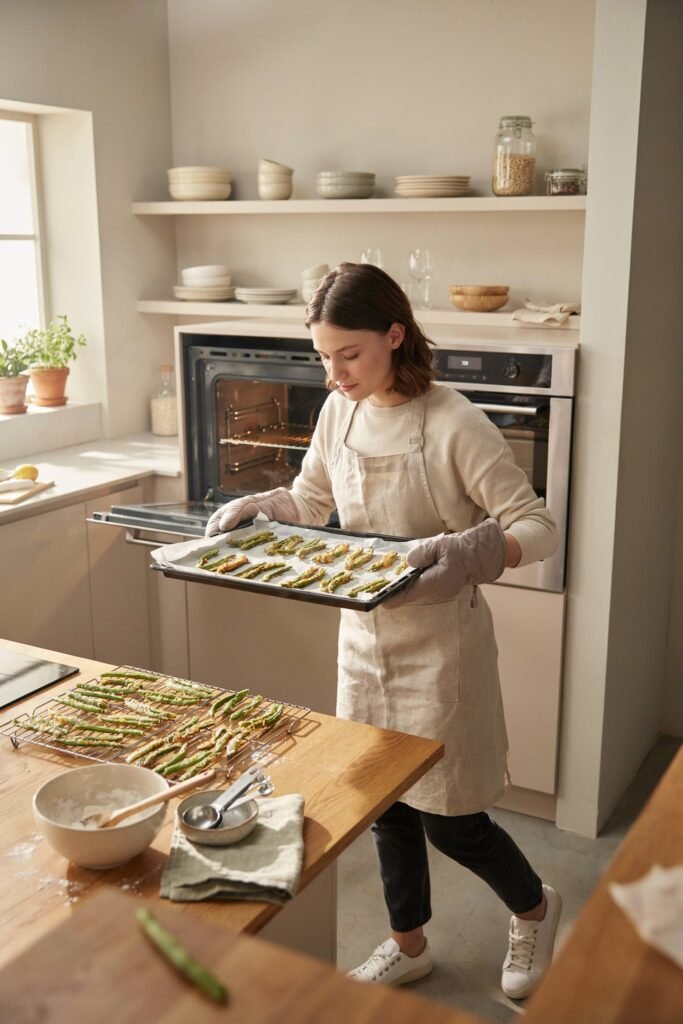
This step is one people love to skip, but please do not skip it.
Transfer the beans to a wire cooling rack and let them cool completely at room temperature, for at least thirty minutes.
The crunchies will actually continue to crisp up as they cool, and if you store them while still warm, trapped moisture can make them go soft or even mold prematurely.
Step Seven: Store Properly
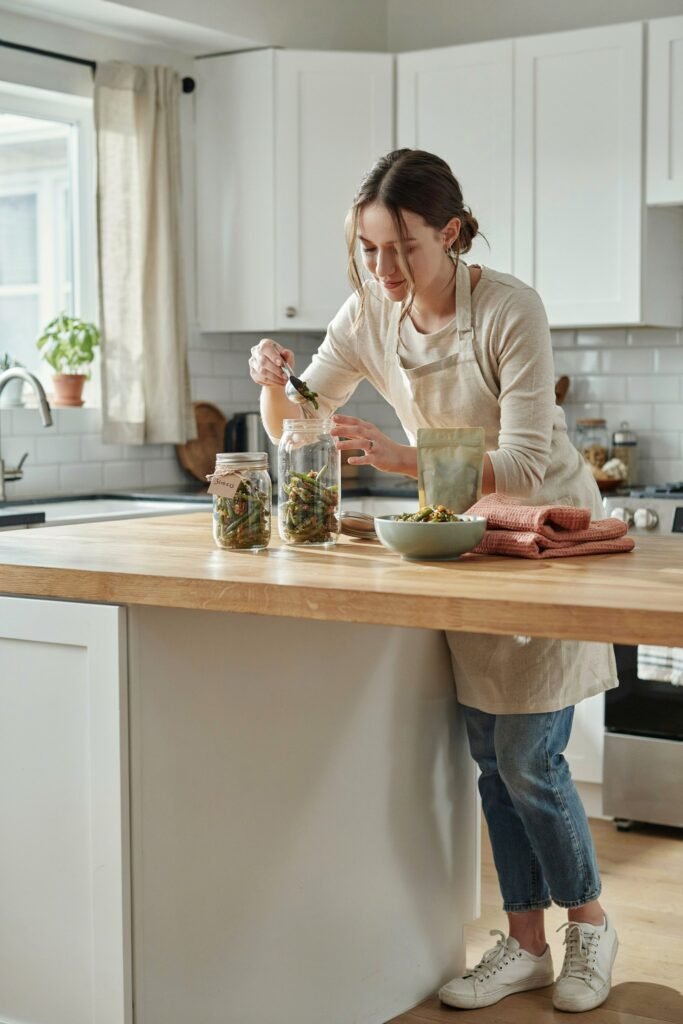
Once fully cooled, transfer your Green Bean Crunchies to an airtight container.
Stored at room temperature in a cool, dry place, they will stay fresh and crunchy for about one week.
If you want them to last longer, you can store them in the refrigerator for up to two weeks, or freeze a batch for up to three months.
I personally like to portion mine into small freezer bags so I always have a fresh batch ready to pull out.
Tips for the Best Results
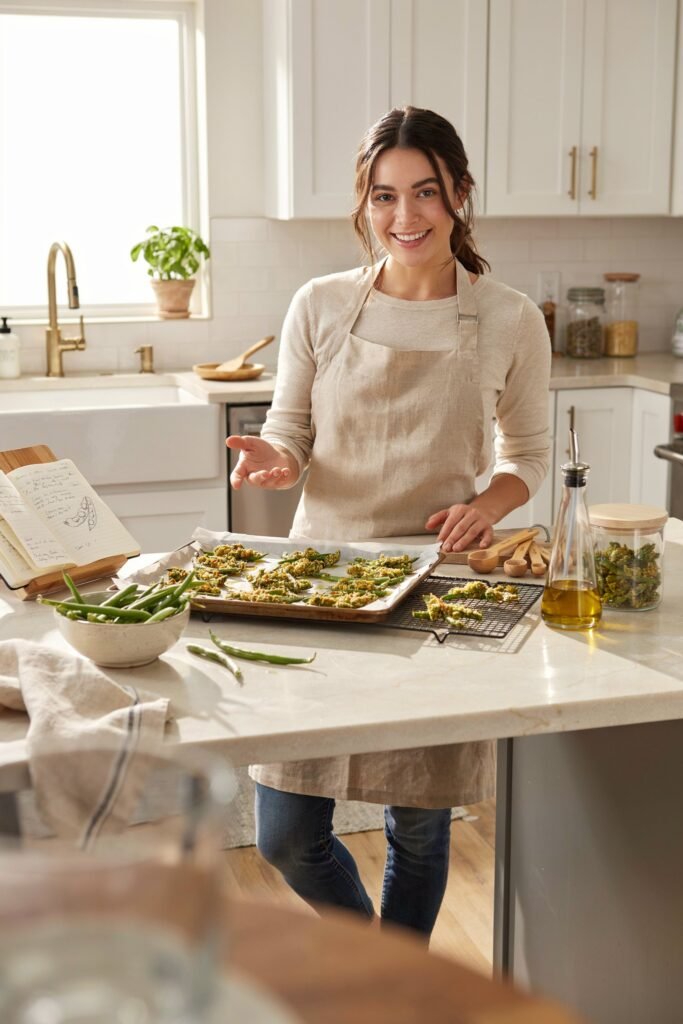
Slice consistently.
This really is the single biggest factor in getting a crunchy result instead of a chewy one, since uneven slices dry at different rates.
Do not rush the bake.
I know it is tempting to crank up the oven temperature to speed things along, but low and slow is what turns these into crunchies instead of just baked green beans.
Watch your batch near the end of baking, since the difference between perfectly crisp and slightly burnt can happen within just a few minutes.
Make a double batch. Once your dog tries these, you will likely be back in the kitchen sooner than you think, so I usually just double the recipe from the start.
A Note on Portion Size
Even healthy treats should only make up a small percentage of your dog’s daily diet, generally no more than ten percent of their total calorie intake.
Because green beans are so low in calories, a small handful of these crunchies makes a great everyday snack, training reward, or puzzle toy filler without throwing off your dog’s regular meals.
Frequently Asked Questions
Can dogs eat green beans?
Yes. Plain, fresh green beans are safe for most dogs and are a healthy source of fiber, vitamins, and minerals.
Just be sure they are cooked or chopped into small pieces before using them in homemade treats.
How should I store these Green Bean Crunchies?
Store the cooled treats in an airtight container at room temperature for up to 5 days.
For longer freshness, keep them in the refrigerator for up to 2 weeks or freeze them for up to 3 months.
Can I use frozen green beans?
Absolutely. Frozen green beans work just as well as fresh ones.
Simply thaw them completely, drain any excess moisture, and chop them before mixing them into the dough.
Can I replace the oat flour?
Yes. If your dog does better with a different flour, you can use whole wheat flour or brown rice flour instead.
Keep in mind that the texture may vary slightly depending on the flour you choose.
How many treats can I give my dog each day?
These treats are intended as an occasional reward and should not replace a balanced diet.
A few treats per day is usually enough, with the amount depending on your dog’s size, age, and activity level.
Can puppies eat these treats?
Yes, as long as your puppy is already eating solid food and the ingredients are appropriate for their age.
Break the treats into smaller pieces for young puppies and introduce new treats gradually.
Why are my treats not crunchy enough?
They may need a little more baking time.
Every oven is different, so if the treats are still soft after baking, lower the oven temperature slightly and bake them for another 10 to 15 minutes until they become crisp.
Can I add other dog friendly ingredients?
Yes. Small amounts of pumpkin puree, shredded carrots, or finely chopped spinach can be added for extra flavor and nutrition.
Introduce any new ingredient gradually to make sure your dog tolerates it well.
Final Thoughts
There is something really satisfying about handing your dog a treat you made yourself, knowing exactly what went into it.
Biscuit and Loki now sit by the oven the moment they smell green beans roasting, which honestly says more about this recipe than I ever could.
If you try these Green Bean Crunchies, I would love to hear how your pup reacts.
Chances are, just like mine, they will be begging for more before the batch even finishes cooling.
5 Comments