2-Ingredient Pupsicles (3 Easy Ways Your Dog Will Love)
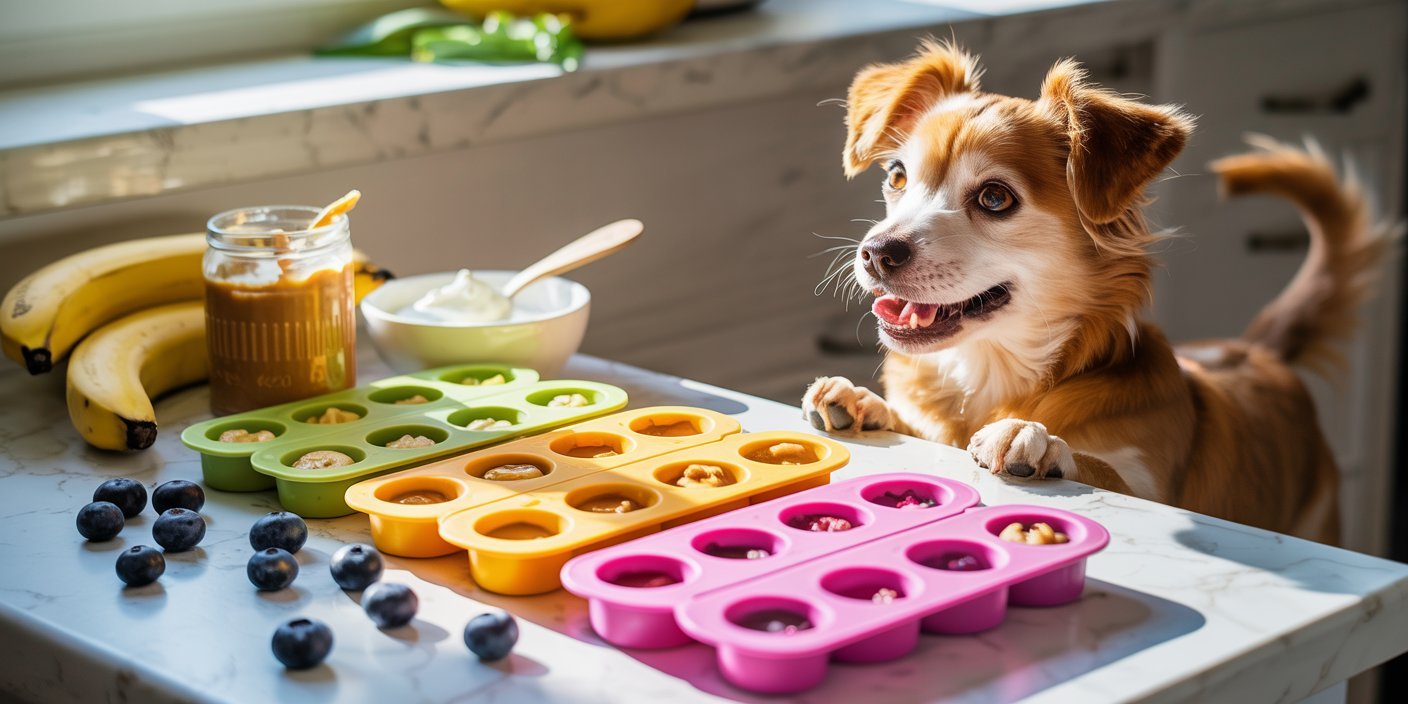
Nothing makes me happier than seeing my dog come running the moment I open the freezer.
It doesn’t matter if we’ve just come back from a walk, spent time playing in the backyard, or simply enjoyed a quiet afternoon together.
He somehow knows there’s something special waiting for him.
On warm days especially, I like having a few homemade frozen treats ready to go.
They’re incredibly easy to make, cost far less than many store bought dog treats, and I know exactly what’s going into them.
Even better, they only take a couple of minutes to prepare before the freezer does all the work.
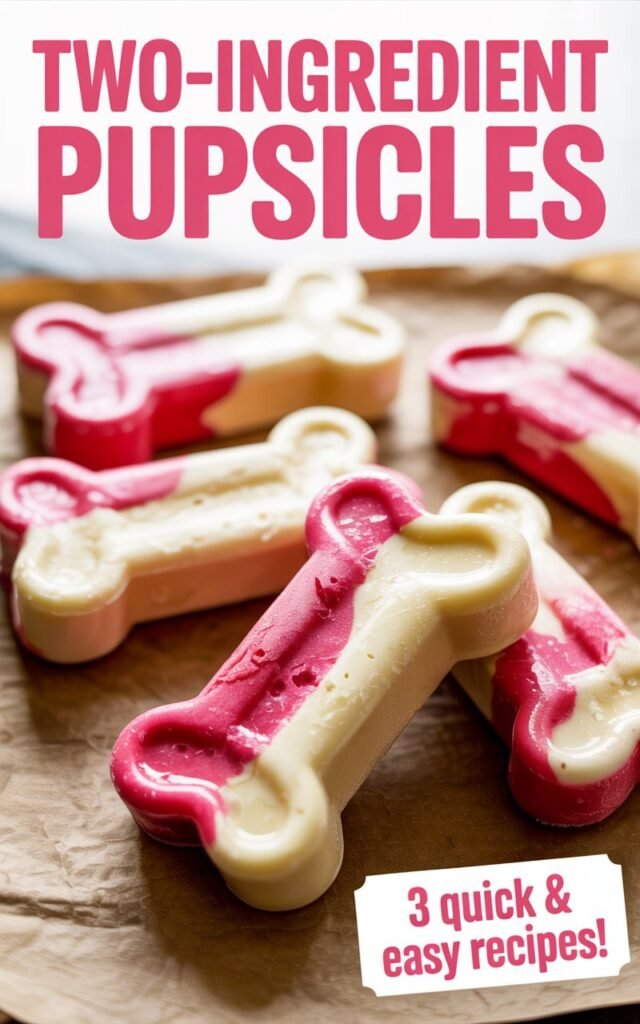
After trying different combinations, I kept coming back to these simple two ingredient pupsicles.
They’re creamy, refreshing, packed with ingredients most dogs already love, and they don’t require any complicated shopping list.
If you already have a few dog friendly ingredients in your kitchen, you’re probably only minutes away from making your dog’s new favorite snack.
In this guide, I’ll show you three of the easiest pupsicle recipes I make throughout the year, along with plenty of helpful tips so your treats turn out perfectly every time.
Before You Make These Pupsicles
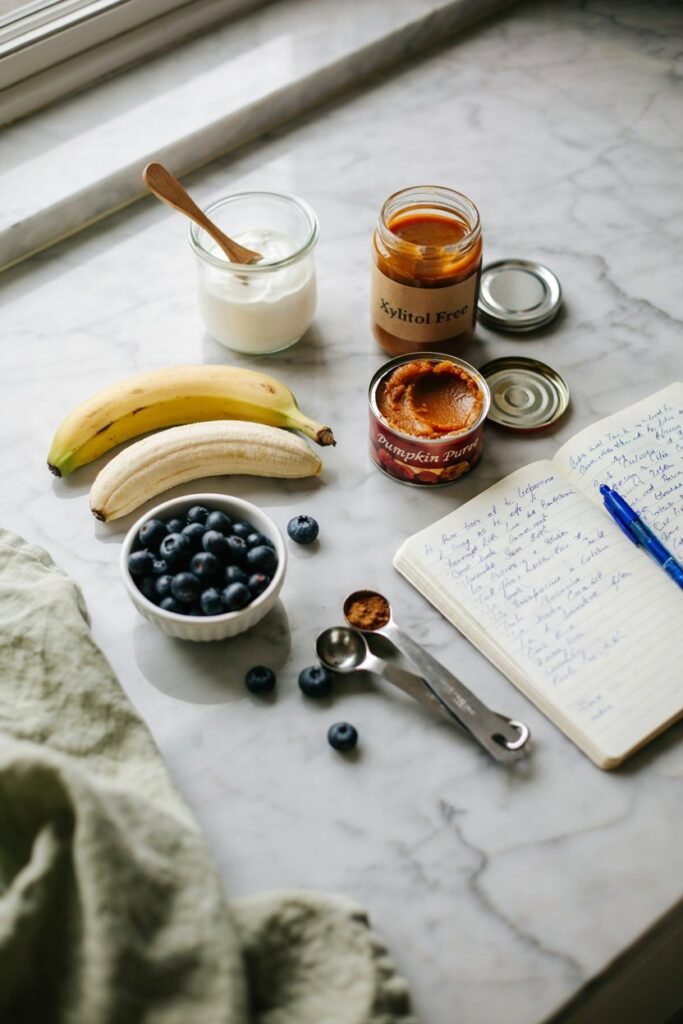
One of the biggest reasons I prefer homemade dog treats is knowing exactly what my dog is eating.
While these recipes are incredibly simple, it’s still important to choose ingredients that are safe for dogs.
Before getting started, keep these safety tips in mind.
Always Use Dog Safe Peanut Butter
Not every peanut butter is safe for dogs.
Always check the ingredient label and make sure it does not contain xylitol, sometimes listed as birch sugar.
Even a small amount can be extremely dangerous for dogs.
I always spend an extra minute reading the label because it’s one of the easiest ways to keep homemade treats safe.
Choose Plain Yogurt
For these recipes, plain Greek yogurt or plain natural yogurt works best.
Avoid yogurts that contain added sugar, chocolate, artificial sweeteners, or flavored syrups.
Plain yogurt also creates a nice creamy texture once frozen.
Introduce New Treats Slowly
Every dog has a different digestive system.
If this is your dog’s first frozen treat or first time trying an ingredient like pumpkin or yogurt, start with a small amount and see how they respond.
Even healthy treats should only be enjoyed in moderation.
Why I Love Making Homemade Pupsicles
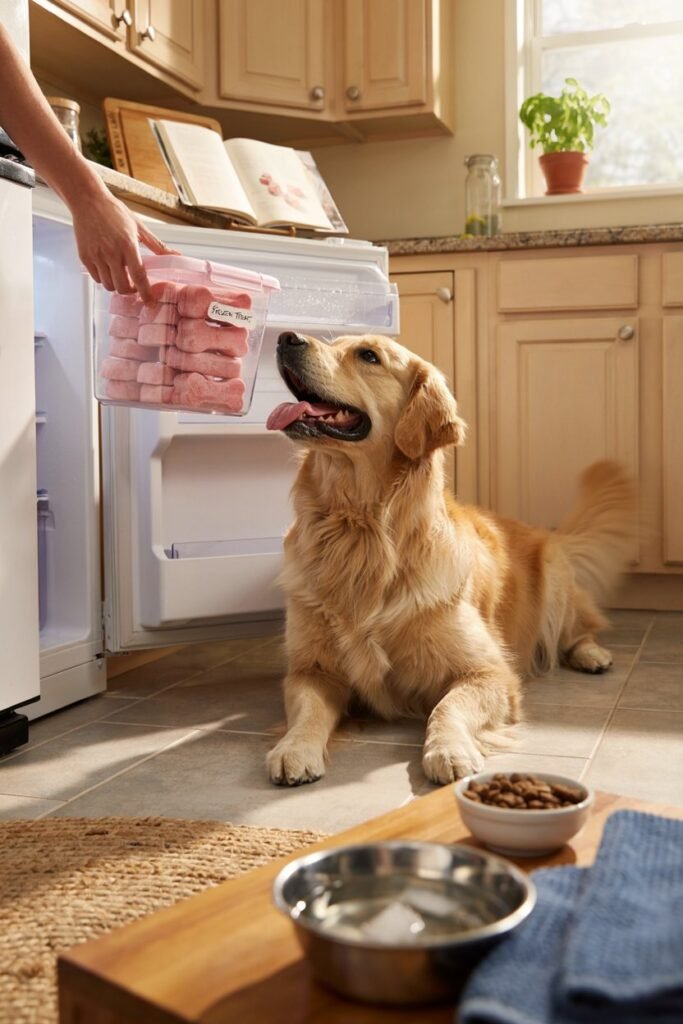
I used to think frozen dog treats would take a lot of effort until I tried making them myself.
Now they’re something I keep in the freezer almost all the time because they’re so convenient.
Here’s why they’ve become one of my favorite homemade treats.
They Help Dogs Cool Down
After a long walk or an afternoon playing outside, a frozen pupsicle can be a refreshing reward.
While they aren’t a replacement for fresh water or shade, they can certainly help your dog cool off on warmer days.
They’re Budget Friendly
Many premium frozen dog treats at pet stores can be surprisingly expensive.
These homemade versions usually cost only a fraction of the price, especially when you’re using ingredients you already have at home.
You Control Every Ingredient
This is probably my favorite part.
Instead of wondering what’s inside a commercial treat, I know exactly what my dog is eating.
That gives me a lot more confidence, especially when trying to avoid unnecessary additives.
They’re Great Mental Enrichment
Most dogs don’t simply eat a frozen pupsicle.
They lick it, chew it carefully, and spend several minutes enjoying it.
That extra time helps keep many dogs mentally engaged while giving them a rewarding activity.
Helpful Kitchen Tools
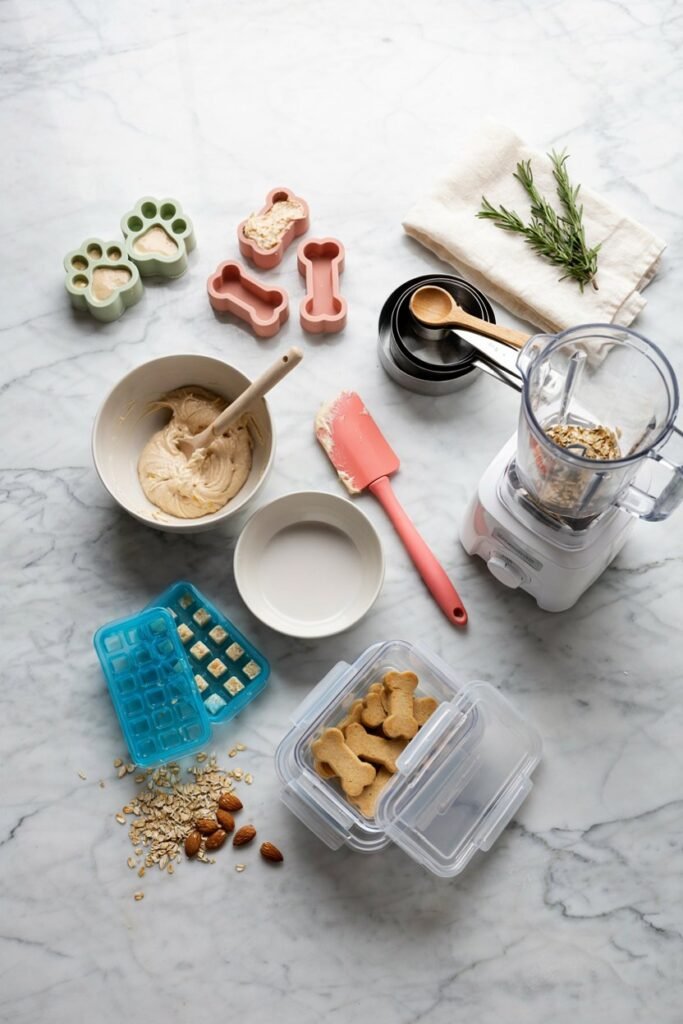
You don’t need any fancy equipment to make these recipes.
A few basic items are enough.
- Mixing bowl
- Spoon or silicone spatula
- Measuring cups
- Ice cube tray
- Silicone paw molds
- Small freezer safe container
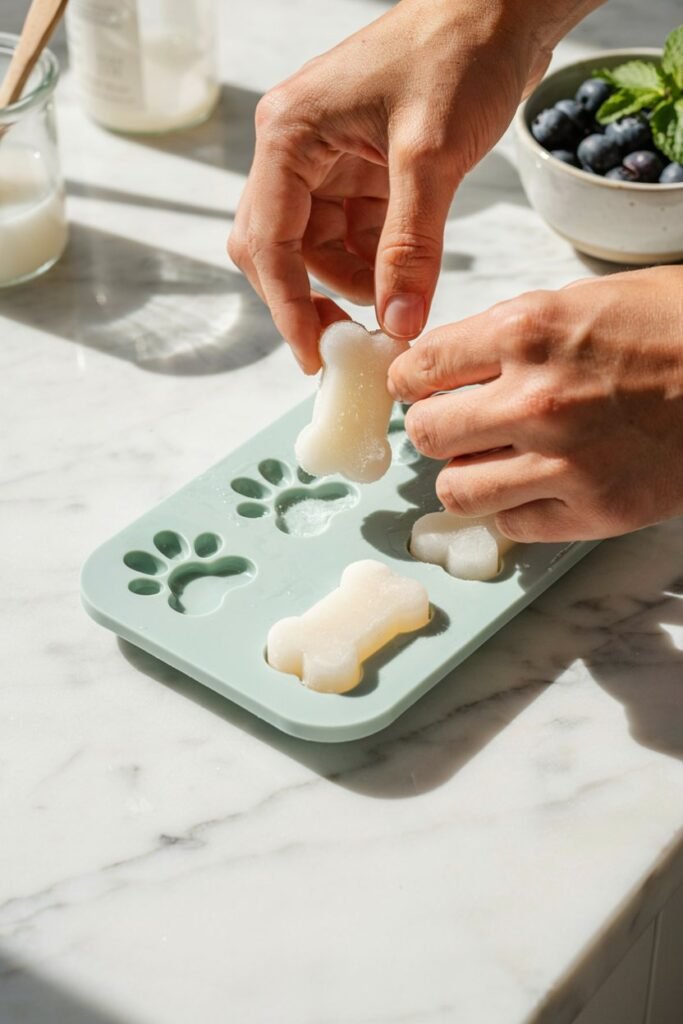
I personally like silicone molds because the frozen treats pop out much more easily than traditional ice cube trays.
Recipe 1: Peanut Butter Banana Pupsicles
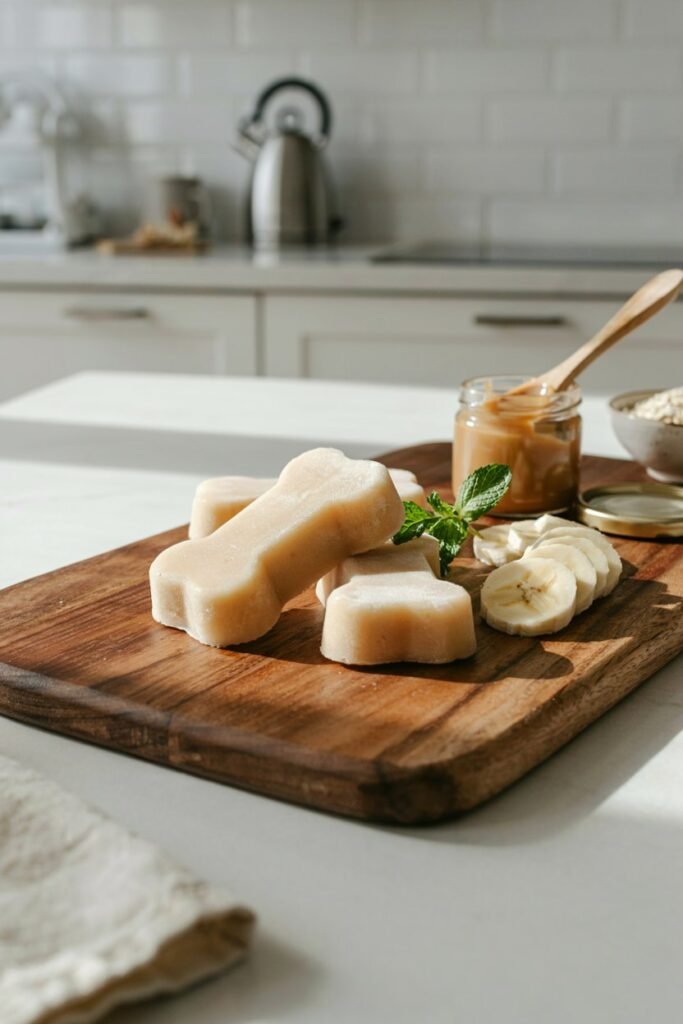
This is easily the recipe I make most often.
If your dog enjoys peanut butter, there’s a good chance this will become an instant favorite.
The banana adds natural sweetness while making the pupsicles extra creamy without needing any additional ingredients.
Ingredients
- 1 ripe banana
- ½ cup plain Greek yogurt
That’s it.
Only two simple ingredients.
How to Make Them
Mash the ripe banana until it’s smooth with very few lumps.
Add the Greek yogurt and stir until everything is fully combined into a creamy mixture.
Spoon the mixture into silicone molds or an ice cube tray.
Freeze for at least four to six hours, although I usually leave mine overnight for the best texture.
Once frozen, gently remove the pupsicles and store them in a freezer safe container until you’re ready to serve.
Why Dogs Love This Recipe
Bananas naturally provide a soft, creamy texture that freezes beautifully.
Combined with yogurt, they create a cool treat that’s easy for many dogs to enjoy without becoming overly hard.
It’s simple, refreshing, and made entirely from ingredients that many pet owners already have in their kitchens.
My Favorite Way to Serve It
After an evening walk, I usually let one pupsicle sit at room temperature for a minute or two before giving it to my dog.
It softens just enough to make licking easier while still staying nice and cold.
Storage Tips
Store the pupsicles in an airtight freezer container or freezer bag.
They stay fresh for up to two months, although they usually disappear much sooner in my house.
Recipe 2: Pumpkin Yogurt Pupsicles
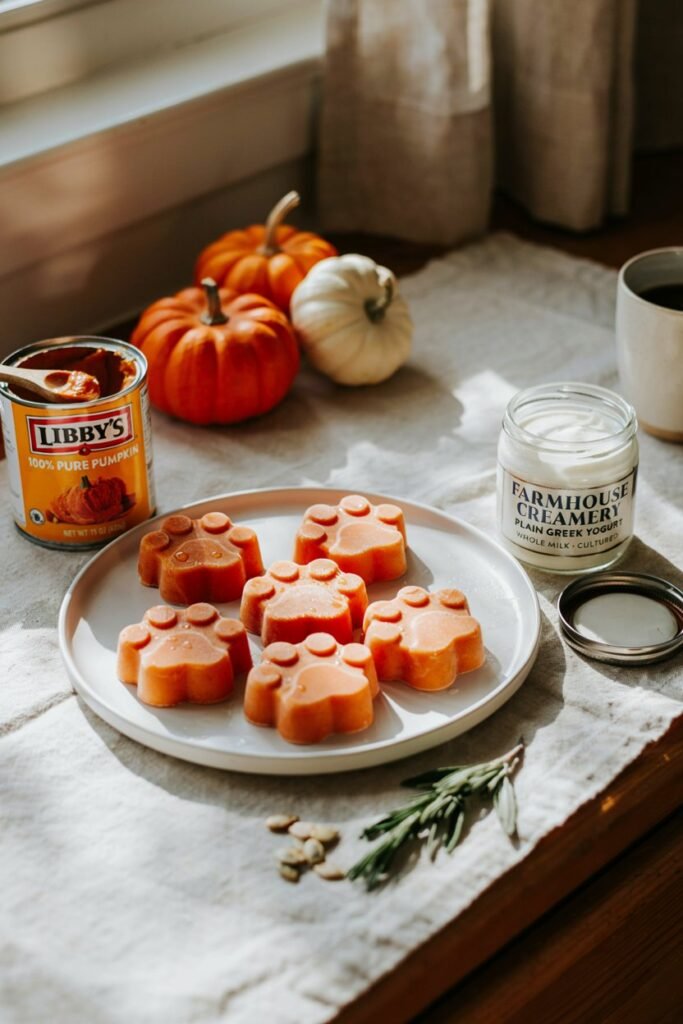
Every fall, I usually end up with a little canned pumpkin left over after baking.
Instead of letting it sit in the refrigerator until I forget about it, I’ve started using it to make frozen treats for my dog.
It has become one of those simple habits that saves food and gives my dog something healthy to enjoy.
Pumpkin is naturally rich in fiber and has a smooth texture that freezes beautifully.
Mixed with creamy yogurt, it creates a refreshing pupsicle that’s gentle on many dogs’ stomachs and incredibly easy to make.
If your dog has never tried pumpkin before, this is a great recipe to start with.
Ingredients
- ½ cup plain canned pumpkin puree
- ½ cup plain Greek yogurt
Important: Make sure you’re using 100% pure pumpkin puree, not pumpkin pie filling.
Pumpkin pie filling contains added sugar and spices that are not suitable for dogs.
Instructions
Add the pumpkin puree and Greek yogurt to a mixing bowl.
Stir until the mixture is completely smooth and evenly combined.
Spoon the mixture into your silicone molds or ice cube tray.
Freeze for at least 4 to 6 hours, or overnight if possible.
Once frozen, transfer the pupsicles to a freezer-safe container to keep them fresh.
Why This Recipe Works
I love this recipe because it’s incredibly simple, yet it feels like a special treat for my dog.
The pumpkin gives each pupsicle a naturally creamy consistency, while the yogurt adds a cool, refreshing texture that’s especially nice after outdoor play.
It’s one of those recipes that looks impressive but only takes about five minutes to prepare.
Best Time to Serve
I usually give these pupsicles:
- After a morning walk
- During warm afternoons
- Following backyard playtime
- While relaxing on the patio
- As a quiet afternoon enrichment activity
They’re a fun way to break up the day while giving your dog something exciting to look forward to.
Recipe 3: Blueberry Yogurt Pupsicles
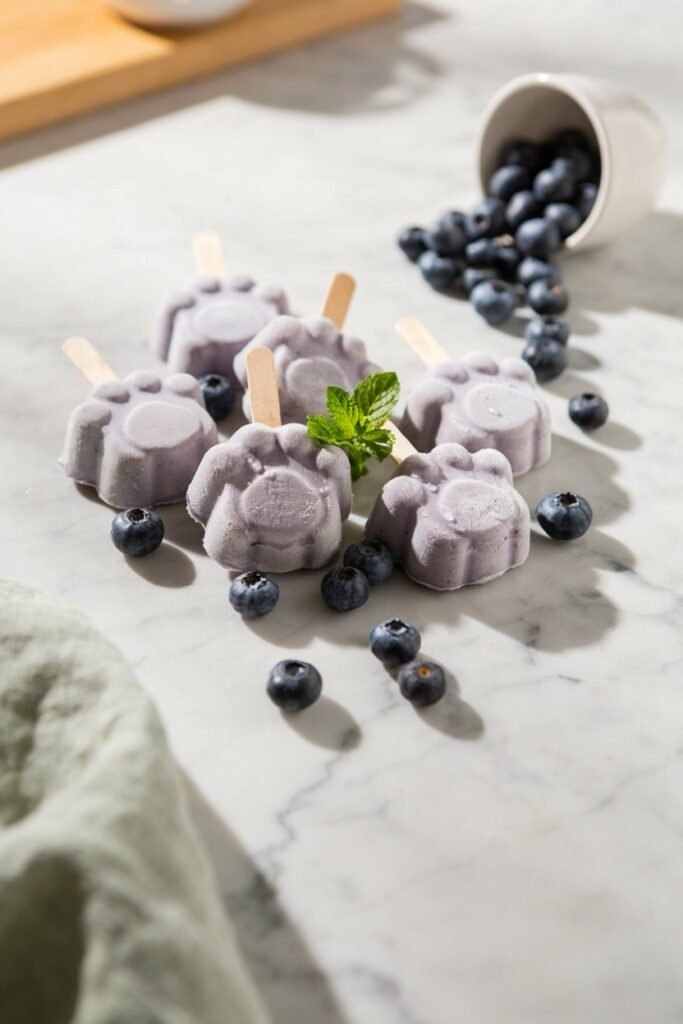
If you’re looking for a colorful frozen treat that’s just as easy to make, this blueberry version is always a hit.
Blueberries blend beautifully with yogurt and create a naturally purple pupsicle without any artificial coloring.
Whenever I make these, my freezer instantly looks stocked with homemade treats that are just as pretty as they are simple.
Ingredients
- ½ cup fresh or frozen blueberries
- ½ cup plain Greek yogurt
Instructions
Place the blueberries into a blender or food processor.
Blend until mostly smooth.
Add the Greek yogurt and blend again until fully mixed.
Pour the mixture into silicone molds.
Freeze overnight.
Remove the pupsicles from the molds and store them in an airtight freezer container.
Why Dogs Love This Recipe
Blueberries add a slightly fruity flavor while the yogurt keeps everything creamy.
Because the ingredients are blended together, every bite has the same smooth consistency, making these pupsicles easy for most dogs to enjoy.
I also like that they look a little different from the other recipes, which adds some variety whenever I rotate treats throughout the week.
Fun Ways to Serve Homemade Pupsicles
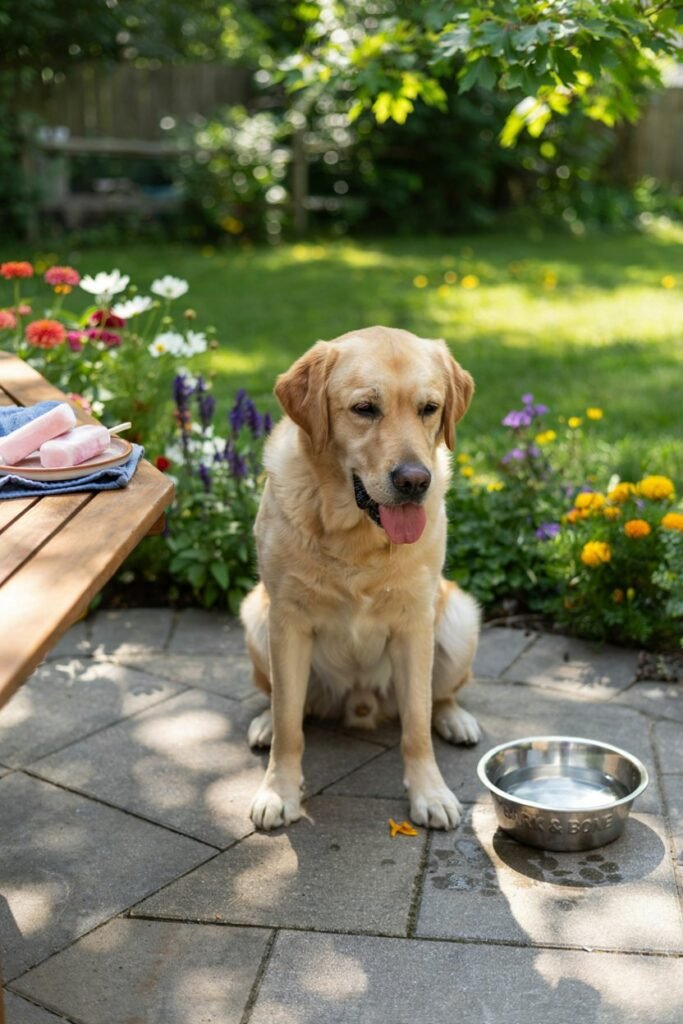
One thing I’ve learned is that a pupsicle doesn’t always have to be handed directly to your dog.
Changing how you serve it can turn snack time into a fun enrichment activity.
Here are a few ideas I regularly use.
Inside a Lick Mat
Spread the mixture onto a silicone lick mat before freezing.
This encourages slow licking and helps keep many dogs occupied longer.
In a Kong Toy
Instead of filling the Kong with peanut butter alone, stuff it with one of these pupsicle mixtures and freeze it overnight.
It creates a longer-lasting challenge that’s perfect for rainy days or when your dog needs a little extra mental stimulation.
Mini Bite Size Treats
Use small silicone molds or ice cube trays to make tiny pupsicles for smaller breeds or puppies.
They’re easier to portion and thaw more quickly.
As a Special Reward
I often save these treats for after longer walks or training sessions.
It turns an ordinary afternoon into something my dog gets genuinely excited about.
Easy Ingredient Swaps
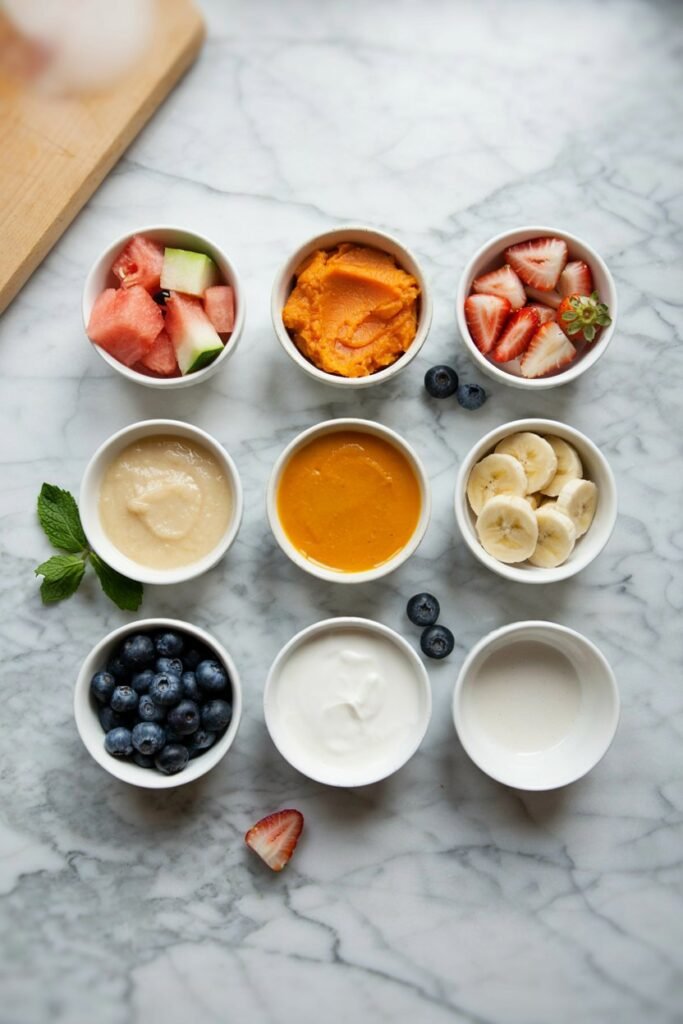
One of my favorite things about homemade dog treats is how flexible they are.
Once you understand the basic idea, you can create dozens of combinations using dog-safe ingredients.
Here are a few simple swaps.
Instead of banana, try:
- Mashed sweet potato
- Unsweetened applesauce
- Mashed strawberries
Instead of blueberries, try:
- Chopped strawberries
- Watermelon with seeds removed
- Raspberries
Instead of Greek yogurt, try:
- Plain unsweetened yogurt
- Plain goat milk yogurt if your dog tolerates it
Always introduce new ingredients gradually and only use foods known to be safe for dogs.
Common Mistakes to Avoid
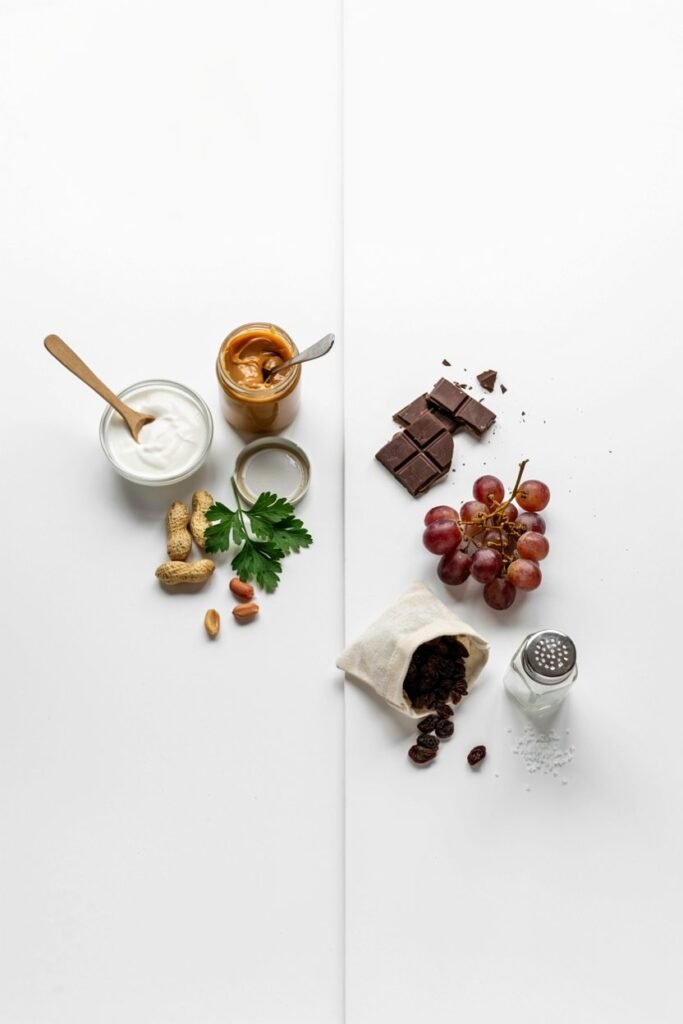
Making pupsicles is incredibly easy, but a few small mistakes can make a big difference.
Using Peanut Butter with Xylitol
Always read the label carefully.
If xylitol is listed anywhere in the ingredients, do not use it.
Choosing Flavored Yogurt
Fruit-flavored yogurts often contain added sugar or artificial sweeteners.
Stick with plain yogurt for every recipe.
Overfeeding Frozen Treats
Even healthy treats should be enjoyed in moderation.
Think of pupsicles as an occasional reward rather than a meal replacement.
Filling Molds Too Full
Leave a little space at the top.
The mixture expands slightly as it freezes.
Not Freezing Long Enough
If you try removing them too early, they’ll be soft and difficult to pop out.
Overnight freezing gives the best results.
More Healthy 2 Ingredient Pupsicle Ideas
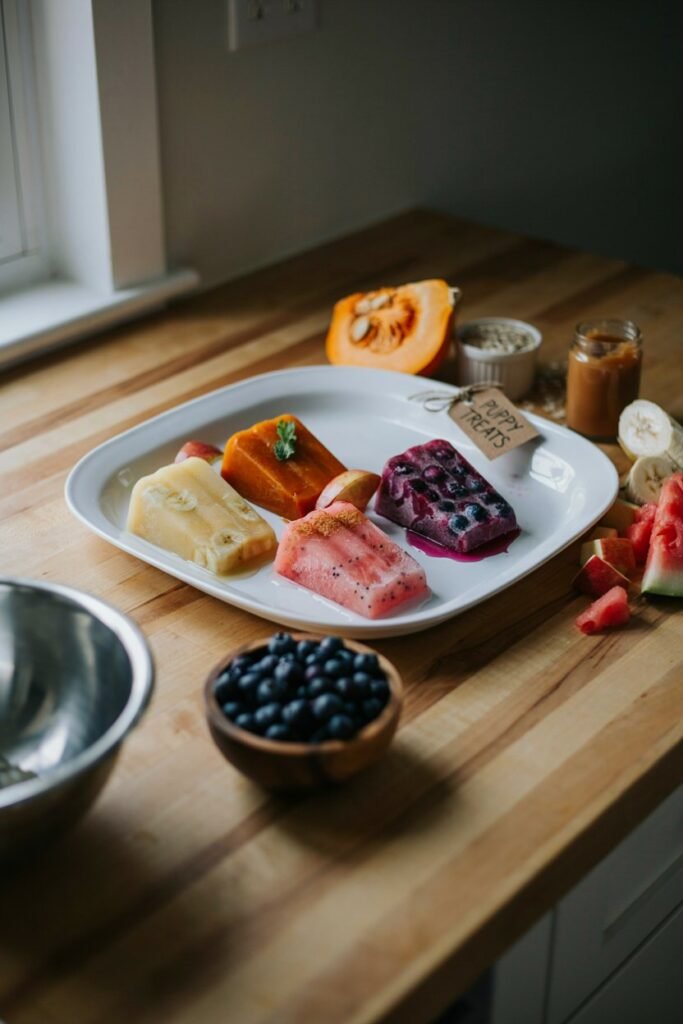
Once you realize how easy these frozen treats are to make, it’s hard not to start experimenting with different combinations.
I usually rotate a few recipes throughout the month so my dog gets something a little different each time.
It keeps treat time exciting without making grocery shopping any more complicated.
As always, make sure every ingredient you use is safe for dogs and introduce new foods gradually.
Apple and Plain Yogurt
This combination has a naturally sweet flavor that many dogs enjoy.
Use:
- ½ cup unsweetened applesauce (with no added sugar or xylitol)
- ½ cup plain Greek yogurt
Watermelon and Plain Yogurt
Perfect during the hottest months of the year.
Use seedless watermelon with the rind completely removed before blending.
Sweet Potato and Yogurt
Cook and mash the sweet potato until smooth, then mix it with plain yogurt for a creamy, satisfying frozen snack.
Carrot and Pumpkin
Blend cooked carrots with pumpkin puree to make a colorful pupsicle that’s naturally smooth and easy to freeze.
Banana and Pumpkin
This is another favorite in my freezer because both ingredients blend into a thick, creamy mixture without needing anything extra.
The possibilities are almost endless, and that’s one of the reasons I enjoy making homemade treats.
You can use simple ingredients already sitting in your kitchen while knowing exactly what your dog is eating.
The Best Accessories for Homemade Dog Treats
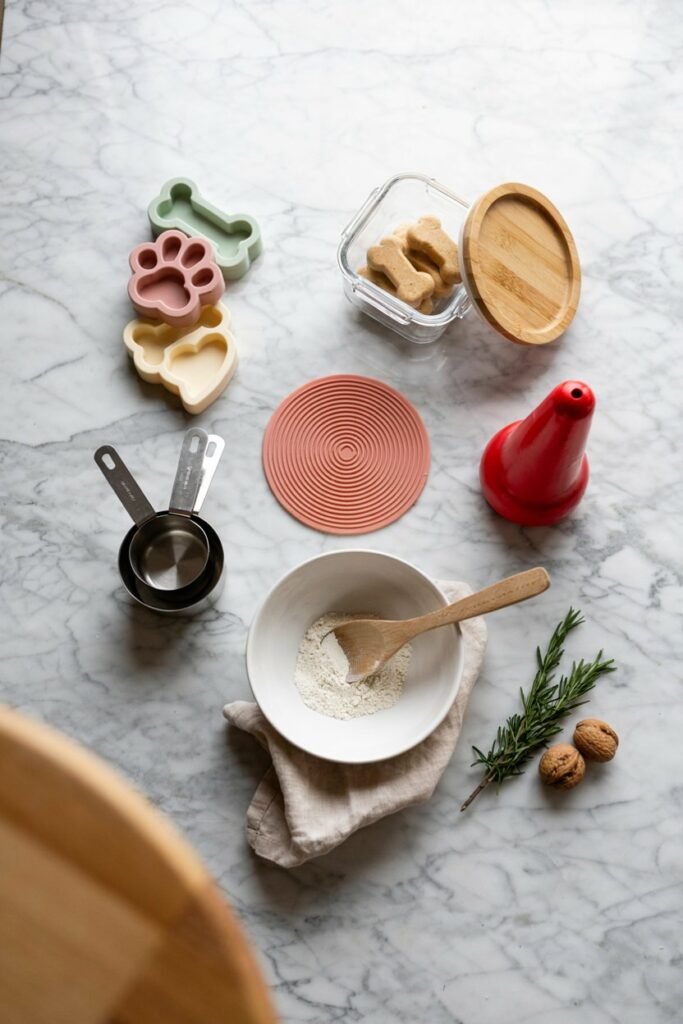
Making pupsicles doesn’t require expensive equipment, but a few simple tools can make the process much easier.
These are the items I find myself reaching for over and over again.
Silicone Paw Print Molds
These make it incredibly easy to remove frozen treats without breaking them.
They’re reusable, dishwasher safe, and much easier to work with than rigid plastic ice trays.
Lick Mats
Freezing the mixture on a lick mat creates a longer lasting enrichment activity.
It’s especially useful when I want to keep my dog entertained while I work around the house.
Kong Toys
Stuffing one with a pupsicle mixture before freezing creates a treat that lasts much longer than serving it by itself.
It’s one of my favorite ways to add mental stimulation on rainy days.
Airtight Freezer Containers
Good containers help prevent freezer odors from affecting the treats and make stacking batches much easier.
If you enjoy making homemade dog snacks regularly, they’re definitely worth having.
Storage Guide
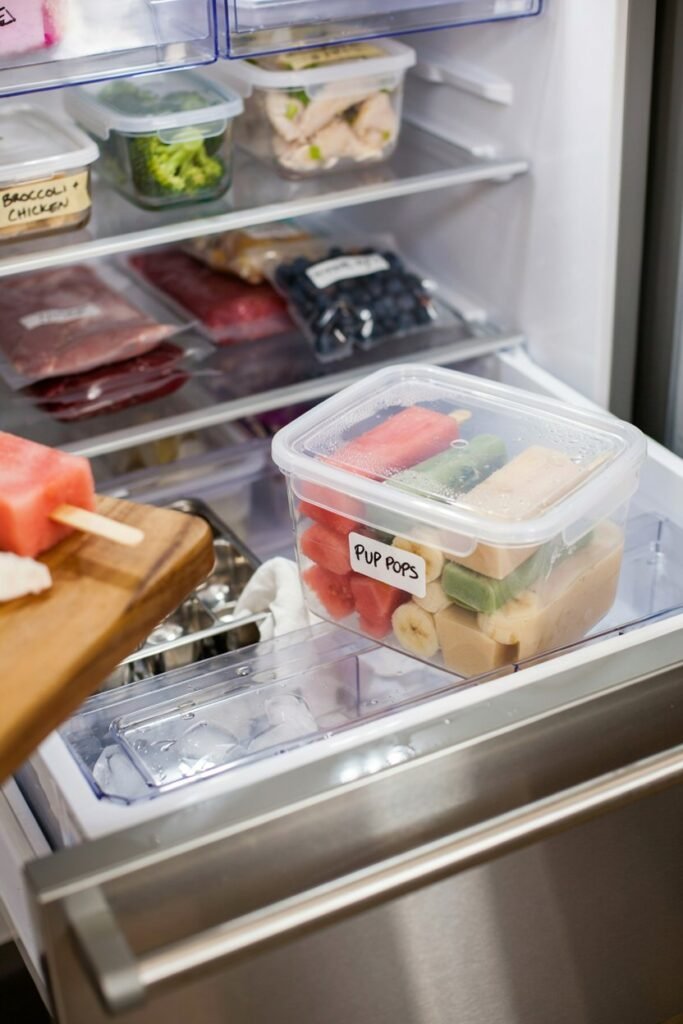
One of the biggest advantages of these pupsicles is that you can prepare several batches at once.
I usually spend fifteen minutes making a few different flavors, then keep them in the freezer for the weeks ahead.
To keep them tasting their best:
- Store them in an airtight freezer container or freezer bag.
- Label the container with the preparation date if you’re making several flavors.
- Keep different flavors separated if possible.
- Avoid leaving pupsicles out on the counter for long periods because they’ll melt quickly.
For the best quality, enjoy them within 2 months.
Can You Make These Ahead of Time?
Absolutely.
In fact, I recommend it.
Having a container of homemade pupsicles ready means you always have a healthy reward after walks, training sessions, or warm afternoons outside.
I usually make enough for several weeks because the preparation takes only a few minutes.
When Should You Give Your Dog a Pupsicle?
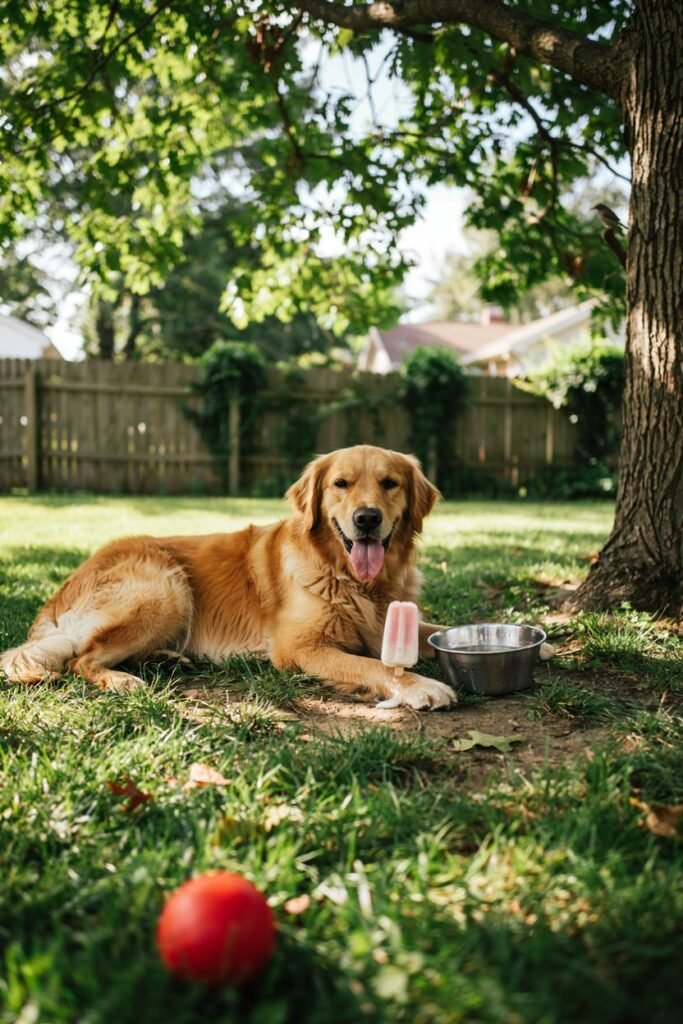
Frozen treats aren’t just for hot summer afternoons.
I like using them throughout the year as an occasional reward.
Some of my favorite times include:
- After a neighborhood walk
- Following a play session in the yard
- During obedience training breaks
- After grooming
- While relaxing outside together
- As a fun weekend treat
- Inside a Kong for quiet indoor enrichment
Changing when and how you serve them keeps treat time interesting without needing to make new recipes every week.
Final Tips for Perfect Pupsicles Every Time
After making these treats countless times, a few simple habits have made the process even easier.
- Use ripe fruit because it blends more smoothly.
- Freeze the treats overnight whenever possible.
- Wash silicone molds immediately after use to prevent odors.
- Make several flavors at once so your dog enjoys a little variety.
- Always check ingredient labels, especially peanut butter and yogurt.
- Keep fresh drinking water available whenever serving frozen treats.
- Remember that treats should complement a balanced diet, not replace regular meals.
These small details help ensure every batch turns out just right.
Frequently Asked Questions
Can I use regular yogurt instead of Greek yogurt?
Yes. Plain, unsweetened regular yogurt works well too. Greek yogurt simply has a thicker texture that creates creamier pupsicles.
Can I freeze these in ice cube trays?
Absolutely. Ice cube trays work perfectly if you don’t have silicone molds.
Just choose an appropriate size for your dog’s breed.
Can senior dogs eat pupsicles?
Many senior dogs enjoy frozen treats, but every dog is different.
If your dog has dental problems or health conditions, check with your veterinarian before introducing frozen snacks.
Are homemade pupsicles healthier than store bought ones?
Homemade pupsicles allow you to control every ingredient, which can be a great advantage.
While many commercial treats are perfectly fine, making them yourself lets you avoid unnecessary additives and tailor recipes to your dog’s preferences.
What if my dog doesn’t like frozen treats?
Some dogs need a little time to get used to them. Let the pupsicle sit at room temperature for a minute or two so it softens slightly before serving.
Final Thoughts
Some of the best homemade dog treats are also the simplest.
These two ingredient pupsicles prove that you don’t need a long list of ingredients or fancy equipment to make something your dog will genuinely enjoy.
Whether you choose the creamy banana version, the pumpkin favorite, or the refreshing blueberry recipe, each one takes just a few minutes to prepare and can be waiting in your freezer whenever your dog deserves a special reward.
One of the things I enjoy most is seeing my dog light up when I open the freezer door.
It’s become part of our routine after walks, playtime, or on warm afternoons when a cool treat is the perfect way to wind down together.
Knowing exactly what’s in every pupsicle gives me peace of mind, and the recipes are so easy that I never mind making another batch.
If you try these recipes, don’t be afraid to experiment with other dog safe ingredients your pup already enjoys.
You may discover a new favorite combination that becomes a regular part of your treat rotation.
Sometimes, the smallest moments, like sharing a homemade frozen snack with your best friend, end up becoming the ones you both look forward to the most.