
Best DIY Dog Biscuits That Last For Weeks
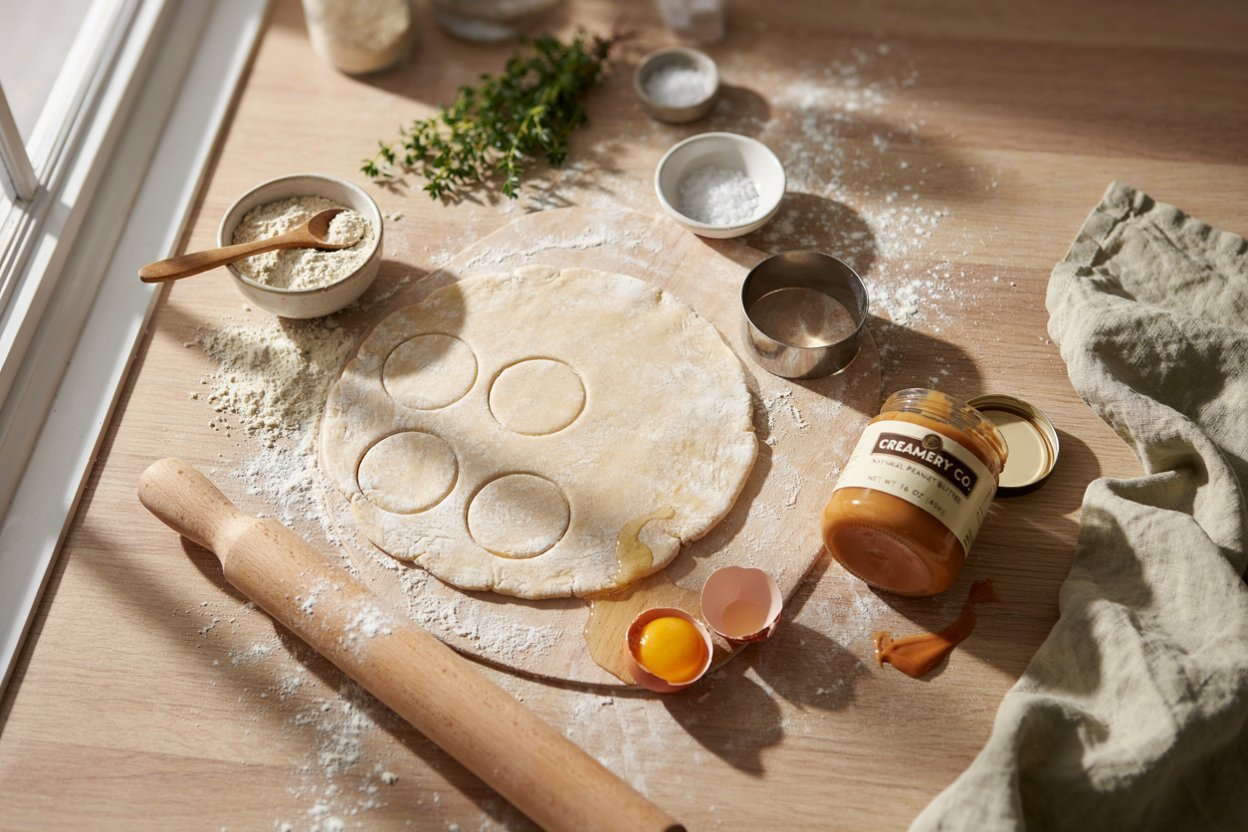
Most of the homemade treats I make don’t last long, either because my dog finishes them within a few days or because the recipe itself is soft and moist enough that it needs to live in the fridge or freezer. Biscuits are different.
Baked low and slow until they’re genuinely dry all the way through, they hold up at room temperature for weeks rather than days, which makes them one of the few homemade treats I can make in a big batch and just leave in a jar on the counter without thinking about it again for a while.
This guide walks through one simple biscuit recipe built specifically around that kind of shelf stability, along with the baking technique that actually makes the difference between a treat that lasts a few days and one that genuinely lasts for weeks.
If you want to build out your treat rotation beyond this one recipe, a few related guides are worth having open alongside this one.
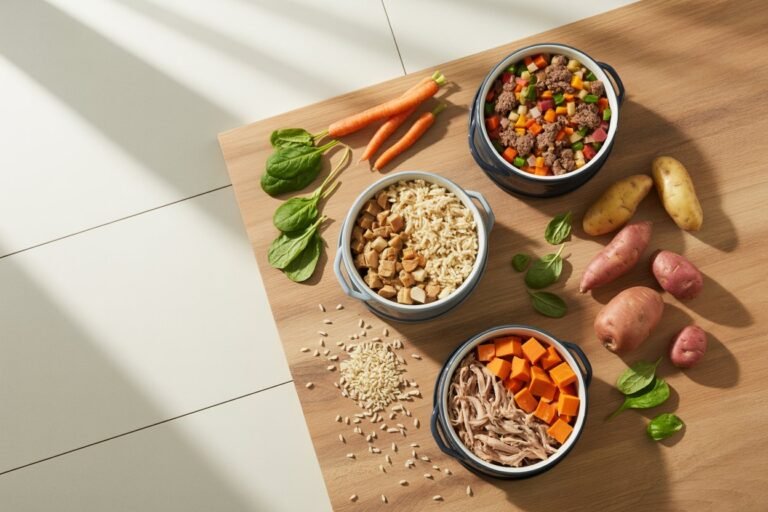
Simple carrot based dog treat recipes for beginners and homemade banana dog treat recipes offer more everyday treat variety, easy homemade pumpkin carrot chews for dogs covers a similar baked approach with a different flavor combination, 3 ingredient peanut butter dog gummies and vet friendly frozen dog treat recipes are worth a look if you want something that goes the opposite direction and lives in the freezer instead, DIY frozen dog treats using pantry ingredients is a good pantry focused companion, and human foods dogs can safely eat and homemade dog food with vet approved ingredients round out the bigger picture of feeding safely at home.
Why These Biscuits Actually Last for Weeks
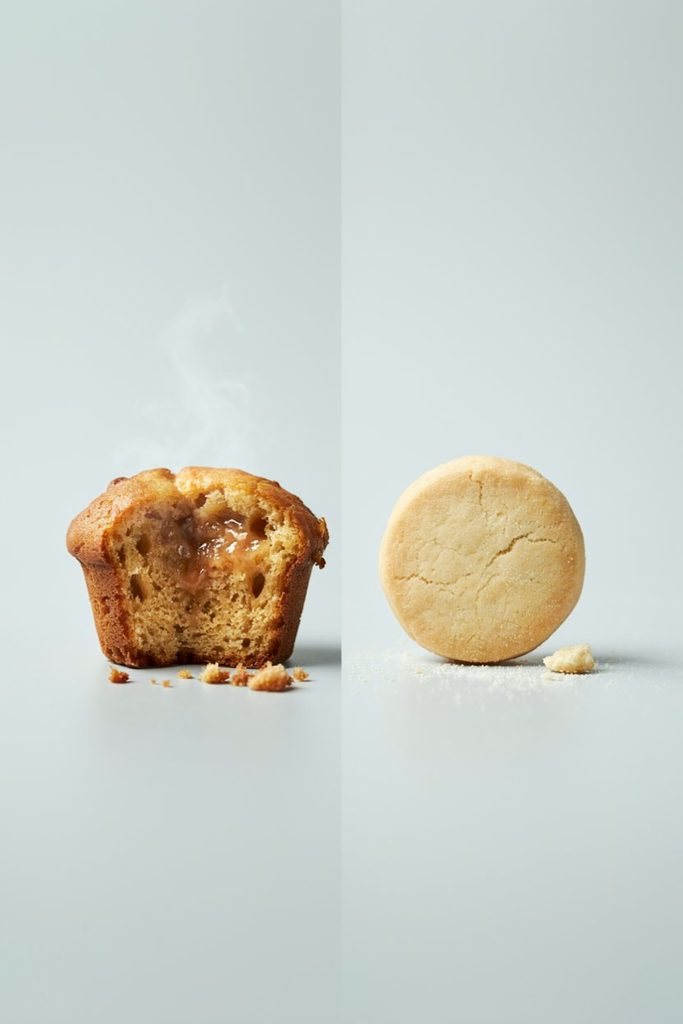
The real secret to a long lasting homemade treat isn’t a special ingredient, it’s moisture, or rather the lack of it.
Most homemade dog treats spoil relatively quickly because they retain a fair amount of water content, even after baking, which creates an environment where bacteria and mold can grow within a matter of days.
A true biscuit, baked at a lower temperature for a longer stretch of time, drives out nearly all of that internal moisture, leaving behind something closer to a cracker than a soft baked good.
That low moisture content is exactly what allows these to sit safely in an airtight container at room temperature for weeks rather than needing refrigeration after just a few days.
Before You Start
The single most important thing to understand about this recipe is that the extended bake time isn’t optional or something to rush through.
It’s the entire reason these biscuits last as long as they do, so resist the temptation to pull them out early just because they look done on the outside.
A biscuit that looks golden brown on the surface can still be soft and moist in the center, and that residual moisture is exactly what shortens shelf life.
Beyond that, prepare everything plain, with nothing added beyond what’s listed, and introduce any new treat gradually the first time, watching for signs of digestive upset.
Understanding the Ingredients
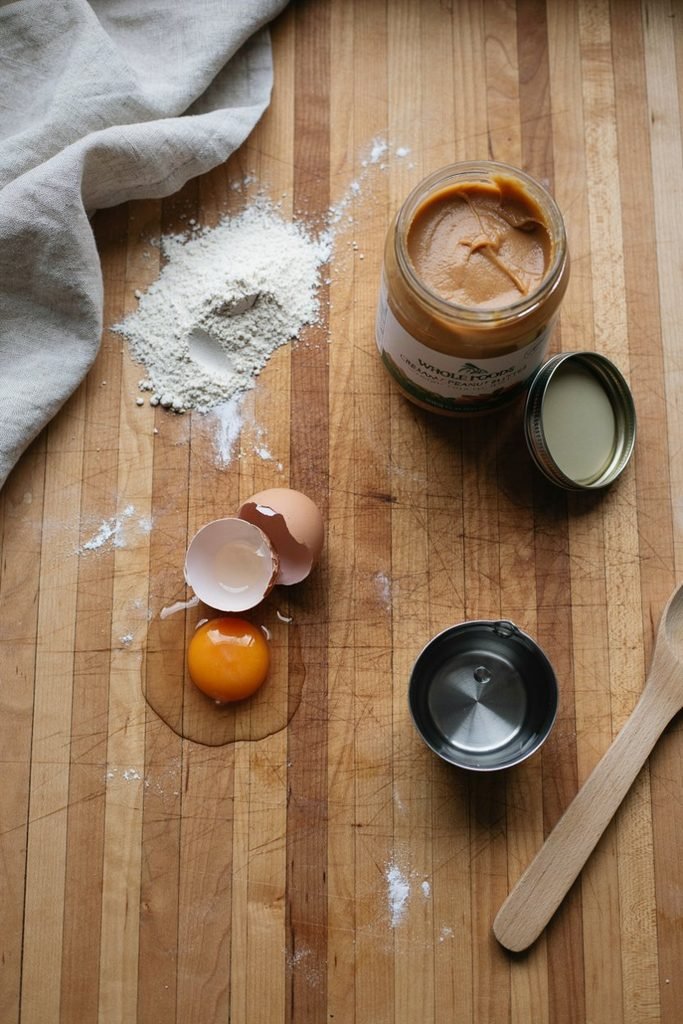
Oat flour or whole wheat flour. Either works as the base structure for this dough, with oat flour being the gentler choice for dogs with any grain sensitivity, and whole wheat flour producing a slightly firmer, more traditional biscuit texture.
Peanut butter, xylitol free. Adds flavor and a bit of richness that makes these genuinely appealing, though the amount used here is modest enough not to compromise the low moisture goal of the recipe.
Egg. Helps bind the dough together and adds a bit of structure that holds up well through the long, slow bake.
Water, as needed. Used sparingly, since too much liquid works against the low moisture goal that makes these biscuits shelf stable in the first place.
A small amount of oil, optional. A teaspoon of a neutral oil like plain vegetable or olive oil can help the dough come together more easily, though it should stay minimal given how much it can affect shelf life if overused.
Ingredients I Avoid
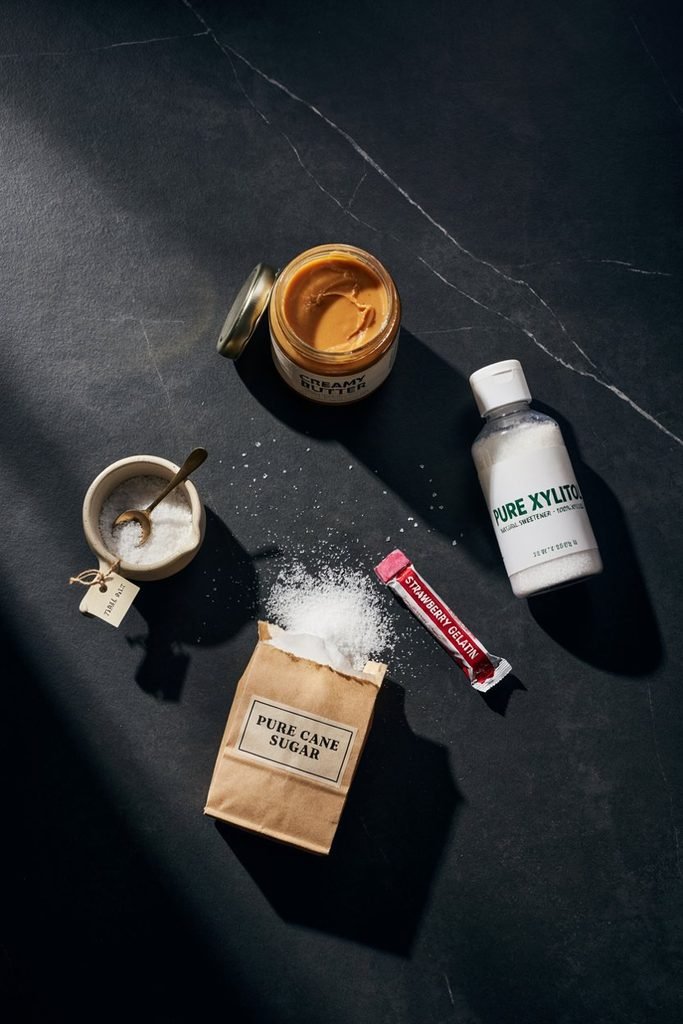
Added sugar, salt, xylitol, baking powder or baking soda in more than a trace amount, and any liquid beyond what’s strictly needed to bring the dough together all work against both the safety and the shelf stability of this recipe.
Xylitol deserves particular attention in the peanut butter specifically, since it’s extremely dangerous to dogs and has shown up in some products without much warning on the front label.
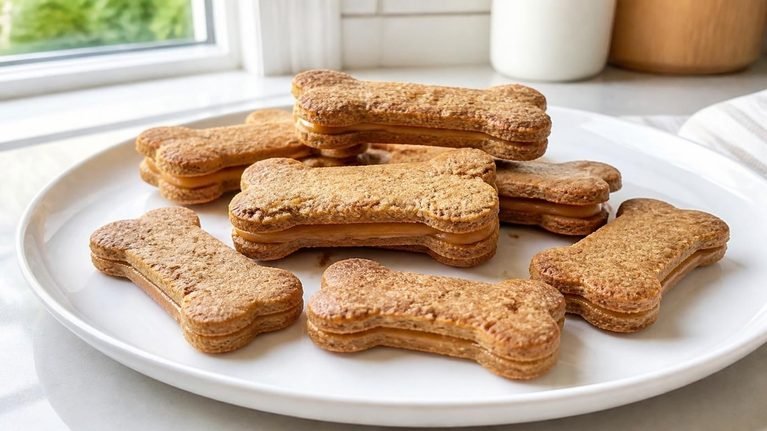
Long Lasting DIY Dog Biscuits
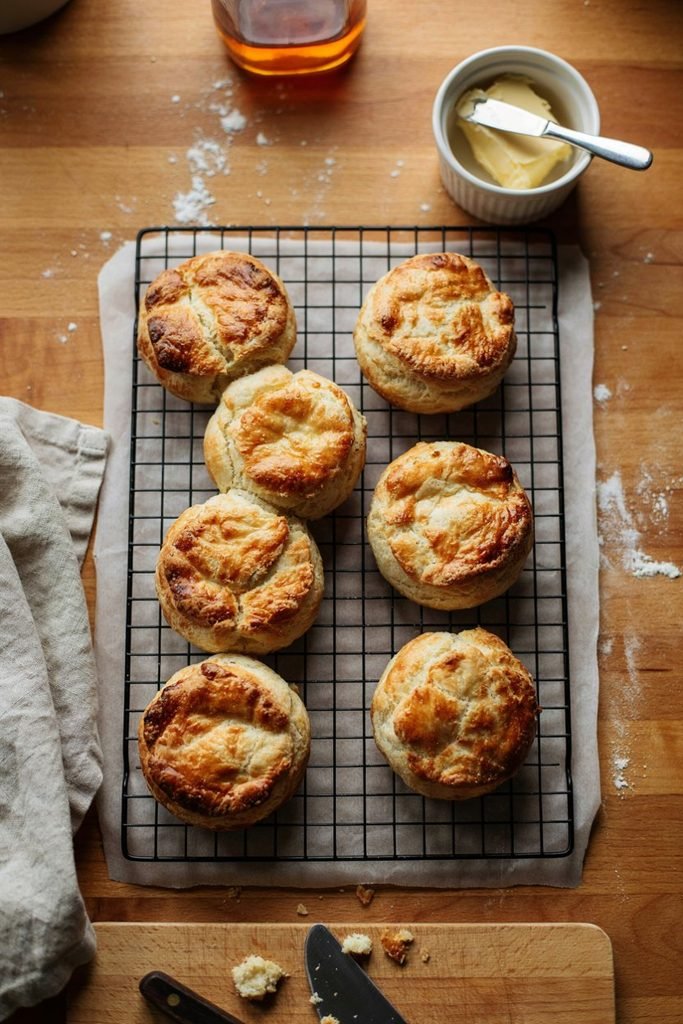
Yield: About 25 to 30 small biscuits, depending on cutter size Prep Time: 15 minutes Cook Time: 45 to 60 minutes Total Time: About 1 hour and 15 minutes Storage: Room temperature, airtight, up to 3 to 4 weeks
Ingredients
- 2 cups oat flour or whole wheat flour, plus more as needed. Forms the entire structure of the dough and needs to stay on the drier side rather than sticky.
- 1/3 cup natural peanut butter, xylitol free. Adds flavor without adding much moisture, given how thick peanut butter is compared to a liquid ingredient.
- 1 egg. Binds the dough together.
- 2 to 4 tablespoons water, added gradually. Used only as needed to bring the dough together, since too much works against the low moisture goal.
- 1 teaspoon oil, optional. Helps the dough come together more smoothly if it feels too dry to work with.
How to Make It
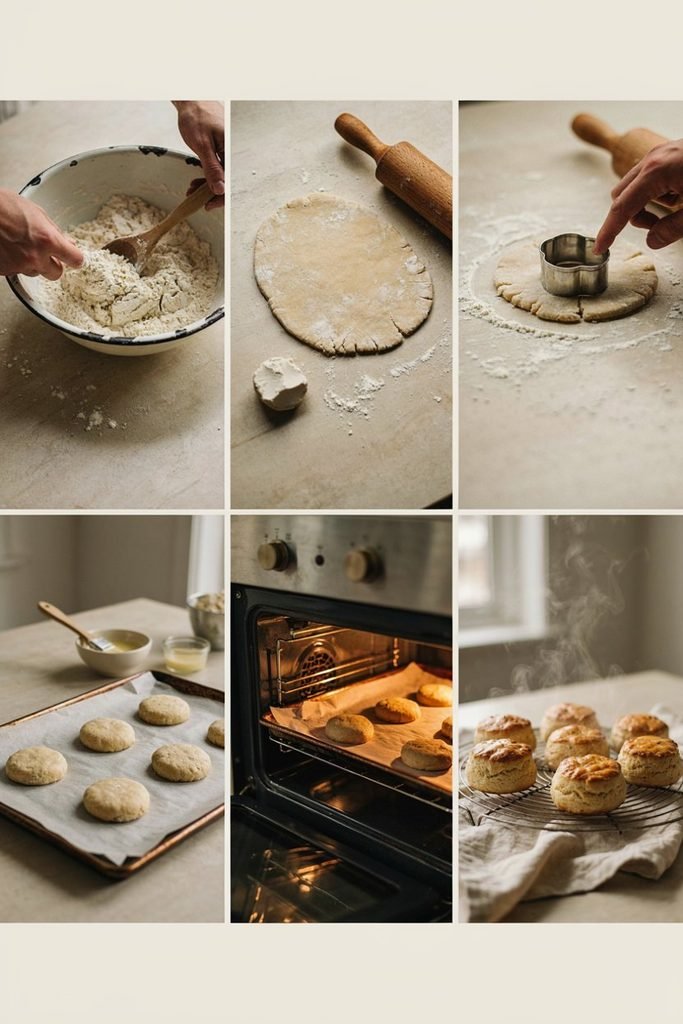
- Preheat your oven to 300°F (150°C), noticeably lower than a typical cookie recipe, since a lower, slower bake is what drives out moisture without burning the outside before the inside dries out.
- In a large bowl, combine the flour and peanut butter, mixing with a fork or your hands until it forms coarse crumbs.
- Whisk the egg separately, then add it to the mixture, stirring until it starts to come together.
- Add water a tablespoon at a time, mixing after each addition, until the dough forms a firm, slightly stiff ball. It should not feel sticky or wet.
- Turn the dough out onto a lightly floured surface and roll to about a quarter inch thickness.
- Cut into small shapes using a knife or a cookie cutter, and place them on a parchment lined baking sheet with a bit of space between each piece.
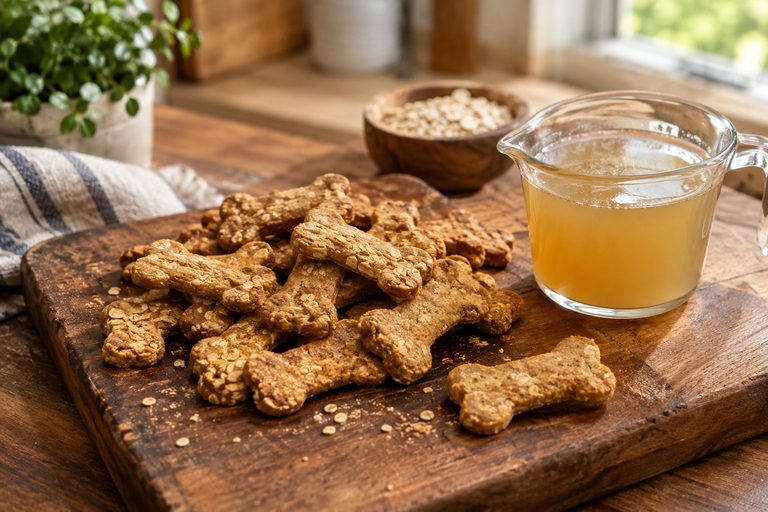
- Bake for 45 to 60 minutes, checking at the 45 minute mark. The biscuits should look dry and feel firm to the touch, with no give or softness anywhere on the surface.
- Turn off the oven and let the biscuits sit inside the cooling oven for an additional 30 to 60 minutes with the door slightly ajar, which continues drawing out residual moisture without any additional risk of burning.
- Remove and let cool completely on a wire rack before storing, since any warmth or residual steam trapped in a sealed container can undermine the shelf stability you just spent an hour building.
How to Tell When They’re Actually Done
This matters more here than in almost any other treat recipe. A biscuit that looks golden and firm on the outside can still be soft in the center, so break one open after the initial bake time and check the interior.
It should look and feel dry all the way through, not doughy, pale, or soft anywhere in the middle. If the center still looks underdone, continue baking in 10 minute increments, checking again each time, rather than assuming the visible outside is a reliable indicator on its own.
How to Adjust This Recipe
For a firmer, longer lasting biscuit. Extend the initial bake time slightly and use the full cooling oven step, which pushes shelf life toward the longer end of the 3 to 4 week range.
For a softer texture, accepting a shorter shelf life. Reduce the bake time by about 10 minutes and skip the extended oven cooling step, though this version should be treated more like a standard treat with refrigerator storage rather than a shelf stable biscuit.
For a different flavor. A small amount of unsweetened applesauce or plain pumpkin puree can replace a portion of the peanut butter, though this adds moisture and will shorten the shelf life somewhat compared to the original version.
How Many Biscuits Can a Dog Have?
Treats should stay a small part of your dog’s overall diet, generally no more than about 10 percent of their total daily calories.
One or two small biscuits make a reasonable serving for most dogs, adjusted for their size, and given how calorie dense peanut butter is relative to some other treat ingredients, it’s worth erring on the smaller side rather than assuming a longer shelf life means an unlimited supply.
How to Store These Biscuits Properly for Maximum Shelf Life
This is really the whole point of the recipe, so it deserves real attention. Store the fully cooled biscuits in a genuinely airtight container, a glass jar with a tight sealing lid or a container with a rubber gasket works better than a loosely closed bag or a container with a snap lid that doesn’t fully seal.
Keep the container in a cool, dry spot away from direct sunlight or heat, since warmth and humidity are what shorten shelf life even for a properly dried biscuit.
Avoid storing them in a spot with a lot of temperature fluctuation, like near a stove or a window that gets strong afternoon sun, since repeated warming and cooling can introduce condensation inside the container over time.
If you notice any softening, an off smell, or any sign of mold at any point, discard the batch rather than risk it, even if it’s within the expected storage window.
Common Problems When Making These Biscuits
Why did my biscuits turn out soft even after the full bake time? This usually means the dough had too much moisture to begin with, either from too much water or too much peanut butter relative to the flour.
Reducing the liquid slightly on the next batch, and making sure to check the interior for dryness rather than relying on the outside appearance, should fix this.
Why do my biscuits taste slightly burnt on the bottom? A baking sheet that runs hot, or biscuits rolled too thin, can lead to over browning on the bottom before the center fully dries. Rotating the tray halfway through baking and using parchment paper helps prevent this.
Can I speed up the drying process? Not really, without risking burning the outside. The low, slow bake combined with the extended cooling oven step is what actually removes the moisture safely, and rushing it defeats the entire purpose of this recipe.
How do I know if a batch has gone bad before the expected 3 to 4 weeks? Any softening, an off or sour smell, or visible mold are all signs to discard the batch immediately, regardless of how much time has actually passed.
Good Ingredients to Look For
Plain, single ingredient peanut butter. Just peanuts, and maybe a touch of salt, with nothing else on the label, especially no xylitol.
Plain oat flour or whole wheat flour. A simple, recognizable base with nothing added.
Minimal liquid ingredients overall. The fewer wet ingredients in the recipe, the easier it is to hit a genuinely low moisture final result.
Common Mistakes to Avoid
Pulling the biscuits out too early. This is the single most common mistake with this recipe, and it directly undermines the entire point of making something shelf stable.
Skipping the interior check. Always break one open to check the center, since the outside can look done well before the inside actually is.
Storing them in a container that isn’t truly airtight. A loosely sealed bag or container lets in humidity that shortens shelf life considerably compared to a properly sealed one.
Adding too much liquid to the dough. Every extra tablespoon of water or oil works against the low moisture goal, so it’s worth adding liquid gradually and stopping as soon as the dough holds together.
Storing a warm batch. Sealing biscuits into a container before they’ve fully cooled traps residual steam, which can undo a lot of the drying work from the oven.
Frequently Asked Questions
How long do these biscuits actually last? Generally 3 to 4 weeks at room temperature when stored in a genuinely airtight container in a cool, dry spot.
Do I need to refrigerate these biscuits? No, that’s really the whole point of this recipe. Properly dried and stored, they’re shelf stable at room temperature without needing the fridge.
Can I freeze these biscuits for even longer storage? Yes, freezing extends shelf life well beyond a few weeks, though it’s somewhat unnecessary given how long they already last at room temperature when made correctly.
Why is the bake time so much longer than other dog treat recipes? The extended time at a lower temperature is what drives out the internal moisture that would otherwise shorten shelf life, which is the entire mechanism behind this recipe lasting as long as it does.
Can puppies eat these biscuits? In small amounts, generally yes, though the firm, dry texture may be too much for very young puppies, making a softer treat a better choice until their adult teeth are in.
Can I use a different nut butter instead of peanut butter? Yes, as long as it’s plain and free of xylitol, almond butter works as a direct substitute.
Why did my dough feel too dry to roll out? Add water a teaspoon at a time until it comes together enough to roll without cracking excessively, being careful not to overcorrect into a sticky dough.
Is it safe to eat one of these biscuits if it’s been sitting out for a few weeks? As long as it’s been stored properly in an airtight container and shows no signs of softening, off smell, or mold, it should be fine within the stated storage window.
Can I make these without egg? The egg helps bind the dough, so removing it may require a bit more liquid to compensate, which could shorten the shelf life slightly compared to the original recipe.
What’s the best container for storing these long term? A glass jar with a tight, gasket sealed lid tends to work better than a standard snap lid container or a bag, since it more reliably keeps humidity out over several weeks.
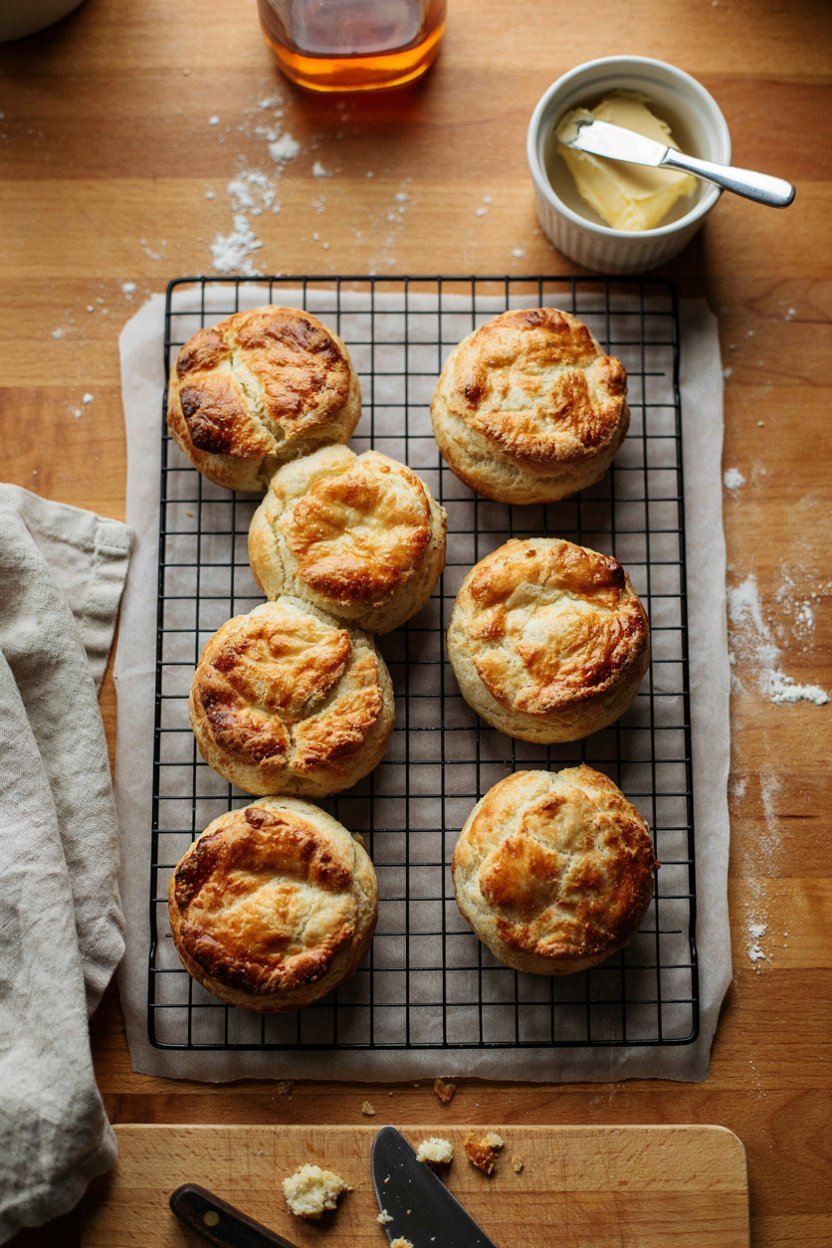
DIY Dog Biscuits That Last for Weeks
Ingredients
Equipment
Method
- Preheat the oven to 350°F (175°C) and line a baking sheet with parchment paper.
- Add the oat flour, pumpkin puree, and egg to a mixing bowl.
- Stir until the ingredients begin to form a dough.
- Add the water gradually until the dough is firm and easy to roll. Avoid making it overly wet.
- Place the dough on a lightly floured surface and roll it to about 1/4 inch thick.
- Cut the dough into small, dog friendly shapes using a cookie cutter.
- Arrange the biscuits on the prepared baking sheet.
- Bake for about 30 to 35 minutes, or until the biscuits are firm and dry.
- For a drier, crunchier biscuit, turn off the oven and leave the biscuits inside for another 20 to 30 minutes with the door slightly open.
- Allow the biscuits to cool completely before storing.
- The key to making homemade biscuits last longer is removing as much moisture as possible. Make sure the biscuits are completely cool and dry before placing them in an airtight container.
- Because homemade treats do not contain commercial preservatives, I would not promise that they will safely last for several weeks at room temperature. For longer storage, refrigerate or freeze them.
- Always discard treats if you notice mold, unusual odor, moisture, or other signs of spoilage.
- These biscuits are treats and should be given in moderation alongside your dog’s regular complete and balanced food.
Final Thoughts
The difference between a treat that lasts a few days and one that genuinely lasts for weeks really comes down to patience during the baking process, not anything complicated about the ingredients themselves.
Take the extra time to bake these low and slow, check the center rather than trusting the outside alone, and store them properly once they’re done, and you’ll have a jar of ready to go treats that doesn’t need much thought or attention for a good while after that first afternoon of baking.

9 Comments