My cat used to stare at me like I owed her rent every time she got bored, and honestly, she wasn’t wrong to be annoyed.
Cats are natural hunters, and when they don’t get to stalk, pounce, and chase something during the day, that pent up energy turns into scratched furniture, midnight zoomies, or a very dramatic sulk on top of the fridge.
I learned the hard way that store bought toys often end up ignored after day two, tossed under the couch and forgotten.
What actually worked for my cats were toys I made myself out of things already sitting around the house.

This guide walks you through eleven simple DIY toys that keep bored cats engaged, satisfy their hunting instincts, and cost you next to nothing.
Each project comes with a quick intro to what you’ll need, a short line explaining what every material actually does, and clear step by step instructions so you can follow along without guessing.
Whether you’re dealing with a kitten who needs constant stimulation or a senior cat who just wants something gentle to bat around, there’s something here for every personality.
Why Homemade Cat Toys Actually Work
Before jumping into the projects, it helps to understand why cats often prefer homemade toys over expensive ones. Cats respond to texture, movement, and sound more than flashy colors or fancy shapes.
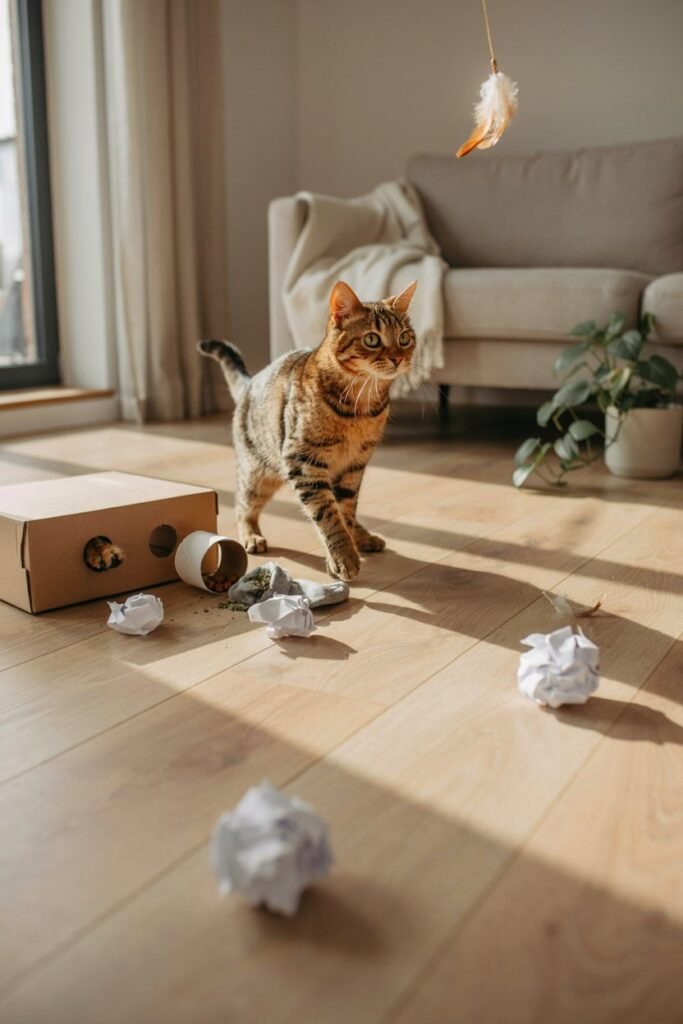
A crumpled paper ball moves unpredictably across the floor the same way prey would scurry, and that unpredictability is what triggers their chase instinct.
Cardboard, in particular, satisfies a scratching and chewing urge that plastic toys rarely do.
When you build toys yourself, you also get to customize them to your specific cat’s preferences, whether that’s a love for crinkly sounds, soft textures, or things that spin.
Now let’s get into the projects.
1. Sock Kicker Toy
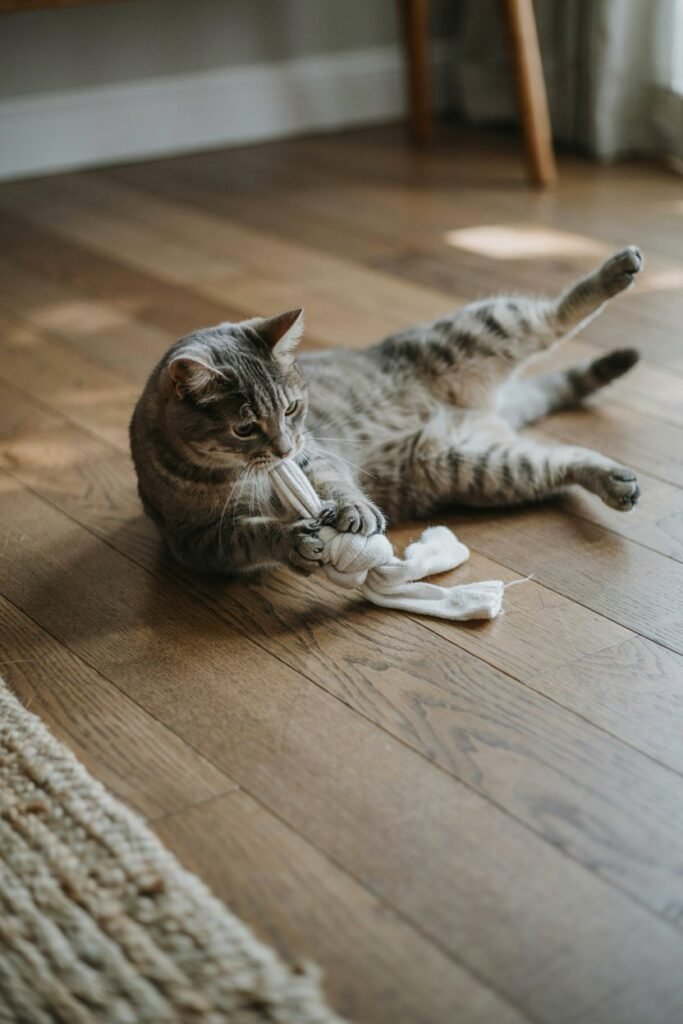
This one became my orange tabby’s obsession within minutes of me making it, and I still don’t fully understand why he loves attacking a sock so much.
It taps into the instinct cats have to grab prey with their front paws and kick with their back legs, which is exactly the kind of full body play that keeps them fit.
What you’ll need:
Old sock: provides the soft, grabbable shell your cat will bunny kick repeatedly.
Dried catnip or catnip spray: adds the scent that lures cats into playing rough.
Rubber band or string: seals the sock shut so filling stays contained during play.
Cotton balls or fabric scraps (optional): bulks up the sock for a firmer kicking shape.
Steps:
- Take a clean, unused sock and sprinkle a teaspoon of dried catnip inside it, or spray the inside lightly if using catnip spray.
- If you want a firmer toy, stuff a few cotton balls or fabric scraps in along with the catnip.
- Tie a knot at the open end of the sock, or secure it tightly with a rubber band.
- Give it a gentle shake near your cat to release the scent and get their attention.
- Toss it on the floor and let your cat grab, bite, and kick it freely.
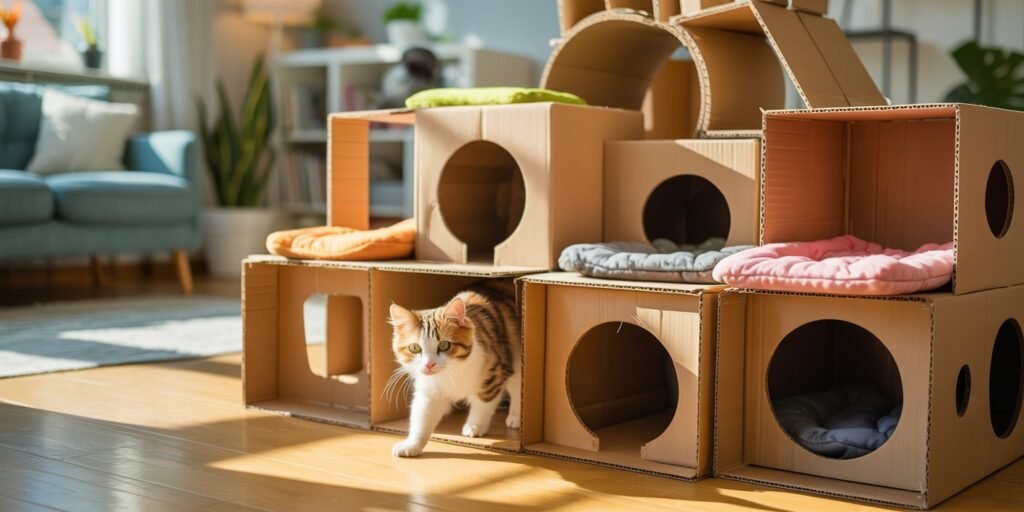
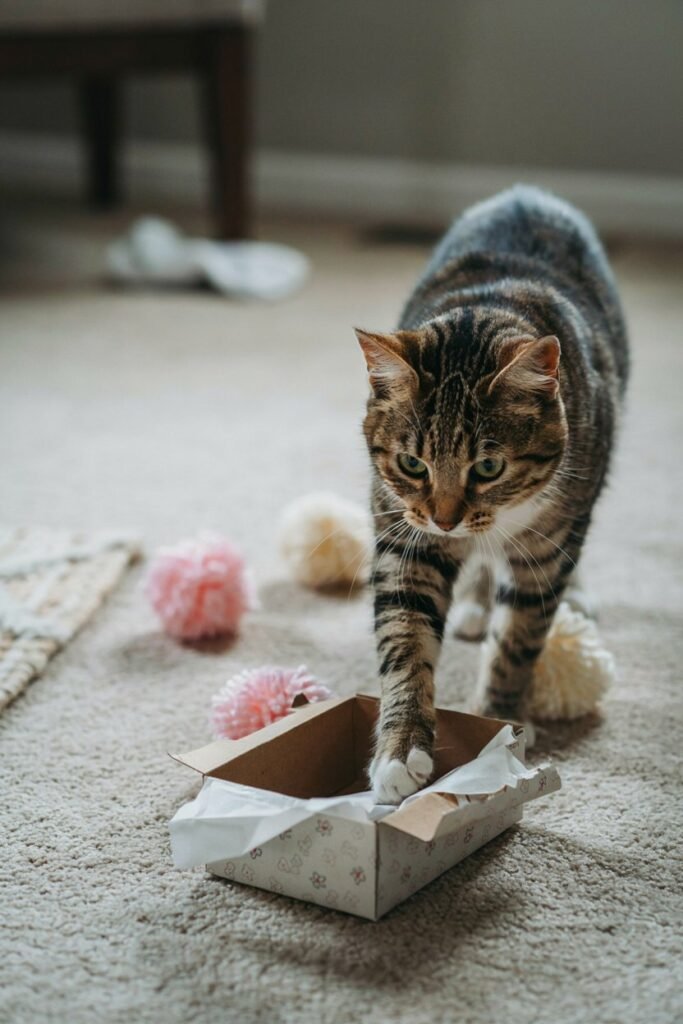
2. Cardboard Box Maze
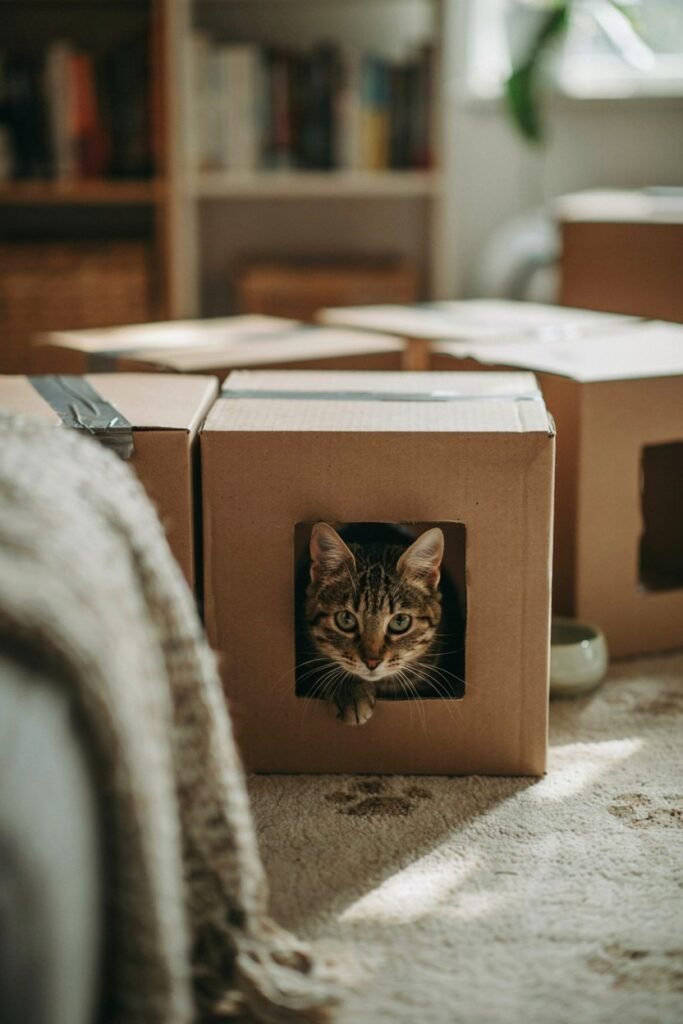
Every cat owner knows the truth: cats love boxes more than the gifts that came inside them.
A maze takes that obsession further by turning a simple box into a multi room playground your cat can explore, hide in, and pounce out of.
What you’ll need:
Two or more cardboard boxes: forms the connected rooms and tunnels of the maze structure.
Box cutter or scissors: cuts doorways and windows so your cat can move through easily.
Packing tape: holds the boxes together so the maze stays sturdy during play.
Small toys or treats (optional): hidden inside to encourage your cat to explore each section.
Steps:
- Cut doorway sized holes into the sides of each box so they can be connected.
- Line the boxes up next to or on top of each other and tape them securely together.
- Cut a few extra peek holes on the top or sides for your cat to pop their head through.
- Hide a treat or small toy inside one of the compartments to encourage exploring.
- Place the maze somewhere your cat already likes to hang out and let curiosity take over.
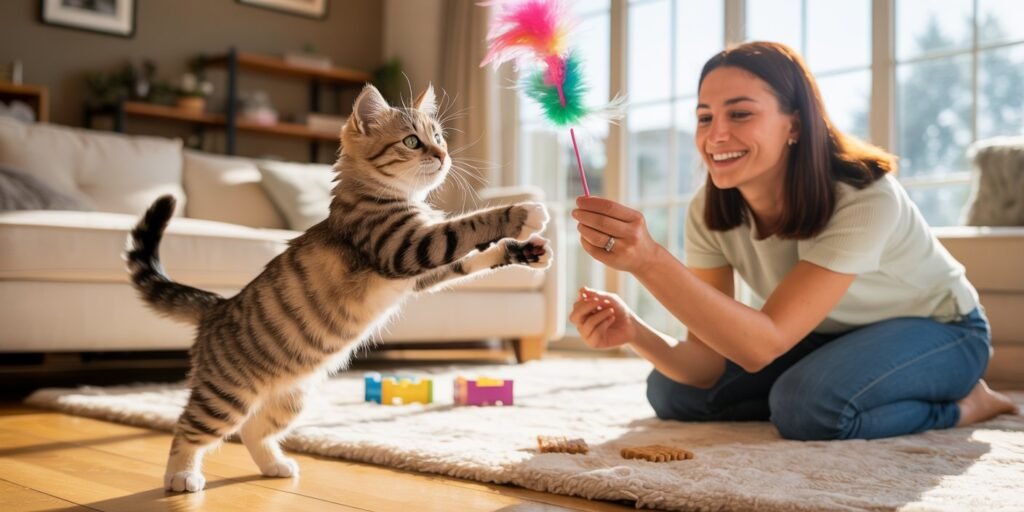
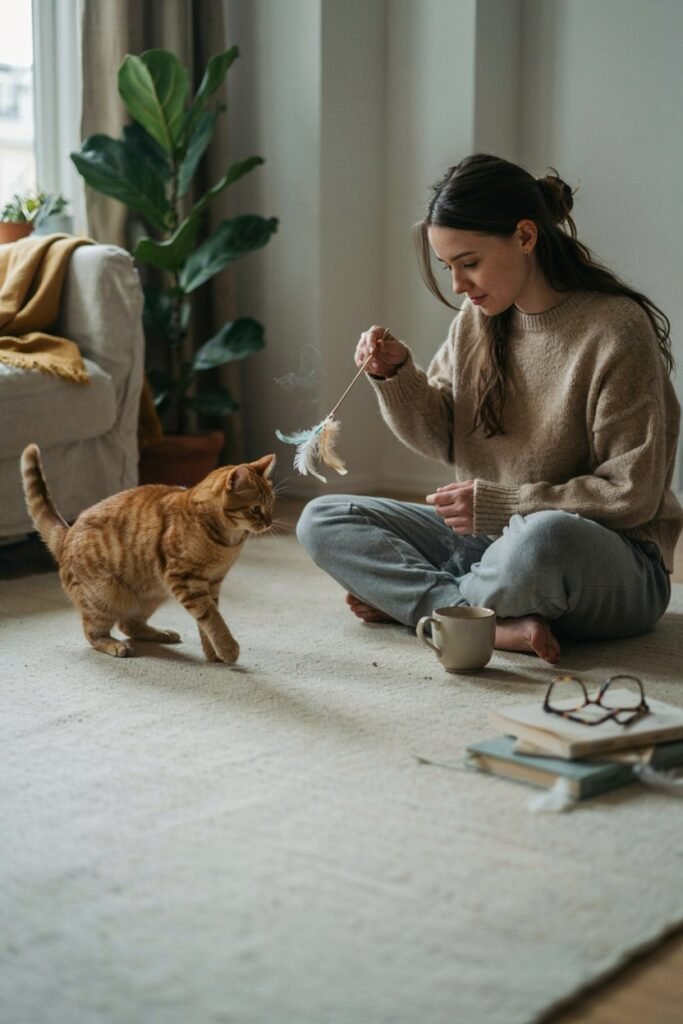
3. Feather Wand
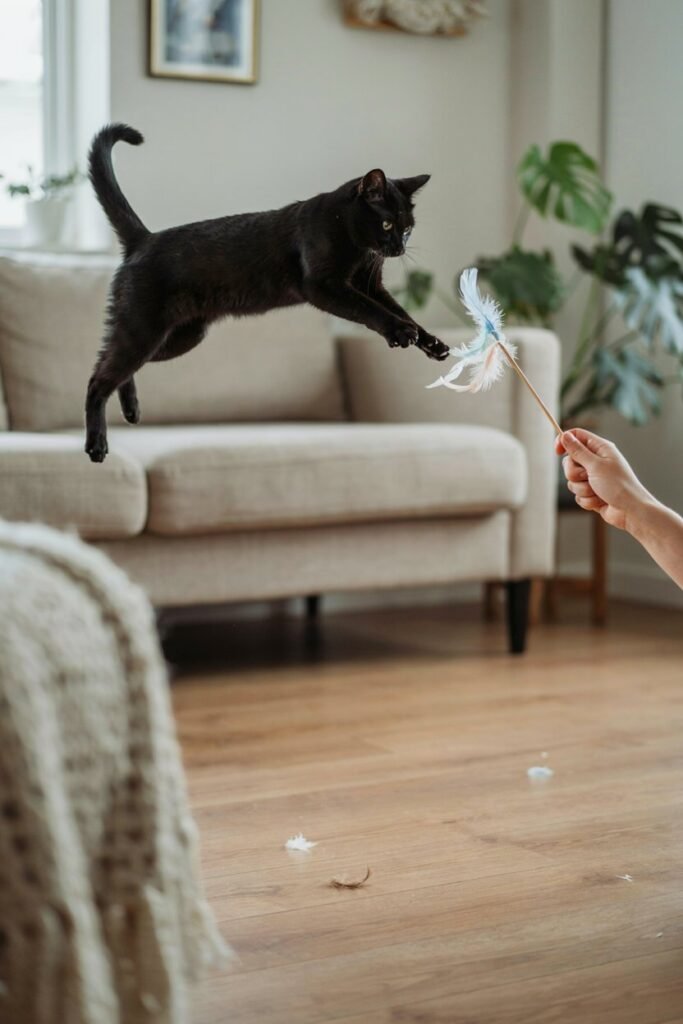
There’s something almost primal about watching a cat lock eyes on a feather wand and go completely silent before pouncing.
This toy mimics a bird in flight, and it gives you a chance to bond with your cat through interactive play rather than leaving them to entertain themselves.
What you’ll need:
Wooden dowel or chopstick: acts as the handle you hold while guiding the toy around.
String or ribbon: connects the feathers to the stick and adds fluttering movement.
Feathers (real or craft): mimics bird movement and triggers your cat’s natural hunting drive.
Tape or glue: attaches the string securely so it doesn’t come loose mid play.
Steps:
- Tie one end of the string tightly around the tip of the dowel or chopstick.
- Secure the knot in place with a small piece of tape or a dab of glue.
- Attach two or three feathers to the other end of the string, tying or gluing them on.
- Hold the wand and drag it slowly across the floor to mimic prey moving.
- Speed up the motion occasionally and let your cat leap and swat at the feathers.
4. Paper Bag Crinkle Tunnel
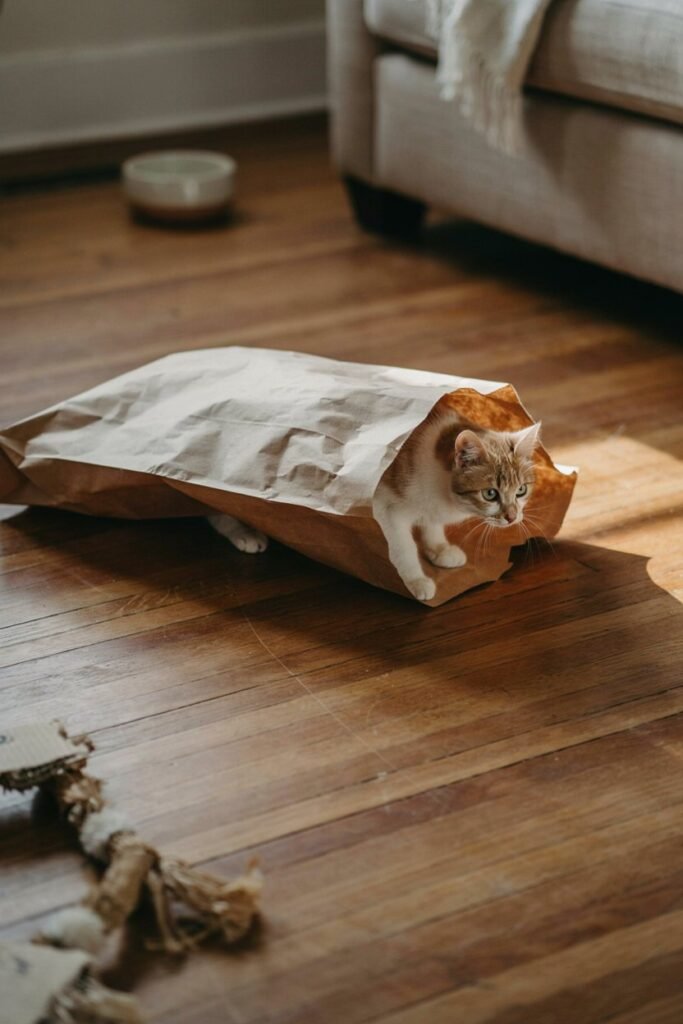
Paper bags are secretly one of the best cat toys ever invented, mostly because of that crinkly sound that seems to hypnotize almost every cat.
This project turns a plain paper bag into a tunnel your cat can dash through, hide in, and pounce out from.
What you’ll need:
Large paper grocery bag: forms the tunnel body your cat will crawl through repeatedly.
Scissors: removes the bottom of the bag so it becomes an open tunnel.
Crinkle paper or tissue paper: adds extra crunchy texture and sound inside the tunnel.
Catnip (optional): sprinkled inside to make the tunnel even more appealing to enter.
Steps:
- Cut the bottom off the paper bag so air and light can pass through both ends.
- Fold or reinforce the open edges slightly so the bag holds its shape better.
- Stuff a small handful of crinkle paper or tissue paper loosely inside the tunnel.
- Sprinkle a pinch of catnip near the entrance if your cat needs extra encouragement.
- Lay the tunnel on its side and let your cat discover it on their own terms.
5. Toilet Paper Roll Puzzle Feeder
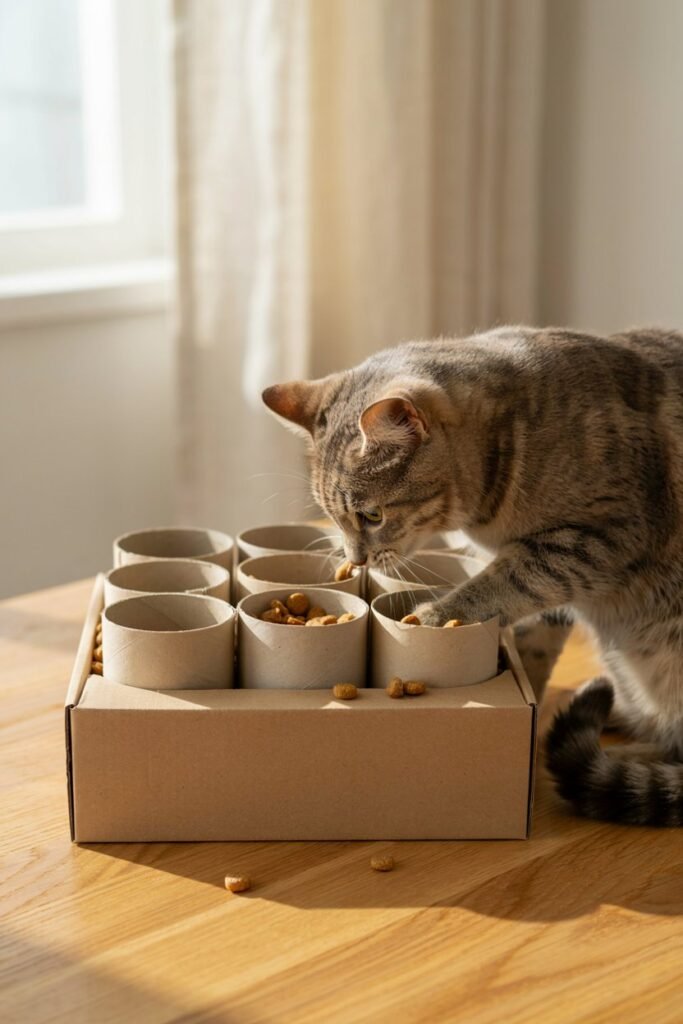
This one solved two problems for me at once: it kept my cat busy and slowed down how fast she scarfed her food.
Puzzle feeders work by making cats problem solve to get a reward, which is mentally exhausting in the best way for an indoor cat.
What you’ll need:
Empty toilet paper roll: forms the enclosed tube cats bat and roll to release treats.
Scissors: cuts small openings along the tube so treats can fall out.
Dry cat treats or kibble: rewards your cat for working the puzzle open successfully.
Tape (optional): folds the ends closed to keep treats from spilling out too fast.
Steps:
- Cut two or three small holes along the sides of the toilet paper roll.
- Fold one end of the roll inward to partially close it, then tape it if needed.
- Drop a few pieces of dry kibble or small treats inside the tube.
- Fold the other end closed the same way, leaving the treats sealed inside.
- Set it on the floor and watch your cat roll and paw at it to get treats out.
6. Catnip Sock Ball
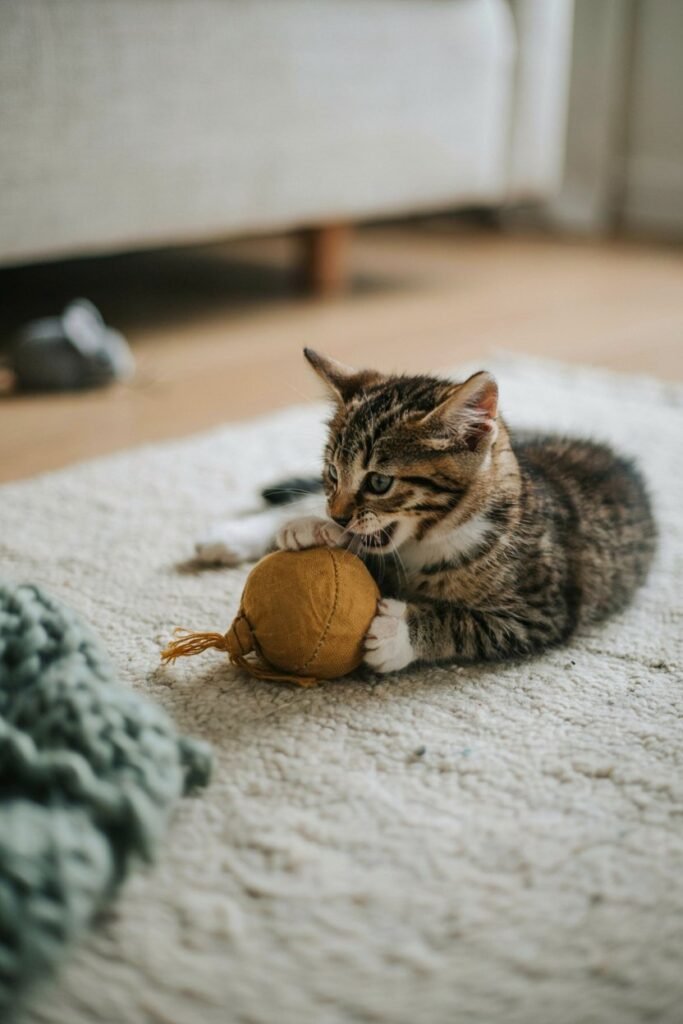
Not every cat wants a big elaborate toy, and sometimes the simplest round shape is exactly what gets them moving.
This one takes minutes to make and works especially well for cats who love batting things across hardwood floors.
What you’ll need:
Sock or fabric scrap: wraps around the filling to create a soft rollable ball shape.
Cotton balls or stuffing: gives the ball enough weight and bounce to roll well.
Dried catnip: mixed into the stuffing so the scent lingers inside the ball.
String or rubber band: ties off the fabric so the stuffing stays sealed inside.
Steps:
- Mix a small handful of cotton balls or stuffing with a pinch of dried catnip.
- Place the mixture into the toe of a sock or the center of a fabric scrap.
- Gather the fabric around the stuffing and shape it into a rough ball.
- Tie the open end tightly with string or secure it with a rubber band.
- Roll it across the floor to show your cat how it moves before letting them take over.
7. Bottle Cap Rattle Balls
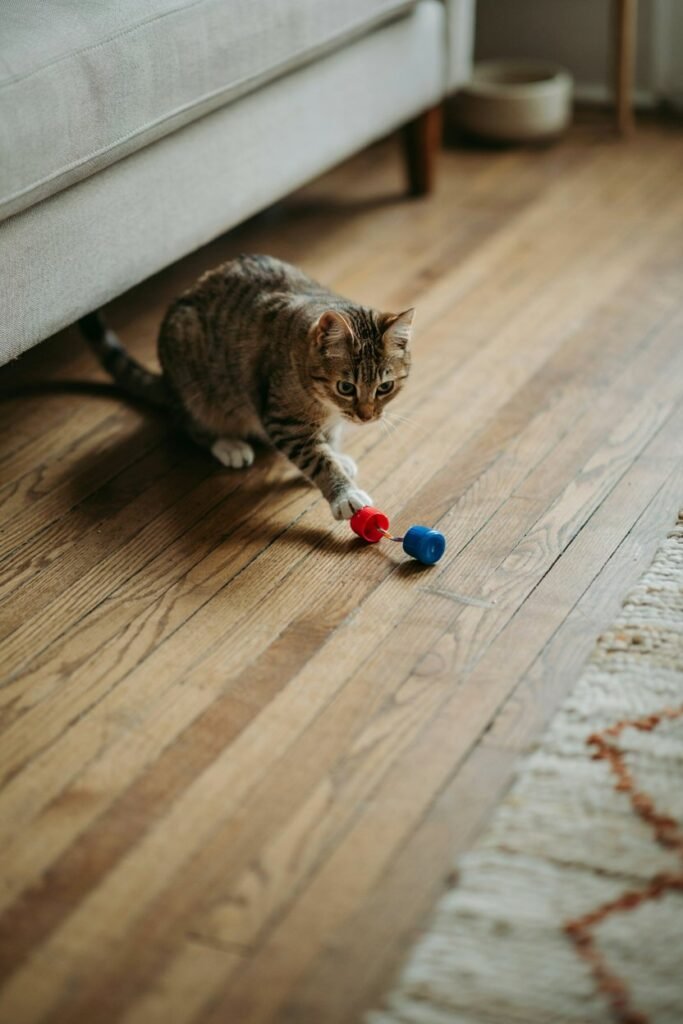
I stumbled onto this idea by accident when a bottle cap rolled under the fridge and my cat spent twenty minutes trying to fish it out.
Turning loose caps into a proper rattle toy channels that same fascination into something safer and more durable.
What you’ll need:
Plastic bottle caps (two matching): forms the outer shell that holds the rattling pieces inside.
Small bell or a few dry beans: creates the rattling sound that grabs your cat’s attention.
Hot glue or strong tape: seals the two caps together so the filling can’t escape.
Steps:
- Clean and dry two matching bottle caps thoroughly before starting.
- Place a small bell or a few dry beans inside one of the caps.
- Line up the second cap facing the first one, rim to rim, like a small pod.
- Seal the edges completely using hot glue or strong tape so nothing falls out.
- Let the glue dry fully, then roll it on the floor for your cat to chase.
8. Egg Carton Treasure Hunt
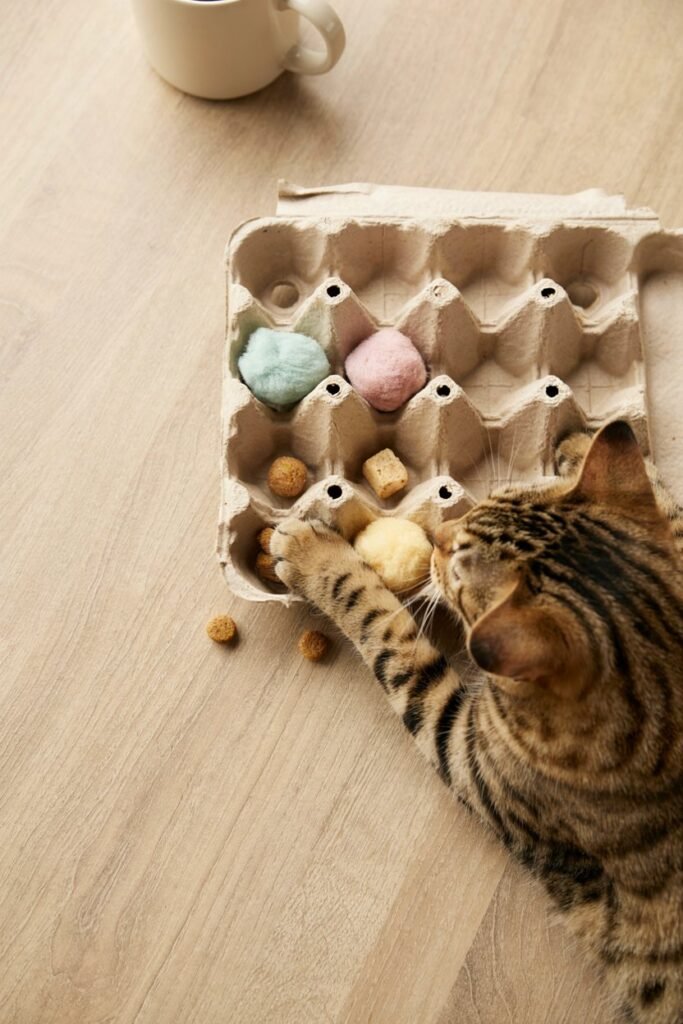
This is one of the easiest ways to slow down a food obsessed cat while giving their brain something to chew on, literally and figuratively.
It works like a low effort puzzle feeder that also doubles as a fun texture toy.
What you’ll need:
Empty cardboard egg carton: provides individual compartments for hiding treats and small toys.
Small toys, pom poms, or treats: fills the compartments to reward digging and searching.
Scissors (optional): trims the lid off if you want an open tray style toy.
Steps:
- Open the egg carton and remove the lid if you prefer an open tray version.
- Place a treat, pom pom, or small toy into several of the individual compartments.
- Leave a couple of compartments empty to keep the search a little unpredictable.
- Close the carton loosely if using the lid, or leave it open on a tray.
- Set it down and let your cat sniff, paw, and dig through each little compartment.
9. Shoelace Chase Toy
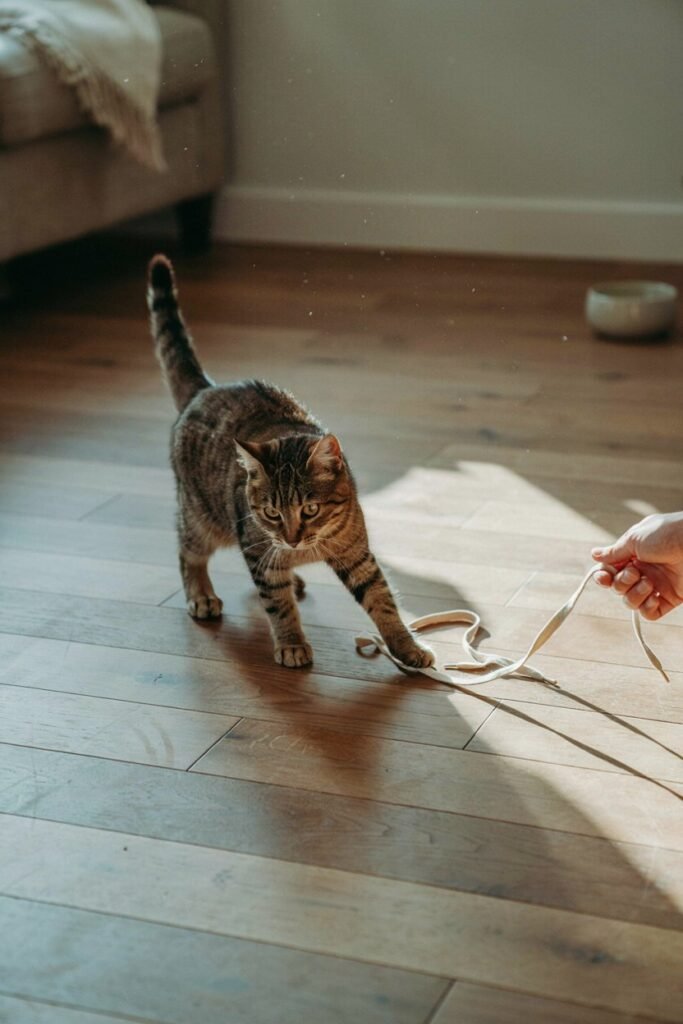
Sometimes the toy doesn’t need to be complicated at all, it just needs to move in a way that triggers that chase reflex.
An old shoelace dragged across the floor does exactly that, and it’s basically free.
What you’ll need:
Old shoelace or thin ribbon: mimics a slithering prey movement that cats love chasing.
Small knot or bead at one end: adds weight and something visual for cats to grab.
Steps:
- Tie a small knot at one end of the shoelace, or thread on a small bead.
- Hold the opposite end and drag the laced end slowly across the floor.
- Flick your wrist occasionally to make the lace dart side to side unpredictably.
- Let your cat catch it every so often so they stay motivated to keep chasing.
- Store the lace away after play since string toys should only be used supervised.
10. Tissue Box Peek a Boo
This one turns a leftover tissue box into an interactive game where your cat has to reach inside to bat at something moving.
It’s a great option for cats who love using their paws to dig and grab.
What you’ll need:
Empty tissue box: acts as the enclosed container your cat reaches into to play.
Pom poms or crumpled paper balls: gives your cat something loose to chase inside the box.
Scissors (optional): widens the existing opening slightly for easier paw access.
Steps:
- Check that the tissue box opening is wide enough for a paw to fit through comfortably.
- Drop two or three pom poms or crumpled paper balls inside the box.
- Shake the box gently so your cat hears movement and gets curious.
- Place the box on the floor at your cat’s level for easy access.
- Let your cat reach in, dig around, and try to fish the objects out.
11. Pom Pom Fetch Balls
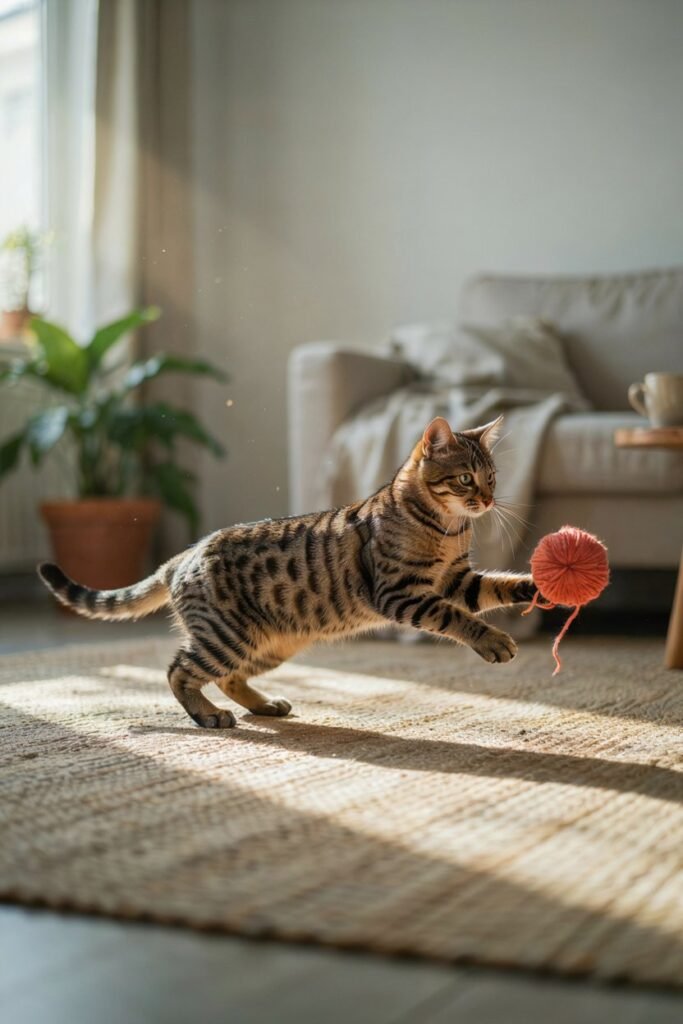
Not every cat fetches, but the ones who do get completely obsessed with it, and pom poms are the lightest, easiest thing to toss around the house.
This is my go to toy for quick five minute play sessions.
What you’ll need:
Yarn: wraps around a shape repeatedly to build the fluffy pom pom body.
Cardboard circle template: keeps the yarn wraps even so the pom pom holds its shape.
Scissors: trims the yarn loops open and cleans up the final rounded shape.
Steps:
- Cut two matching cardboard circles with a smaller circle cut out of the center of each.
- Hold both circles together and wrap yarn around them repeatedly until fully covered.
- Carefully cut the yarn along the outer edge, slipping the scissors between the two cardboard circles.
- Tie a piece of yarn tightly around the center to hold all the strands together.
- Remove the cardboard circles and fluff the pom pom into a rounded ball shape.
A Few Safety Tips Before You Start
Homemade toys are wonderful, but a bit of caution goes a long way.
Always supervise play with string, ribbon, or shoelace toys since cats can swallow long thin materials, which is genuinely dangerous.
Check small parts like buttons, bells, or beads regularly to make sure nothing has come loose enough to be swallowed.
Store toys with strings or small pieces out of reach when you’re not around to watch, and rotate your cat’s toys every week or two so nothing gets boring for too long.
Final Thoughts
What I love most about these DIY toys is how little they cost compared to how much joy they bring.
A bored cat isn’t a lazy cat, it’s usually a cat that hasn’t been given the right outlet for its energy.
With a handful of household items and a few spare minutes, you can turn an ordinary afternoon into playtime your cat actually looks forward to.
Start with one or two of these projects, watch which ones your cat gravitates toward, and build a little rotation of homemade toys that keeps them curious, active, and happy.