
Homemade Chicken Broth Dog Biscuits
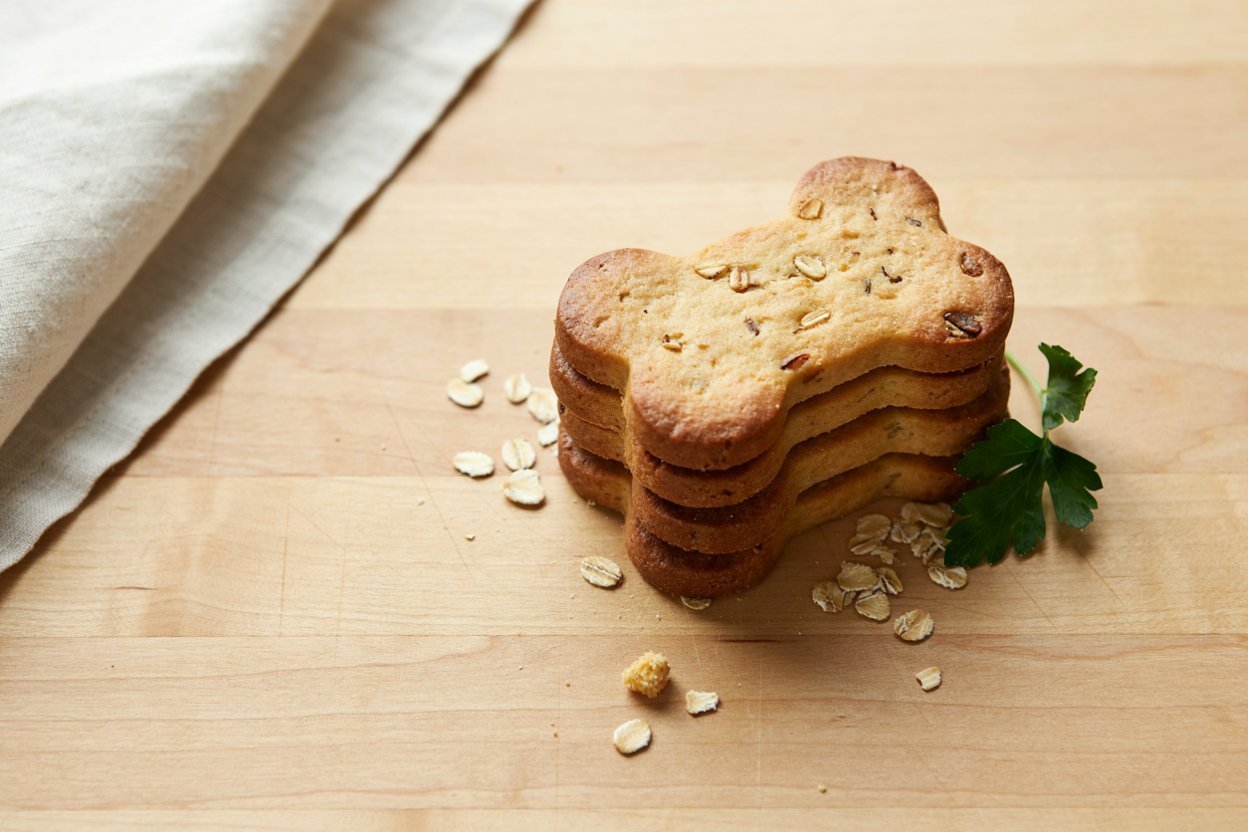
There is a particular sound that changes the energy of an entire house in about half a second, the crinkle of a biscuit bag. My dog hears it from two rooms away, drops whatever toy she was destroying, and appears at my feet like she teleported.
For a long time, that bag came from the grocery store, filled with a long list of ingredients I couldn’t quite picture and a shelf life that made me wonder what exactly was keeping it fresh for so long.
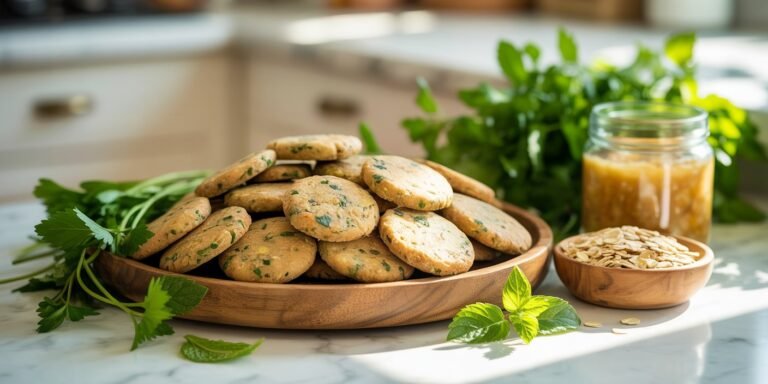
Homemade chicken broth dog biscuits solved that problem for me almost immediately.
They use a short, simple ingredient list, they bake up crunchy and satisfying in the exact way a good biscuit should, and the smell that fills the kitchen while they bake is somehow just as exciting for the humans in the house as it is for the dog waiting by the oven.

This post walks through one complete recipe from start to finish, covering everything from making your own broth to troubleshooting a dough that feels too sticky or too dry, so that even a first time baker can end up with a batch that turns out right.
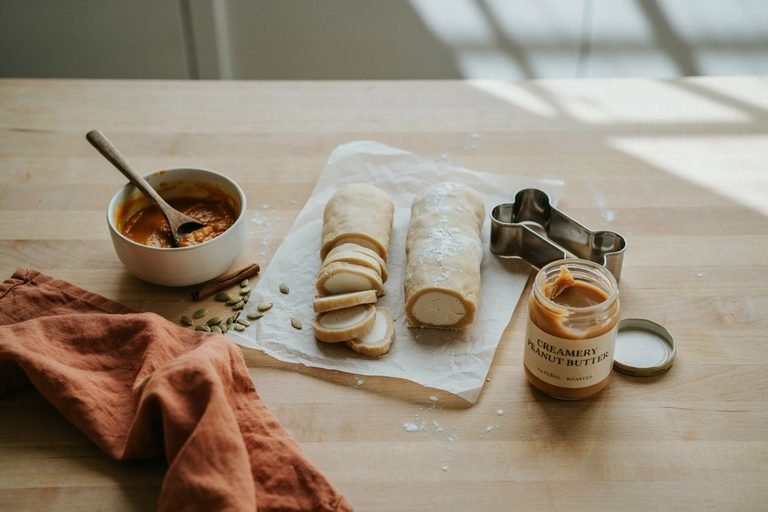
If you want to build out a broader homemade treat rotation once you’ve got this one down, my peanut butter and pumpkin dog treats recipe is a great next stop, along with my full vet friendly frozen dog treat recipes guide if you want something cold to rotate in during warmer months.
Why Chicken Broth Makes Such a Good Base for Dog Biscuits
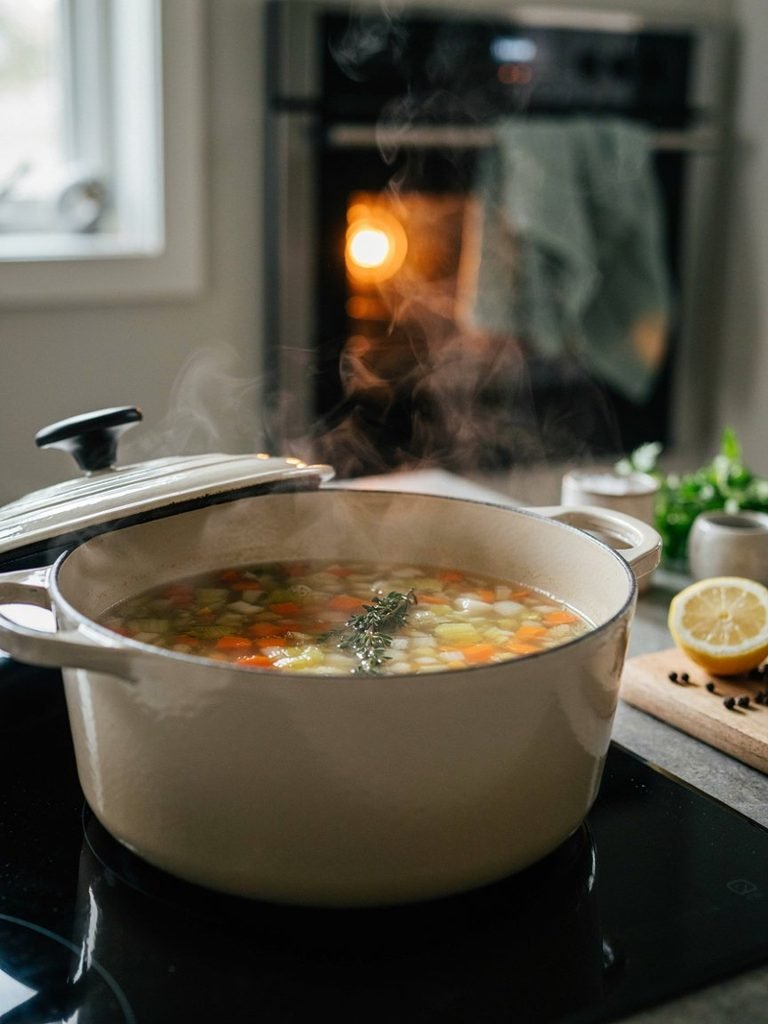
Most dogs are motivated by smell before anything else, which is exactly why chicken broth works so well as the base of a homemade biscuit.
It carries a savory aroma through the entire baking process, which means your dog is usually paying close attention to the oven well before the timer goes off.
That anticipation is part of what makes a homemade treat feel special compared to something pulled straight from a bag.
Beyond the appeal, chicken broth also brings real nutritional value to the recipe. A good broth contains collagen, which supports joint and skin health, along with a range of amino acids that muscle meat alone doesn’t always provide in the same concentration.
It also adds moisture to the dough without needing extra fat or oil, which keeps these biscuits leaner than a lot of store bought alternatives that rely on added fats for flavor and texture.
If you’re already using broth in other homemade recipes, this dough is a natural extension of that same pantry staple.
My healthy homemade dog meals guide uses similar broth based techniques in full meals, so the two pair well if you’re trying to build a more complete homemade feeding routine around ingredients you already have on hand.
Store Bought Biscuits Versus Homemade
It’s worth taking a moment to talk about why homemade is worth the extra effort here, since a bag of biscuits at the store is undeniably more convenient. The biggest difference usually comes down to the ingredient list.
Many commercial dog biscuits rely on refined grains, added sugars, artificial coloring, and preservatives to extend shelf life and improve visual appeal on the shelf. None of that is necessary for a dog to enjoy a treat, and a lot of it isn’t doing much for their health either.
Homemade biscuits also let you control the sodium content precisely, which matters more than people expect.
Some commercial treats use broth or bouillon concentrates that are surprisingly high in sodium, which isn’t ideal for regular daily treats, especially for dogs with heart or kidney concerns.
Making your own broth, or carefully choosing a low sodium store bought version, solves that problem entirely.
Finally, homemade biscuits are simply fresher. Without preservatives, they won’t sit on a shelf for a year, but that also means what you’re feeding your dog is closer to real food and further from something engineered purely for a long shelf life.
How to Make Your Own Chicken Broth for This Recipe
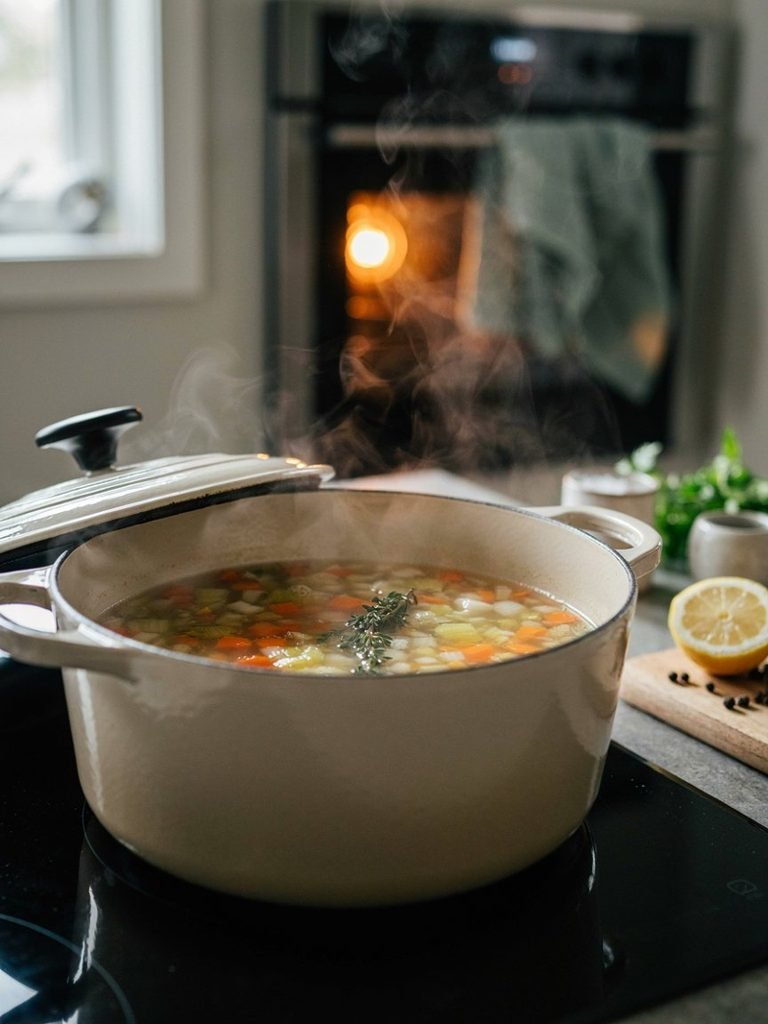
If you want to take this recipe a step further, making your own chicken broth is simple and gives you complete control over the ingredients.
Simmer chicken bones, or a whole chicken carcass left over from another meal, in water for several hours on low heat, with no salt, onion, or garlic added.
After simmering for three to four hours, strain out the solids and let the broth cool completely before using it in the biscuit dough. Homemade broth can be stored in the refrigerator for about a week or frozen in ice cube trays for individual portions later.
If making your own broth isn’t practical right now, a store bought low sodium chicken broth works perfectly well, just be sure to read the label carefully.
Onion and garlic are common flavor additions in broths made for human cooking, and both are toxic to dogs, so plain, unseasoned broth is the only safe choice here.
Ingredients You’ll Need
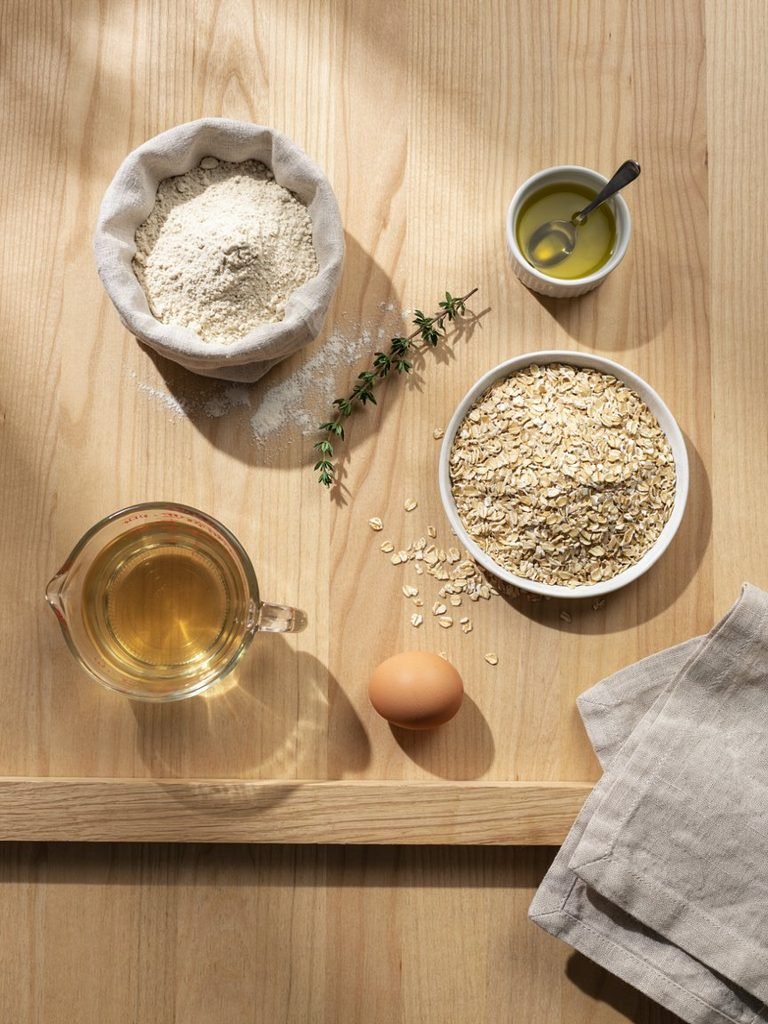
2 cups whole wheat flour, plus extra for dusting 1/2 cup rolled oats 1 cup low sodium chicken broth, no onion or garlic 1 egg 1 tablespoon olive oil
Whole wheat flour forms the structural base of the dough and bakes up into that classic firm, crunchy biscuit texture dogs seem to love working through.
If your dog has a known wheat sensitivity, oat flour can be substituted in equal parts, though the texture will come out slightly softer.
Rolled oats add a bit of extra fiber and a pleasant, slightly rustic texture to the finished biscuit, and they also help absorb some of the broth so the dough isn’t overly wet.
The chicken broth is really the heart of this recipe, both in terms of flavor and moisture. It replaces the water that a plain biscuit dough would normally use, which means every bit of moisture in the dough is also carrying flavor.
The egg helps bind everything together and adds a bit of extra protein, while the olive oil keeps the finished biscuits from turning out overly dry or crumbly, especially important since these bake for a long time to reach that crunchy, shelf stable texture.
How to Make It: Step by Step
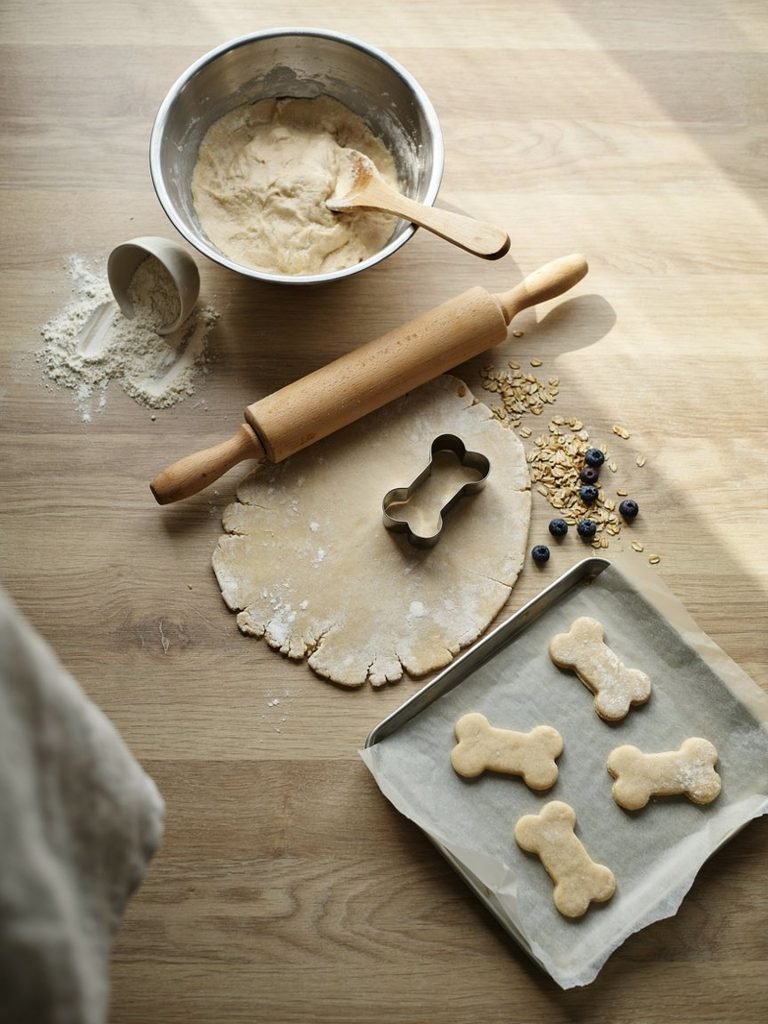
Step 1. Preheat the oven. Set your oven to 350 degrees Fahrenheit and line a baking sheet with parchment paper or a silicone baking mat.
Step 2. Combine the dry ingredients. In a large mixing bowl, whisk together the whole wheat flour and rolled oats until evenly combined.
Step 3. Add the wet ingredients. Make a well in the center of the dry ingredients and pour in the chicken broth, egg, and olive oil.
Step 4. Mix the dough. Stir everything together with a wooden spoon or spatula until a rough dough begins to form, then switch to kneading it gently by hand for a minute or two, until it comes together into a smooth, slightly firm ball.
Step 5. Rest the dough. Let the dough rest for about 5 minutes. This gives the oats a chance to absorb a bit more moisture, which makes rolling much easier.
Step 6. Roll out the dough. Lightly dust a clean surface and a rolling pin with extra flour, then roll the dough out to about a quarter inch thickness. Thicker dough will result in a softer biscuit, while thinner dough bakes up crunchier all the way through.
Step 7. Cut into shapes. Use a small cookie cutter to cut the dough into biscuit shapes, re rolling the scraps as needed until all the dough is used.
Step 8. Arrange on the baking sheet. Place the cut biscuits on the prepared baking sheet, leaving a small gap between each one, since they won’t spread much but still need room for air to circulate.
Step 9. Bake. Bake for 30 to 35 minutes, until the biscuits are firm and lightly golden on the edges.
Step 10. Cool completely. Turn off the oven and, if you have the time, let the biscuits sit in the cooling oven with the door slightly ajar for another 20 to 30 minutes. This extra drying time helps them reach that classic crunchy, shelf stable texture. Once removed, transfer them to a wire rack to finish cooling completely before storing.
Troubleshooting a Dough That Isn’t Behaving
If your dough feels too sticky to roll out, add a little extra flour, one tablespoon at a time, until it becomes easier to handle.
This is a common issue if your broth was measured a little generously or if your kitchen is on the humid side.
If your dough feels too dry and starts cracking as you try to roll it, add a small splash of extra broth, one teaspoon at a time, and knead it in gently until the dough comes back together smoothly.
It’s much easier to fix a dry dough with a bit of added liquid than to fix an overly wet one by adding more flour, so start with the amount listed and adjust gradually from there rather than guessing at both quantities from the start.
If your biscuits come out of the oven still soft in the center after the full bake time, they likely need that extra drying period in the cooling oven mentioned above.
Biscuits meant to be shelf stable rely on that slow final drying stage to reach their signature crunch, so don’t be discouraged if step nine alone doesn’t get you all the way there.
Storage and Feeding Tips
Once fully cooled and dried, store the biscuits in an airtight container at room temperature for up to two weeks. For longer storage, keep them in the refrigerator for up to a month, or freeze a batch for up to three months.
Because there are no artificial preservatives in this recipe, proper storage matters more than it would with a store bought bag that’s designed to last much longer on a shelf.
As with any treat, moderation matters. Treats of all kinds should generally make up no more than about 10 percent of a dog’s total daily calories, so keep portion sizes reasonable based on your dog’s weight and overall diet.
A single biscuit is usually a perfectly reasonable treat for most dogs, though very small breeds may do better with a smaller piece broken off rather than a full sized biscuit.
Easy Ways to Change This Recipe Up
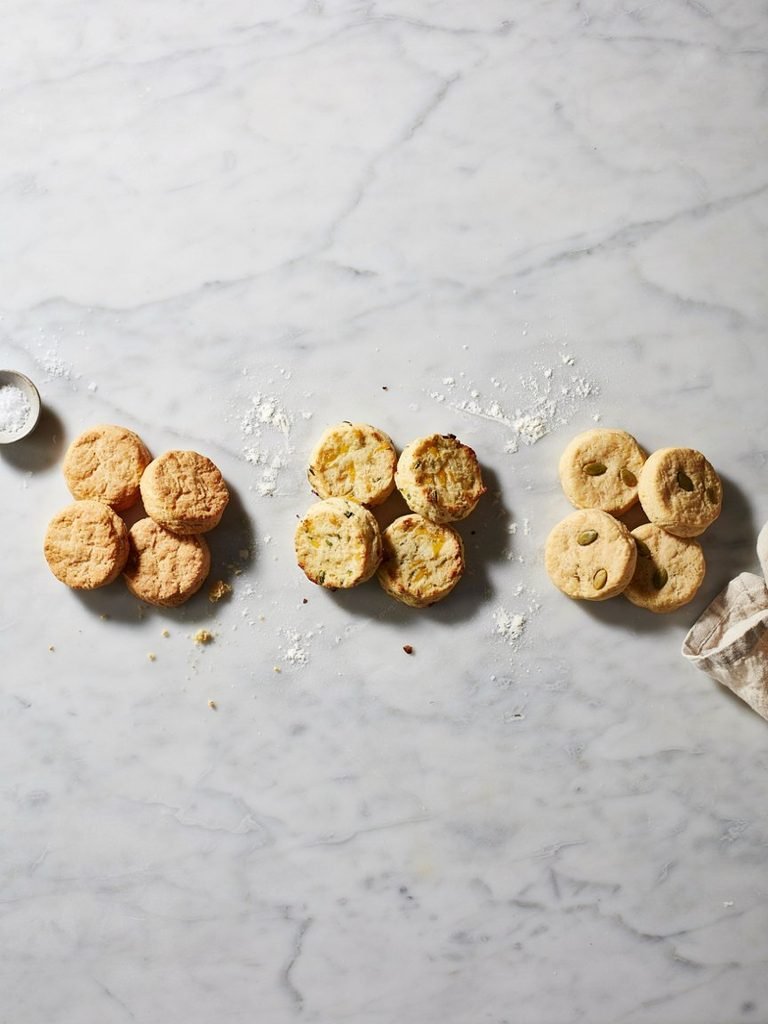
Make them smaller for little dogs. If you’re baking for a smaller breed, use a mini cookie cutter and check my homemade dog food recipes for small dogs guide for other portion sizing tips that apply here as well.
Add a mix in for extra flavor. A tablespoon of finely grated cheese or a spoonful of unsweetened pumpkin puree mixed into the dough adds a different flavor note without changing the basic method.
Try a different protein based broth. Beef or turkey broth can be substituted in equal parts if you want to rotate flavors, and pairs well with the approach used in my homemade turkey dog food recipe if you want a broader turkey themed treat and meal rotation.
Add a crunchy mix in. Finely chopped green beans folded into the dough add a bit of extra texture and nutrition, similar in spirit to my green bean crunchies for dogs recipe.
Keep your ingredient list minimal. If you’d rather simplify even further, my 3 ingredient cooked dog food recipes post has other easy, short ingredient list options worth exploring.
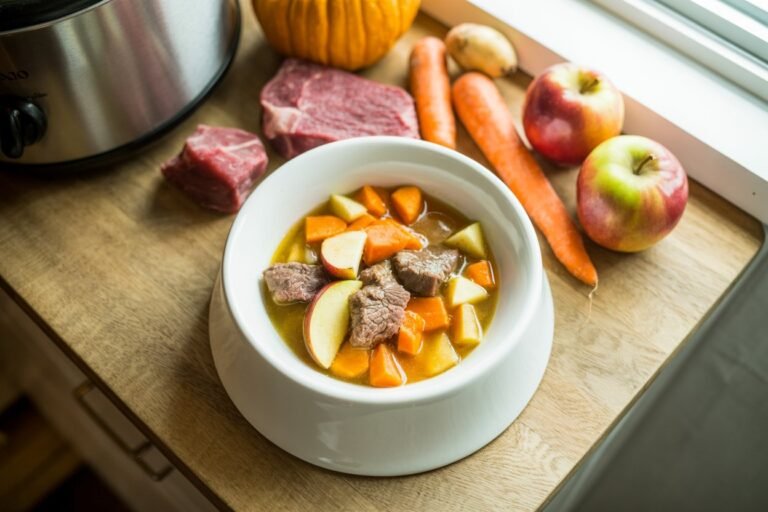
Pair these with a full meal. These biscuits work well as a reward alongside a full homemade dinner, like the ones in my easy crockpot dog food recipe.
Common Mistakes to Avoid
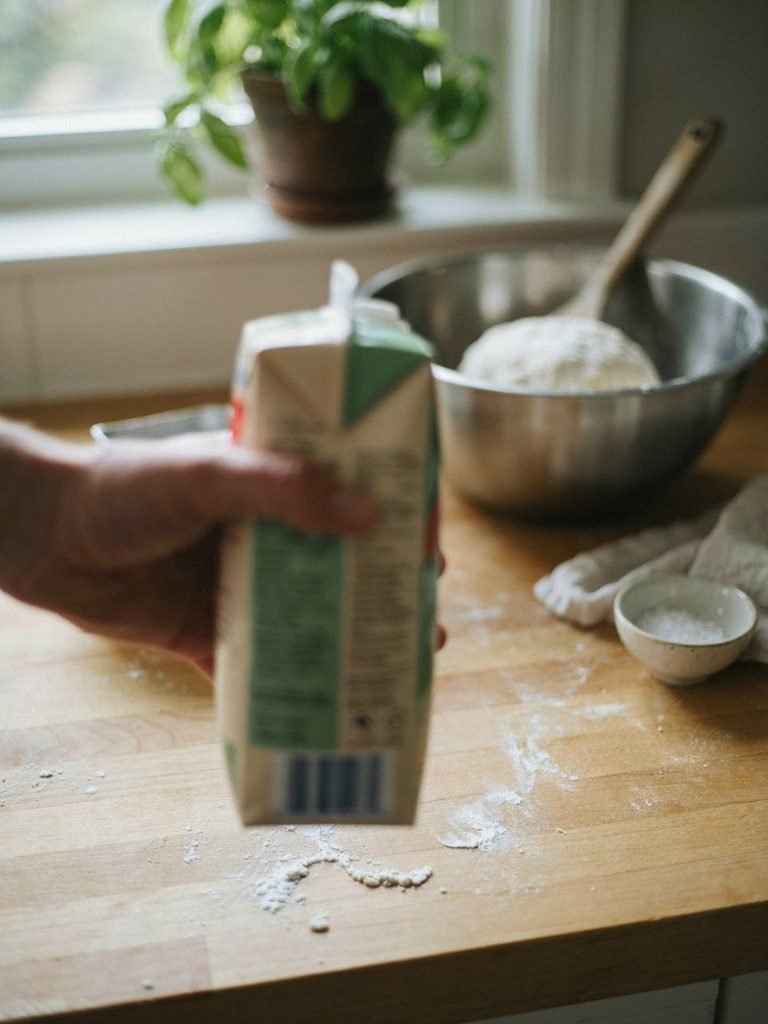
Using a broth with onion or garlic. Always check the label carefully, since both are toxic to dogs even in small amounts, and are common flavor additions in broths made for human recipes.
Skipping the extra drying time. Pulling the biscuits straight out of the oven without the additional cooling period often leaves them softer than intended, since the slow drying stage is what gives them their classic crunch.
Rolling the dough too thick. A thick biscuit takes much longer to dry all the way through and often ends up soft in the center even after a full bake.
Overfilling the baking sheet. Give the biscuits a bit of space so air can circulate evenly and they dry out consistently on all sides.
Storing them before they’re fully cooled. Sealing warm biscuits in a container traps moisture and can lead to a softer texture or even mold over time, so always let them cool completely first.
Homemade Chicken Broth Dog Biscuits
Ingredients
Equipment
Method
- Preheat the oven to 350°F and line a baking sheet with parchment paper.
- Add the whole wheat flour and rolled oats to a large mixing bowl.
- Add the beaten egg and olive oil if using.
- Gradually pour in the chicken broth while mixing until a firm dough forms.
- Transfer the dough to a lightly floured surface and knead it gently until it comes together.
- Roll the dough to approximately 1/4 inch thick.
- Use a cookie cutter to cut the dough into small biscuits and place them on the prepared baking sheet.
- Bake for about 25 minutes, or until the biscuits are firm and lightly golden around the edges.
- Remove from the oven and allow the biscuits to cool completely before serving.
- Use homemade or store bought chicken broth that is low sodium and completely free from onion, garlic, and seasoning blends.
- Never use broth containing onion or garlic because these ingredients are unsafe for dogs.
- For smaller dogs, use a small cookie cutter and adjust portions accordingly.
- For a crunchier biscuit, allow the cooled treats to sit in the turned off oven for several additional minutes after baking.
- Store completely cooled biscuits in an airtight container in the refrigerator. Freeze extras for longer storage.
- These biscuits are intended as an occasional treat and should not replace your dog’s complete and balanced food.
Frequently Asked Questions
Can I use store bought broth instead of making my own? Yes, a plain, low sodium store bought broth works well. Just make sure it doesn’t contain onion, garlic, or added salt.
My dough seems too crumbly to hold together, what should I do? Add a small splash of extra broth, a teaspoon at a time, and knead gently until the dough comes together into a smooth ball.
Can I make these biscuits grain free? Yes, a grain free flour blend designed for baking can often be substituted in place of the whole wheat flour, though the texture and rise may vary slightly depending on the blend you use.
Are these biscuits safe for puppies? In small amounts, yes, though puppies have more sensitive digestive systems, so introduce anything new gradually and in smaller pieces than you would for an adult dog.
How do I know when the biscuits are fully dried out? They should feel hard and make a distinct crack or snap sound when broken, rather than bending or feeling soft in the center.
Can I add peanut butter to this recipe? Yes, a tablespoon of natural peanut butter with no added sugar or xylitol can be mixed into the dough for extra flavor, though it will slightly change the texture of the finished biscuit.
Why did my biscuits turn out too hard? This can happen if they’re rolled very thin and left in the drying oven a little too long. If this happens, they’re still safe to eat, just break them into smaller pieces before serving to make chewing easier.
Final Thoughts
Homemade chicken broth dog biscuits are proof that a treat doesn’t need a long ingredient list or complicated technique to be genuinely satisfying, both for your dog and for you as the one making them.
This recipe gives you full control over exactly what’s going into every biscuit, from the broth up, and once you’ve got the basic method down, it becomes an easy one to customize with different broths, mix ins, and shapes depending on what your dog loves most.
Start here, watch how your dog responds to that first crinkle of the container, and use it as your entry point into the other homemade treat and meal recipes linked throughout this post.

One Comment