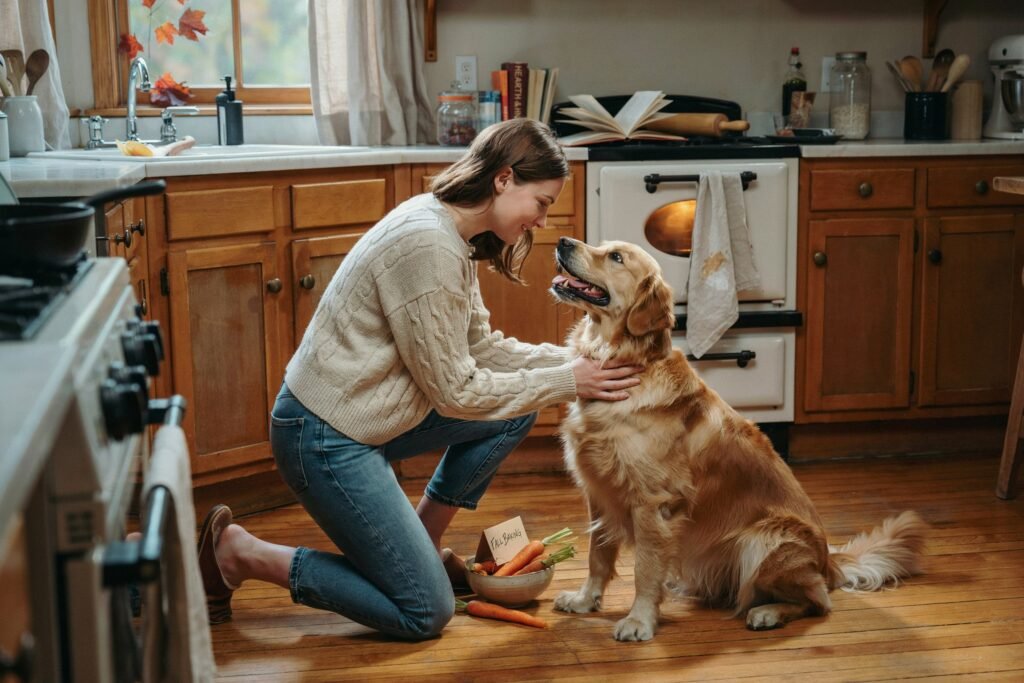
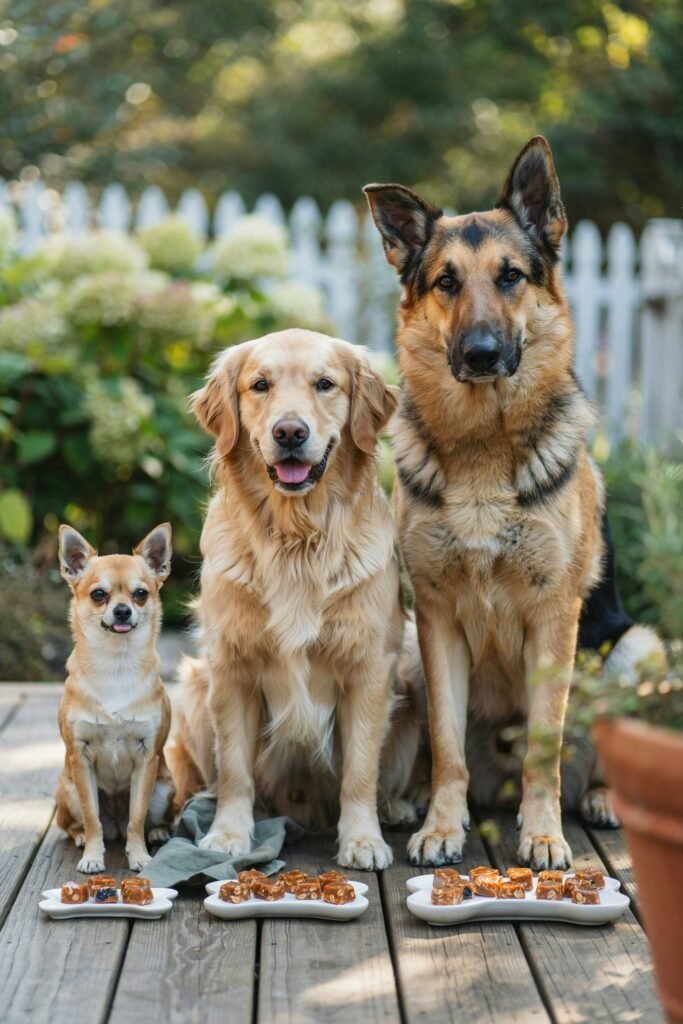
If you are anything like me, you probably enjoy making simple homemade treats for your dog whenever possible.
Store bought dog treats can be expensive and sometimes contain ingredients that are difficult to pronounce.
That is why I love creating easy homemade recipes using ingredients I already have in my kitchen.
These 3 Ingredient Peanut Butter Dog Gummies are one of the easiest homemade dog treats you can make.
They are soft, chewy, nutritious, and packed with a delicious peanut butter flavor that most dogs absolutely adore.
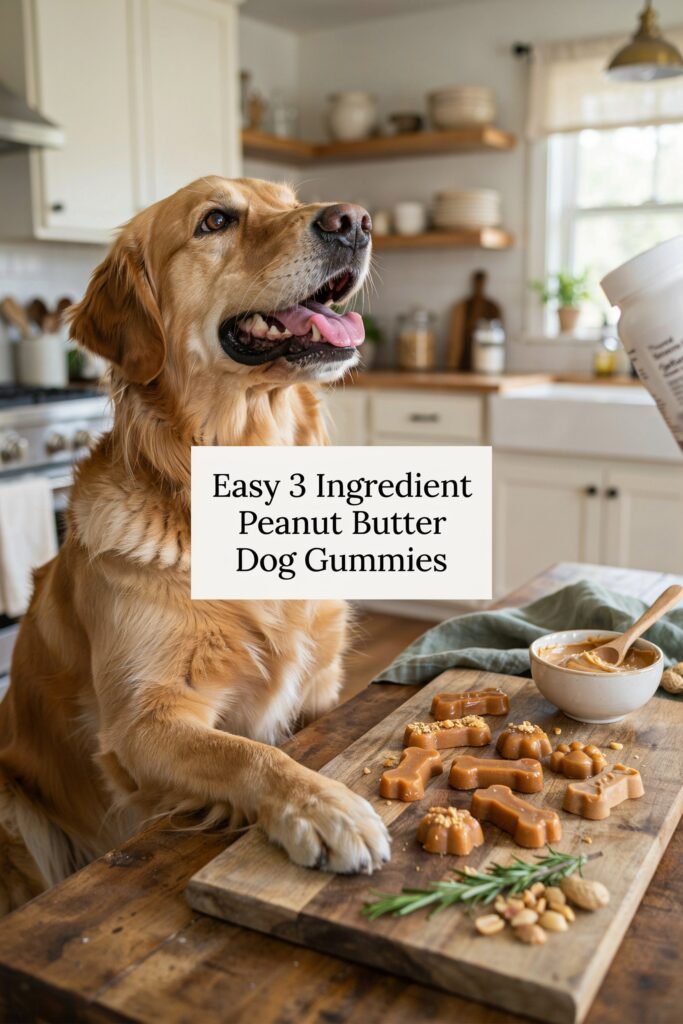
Even better, they require only three simple ingredients and take very little time to prepare.
These homemade gummies are perfect as training rewards, special snacks, or occasional treats for dogs of all sizes.
They are freezer friendly, budget friendly, and incredibly easy for beginners to make.
In this guide, I will walk you through everything you need to know about making peanut butter dog gummies at home, including ingredients, preparation tips, storage methods, serving suggestions, safety information, and creative variations your dog may enjoy.
Disclaimer: This post may contain affiliate links, which means I may earn a small commission at no extra cost to you. Always use dog-safe ingredients and consult your veterinarian before introducing new treats, especially if your dog has allergies, dietary restrictions, or health concerns.
Amazon Shopping List: 3 Ingredient Peanut Butter Dog Gummies
- Dog-Safe Peanut Butter (Xylitol-Free)
- Unflavored Gelatin Powder
- Silicone Dog Treat Molds (Bone or Paw Shapes)
- Measuring Cups and Spoons Set
- Stainless Steel Mixing Bowl Set
- Silicone Spatula for Easy Mixing
- Airtight Treat Storage Container
Why Homemade Dog Gummies Are Worth Making
Homemade dog treats offer several advantages over many commercial options.
- You know exactly what ingredients are included.
- You can avoid unnecessary fillers and artificial additives.
- You can customize the recipe to suit your dog’s preferences.
- They are often less expensive than premium dog treats.
- You can make fresh batches whenever needed.
Many dog owners find that homemade treats help them feel more confident about what they are feeding their pets.
Benefits of Peanut Butter for Dogs
Peanut butter is one of the most popular ingredients used in homemade dog treats.
When fed in moderation, peanut butter can provide several benefits.
Protein Support
Peanut butter contains plant based protein that helps support healthy muscles and overall body maintenance.
Healthy Fats
The natural fats found in peanut butter can help support skin health and maintain a shiny coat.
Great Taste
Most dogs absolutely love the rich flavor of peanut butter, making it an excellent ingredient for training treats and rewards.
Mental Enrichment
Peanut butter can encourage licking and chewing behaviors that provide mental stimulation and enrichment.
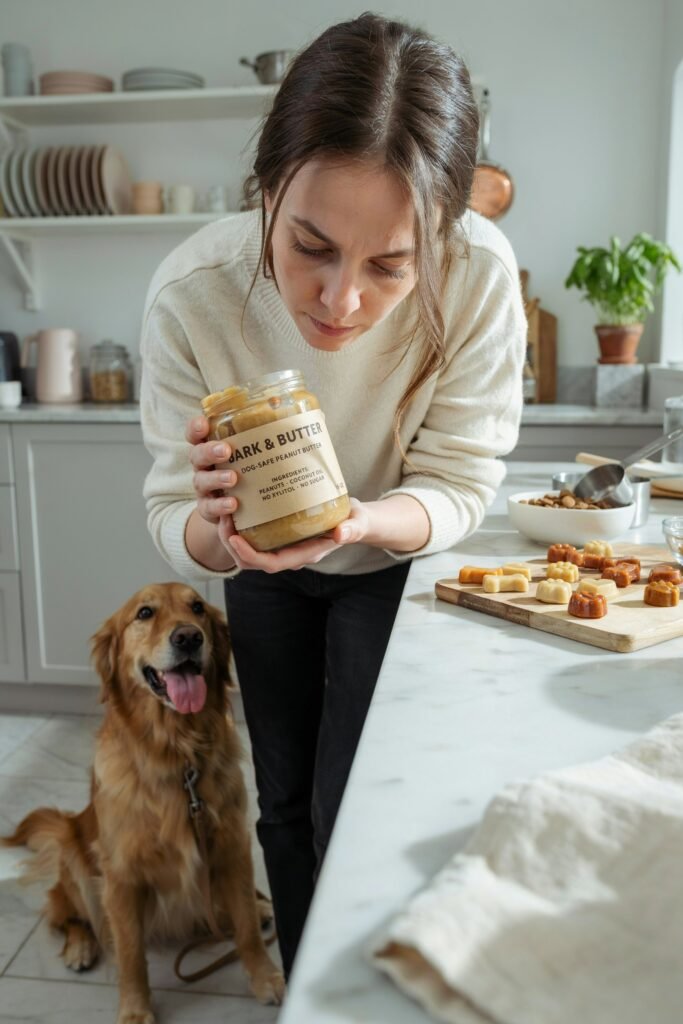
Important Peanut Butter Safety Tips
Before making this recipe, always check the ingredient label on your peanut butter.
Never use peanut butter containing xylitol.
Xylitol is extremely dangerous for dogs and can cause severe health problems.
Choose a peanut butter that contains:
- Peanuts
- Salt in small amounts
- Natural oils
- Avoid products containing:
- Xylitol
- Artificial sweeteners
- Excessive sugar
- Chocolate
- Cocoa ingredients
When in doubt, choose a natural peanut butter with minimal ingredients.
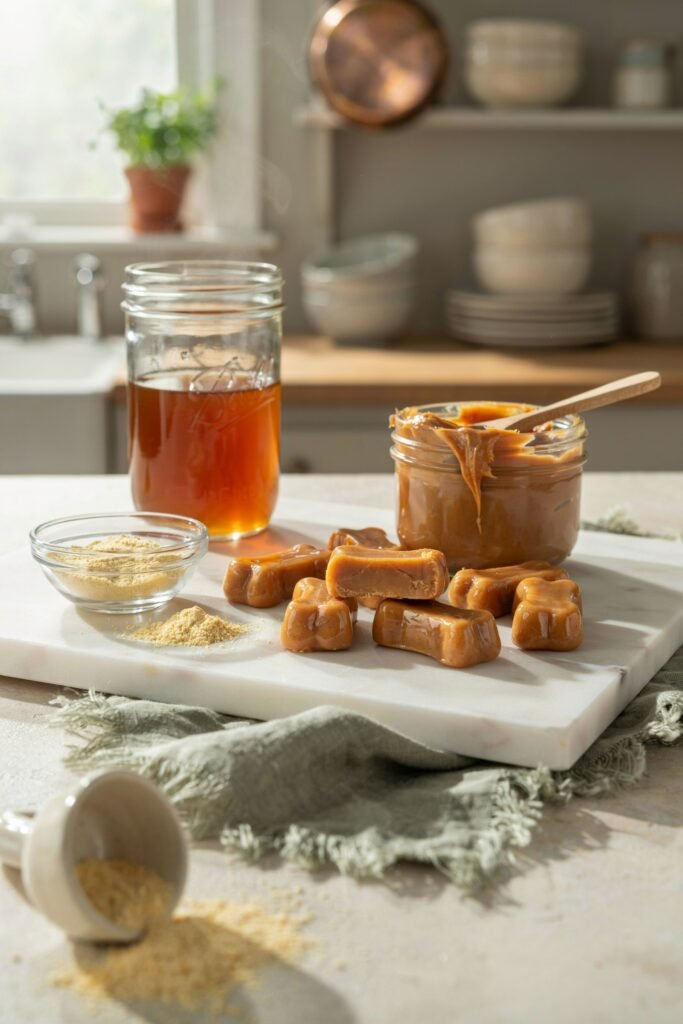
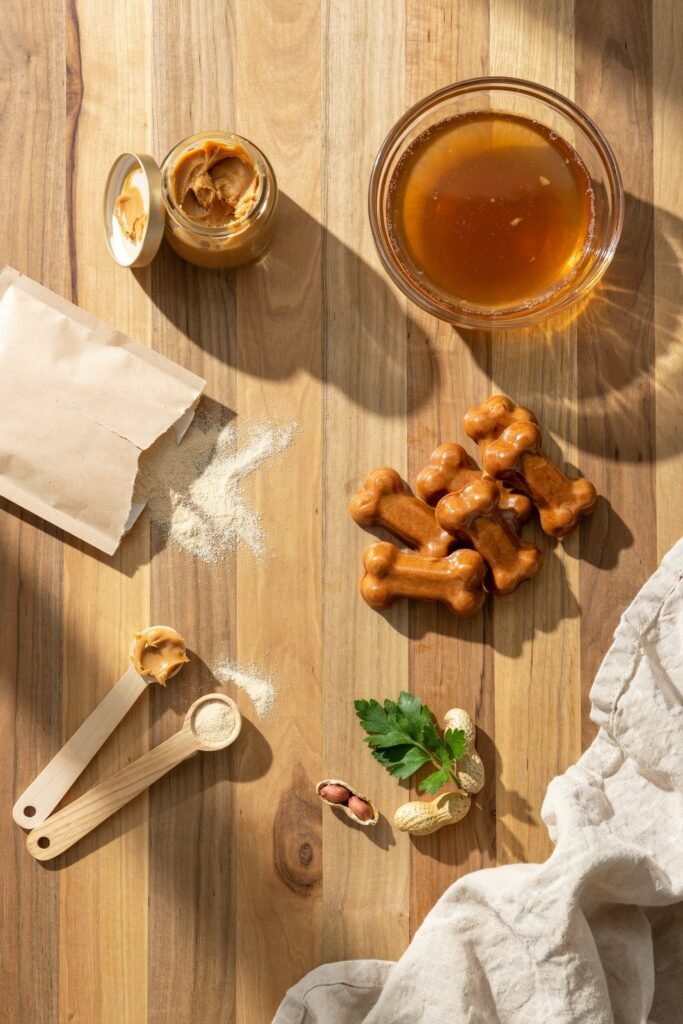
Ingredients for 3 Ingredient Peanut Butter Dog Gummies
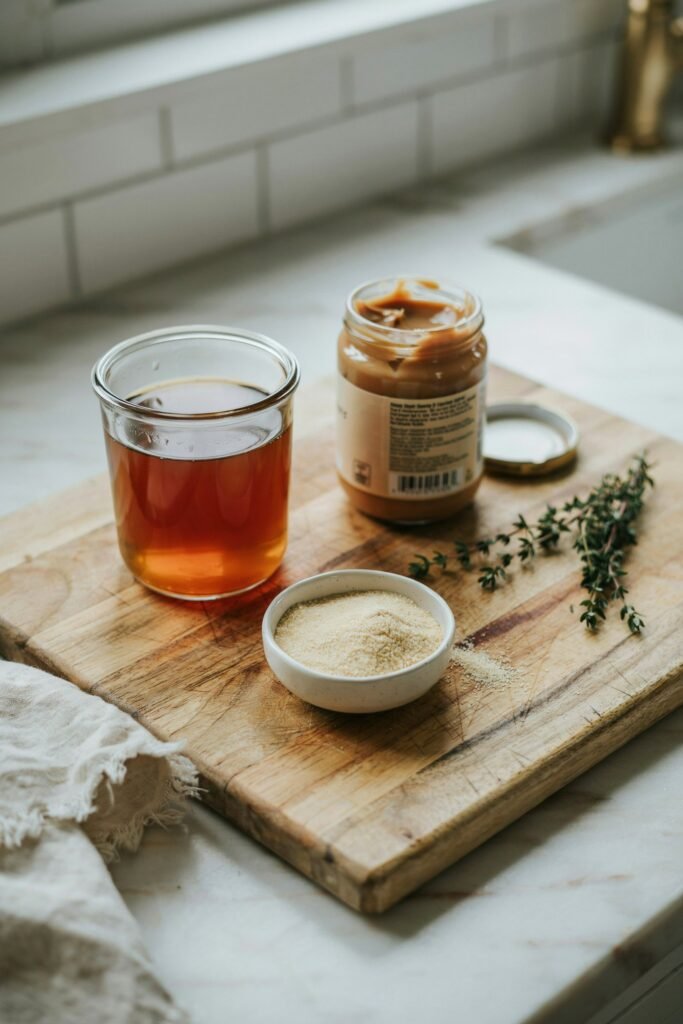
One of the best parts about this recipe is its simplicity.
Ingredient 1 Peanut Butter
1/2 cup natural peanut butter
Choose an unsweetened peanut butter that is safe for dogs.
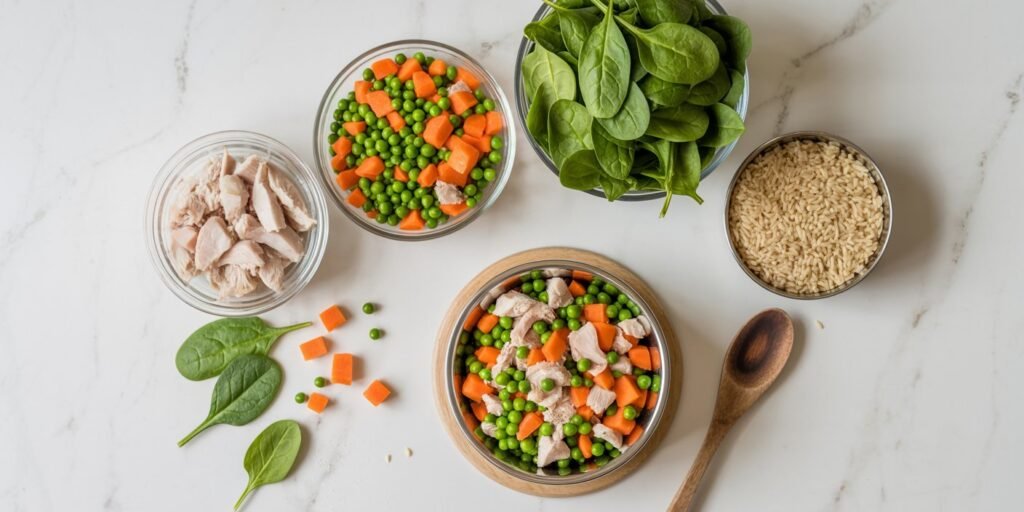
Ingredient 2 Bone Broth
1 cup unsalted bone broth
Bone broth provides flavor and may support joint health while helping create the gummy texture.
Ingredient 3 Unflavored Gelatin
3 tablespoons unflavored gelatin
Gelatin is the ingredient that allows the gummies to set properly.
Equipment You’ll Need
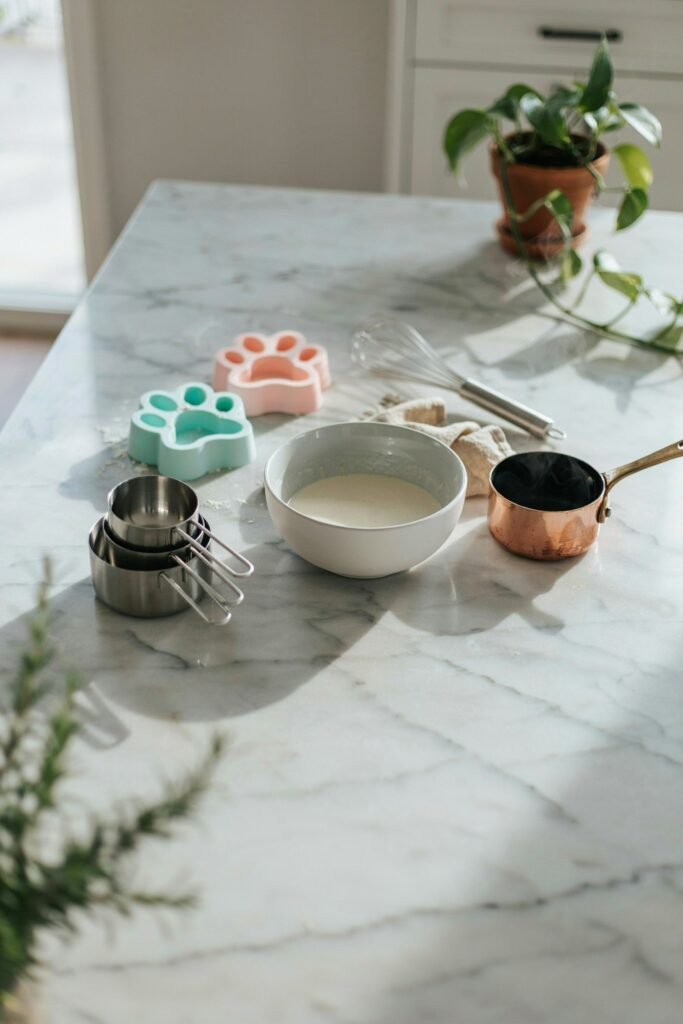
- Silicone molds
- Mixing bowl
- Small saucepan
- Whisk
- Measuring cups
- Refrigerator
These simple kitchen tools make the preparation process quick and easy.
How to Make 3 Ingredient Peanut Butter Dog Gummies
One of the best things about this recipe is how simple it is to prepare.
Even if you have never made homemade dog treats before, these peanut butter gummies are beginner friendly and require very little hands on time.
Follow these detailed steps for perfect results every time.
Step 1 Prepare the Peanut Butter
Start by measuring 1/2 cup of natural peanut butter and placing it into a medium mixing bowl.
If your peanut butter has been stored in the refrigerator or feels particularly thick, allow it to sit at room temperature for about 10 to 15 minutes.
Softened peanut butter blends much more easily with the gelatin mixture and helps create a smooth texture.
You can also stir the peanut butter thoroughly before measuring if natural oils have separated in the jar.
At this stage, make sure your peanut butter does not contain xylitol or any artificial sweeteners, as these ingredients can be harmful to dogs.
Step 2 Heat the Bone Broth
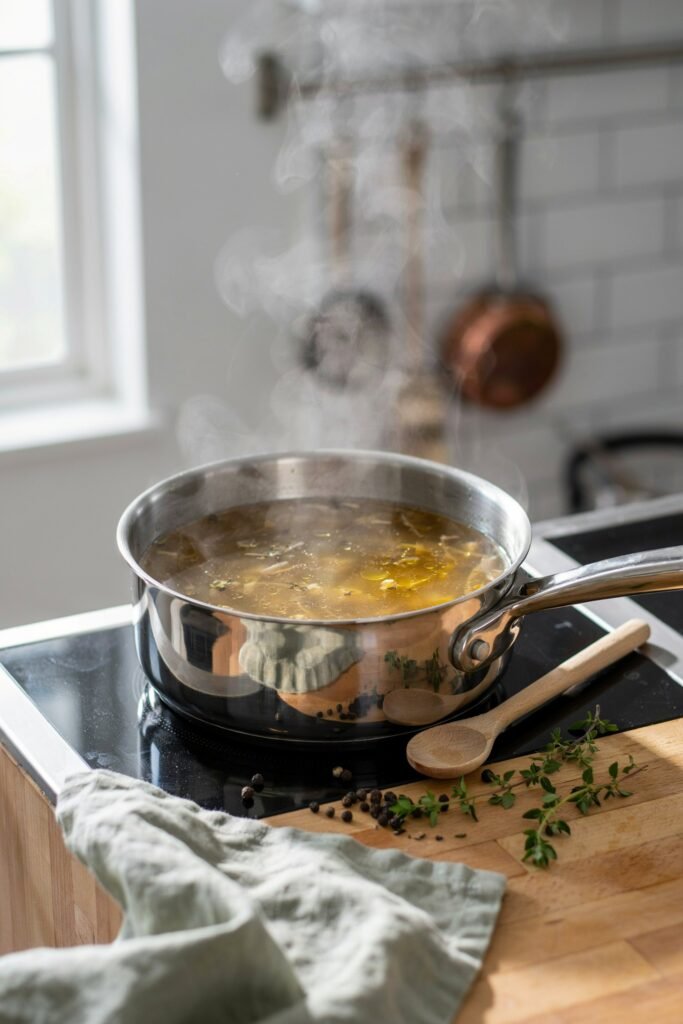
Pour 1 cup of unsalted bone broth into a small saucepan.
Place the saucepan over low heat and warm the broth gently.
There is no need to bring it to a boil. The broth simply needs to become warm enough to dissolve the gelatin properly.
Heating the broth too much can affect the texture of the finished gummies, so keep the temperature low and stir occasionally.
You should notice light steam rising from the broth, but it should not be bubbling.
Bone broth adds extra flavor to the gummies, making them even more appealing to dogs.
Step 3 Add the Gelatin
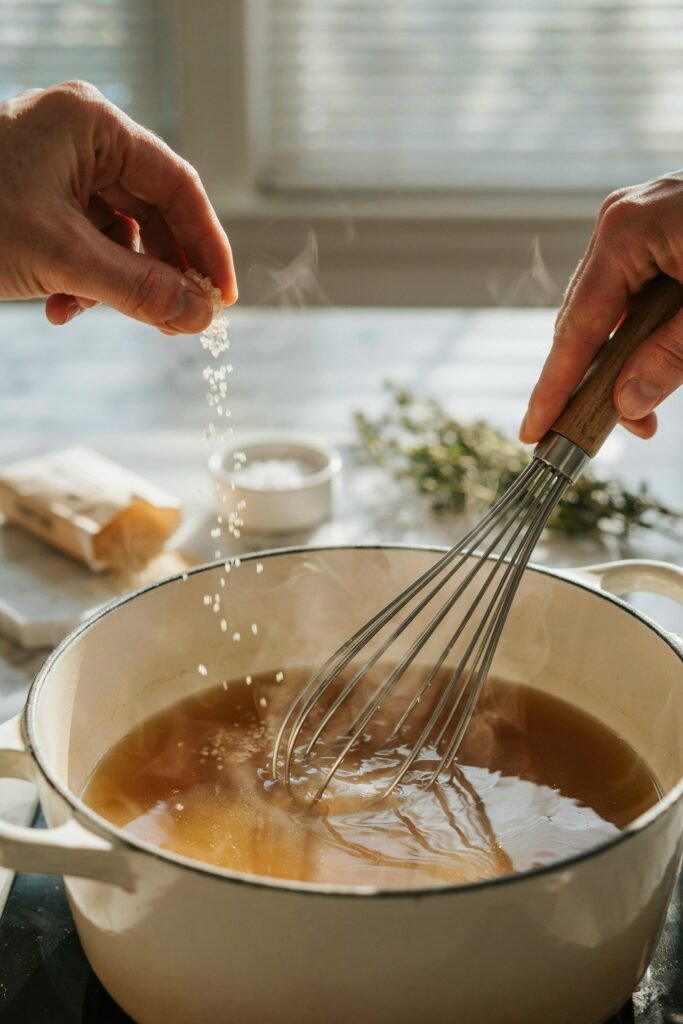
Once the broth is warm, slowly sprinkle 3 tablespoons of unflavored gelatin over the surface.
Avoid dumping all of the gelatin into the broth at once because this can create clumps that are difficult to dissolve.
While sprinkling the gelatin, continuously whisk the mixture.
Keep whisking for several minutes until the gelatin completely dissolves and the liquid becomes smooth.
The mixture should look clear and uniform with no visible lumps.
Taking your time during this step will help ensure your gummies set properly once refrigerated.
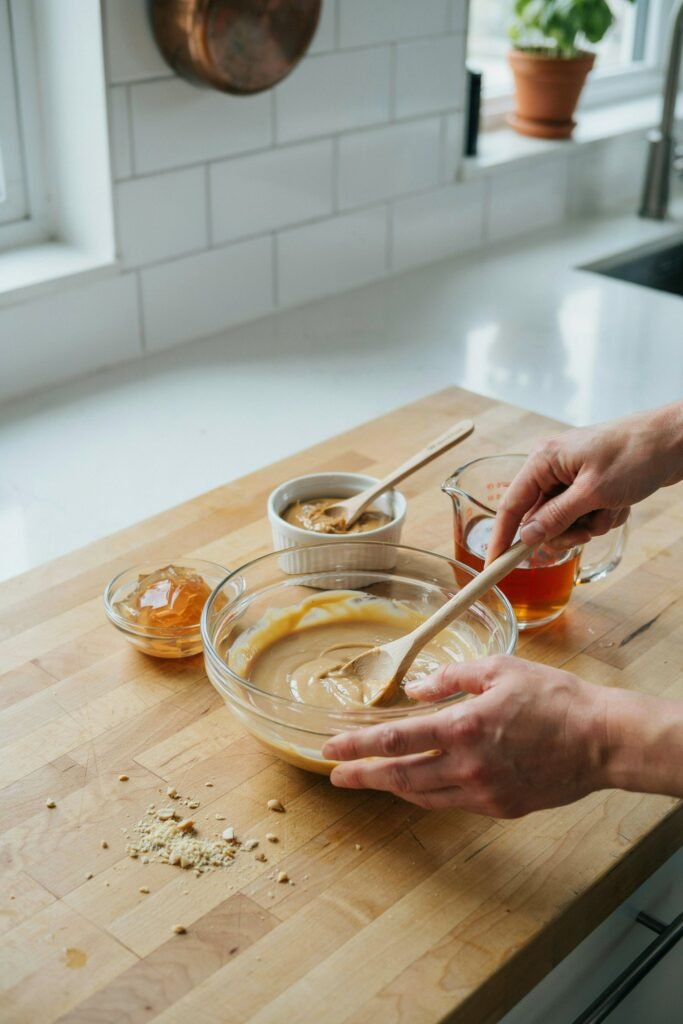
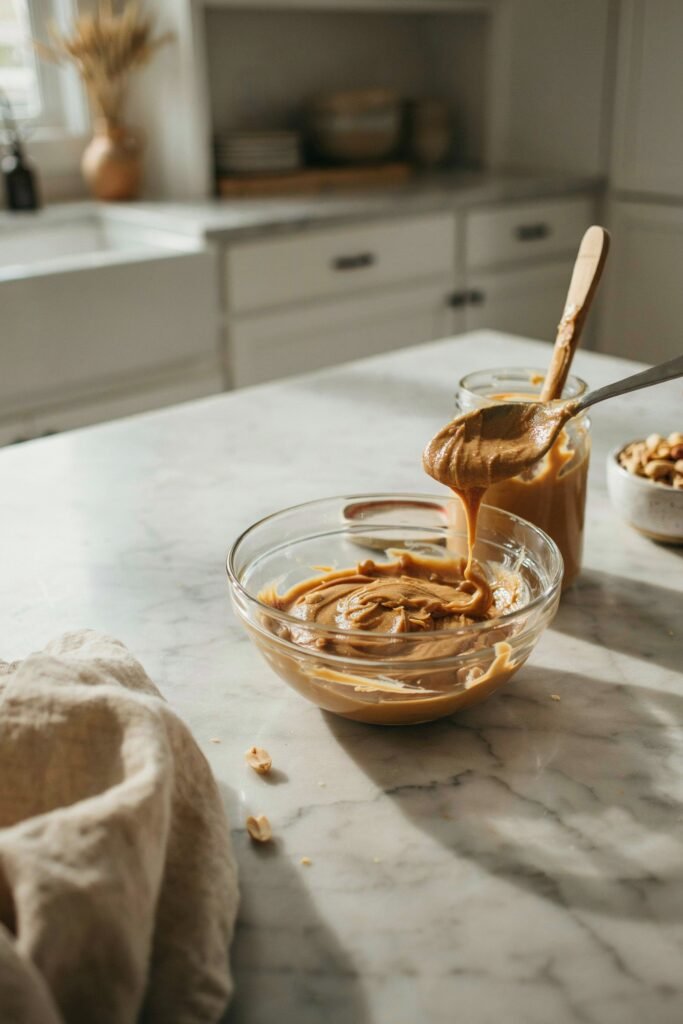
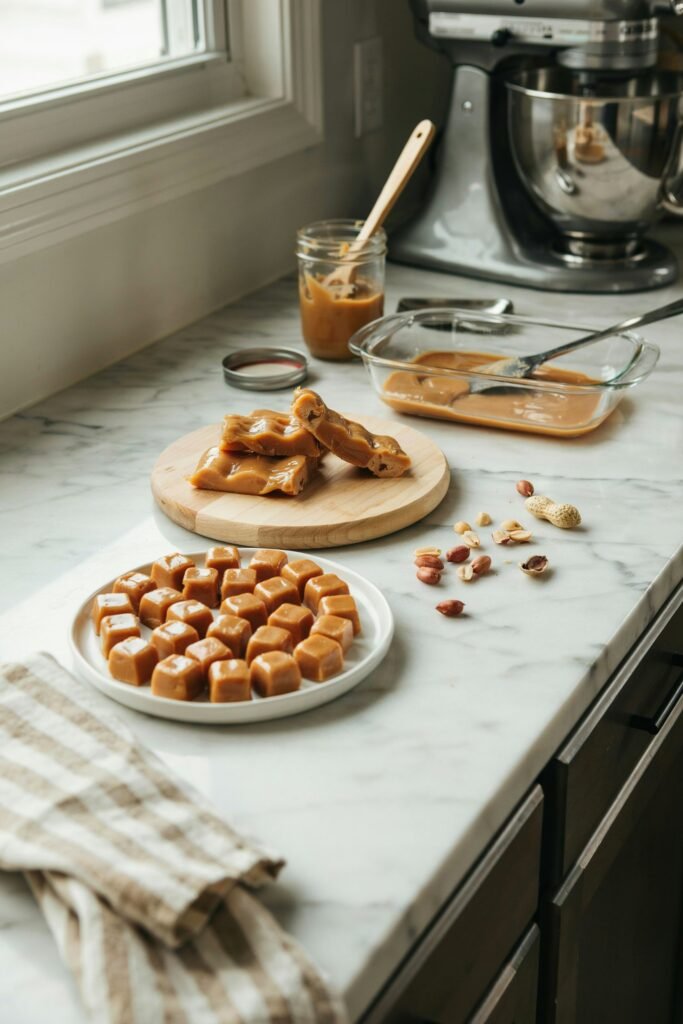
Step 4 Mix With Peanut Butter
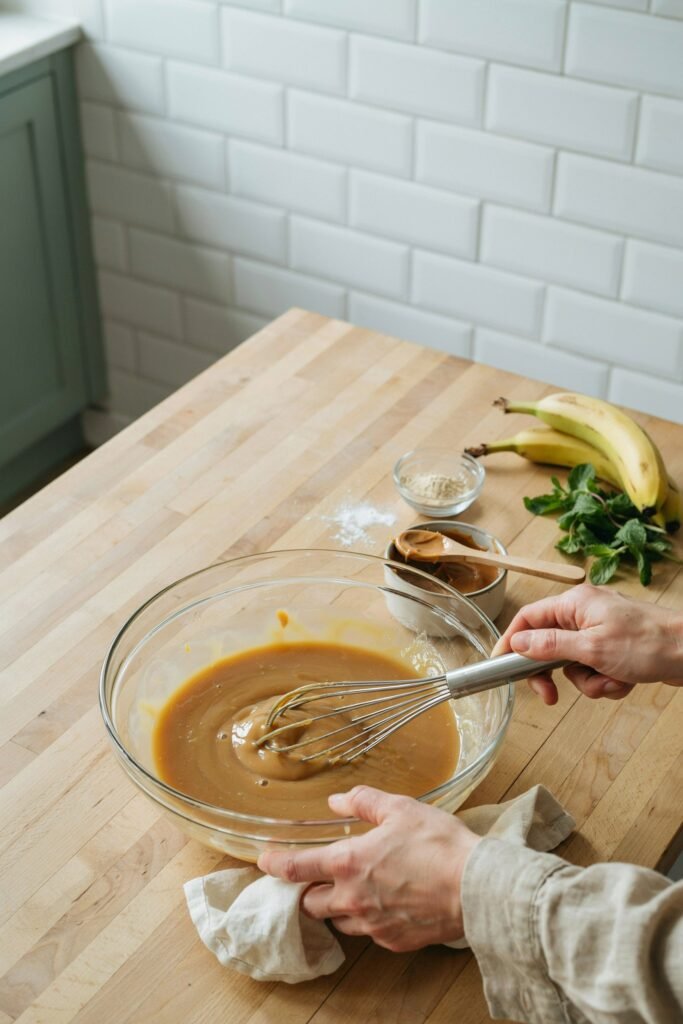
Slowly pour the warm gelatin and bone broth mixture into the bowl containing the peanut butter.
Whisk continuously as you combine the ingredients.
At first, the peanut butter may appear separated or slightly grainy, but keep mixing until everything becomes smooth and creamy.
The finished mixture should have a rich, silky consistency with the peanut butter fully incorporated throughout.
If necessary, continue whisking for an extra minute or two to achieve a completely even texture.
This step is important because proper mixing ensures every gummy contains the same flavor and consistency.
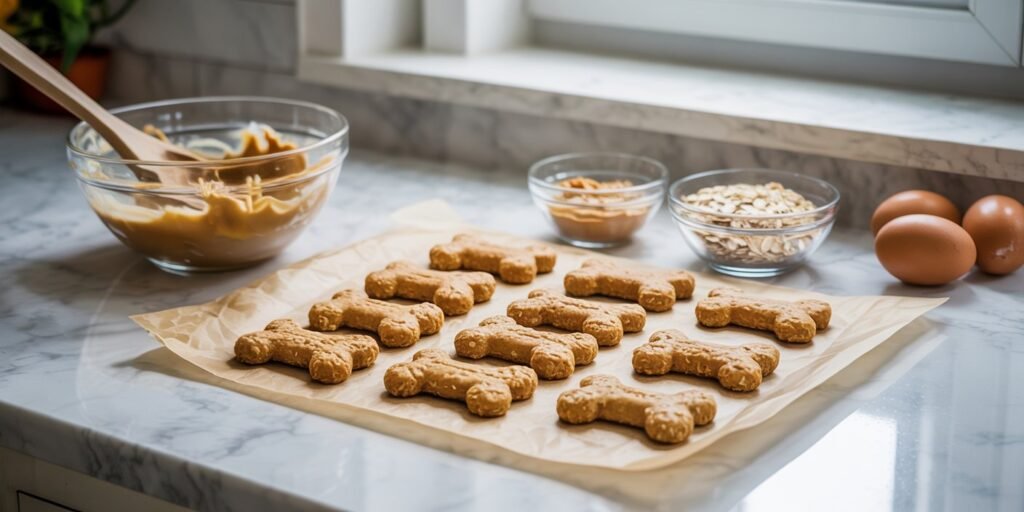
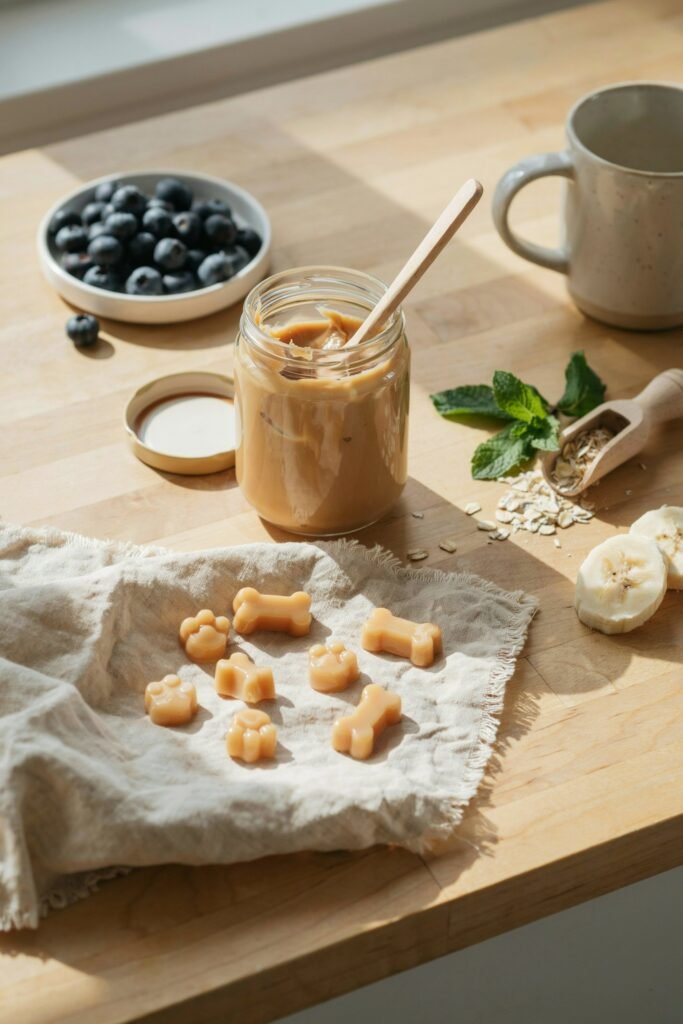
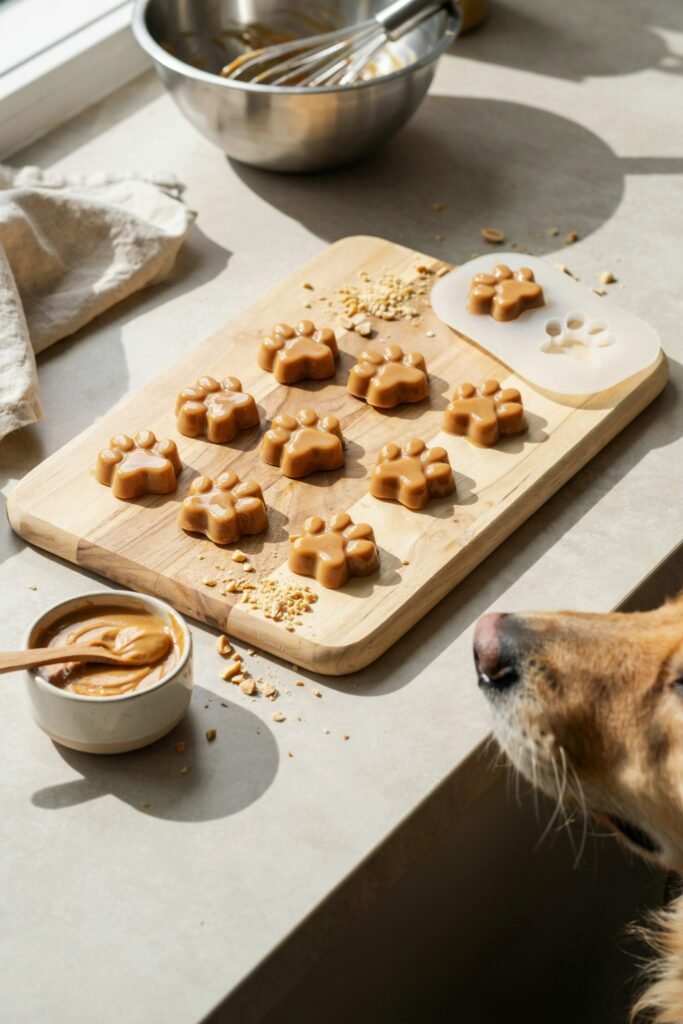
Step 5 Fill the Molds
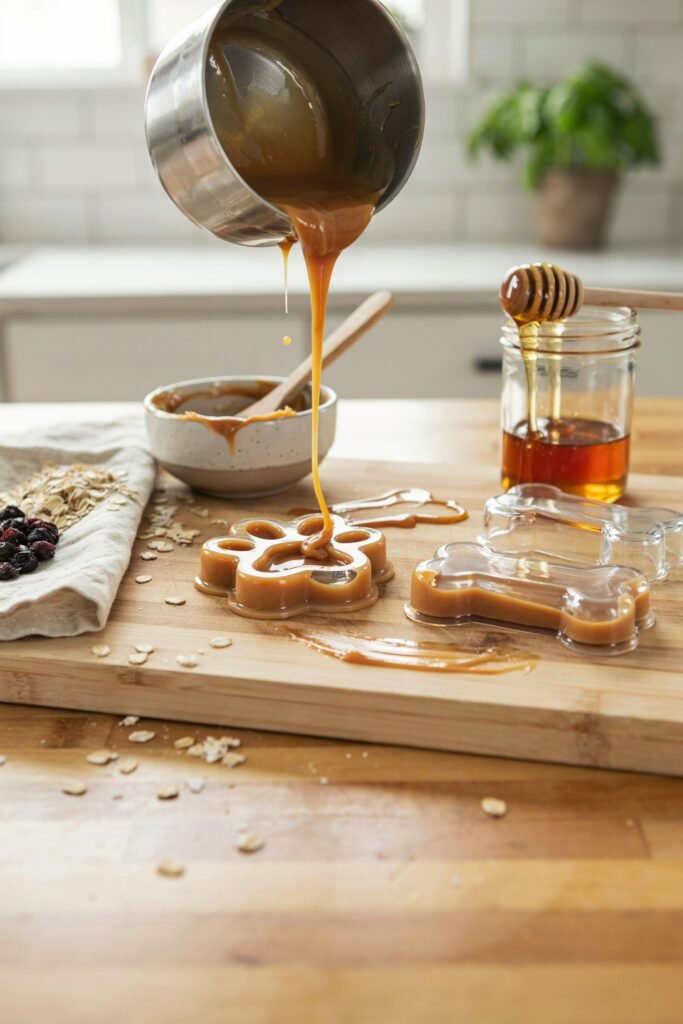
Place your silicone molds on a flat baking sheet or tray for easier handling.
Carefully pour the peanut butter mixture into each mold cavity.
You can use a small measuring cup, squeeze bottle, or spoon to make filling easier and less messy.
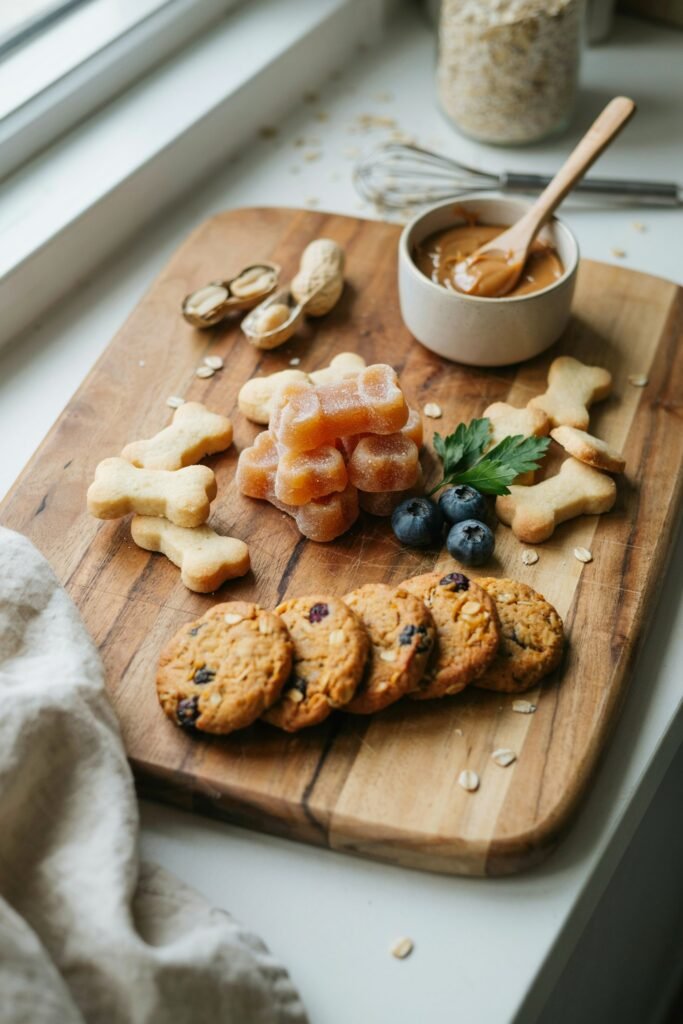
Popular mold choices include:
- Paw print molds
- Bone shaped molds
- Heart shaped molds
- Mini round molds
Fill each cavity almost to the top while leaving a small amount of space to prevent spills.
Gently tap the tray against the countertop a few times to remove any trapped air bubbles and help the mixture settle evenly.
Step 6 Refrigerate

Carefully transfer the filled molds to the refrigerator.
Place them on a level shelf where they can remain undisturbed while setting.
Allow the gummies to chill for approximately 2 to 4 hours.
The exact setting time may vary depending on the size of your molds and the temperature of your refrigerator.
You will know the gummies are ready when they feel firm to the touch and easily pull away from the sides of the mold.
For even firmer gummies, you can leave them in the refrigerator overnight.
Patience during this step results in gummies that hold their shape beautifully.
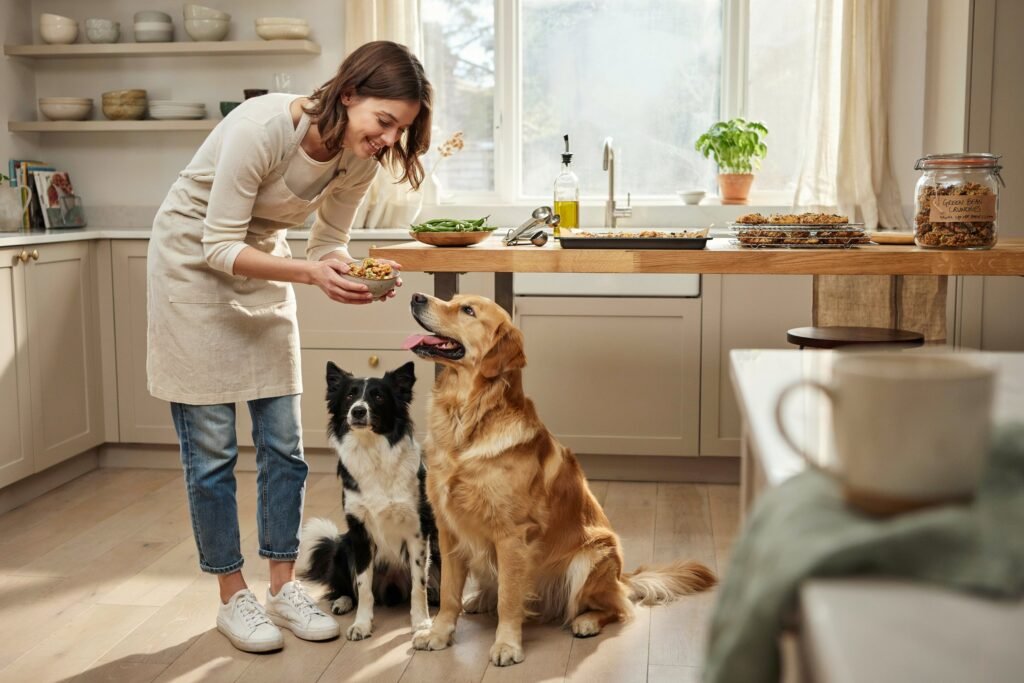
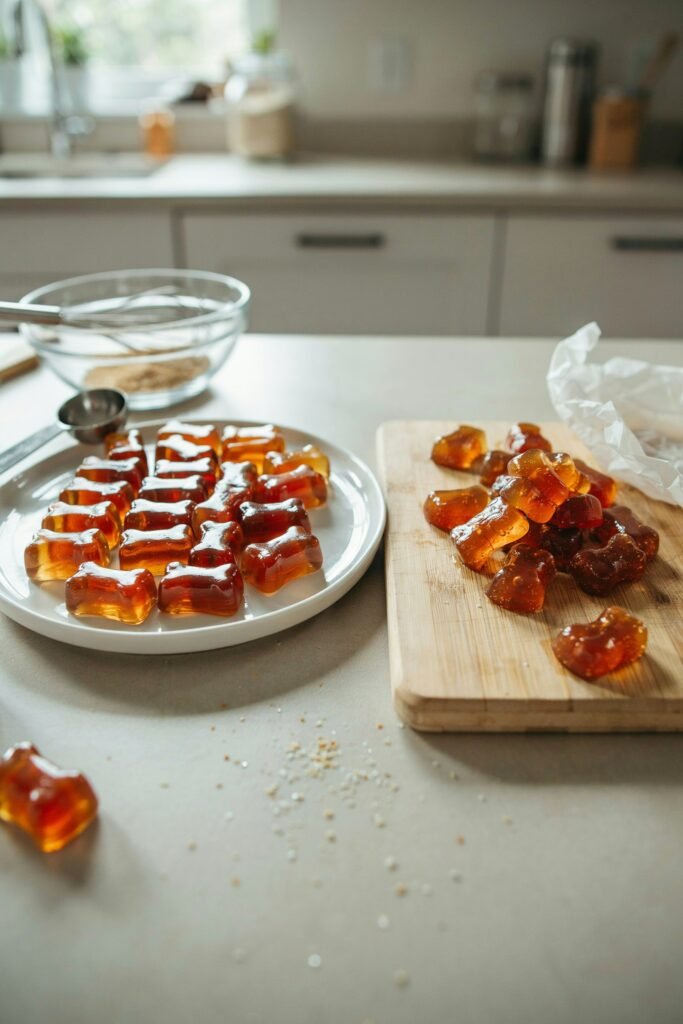
Step 7 Serve

Once the gummies are fully set, gently remove them from the silicone molds.
Flex the mold slightly to help release each gummy without breaking it.
Inspect the treats to ensure they have set properly and have a smooth texture.
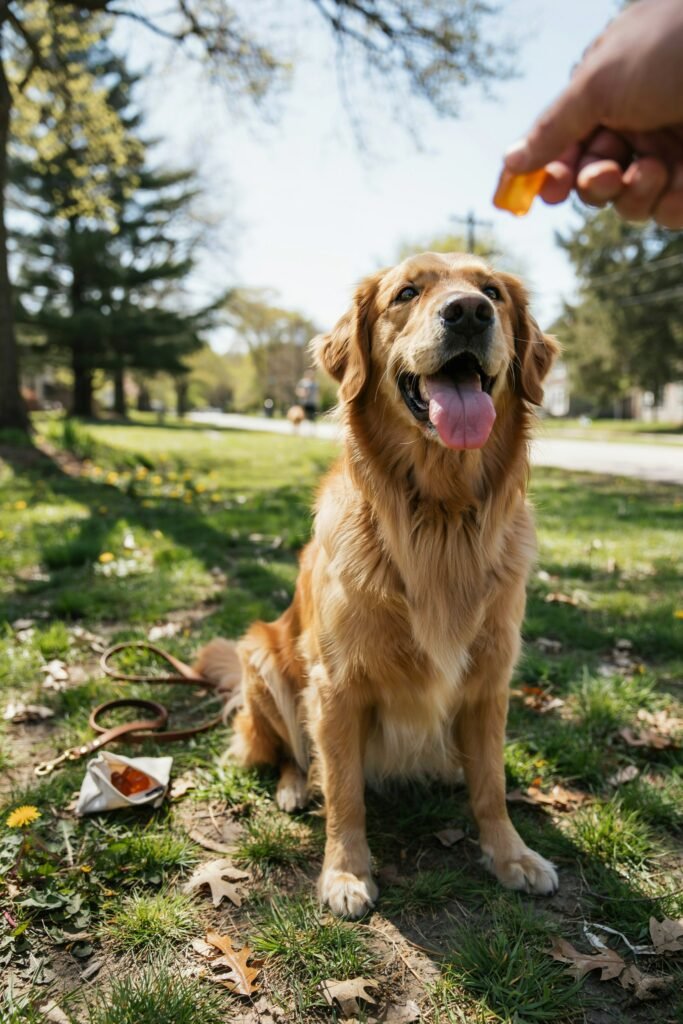
Serve according to your dog’s size, age, and dietary needs.
For most dogs, these gummies work wonderfully as:
- Training rewards
- Special snacks
- After walk treats
- Puzzle toy fillers
- Occasional homemade rewards
Watch your dog’s excitement as they enjoy their homemade peanut butter gummies.
Store any leftovers in an airtight container in the refrigerator and enjoy having healthy homemade treats ready whenever your furry friend deserves a little extra love.
Why Gelatin Is Often Used in Homemade Dog Treats
Gelatin is a popular ingredient in homemade dog recipes because it provides texture and structure.
Many dog owners also appreciate that gelatin contains amino acids that contribute to overall wellness.
Some potential benefits include:
- Supports healthy skin
- Supports coat condition
- Helps create a satisfying chewy texture
- Adds protein to treats
- Works naturally without artificial stabilizers
Tips for Perfect Peanut Butter Dog Gummies
Making dog gummies is simple, but these tips can help ensure great results every time.
- Use fresh ingredients.
- Whisk continuously when adding gelatin.
- Avoid overheating the broth.
- Use silicone molds for easier removal.
- Allow enough chilling time.
- Store leftovers properly.
Following these tips can make the gummies look better and hold their shape more effectively.
Common Mistakes to Avoid
Using Peanut Butter With Xylitol
Always read labels carefully before using peanut butter.
Boiling the Gelatin Mixture
Excessive heat may affect the final texture.
Adding Too Much Peanut Butter
Too much peanut butter can prevent proper setting.
Removing Gummies Too Early
Allow sufficient refrigeration time before removing from molds.
Using Salted Broth
Choose unsalted broth whenever possible for a healthier treat option.
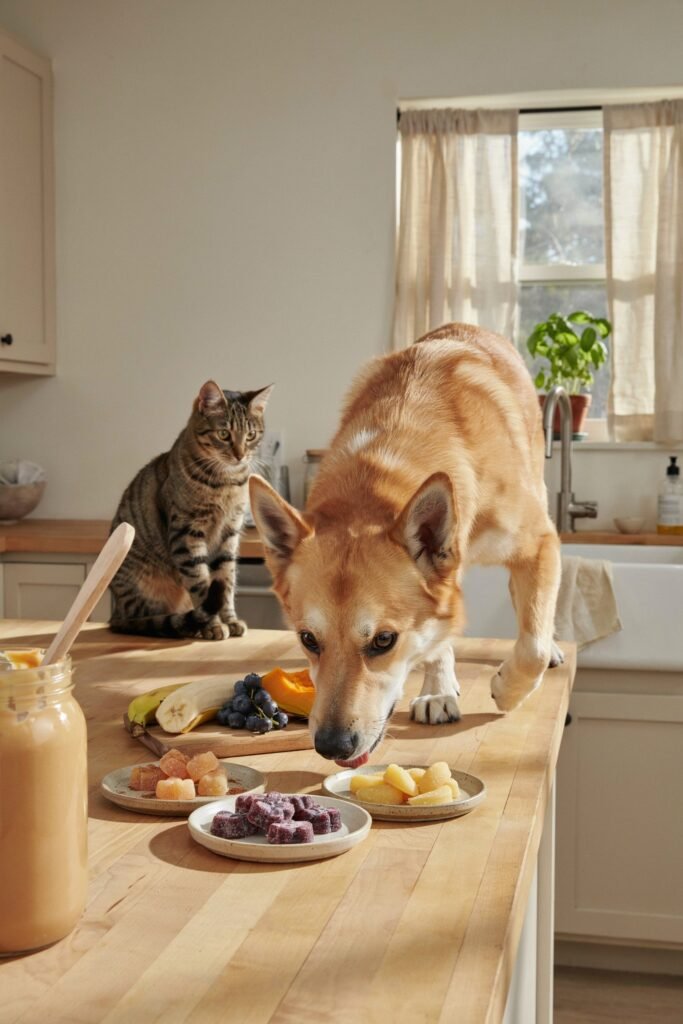
Creative Flavor Variations
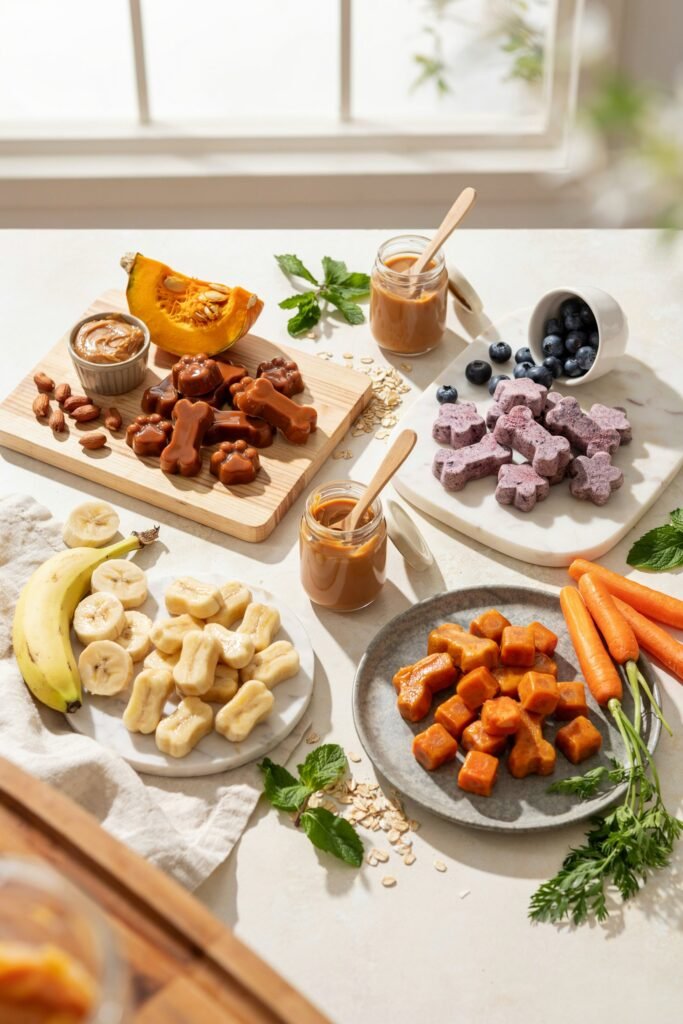
One of the best things about homemade dog gummies is how easy they are to customize.
If your dog enjoys variety, try one of these simple flavor variations to add extra taste and nutrition.
Pumpkin Peanut Butter Gummies
Add 2 tablespoons of pure pumpkin puree to the mixture before pouring it into the molds.
Pumpkin adds a rich flavor many dogs love and provides natural fiber that may help support healthy digestion.
Be sure to use plain pumpkin puree and not pumpkin pie filling, which often contains added sugar and spices.
Blueberry Peanut Butter Gummies
Mash a small handful of fresh blueberries and stir them into the mixture before chilling.
Blueberries are packed with antioxidants and can add a burst of natural flavor. They also create small colorful specks throughout the gummies, making them look even more appealing.
Banana Peanut Butter Gummies
Mix in 2 to 3 tablespoons of mashed ripe banana.
Bananas add natural sweetness and a soft fruity flavor that pairs perfectly with peanut butter.
This variation is often a favorite among dogs that enjoy sweeter treats.
Carrot Peanut Butter Gummies
Add 2 tablespoons of finely grated carrots to the mixture.
Carrots provide extra texture, natural nutrients, and a mild sweetness.
They are also a great way to sneak a few additional vegetables into your dog’s treat routine.
Turmeric Peanut Butter Gummies
Add a small pinch of turmeric powder and mix thoroughly.
Turmeric is commonly used in homemade dog recipes because of its natural wellness properties.
A little goes a long way, so only use a small amount to avoid overpowering the flavor.
Always introduce new ingredients gradually and consult your veterinarian before making significant changes to your dog’s diet, especially if your pet has allergies, digestive sensitivities, or underlying health conditions.
Feeding Guidelines
Like all treats, peanut butter dog gummies should be given in moderation.
These gummies are intended to complement a balanced diet rather than replace complete meals.
Small Dogs
1 to 2 gummies daily
Medium Dogs
2 to 3 gummies daily
Large Dogs
3 to 5 gummies daily
Always monitor your dog when introducing any new treat and adjust portions based on age, activity level, and overall health.
Storage Instructions

Proper storage helps maintain freshness and texture.
Refrigerator Storage
Place gummies in an airtight container.
Store in the refrigerator for up to 7 days.
Freezer Storage
Arrange gummies in a freezer safe container or freezer bag.
Store for up to 3 months.
Allow frozen gummies to thaw slightly before serving.
Many dogs also enjoy them partially frozen during warm weather.
When to Serve Peanut Butter Dog Gummies
These treats can be used in many ways throughout the day.
Training Rewards
Their small size makes them excellent training treats.
Afternoon Snack
Offer a gummy as a special midday reward.
Enrichment Activities
Hide gummies in puzzle toys for mental stimulation.
Post Walk Treat
Reward your dog after exercise or outdoor adventures.
Special Occasions
Serve them during birthdays, adoption anniversaries, or holiday celebrations.
Nutritional Benefits of This Simple Recipe
One reason this recipe has become popular among dog owners is that every ingredient serves a purpose.
Peanut Butter
Provides flavor, healthy fats, and protein.
Bone Broth
Offers moisture, flavor, and nutrients many dogs enjoy.
Gelatin
Creates the gummy texture while adding protein.
Together, these ingredients create a simple treat that is both enjoyable and practical.
Signs Your Dog Loves These Gummies
Every dog has unique preferences, but many dogs show excitement when homemade gummies are offered.
Common signs include:
- Tail wagging
- Quick response to treat time
- Improved focus during training
- Increased enthusiasm around the refrigerator
- Looking for more after finishing one
These reactions often make homemade treat preparation especially rewarding for pet owners.
Budget Friendly Dog Treat Solution
Many premium dog treats can become expensive over time.
Making gummies at home helps reduce costs while still providing quality ingredients.
A single batch can produce dozens of treats depending on mold size.
This makes homemade gummies an economical option for families with multiple dogs.
How to Make the Gummies More Attractive for Picky Dogs
Some dogs can be selective about treats.
If your dog is hesitant, try these ideas.
Use High Quality Bone Broth
A flavorful broth often increases appeal.
Try Different Mold Shapes
Dogs may respond differently to larger or smaller treats.
Add Pumpkin Puree
Many dogs enjoy the flavor and texture.
Use Fresh Natural Peanut Butter
Fresh peanut butter typically has a stronger aroma.
Serve Slightly Chilled
Many dogs enjoy the cool texture.
Homemade Treat Safety Tips
Always prioritize your dog’s safety when preparing homemade treats.
- Wash equipment thoroughly.
- Use fresh ingredients.
- Avoid artificial sweeteners.
- Store treats properly.
- Discard treats that develop unusual odors or appearance.
- Introduce new foods gradually.
Consult your veterinarian if your dog has food allergies or special dietary requirements.
Can Puppies Eat Peanut Butter Gummies?
Many puppies can enjoy peanut butter gummies in small amounts.
However, there are important considerations.
- Introduce new foods slowly.
- Use tiny portions initially.
- Monitor for digestive upset.
- Consult your veterinarian for personalized recommendations.
Puppies often have different nutritional needs than adult dogs.
Can Senior Dogs Enjoy These Treats?
Many senior dogs enjoy soft homemade gummies because they are easier to chew than hard biscuits.
The soft texture can make treat time more comfortable for older dogs with dental concerns.
Always consider your dog’s individual health status and dietary requirements.
Troubleshooting Guide
Gummies Are Too Soft
Use slightly more gelatin during the next batch.
Ensure adequate chilling time.
Gummies Are Too Firm
Reduce gelatin slightly.
Gummies Separate During Chilling
Whisk the mixture thoroughly before pouring into molds.
Gummies Stick to Molds
Use flexible silicone molds and chill completely before removing.
Dogs Refuse the Gummies
Try using a richer bone broth or adding a dog friendly ingredient such as pumpkin.
Why Homemade Dog Treats Continue to Grow in Popularity
More pet owners are becoming interested in understanding exactly what goes into their dog’s food.
Homemade treats provide transparency, flexibility, and control over ingredients.
They also create an enjoyable opportunity to prepare something special for a beloved pet.
Many dog owners appreciate the peace of mind that comes from making treats with simple ingredients they recognize and trust.
Frequently Asked Questions
Are peanut butter gummies safe for dogs?
Yes, when made with dog safe peanut butter and fed in moderation, they can be a safe occasional treat.
Can I use crunchy peanut butter?
Yes, although smooth peanut butter generally creates a more consistent gummy texture.
Can I use water instead of bone broth?
Yes, but bone broth typically provides more flavor and may be more appealing to dogs.
How long do the gummies take to set?
Most batches require approximately 2 to 4 hours in the refrigerator.
Can I freeze the gummies?
Yes. Properly stored gummies can remain frozen for up to 3 months.
How often can I give these treats?
Most dogs can enjoy them several times per week as part of a balanced diet.
What if my gummies do not firm up?
The most common cause is insufficient gelatin or inaccurate measurements.
Adding the correct amount of gelatin usually solves the problem.
Final Thoughts
These 3 Ingredient Peanut Butter Dog Gummies are one of the easiest homemade dog treats you can make.
With just peanut butter, bone broth, and gelatin, you can create a delicious snack that many dogs absolutely love.
The recipe is beginner friendly, affordable, customizable, and quick to prepare.
Whether you use them as training rewards, special snacks, or enrichment treats, these homemade gummies can become a regular part of your dog treat routine.
By choosing quality ingredients, following proper storage practices, and serving treats in moderation, you can feel confident about giving your dog a homemade reward made with care.
Few things are more satisfying than watching a happy dog enjoy a treat you made yourself, and these simple peanut butter gummies are a wonderful place to start.