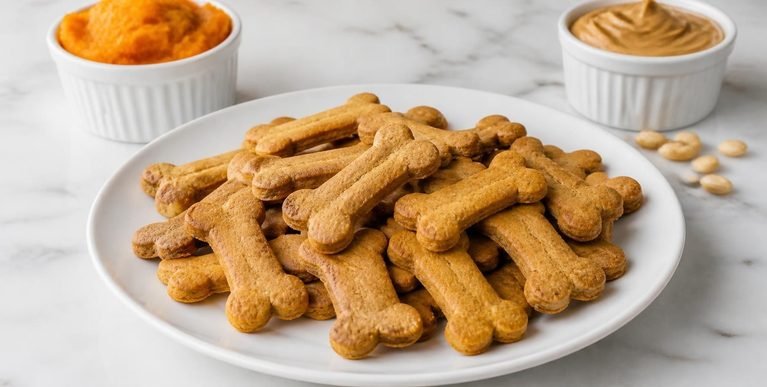
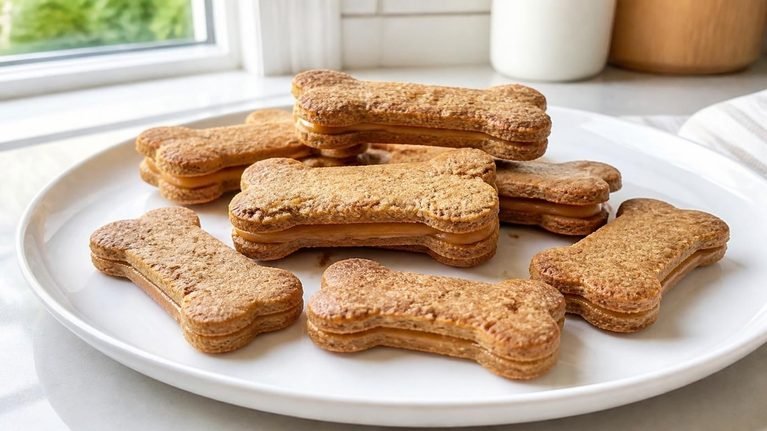
Icing Cookies for Dogs
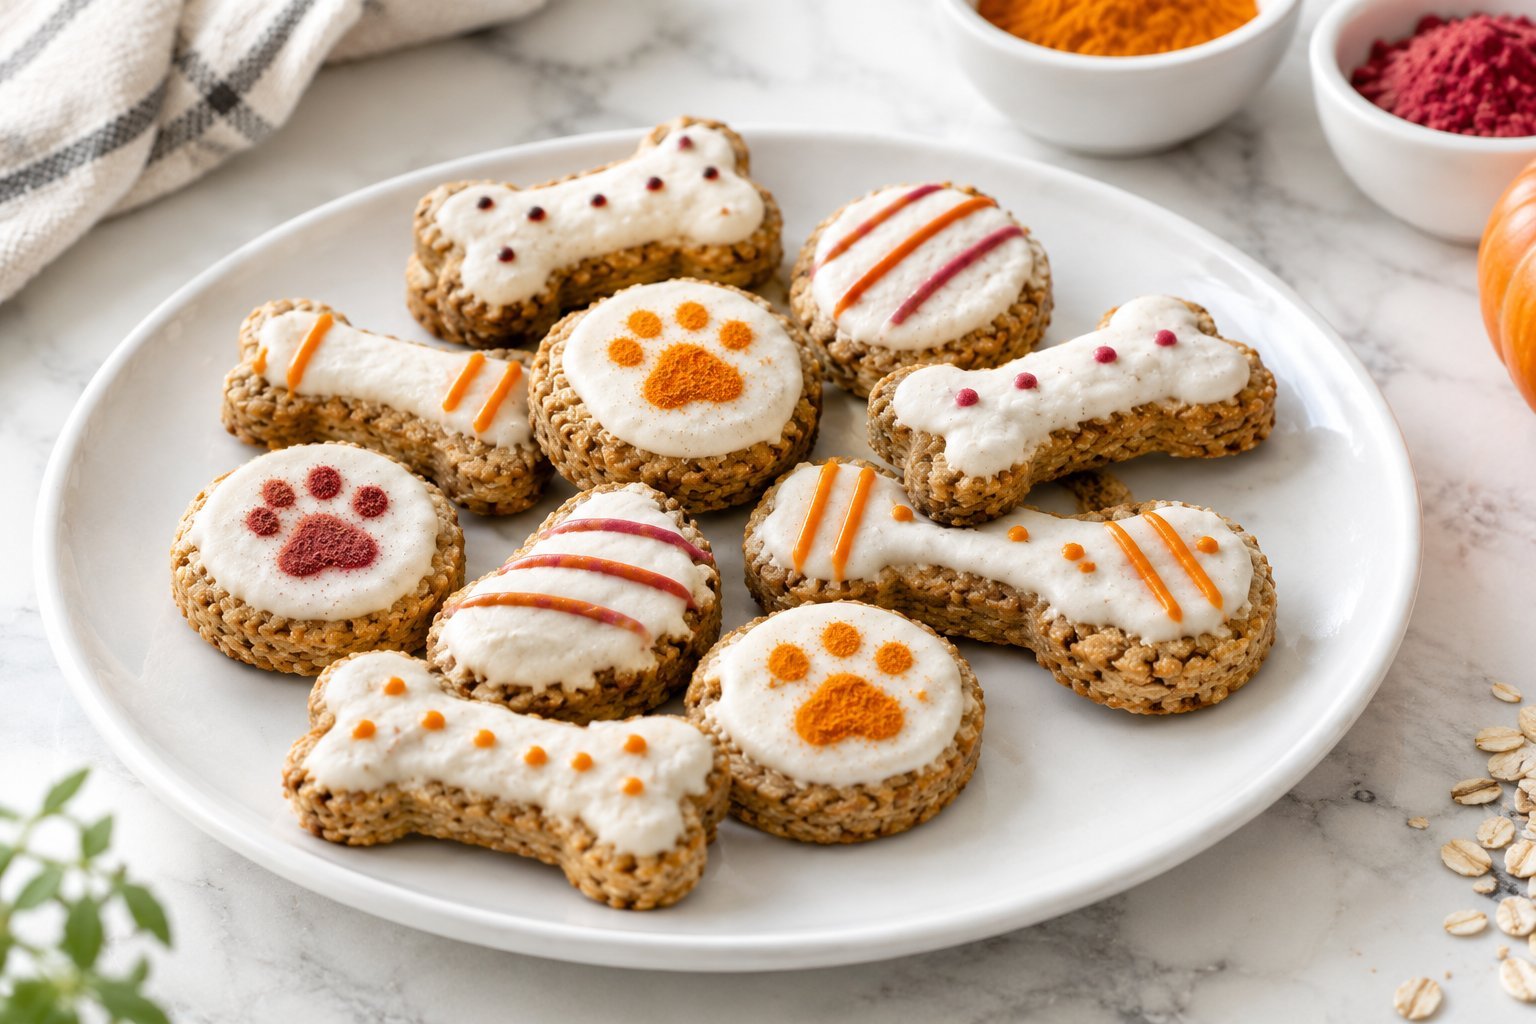
I decorate sugar cookies with my niece every December, and a few years back she asked why her dog never got any — a completely fair question I didn’t have a great answer for.
The honest issue wasn’t the cookie itself, it was the icing, since every recipe I knew used powdered sugar and sometimes meringue powder, neither of which has any business near a dog’s bowl.
So I spent an afternoon working out a version that looked close enough to the real thing to satisfy a six-year-old’s sense of fairness, using a yogurt-based icing instead of anything sugary.
It worked better than I expected. The icing sets up firm enough to pipe into simple shapes and holds its texture once dry, and the base cookie underneath is sturdy enough to handle being decorated without falling apart.

These have become a small holiday tradition now — she decorates her dog’s cookies while I decorate the ones for the rest of the family, and everyone ends up with something that actually looks intentional.
If homemade cookies are new territory for your dog, homemade dog treats is a good broader starting point before narrowing in on this one, and 3 ingredient peanut butter dog gummies is a simpler no-bake option if decorating feels like more than you want to take on right now.
Disclaimer: This post may contain affiliate links, which means I may earn a small commission at no extra cost to you. Always check labels carefully for xylitol and consult your veterinarian before introducing new treats, especially if your dog has allergies or a health condition affected by dairy or sugar intake.
Why a Yogurt-Based Icing Works for Dogs
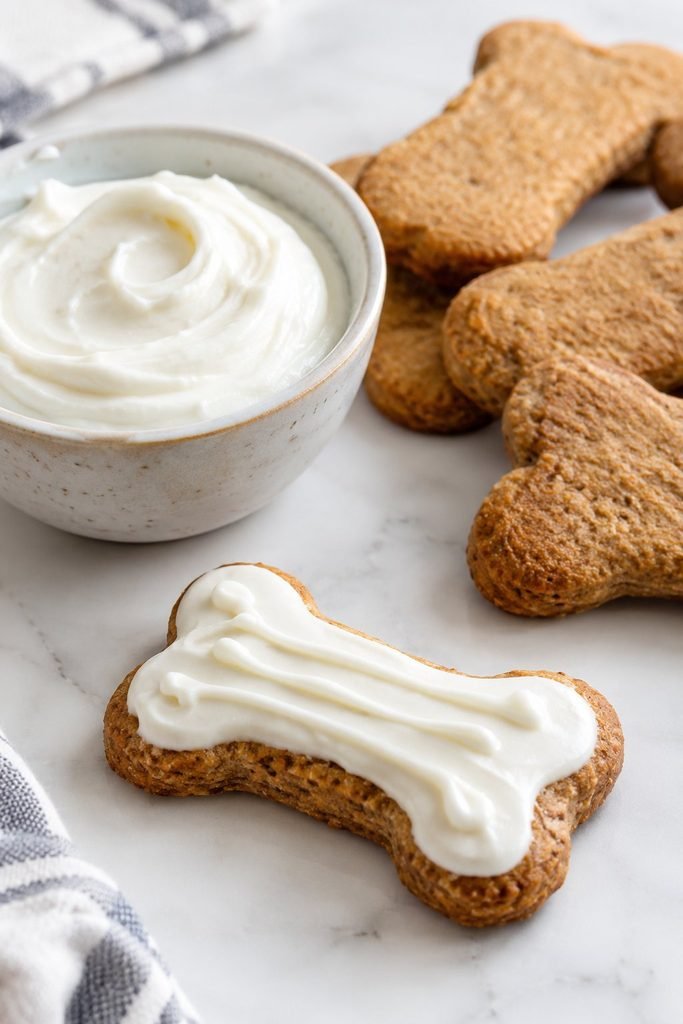
Traditional royal icing relies on powdered sugar and sometimes raw or pasteurized egg whites to get that smooth, hardening finish, and neither ingredient does a dog any favors in the quantities a typical icing recipe calls for.
A thick, strained plain yogurt does something surprisingly similar once it firms up in the fridge or freezer — it holds a piped line, sets with a slight matte finish, and brings a flavor most dogs find just as exciting as the cookie underneath it.
The key to getting the texture right is moisture control. Regular yogurt straight from the container is too thin to pipe or spread cleanly, which is why straining it first matters more in this recipe than almost any other step.
Once that’s handled, the rest of the process is close to decorating a real sugar cookie, just with ingredients built specifically for a dog.
Ingredients I Feel Comfortable Using
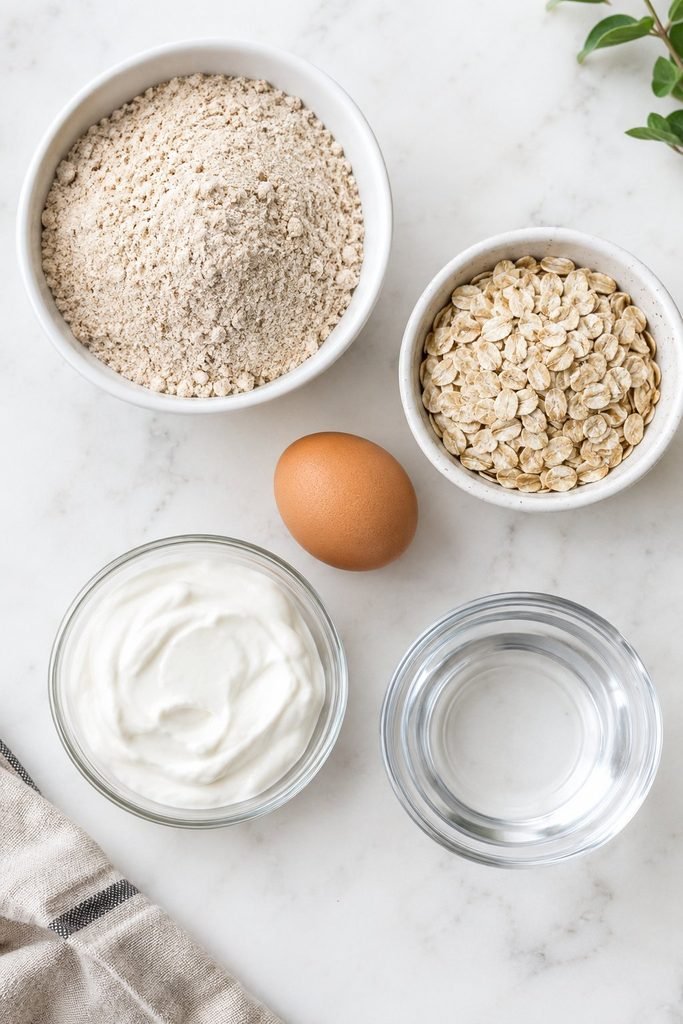
Whole wheat flour. The base of the cookie dough, which bakes into a sturdy, cuttable biscuit that holds its shape well enough to decorate.
Rolled oats, ground into flour. Mixed in with the whole wheat flour for extra texture and a bit more fiber.
Egg. Helps bind the cookie dough together for a firmer finished texture.
Plain full-fat yogurt, strained. The base of the icing. Straining removes excess liquid and leaves a thicker, more spreadable consistency behind.
For a broader sense of what else is safe to bake or decorate with, human foods dogs can safely eat is a good reference to keep open while you work.
Ingredients I Avoid
Powdered sugar, meringue powder, and corn syrup are all off the table, since none of them are appropriate for a dog in the quantities a traditional icing recipe uses, and none of them are necessary once you’re working with strained yogurt instead.
I also avoid flavored or sweetened yogurt entirely, along with any yogurt containing xylitol, which occasionally hides in “no added sugar” varieties and is toxic to dogs even in small amounts.
Food coloring is left out too — if I want a visual contrast between colors, I lean on natural options like a touch of plain pumpkin for orange or a small amount of beet powder for pink, rather than artificial dye.
Icing Cookies for Dogs
This recipe has two parts — a simple cut-out cookie base, and a strained yogurt icing to decorate it with. Neither step is difficult, but both benefit from a bit more detail than a quick overview, especially the straining process, which is the part most people rush.
Ingredients
For the cookies
- 2 cups whole wheat flour
- 1/2 cup rolled oats, ground into flour
- 1 large egg
- 1/2 cup water
For the icing
- 1 cup plain full-fat yogurt, strained (see instructions)
- Optional: 1 teaspoon plain pumpkin puree or a pinch of beet powder, for natural color
Instructions
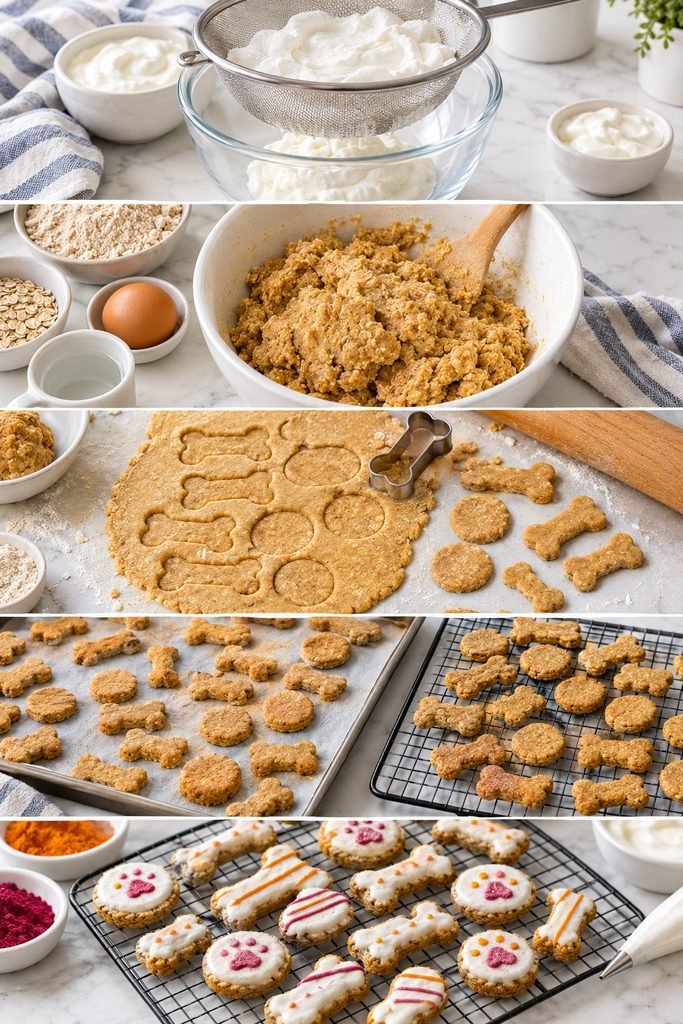
- Strain the yogurt at least 2 hours before you plan to decorate, ideally the night before. Line a fine-mesh strainer or a strainer lined with a coffee filter over a bowl, add the yogurt, and let it sit in the refrigerator. You’re removing excess liquid (whey) so the yogurt thickens into something closer to a soft cream cheese consistency. The longer it strains, the thicker and more pipeable it becomes — a full 8 to 12 hours gives the sturdiest icing, while a quick 2-hour strain still works for spreading but will be a bit softer.
- Preheat the oven to 350°F and line a baking sheet with parchment paper.
- Combine the whole wheat flour and ground oats in a large bowl, then add the egg and water. Mix until a stiff dough forms — it should hold together when pressed but not feel sticky on your hands. Add water a teaspoon at a time if it feels dry and crumbly, or a bit more flour if it’s tacky.
- Roll the dough out on a lightly floured surface to about 1/4-inch thickness. A rolling pin with thickness guides helps keep this even, since uneven thickness means some cookies bake faster than others and are more likely to come out too hard or too soft relative to the rest of the batch.
- Cut into shapes using a cookie cutter and transfer to the prepared baking sheet. Leave about an inch of space between each cookie, since they’ll firm up but won’t spread much during baking.
- Bake for 18 to 22 minutes, until firm to the touch and lightly golden at the edges. Let the cookies cool completely on a wire rack — a full 30 minutes minimum. This step matters more than usual here, since any residual warmth will immediately melt and thin out the yogurt icing the moment it’s applied.
- Once the cookies are fully cooled and the yogurt has finished straining, check the icing’s texture. It should hold a stiff peak when lifted with a spoon, similar to very thick whipped cream, and should not spread on its own when dropped onto a flat surface. If it’s still too loose, return it to the strainer for another hour.
- Divide the strained yogurt into small bowls if you want multiple colors, and stir in a small amount of pumpkin puree or beet powder to tint each batch. Add the color gradually, a little at a time, since both can loosen the yogurt’s consistency slightly as they’re mixed in.
- Decorate the cooled cookies using a small spoon, a piping bag, or a zip-top bag with the corner snipped off. For simple designs, spreading a thin layer with the back of a spoon works fine. For more detailed shapes, a piping bag gives more control, especially for outlining before filling in a section.
- Refrigerate the decorated cookies for at least 1 hour before serving, uncovered, to let the icing firm up and set. This step keeps the icing from smearing once the cookie is picked up or handled.
How Much to Give Your Dog One or two cookies make a good treat for most dogs, depending on size. Given the combined calories of the biscuit and icing, these are best treated as an occasional or special-occasion reward rather than an everyday snack.
Storage Store decorated cookies in a single layer in an airtight container in the refrigerator for up to 5 days, since the yogurt icing needs to stay cold to hold its texture. Plain, undecorated cookies can be stored at room temperature for up to a week or frozen for up to 3 months.
My Tip I decorate these the day before an event rather than the same day, since the extra refrigeration time gives the icing a chance to fully firm up, which makes the cookies much easier to hand out, photograph, or pack into a gift bag without smudging.
If this becomes a regular part of your holiday or birthday routine, homemade pumpkin applesauce dog treats and simple carrot based dog treat recipes for beginners are both easy to bake using a similar cut-out method if you want more shapes to rotate in.
Signs Your Dog Shouldn’t Have These
- Known lactose intolerance or a history of stomach upset after dairy
- Wheat or grain sensitivity, unless the flour is swapped for a suitable alternative
- Diabetes or a vet-recommended low-sugar diet
- A vet-recommended low-fat diet, given the richness of the yogurt icing
If any of these apply to your dog, check with your vet before offering this recipe, or consider using a lactose-free yogurt alternative.
Common Problems When Making These
Why won’t my yogurt icing thicken, even after straining? This usually means it needs more time. A full 8 to 12 hours in the strainer produces a noticeably thicker result than a quick 2-hour strain, especially with a thinner starting yogurt.
Why is my icing sliding off the cookie? This almost always means either the cookie was still slightly warm when the icing was applied, or the icing itself wasn’t strained long enough. Confirm both before decorating a full batch.
Can I pipe detailed designs with this icing, or just spread it? Thoroughly strained yogurt, left for the full 8 to 12 hours, holds its shape well enough for simple piped lines and borders, though it won’t hold as crisp an edge as a traditional sugar-based royal icing.
Why did my cookies spread or lose their shape while baking? This usually means the dough was slightly too wet, or the cookies weren’t cold enough going into the oven. Chilling the cut cookies in the fridge for 10 minutes before baking helps them hold their shape better.
Can I add natural color without using pumpkin or beet powder? A small amount of plain blueberry puree can add a light purple-blue tint, though it should be added very sparingly to avoid thinning the icing too much.
More From The Pet Sphere
- Homemade Dog Treats
- 3 Ingredient Peanut Butter Dog Gummies
- Homemade Pumpkin Applesauce Dog Treats
- Simple Carrot Based Dog Treat Recipes for Beginners
- Homemade Banana Dog Treat Recipes
- 11 Vet-Friendly Frozen Dog Treat Recipes You Can Trust
- Human Foods Dogs Can Safely Eat
Icing Cookies for Dogs
Ingredients
Equipment
Method
- Preheat the oven to 350°F (175°C) and line a baking sheet with parchment paper.
- Add the oat flour, egg, applesauce, and pumpkin puree to a mixing bowl.
- Stir until the ingredients come together into a soft dough.
- Place the dough between two sheets of parchment paper and roll it to approximately 1/4 inch thick.
- Cut the dough into small shapes using a cookie cutter.
- Arrange the cookies on the prepared baking sheet with a little space between them.
- Bake for approximately 16 to 18 minutes, or until the cookies are firm and lightly golden around the edges.
- Remove the cookies from the oven and allow them to cool completely on a wire rack.
- While the cookies cool, mix the Greek yogurt and the remaining pumpkin puree in a small bowl until smooth.
- Spoon or pipe a thin layer of the icing onto the completely cooled cookies.
- Place the iced cookies in the refrigerator for approximately 20 to 30 minutes to help the icing set.
- Serve once the icing has firmed up.
- Icing Safety: Use plain unsweetened Greek yogurt with no xylitol, artificial sweeteners, added sugar, or flavoring.
- Pumpkin: Use plain pumpkin puree without added sugar, spices, or pie filling ingredients.
- Icing Tip: Apply the icing only after the cookies have cooled completely. Warm cookies can cause the yogurt icing to become runny.
- Texture Tip: For firmer cookies, roll the dough slightly thinner and bake until completely set. Let them cool fully before decorating.
- Storage: Because of the yogurt icing, store finished cookies in an airtight container in the refrigerator for up to 4 days. You can freeze the plain baked cookies separately for longer storage.
- Common Mistake to Avoid: Do not use powdered sugar, chocolate, nutmeg, or artificial sweeteners in the icing. Keep the topping simple with dog safe ingredients.
- Serving: Give appropriately sized pieces as occasional treats or special occasion snacks. Treats should complement, rather than replace, your dog’s complete and balanced diet.
Final Thoughts
These started as a way to answer a kid’s fair question about why her dog didn’t get decorated cookies too, and they turned into one of the few treats on this site that feel genuinely festive rather than purely functional.
A little more effort than a standard biscuit, but worth it the first time you see a decorated cookie actually make it into a gift bag instead of getting eaten the moment it cools.