No Bake Dog Treats Ready in Minutes (Quick & Easy Banana Oat Bites)
Some days you want to bake treats for your dog. Other days you want something done before the dog finishes wagging at the kitchen door. These no bake dog treats are for the second kind of day.
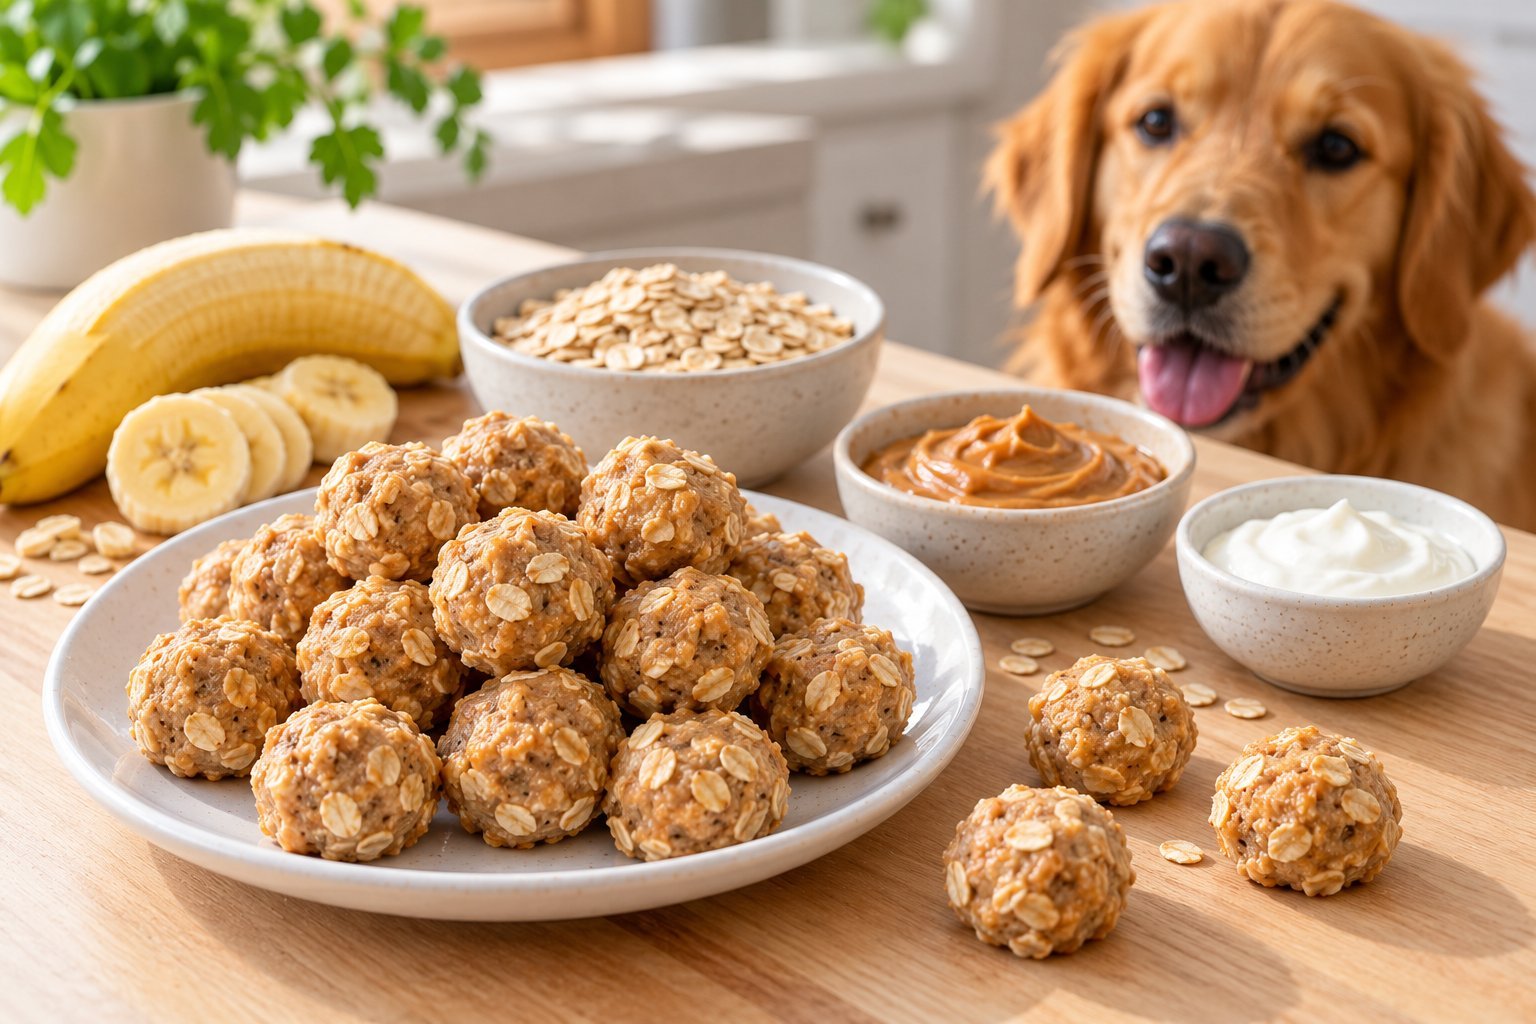
With four simple ingredients, one bowl, and about ten minutes of hands on time, you can roll a batch of soft, chewy banana oat bites that most dogs go absolutely wild for.
There is no oven to preheat, no dough to roll out, and no cookie cutters to hunt down. You mash, stir, roll, and chill.
That is the whole recipe. The result is a small, soft treat that works as a training reward, a snack after a walk, or a little something to make a sleepy Tuesday feel special.
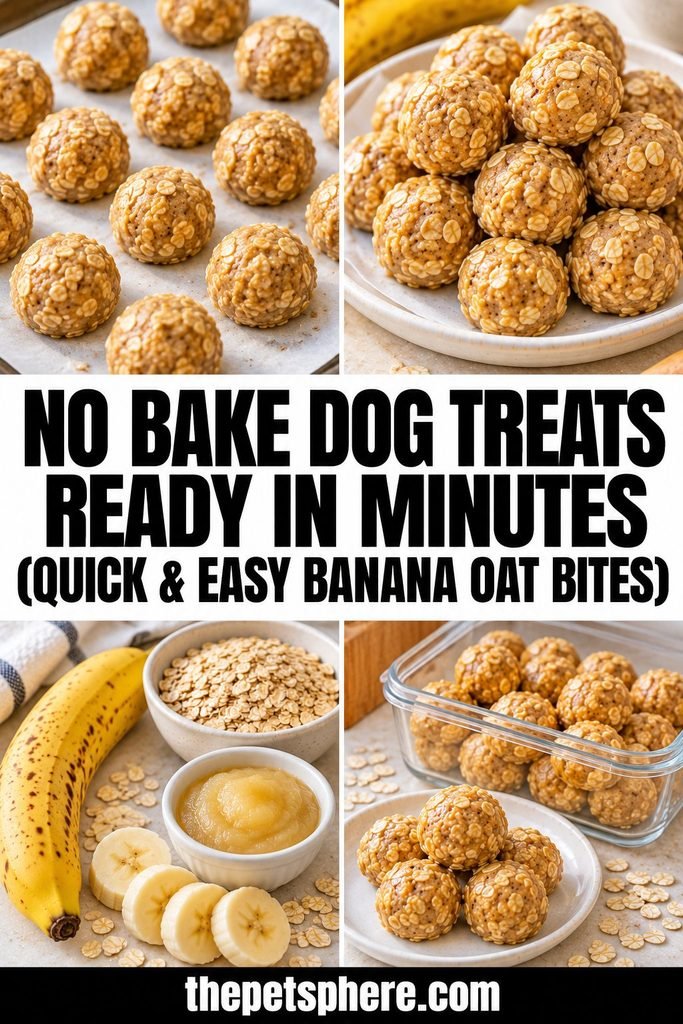
This guide covers everything you need to know before you start: why each ingredient earns its place, which products to buy and which to avoid, how to get the texture right every time, how many treats are safe to feed, how long they keep, and how to fix the usual problems.
Skim the recipe card if you are in a hurry, or read the whole thing if you want to become the person your dog tells all the other dogs about.
If you enjoy making treats at home, you may also like our 7 healthiest homemade dog foods and our simple homemade dog food recipes.
Why You’ll Love These No Bake Dog Treats
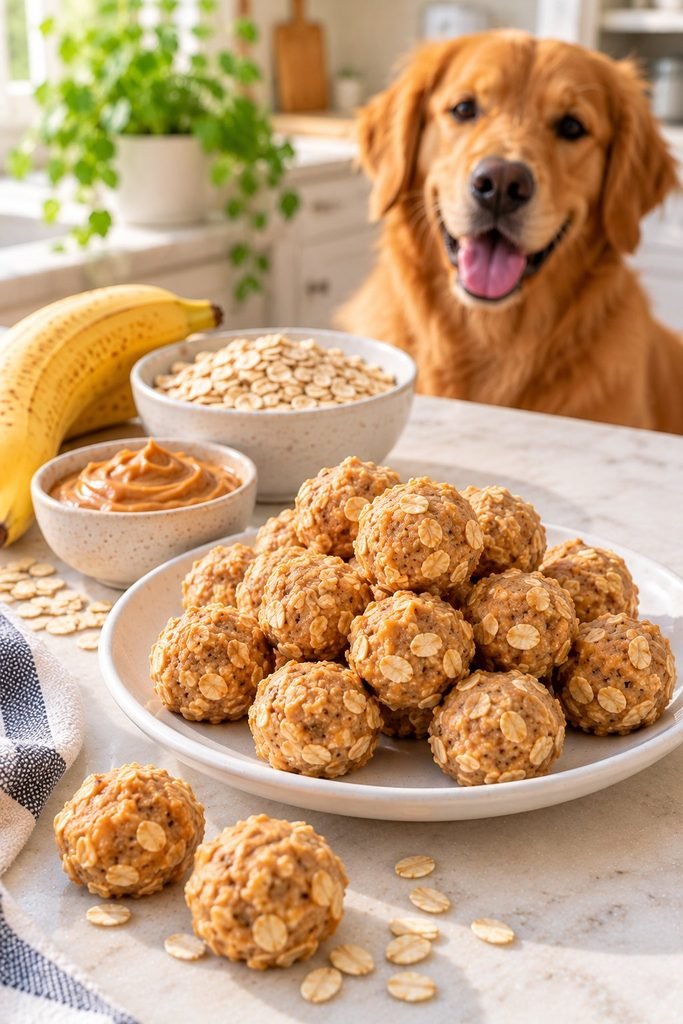
Truly Quick
Most of the time on the clock is chilling, not working. Hands on time is about ten minutes, and a lot of that is rolling, which is weirdly relaxing.
Four Ingredients You Probably Own
Bananas, oats, yogurt, and peanut butter. If your kitchen has breakfast in it, it probably has dog treat ingredients in it.
No Oven Needed
This makes them perfect for hot summer days, tiny apartment kitchens, and anyone who has ever burned a batch of treats while answering a text message. For more warm weather ideas, see our summer dog recipes your furry friend will love.
Soft and Easy to Chew
The texture is soft and slightly chewy, which makes these a friendly option for puppies working on their adult teeth, seniors with sensitive mouths, and small dogs that struggle with hard biscuits.
Easy to Portion
Because you roll them yourself, you decide the size. Tiny bites for training, slightly larger ones for a weekend treat. You are in charge.
Budget Friendly
A single batch costs a fraction of what you would pay for a small bag of soft treats at the pet store, and you know exactly what went into every bite.
Are These Ingredients Safe for Dogs?
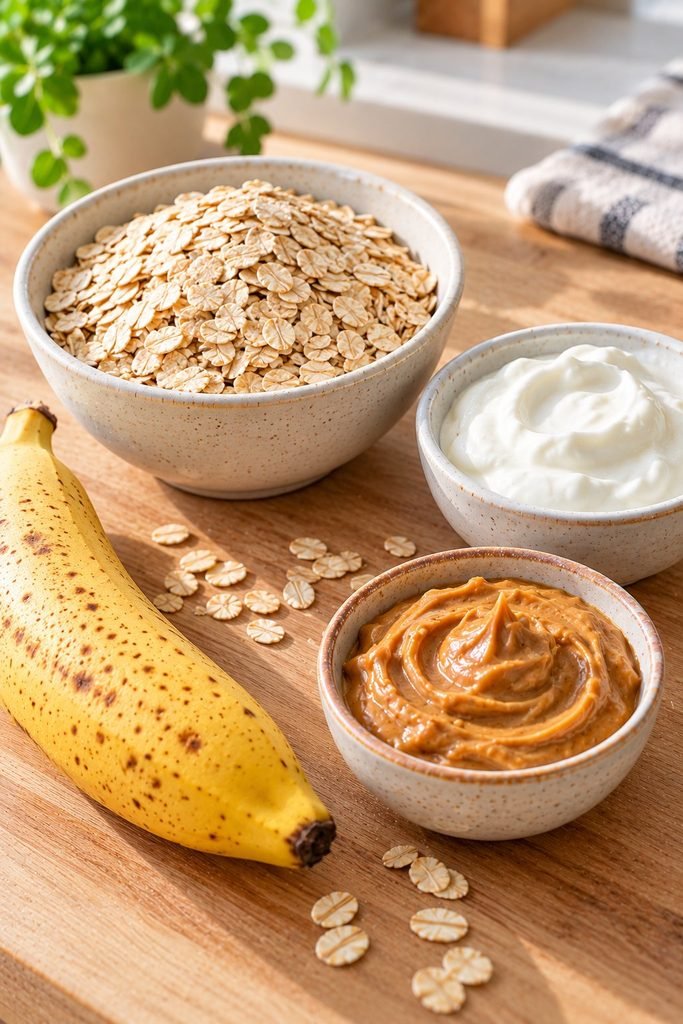
Before we get to the recipe, it is worth taking a minute to talk about what goes in the bowl and why.
Dog treats are only as good as the ingredients, and a few small label checks can make the difference between a healthy snack and a stomachache.
Bananas
Bananas are a popular dog treat for good reason. They provide potassium, vitamin B6, vitamin C, and fiber, and their natural sweetness makes them appealing without any added sugar. They also mash into a smooth, sticky base that helps hold the treats together.
The catch is that bananas are relatively high in natural sugar, so they belong in the “sometimes” category. A treat that contains a little banana is a great idea.
A banana for breakfast, lunch, and dinner is not. Always peel the banana first, since the peel is hard to digest and can cause blockages.
Rolled Oats
Oats are a gentle, fiber rich grain that many dogs tolerate well. They give these treats their chewy body and help keep your dog feeling full.
Choose plain rolled oats (old fashioned oats) with nothing added. Avoid flavored instant oatmeal packets, which often contain sugar, artificial flavors, and sometimes xylitol.
If your dog has a grain sensitivity or a diagnosed allergy, check with your vet before using oats.
Plain Greek Yogurt
A little plain yogurt adds creaminess, moisture, and a touch of protein. Greek yogurt is a good choice because it is thicker and lower in lactose than regular yogurt, which can make it easier on sensitive stomachs.
The label matters here. Choose plain, unsweetened yogurt with no added sweeteners. Never use yogurt that contains xylitol, which is extremely toxic to dogs.
Skip flavored yogurts, vanilla yogurts, and anything marketed as “light” or “sugar free” without reading the ingredients carefully.
Some dogs are lactose intolerant. If your dog gets gassy or loose after dairy, swap in a dairy free option such as plain unsweetened pumpkin puree.
Natural Peanut Butter
Peanut butter is the flavor that sends most dogs over the edge. It also provides protein and healthy fats. The only rule that really matters is this: check the label for xylitol.
Xylitol, sometimes listed as “birch sugar,” is a sweetener that can cause a dangerous drop in blood sugar and liver failure in dogs.
Choose a natural peanut butter whose ingredient list is just peanuts, or peanuts and a little salt.
Keep the amount modest. Peanut butter is calorie dense, and these bites are meant to be small, light snacks.
A Note on Moderation
Even healthy treats add up. A good rule of thumb is that treats, including these, should make up no more than about 10 percent of your dog’s daily calories.
The rest should come from a complete and balanced diet.
If your dog has diabetes, pancreatitis, a food allergy, or is on a prescription diet, ask your vet before introducing something new.
Why This Recipe Works
| Ingredient | Job in the Recipe |
|---|---|
| Ripe Banana | Natural sweetness and a sticky binder |
| Rolled Oats | Chewy structure and fiber |
| Greek Yogurt | Creaminess, moisture, and a little protein |
| Peanut Butter | Big flavor and extra binding power |
Each ingredient does a specific job, which means you can troubleshoot easily. If the mixture is too wet, add oats.
If it is too dry, add a spoonful of yogurt. If it will not hold together, a little more banana or peanut butter does the trick. Once you understand the roles, you can adjust without stress.
Ingredients
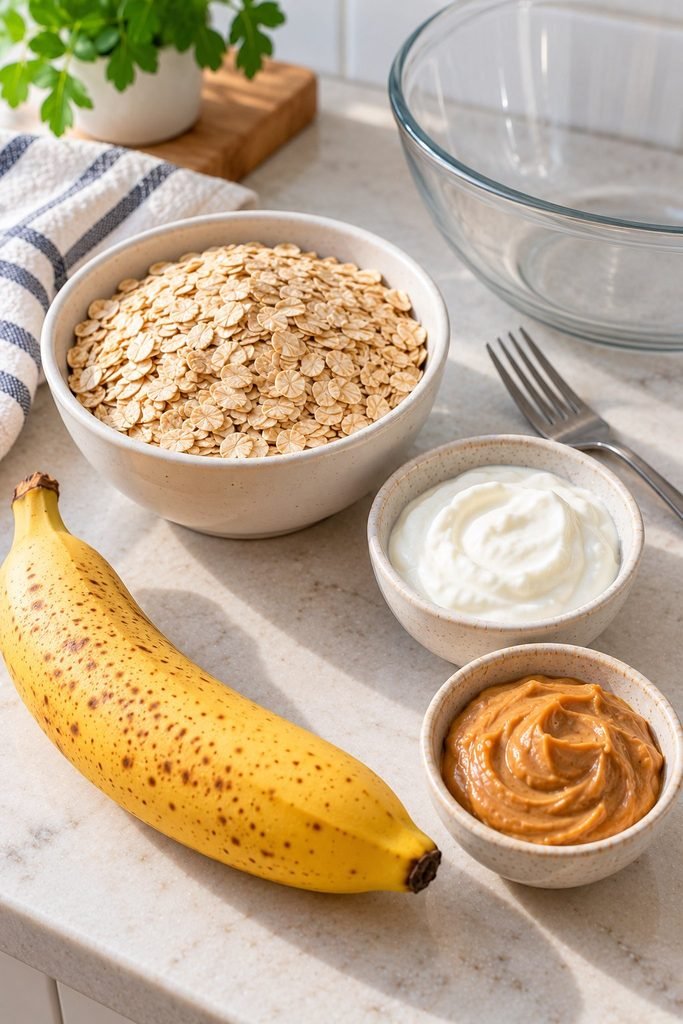
Makes about 30 small bites
- 1 large ripe banana, peeled (about 1/2 cup mashed)
- 1 1/2 cups old fashioned rolled oats, plus extra as needed
- 1/2 cup plain unsweetened Greek yogurt, xylitol free
- 1/4 cup natural peanut butter, xylitol free
Ripe Banana
The riper the better. A banana with brown speckles is softer, sweeter, and much easier to mash into a smooth paste.
If your banana is still a little green, it will work, but the mixture will be less sticky and a bit starchy.
A great trick is to keep overripe bananas in the freezer. Thaw one in the refrigerator or on the counter, and it practically turns into a sauce, which is ideal for this recipe.
Rolled Oats
Old fashioned rolled oats give the best chew. Quick oats work in a pinch, but they absorb moisture faster and can make the bites a bit pastier.
For a finer, smoother texture, pulse half of the oats in a blender for a few seconds before mixing.
Greek Yogurt
Use plain, unsweetened, full fat or low fat. Both work. Just avoid anything flavored or sweetened. If you buy a large tub, you will have plenty left over for topping your dog’s meals or making frozen treats.
Peanut Butter
Smooth or crunchy both work. Smooth blends more evenly and gives a more uniform texture. If the peanut butter is very stiff, warm it in the microwave for ten seconds so it mixes easily.
Equipment You’ll Need
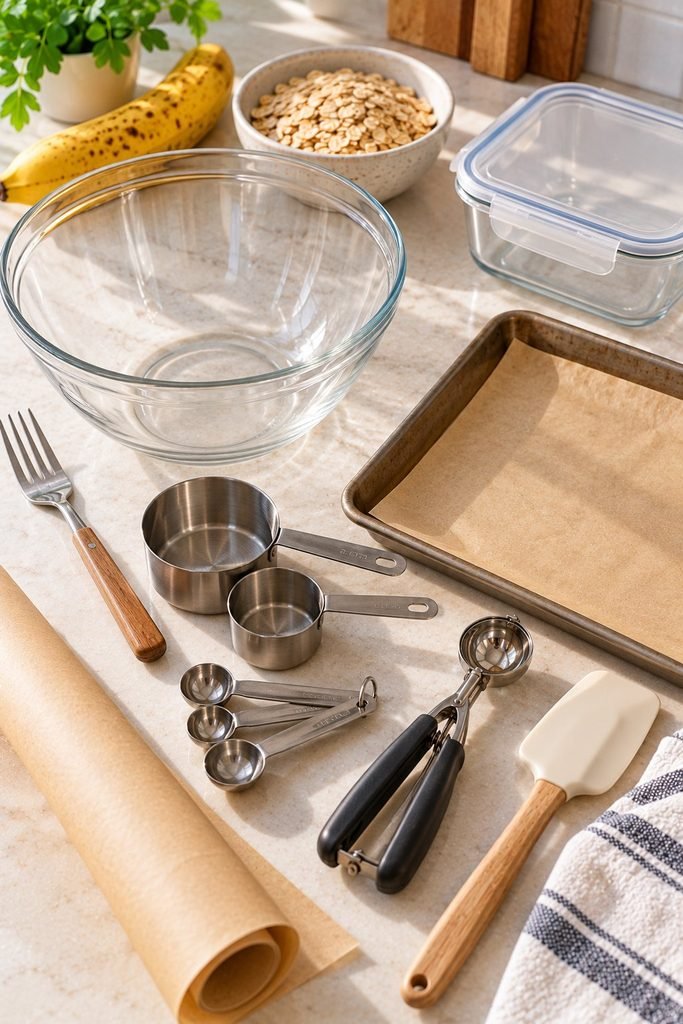
- Mixing bowl
- Fork or potato masher
- Measuring cups and spoons
- Spatula or wooden spoon
- Small cookie scoop or tablespoon
- Baking sheet or large plate
- Parchment paper
- Airtight container
A small cookie scoop is a nice upgrade, since it gives you identical bites in seconds. If you do not have one, a tablespoon works well.
Parchment paper keeps the chilled bites from sticking to the tray, and an airtight container is essential for storage.
Step by Step Instructions
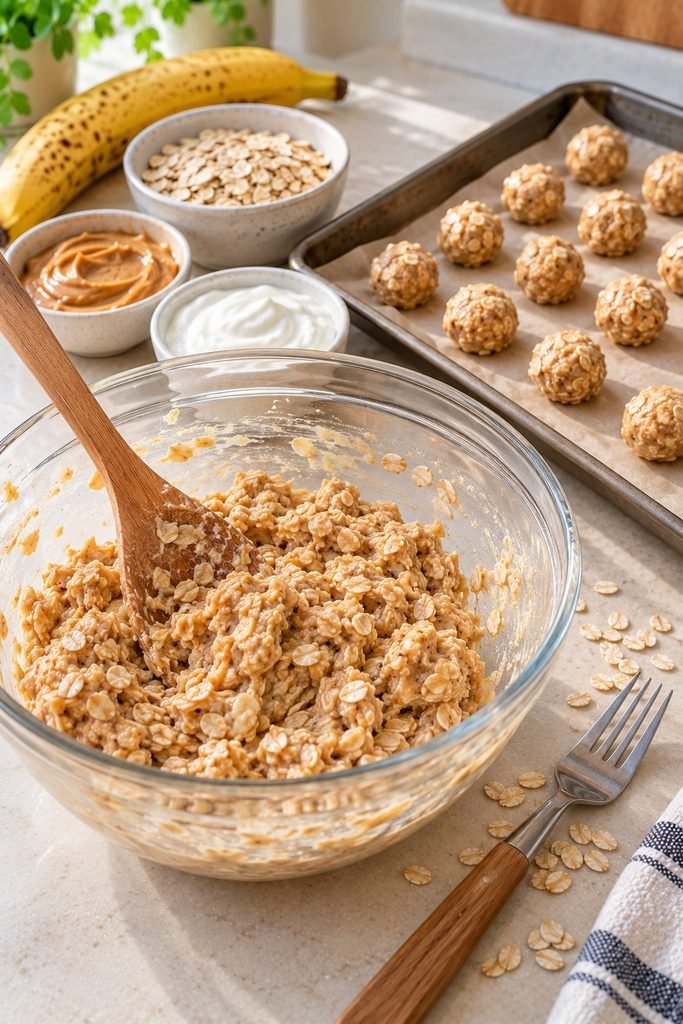
Step 1: Prep Your Tray
Line a baking sheet or large plate with parchment paper. Doing this first means you can roll and place each bite right away without scrambling for a surface while your hands are sticky.
Step 2: Mash the Banana
Add the peeled banana to a mixing bowl and mash it with a fork until it is mostly smooth.
A few small lumps are fine, but you want it to be creamy enough to coat the oats evenly. This step takes about a minute and sets the tone for the whole recipe.
Step 3: Add the Peanut Butter and Yogurt
Stir in the peanut butter and the Greek yogurt. Mix until the mixture looks uniform, with no visible streaks of yogurt or clumps of peanut butter.
It should look like a thick, creamy batter that smells wonderful, as your dog will be happy to remind you.
Step 4: Fold in the Oats
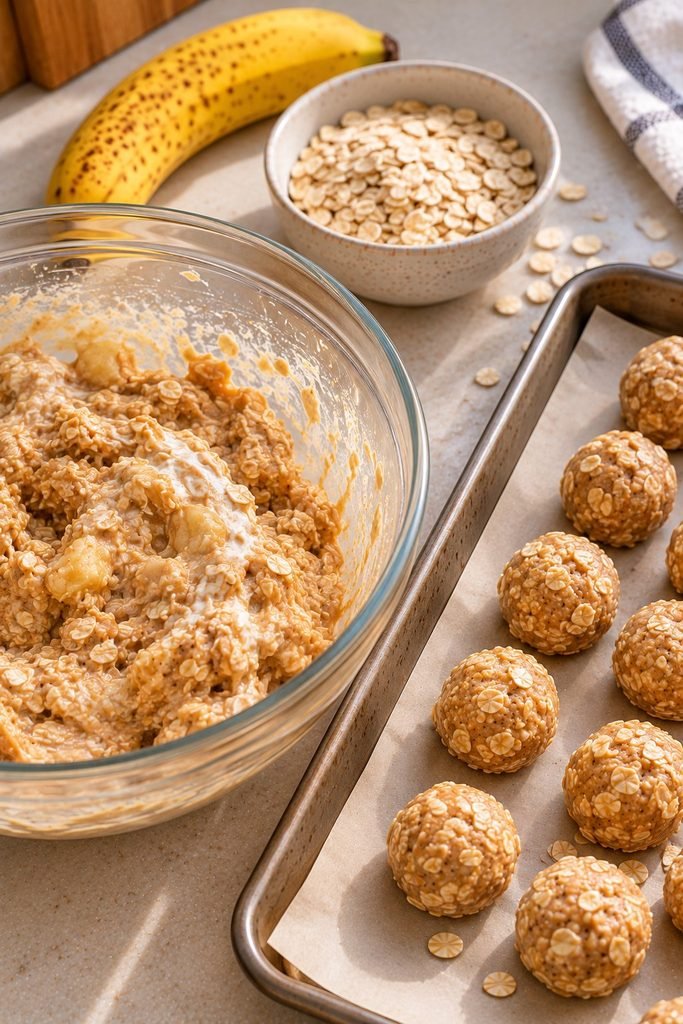
Add the oats a half cup at a time, stirring after each addition. Keep going until you have a thick, scoopable dough that holds together when pressed.
It should feel tacky, not soupy. If it is sticking to your spatula in big globs, add a few more tablespoons of oats.
Step 5: Let the Dough Rest
Let the mixture sit for five minutes. Oats continue to absorb moisture as they rest, so this short pause thickens the dough and makes it far easier to roll. It is a small step that saves a lot of frustration.
Step 6: Scoop and Roll
Scoop out about a tablespoon of dough at a time and roll it between your palms into a small ball.
If the dough sticks to your hands, dampen them slightly with cold water. Place each ball on the prepared tray, leaving a little space between them.
Step 7: Chill
Slide the tray into the refrigerator for 30 minutes, or into the freezer for about 15 minutes. Chilling firms the bites so they hold their shape and are easier to handle and store.
Step 8: Serve and Store
Offer one to your very patient dog. Transfer the rest to an airtight container and refrigerate or freeze right away so they stay fresh.
Tips for Perfect No Bake Dog Treats
- Use a ripe banana. It makes a significant difference in sweetness and stickiness.
- Check every label. Peanut butter and yogurt are the two most common places for xylitol to hide.
- Let the dough rest. Five minutes makes rolling much easier.
- Keep your hands damp. A little cold water prevents sticking.
- Go small for training. Half tablespoon bites are perfect for repeated rewards.
- Chill before storing. Chilled bites stay round and do not squish together in the container.
- Layer with parchment. If you stack the treats, place parchment between layers.
- Make double. They freeze beautifully, so a bigger batch saves you time later.
Common Mistakes to Avoid
Using Peanut Butter With Xylitol
This is the most important mistake to avoid. Always read the ingredient list, every time, even with brands you have used before. Formulas can change.
Using Sweetened or Flavored Yogurt
Vanilla yogurt, fruit yogurt, and “light” yogurts often contain added sugar or artificial sweeteners. Plain only.
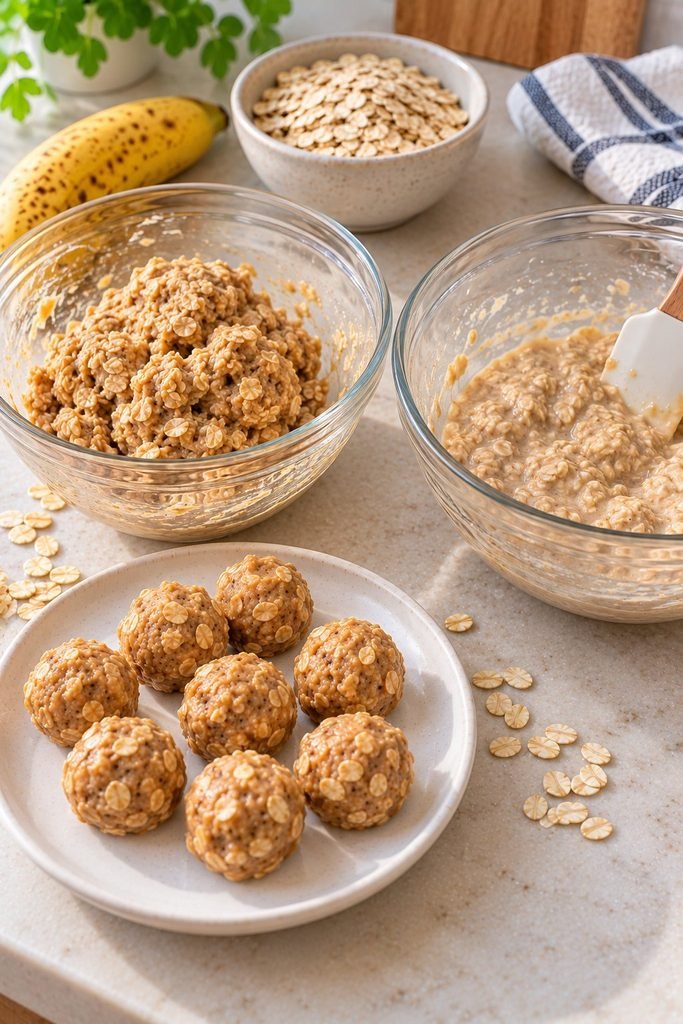
Making the Dough Too Wet
A runny dough will not hold its shape. Keep adding oats until it is thick and tacky.
Making the Bites Too Big
Large treats mean more calories and more waste. Small bites keep portions sensible.
Skipping the Chill
Room temperature bites are soft and sticky and tend to flatten in the container. Chilling keeps them neat.
Overfeeding
Because they are tasty and soft, it is easy to give one more. Count them out and stick to the daily limit.
Recipe Variations
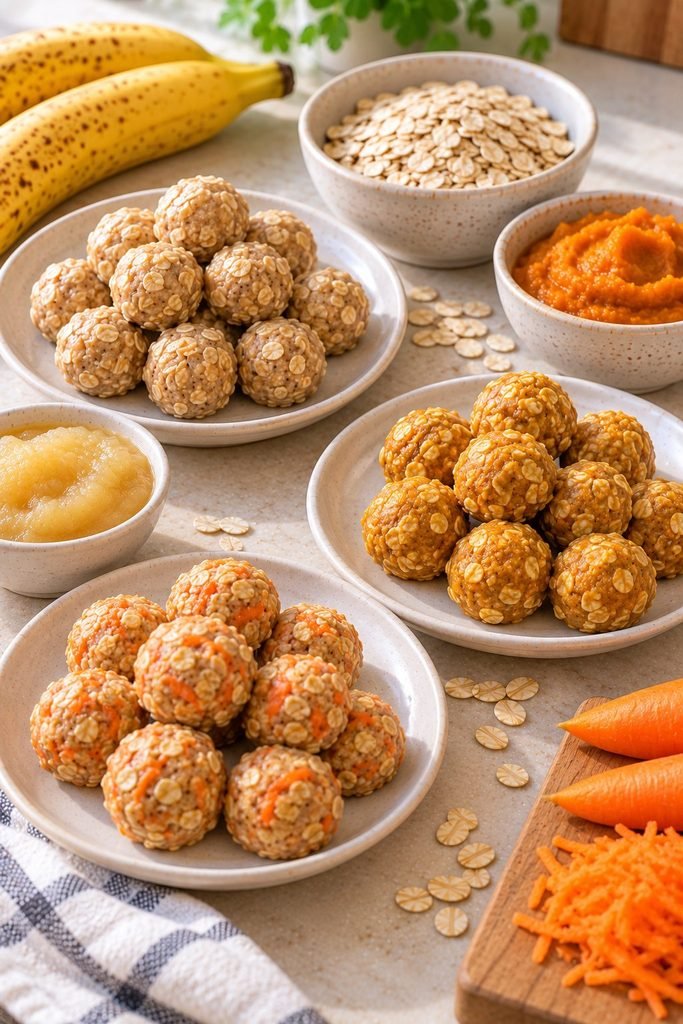
Pumpkin Oat Bites. Replace the banana with 1/2 cup plain pumpkin puree (not pie filling). The result is a little less sweet and gentle on digestion. For more pumpkin ideas, check out our homemade pumpkin applesauce dog treats.
Apple Oat Bites. Swap the banana for 1/2 cup unsweetened applesauce and add an extra 1/4 cup oats to balance the moisture. Applesauce should have no added sugar or spices.
Dairy Free Version. Replace the Greek yogurt with 1/4 cup plain pumpkin puree or unsweetened applesauce. This is a good option for dogs that do not tolerate dairy well.
Peanut Free Version. Use sunflower seed butter, checking the label carefully for added sugar or sweeteners. You may need a few extra oats because it can be runnier.
Carrot Oat Bites. Stir in 1/4 cup finely grated carrot for extra crunch and color. Our apple and carrot chew sticks are another way to use up a bag of carrots.
If you love carrot based snacks, our simple carrot based dog treat recipes for beginners are a great next stop.
Frozen Bites for Summer. Freeze the rolled balls for at least two hours. They turn into cool, firm treats that dogs love on hot days. For other cooling ideas, see our 2 ingredient pupsicles 3 ways.
Fresh Breath Bites. Mix in one teaspoon of finely chopped fresh parsley. Parsley is commonly used in dog treats designed to freshen breath. You can see a full recipe built around that idea in our parsley mint teeth cleaner dog treats.
Gummy Pairing. Offer a bite alongside a firmer, chewier snack such as our homemade dog gummies with bone broth and carrots for a mix of textures.
Mini Training Bites. Roll the dough into pea sized pieces instead of tablespoon sized balls. Chilled and stored in the fridge, these are ideal for training sessions.
How Many Treats Can a Dog Eat?
Use this chart as a general guide, and remember that it is a daily ceiling, not a target. Adjust for your dog’s age, activity level, and overall diet.
| Dog Size | Bites Per Day (Maximum) |
|---|---|
| Extra small (under 10 pounds) | 1 |
| Small (10 to 25 pounds) | 1 to 2 |
| Medium (25 to 50 pounds) | 2 to 3 |
| Large (50 to 90 pounds) | 3 to 4 |
| Extra large (over 90 pounds) | 4 to 5 |
If you are using the mini training size, you can offer several tiny pieces, as long as the total stays within your dog’s treat allowance. If your dog is overweight or has a medical condition, ask your vet to set a daily limit.
Can Puppies Eat These?
Puppies can usually enjoy small portions of these bites once they are eating solid food and have been introduced to each ingredient separately.
Their stomachs are sensitive, so start with a very small piece and watch for any digestive upset over the next day.
Break the bites into smaller portions for tiny puppies, and always supervise treat time.
Because the texture is soft, these are friendly to puppies who are teething. As always, check with your veterinarian before adding new foods to a young puppy’s diet.
Can Senior Dogs Eat These?
Senior dogs often prefer soft treats, which makes these a great fit. If you are sharing your home with an older companion, our guide to the best dog breeds for seniors may also be useful.
The soft chew is easier on older teeth, and the ingredients are simple and gentle. If your senior dog has kidney disease, pancreatitis, or is on a special diet, talk to your vet first, since peanut butter and dairy may not be appropriate in every case.
Storage Guide
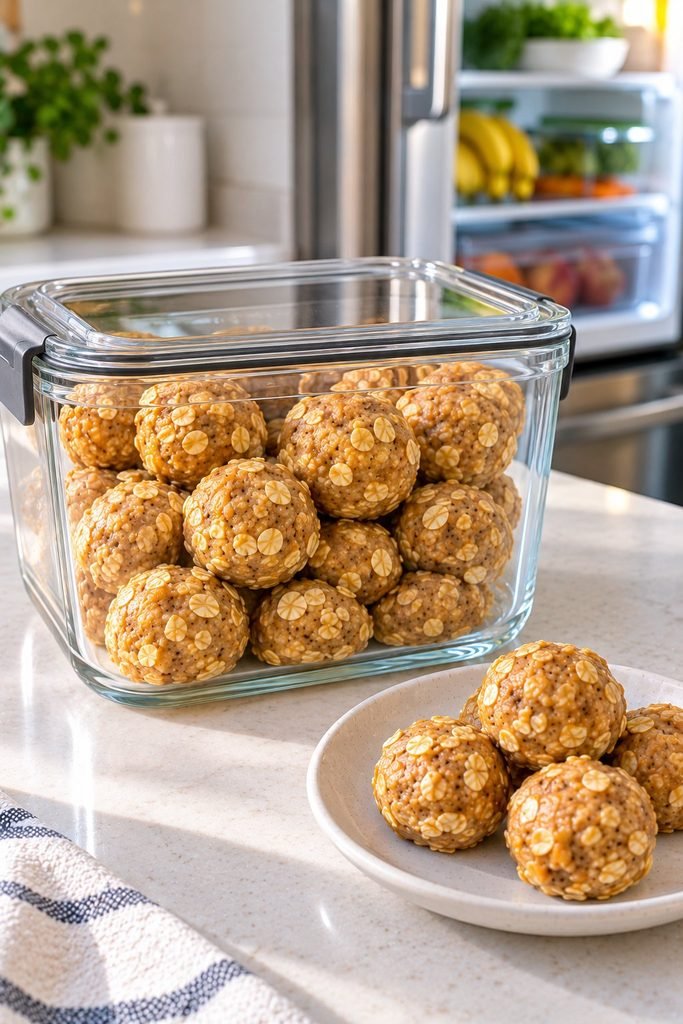
Refrigerator. Store in an airtight container for up to one week. Place a sheet of parchment between layers so they do not stick together.
Freezer. Freeze on a tray first, then transfer to a freezer safe bag or container. They keep for up to two months.
Thawing. Let frozen bites sit at room temperature for about ten minutes, or enjoy them frozen on a hot day.
Room Temperature. Because these contain banana and yogurt, they should not sit out for long. Keep them in the refrigerator and take out only what you need.
Signs They Have Gone Bad. Toss any bites with an off smell, a sour or fermented odor, visible mold, or a slimy texture.
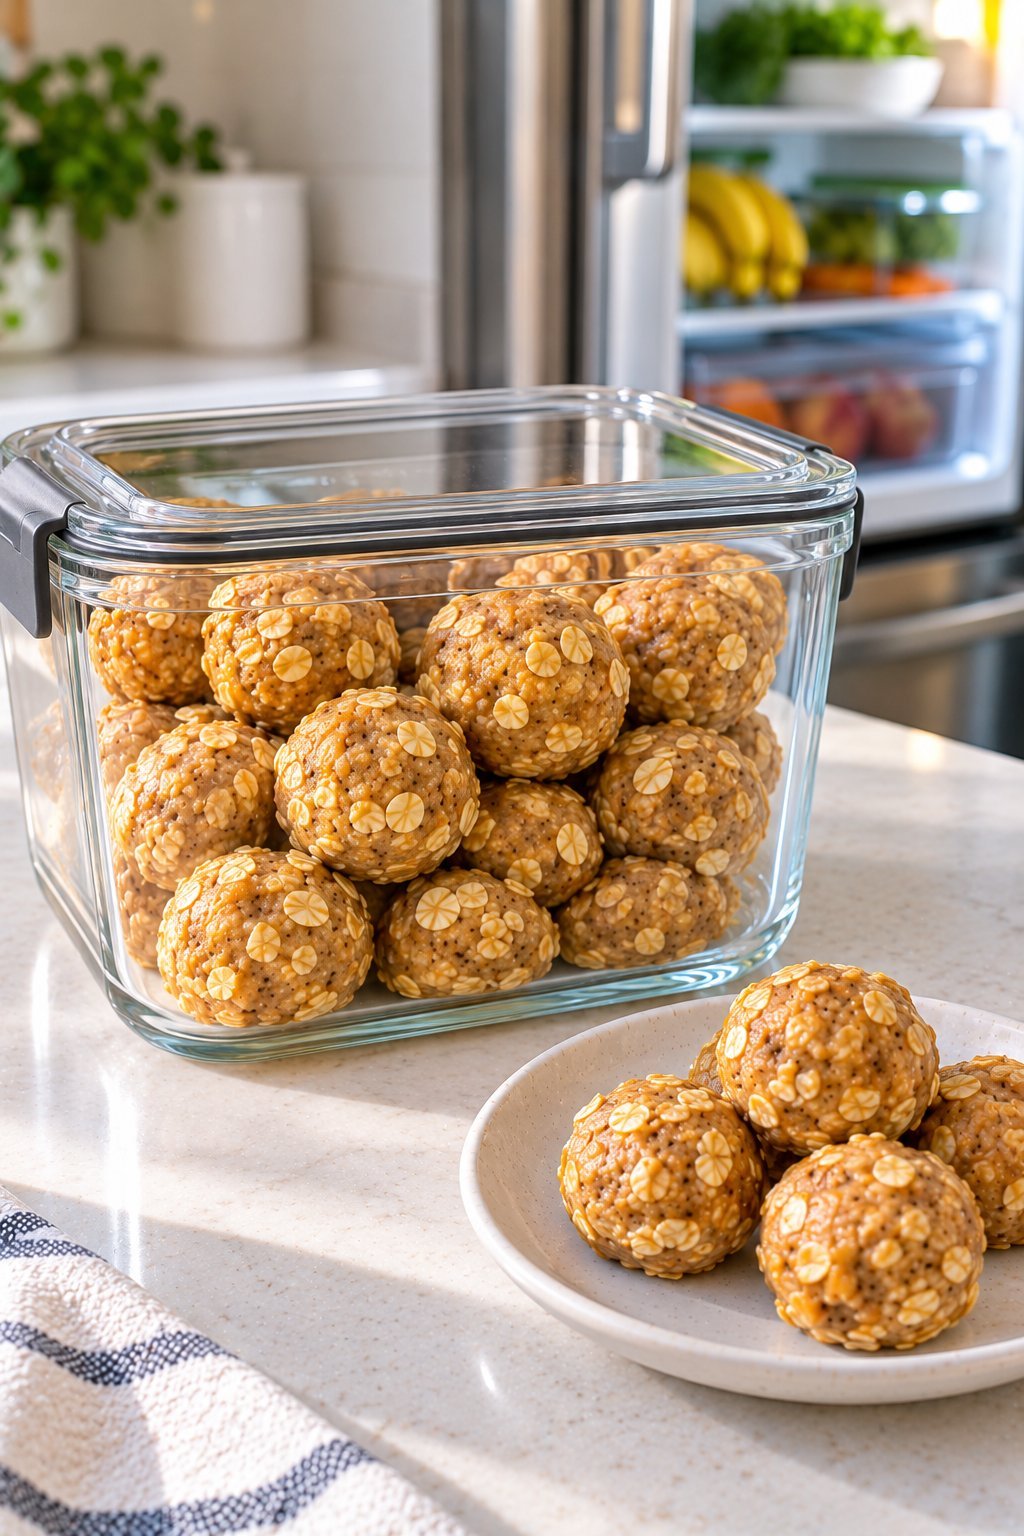
Best Containers. Glass containers or sturdy BPA free plastic containers with tight lids work best. If condensation builds up, line the container with a paper towel.
Serving Suggestions
- Training rewards: Soft, small, and smelly in the best way. Dogs love them. Pair them with practice from our guide on brain games for a smarter, happier dog.
- After walks: A cool bite is a nice way to end an outing. If walks are still a struggle, our tips to stop your dog from pulling on the leash pair well with a pocket full of treats.
- Playtime: Use bites as prizes during our 8 fun games to play with your dog.
- Good manners: Reward calm greetings while you work through how to stop your dog from jumping on guests.
- Puzzle toys: Press a bite into a stuffable toy for a longer lasting activity, and check out these 8 super easy ways to mentally stimulate your dog for more enrichment ideas.
- Meal toppers: Crumble one over regular food for a picky eater.
- Travel treats: Keep a few in a small cooler bag for road trips.
- Medication helper: Wrap a pill in a bite, but only if your vet says it is okay for that medication.
- Birthday celebrations: Stack a few on a plate with a candle, since every dog deserves a party.
Troubleshooting
The Dough Is Too Sticky
Cause: Very ripe banana, wet yogurt, or not enough oats. Fix: Add oats one tablespoon at a time, and let the dough rest for five minutes before rolling.
The Dough Is Too Dry or Crumbly
Cause: Too many oats or a thick peanut butter. Fix: Add yogurt or mashed banana a spoonful at a time until the dough comes together.
The Bites Will Not Hold Their Shape
Cause: Not enough binder or skipping the chill. Fix: Add a bit more peanut butter or banana, and chill for the full 30 minutes.
The Bites Are Soft and Squishy After Storing
Cause: Condensation in the container, or not enough oats. Fix: Line the container with a paper towel, and press a couple of extra tablespoons of oats into your next batch.
My Dog Does Not Seem Interested
Possible reasons: Some dogs simply have texture preferences, or they may not feel well. Fixes: Offer a smaller piece, try a version with a different flavor such as pumpkin, or crumble the treat over regular food. If your dog suddenly refuses all treats and meals, check in with your vet.
My Dog Had an Upset Stomach
Possible reasons: Too many treats, a sensitivity to dairy or peanut butter, or an abrupt introduction. Fixes: Pause the treats, return to your dog’s regular diet, and try a dairy free version later in a smaller amount. If symptoms continue, contact your vet.
More Dog Treat Recipes to Try
Looking for your next batch? These posts pair well with this recipe:
- Peanut Butter Oatmeal No Bake Dog Treats
- 2 Ingredient Pupsicles 3 Ways
- Homemade Banana Dog Treat Recipes
- Easy Frozen Coconut Dog Treats for Summer
- 3 Ingredient Peanut Butter Dog Gummies
- Green Bean Crunchies for Dogs
- Homemade Pumpkin Dog Cupcakes
Frequently Asked Questions
Can dogs eat bananas every day? Small amounts are fine for most dogs, but because bananas contain natural sugar, they are best as an occasional treat.
Is peanut butter safe for dogs? Yes, in moderation, as long as it contains no xylitol. Always read the ingredient list.
What is xylitol and why does it matter? Xylitol is an artificial sweetener found in some peanut butters, yogurts, gum, and baked goods. It is highly toxic to dogs. If you think your dog has eaten something containing xylitol, contact your veterinarian or an emergency animal poison hotline right away.
Can I use regular yogurt instead of Greek? Yes, as long as it is plain and unsweetened. You may need extra oats because regular yogurt is thinner.
Can I leave out the yogurt? Yes. Replace it with the same amount of plain pumpkin puree or unsweetened applesauce.
Can I use quick oats? You can, though the texture will be softer and a little pastier. Add oats gradually to avoid a gummy dough.
Why are my bites too sticky to roll? The dough probably needs more oats, or it needs to rest for five minutes. Dampening your hands also helps.
Why are my bites too dry? Add a tablespoon of yogurt or a little mashed banana until the dough holds together.
Can I bake these? Yes. If you want a firmer treat, flatten the dough into small rounds and bake at 325 degrees Fahrenheit for 20 to 25 minutes. If you would rather skip the oven entirely, our peanut butter oatmeal no bake dog treats are another quick option with a slightly different flavor.
Can I add honey or sugar? No need. The banana provides all the sweetness your dog needs.
Can I add cinnamon? A tiny pinch is generally considered safe, but it is not necessary, and larger amounts can irritate a dog’s mouth and stomach. When in doubt, leave it out.
Can cats eat these? This recipe is made for dogs. Cats have different nutritional needs, so it is best to offer cat specific treats instead.
Can I sell these? If you are thinking about turning your treat hobby into a small business, regulations vary by location, so research your local rules. Our post on dog treat recipes customers love to buy is a good place to start.
How long do they last? About one week in the refrigerator and up to two months in the freezer.
No Bake Dog Treats
Ingredients
Equipment
Method
- Add the pumpkin puree and natural peanut butter to a mixing bowl.Stir until the ingredients are evenly combined.Gradually add the oat flour and mix until a soft dough forms.If the mixture feels too dry or crumbly, add water a little at a time until it holds together.Scoop out small portions of the mixture and roll them into bite sized balls.Place the treats on a parchment lined baking sheet or plate.Refrigerate for approximately 30 minutes, or until the treats become firm.Check that the treats hold their shape before serving.Serve an appropriately sized portion based on your dog's size.
Recipe Notes
Peanut Butter Safety: Use natural peanut butter that contains no xylitol or other artificial sweeteners. Check the ingredient label carefully before using it.Pumpkin Tip: Use plain pumpkin puree without added sugar, spices, or pie filling ingredients.Texture Tip: If the dough is sticky, add a little more oat flour. If it is crumbly, add a small amount of water and mix again.Storage: Because these treats contain moisture and are not baked, store them in an airtight container in the refrigerator for up to 4 days. Freeze extra treats in small portions for longer storage.Common Mistake to Avoid: Do not leave the treats at room temperature for extended periods or assume refrigeration makes them shelf stable. These are perishable homemade treats.Serving: Offer one or two small pieces as occasional rewards, adjusting the amount for your dog's size and daily calorie needs. Treats should complement, rather than replace, your dog's complete and balanced diet.
Final Thoughts
Great dog treats do not need to be complicated, and they definitely do not need to take your whole afternoon.
These no bake banana oat bites prove that a few simple ingredients, a bowl, and a little chilling time can produce something your dog will happily work for.
They are soft, flexible, and easy to customize, which makes them a recipe you will probably return to again and again.
Start with a small batch, keep the portions sensible, and always double check labels for xylitol.
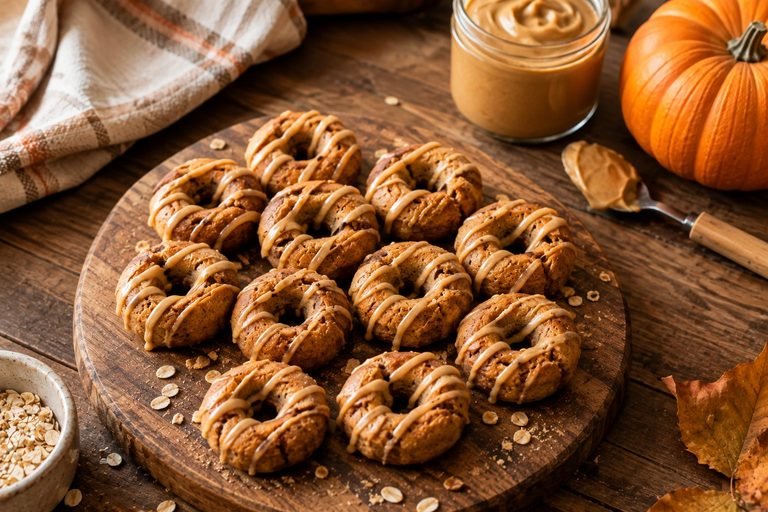
Then sit back and enjoy the very best part, which is the look on your dog’s face when you open the refrigerator door. If you want a firmer chew for your next batch, try our peanut butter pumpkin chew twists for dogs.
As with any new treat, introduce these bites gradually, and consult your veterinarian before adding them to your dog’s diet, especially if your dog has allergies, digestive issues, or an existing medical condition.