
There’s something special about making homemade treats for my dogs, especially when the recipe is simple and packed with ingredients I already feel good about using.
A few months ago, I started looking for softer treats that were easy to make and didn’t require turning on the oven.
My dogs enjoy crunchy biscuits, but I wanted something different that could work as a quick snack, training reward, or special treat after a walk.
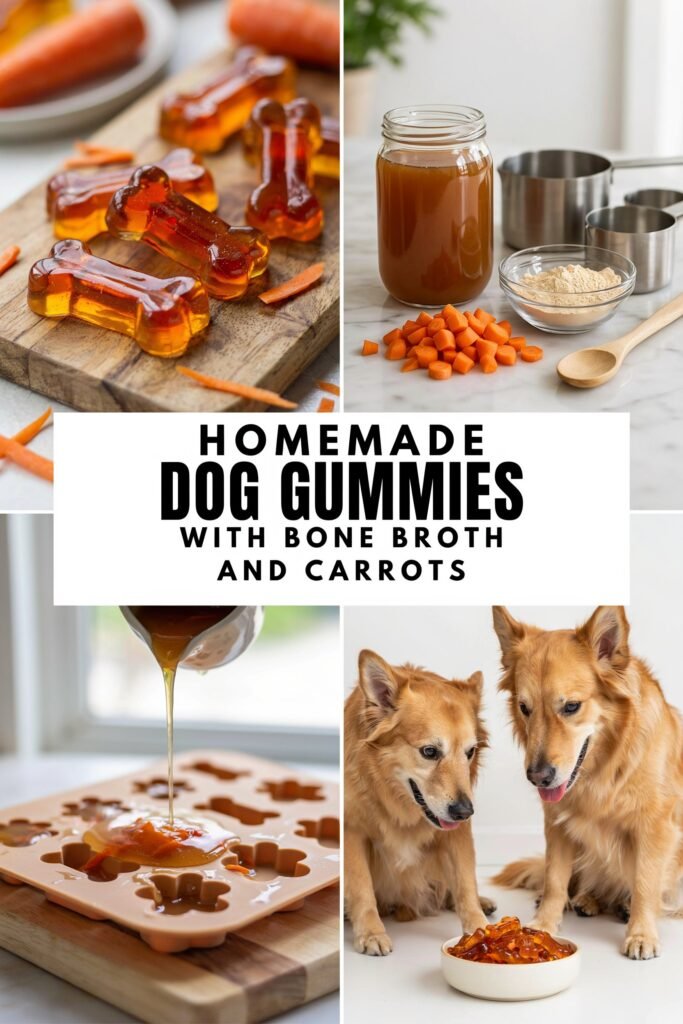
That’s when I started making these homemade dog gummies with bone broth and carrots.
The first time I made them, I wasn’t expecting much.
I figured they would be a fun experiment and nothing more.
But the moment I opened the refrigerator and offered one to my dogs, they were hooked.
Now these gummies have become one of the easiest homemade dog treats I make.
They take very little effort, use simple ingredients, and always disappear quickly.
Affiliate Disclaimer: Some links in this post are affiliate links. I may earn a small commission at no extra cost to you.
Disclaimer
This post may contain affiliate links. As an Amazon Associate, I earn from qualifying purchases at no additional cost to you. The information in this article is for educational and informational purposes only. I only recommend products that I believe are relevant to this topic. Always do your own research and consult your veterinarian before making changes to your dog’s diet or introducing new treats.
Amazon Shopping List
- Silicone Dog Bone Treat Molds
- Grass-Fed Beef Bone Broth Powder for Dogs
- Organic Carrot Powder
- Dog Treat Storage Container
- Silicone Gummy Molds
- Stainless Steel Mixing Bowls Set
- Measuring Cups and Spoons Set
Why Homemade Dog Gummies Are Worth Making

Making homemade dog treats has become part of my normal routine at home.
I enjoy knowing exactly what’s going into my dogs’ snacks.
Instead of trying to understand long ingredient labels on packaged treats, I can use a handful of simple ingredients and create something fresh in my own kitchen.
These homemade dog gummies are also incredibly convenient.
There’s no rolling dough, no cookie cutters, and no baking trays to clean afterward.
Most of the work takes only a few minutes, and then the refrigerator handles the rest.
I also love how versatile they are.
Whether I use them as training treats, rewards after walks, or just a little afternoon snack, they always seem to make my dogs happy.
And honestly, seeing their excitement every time I open the refrigerator makes the effort completely worthwhile.
Ingredients You’ll Need

Here’s the full list for this easy recipe:
2 cups bone broth. I always use dog-safe bone broth that contains no onions, garlic, excessive sodium, or unnecessary seasonings.
The bone broth provides most of the flavor in these homemade dog gummies and gives them a rich, savory taste that dogs naturally love.
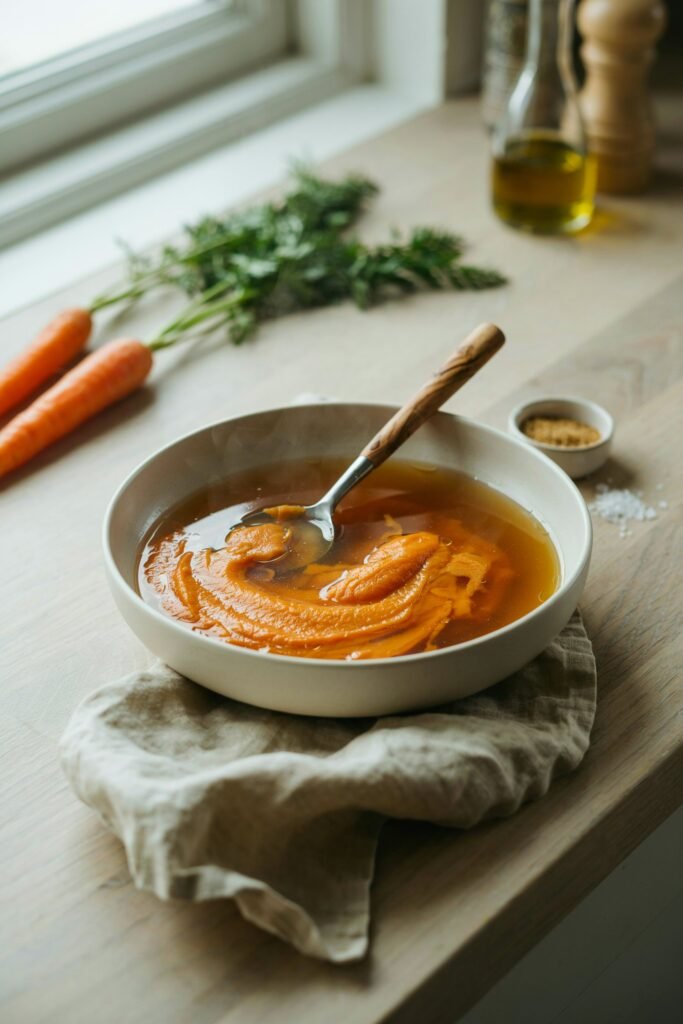
½ cup carrot puree. I usually steam fresh carrots until they’re soft and blend them until completely smooth.
Carrots add natural sweetness, color, and valuable nutrients while helping balance the rich flavor of the broth.
3 tablespoons unflavored gelatin.
This ingredient is what transforms the liquid mixture into chewy homemade dog gummies.
I prefer plain gelatin because it keeps the recipe simple while creating the perfect texture.
1 tablespoon finely grated carrot.
This ingredient is completely optional, but I often add it for a little extra texture and visual appeal.
It gives the gummies tiny carrot flecks that look beautiful once they set.
That’s it! Just a few simple ingredients that come together to create healthy homemade dog gummies your pup will absolutely love.
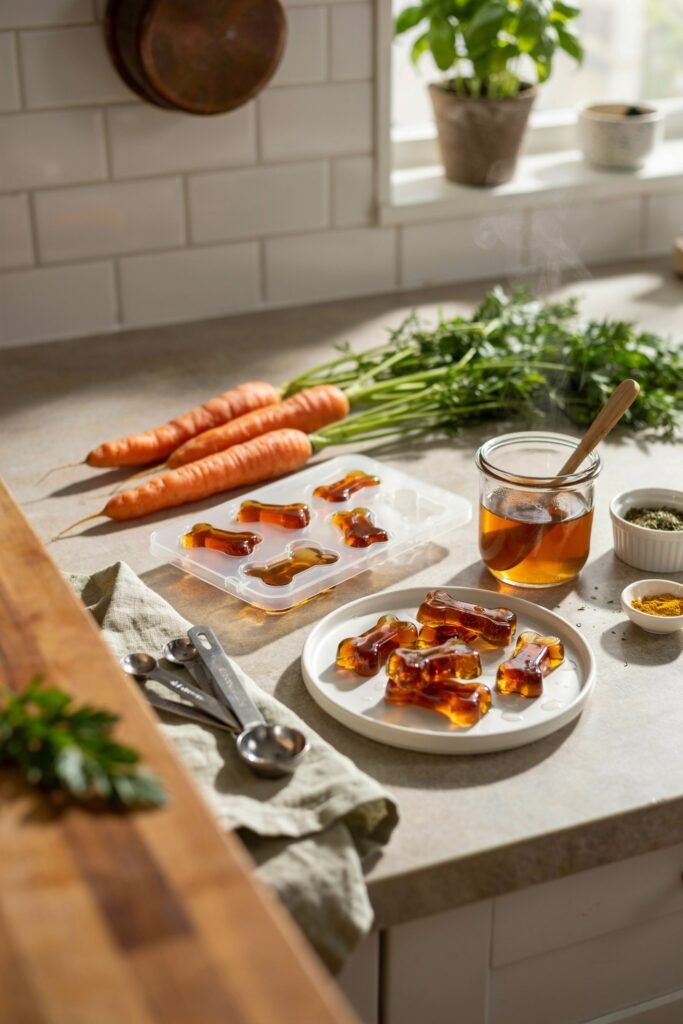
HOW TO PREP HOMEMADE DOG GUMMIES WITH BONE BROTH AND CARROTS
This homemade dog gummies with bone broth and carrots are a simple, healthy treat that comes together in just a few easy steps.
Made with wholesome ingredients and no baking required, they’re a soft and flavorful snack that dogs love.
Step 1: Prepare the Carrots
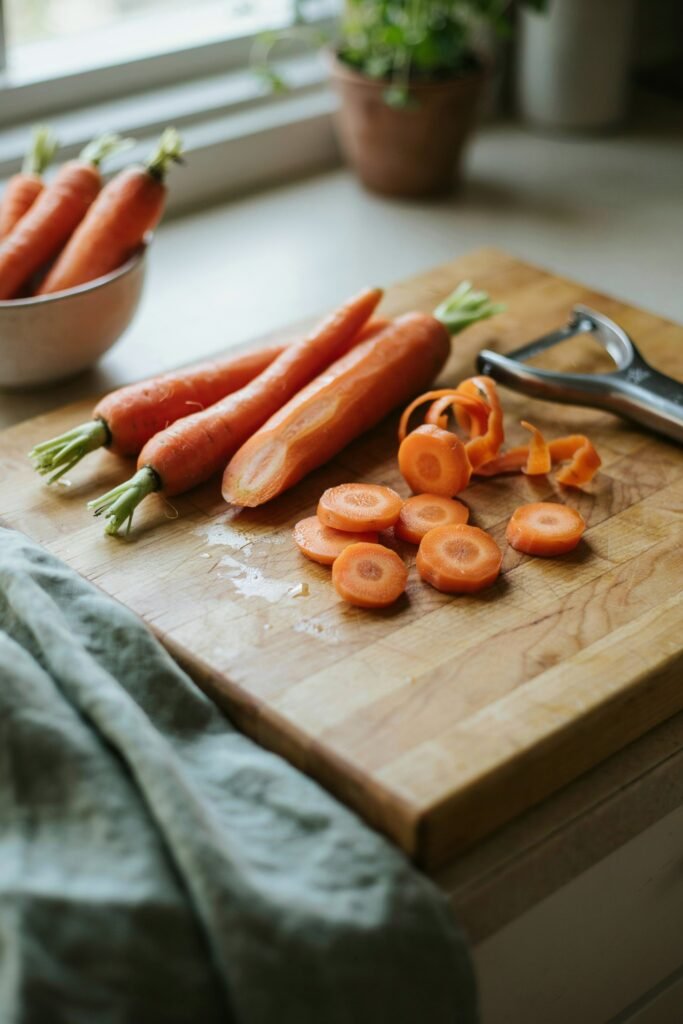
Before I start mixing anything, I always prepare the carrots first.
I peel and chop fresh carrots into small pieces before steaming them until they’re completely soft.
In my kitchen, this step usually happens while I’m preparing other meals or cleaning up around the house. It’s an easy way to multitask and make use of ingredients I already have available.
Once the carrots are soft, I blend them into a smooth puree.
The smoother the puree, the better the final texture of the gummies.
When finished, I set the puree aside and move on to preparing the broth mixture.
Step 2: Warm the Bone Broth
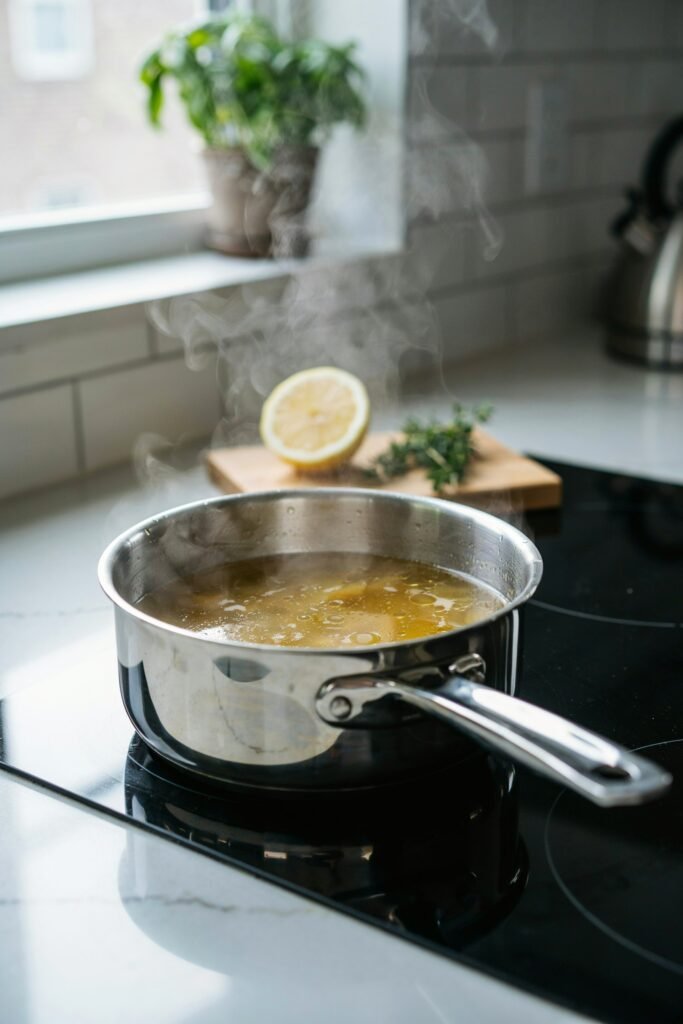
Next, I pour the bone broth into a medium saucepan and place it over low heat.
I don’t let it boil because gentle heat works best when using gelatin.
As the broth warms, the aroma starts filling the kitchen. My dogs somehow always know when bone broth is involved because they seem to appear the moment the smell reaches them.
I stir occasionally while the broth heats, making sure everything stays evenly warmed.
Once it’s warm but not boiling, it’s ready for the next step.
Step 3: Add the Gelatin
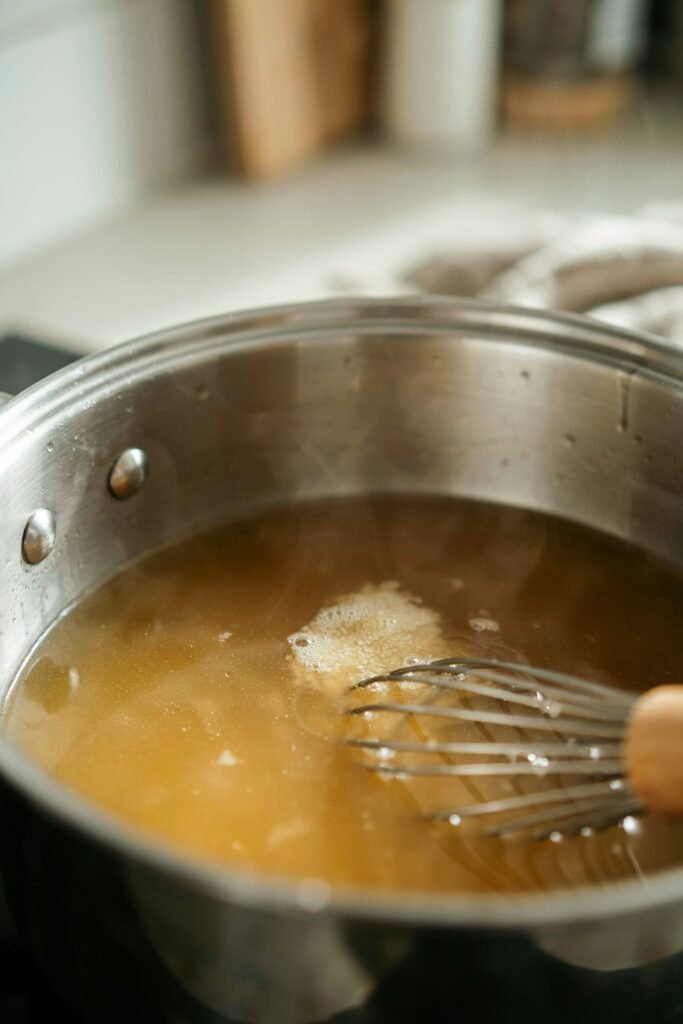
This is where the magic starts happening.
I slowly sprinkle the gelatin into the warm broth while whisking continuously.
Adding it gradually helps prevent lumps from forming.
After a minute or two of whisking, the gelatin dissolves completely into the broth and creates a smooth mixture.
I always make sure there are no visible clumps before continuing.
A smooth mixture creates smoother gummies later.
Step 4: Mix in the Carrot Puree
Once the gelatin has fully dissolved, I add the carrot puree.
I whisk everything together until the color becomes completely uniform.
The mixture turns into a beautiful golden-orange color that already looks appealing.
Sometimes I also stir in the grated carrot at this stage.
I love how it adds tiny bits of texture throughout the finished gummies.
At this point, everything is fully combined and ready for molding.
Step 5: Fill the Molds
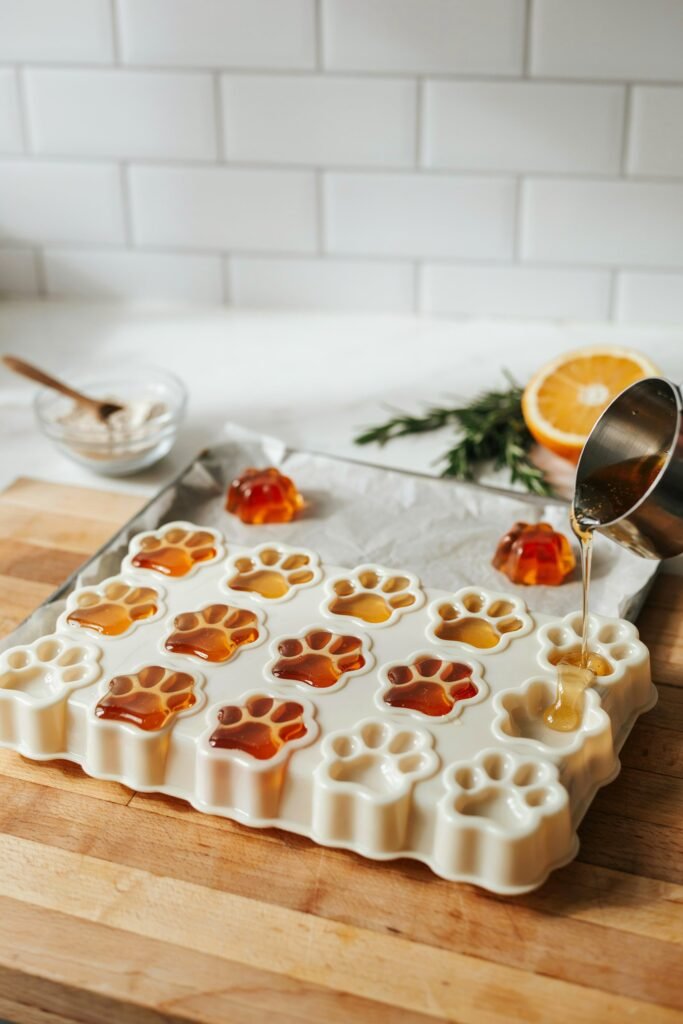
I place my silicone molds on a flat baking sheet before filling them.
This makes moving them to the refrigerator much easier.
Using a measuring cup with a spout or a small pitcher, I carefully pour the mixture into each mold cavity.
I try not to overfill them.
After filling the molds, I gently tap the tray against the counter a few times to release any trapped air bubbles.
This simple step helps create smoother-looking gummies.
Step 6: Refrigerate Until Firm
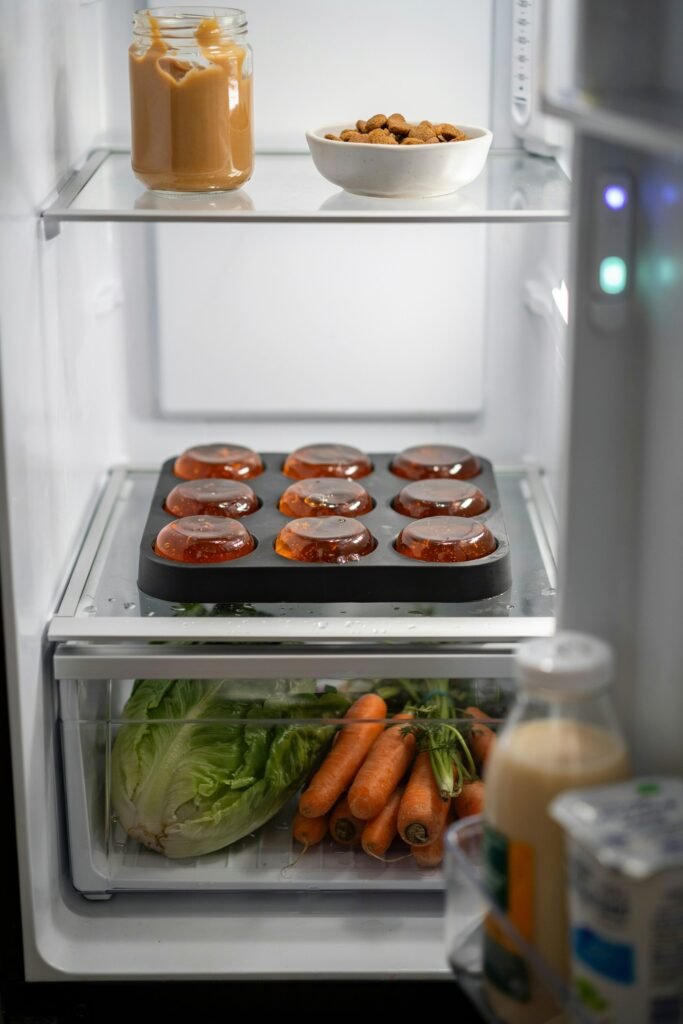
Now comes the waiting part.
I carefully place the filled molds into the refrigerator and leave them undisturbed.
Most batches need about three to four hours to fully set.
Personally, I usually leave them overnight because I know they’ll be perfectly firm by morning.
As they chill, the gelatin transforms the liquid mixture into soft, chewy homemade dog gummies.
The next day, they’re ready to enjoy.
Step 7: Remove and Serve
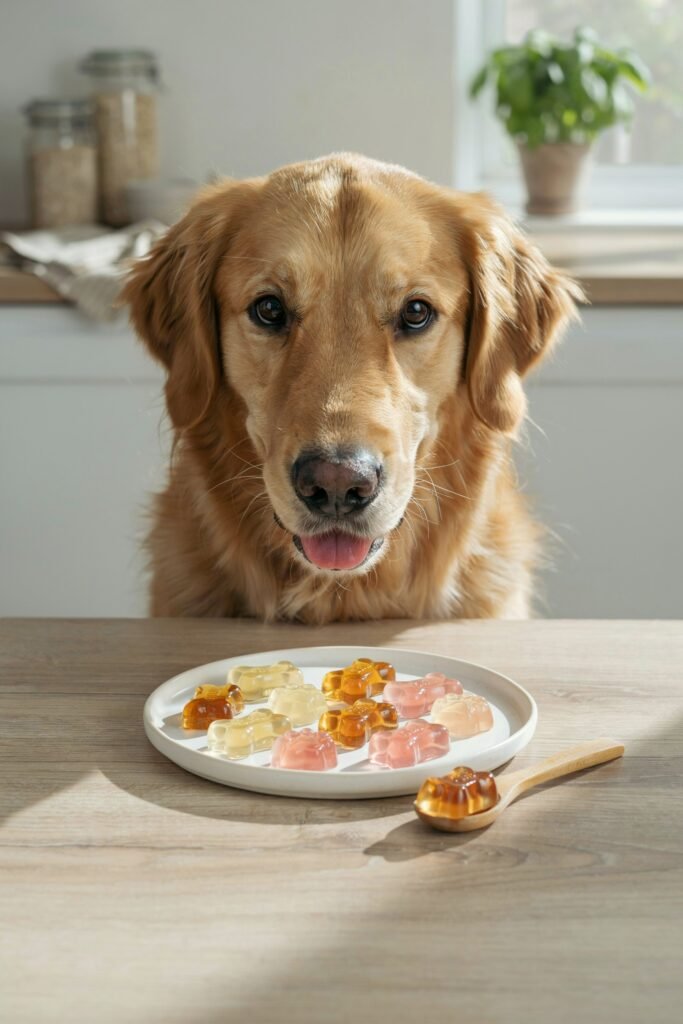
Once the gummies are fully set, I gently pop them out of the silicone molds.
This is one of my favorite moments because the finished treats always look so good.
The gummies are soft, chewy, and easy for most dogs to enjoy.
I often use them as:
• Training rewards
• After-walk treats
• Afternoon snacks
• Special rewards during grooming sessions
My dogs never seem to get tired of them.
How I Store My Homemade Dog Gummies
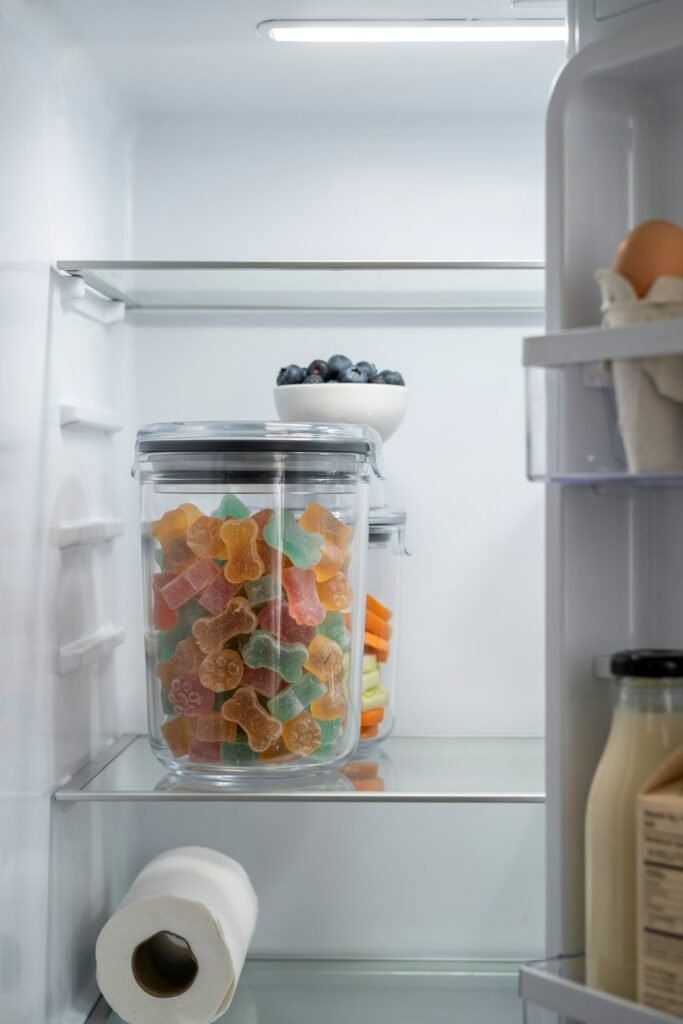
Because these gummies contain fresh ingredients, proper storage is important.
I keep a small batch in an airtight container inside the refrigerator.
They typically stay fresh for about one week.
When I make larger batches, I freeze the extras.
Frozen gummies stay fresh for up to three months when stored properly.
I like freezing them in smaller portions so I can thaw only what I need throughout the week.
This helps keep everything fresh while ensuring I always have healthy dog treats available.
My Favorite Tips for Perfect Dog Gummies
After making these homemade dog gummies many times, I’ve picked up a few simple habits that help every batch turn out better.
• Use high-quality dog-safe bone broth whenever possible.
• Blend the carrots until completely smooth.
• Avoid boiling the broth after adding gelatin.
• Use silicone molds for easier removal.
• Refrigerate the gummies fully before serving.
• Store extras in the freezer for longer freshness.
These small details make a big difference in the final result.
Why My Dogs Love These Homemade Gummies
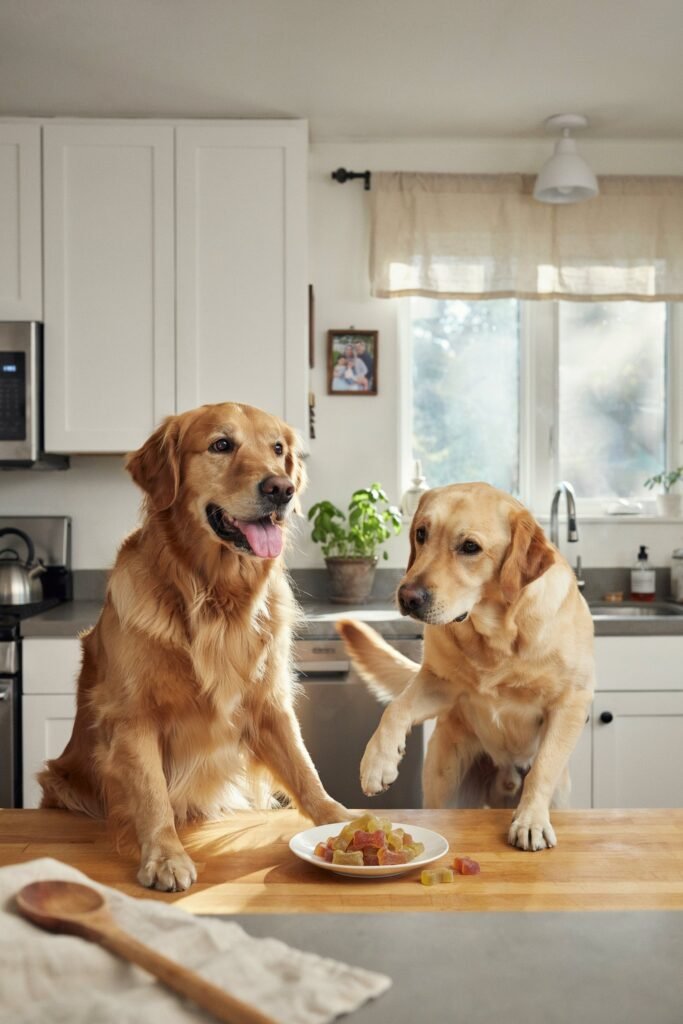
Every dog is different, but these gummies seem to be a huge hit in my house.
The rich flavor from the bone broth makes them incredibly appealing, while the carrots add a touch of natural sweetness.
I also like that they’re softer than traditional baked treats.
That makes them a great option for puppies, senior dogs, and dogs who simply prefer softer snacks.
Whenever I open the refrigerator and reach for the container, my dogs come running.
Their excitement tells me everything I need to know.
Final Thoughts
These homemade dog gummies with bone broth and carrots have become one of the simplest and most reliable treat recipes in my kitchen.
They’re easy to make, require only a few ingredients, and give me complete control over what my dogs are eating.
Most importantly, my dogs absolutely love them.
Whether you’re looking for healthy homemade dog treats, soft dog snacks, natural training rewards, or an easy beginner-friendly recipe, these gummies are worth trying.
They’ve become a regular part of my routine, and I have a feeling they’ll become one of your dog’s favorites too.