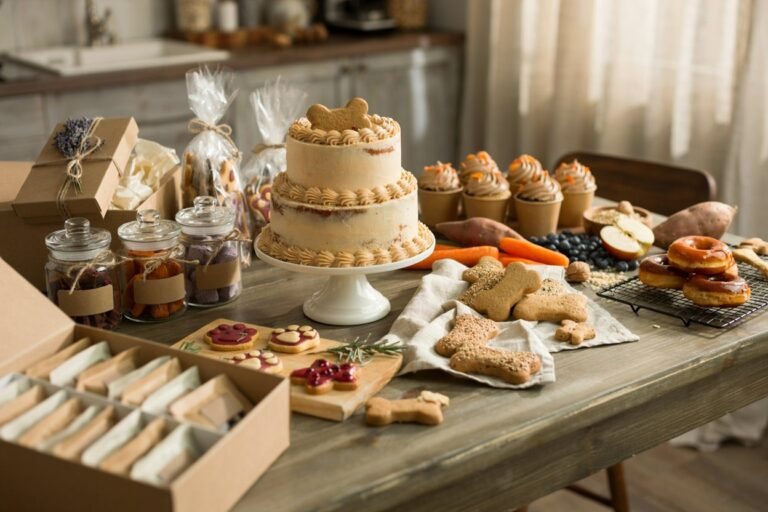
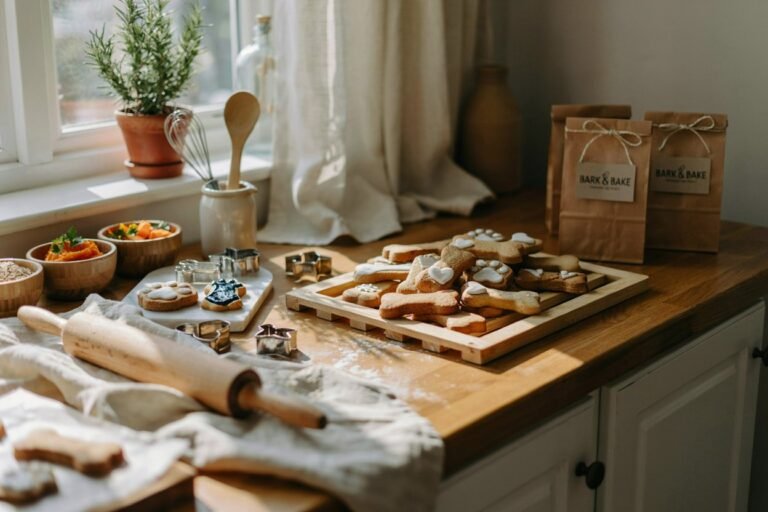
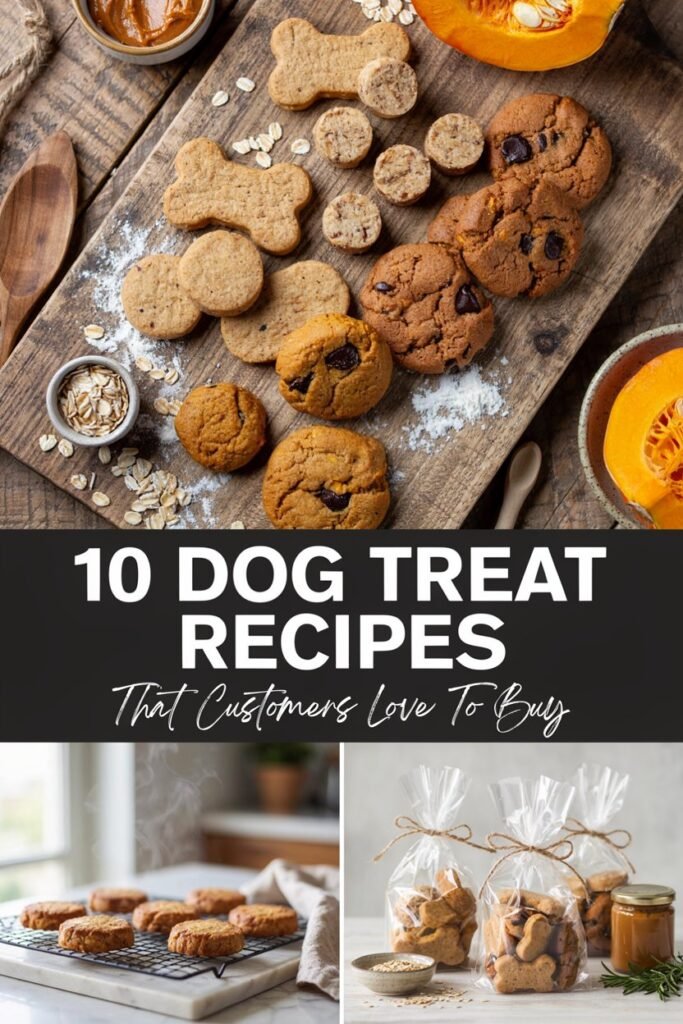
10 Dog Treat Recipes That Customers Love to Buy
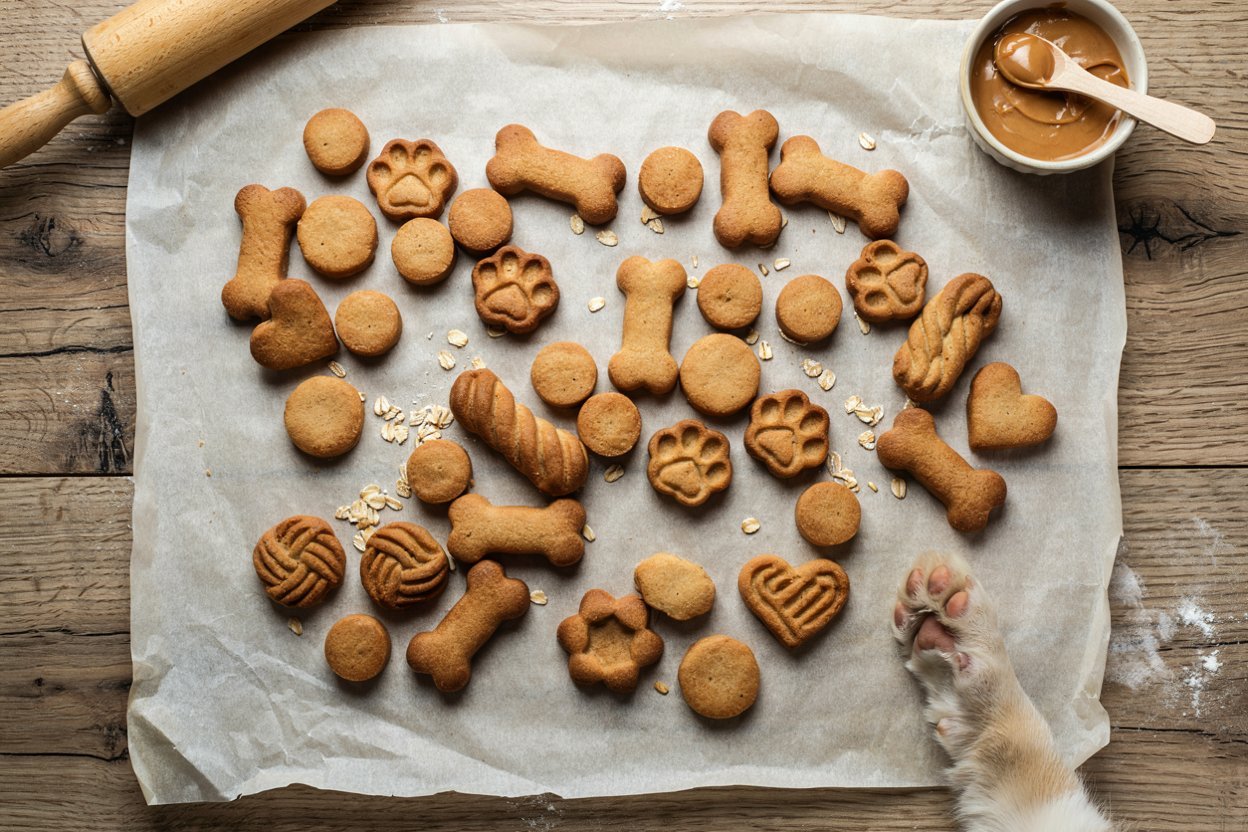
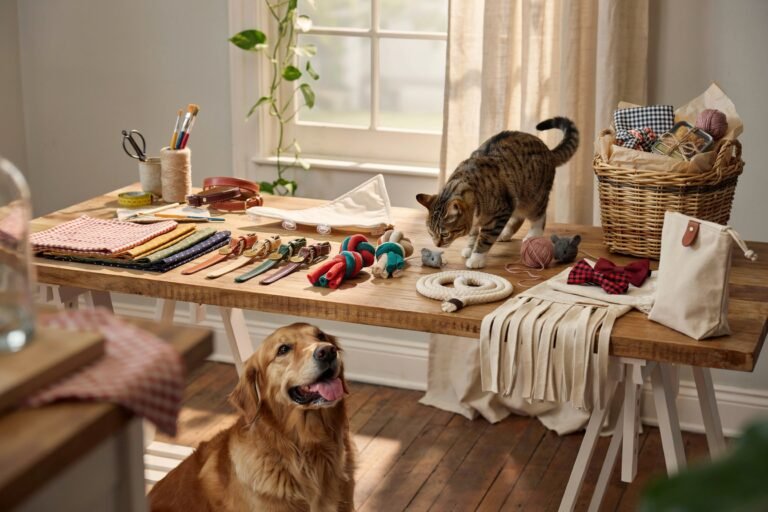
When I started selling homemade dog treats alongside my bandanas and collars, I had no idea which recipes would actually move. Some flopped completely.
Others became the thing customers came back for by name.
These ten recipes are the ones that consistently sold out, tested through real market days, real repeat customers, and a few batches that taught me hard lessons about ingredients dogs simply cannot have.
Why These Recipes Actually Sell
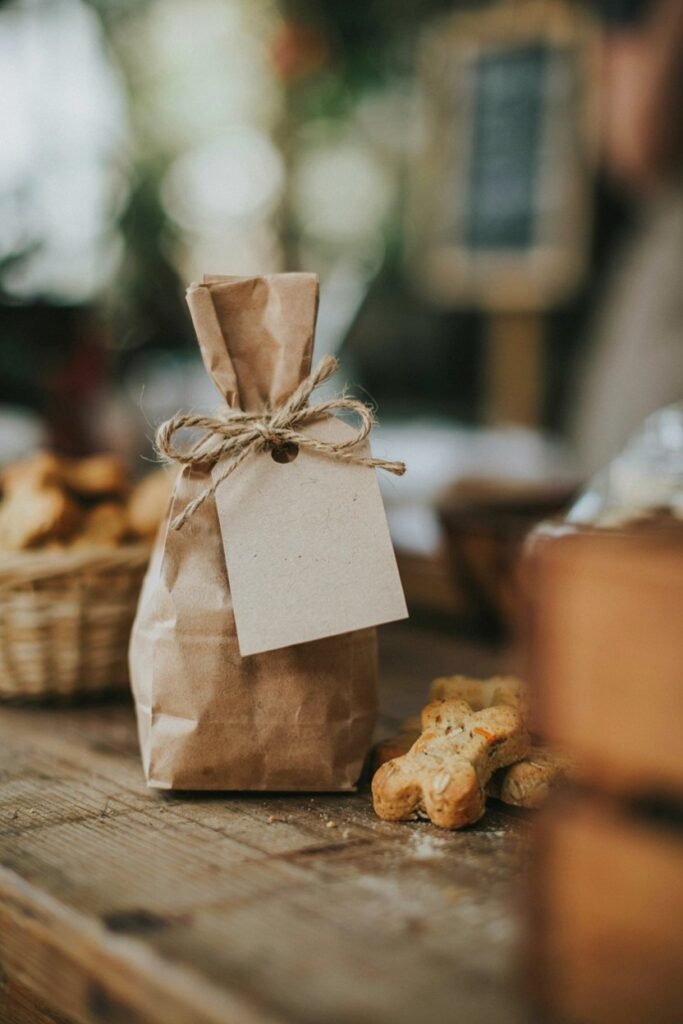
Customers buy treats that look clean, use ingredients they recognize, and come with clear labeling, since most dog owners are cautious shoppers.
I learned this the hard way after a batch flopped simply because I didn’t list ingredients clearly enough on the label.
Every recipe below is one I sold successfully, with real pricing and packaging notes included.
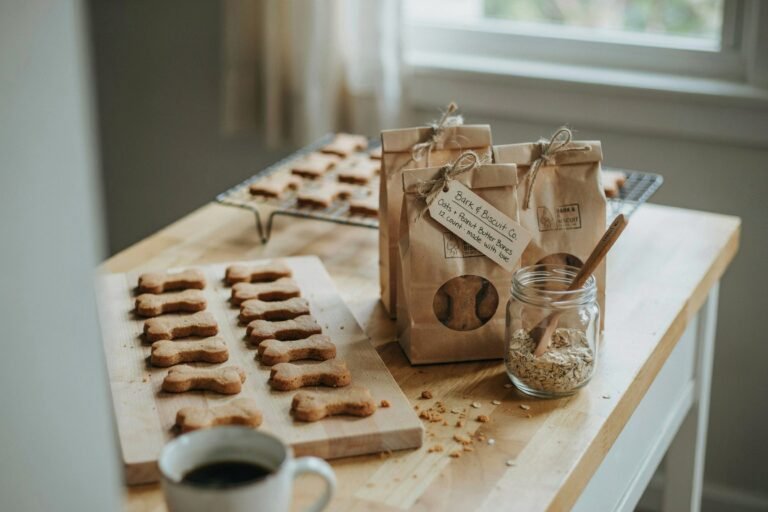
1. Pumpkin Oat Bones
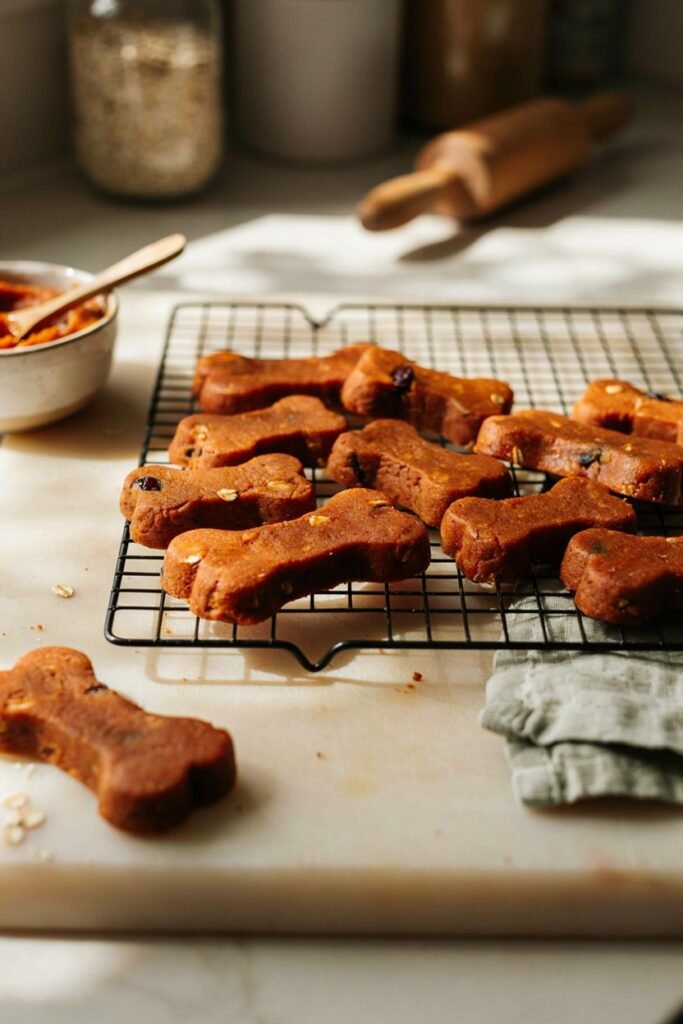
This was my very first treat recipe, made the week I decided to expand beyond bandanas.
I still remember how nervous I was setting them out at my first market, worried nobody would buy homemade treats from a stranger. They sold out in under two hours.
Materials needed: 1 cup oat flour, 1/2 cup pumpkin puree, 1 egg, bone shaped cookie cutter
Instructions:
- Mix oat flour, pumpkin puree, and egg into a firm dough.
- Roll out and cut into bone shapes.
- Bake at 350 degrees for about 20 minutes until firm.
I packaged these in sets of six for around $7 and they remain my best seller to this day.
2. Peanut Butter Banana Bites
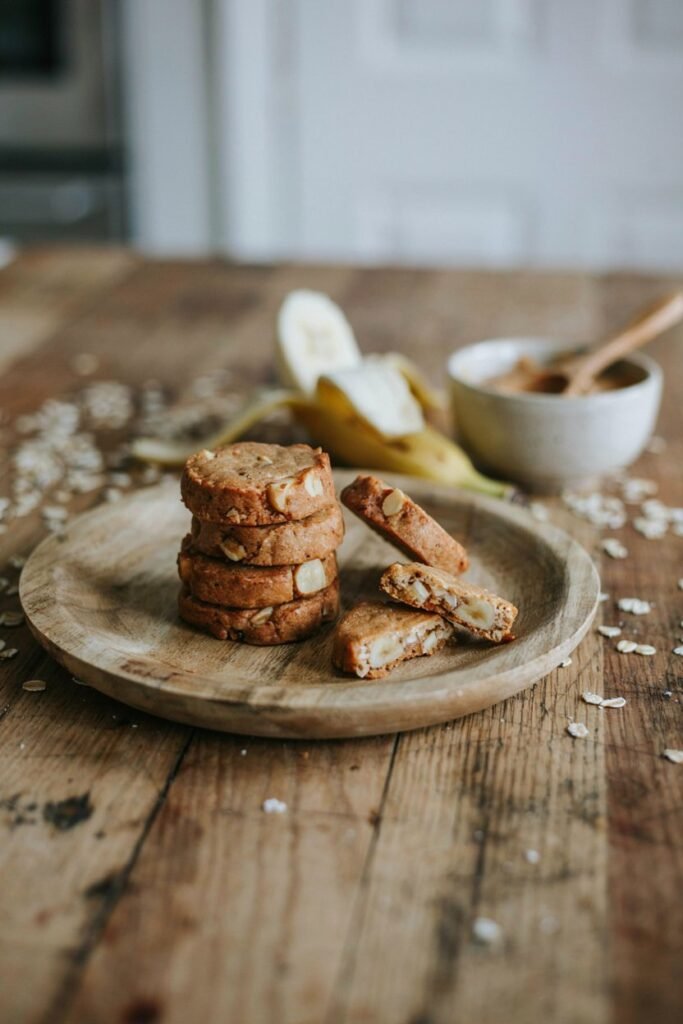
A soft, chewy treat that customers specifically asked me to restock every single week.
Materials needed: 1 cup oat flour, 1/2 cup xylitol free peanut butter, 1 mashed banana, small round cookie cutter
Instructions:
- Combine oat flour, peanut butter, and mashed banana into a dough.
- Roll into small balls or cut into rounds.
- Bake at 350 degrees for 15 minutes.
Always double check your peanut butter label, since xylitol is toxic to dogs even in small amounts. I priced these at $8 per bag of eight.
3. Sweet Potato Chews
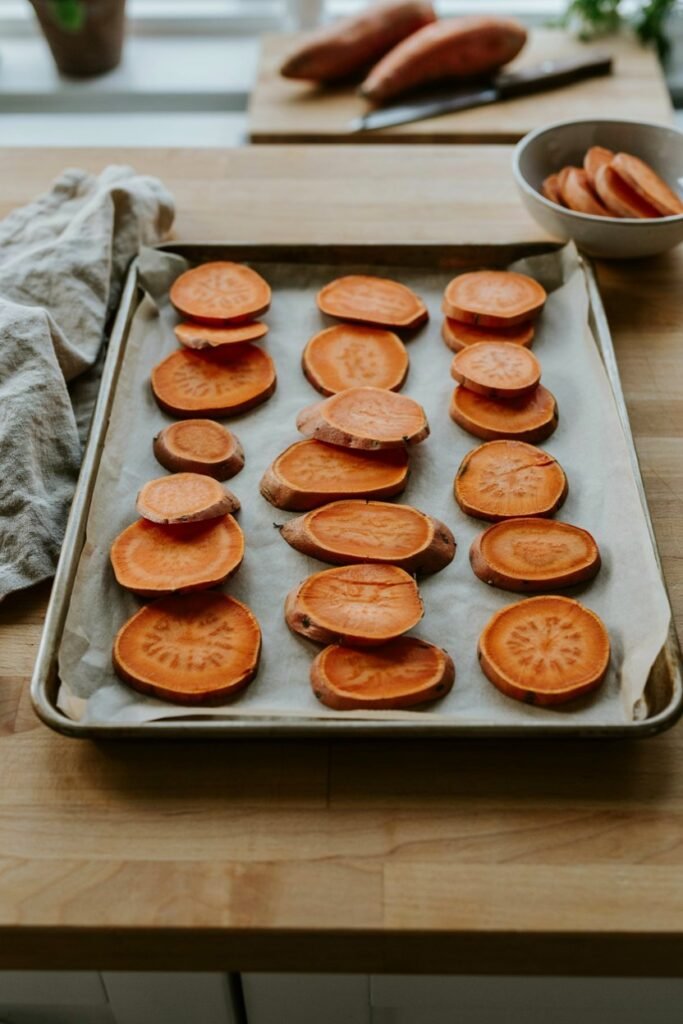
These are naturally chewy without any added sugar, which customers with sensitive dogs specifically loved.
Materials needed: 2 large sweet potatoes, sharp knife
Instructions:
- Slice sweet potatoes lengthwise into thin strips.
- Lay flat on a baking sheet.
- Bake at 250 degrees for about two and a half hours, flipping halfway.
I sold these in small bags for $6 and they became a favorite with owners of older dogs who needed something softer to chew.
4. Blueberry Yogurt Drops
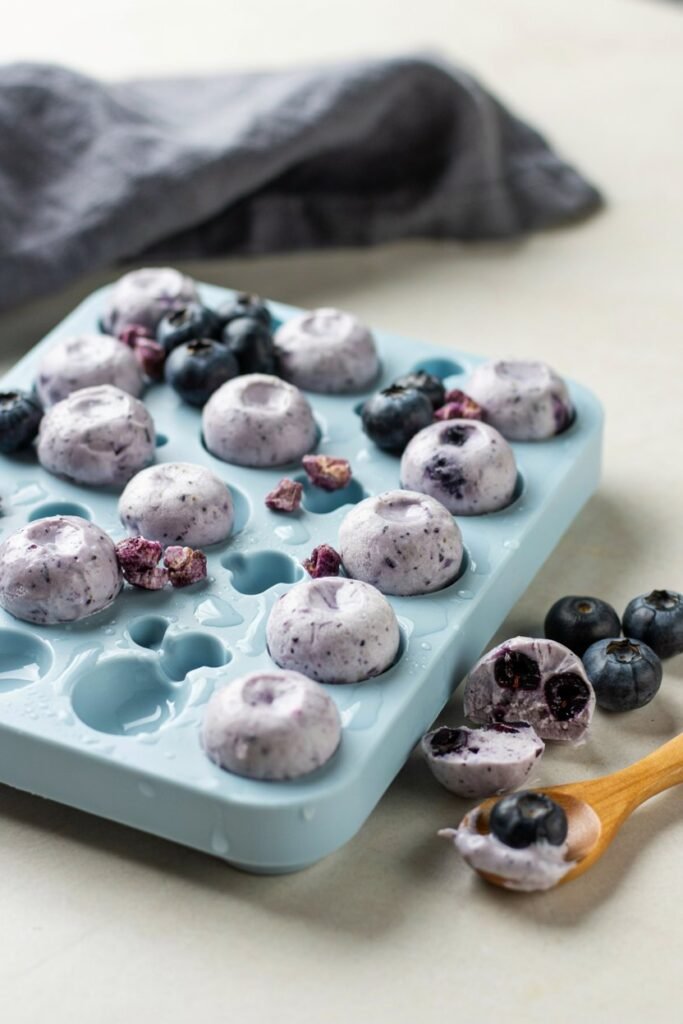
A frozen summer treat that moved fast at outdoor markets.
Materials needed: 1 cup plain yogurt, 1/2 cup fresh blueberries, silicone drop mold
Instructions:
- Mash blueberries lightly and stir into plain yogurt.
- Spoon into small silicone molds.
- Freeze for at least two hours before packaging.
These sold for $6 per bag and needed to stay cold, so I always packed them with ice at outdoor events.
5. Carrot Apple Crunch
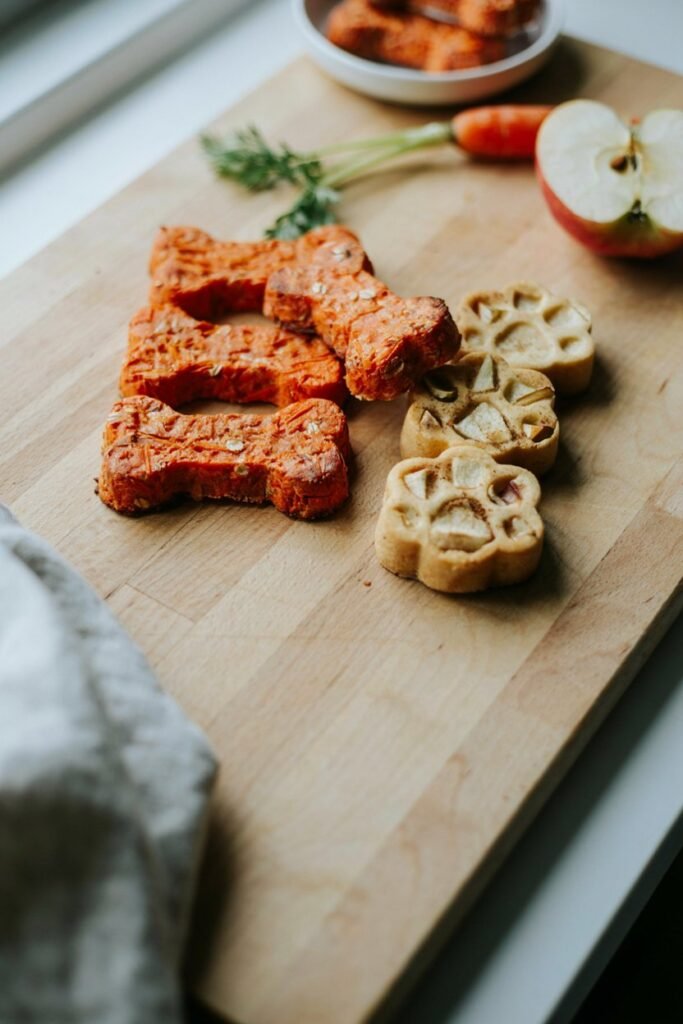
A crunchy, low fat option that appealed to owners managing their dog’s weight.
Materials needed: 1 cup oat flour, 1/2 cup grated carrot, 1/2 cup grated apple, cookie cutter
Instructions:
- Mix oat flour with grated carrot and grated apple.
- Roll out and cut into shapes.
- Bake at 350 degrees for 20 minutes until crisp.
I priced these at $6 and they were a hit with customers who specifically asked for lower calorie options.
6. Chicken Jerky Strips
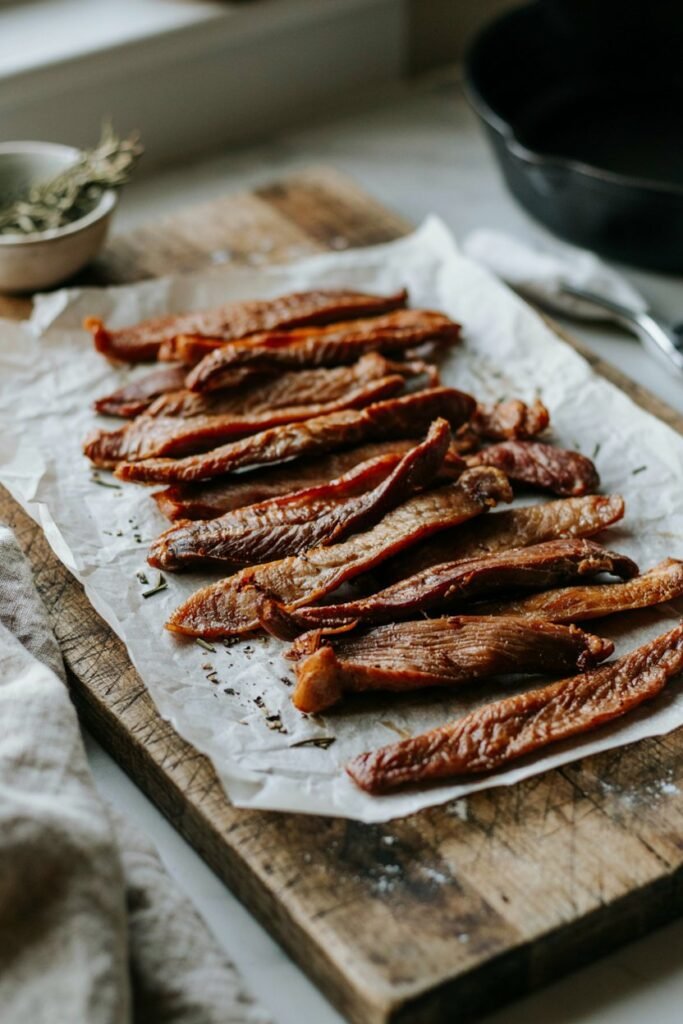
A protein heavy treat that became one of my highest priced items due to the cost of meat.
Materials needed: Boneless skinless chicken breast, sharp knife
Instructions:
- Slice chicken breast into thin, even strips.
- Lay flat on a baking sheet.
- Bake at 250 degrees for about three hours until fully dried and firm.
These sold for $10 per bag, and I always reminded customers to refrigerate them since they contain no preservatives.
7. Cheesy Herb Biscuits
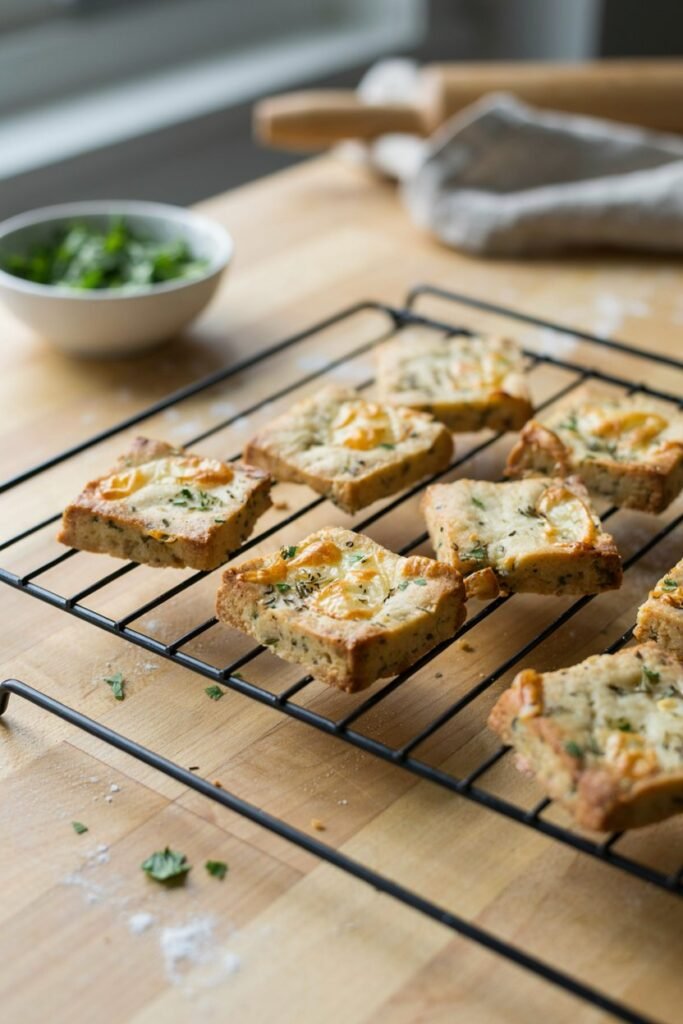
A savory option that stood out next to all the sweeter treats on my table.
Materials needed: 1 cup oat flour, 1/2 cup shredded cheddar, 1 tablespoon chopped parsley, water as needed
Instructions:
- Mix oat flour, cheddar, and parsley into a dough, adding water gradually until firm.
- Roll out and cut into small squares.
- Bake at 350 degrees for 18 minutes.
These sold for $7 and became a favorite with dogs who seemed less interested in sweeter treats.
8. Frozen Peanut Butter Cups
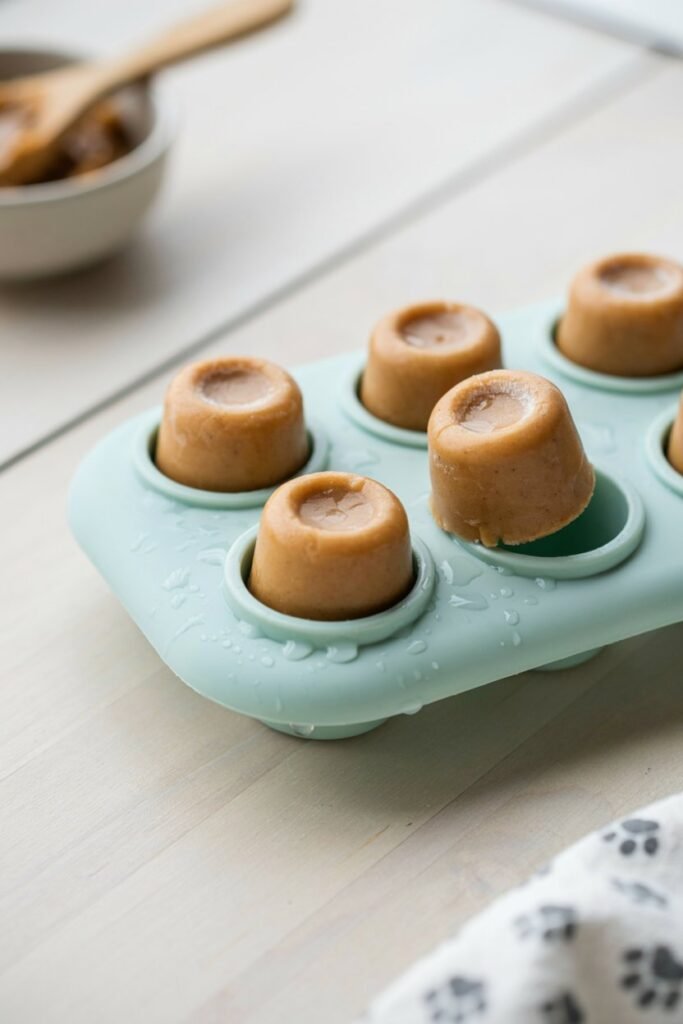
A simple, no bake treat that worked perfectly for hot summer market days.
Materials needed: Xylitol free peanut butter, plain yogurt, small silicone cupcake molds
Instructions:
- Mix peanut butter and plain yogurt until smooth.
- Spoon into silicone molds.
- Freeze for at least two hours before serving or packaging.
These sold for $6 per pack of four and needed to stay frozen until purchase.
9. Salmon and Rice Bites
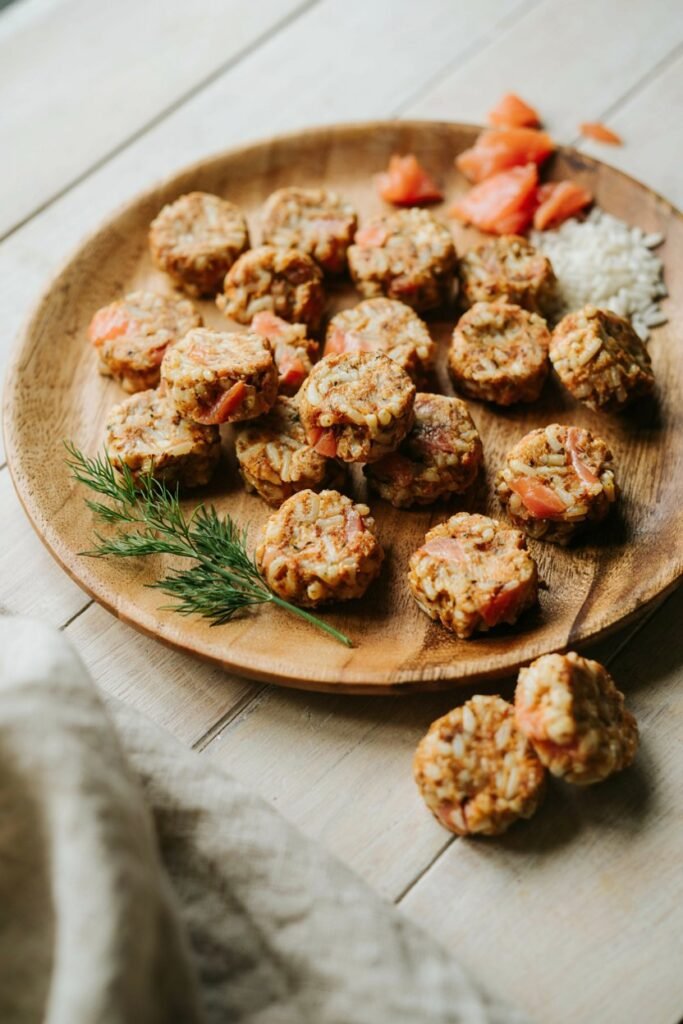
A gentle option I developed after several customers asked for something suitable for dogs with sensitive stomachs.
Materials needed: 1 cup cooked rice, 1/2 cup canned salmon, 1 egg
Instructions:
- Mix cooked rice, salmon, and egg into a firm mixture.
- Shape into small bite sized rounds.
- Bake at 350 degrees for 20 minutes.
I priced these at $9 and they became especially popular through word of mouth among owners of dogs with allergies.
10. Birthday Cake Pupcakes
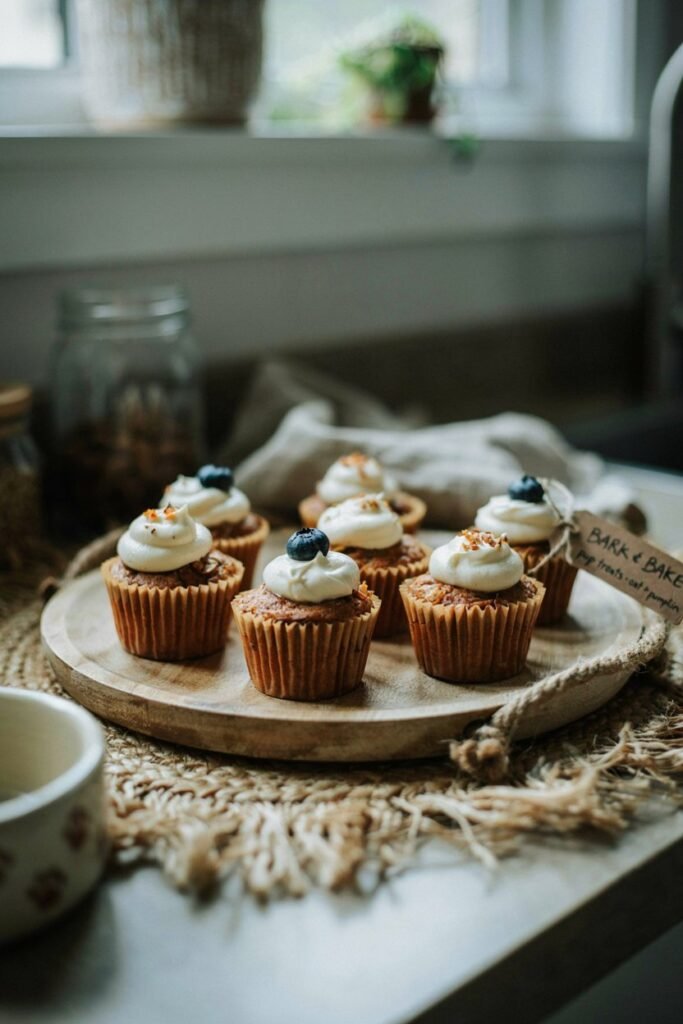
My most requested custom order, made for dog birthdays and adoption anniversaries.
Materials needed: 1 cup oat flour, 1/2 cup mashed banana, 1 egg, plain yogurt for frosting, mini cupcake liners
Instructions:
- Mix oat flour, mashed banana, and egg into a batter.
- Pour into mini cupcake liners and bake at 350 degrees for 15 minutes.
- Top cooled cupcakes with a small swirl of plain yogurt as frosting.
I charged $5 per pupcake, and these consistently sold out around holidays and birthdays.
Extra Tips for Selling Dog Treats
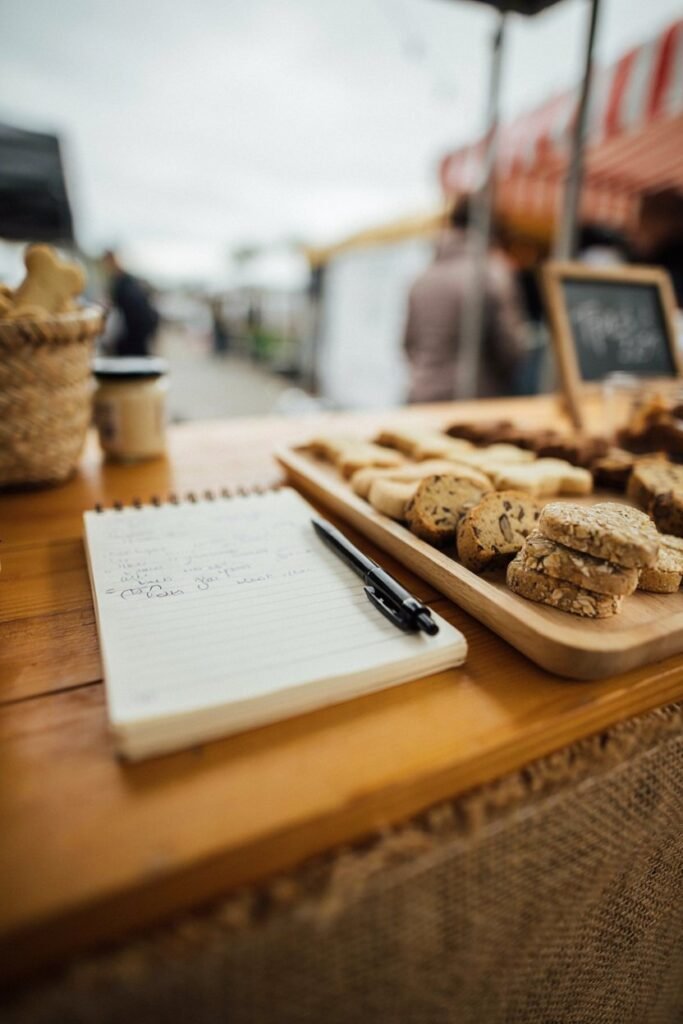
A few things I picked up along the way that didn’t fit neatly into any single recipe, but made a real difference in how well these treats sold.
Keep the ingredient list short and visible. Customers almost always flipped the bag over before buying, and a short, clean ingredient list built more trust than any sign or sales pitch I ever made.
Bake in small batches at first. I learned this after a large batch of chicken jerky went unsold and had to be tossed, since it has no preservatives and a short shelf life. Small batches meant less waste and fresher product every time.
Offer a sample plate at markets. Letting dogs sniff or try a small piece before their owner bought a full bag increased my sales more than any other single change I made.
Rotate seasonal flavors. Pumpkin treats in the fall and frozen peanut butter cups in the summer consistently outsold treats that stayed the same year round.
Package with the dog in mind, not just the owner. Sturdy, resealable bags mattered more to repeat customers than fancy packaging, since they were the ones actually storing treats at home between visits.
Always have your ingredient sourcing ready to explain. I got asked constantly where my chicken or salmon came from, and being able to answer confidently built trust fast, especially with customers who had dogs with allergies or sensitivities.
Keep a simple record of what sells. I started jotting down which treats sold out first at every market, and that habit alone shaped which recipes made it onto this list.
Frequently Asked Questions
Are homemade dog treats safe to sell? Yes, as long as you use dog safe ingredients, avoid anything toxic like xylitol, chocolate, grapes, or onion, and follow your local cottage food regulations.
Always list every ingredient clearly on the packaging.
How long do homemade dog treats last? Baked treats generally last one to two weeks at room temperature, while soft or frozen treats should be refrigerated and used within a few days.
What ingredients should never go into dog treats? Avoid xylitol, chocolate, grapes, raisins, onion, and garlic, since all of these are toxic to dogs even in small amounts.
How much should I charge for homemade dog treats? Calculate your ingredient cost plus your time, then add a reasonable margin.
Most of my treats sold between $5 and $10 depending on ingredients and prep time.
Do I need a special license to sell dog treats? Many areas require a cottage food permit or similar license for homemade pet treats. Always check your local and state regulations before selling.
Which dog treat recipe sells the best? In my experience, simple recipes with recognizable ingredients, like pumpkin oat bones and peanut butter banana bites, consistently outsold more complicated options.
Final Thoughts
Looking back, treats ended up being the part of my business I was most nervous to start and the part that grew the fastest once I did.
What surprised me most wasn’t which recipes sold, it was how much customers cared about knowing exactly what was in each bag.
The simplest recipes with the fewest, most recognizable ingredients almost always outsold the fancier ones I spent hours perfecting.
If you’re just starting out, don’t feel like you need all ten recipes on day one. I built this list slowly, one market at a time, adding a new treat only after the last one proved itself.
Start with something simple like the pumpkin oat bones, pay close attention to what your customers actually ask for again, and let that feedback shape what you bake next.
That’s really how this whole list came together in the first place.