DIY Pet Accessories to Make and Sell from Home: 15 Easy Projects for Dog and Cat Lovers
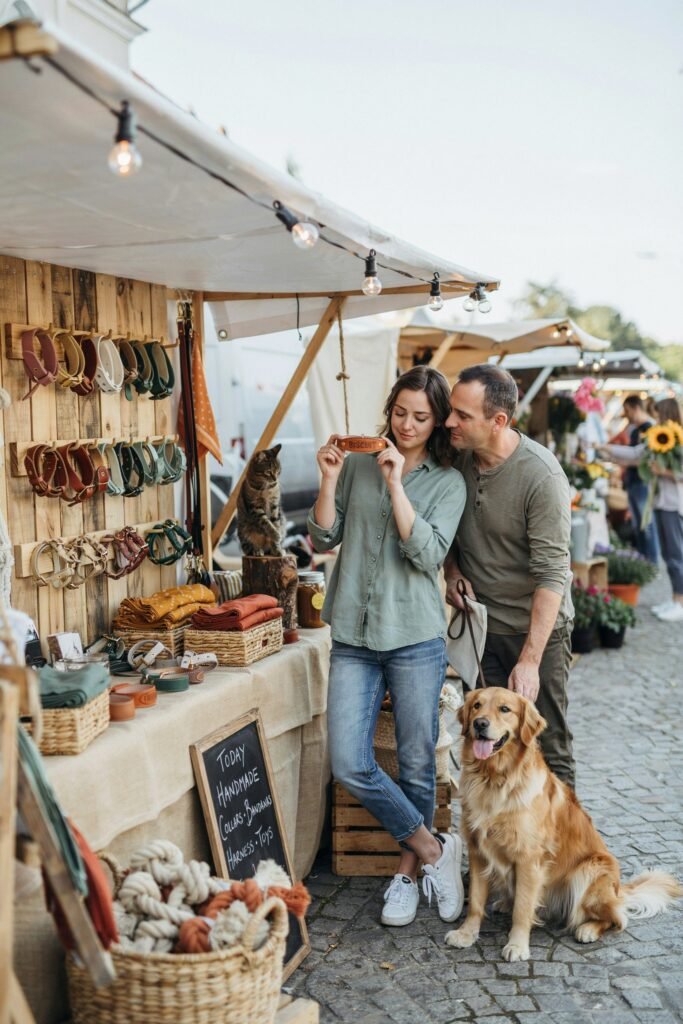
A few years ago, I noticed something interesting at my local craft market.
The busiest booth wasn’t selling expensive handmade furniture or trendy home décor.
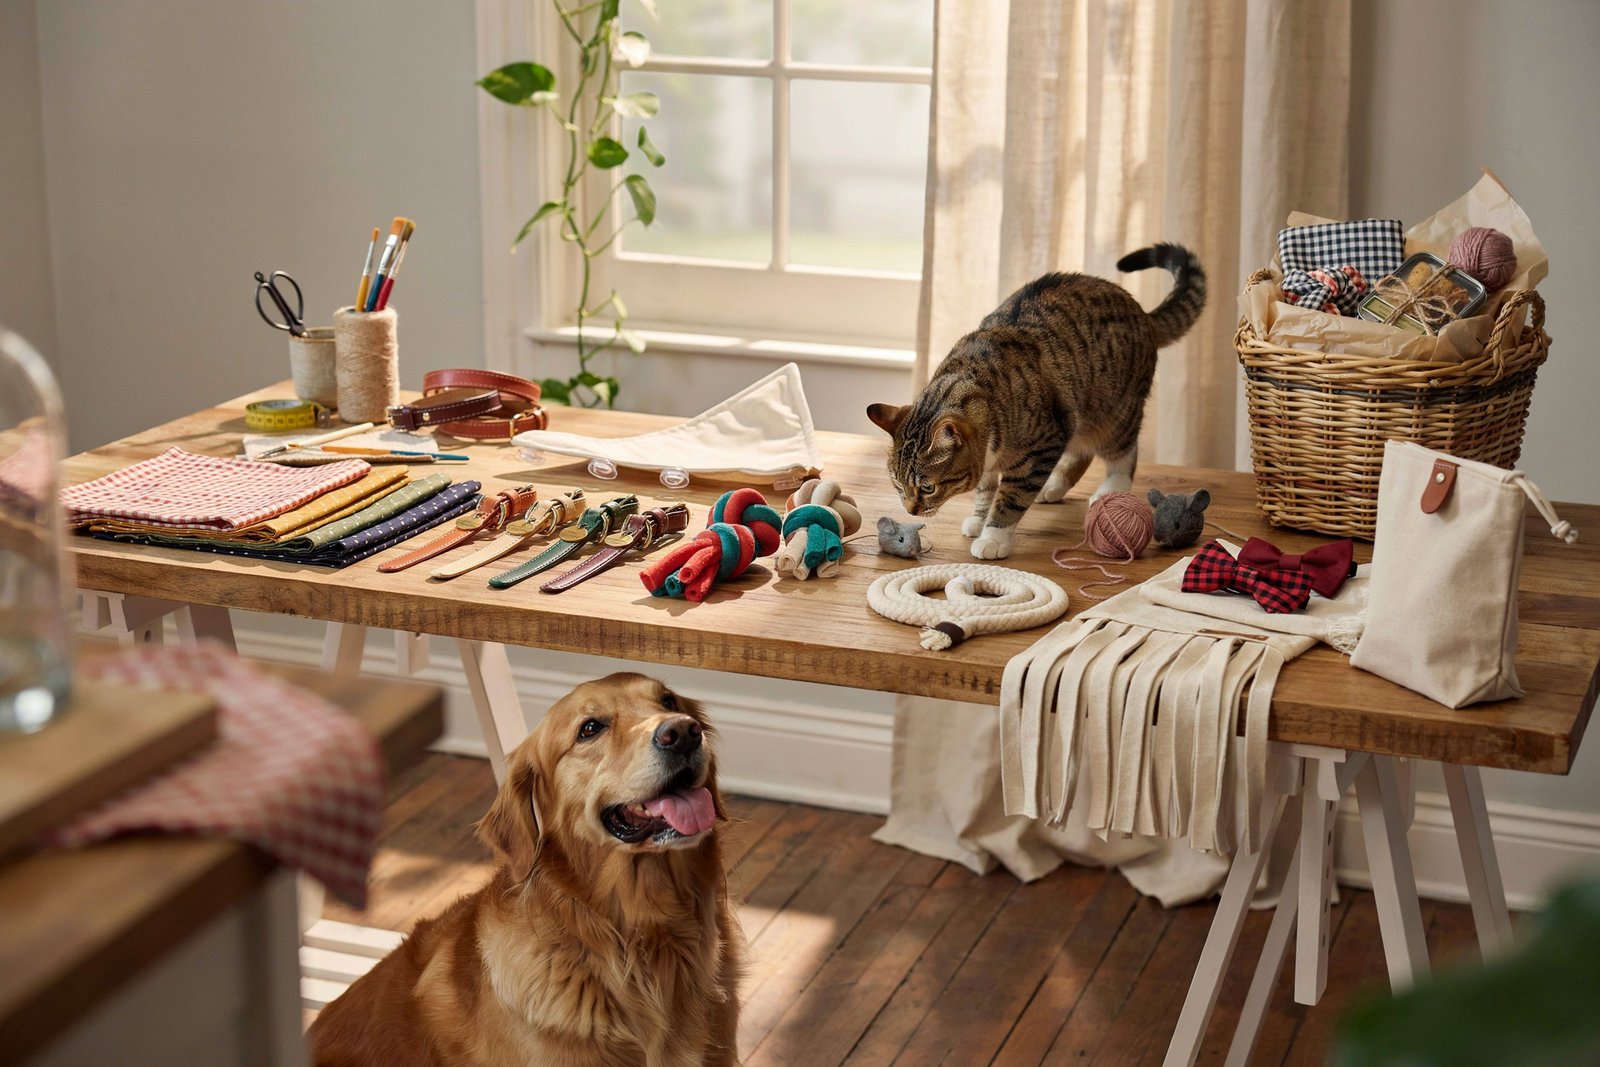
It was a small table filled with colorful dog bandanas, cat toys, personalized collars, and simple pet accessories.
People couldn’t stop browsing.
One customer picked up a handmade leash for her Labrador, then came back ten minutes later to buy a matching bandana and a cat toy for her sister’s kitten.
That was the moment I realized pet owners love buying handmade accessories that feel personal.
If you’ve been thinking about starting a small handmade business, pet accessories are one of the easiest niches to get into.
Many projects require only basic supplies, can be made from home, and have healthy profit margins when priced correctly.
In this guide, I’ll walk you through 15 DIY pet accessories you can make and sell, along with the materials you’ll need, simple step by step instructions, pricing ideas, and practical tips for creating products customers actually want.
Disclaimer
This post may contain affiliate links. As an Amazon Associate, I earn from qualifying purchases at no additional cost to you. I only recommend craft supplies and pet products that I genuinely believe are useful for creating DIY pet accessories. The information in this article is for general informational purposes only. Always use durable, pet safe, and non toxic materials when making products for dogs and cats.
Amazon Shopping List
- Hot Glue Gun Kit – I use this for so many quick and easy pet craft projects.
- Cricut Joy Xtra – I love making personalized pet accessories with it.
- Self Healing Cutting Mat – I always keep one on my craft table.
- Precision Craft Knife Set – I use this for clean, detailed cuts.
- Cotton Webbing Straps – I like using these for DIY collars, leashes, and harnesses.
- Heavy Duty Sewing Kit – I always keep one handy for sewing pet accessories.
- Cellophane Gift Bags – I use these to package finished products for customers.
Why Handmade Pet Accessories Sell So Well
People treat their pets like family.
That means they’re often happy to spend extra on accessories that look unique, personalized, or handmade with care.
Unlike mass produced products, handmade accessories can be customized with names, favorite colors, seasonal fabrics, or matching sets.
These personal touches make them ideal for gifts and repeat customers.
Before making your first product, remember these simple tips:
- Start with two or three products instead of making everything.
- Calculate your material costs before deciding on a selling price.
- Photograph every item in natural light, preferably on a real dog or cat.
- Test wearable accessories carefully for comfort and durability.
- Use pet safe materials whenever possible.
1. Personalized Dog Bandanas
Difficulty: Easy
Time Required: 20 to 30 minutes
Estimated Material Cost: $2 to $4 each
Typical Selling Price: $10 to $18 each
Why This Product Sells
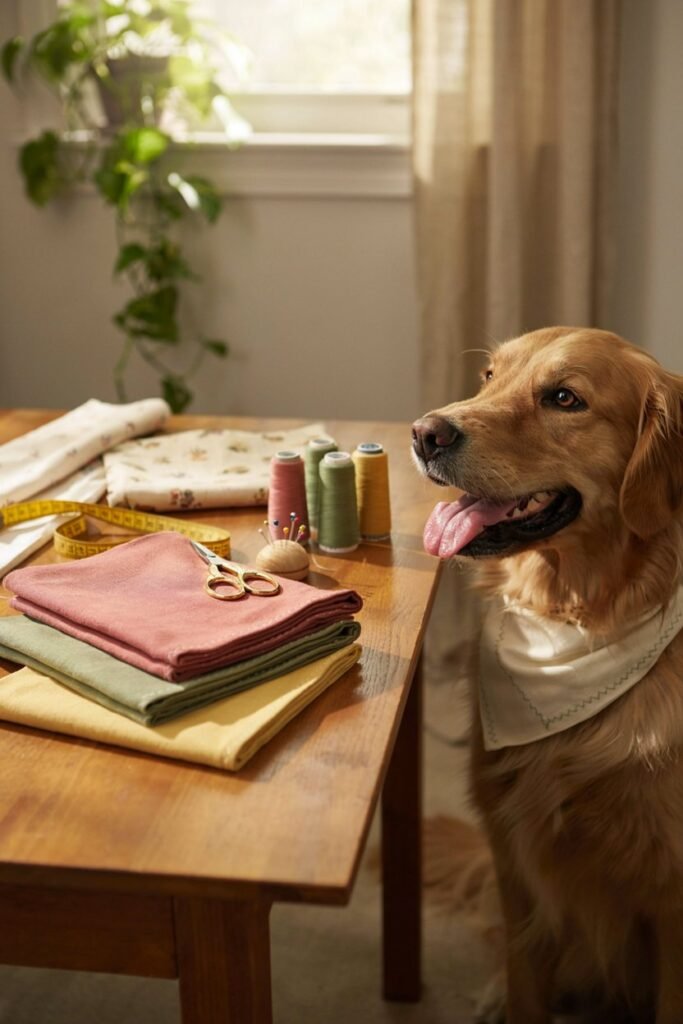
If you’re just starting a handmade pet business, dog bandanas are one of the best products to begin with.
They’re inexpensive to make, require only basic sewing skills, and appeal to almost every dog owner.
One thing I noticed early on was that customers rarely bought just one.
If I displayed several colors or seasonal patterns together, people often picked up two or three.
Personalized bandanas with a dog’s name were especially popular because they felt like custom gifts instead of ordinary pet accessories.
Another advantage is that bandanas don’t require complicated sizing like collars or harnesses.
Offering small, medium, and large sizes is usually enough for most breeds.
Materials You’ll Need
- Cotton quilting fabric
- Matching thread
- Fabric scissors or rotary cutter
- Cutting mat
- Measuring tape or ruler
- Sewing machine
- Iron
- Heat transfer vinyl or embroidery thread for personalization
- Kraft tags or packaging cards
Step by Step Instructions
Begin by choosing a lightweight cotton fabric that’s soft enough for everyday wear.
Wash and dry the fabric before cutting to prevent shrinking after the finished bandana is washed by the customer.
For a medium sized dog, measure and cut a 22 inch square.
Small dogs generally need an 18 inch square, while large breeds may require 24 to 26 inches.
Once cut, fold the square diagonally to create two matching triangles.
To create a professional finish, fold each raw edge inward about one quarter inch and press it with an iron.
Fold it over once more before sewing around all three sides.
This double fold creates clean edges that won’t fray after repeated washing.
If you’re adding a personalized name, do it before attaching decorative details.
Heat transfer vinyl should be pressed according to the manufacturer’s instructions, while embroidered names should be stitched before the final pressing.
Position the name near one corner so it remains visible when the bandana is tied around the dog’s neck.
Trim any loose threads and press the finished bandana once more so it looks crisp and ready for sale.
Beginner Tips
Stick with neutral colors like navy, olive green, beige, black, and cream when you’re first starting out.
These colors sell consistently throughout the year and appeal to a wide range of customers.
Seasonal fabrics can be added later for holidays once you know what your audience enjoys.
Common Mistakes to Avoid
One of the biggest mistakes beginners make is using fabric that’s too stiff.
Heavy fabrics don’t drape nicely around a dog’s neck and often look bulky.
Another common mistake is forgetting to prewash fabric.
Even high quality cotton can shrink slightly after washing, which may cause personalized designs to wrinkle.
Always double check the spelling of custom names before pressing vinyl or stitching embroidery.
It’s much easier to catch a typo before the design is permanently attached.
Packaging Ideas
Fold the bandana neatly around a kraft paper backing card and secure it with a branded sticker or twine.
Include simple washing instructions on the back of the card to make the product feel more professional.
Profit Tip
Cut multiple bandanas from the same piece of fabric before moving to the sewing machine.
Batch production saves time and helps keep your hourly earnings higher.
2. Adjustable Dog Collars
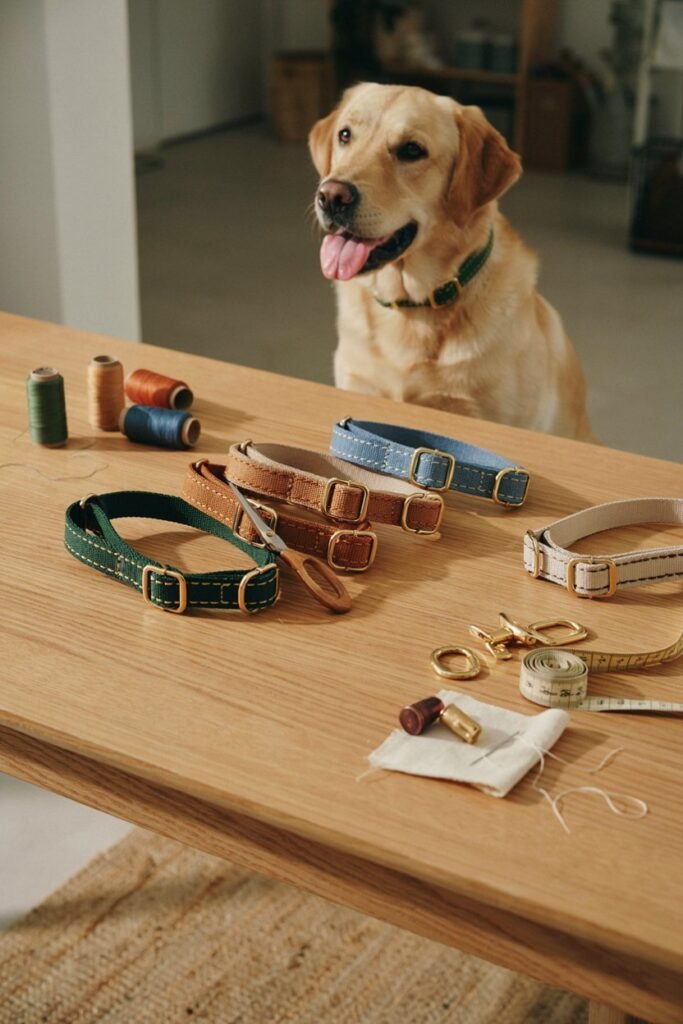
Difficulty: Moderate
Time Required: 35 to 50 minutes
Estimated Material Cost: $5 to $8 each
Typical Selling Price: $20 to $35 each
Why This Product Sells
Custom dog collars are one of the easiest ways to move into higher priced handmade pet products.
Unlike inexpensive store bought collars, handmade versions can be personalized with colors, embroidery, and premium hardware that customers can’t easily find elsewhere.
Many buyers are willing to spend more on a collar because it’s something their dog wears every day.
Matching collars and leashes also encourage customers to purchase complete sets, increasing your average order value.
Materials You’ll Need
- Heavy duty nylon webbing
- Side release buckle
- Metal D ring
- Adjustable slider
- Heavy duty polyester thread
- Sewing machine capable of sewing thick materials
- Measuring tape
- Fabric clips
Step by Step Instructions
Start by measuring the collar length based on the size you plan to sell.
Always leave enough extra webbing for adjustment so owners can achieve a comfortable fit.
Thread the webbing through the adjustable slider and buckle according to the hardware design.
Position the metal D ring where the leash will attach before folding the webbing back on itself.
Using heavy duty thread, sew several reinforced box stitches across every folded section.
These reinforcement stitches help distribute pulling force and create a much stronger finished collar.
If you’re adding embroidered names, complete that step before assembling the hardware.
This makes stitching much easier and gives a cleaner finished appearance.
Once assembled, inspect every stitch carefully. Tug firmly on the collar to make sure nothing shifts or loosens.
Any weak stitching should be reinforced before the collar is packaged.
Beginner Tips
Choose quality hardware from reputable suppliers rather than the cheapest options available online.
Customers notice the difference, and better hardware reduces the chance of future problems.
Offer only three or four colors at first.
Keeping your inventory simple makes production easier and reduces leftover materials.
Common Mistakes to Avoid
Don’t use lightweight sewing thread.
Dog collars experience constant pulling, so heavy duty polyester thread is a much better choice.
Avoid decorative stitching that replaces structural stitching.
Decoration should never weaken the collar’s strength.
Never skip your final inspection. Every collar should be checked carefully before it’s sold.
Packaging Ideas
Roll each collar neatly and place it inside a recyclable kraft box with a care card explaining how to clean the collar and inspect it regularly.
Profit Tip
Matching collars and leashes often sell better than individual products.
Offering coordinated sets can significantly increase your average sale.
3. Catnip Cat Toys
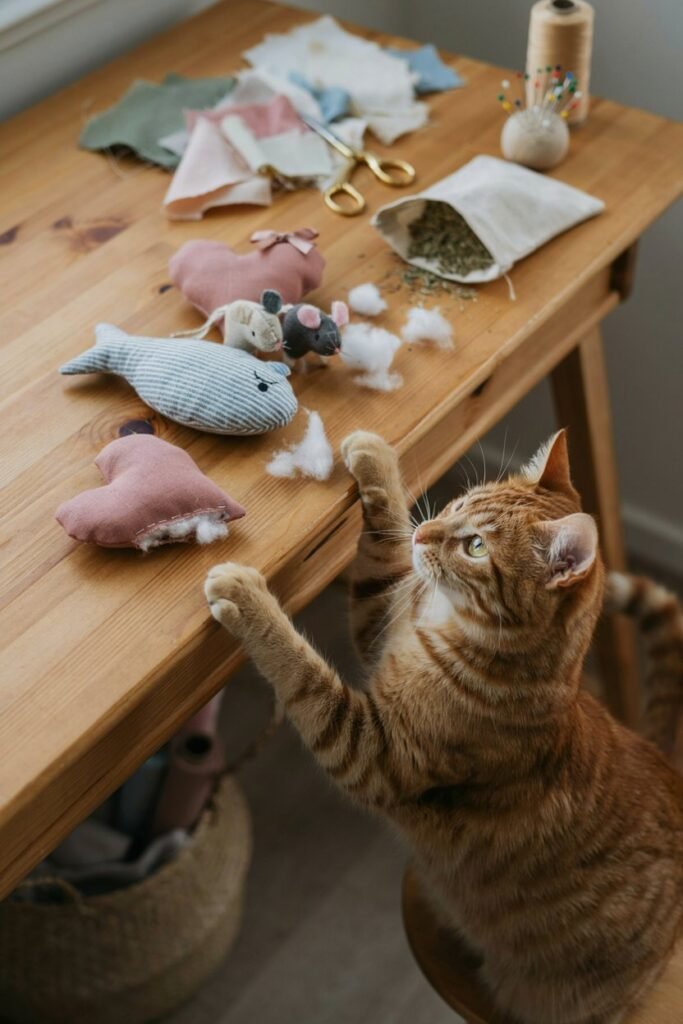
Difficulty: Easy
Time Required: 15 to 25 minutes
Estimated Material Cost: $1 to $3 each
Typical Selling Price: $5 to $12 each
Why This Product Sells
Catnip toys are one of the fastest products to make and one of the easiest impulse purchases at craft fairs and online shops.
Because they’re inexpensive, many customers buy several different designs at once.
Fish, mice, hearts, and small pillows are all popular choices, and offering a variety encourages multiple purchases.
These toys are also perfect for using leftover fabric from larger sewing projects, helping reduce waste while creating another product to sell.
Materials You’ll Need
- Cotton fabric
- High quality dried catnip
- Polyester fiber filling
- Sewing machine or hand sewing needle
- Fabric scissors
- Matching thread
- Paper templates
Step by Step Instructions
Choose tightly woven cotton fabric that can handle playful scratching.
Use a simple paper template to cut two matching shapes for each toy.
Place the two fabric pieces together with the right sides facing inward.
Sew around the edges, leaving a small opening for turning and stuffing.
Turn the toy right side out using a blunt tool or chopstick to gently push out the corners without damaging the seams.
Fill the toy with a small amount of polyester stuffing before adding dried catnip. You don’t need to overfill it.
A slightly soft toy is often more enjoyable for cats to grab and kick.
Hand sew the opening closed using small, secure stitches so the stuffing stays safely inside during play.
Finally, trim any loose threads and gently squeeze the toy to distribute the filling evenly before packaging.
Beginner Tips
Offer several shapes instead of making dozens of the same toy.
Small collections make your display look more interesting and encourage customers to browse longer.
Store dried catnip in an airtight container between projects to help preserve its freshness and aroma.
Common Mistakes to Avoid
Avoid overstuffing the toy. If it’s too firm, many cats lose interest because it’s harder to bite and kick naturally.
Check every seam carefully before packaging. Loose stitching can shorten the toy’s lifespan.
Packaging Ideas
Place each toy inside a small recyclable paper bag with a simple label describing the materials used.
Clear packaging also allows customers to smell the catnip without opening the product.
Profit Tip
Bundle three different toy designs together at a small discount.
Gift sets often outsell individual toys because customers feel they’re getting better value.
4. Braided Fleece Tug Toys
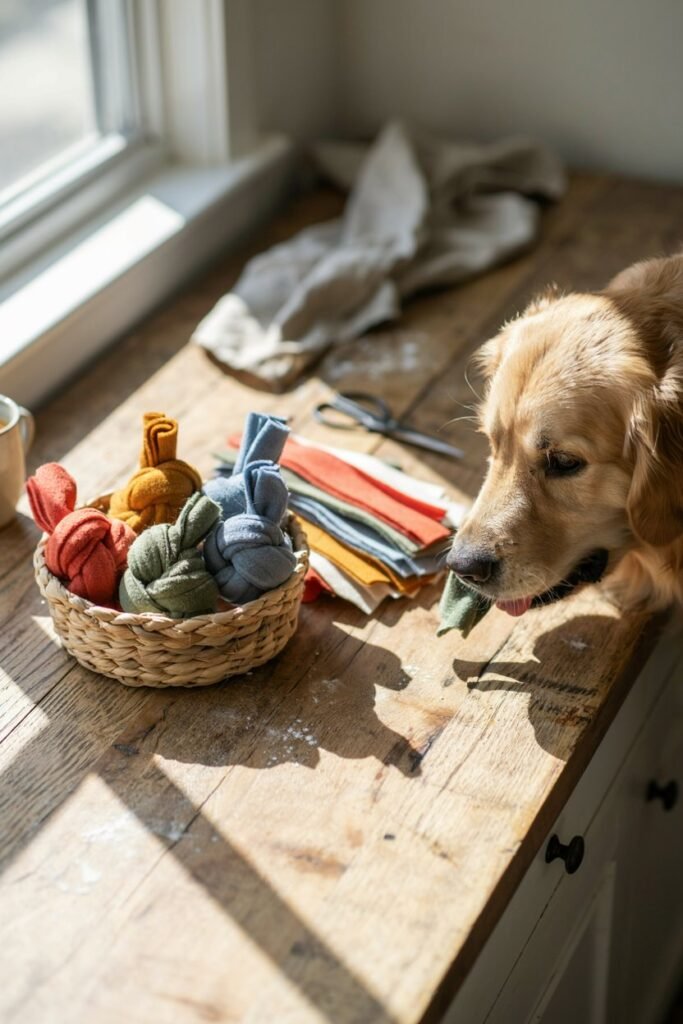
Difficulty: Easy
Time Required: 15 to 20 minutes
Estimated Material Cost: $1 to $3 each
Typical Selling Price: $6 to $10 each
Why This Product Sells
Braided fleece tug toys are one of my favorite beginner projects because they’re inexpensive to make, require almost no special equipment, and are an excellent way to use leftover fleece from other sewing projects.
Customers also appreciate that fleece is soft on a dog’s mouth compared to rough rope toys.
At craft fairs, these toys often became impulse purchases because people could easily pick one up while buying a collar or bandana.
I found that displaying several bright color combinations together made the table look more inviting and encouraged customers to buy multiple toys for different dogs.
Materials You’ll Need
- Anti pill fleece fabric
- Sharp fabric scissors or rotary cutter
- Measuring tape
- Cutting mat
- Kraft tags for packaging
Step by Step Instructions
Start by selecting high quality anti pill fleece since it holds up better to repeated tugging and washing than thinner fabrics.
Cut three strips that are approximately 3 inches wide and 20 inches long for a medium sized tug toy.
Stack the strips evenly and tie a secure overhand knot about 2 inches from one end.
Pull the knot tightly so it won’t loosen during play.
Separate the three strips and begin braiding them just as you would braid hair.
Try to keep the braid firm and even throughout the entire length.
A loose braid may become uneven after use, while an overly tight braid can make the toy stiff.
Once you reach the end, tie another tight knot and trim any uneven fleece ends with scissors.
Fluff the ends slightly to give the finished toy a playful appearance.
Before packaging, tug firmly on both ends several times to make sure the knots remain secure.
Beginner Tips
Choose two or three coordinating fleece colors instead of using every color you have.
Simple color combinations often look more professional than overly busy patterns.
If you’re making several toys at once, cut all the fleece strips first before braiding.
Batch production saves a surprising amount of time.
Common Mistakes to Avoid
Avoid using thin craft felt or stretchy knit fabric instead of fleece.
These materials wear out much faster during play.
Don’t leave loose knots or uneven braids, as they make the toy look unfinished and less durable.
Packaging Ideas
Roll the toy neatly and secure it with a kraft paper belly band that includes your business name and basic care instructions.
Simple packaging keeps production costs low while still looking attractive.
Profit Tip
Bundle three tug toys together using different colors and offer a small discount.
Customers shopping for multiple dogs often preferred buying a set instead of individual toys.
5. Matching Pet and Owner Bandanas
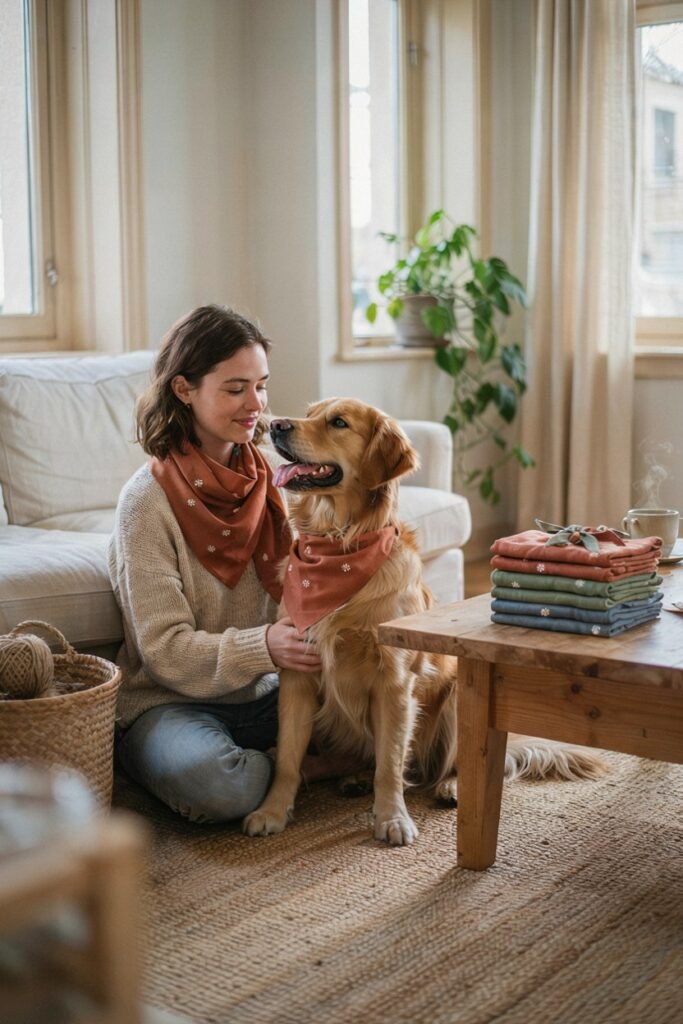
Difficulty: Easy
Time Required: 35 to 45 minutes
Estimated Material Cost: $5 to $8 per set
Typical Selling Price: $20 to $35 per set
Why This Product Sells
Matching accessories have become increasingly popular thanks to social media.
Many pet owners enjoy taking family photos, celebrating birthdays, or creating holiday pictures with coordinated outfits.
Unlike a standard pet bandana, matching sets feel like a thoughtful gift, making them especially popular around Mother’s Day, Christmas, and birthdays.
These sets also increase your average sale because customers purchase two coordinated items instead of one.
Materials You’ll Need
- Cotton fabric
- Matching thread
- Sewing machine
- Fabric scissors
- Measuring tape
- Iron
Step by Step Instructions
Choose a fabric pattern that looks attractive on both people and pets.
Medium sized prints usually work better than oversized patterns because they’re visible on smaller bandanas.
Begin by making the pet bandana using the same method described earlier in this guide.
Once finished, cut the remaining fabric for either a human neck scarf, headband, or hair scrunchie.
Hem all raw edges carefully and press every seam with an iron for a polished finish.
Fold both accessories neatly and package them together so customers can immediately see they belong as a matching set.
Photographing the finished products on both a dog and its owner can dramatically improve online listings because buyers instantly understand the concept.
Beginner Tips
Neutral floral prints, plaid patterns, and simple seasonal fabrics tend to appeal to the widest audience.
Offer matching sets in small collections instead of dozens of different fabrics.
Limited choices actually make buying decisions easier.
Common Mistakes to Avoid
Avoid making the human accessory overly complicated.
Simple scarves and scrunchies are usually quicker to produce and easier to sell.
Don’t forget to prewash patterned fabrics since some colors may bleed slightly during the first wash.
Packaging Ideas
Wrap both accessories together with twine and a kraft tag reading “Matching Best Friends Set.” Gift style packaging helps justify a higher selling price.
Profit Tip
Holiday themed matching sets often become your highest value seasonal products because customers buy them specifically for family photos.
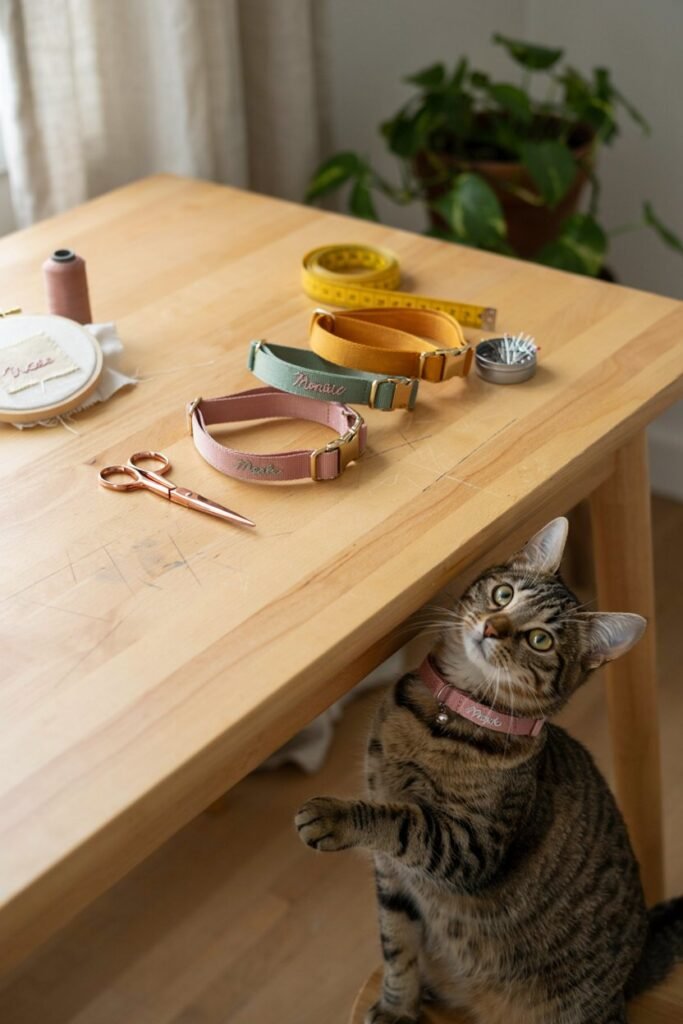
6. Personalized Cat Collars
Difficulty: Moderate
Time Required: 30 to 45 minutes
Estimated Material Cost: $4 to $6 each
Typical Selling Price: $15 to $25 each
Why This Product Sells
Cat owners enjoy personalized accessories just as much as dog owners, especially for indoor cats and new kittens.
Lightweight custom collars make thoughtful gifts, and adding a name or embroidered detail creates something customers can’t easily buy in stores.
Many shoppers also purchase matching collars for households with multiple cats.
Materials You’ll Need
- Soft nylon webbing
- Breakaway safety buckle
- Small D ring
- Bell (optional)
- Embroidery thread or heat transfer vinyl
- Sewing machine
- Measuring tape
Step by Step Instructions
Begin by cutting the nylon webbing according to your desired collar size, allowing extra length for adjustment.
Before attaching any hardware, personalize the collar by embroidering the cat’s name or adding a decorative design.
Completing personalization first makes sewing much easier.
Thread the webbing through the adjustable buckle and breakaway clasp according to the manufacturer’s instructions.
Position the D ring before folding the webbing back on itself.
Using heavy duty polyester thread, sew reinforced box stitches through every folded section.
Check that the breakaway buckle opens and closes smoothly without sticking.
Inspect every stitch carefully before packaging. Tug gently on the finished collar to confirm that all hardware remains secure.
Beginner Tips
Always use breakaway safety buckles designed specifically for cats.
These buckles are made to release under pressure if a collar becomes caught, making them a safer choice than standard buckle styles.
Keep your embroidery simple. A clean embroidered name often looks far more professional than an overly detailed design.
Common Mistakes to Avoid
Avoid using oversized hardware that adds unnecessary weight to the collar.
Never use decorative charms that could become uncomfortable or distract from the collar’s intended fit.
Double check the adjustment range before selling to ensure the collar fits the size it’s labeled for.
Packaging Ideas
Display each collar on a small kraft backing card with a simple sizing guide and care instructions.
Professional presentation helps increase customer confidence in handmade products.
Profit Tip
Offer matching collars in complementary colors for households with multiple cats.
Customers with two or three cats often appreciate coordinated designs and are more likely to purchase several collars at once.
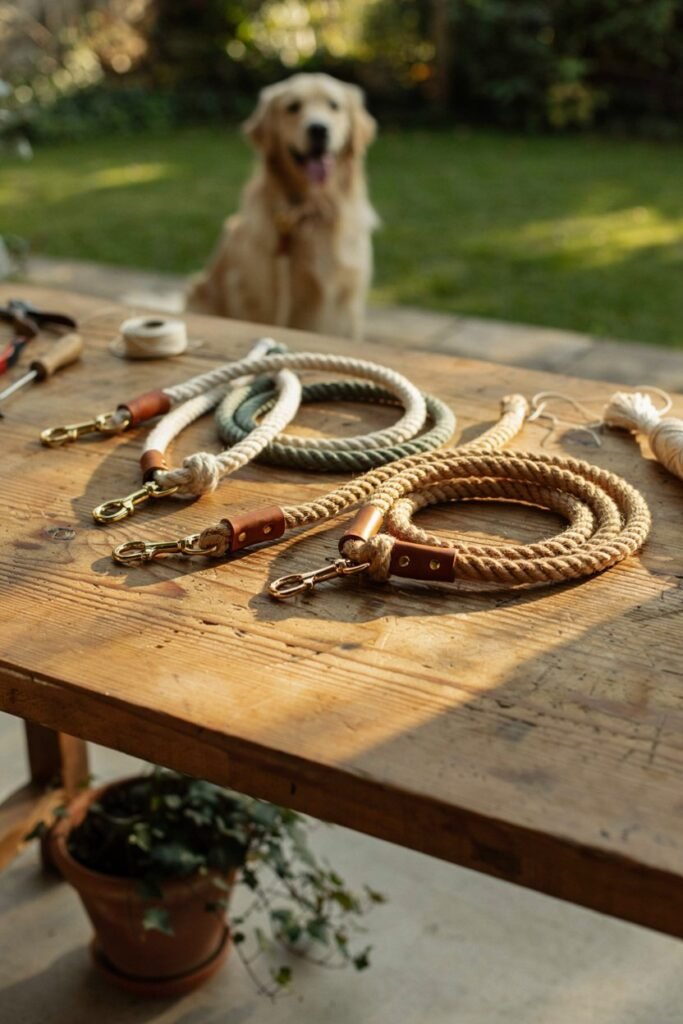
7. Handmade Rope Dog Leashes
Difficulty: Moderate
Time Required: 45 to 60 minutes
Estimated Material Cost: $8 to $12 each
Typical Selling Price: $30 to $45 each
Why This Product Sells
If you’re looking for a product with a higher profit margin, handmade rope leashes are worth considering.
Customers often associate rope leashes with premium quality, especially when they’re finished with leather accents or stylish hardware.
One thing I noticed is that people rarely bought these because they needed another leash.
They bought them because they looked beautiful.
Displaying a leash beside a matching collar instantly made the setup feel more like a boutique collection than a craft table.
Materials You’ll Need
- Cotton climbing rope or braided cotton rope
- Heavy duty swivel clasp
- Leather strip or faux leather wrap
- Strong adhesive
- Heavy duty polyester thread
- Sharp scissors
- Measuring tape
- Heat shrink tubing (optional)
Step by Step Instructions
Begin by cutting the rope to your desired length.
Most everyday dog leashes measure between 5 and 6 feet, but shorter training leashes and longer walking leashes can also be popular.
Thread one end of the rope through the swivel clasp and fold it back several inches.
Secure the folded section with heavy duty stitching or whipping cord, depending on the construction method you choose.
Wrap the stitched area with a strip of leather or faux leather to create a cleaner, more professional finish.
Secure the wrap neatly with strong adhesive and a few hidden stitches.
Repeat the process on the opposite end to create the handle.
Make sure the handle is large enough to fit comfortably around an adult hand while still feeling secure during walks.
Carefully inspect every connection point before packaging.
Pull firmly on both the handle and clasp several times to ensure nothing shifts or loosens.
Beginner Tips
Neutral rope colors such as cream, charcoal, olive, and tan appeal to the widest range of buyers and coordinate easily with handmade collars.
Offering matching leash and collar sets can significantly increase your average sale.
Common Mistakes to Avoid
Avoid lightweight hardware intended for decorative crafts.
Dog leashes should always use hardware designed for pet products.
Keep your stitching neat and consistent.
Crooked stitching immediately makes the product look less professional.
Packaging Ideas
Coil the leash neatly and tie it with jute twine or place it inside a simple kraft gift box with a branded tag.
Customers appreciate attractive packaging, especially when buying gifts.
Profit Tip
Photograph the leash outdoors on a well groomed dog during golden hour.
Natural lifestyle photos consistently perform better online than plain white background images.
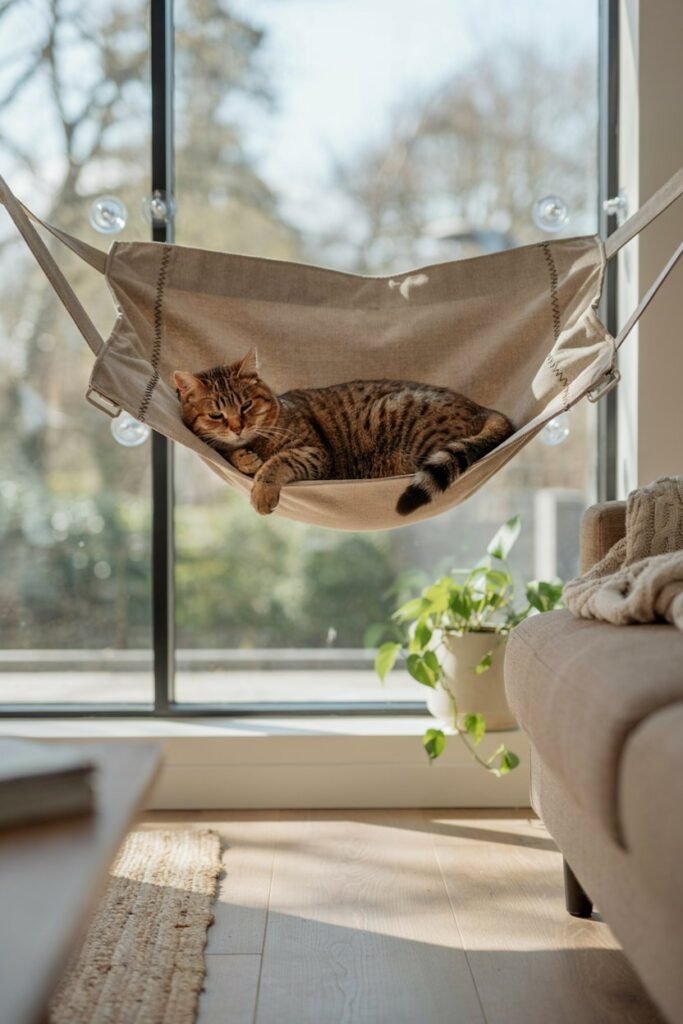
8. Cat Window Hammocks
Difficulty: Moderate
Time Required: 45 to 60 minutes
Estimated Material Cost: $10 to $15 each
Typical Selling Price: $30 to $50 each
Why This Product Sells
Indoor cats naturally enjoy climbing and watching the world outside.
Window hammocks provide a cozy resting place while giving cats a higher viewpoint, making them a popular enrichment product.
Customers often appreciate accessories that improve a pet’s daily routine rather than simply looking decorative.
A well made hammock can become one of those products people recommend to friends.
Materials You’ll Need
- Heavy duty canvas or upholstery fabric
- Wooden dowels or sturdy support rods
- Heavy duty suction cups designed for pet hammocks
- Sewing machine
- Heavy duty thread
- Measuring tape
- Fabric scissors
Step by Step Instructions
Cut two identical pieces of heavy canvas fabric according to your chosen hammock size.
Place them with the right sides facing together and sew around the edges, leaving one side open.
Turn the fabric right side out and press it flat with an iron.
Topstitch around the edges to strengthen the seams and create a cleaner finish.
Create fabric channels at both ends where the support rods will slide through.
Insert the rods carefully, making sure they fit snugly without stretching the fabric.
Attach the suction cup supports according to the hardware instructions.
Before selling, test the hammock on a clean window to confirm that everything remains secure.
Beginner Tips
Choose neutral fabrics that blend easily into modern homes.
Beige, gray, olive, and cream are consistently popular choices.
Offer a removable washable cover if possible. Customers appreciate products that are easy to clean.
Common Mistakes to Avoid
Avoid lightweight fabric that stretches under weight.
Upholstery fabric or heavy canvas provides much better support.
Never skip testing the finished hammock before selling.
Packaging Ideas
Fold the hammock neatly with the rods removed and package all hardware inside a reusable cotton storage bag.
Include simple installation instructions with clear illustrations.
Profit Tip
Show lifestyle photos of a relaxed cat comfortably using the hammock.
Customers are much more likely to imagine their own pet enjoying the product.
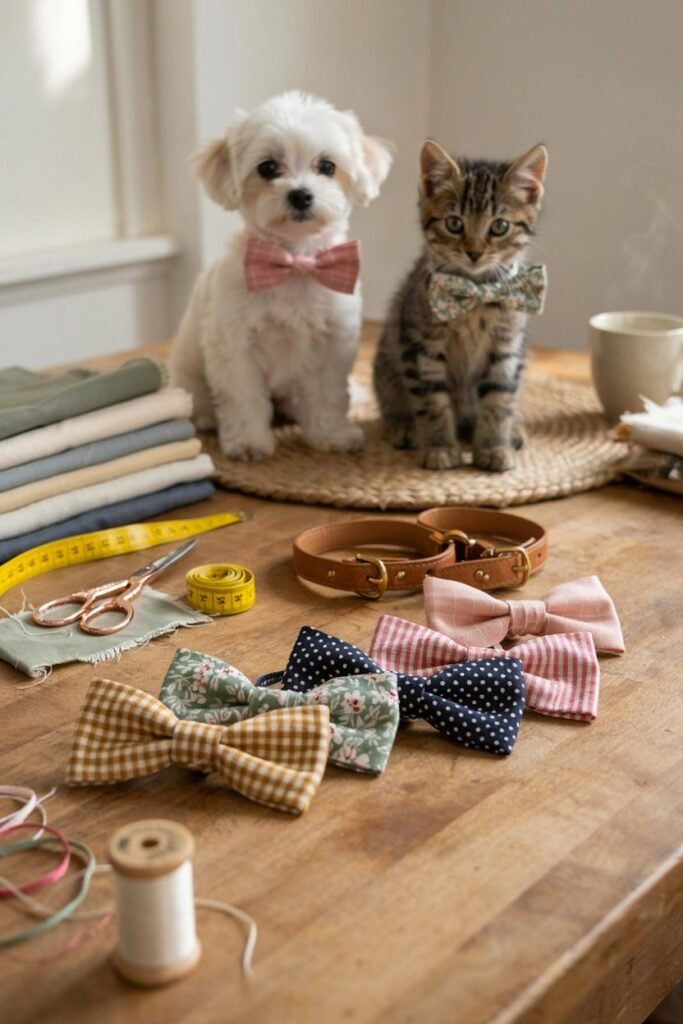
9. Personalized Pet Bow Ties
Difficulty: Easy
Time Required: 15 to 20 minutes
Estimated Material Cost: $2 to $3 each
Typical Selling Price: $8 to $15 each
Why This Product Sells
Bow ties may be small, but they consistently become one of the easiest add on purchases.
Many customers buy them for birthdays, weddings, family photos, or holiday celebrations.
Because they’re affordable, they’re often added to larger orders without much hesitation.
Offering matching bow ties with collars or bandanas also encourages customers to build complete accessory sets.
Materials You’ll Need
- Cotton fabric
- Matching thread
- Elastic loop
- Needle and thread
- Sewing machine
- Iron
- Fabric scissors
Step by Step Instructions
Cut one larger rectangle for the main bow and a smaller strip for the center wrap.
Fold the larger rectangle in half with the right sides together and sew around the edges, leaving a small opening.
Turn the fabric right side out, press it flat, and hand sew the opening closed.
Pinch the center of the bow into neat folds and wrap the smaller fabric strip around the middle.
Stitch the strip securely at the back where it won’t be visible.
Slide an elastic loop behind the center wrap so customers can easily attach the bow tie to an existing collar.
Press the finished bow tie one final time before packaging.
Beginner Tips
Classic plaid, gingham, and solid neutral fabrics sell throughout the year.
Seasonal prints can be added for holidays without replacing your core collection.
Offer multiple sizes for kittens, cats, puppies, and large dogs.
Common Mistakes to Avoid
Don’t overstuff the center wrap with thick layers of fabric, or the bow may look bulky instead of crisp.
Check that the elastic loop fits comfortably around standard collar widths before selling.
Packaging Ideas
Attach the bow tie to a small display card featuring a simple illustration showing how it fits onto a collar.
This helps customers understand the product immediately.
Profit Tip
Display bow ties beside matching collars or bandanas rather than by themselves.
Coordinated displays often lead to larger purchases.
Tips for Selling Handmade Pet Accessories
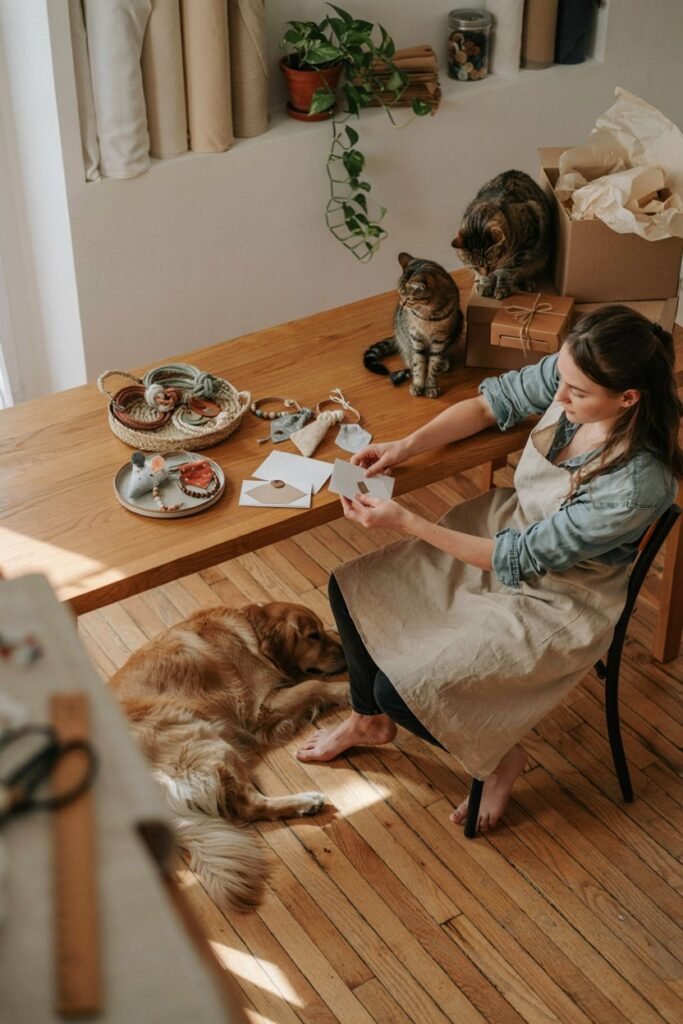
Once you’ve made a few products, focus on presentation as much as craftsmanship.
- Photograph products using real dogs and cats.
- Offer matching collections instead of individual items.
- Create seasonal designs for holidays.
- Allow customers to personalize names and colors.
- Package products professionally with simple branded tags.
- Price based on both materials and the time required to make each item.
Small details often make the difference between a casual hobby and a successful handmade business.
Where to Sell Your Handmade Pet Accessories
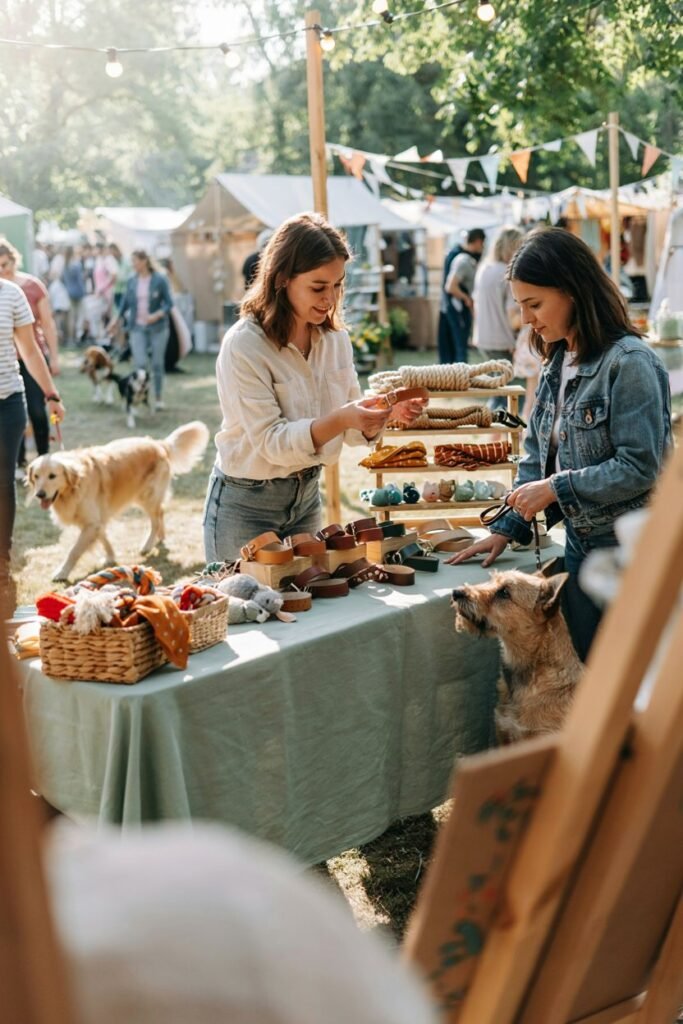
You don’t need a physical store to start.
Some of the best places include:
- Etsy
- Local craft fairs
- Farmers markets
- Facebook Marketplace
- Local pet boutiques
- Instagram Shop
- Your own website
Starting locally also gives you valuable feedback before expanding online.
Frequently Asked Questions
What is the easiest pet accessory to make and sell?
Dog bandanas, catnip toys, fleece tug toys, and pet bow ties are some of the easiest beginner projects because they require inexpensive materials and simple sewing skills.
Which handmade pet accessories make the most money?
Personalized collars, rope leashes, pet gift baskets, and snuffle mats often offer the highest profit margins because customers are willing to pay more for custom or premium products.
Can I sell homemade pet accessories online?
Yes. Many handmade sellers successfully sell through Etsy, their own websites, social media, and local markets.
Always describe products accurately and follow any applicable local requirements for the types of products you sell.
Final Thoughts
Starting a handmade pet accessory business doesn’t require a huge investment.
Many of these projects can be made with basic craft supplies and a little creativity.
Rather than trying to offer dozens of different products immediately, focus on making a few accessories exceptionally well.
Listen to customer feedback, improve your designs, and gradually expand your collection.
Some of the most successful handmade pet businesses started with a single bandana, toy, or collar.
With patience and consistent quality, your favorite craft could become the foundation of a rewarding home business.