Homemade Beef and Vegetable Chew Sticks Dogs Love
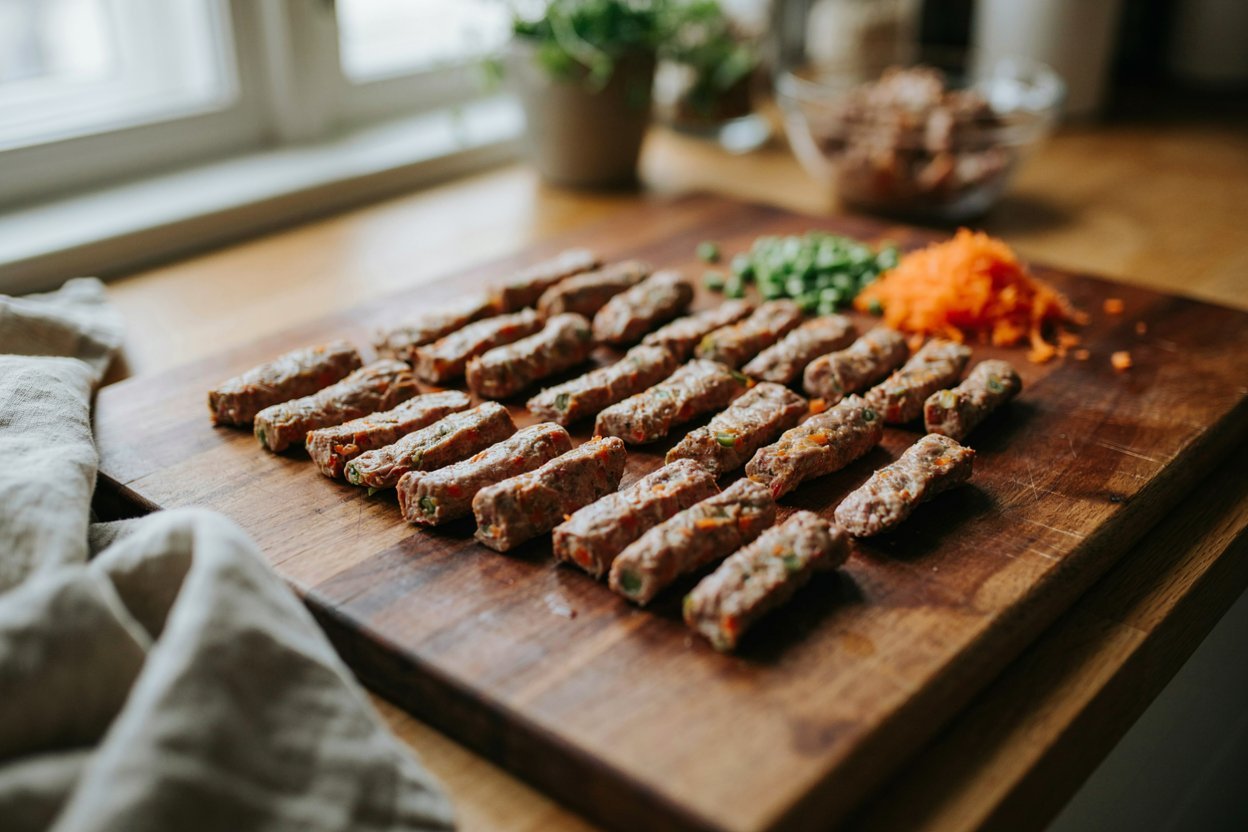
Some treats are about flavor, and others are about giving a dog something satisfying to work on, and these chew sticks were designed with the second goal in mind.
Made from lean ground beef and finely chopped vegetables, then baked low and slow until firm and dense, these sticks give dogs a longer lasting chew compared to a standard biscuit, without relying on any rawhide or processed chew products.
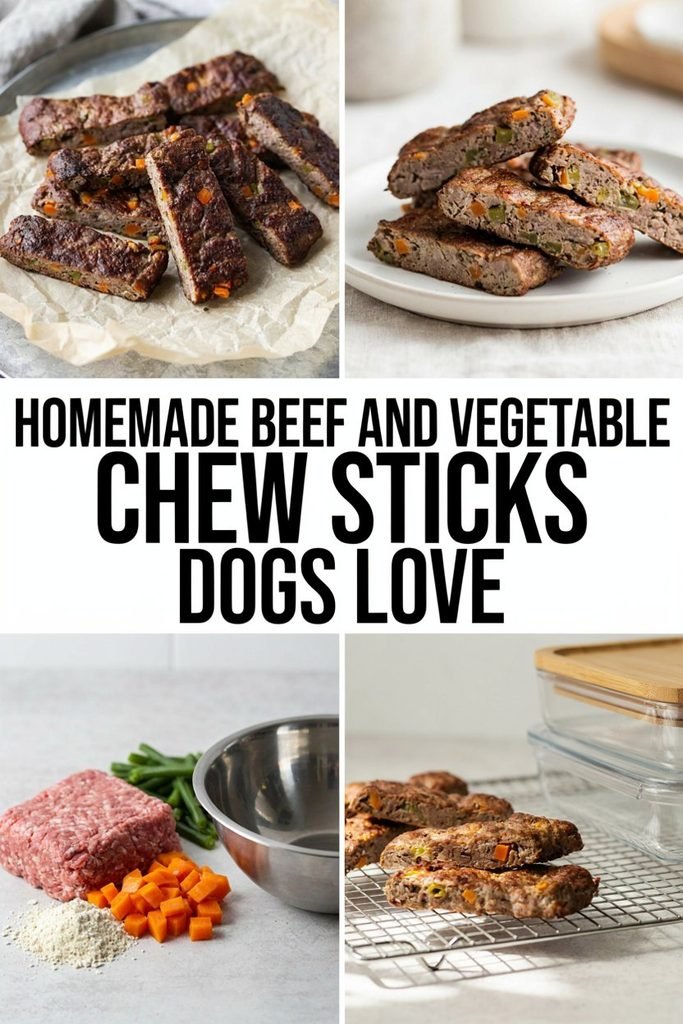
I started making these for the times I wanted to give my dog something to settle down with, whether that’s during a busy afternoon at home or a quiet evening when he needs a bit of independent entertainment.
The slow bake is what gives these their signature dense, chewy texture, so a little patience goes a long way here.
Why You’ll Love These Homemade Beef and Vegetable Chew Sticks
A few reasons these are worth the extra baking time.
Long lasting chew. The dense texture gives dogs something to work on for longer than a typical treat.
Made with real ingredients. Ground beef and vegetables you can see and control, no mystery ingredients involved.
Great for independent chewing time. A good option for keeping a dog occupied for a stretch.
Freezer friendly. A batch keeps well, so you can bake once and always have chews ready.
No rawhide or processed fillers. A simple, homemade alternative to store bought chews.
Are Beef and Vegetables Safe for Dogs?
Both ingredients are common in homemade dog food and treats, but a few points are worth knowing.
Ground beef should be lean and plain, with no added salt, seasoning, or fat drained off before mixing into the dough.
Vegetables like carrots, green beans, and peas are generally well tolerated by dogs in moderation and add extra nutrients along with a bit of texture.
Because these are dense and chewy, they’re best given under supervision, the same way you’d supervise any long lasting chew.
Dogs who tend to swallow large pieces without much chewing should be watched closely, and the size of the stick should be appropriate for your dog to avoid any choking risk.
Ingredients You’ll Need
Here’s what goes into these dense, chewy sticks.
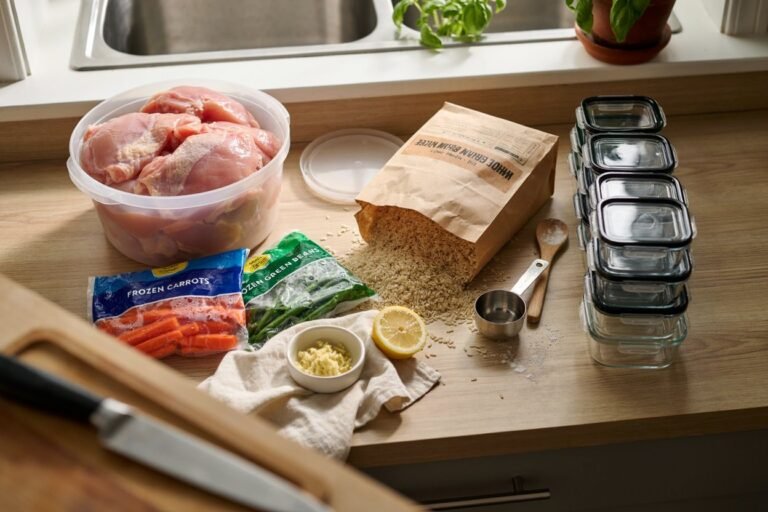
Lean ground beef forms the protein base and gives these chews their savory flavor.
Finely chopped or grated vegetables, such as carrot and green beans, add nutrition and a bit of texture.
An egg helps bind everything together.
Oat flour adds structure and helps absorb excess moisture from the meat and vegetables.
Ingredient List
- 1 pound lean ground beef
- 1/2 cup finely grated carrot
- 1/4 cup finely chopped green beans
- 1 egg
- 1/2 cup oat flour
How to Make Homemade Beef and Vegetable Chew Sticks
- Preheat your oven to 250°F, using a low temperature to slowly dry out the chews rather than bake them quickly. Line a baking sheet with parchment paper.
- In a large bowl, combine the ground beef, grated carrot, chopped green beans, egg, and oat flour, mixing until evenly combined.
- Divide the mixture into small portions and roll each one into a stick shape, about the length and thickness of a finger.
- Place the shaped sticks on the prepared baking sheet, spacing them a bit apart.
- Bake for 2 to 2 1/2 hours, turning the sticks halfway through, until they feel firm and dense throughout with no soft or wet spots remaining.
- Use a meat thermometer to confirm the internal temperature has reached a safe level for the type of meat used before removing them from the oven.
- Let the chew sticks cool completely on a wire rack before serving or storing, since they continue to firm up as they cool.
Getting the Right Texture
A slow, low bake is the key to these chews, so a few notes help.
If the sticks still feel soft or moist in the center after the suggested bake time, continue baking in fifteen minute increments, checking regularly, until they firm up fully.
If the mixture feels too wet to shape into sticks, add a bit more oat flour a tablespoon at a time until it holds together.
Keep the sticks a consistent thickness so they all dry out at roughly the same rate during the long bake.
Recipe Variations
Once you’ve made the base recipe, these variations are worth trying.
Turkey and vegetable chews. Use ground turkey in place of beef for a leaner version.
Beef, carrot, and pumpkin chews. Stir in a small spoonful of pumpkin puree along with the vegetables for added fiber.
Mini chew bites. Shape the mixture into smaller, bite sized pieces for smaller dogs, adjusting the bake time slightly shorter since smaller pieces dry out faster.
Sweet potato beef chews. Add a small amount of finely grated sweet potato along with the carrot and green beans.
Common Mistakes to Avoid
Baking at too high a temperature. A low, slow bake is what gives these chews their dense texture, so resist the urge to speed things up with higher heat.
Underbaking. Since this is a meat based chew, make sure the sticks are fully cooked and dried through before serving.
Making the sticks too large for your dog. Size them appropriately based on your dog’s size to reduce any choking risk.
Skipping supervision. As with any long lasting chew, keep an eye on your dog while they work through it.
Adding salt or seasoning. Keep the meat mixture entirely plain.
How Many Chew Sticks Can a Dog Have?
Since these are meat based and calorie dense, they’re best treated as an occasional chew rather than a daily treat, generally staying under about ten percent of your dog’s daily caloric intake overall.
One chew stick, given under supervision, is a reasonable amount for most dogs on a given day.
How to Store Homemade Beef and Vegetable Chew Sticks
Refrigerator. Store the chews in an airtight container in the fridge for up to five days, since they contain meat.
Freezer. For longer storage, freeze the chews in a sealed bag or container for up to three months.
Always check chews before serving, and discard anything that shows signs of spoilage.
Can You Freeze These Chews?
Yes, and freezing is a great way to keep a batch ready without worrying about spoilage.
- Let the chews cool completely before freezing.
- Arrange them in a single layer in a freezer safe container or bag.
- Label the container with the date.
- Thaw a chew in the fridge for a few hours before giving it to your dog.
Frequently Asked Questions
Why does this recipe use such a low oven temperature? A low, slow bake dries the chews out fully, giving them their dense, long lasting texture, similar to a jerky style treat.
How do I know when the chews are done? They should feel firm and dense throughout with no soft or wet spots, and using a meat thermometer helps confirm they’ve reached a safe internal temperature.
Can I use ground turkey instead of beef? Yes, ground turkey works well as a leaner substitute.
Should I supervise my dog while they chew these? Yes, as with any long lasting chew, it’s best to supervise, especially for dogs who tend to swallow large pieces.
How long do these chews last? Up to five days in the fridge and up to three months in the freezer, since they contain meat.
Can puppies have these chews? Check with your veterinarian first, and make sure the size is appropriate for a puppy’s mouth and chewing habits.
Can I make these smaller for a small dog? Yes, just shape smaller sticks and check them a bit earlier during baking, since smaller pieces dry out faster.
Recipe Card
Recipe name: Homemade Beef and Vegetable Chew Sticks
Summary: Dense, slow baked chew sticks made with lean ground beef and vegetables, a long lasting alternative to store bought chews.
Servings: About 15 sticks, depending on size
Prep time: 15 minutes
Cook time: 2 hours 15 minutes
Total time: 2 hours 30 minutes, plus cooling time
Estimated cost: Moderate
Course: Dog chew
Cuisine: Homemade pet food
Keywords: beef dog chews, homemade dog chews, vegetable dog chews, long lasting dog treats, dog chew sticks
Equipment: Mixing bowl, baking sheet, parchment paper, meat thermometer
Ingredients:
- 1 pound lean ground beef
- 1/2 cup finely grated carrot
- 1/4 cup finely chopped green beans
- 1 egg
- 1/2 cup oat flour
Instructions:
- Combine beef, vegetables, egg, and oat flour.
- Shape into sticks.
- Bake at 250°F for 2 to 2 1/2 hours, turning halfway.
- Confirm doneness with a meat thermometer.
- Cool completely before serving.
A Final Note on Serving These Chews
These have become my go to whenever I want to give my dog something to really work on, and there’s something satisfying about knowing exactly what went into a chew he’s spending real time with.
The slow bake takes patience, but the payoff is a treat that lasts far longer than anything that disappears in a single bite.
More Homemade Treat Ideas
If your dog enjoyed these, these recipes are worth trying next.
- Easy Homemade Sweet Potato Dog Chews Recipe
- Meatloaf Dog Cake
- Homemade Bacon Dog Treats
- Best Homemade Dog Gravy Recipe
For more ideas on feeding your dog well beyond treats, check out 7 Healthiest Homemade Dog Foods.