Homemade Dog Treats
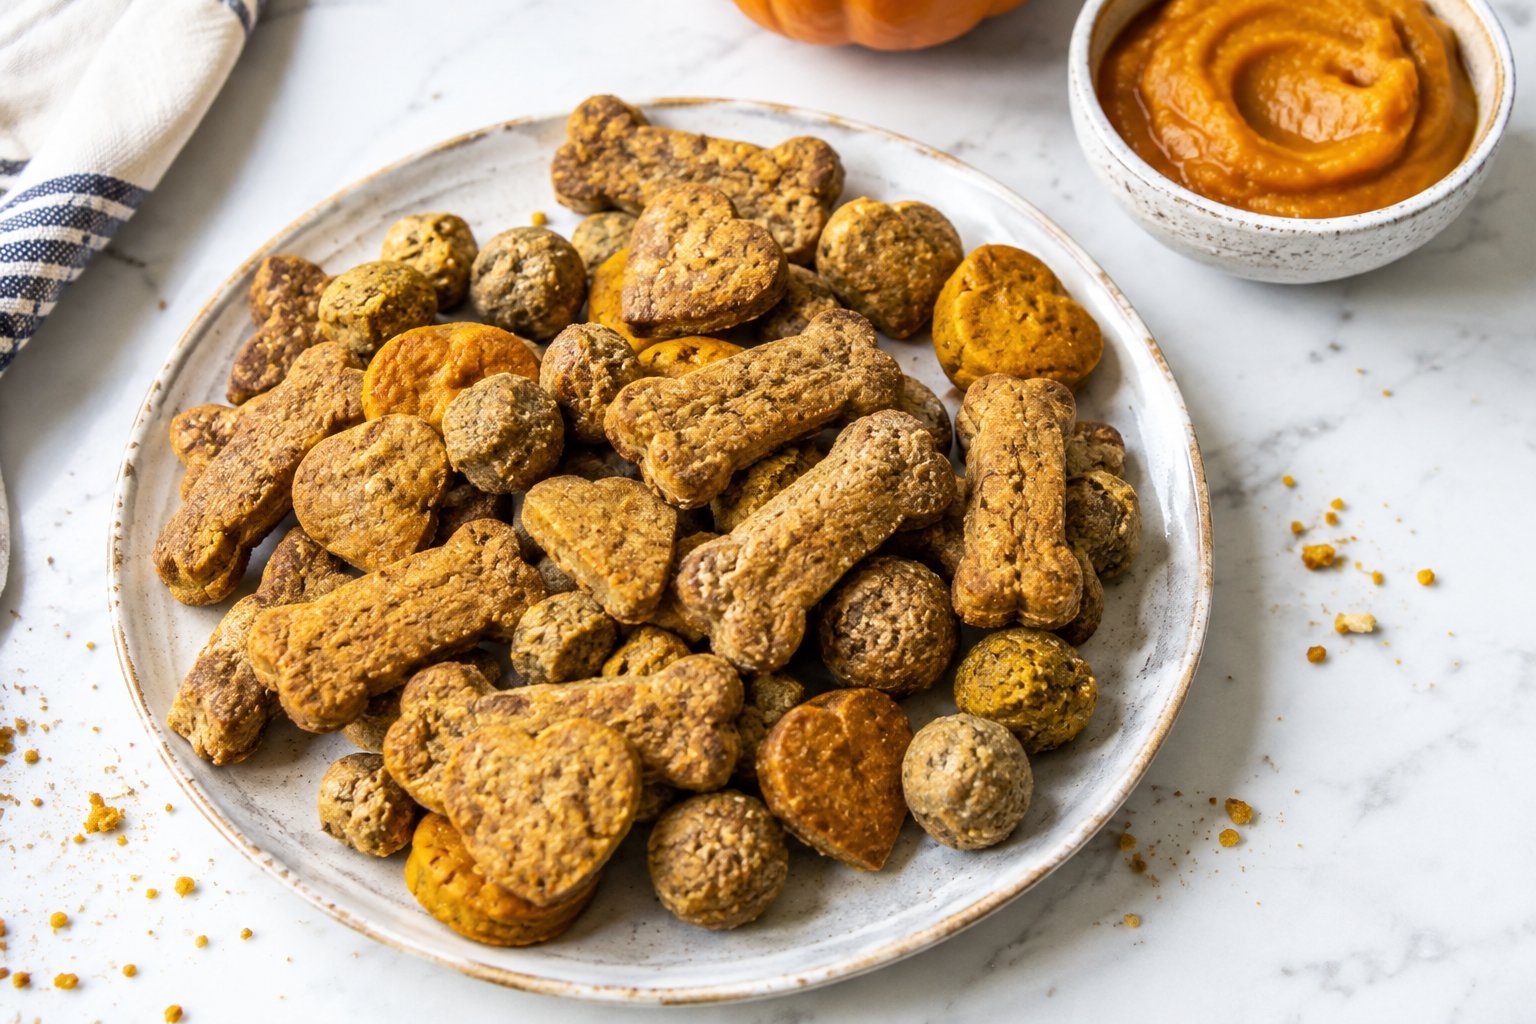
Baking treats for your dog is one of the easiest ways to know exactly what’s going into their diet, and once you get the hang of a basic dough, the possibilities are almost endless.
Whether you’re just starting out or looking to build a rotation of go to recipes, this guide covers the basics of homemade dog treats, along with a simple starter recipe and a roundup of the flavors and formats worth trying next.
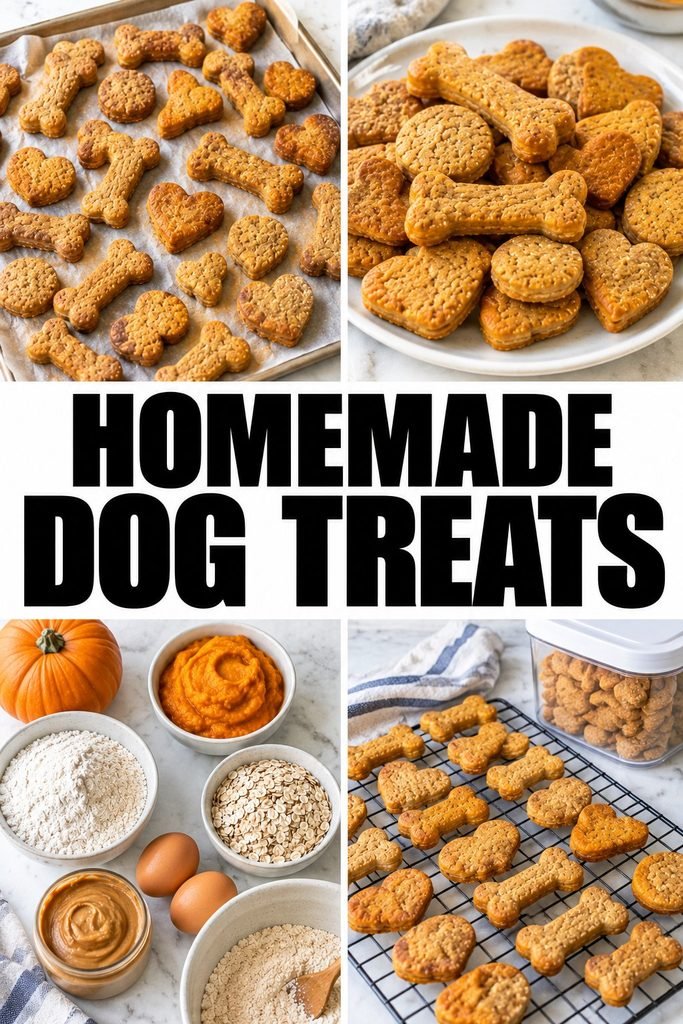
I started baking for my own dog for the same reason a lot of people do, wanting more control over ingredients and a way to use up things already in the kitchen.
It’s turned into one of my favorite hobbies, and I hope this guide makes it just as approachable for you.
Why Make Homemade Dog Treats
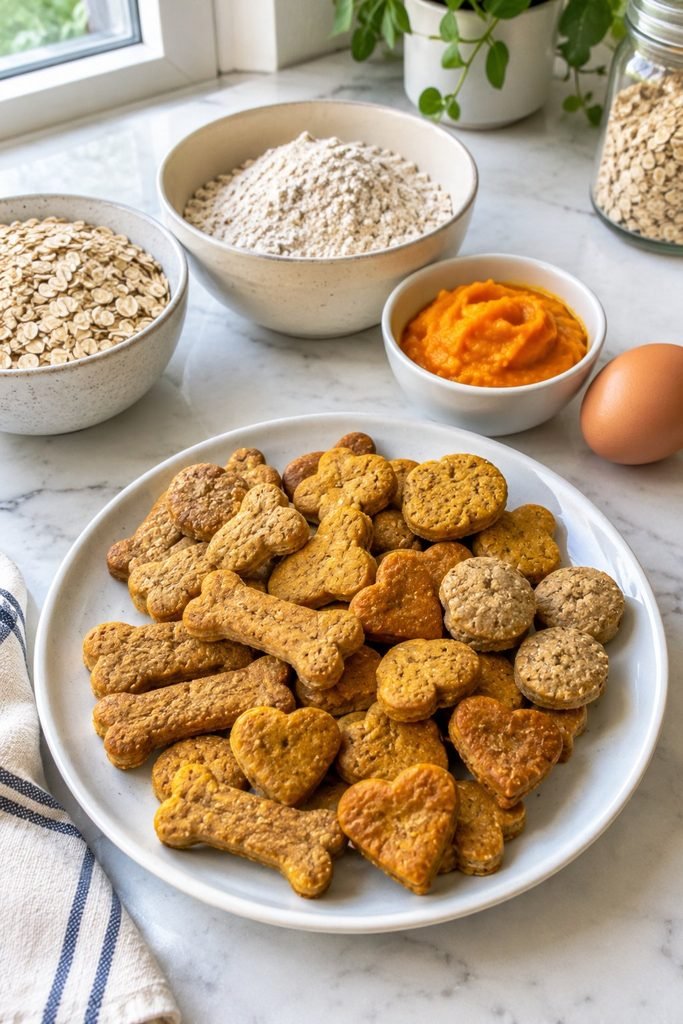
A few reasons homemade treats are worth the extra effort.
Full ingredient control. You know exactly what’s in every treat, with nothing hidden behind a packaged ingredient list.
Often more affordable. Many recipes use pantry staples you likely already have on hand.
Easy to customize. You can adjust recipes for allergies, sensitivities, or your dog’s specific preferences.
A fun, shared activity. Baking for your dog can be a relaxing hobby, and the results make great gifts for other dog owners too.
Freshness you control. Homemade treats skip the preservatives found in many store bought options.
General Safety Guidelines for Homemade Dog Treats
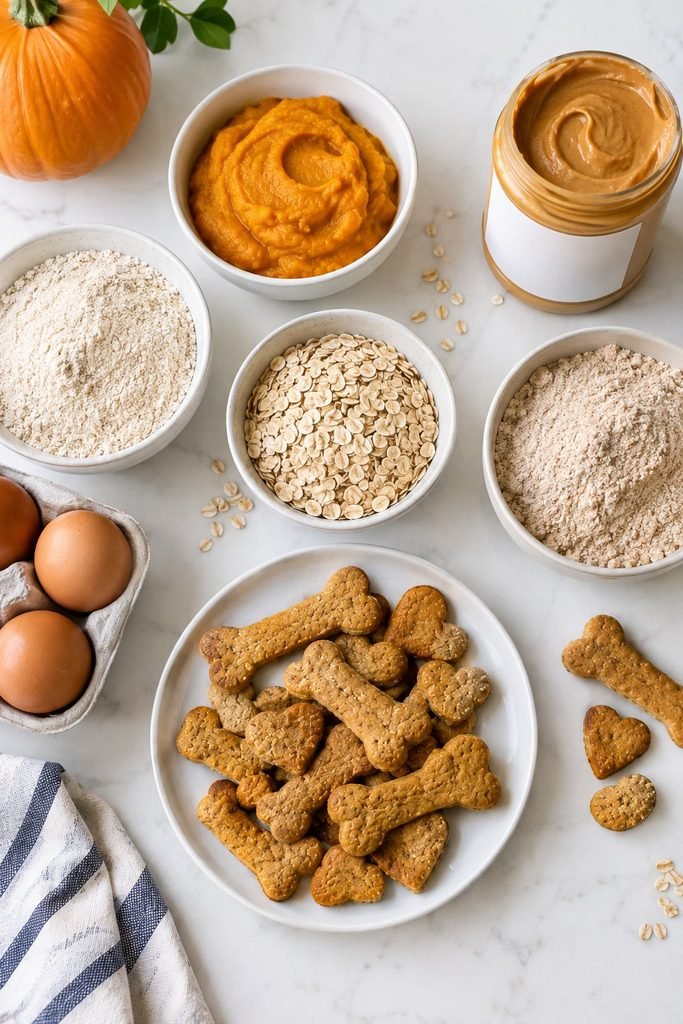
A few ingredients and habits are worth keeping in mind across any homemade dog treat recipe.
Avoid xylitol. This artificial sweetener, found in some peanut butters and other reduced sugar products, is highly toxic to dogs even in small amounts. Always check labels carefully.
Avoid onion and garlic. Both are toxic to dogs and sometimes hide in broths, seasoning blends, or pre made ingredients.
Skip chocolate, grapes, and raisins. All three are toxic to dogs and should never appear in a homemade treat, even in small amounts.
Watch nutmeg. This spice, common in human baking, can be harmful to dogs and is best left out entirely.
Keep portions modest. Treats should generally stay under about ten percent of your dog’s daily caloric intake, regardless of how healthy the ingredients are.
Introduce new ingredients slowly. Start with a small amount of any new ingredient to see how your dog tolerates it before making it a regular part of their routine.
A Simple Starter Recipe
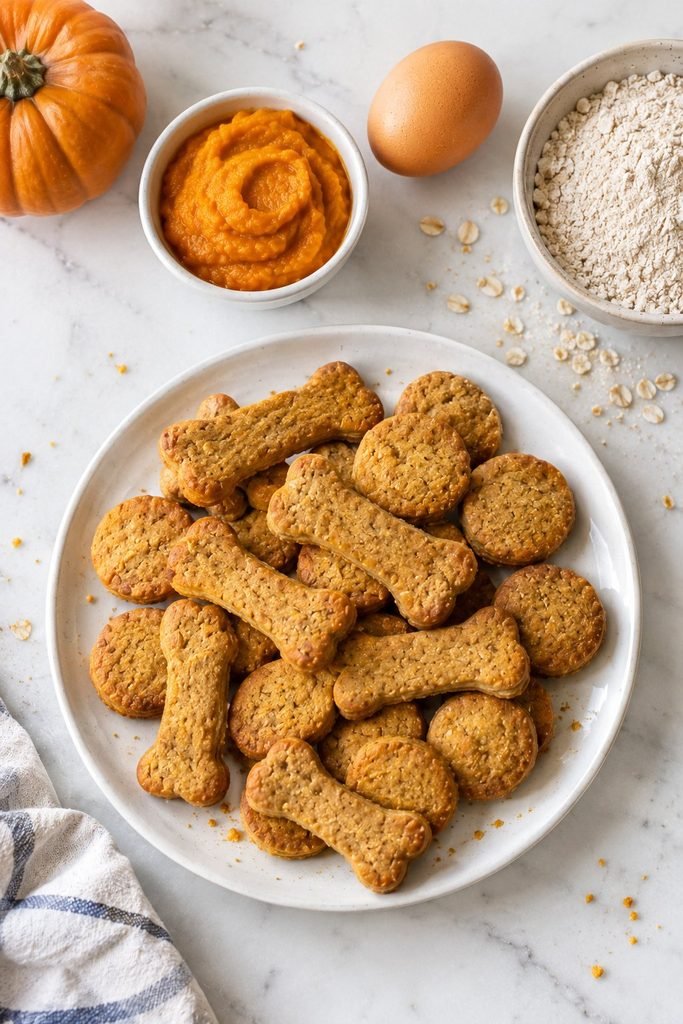
If you’re new to baking for your dog, this basic recipe is a good place to start.
Ingredients
- 1 cup plain canned pumpkin puree
- 1 egg
- 2 cups whole wheat flour or oat flour
Instructions
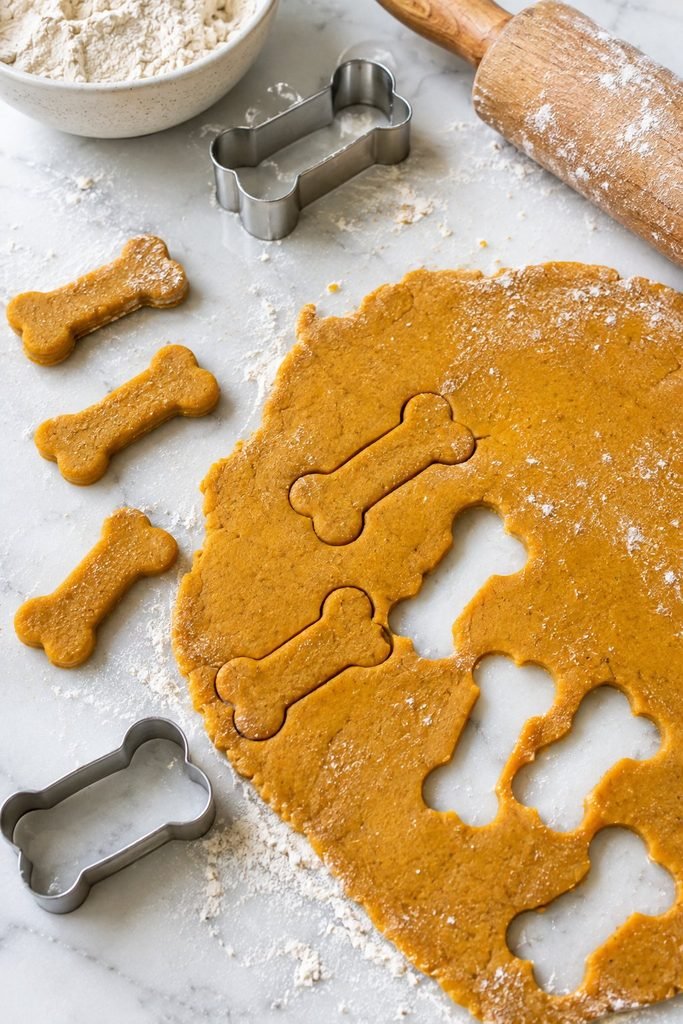
- Preheat your oven to 350°F and line a baking sheet with parchment paper.
- Whisk together the pumpkin puree and egg until smooth.
- Stir in the flour a half cup at a time until a firm dough forms.
- Knead briefly, then roll the dough out to about a quarter inch thickness.
- Cut into shapes and place on the prepared baking sheet.
- Bake for 20 to 25 minutes, until firm and lightly golden.
- Cool completely before serving.
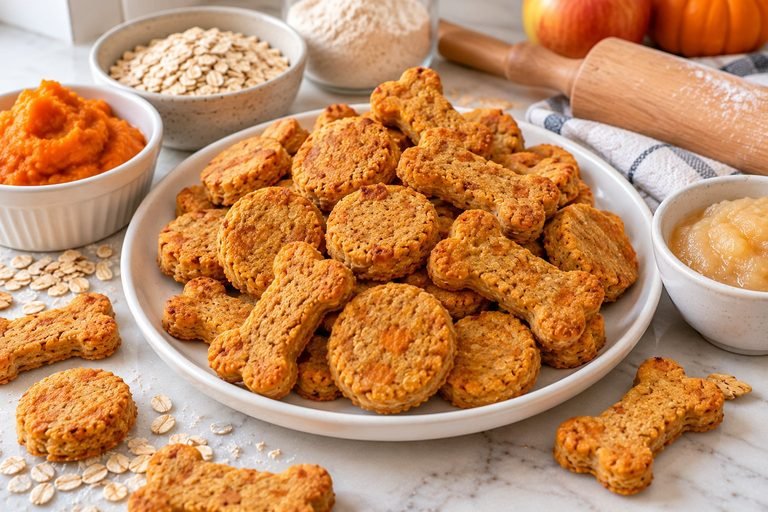
This simple dough is also a great base for experimenting once you’re comfortable with the basics, whether that means adding peanut butter, a bit of cinnamon, or another dog safe mix in.
Explore More Homemade Treat Recipes
Once you’ve got the basics down, here’s a roundup of recipes on the site organized by type, so you can find whatever fits the occasion.
Everyday biscuits
Soft and gentle treats
- Homemade Peanut Butter Pumpkin Soft Dog Treats
- Chewy Cheddar Puppy Puffs
- Yogurt Banana Dog Treats Recipe
Frozen treats for hot days
- Watermelon Peanut Butter Dog Treats
- Cucumber Pup Pop Frozen Dog Treats
- DIY Watermelon Carrot Pupsicles
Long lasting chews
Celebration treats
Meal toppers
Common Questions About Homemade Dog Treats
How long do homemade dog treats last? It depends on the recipe, but most baked treats last around five days to two weeks at room temperature or in the fridge, and up to three months in the freezer. Treats made with fresh produce, dairy, or meat generally need refrigeration and have a shorter shelf life than a dry biscuit.
Can I substitute ingredients in a recipe? Often, yes. Oat flour and whole wheat flour are usually interchangeable, and many recipes can be adjusted for allergies with a bit of experimentation, as long as you stick to ingredients confirmed safe for dogs.
Do homemade treats need to be refrigerated? It depends on the ingredients. A plain, dry biscuit can usually sit at room temperature for several days, while anything containing meat, dairy, or fresh produce should be refrigerated or frozen.
Is it cheaper to make dog treats at home? Often, yes, especially for simple recipes using pantry staples, though this can vary depending on the specific ingredients used.
Can I freeze most homemade dog treats? Yes, most baked and frozen treats freeze well. It’s one of the easiest ways to make a larger batch and always have some on hand.
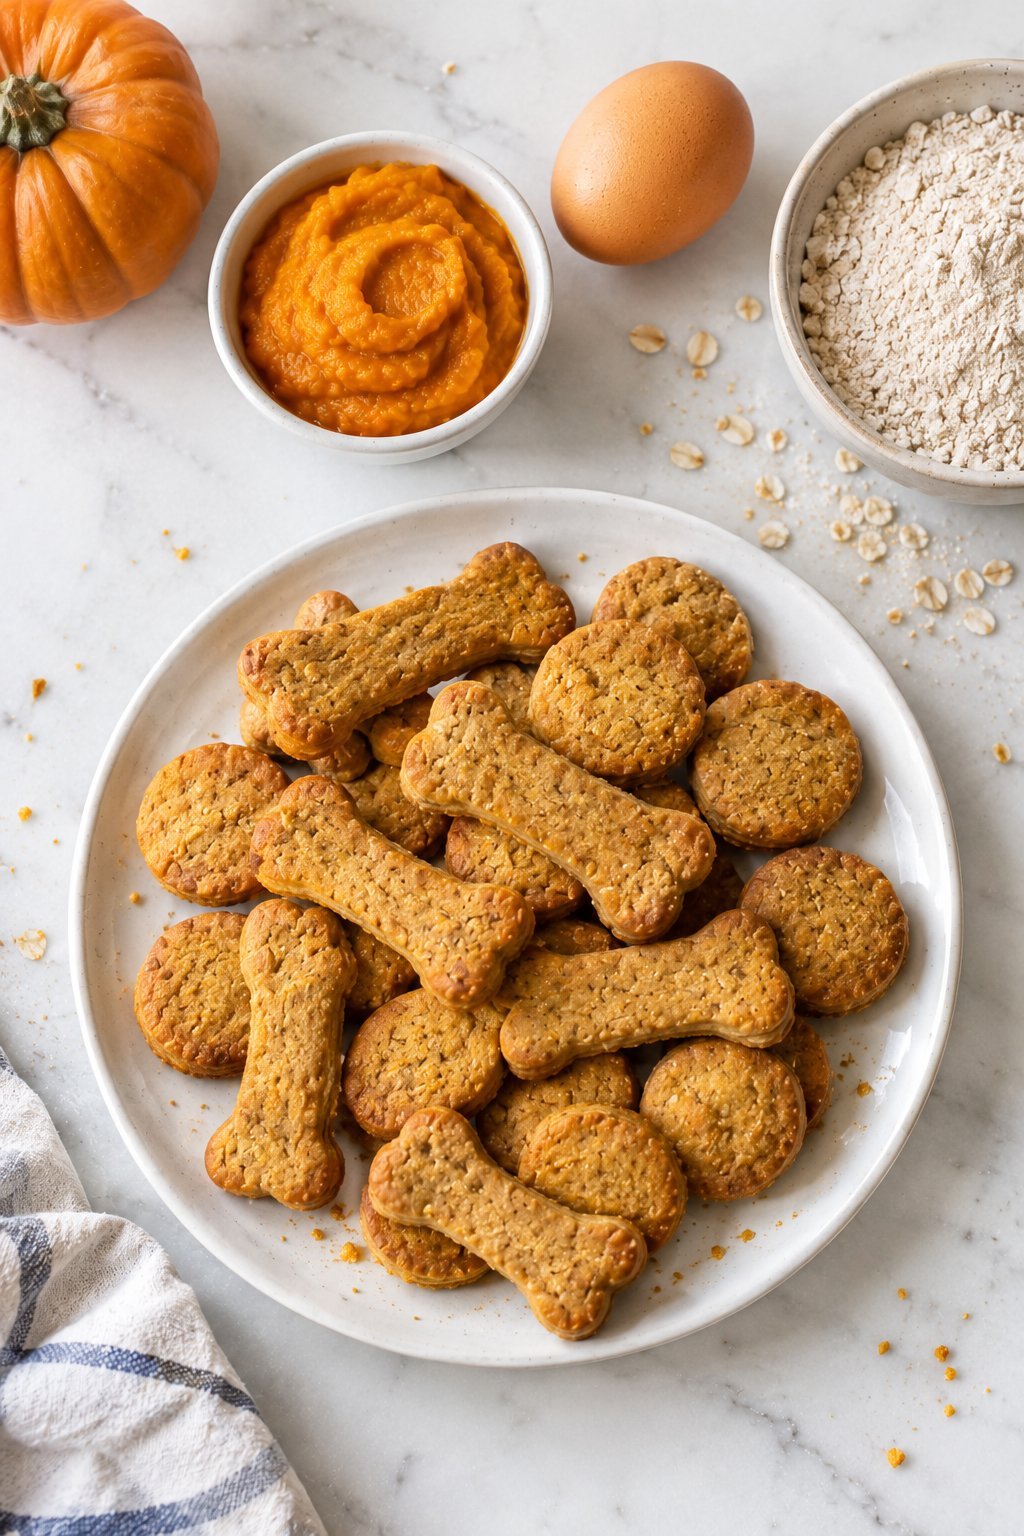
Homemade Dog Treats
Ingredients
Equipment
Method
- Preheat the oven to 350°F (175°C) and line a baking sheet with parchment paper.
- Add the pumpkin puree, peanut butter, and egg to a mixing bowl. Stir until the mixture is smooth and evenly combined.
- Gradually add the whole wheat flour and mix until a firm dough forms.
- Add the water one tablespoon at a time if the dough feels too dry. The dough should hold together without being sticky.
- Place the dough between two sheets of parchment paper and roll it to approximately 1/4 inch thick.
- Cut the dough into small shapes using a cookie cutter. Gather the scraps, roll them again, and continue cutting until all the dough is used.
- Arrange the treats on the prepared baking sheet with a little space between them.
- Bake for approximately 16 to 18 minutes, or until the biscuits are firm and lightly golden around the edges.
- Remove from the oven and allow the treats to cool completely before serving.
- Peanut Butter Safety: Check the ingredient label carefully and use peanut butter that contains no xylitol. Avoid products with added chocolate or other unsafe ingredients.
- Pumpkin Tip: Use plain 100% pumpkin puree rather than pumpkin pie filling, which can contain added sugar and spices.
- Texture Tip: Roll the dough thinner for a crunchier biscuit. The treats will also become firmer as they cool.
- Storage: Store completely cooled treats in an airtight container in the refrigerator for up to 7 days. Freeze extra treats for longer storage.
- Common Mistake to Avoid: Do not add sugar, chocolate, raisins, grapes, macadamia nuts, xylitol, onion, garlic, or unnecessary seasoning.
- Serving: Give these as occasional treats alongside your dog’s complete and balanced regular food. Use smaller treats or break them into pieces for smaller dogs.
A Final Note on Baking for Your Dog
Homemade treats have become one of my favorite ways to spoil my dog without any second guessing about what’s in the bowl.
Once you’ve got a basic dough down, it becomes easy to build out a whole rotation, and there’s something satisfying about watching a simple recipe disappear from the treat jar faster than anything store bought ever did.
More Homemade Treat Ideas
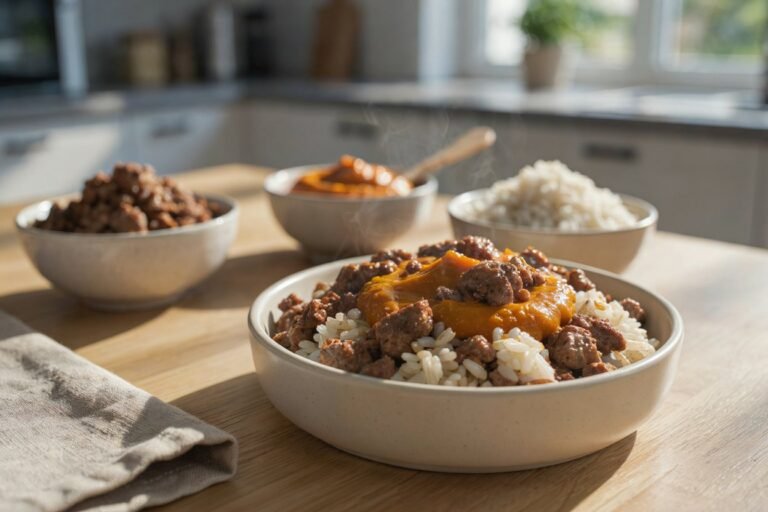
For even more recipes beyond treats, including meals and gravies, check out 7 Healthiest Homemade Dog Foods and Simple Homemade Dog Food Recipes.