Homemade Liver Dog Treat Recipes
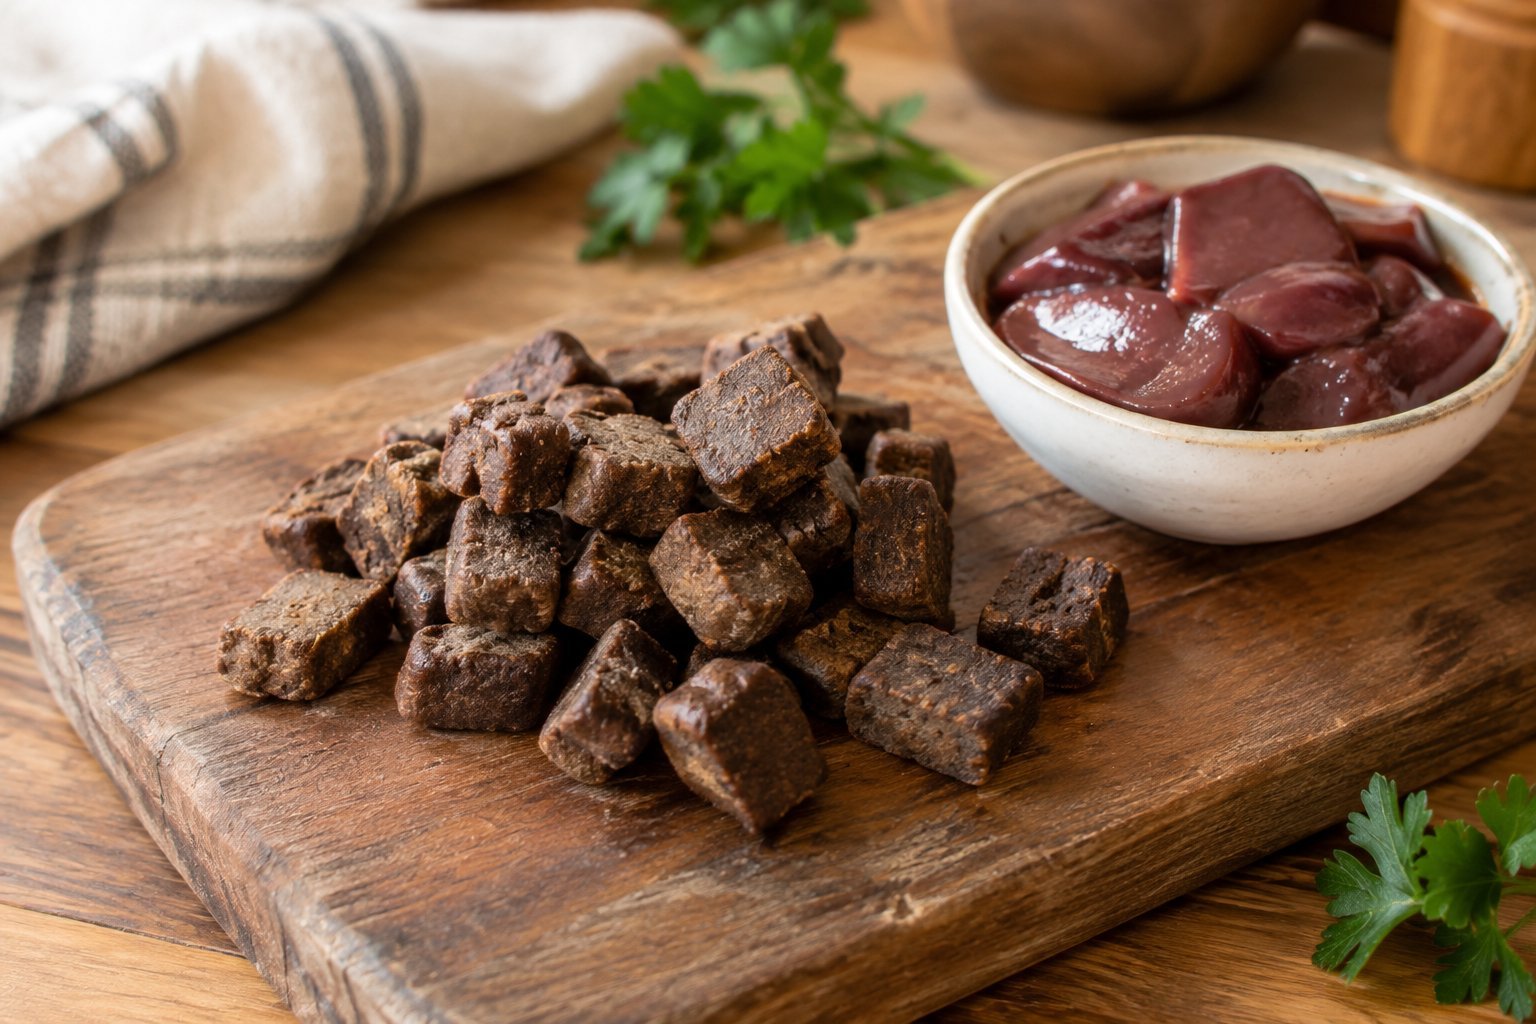
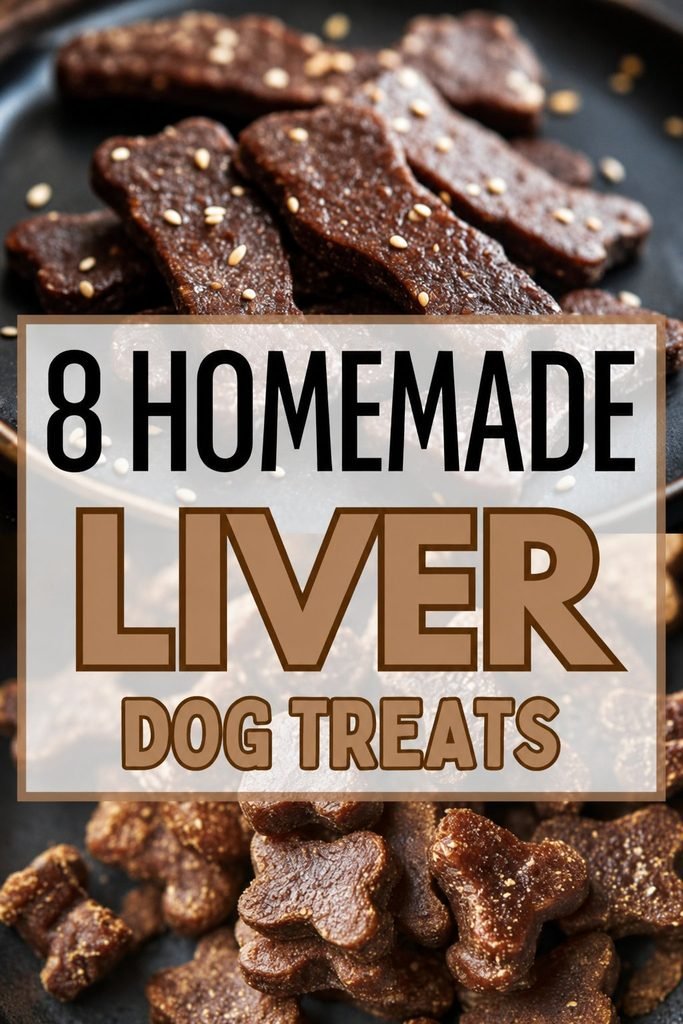
If there’s one ingredient guaranteed to get a dog’s full attention, it’s liver. These homemade liver treats bake into a dense, deeply savory biscuit that works especially well for training, since the strong smell and flavor tend to hold a dog’s focus better than a milder treat.
Liver is also rich in nutrients, which makes this a treat that offers a bit of nutritional benefit alongside the flavor dogs go crazy for.
I like keeping a batch of these specifically for training sessions or moments when I need a treat that’s going to win out over every other distraction.
A little goes a long way here, so this recipe makes a big batch of small, potent pieces.
Why You’ll Love This Homemade Liver Dog Treat Recipe
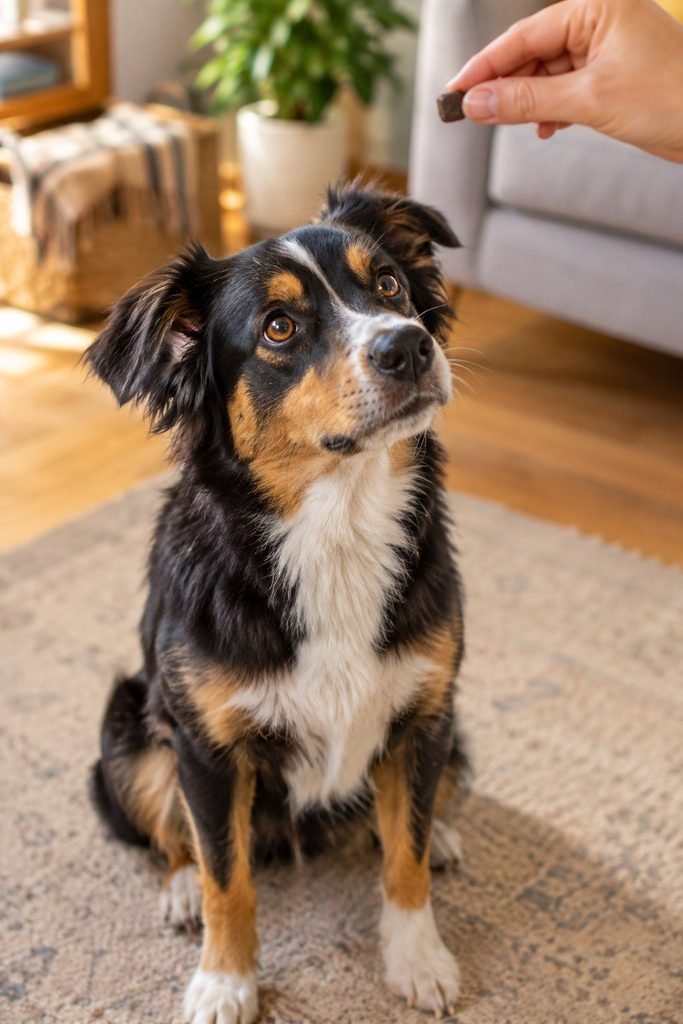
A few reasons these are worth the strong smell in your kitchen.
Extremely high value for training. Few treats hold a dog’s attention like liver does.
Nutrient rich. Liver offers a good source of protein and several vitamins.
Simple ingredients. Just liver, flour, and an egg, with nothing complicated involved.
Small, potent pieces. A little goes a long way, making this an efficient training treat.
Freezer friendly. A batch keeps well, so you can bake once and have treats ready for weeks.
Is Liver Safe for Dogs?
Liver is a popular ingredient in homemade dog treats, but a few points are worth understanding.
Moderation is especially important with liver, since it’s very high in vitamin A. Too much vitamin A over time can lead to health issues, so liver treats should be given in small amounts and not as a daily staple.
Plain liver, with no seasoning, salt, or added fat, is the right choice for this recipe. Beef, chicken, and lamb liver all work well.
Cook the liver fully before using it in this recipe to reduce any food safety risk.
If your dog has any health conditions, particularly related to the liver or kidneys, check with your veterinarian before introducing liver based treats.
Ingredients You’ll Need
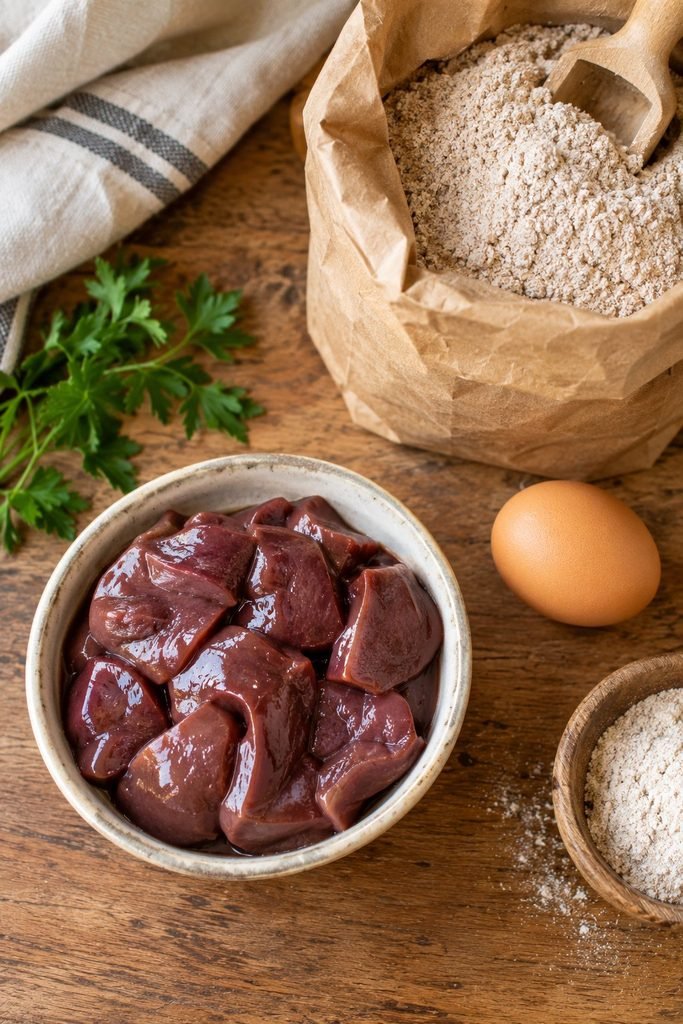
Here’s what goes into this simple, potent dough.
Beef, chicken, or lamb liver, cooked and cooled, forms the base of this recipe and provides its signature strong flavor.
An egg helps bind the mixture together.
Whole wheat flour or oat flour gives the dough enough structure to roll and hold a firm shape once baked.
Ingredient List
- 1/2 pound liver, cooked and cooled
- 1 egg
- 1 1/2 cups whole wheat flour or oat flour
How to Make Homemade Liver Dog Treats
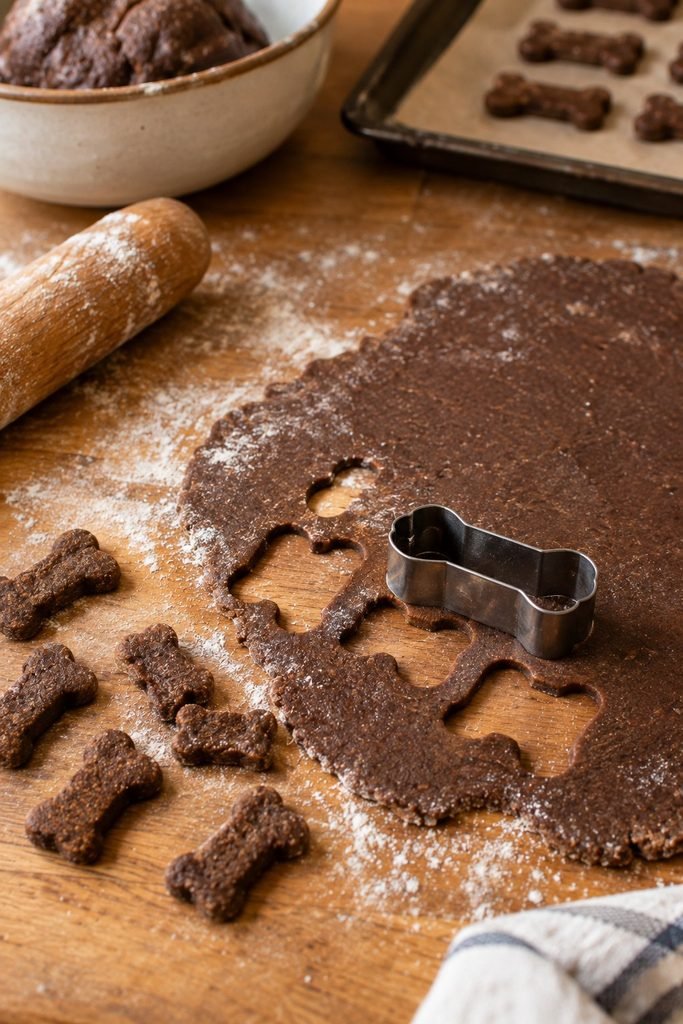
- Preheat your oven to 350°F and line a baking sheet with parchment paper.
- Cook the liver fully in a skillet over medium heat until no pink remains, then let it cool completely.
- In a food processor or blender, puree the cooked liver with the egg until smooth.
- Transfer the mixture to a bowl and stir in the flour a half cup at a time, until a firm dough begins to form.
- If the dough feels too sticky to handle, add a bit more flour a tablespoon at a time.
- Turn the dough out onto a lightly floured surface and roll it to about a quarter inch thickness.
- Cut into small shapes using a cookie cutter or a knife, keeping the pieces small since this is meant to be a potent, bite sized training treat.
- Place the treats on the prepared baking sheet, spacing them a bit apart.
- Bake for 15 to 18 minutes, until the treats are firm and feel dry to the touch.
- Let the treats cool completely on a wire rack before serving or storing.
Getting the Right Texture
A few notes on texture for this recipe.
If the dough feels too wet to roll, add flour a tablespoon at a time until it becomes workable, since liver can vary in moisture depending on how it’s cooked.
If the dough feels dry and crumbly, add a small splash of water until it comes together smoothly.
Keep the pieces small, since liver treats are meant to be a high value, potent reward rather than a large biscuit.
Recipe Variations
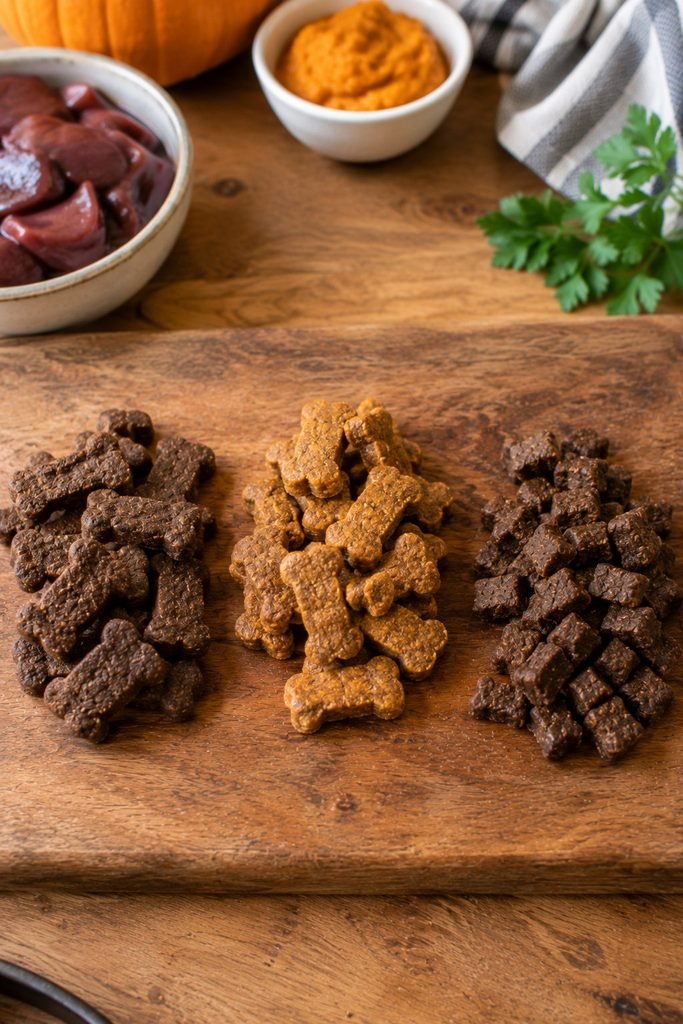
Once you’ve made the base recipe, these variations are worth trying.
Liver and pumpkin treats. Stir in a small spoonful of plain pumpkin puree for added fiber and a slightly milder flavor.
Liver and oat flour version. Use oat flour in place of wheat flour for a gentler option for dogs with wheat sensitivities.
Freeze dried liver bites. If you have a dehydrator, thinly sliced liver can be dried into a simple, single ingredient jerky style treat as an alternative to this baked version.
Mini training bites. Cut the dough into very small pieces, perfect for frequent training rewards.
Common Mistakes to Avoid
Offering too much liver too often. Because liver is high in vitamin A, it should stay an occasional, small portion treat rather than a daily staple.
Using seasoned or marinated liver. Keep the liver entirely plain.
Making the pieces too large. Smaller pieces keep portions appropriate given how potent this treat is.
Underbaking. Since this is a meat based treat, make sure the pieces are fully baked and dry before serving.
Storing them at room temperature. Because these are made with meat, they should be refrigerated or frozen rather than left out.
How Many Liver Treats Can a Dog Have?
Because liver is so nutrient dense, these treats should be given in smaller amounts and less frequently than many other treats, generally staying well under about ten percent of your dog’s daily caloric intake overall.
A few small pieces during a training session is plenty. If your dog has any liver or kidney related health conditions, check with your veterinarian before offering liver treats.
How to Store Homemade Liver Dog Treats
Refrigerator. Since these are made with meat, store them in an airtight container in the fridge for up to five days.
Freezer. For longer storage, freeze the treats in a sealed bag or container for up to three months.
Always check treats before serving, and discard anything that shows signs of spoilage.
Can You Freeze These Treats?
Yes, and freezing is a great way to keep a batch ready for training sessions.
- Let the treats cool completely before freezing.
- Arrange them in a single layer in a freezer safe container or bag.
- Separate layers with parchment paper if stacking.
- Label the container with the date.
- Thaw a small handful in the fridge for a couple of hours before using.
More Homemade Treat Ideas
If your dog enjoyed these, these recipes are worth trying next.
- Homemade Beef and Vegetable Chew Sticks
- Chicken Broth Dog Treats Recipe
- Homemade Bacon Dog Treats
- Chewy Cheddar Puppy Puffs
For more ideas on feeding your dog well beyond treats, check out 7 Healthiest Homemade Dog Foods.
Frequently Asked Questions
Is liver safe for dogs? In small, occasional amounts, liver is generally considered safe and nutrient rich for dogs. Because it’s high in vitamin A, moderation is especially important.
Can I use any type of liver? Yes, beef, chicken, and lamb liver all work well in this recipe, as long as they’re fully cooked and plain.
Why do liver treats smell so strong? That strong smell is exactly what makes liver such an effective training treat, since it tends to hold a dog’s attention better than a milder option.
How often can I give my dog liver treats? These are best kept as an occasional training treat rather than a daily snack, given how concentrated liver is in vitamin A.
How long do these treats last? Up to five days in the fridge and up to three months in the freezer, since they’re made with meat.
Can puppies have liver treats? Check with your veterinarian first, since portion size and frequency matter even more for a growing puppy.
Can I use this recipe for cats too? A very similar approach can work for cats, though portions should be even smaller given a cat’s smaller size, and it’s worth checking with your veterinarian about appropriate liver treat amounts for your cat.
Homemade Liver Dog Treats
Ingredients
Equipment
Method
- Preheat the oven to 350°F (175°C) and line a baking sheet with parchment paper.
- Rinse the liver under cool running water and pat it dry with paper towels. Trim away any tough connective tissue.
- Cut the liver into smaller pieces and place it in a food processor or blender. Blend until finely chopped and smooth.
- Transfer the blended liver to a mixing bowl. Add the egg and pumpkin puree and stir until evenly combined.
- Gradually add the oat flour and mix until a soft dough forms.
- Add the water a little at a time if the dough feels too dry. Avoid making the mixture unnecessarily wet.
- Place the dough between two sheets of parchment paper and roll it to approximately 1/4 inch thick.
- Cut the dough into small bite sized shapes using a cookie cutter.
- Arrange the treats on the prepared baking sheet with a little space between them.
- Bake for approximately 18 to 20 minutes, or until the treats are completely cooked and firm.
- Remove from the oven and allow the treats to cool completely before serving.
- Liver Safety: Liver is nutrient dense, so these treats should be given in moderation rather than making up a large part of your dog’s diet.
- Cooking Tip: Make sure the liver is thoroughly cooked before giving the treats to your dog. Avoid serving raw or partially cooked liver in this recipe.
- Texture Tip: For a firmer treat, roll the dough thinner and bake until completely set. Let the treats cool fully before judging their final texture.
- Storage: Store cooled treats in an airtight container in the refrigerator for up to 4 days. You can freeze them in small portions for longer storage.
- Common Mistake to Avoid: Do not add salt, garlic, onion, pepper, seasoning cubes, or spice blends. The natural flavor of the liver is enough.
- Serving: Use small pieces as occasional rewards or training treats. Treats should complement, rather than replace, your dog’s complete and balanced diet.
A Final Note on Baking These Treats
These have become my secret weapon for training sessions that need a little extra motivation, and there’s something satisfying about knowing exactly what went into a treat that works this well.
Keep a batch in the freezer, and you’ll always have a high value reward ready whenever focus really matters.