Peanut Butter Sandwiched Dog Treats
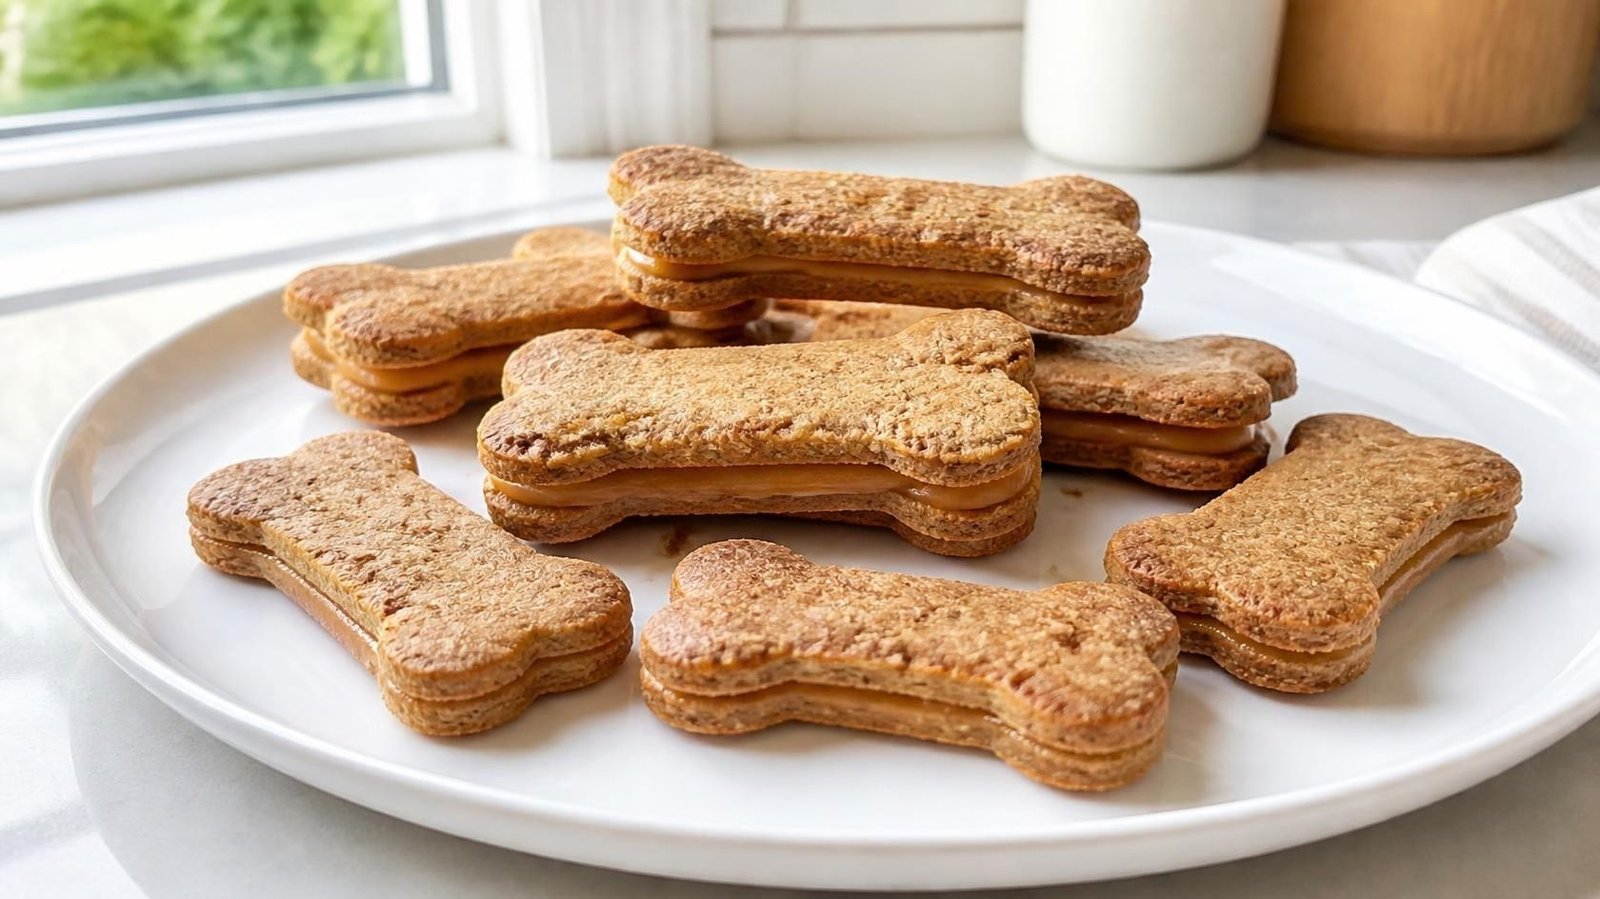
There’s a particular kind of treat that seems to exist purely to slow a dog down, and sandwiched treats are exactly that.
Instead of a single cookie that disappears in one bite, you’re giving your dog two biscuits with a layer of peanut butter holding them together, which means there’s a little more chewing, a little more effort, and a little more time before the whole thing is gone.
My dog treats these the way some dogs treat a puzzle toy — he’ll carry one off to his bed and work on it for a solid five minutes instead of inhaling it standing up in the kitchen.
I started making these after buying a box of sandwiched dog biscuits from a pet store and being a little put off by how long the ingredient list was for something so simple.
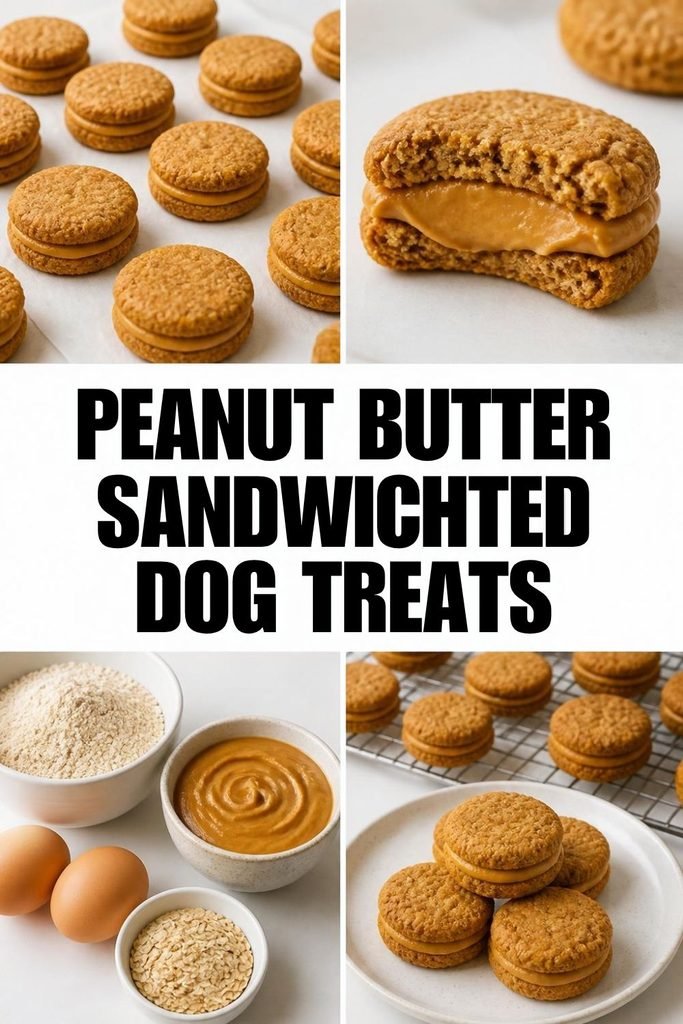
Once I actually sat down and worked out what was doing the job in each layer, it became obvious this wasn’t a complicated recipe hiding behind fancy packaging — it was two plain biscuits and a spoonful of peanut butter, and I could make a better version of it at home in less time than it took to drive to the store.
If you want to see peanut butter used a completely different way, 3 ingredient peanut butter dog gummies turns the same core ingredient into a soft, chewy gummy instead of a crunchy biscuit. And if biscuits in general are new territory for you, homemade dog treats is a good broader starting point before narrowing in on this specific recipe.
Disclaimer: This post may contain affiliate links, which means I may earn a small commission at no extra cost to you. Always check peanut butter labels carefully for xylitol and consult your veterinarian before introducing new treats, especially if your dog has allergies or a health condition that affects diet.
Why a Sandwiched Treat Is Worth the Extra Step
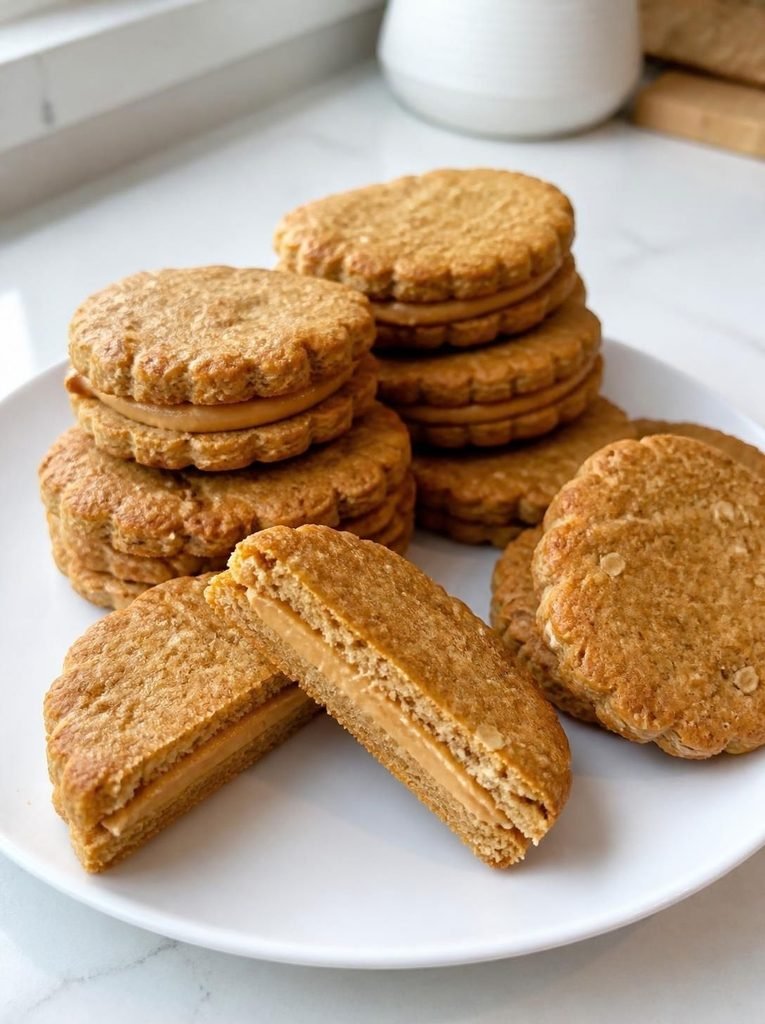
Most homemade dog treat recipes are built around a single layer — mix, shape, bake, done. Sandwiched treats add one more step, but that step changes the entire experience for the dog.
A plain biscuit gets crunched and swallowed in seconds. A biscuit with a sticky peanut butter filling in the middle takes real effort to work through, especially for a dog who likes to lick and nibble rather than just bite down and move on.
There’s also a simple structural benefit. Baking two biscuits and gluing them together with peanut butter means you can make the biscuit layer thinner and crunchier than you might for a standalone treat, since the filling adds substance and chew in the middle.
The result is a treat that’s crisp on the outside and soft in the center, which is a texture combination a lot of dogs seem to specifically go for.
Ingredients I Feel Comfortable Using
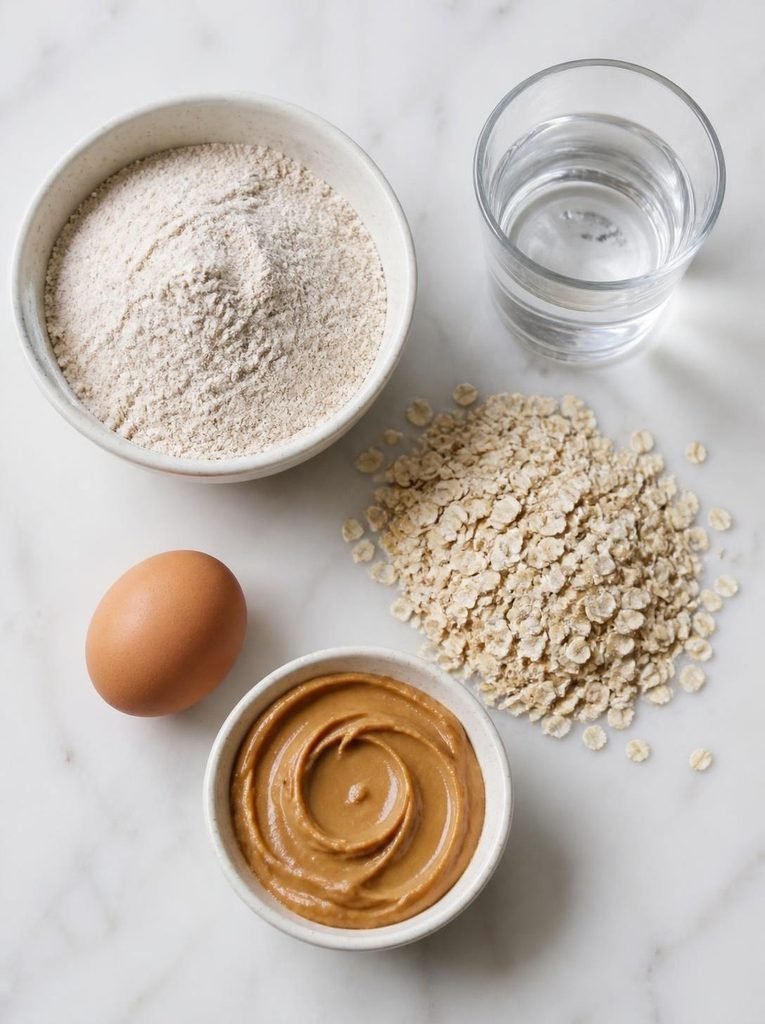
Whole wheat flour. This forms the base of the biscuit dough. Whole wheat holds together well, bakes into a firm, crunchy biscuit, and is easy for most dogs to digest in small amounts.
Natural peanut butter, no xylitol. This is the filling, and also the ingredient that requires the most label-reading. I look specifically for peanut butter with peanuts as the only ingredient, or peanuts and a small amount of salt.
Rolled oats. A small amount mixed into the biscuit dough adds texture and a bit of extra fiber, and helps the dough hold its shape once rolled and cut.
Egg. Acts as a binder for the biscuit dough and adds a bit of extra protein.
For a broader sense of what other everyday ingredients are safe to work with, human foods dogs can safely eat is worth keeping open while you’re planning what to bake next.
Ingredients I Avoid
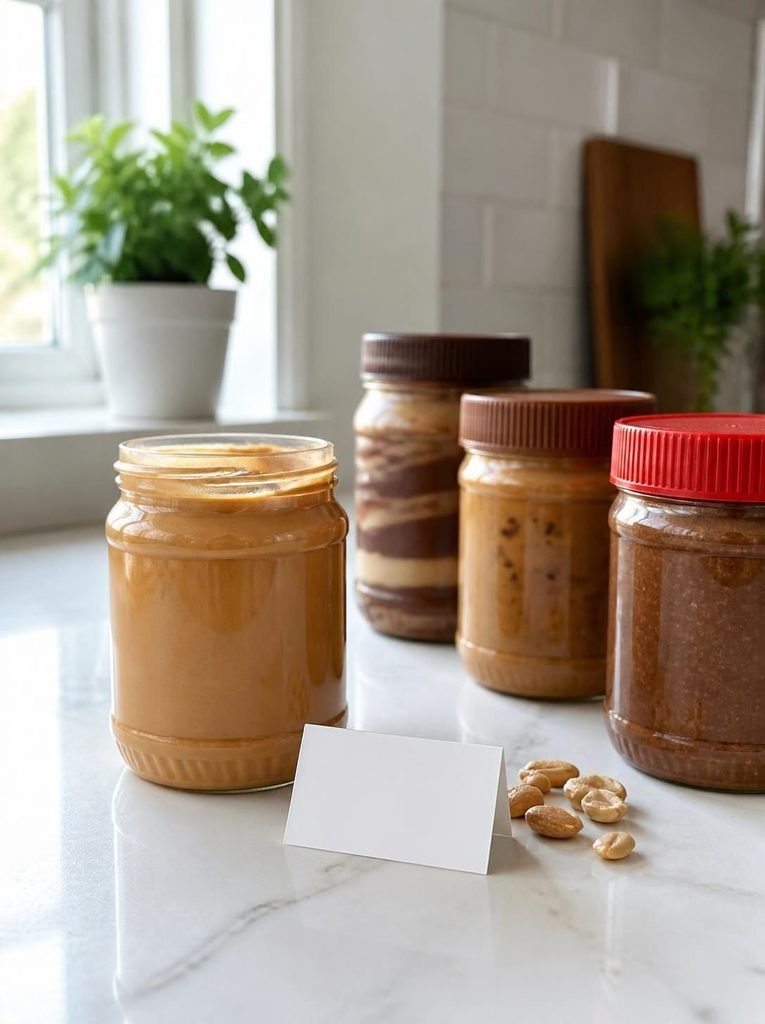
Xylitol is the one ingredient I treat as completely non-negotiable. It’s toxic to dogs even in very small amounts and can cause a dangerous drop in blood sugar, so every jar of peanut butter gets checked, every time, even brands I’ve used before, since manufacturers do change formulas. I also avoid added sugar, honey in large amounts, and any peanut butter labeled “flavored.”
On the biscuit side, I skip white flour in favor of whole wheat, and salt, baking soda in large quantities, and any pre-made biscuit mix marketed for humans are all off the table too.
Peanut Butter Sandwiched Dog Treats
This recipe makes a batch of simple, sturdy biscuits with a peanut butter filling in the middle. The method below goes into more detail than a standard biscuit recipe, since getting the dough and the filling step right makes the difference between a treat that holds together and one that falls apart the moment your dog picks it up.
Ingredients
- 2 cups whole wheat flour
- 1/2 cup rolled oats
- 1 large egg
- 1/2 cup water or plain low sodium broth
- 1/2 cup natural peanut butter, xylitol-free, for the filling
Instructions
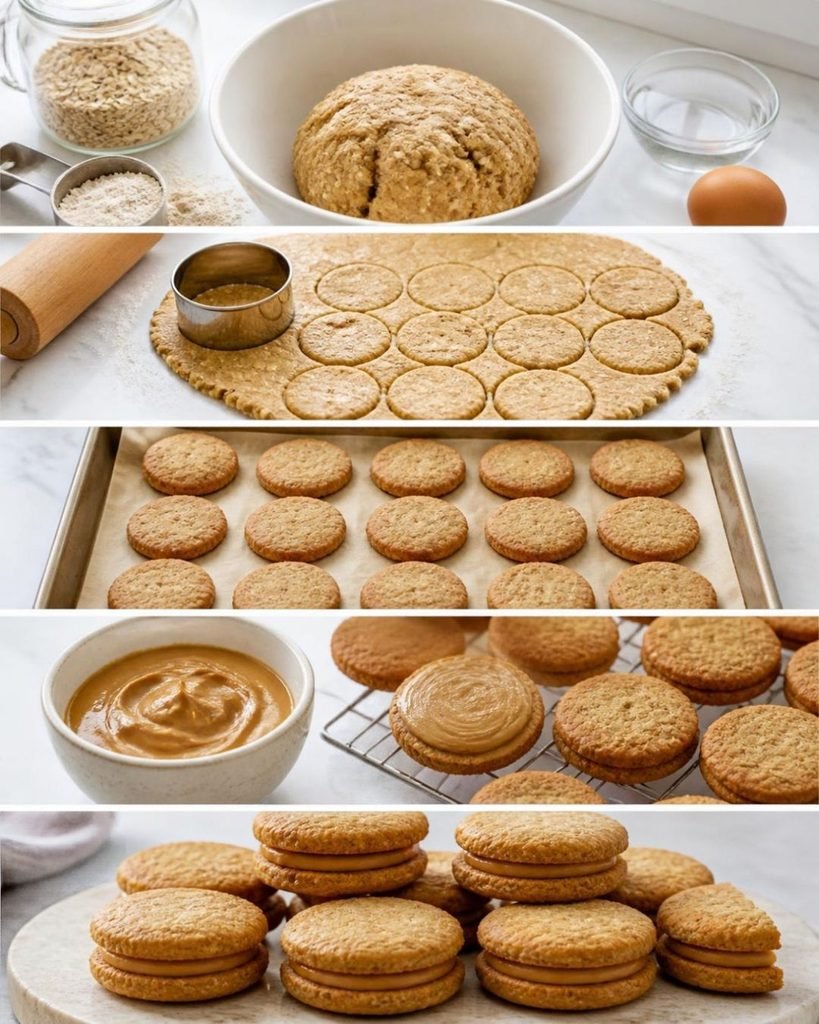
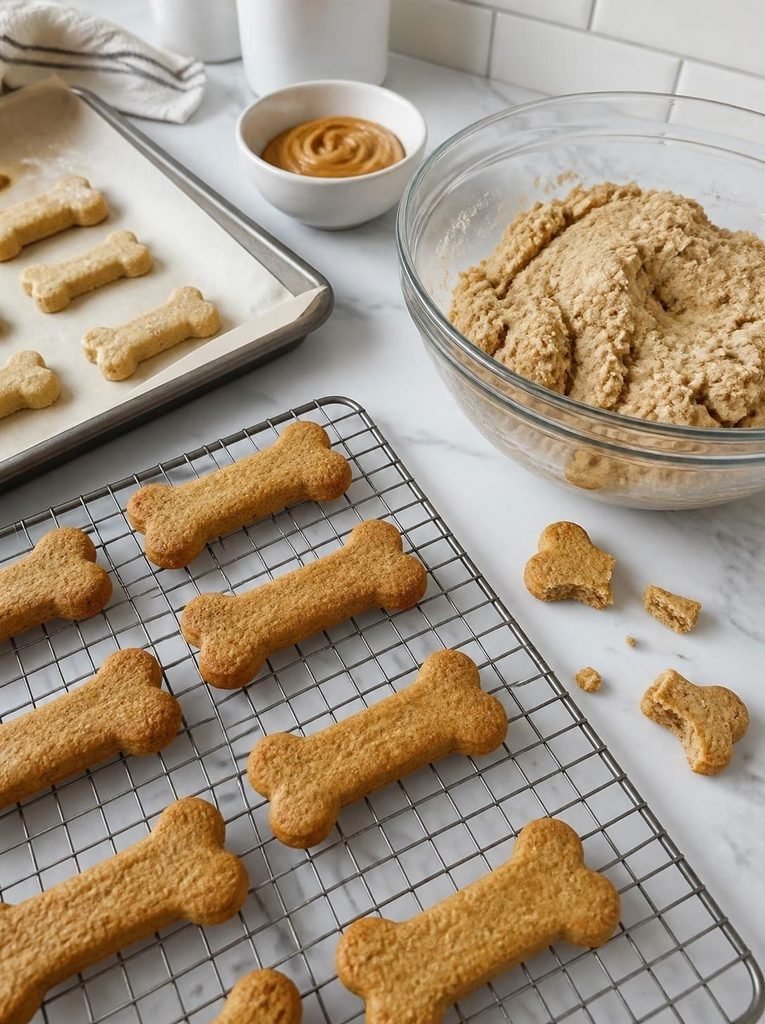
- Preheat the oven to 350°F and line a baking sheet with parchment paper. A properly preheated oven matters more than it seems here — biscuits going into a cold or still-heating oven tend to spread slightly before they firm up, which makes them harder to pair evenly later.
- Combine the flour and oats in a large bowl, then add the egg and water or broth. Mix with a spoon first to roughly combine, then switch to kneading by hand for about a minute once it starts coming together. You’re aiming for a stiff, slightly tacky dough that holds its shape when pressed — not sticky enough to cling heavily to your fingers, and not so dry that it cracks when folded. If it feels dry and crumbly, add water a teaspoon at a time; if it’s sticking to your hands, work in a little extra flour the same way.
- Roll the dough out on a lightly floured surface to about 1/4-inch thickness. Rolling it too thin will make the biscuits fragile once baked, and too thick will leave the centers slightly underdone by the time the edges are golden. A consistent thickness across the whole sheet of dough is more important than the exact number — use a rolling pin with thickness guides if you have one, or simply check the dough with your fingers in a few spots as you go.
- Cut the dough into an even number of pieces using a cookie cutter. Count as you cut, since it’s easy to lose track and end up one biscuit short of a full set of pairs. Re-roll scraps once, gently, to get a few extra pieces, but avoid re-rolling more than once, since the dough toughens each time it’s reworked.
- Bake for 20 minutes, flip each biscuit, then bake another 15 to 20 minutes. The flip matters here — biscuits baked without flipping often end up slightly softer on the bottom, which affects how well the finished sandwich holds together. You’re looking for biscuits that are firm all the way through and lightly golden at the edges, not just on top.
- Cool the biscuits completely on a wire rack before doing anything else. This step is the one most often rushed, and it’s the one that matters most. A biscuit that still has any residual warmth will soften the peanut butter filling and let the sandwich slide apart. Give them a full 30 minutes minimum, and longer if your kitchen runs warm.
- Spread a thin, even layer of peanut butter onto the flat side of one biscuit. Use the back of a spoon or a small offset spatula, and aim for a layer about an eighth of an inch thick — thick enough to taste, thin enough that it won’t squeeze out the sides once pressed. Stop about a quarter-inch from the edge of the biscuit to leave room for the filling to spread slightly without overflowing.
- Press a second biscuit on top, flat side down, using light, even pressure. Press straight down rather than twisting, which keeps the filling centered instead of pushing it out one side.
- Let the finished sandwiches sit for a few minutes at room temperature before serving or storing. This gives the peanut butter a chance to firm back up slightly after the pressure of assembly, which helps the sandwich hold together better once it’s being carried around or chewed.
How Much to Give Your Dog One sandwiched treat is plenty for most dogs, especially smaller breeds, given the combined calories from two biscuits and a peanut butter filling. Treat this as an occasional reward rather than a daily staple.
Storage Store the finished sandwiches in an airtight container at room temperature for up to 5 days. If you’d rather make a bigger batch, the plain, unfilled biscuits freeze well on their own for up to 3 months — just fill them with peanut butter fresh whenever you’re ready to serve.
My Tip I always bake the biscuits a day ahead and assemble the sandwiches the next day. Giving them a full 24 hours to cool and firm up completely makes a noticeably sturdier finished treat, and it also means the assembly step takes about five minutes instead of feeling like a whole second project.
If your dog goes through these quickly and you want more biscuit-style treats to rotate in, simple carrot based dog treat recipes for beginners and homemade pumpkin applesauce dog treats are both easy to bake using a nearly identical method, just with a different flavor built into the dough itself instead of a filling.
Signs Your Dog Shouldn’t Have These
- Known peanut or legume allergy
- Wheat or grain sensitivity, unless the flour is swapped for a suitable alternative
- A vet-recommended low-fat or low-calorie diet, given the combined richness of two biscuits and a peanut butter filling
- Any history of pancreatitis, since fattier treats can be harder on a sensitive digestive system
If any of these apply to your dog, it’s worth talking to your vet before offering this recipe, or adjusting the ingredients to better fit their specific needs.
Common Problems When Making These
Why did my biscuits come out too soft to hold their shape? This usually means they need more time in the oven. Biscuits should feel completely firm and dry to the touch once cooled — if they still feel slightly soft after baking, put them back in for another 5 minutes and check again.
Why is my dough too crumbly to roll out? This is almost always a moisture issue. Add water or broth a teaspoon at a time until the dough comes together into a cohesive ball without cracking when rolled.
Can I use crunchy peanut butter for the filling? Yes, crunchy peanut butter works fine and adds a bit of extra texture, though it can be slightly harder to spread evenly than a smooth, creamy peanut butter.
Why does the peanut butter filling squeeze out the sides? This usually means either the layer was spread on too thick, or the biscuits were pressed together too firmly. A thin, even layer and a light, straight-down press when sandwiching the two biscuits together solves this in most cases.
Can I make these without an oven, using a dehydrator instead? Yes, the biscuit dough can be dehydrated at a low temperature for a longer period instead of baked, which produces an even crunchier finished biscuit, though it will take considerably longer than baking.
How long will the peanut butter filling stay fresh once assembled? Once sandwiched, the treats are best used within about 5 days, since the moisture from the peanut butter will gradually soften the biscuit over time.
More From The Pet Sphere
- 3 Ingredient Peanut Butter Dog Gummies
- Homemade Dog Treats
- Simple Carrot Based Dog Treat Recipes for Beginners
- Homemade Pumpkin Applesauce Dog Treats
- Homemade Banana Dog Treat Recipes
- Homemade Dog Food With Vet Approved Ingredients
- Human Foods Dogs Can Safely Eat
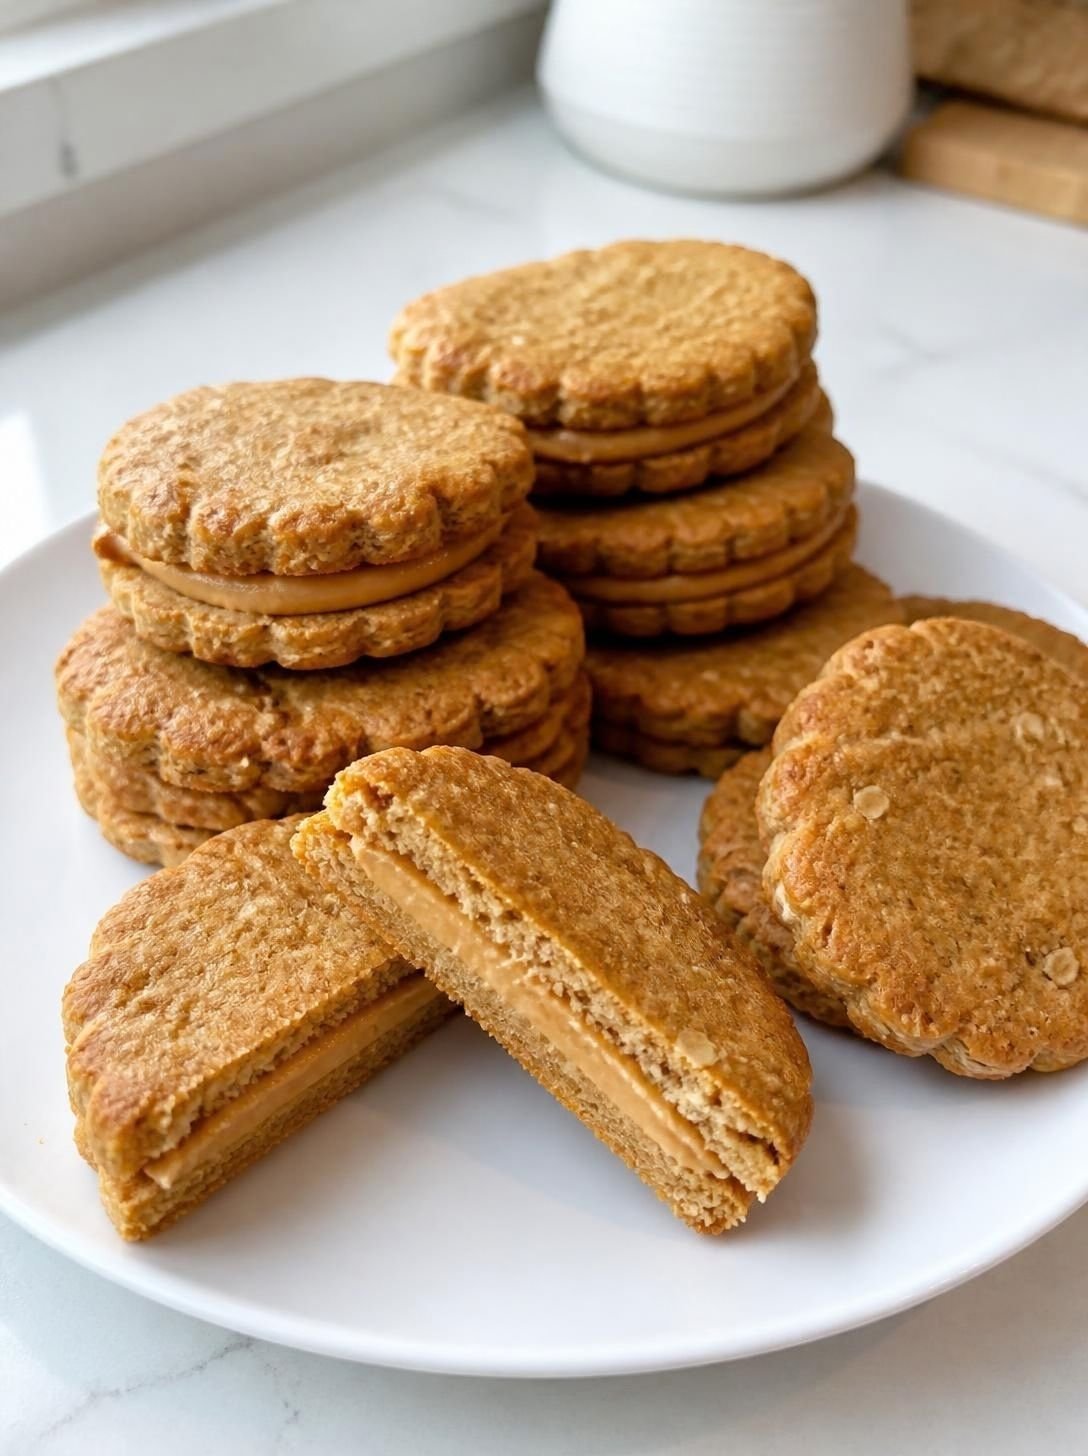
Peanut Butter Sandwiched Dog Treats
Ingredients
Equipment
Method
- Preheat the oven to 350°F (175°C) and line a baking sheet with parchment paper.
- Add the oat flour, pumpkin puree, and egg to a mixing bowl.
- Stir the ingredients together until a soft dough forms.
- Add the water gradually if the dough feels too dry.
- Place the dough between two sheets of parchment paper and roll it to approximately 1/4 inch thick.
- Cut the dough into small, matching shapes using a cookie cutter.
- Arrange the biscuits on the prepared baking sheet with a little space between them.
- Bake for approximately 16 to 18 minutes, or until the biscuits are firm and lightly golden.
- Remove the biscuits from the oven and allow them to cool completely on a wire rack.
- Once cooled, spread a small amount of natural peanut butter onto the flat side of one biscuit.
- Place a second biscuit on top and gently press them together to create a sandwich.
- Repeat with the remaining biscuits and peanut butter.
- Peanut Butter Safety: Use natural peanut butter that contains no xylitol or other artificial sweeteners. Check the ingredient label carefully before using it.
- Filling Tip: Use a thin layer of peanut butter between the biscuits. Too much filling can make the sandwiches messy and harder for dogs to eat.
- Texture Tip: Let the biscuits cool completely before adding the peanut butter so the filling does not become overly soft.
- Storage: Store assembled treats in an airtight container in the refrigerator for up to 4 days. You can freeze the baked biscuits separately and add the peanut butter after thawing.
- Common Mistake to Avoid: Do not use peanut butter containing xylitol, chocolate, added spices, or other ingredients that are unsafe for dogs.
- Serving: Break the sandwich into smaller pieces for smaller dogs and serve as an occasional treat or reward. Treats should complement, rather than replace, your dog’s complete and balanced diet.
Final Thoughts
Sandwiched treats take a little more time than a single batch of biscuits, mostly because of the cooling and assembly steps, but the actual difficulty barely changes — it’s still just flour, oats, egg, water, and peanut butter.
What you get in return is a treat that lasts longer, engages your dog more, and tastes exactly like the kind of thing you’d be happy to pay for at a pet bakery, without wondering what’s actually in it.