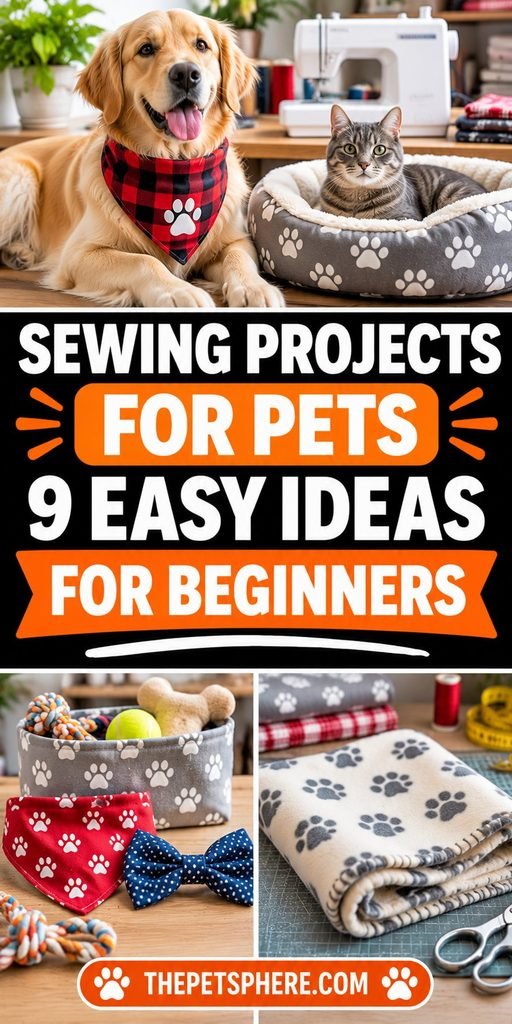
Sewing Projects for Pets: 9 Easy Ideas for Beginners
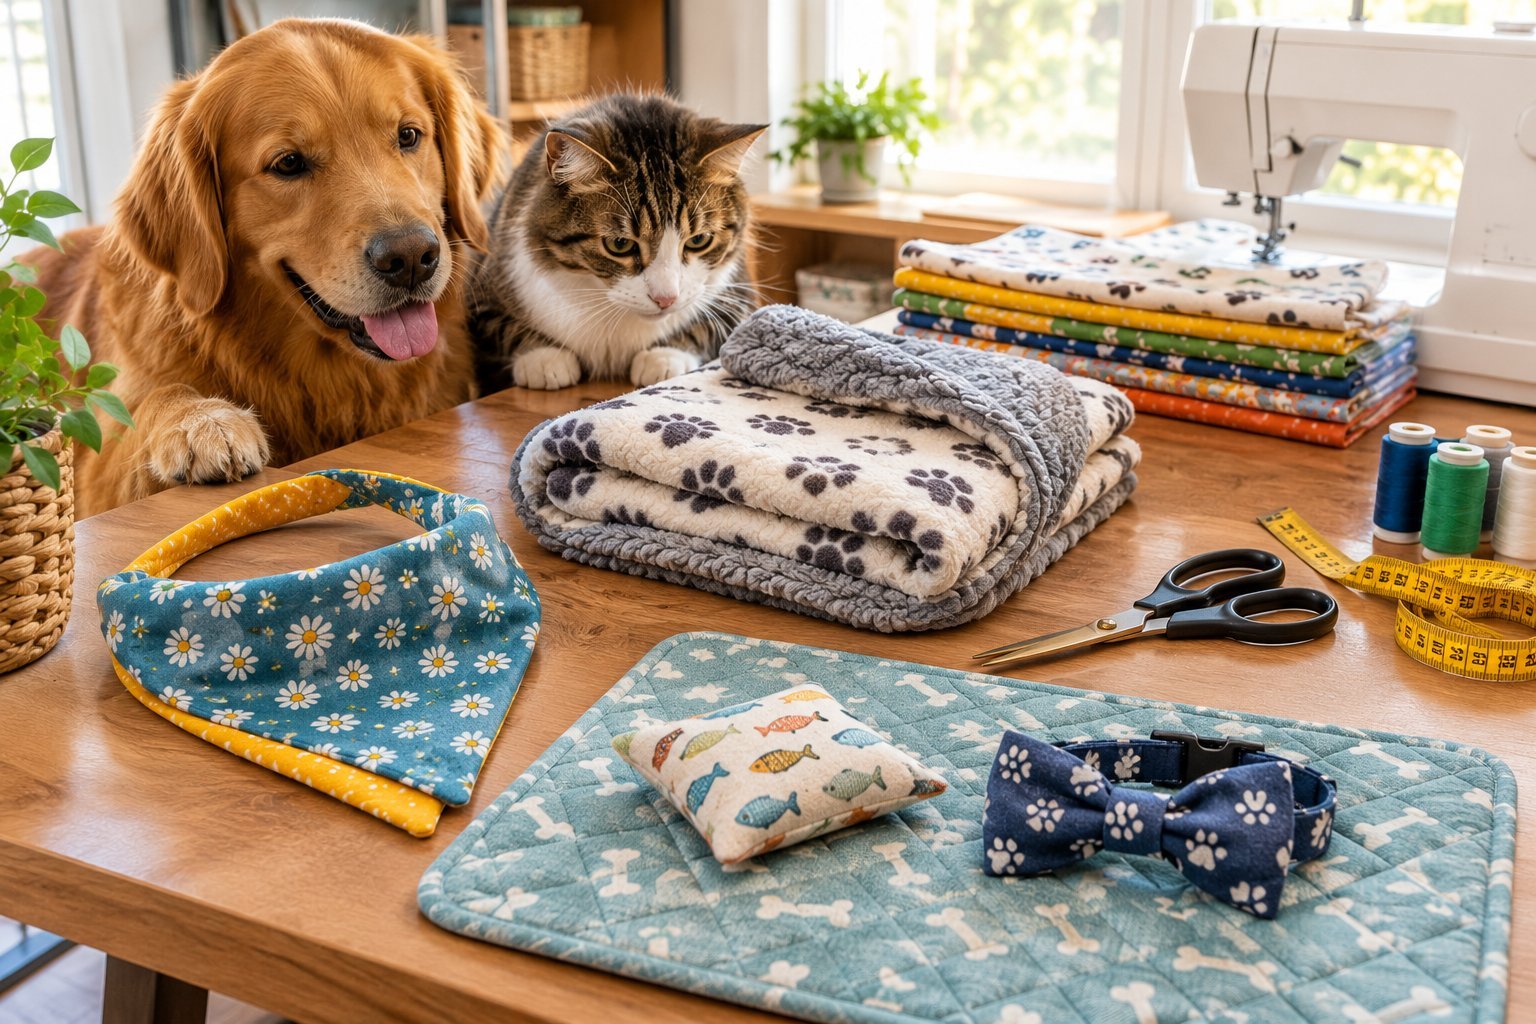
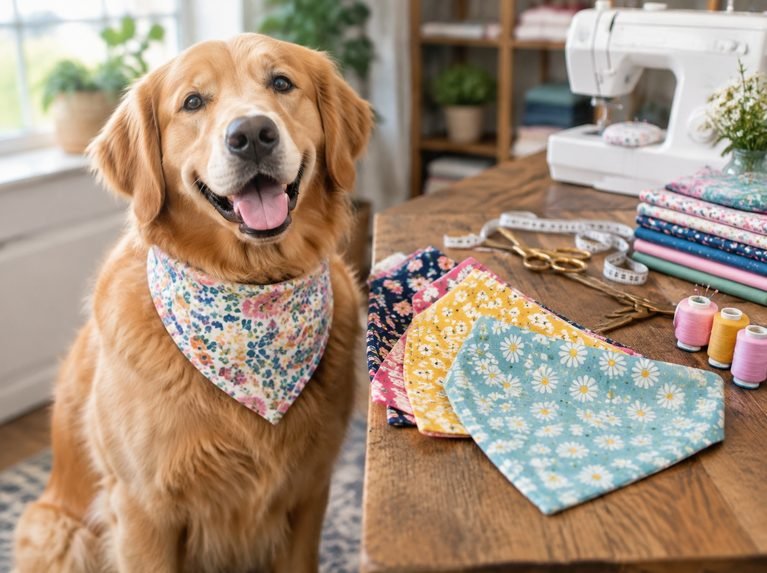
Pets don’t care about perfect stitches, which makes them the best audience for a beginner sewer.
A scrap of fabric, a bit of thread, and an afternoon are enough to turn out something your dog or cat will actually use, from a bandana to a cozy blanket to a placemat that keeps the kitchen floor dry.
Handmade pet gear is also a great way to use up old shirts, towels, and quilting scraps.
This guide gives you nine easy sewing projects for pets, with materials, simple steps, sizing tips, and safety notes for each.
I’ve sorted them from easiest to a little more involved, and I’ve kept every project free of the loose parts, strings, and small decorations that can hurt a pet.
I’ll also point you to my other handmade posts for projects covered in more detail. Every pet is different, so use these as a starting point and always supervise new items.
If you ever see a pet chewing or swallowing fabric, stop using the item and ask your veterinarian for advice.
Pet Sewing Safety Rules
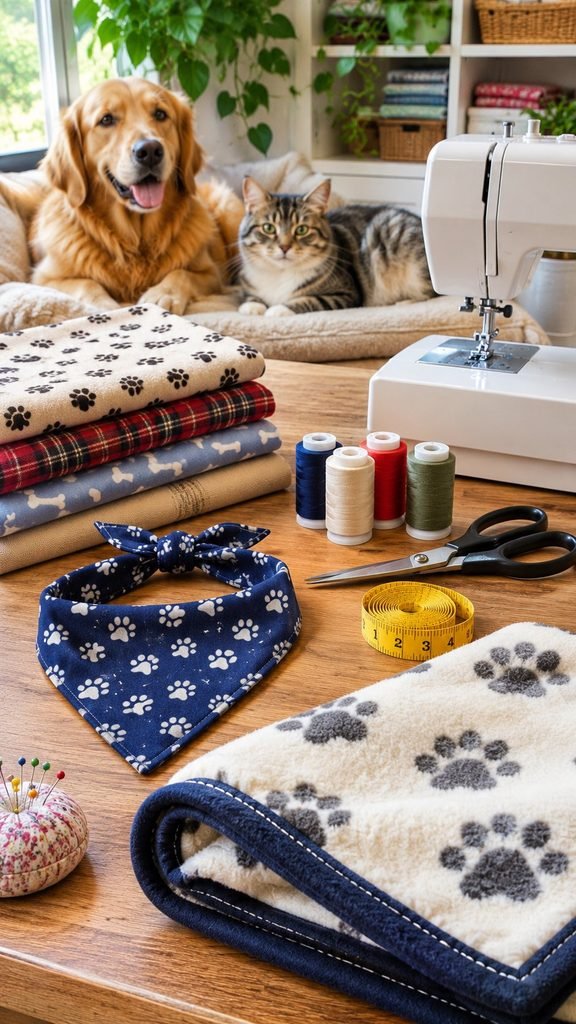
Anything a pet wears, chews, or sleeps on needs extra care.
Choose safe fabric. Washable cotton, flannel, canvas, and fleece are good choices. Avoid loosely woven fabric that frays and fabric with sequins or beads.
Wash the fabric first. Use fragrance free detergent, skip fabric softener, and dry completely.
No small parts. Skip buttons, beads, bells, sequins, plastic eyes, and glued on decorations. Pets can chew them off and swallow them.
No string, ribbon, yarn, or long ties. These are especially dangerous for cats, and they can tangle or tighten around necks.
Hem or finish every edge. Raw edges fray, and loose threads can be swallowed.
Trim thread tails short. Backstitch at the start and end of every seam.
Test every seam. Tug firmly before giving the item to your pet.
Supervise. Especially with new items, and with pets who chew.
Check before and after use. Throw away anything that is torn, frayed, or coming apart.
Never replace a collar or ID tag. Accessories go over or alongside a sturdy collar, not instead of one.
What You’ll Need for Most Projects
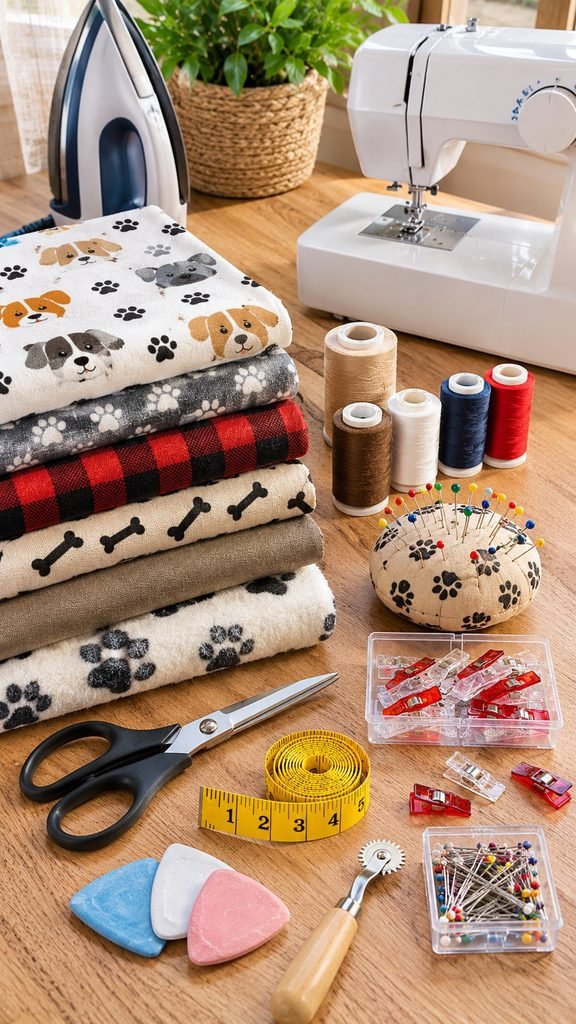
- Washable cotton, flannel, canvas, or fleece
- Strong thread
- Fabric scissors
- A ruler or measuring tape, and fabric chalk or a marker
- Pins or fabric clips
- A sewing machine, or a needle for hand sewing
- An iron
- Hook and loop tape (such as Velcro), for closures on some projects
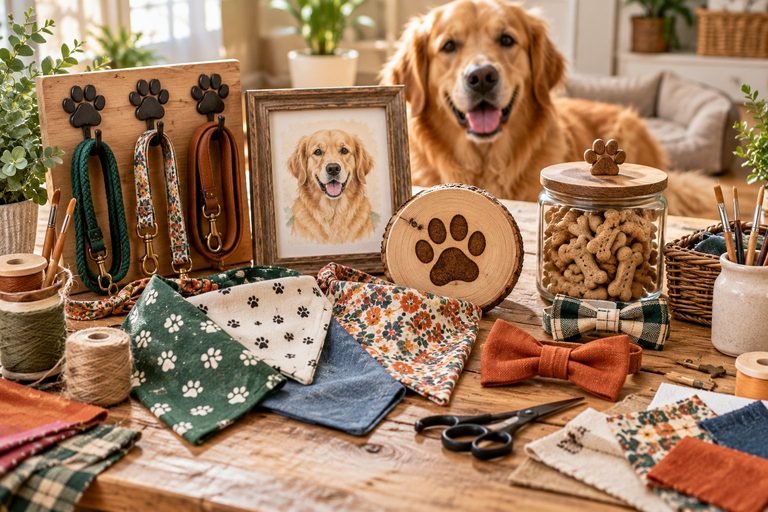
1. Reversible Dog Bandana
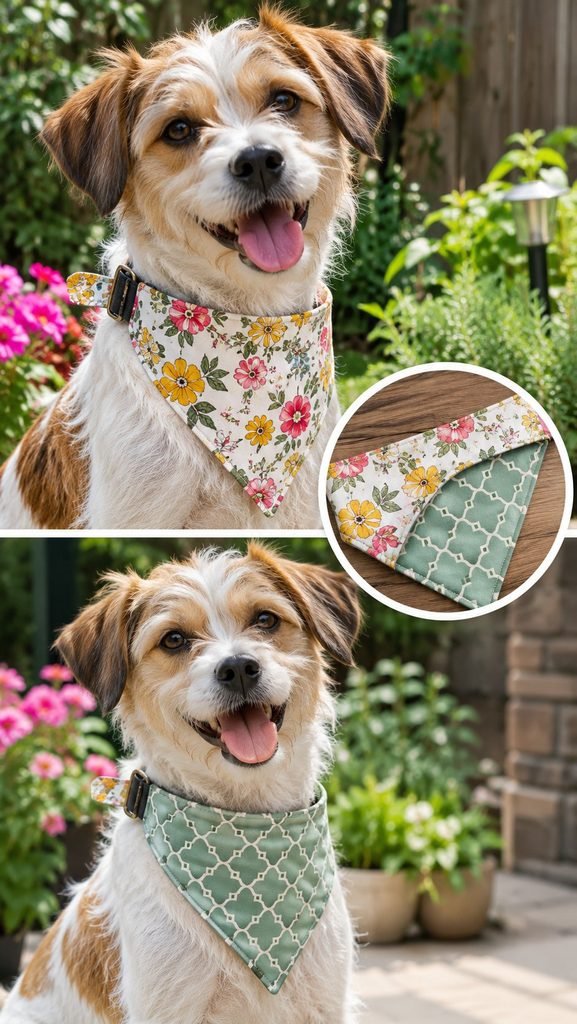
Skill level. Beginner.
What you need. Two triangles of cotton fabric, each about 14 inches across the long edge for a small dog, or 20 to 24 inches for a larger dog.
How to make it.
- Cut two matching triangles from different prints.
- Place them right sides together and pin.
- Sew around two sides with a 1/2 inch seam, leaving the long edge open at the top, or leaving a gap for turning.
- Trim the corners, turn right side out, and press.
- Fold the top edge down to make a casing wide enough for your dog’s collar, and stitch it closed. This lets the bandana slide over the collar.
Safety notes. A slide on bandana over a sturdy collar is safer than a tie on version. Measure your dog’s neck, and check fit.
See my How to Start a Dog Bandana Business for sizing guidance and ideas.
2. Slide On Bow Tie
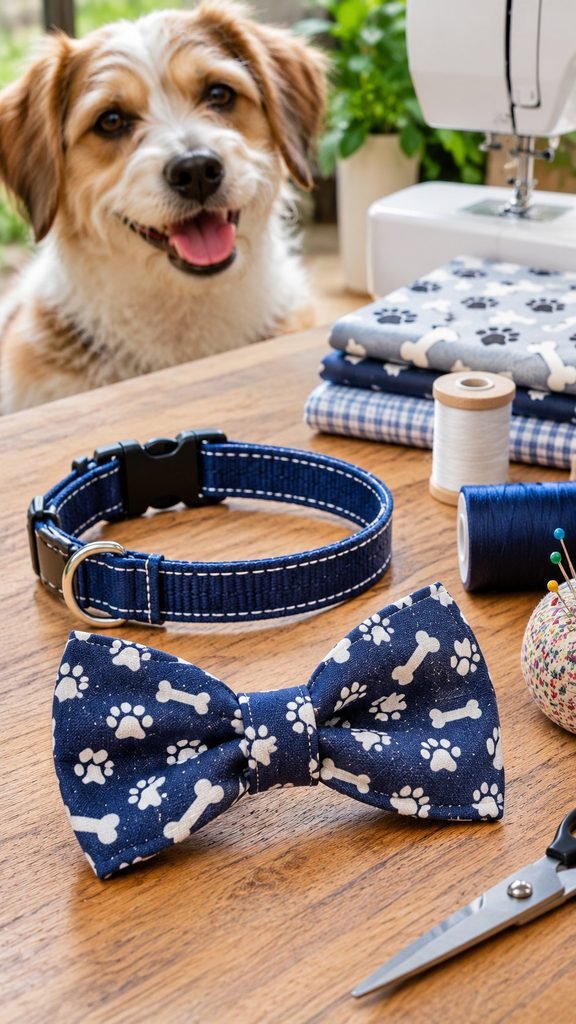
Skill level. Beginner.
What you need. A rectangle of cotton about 6 by 4 inches, a small strip about 2 by 3 inches for the center, and a strip about 1 1/2 by 6 inches for the loop.
How to make it.
- Fold the large rectangle in half, right sides together, and sew the long edge to form a tube. Turn it right side out.
- Pinch the middle and wrap the small strip around it, stitching the strip closed at the back.
- Make the loop by folding the long strip into a tube and stitching it into a ring wide enough to slide onto your dog’s collar.
- Attach the loop to the back of the bow with several rows of stitches.
Safety notes. Keep it small and snug against the collar, with no dangling pieces.
3. Quilted Food Mat
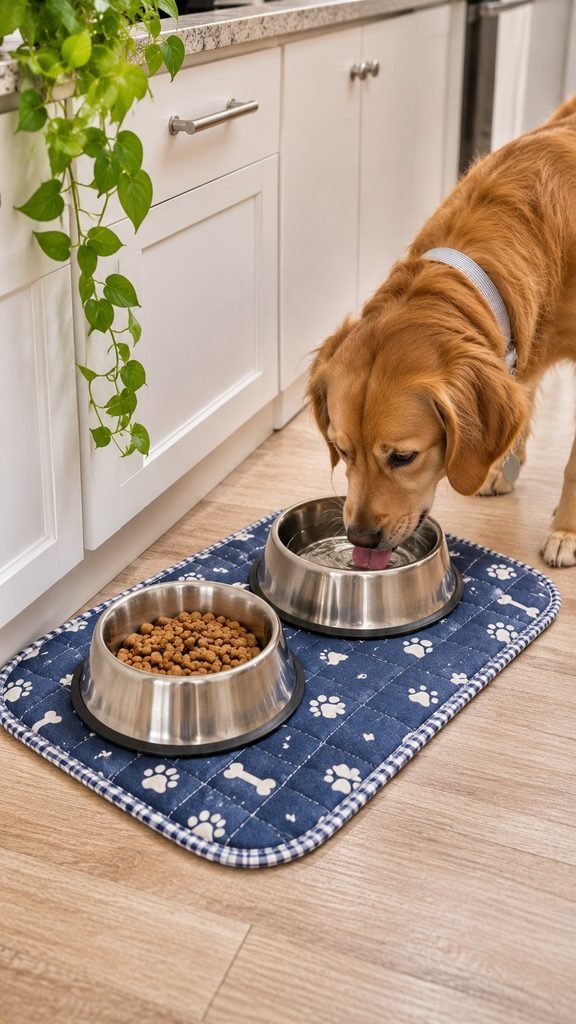
Skill level. Beginner.
What you need. Two pieces of cotton or canvas about 12 by 18 inches, and a layer of batting or an old towel.
How to make it.
- Layer the batting between the two fabric pieces, with the pretty sides facing out.
- Pin the layers, and sew a straight line around the edge about 1/4 inch from the border.
- Add a few straight lines across the mat to hold the layers together.
- Bind or fold the edges, and stitch securely.
Safety notes. Use a mat that stays flat, and wash it often. Skip any mat with a rubber backing that could be chewed off.
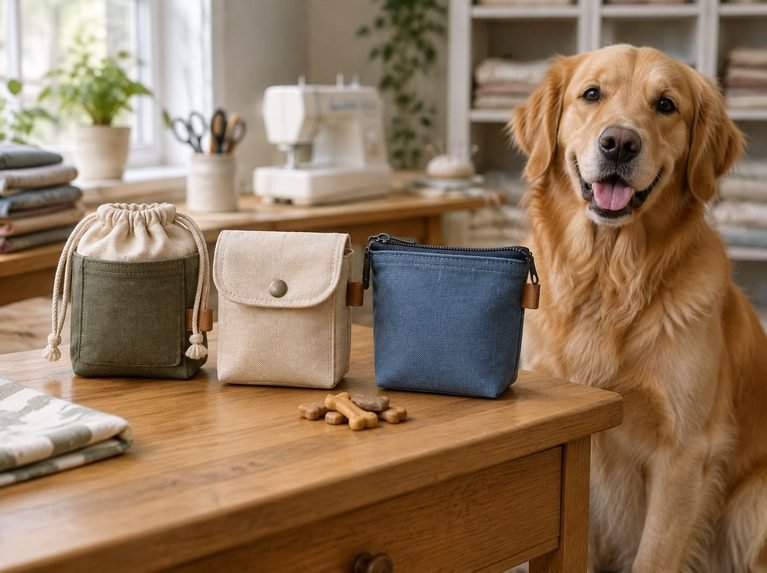
4. Walk Treat Pouch
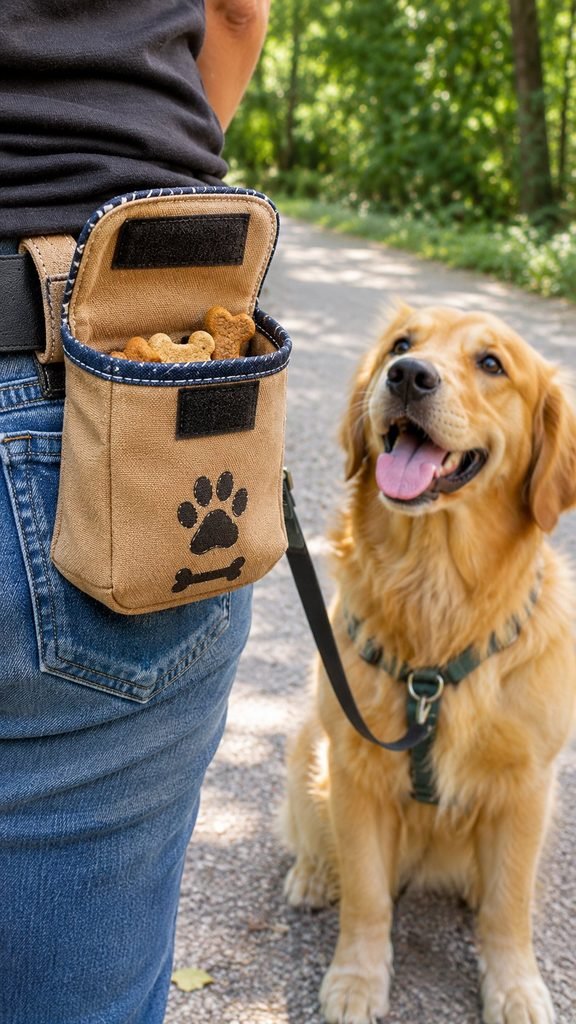
Skill level. Beginner to intermediate.
What you need. A rectangle of sturdy canvas or cotton about 8 by 12 inches, a strip of fabric for a belt loop, and hook and loop tape.
How to make it.
- Fold the rectangle in half, right sides together, and sew the sides to form a pouch.
- Turn it right side out, and hem the top.
- Attach hook and loop tape to the top inside edge so the pouch closes.
- Sew a belt loop to the back, so you can slide it onto your belt or waistband.
Safety notes. This is for you to wear, not your pet. Keep treats fresh, wash the pouch regularly, and keep it out of reach when empty.
For homemade treats to fill it, see my Peanut Butter Banana Dog Biscuits.
5. Sweatshirt Sleeve Dog Sweater
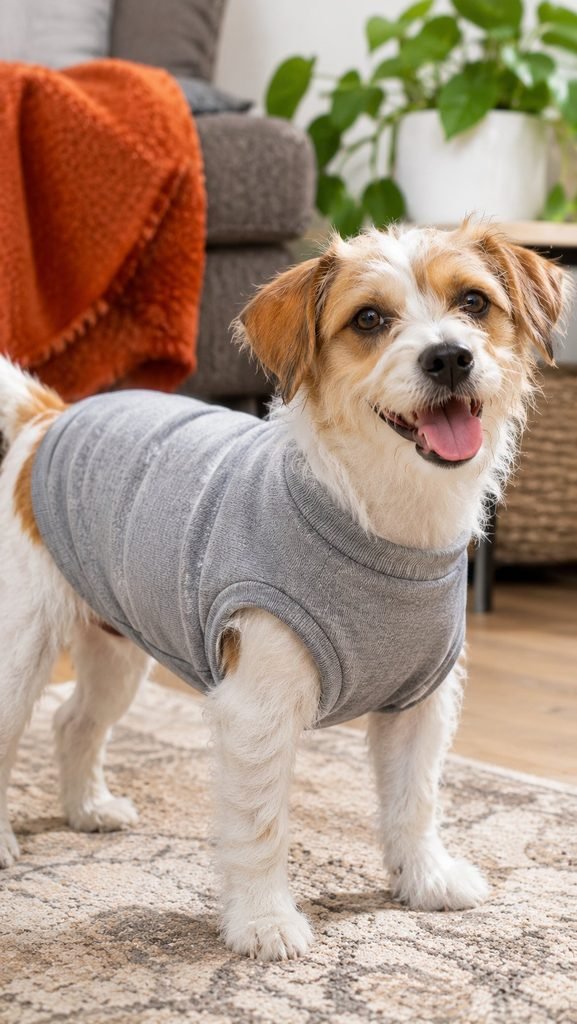
Skill level. Intermediate.
What you need. An old, clean sweatshirt or fleece, with a sleeve about as long as your dog’s body, and scissors.
How to make it.
- Cut off a sleeve, from the cuff to just above the elbow.
- Cut two leg holes in the sleeve, about 1 inch from the cut edge, sized for your dog’s front legs.
- Slide the sleeve over your dog’s head, with the cuff around the neck and the front legs through the holes.
- Hem the cut edges with a simple stitch, if the fabric frays.
Safety notes. Measure your dog carefully, and check the neck opening isn’t too tight. Remove the sweater indoors, and never leave a dog unsupervised in clothing.
Small or short coated dogs benefit most, and many dogs don’t need one. See my Essential Winter and Rainy Weather Gear Every Dog Owner Needs.
6. Cozy Pet Blanket
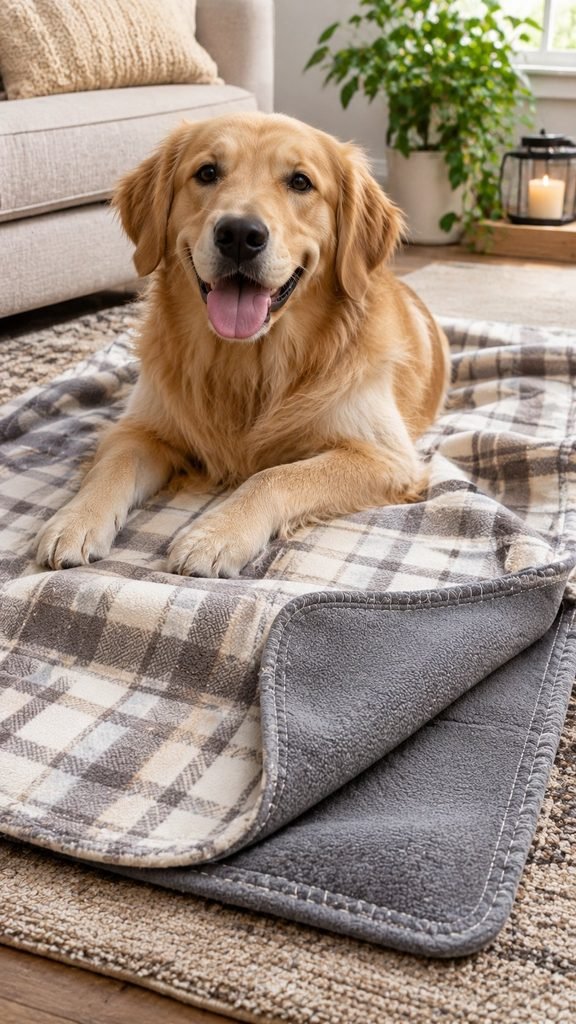
Skill level. Beginner.
What you need. Two pieces of soft, washable fabric such as flannel and fleece, each about 24 by 30 inches for a small pet, or larger for a bigger pet.
How to make it.
- Place the pieces together with right sides facing, and pin.
- Sew around the edges with a 1/2 inch seam, leaving a 6 inch gap.
- Turn right side out through the gap, push out the corners, and press.
- Topstitch around the edge, closing the gap.
Safety notes. Use fabric with no fringe, tassels, or loose threads. Fleece can shed fibers, so skip it for pets who chew blankets. For senior pets, pair with a supportive bed. See my Best Orthopedic Dog Beds for Senior Dogs.
7. Flat Catnip Pillow
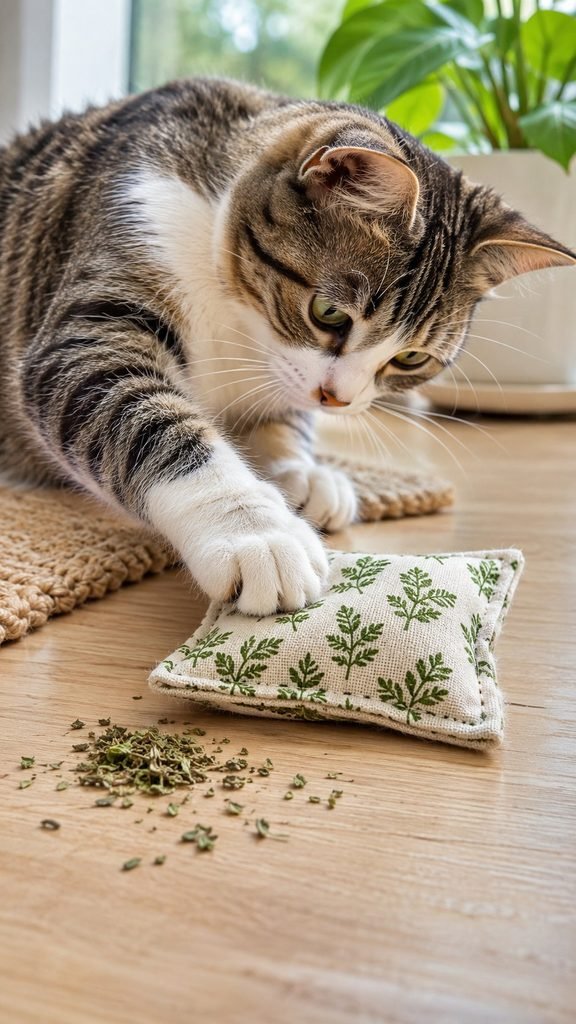
Skill level. Beginner.
What you need. Two squares of tightly woven cotton about 5 inches wide, strong thread, a little batting or fabric scraps, and a pinch of plain, dried catnip.
How to make it.
- Place the squares right sides together and sew around three sides.
- Turn right side out, and fill lightly with batting and a pinch of catnip.
- Fold the raw edges in, and stitch the opening closed with small, tight stitches, going over it twice.
- Add a few lines of stitching across the pillow to hold the filling in place.
Safety notes. Use only plain, dried catnip. Leave off any tail, ribbon, or eyes. Throw the toy away at the first sign of loose seams.
For more cat toy ideas, see my How to Make a Cat Kicker Toy and 11 Easy DIY Cat Toys.
8. Braided Fabric Tug Toy
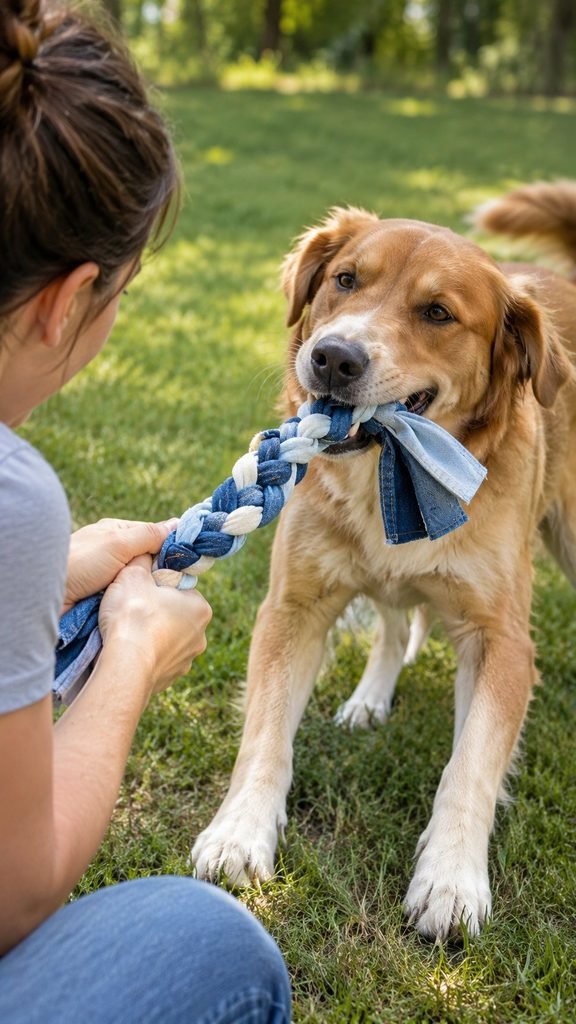
Skill level. Beginner.
What you need. Three strips of tightly woven cotton or washed denim, each about 3 inches wide and 24 inches long.
How to make it.
- Stack the strips and sew across one end several times, backstitching.
- Braid the strips tightly.
- Sew across the other end several times, then tie a firm knot at each end.
- Trim the tails short.
Safety notes. Use only for supervised tug games, and throw it away when it starts fraying. Skip fabric toys for pets who swallow pieces.
For more detail, see my 5 DIY Sewn Denim Dog Toys from Old Jeans and 5 DIY No Sew Recycled Denim Dog Toys.
9. Fabric Collar Cover
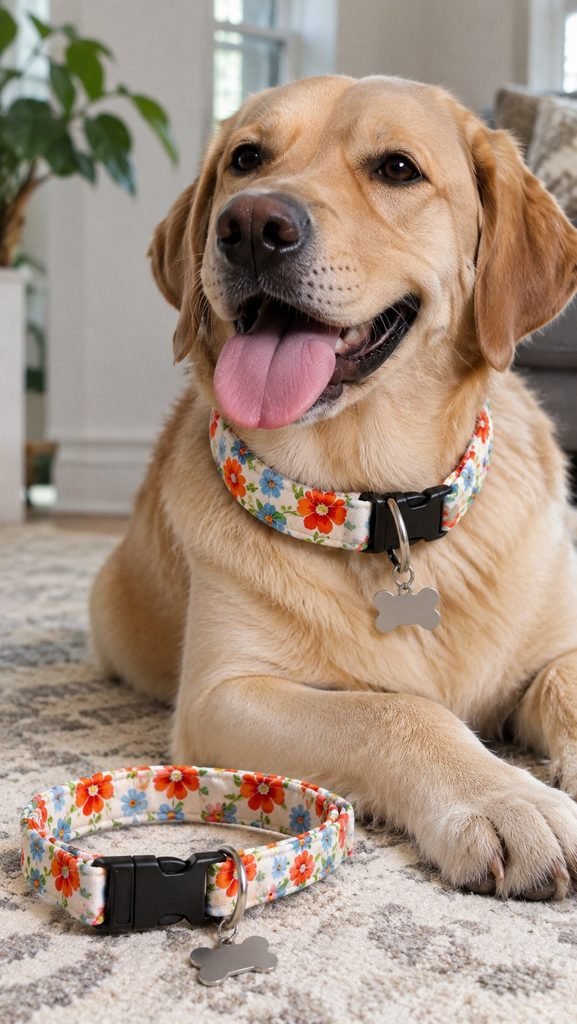
Skill level. Beginner to intermediate.
What you need. A strip of cotton fabric slightly wider than your dog’s collar, and a ruler.
How to make it.
- Cut a strip long enough to wrap around the collar, with a small overlap.
- Fold and press the long edges under, and stitch to create a finished strip.
- Wrap the strip around the collar, and secure it with a few firm stitches or with hook and loop tape.
Safety notes. The cover goes over a sturdy store bought collar, not in place of it, and must not cover the buckle or ID tag. For detailed ideas, see my 7 Stunning DIY Fabric Dog Collars.
Choosing the Right Fabric
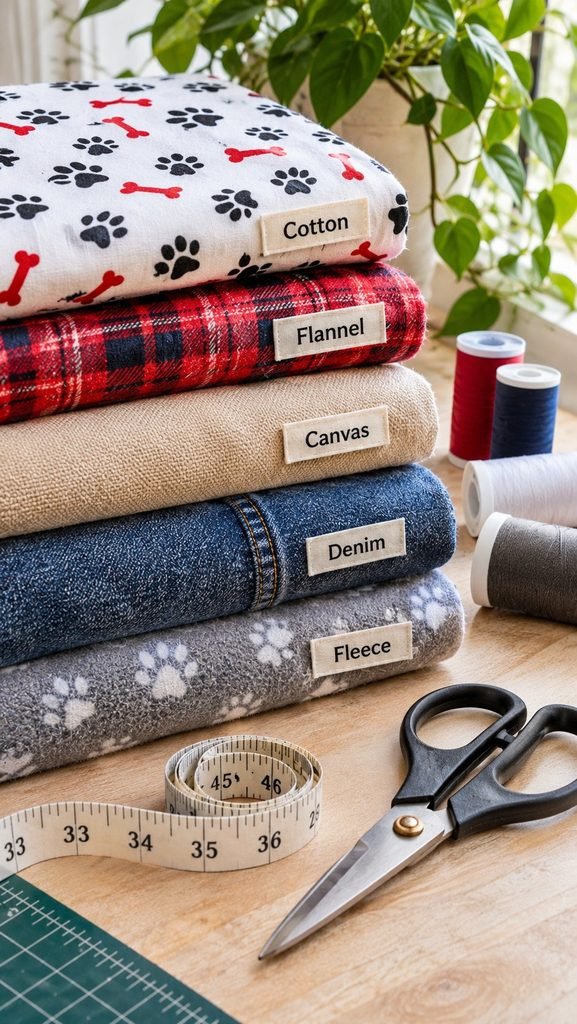
Cotton. Breathable, washable, and easy to sew. A great all around choice.
Flannel. Soft and cozy, good for blankets and bandanas.
Canvas and denim. Tough and durable, good for toys and mats. Remove all hardware from denim.
Fleece. Warm, though it can shed fibers. Use for blankets and sweaters, but not for chewers.
Avoid. Loosely woven fabrics, sequins, beads, glitter, and anything with a strong smell.
How to Measure Your Pet
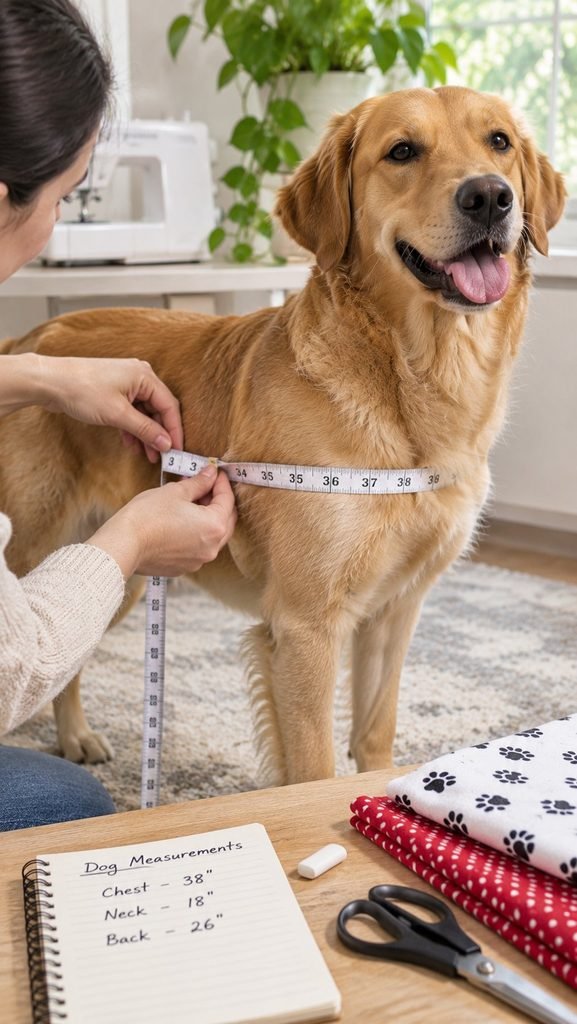
Neck. Measure where a collar sits, and add a little room, so two fingers fit between the strap and the neck.
Chest. Measure the widest part of the rib cage.
Back length. Measure from the base of the neck to the base of the tail.
Weight. Useful for choosing sizes and for beds and blankets.
Take notes. Keep a card with your pet’s measurements, so you can sew quickly.
How to Care for Handmade Pet Items
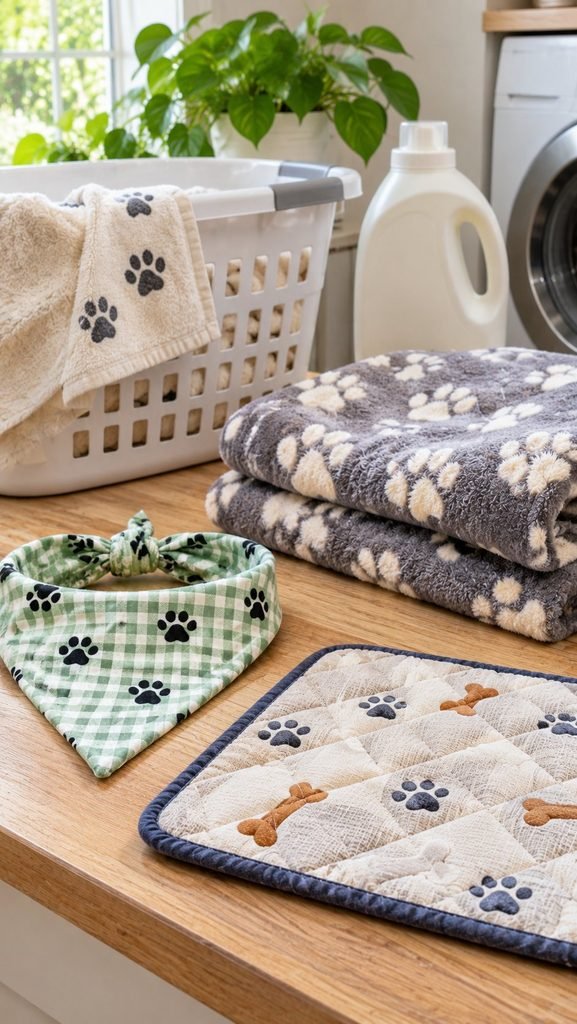
Wash regularly. Use fragrance free detergent, and air dry or tumble dry on low.
Inspect often. Check seams, edges, and closures.
Replace when worn. Handmade items don’t last forever.
Rotate. Keep a few in rotation, so each lasts longer.
Common Mistakes to Avoid
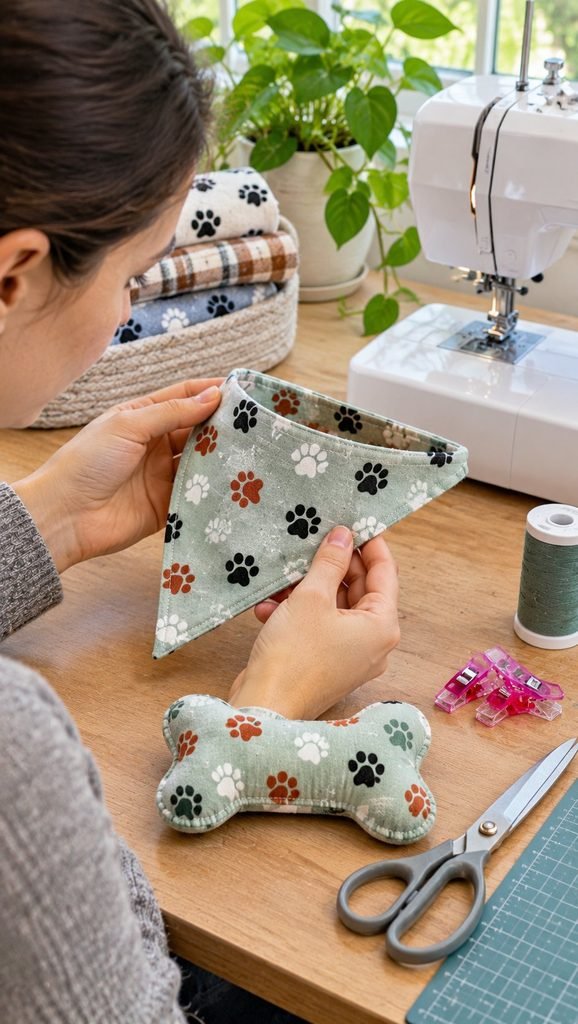
Using small parts or trims. Buttons, beads, and ribbons are risks.
Using weak seams or thread. Backstitch, and test every seam.
Skipping the pre wash. Fabric can shrink, and chemicals can irritate skin.
Making items too tight. Leave room for movement and breathing.
Replacing a collar. Always keep a sturdy collar and ID.
Forgetting to supervise. Check pets with new items, especially chewers.
Ignoring wear. Throw away anything frayed or torn.
Selling Handmade Pet Items
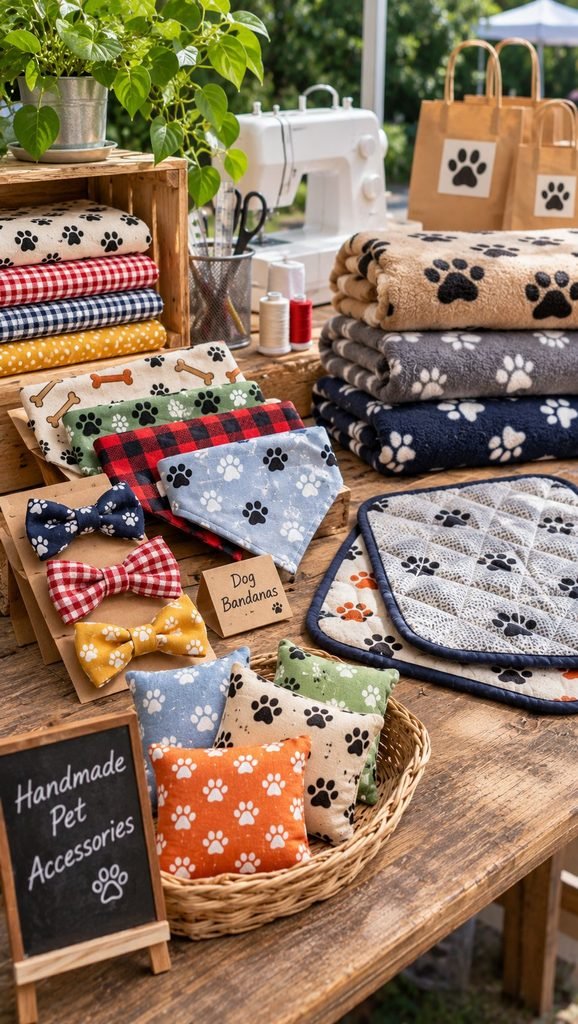
If you’re thinking of selling what you sew, remember that pet products come with safety and labeling considerations, and local rules vary.
See my 7 Dog Crafts to Make and Sell and How to Start a Dog Bandana Business. This is general information and not legal advice.
More Handmade Pet Ideas
- 7 Dog Crafts to Make and Sell
- 7 Stunning DIY Fabric Dog Collars
- 5 DIY Sewn Denim Dog Toys from Old Jeans
- How to Make a Cat Kicker Toy
- How to Start a Dog Bandana Business
For a wider look at caring for your dog at home, check out 7 Healthiest Homemade Dog Foods.
Frequently Asked Questions
What are the easiest sewing projects for pets? Bandanas, blankets, bow ties, and food mats are all great for beginners.
What fabric is safest for pet projects? Washable cotton, flannel, and canvas are good choices. Avoid loose weaves and decorations.
Do I need a sewing machine? No. Hand sewing works for most of these projects, though it takes longer.
Can I sew clothes for my pet? Yes, but fit and comfort matter. Many pets don’t need clothes, and no pet should wear them unsupervised.
Is fleece safe for pets? It’s fine for blankets and sweaters for pets who don’t chew. Skip it for chewers, since fibers can be swallowed.
Can I use old clothes? Yes. Wash them, and remove all buttons, zippers, and trim first.
How do I size a bandana for my dog? Measure your dog’s neck, and choose a bandana that fits comfortably over the collar.
What if my pet chews the item? Take it away, and ask your veterinarian or a trainer for safer alternatives.
A Final Note on Sewing for Pets
You don’t need fancy skills or expensive tools to sew something your pet will love.
Start with a simple bandana or blanket, keep safety first, and have fun with fabrics your pet can enjoy.
As you gain confidence, try the bigger projects. And if you’re tempted to give your pet a tasty reward after a fitting session, my Healthy Homemade Cat Treats and Peanut Butter Dog Cookies are good places to start.