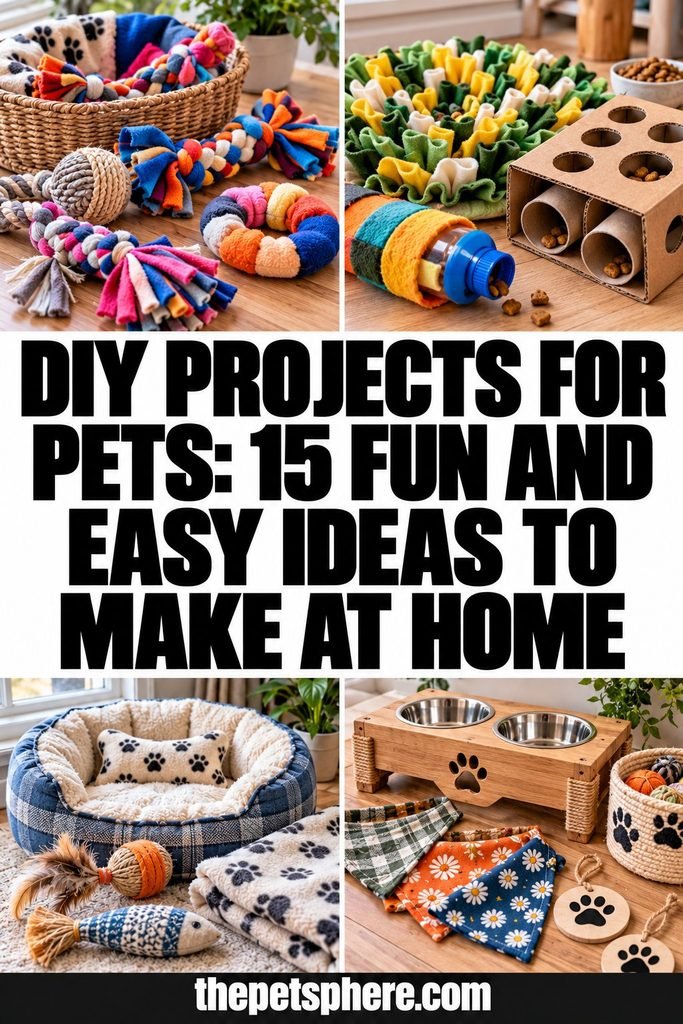
DIY Projects for Pets: 15 Fun and Easy Ideas to Make at Home
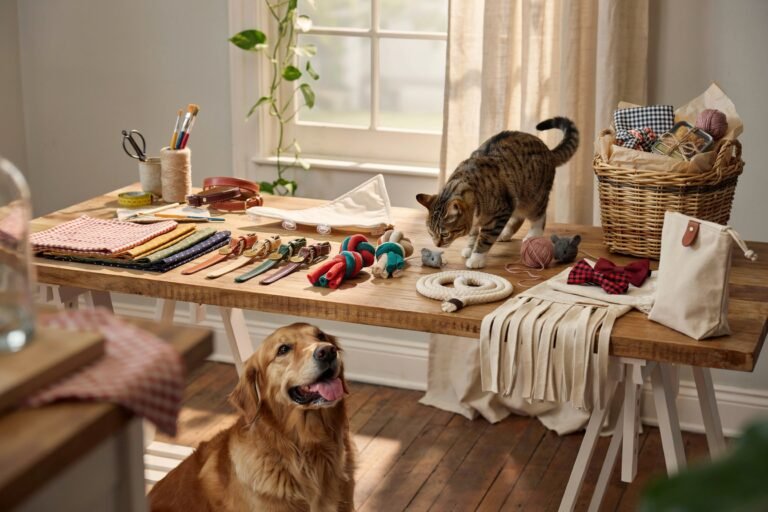
Creating DIY projects for pets is a fun way to make your furry friends feel special without spending a fortune on store-bought accessories.
From homemade cat toys and cozy dog beds to creative feeding stations and interactive play areas, there are plenty of ways to make something useful for the animals you love.
I especially like DIY ideas that combine creativity with practicality.
A simple project can help organize pet supplies, give a bored dog something interesting to do, or create a comfortable corner where a cat can relax. You can also choose materials, colors, and designs that fit your home.
Whether you have a playful puppy, an energetic dog, a curious cat, or several pets sharing your space, these projects offer plenty of inspiration.
You don’t need an expensive workshop or advanced crafting skills to get started. Many ideas use everyday household materials and can be customized to suit your pet’s size, personality, and needs.
In this guide, I’ll share easy DIY projects for pets that are enjoyable to make and practical to use. I’ll also cover important safety considerations so your finished creations are suitable for your furry companions.
Why Packing Your Home With DIY Pet Projects Makes Sense
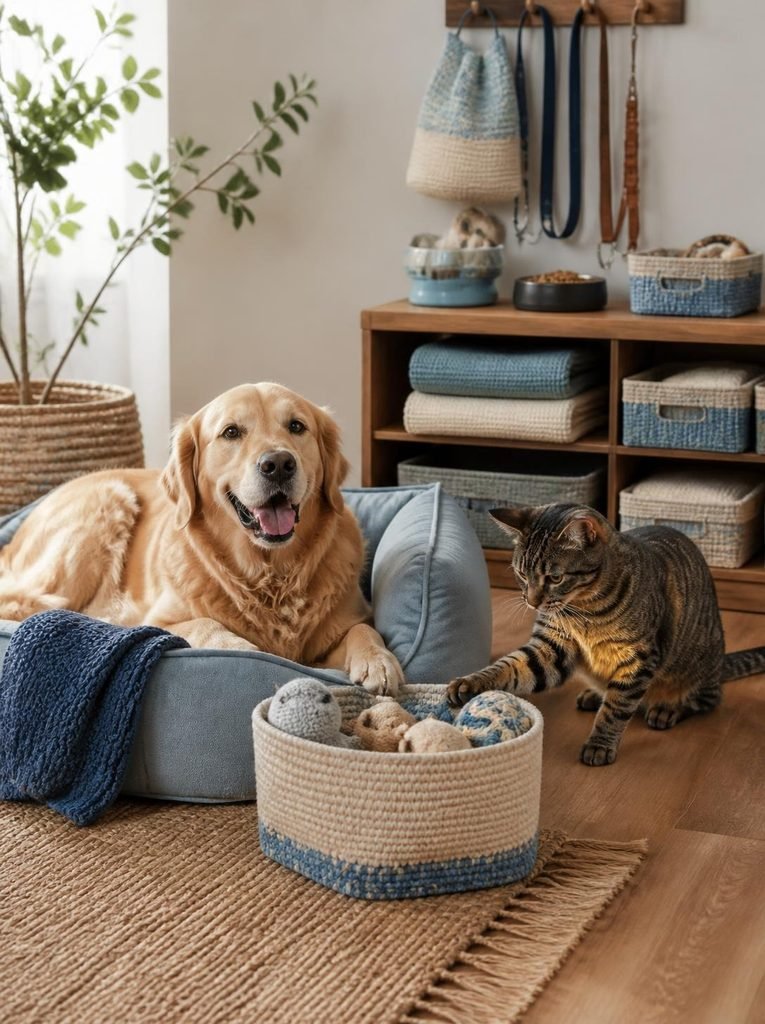
DIY pet projects allow you to create personalized accessories while making better use of materials you may already have at home.
Instead of buying every toy, organizer, or decorative accessory, you can make selected items yourself and adapt them to your pet’s needs.
Here are a few reasons to give pet crafting a try:
- Save money: Simple toys, storage organizers, and pet accessories can often be made with inexpensive materials.
- Customize for your pet: Adjust the size, texture, color, and design to suit your dog or cat.
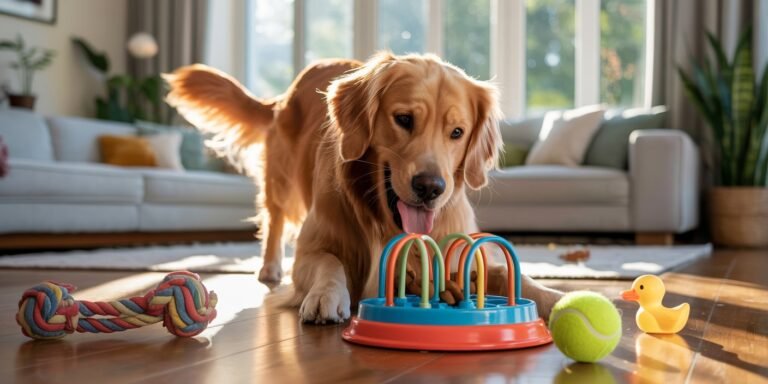
- Encourage enrichment: Certain toys and activity projects can encourage sniffing, exploring, and problem-solving when used appropriately.
- Reduce waste: Some projects can repurpose clean, suitable household materials that would otherwise be discarded.
- Personalize your home: Handmade feeding stations, pet beds, and toy baskets can complement your existing decor.
Safety should always come before appearance. Avoid small detachable parts, sharp edges, toxic paints, loose strings, and materials that can splinter or break into swallowable pieces. Inspect handmade toys regularly, supervise play when needed, and remove any item that becomes damaged.
1. DIY No-Sew Pet Bed
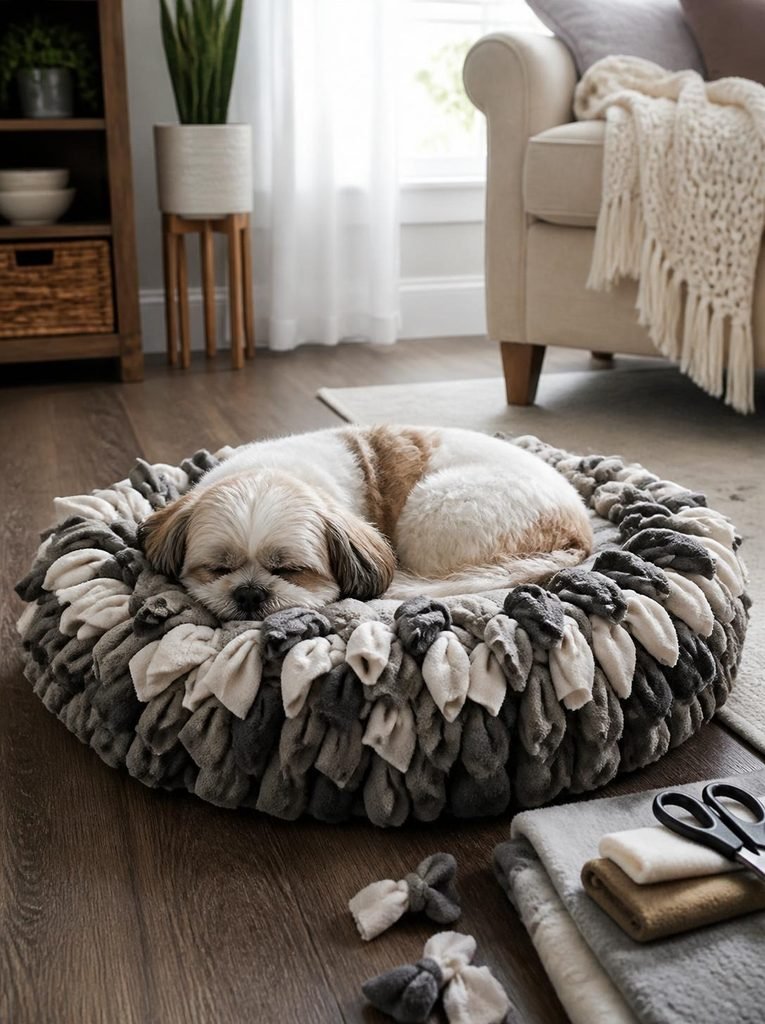
A handmade pet bed is a lovely starting point if you want a useful project that doesn’t require a sewing machine. You can create a soft resting spot for your dog or cat using suitable washable fabric and a comfortable filling.
This project works particularly well for smaller pets, although you can adapt the dimensions for a larger dog.
What you’ll need:
- Two pieces of durable, washable fleece or another suitable pet-safe fabric
- A pet-safe cushion insert
- Fabric scissors
- A measuring tape
How to make it:
- Measure your pet while they are resting comfortably and choose a bed size that gives them enough room to stretch.
- Cut two matching pieces of fabric into squares or rectangles.
- Cut short strips along the edges of both pieces, making sure they line up.
- Tie corresponding strips together around most of the perimeter.
- Add the cushion insert, then finish tying the remaining strips.
- Place the bed in a quiet, comfortable area where your pet likes to rest.
Helpful tip: Choose a fabric that can withstand regular washing. If your pet chews or pulls at fabric, skip this design and choose a sturdier, securely constructed bed instead. Never leave a pet unsupervised with loose fabric strips or accessible filling.
2. DIY T-Shirt Tug Toy for Dogs
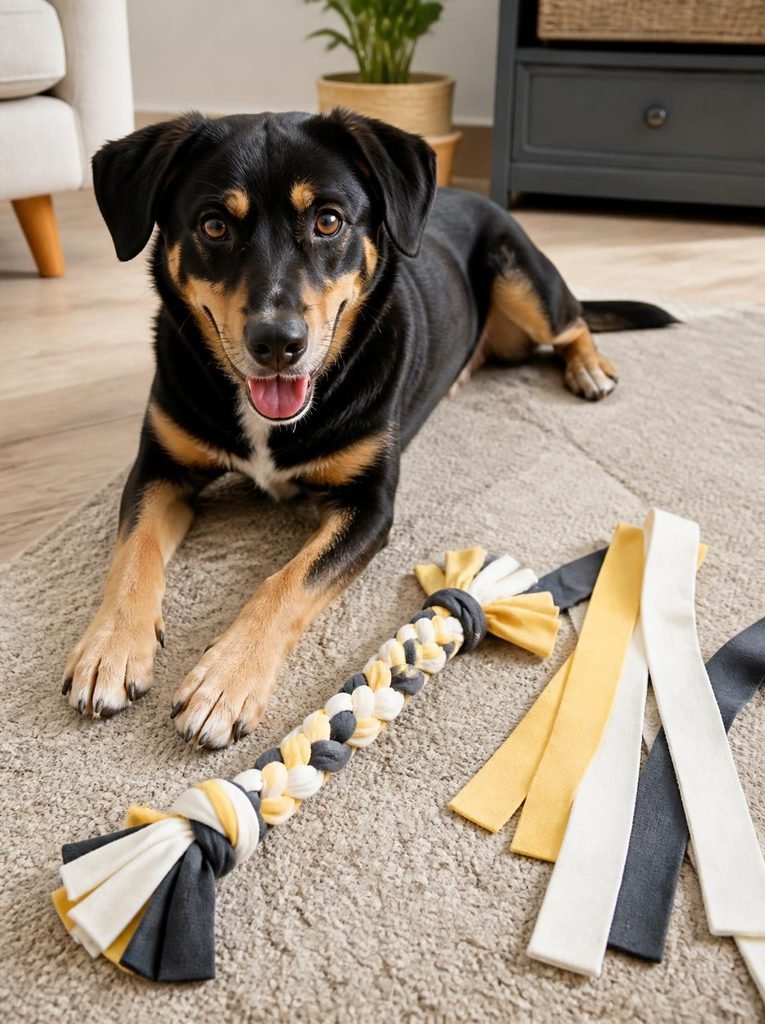
If you have clean old T-shirts that are still in good condition, you may be able to turn them into a simple tug toy for your dog. Braided fabric creates an easy-to-make toy for interactive play, particularly with dogs that enjoy gentle tugging games.
What you’ll need:
- Two or three clean cotton T-shirts
- Fabric scissors
- A flat surface for braiding
How to make it:
- Cut the shirts into long, reasonably even strips.
- Gather three strips together and tie a secure knot at one end.
- Braid the strips tightly, keeping the tension consistent.
- Tie a secure knot at the opposite end.
- Trim any excess fabric and check the entire toy for loose threads.
Helpful tip: Use the toy for supervised interaction rather than leaving it with your dog all day. Fabric toys can unravel, and swallowed threads or strips may cause serious problems. Avoid this project for dogs that aggressively shred and swallow fabric.
3. DIY Cat Wand Toy
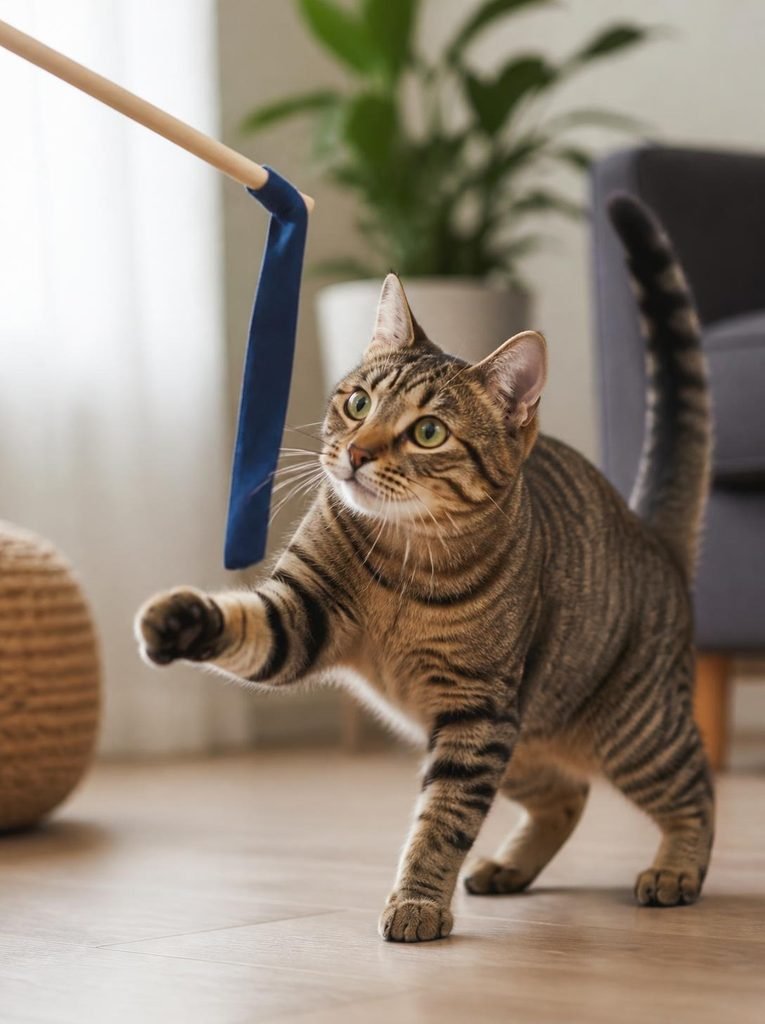
Cats often enjoy toys that encourage them to stalk, chase, and pounce. A homemade wand can support these natural play behaviors while giving you an easy way to interact with your cat.
The key is to make the toy simple and use it only during supervised play.
What you’ll need:
- A smooth, lightweight wand with no splinters
- A short piece of durable fabric
- Scissors
How to make it:
- Choose a smooth wand of a comfortable length for your hand.
- Cut a short strip of sturdy fabric.
- Attach the fabric securely to the end of the wand, ensuring that no small pieces can detach.
- Check that the attachment is firm before using the toy.
- Move the wand along the floor and through the air in short, playful movements to encourage your cat to follow it.
Helpful tip: Avoid yarn, thin string, ribbons, elastic loops, and small decorative pieces that your cat could swallow or become tangled in. Put the wand away after each play session, and replace it if the attachment becomes loose.
4. DIY Pet Toy Storage Basket
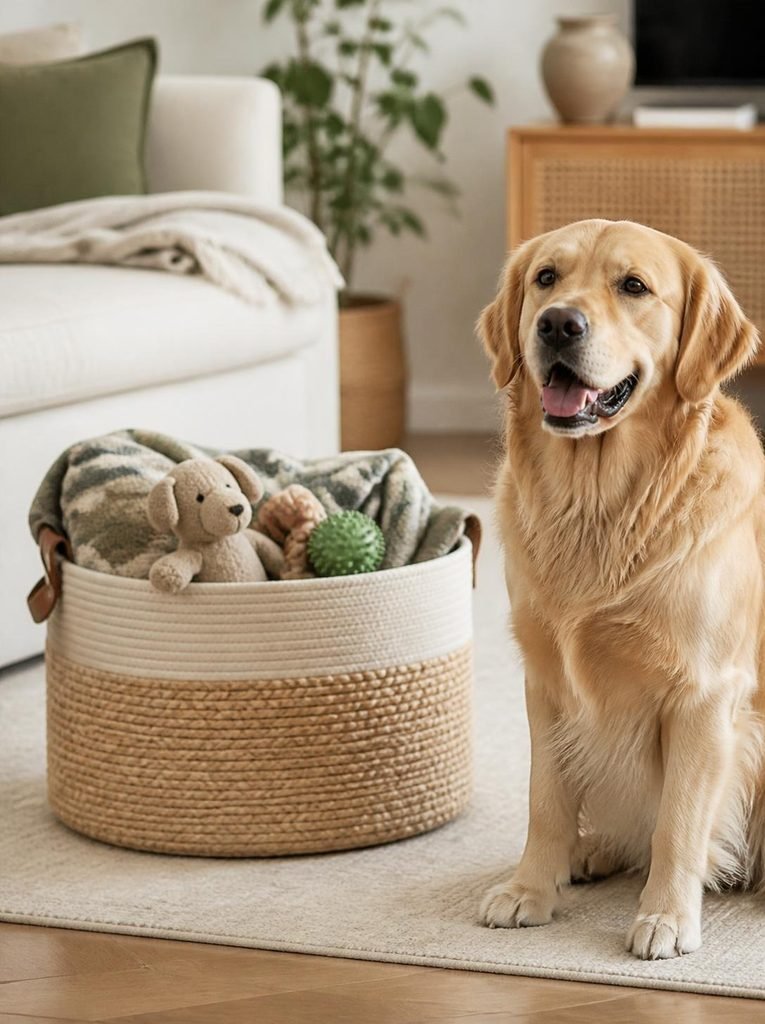
If your pet’s toys seem to appear in every room, a dedicated storage basket can make your home feel more organized. This project is especially useful for households with several toys, balls, chew items, and grooming accessories.
You can customize the basket to match your home while keeping your pet’s belongings in one easy-to-reach place.
What you’ll need:
- A sturdy basket with smooth edges
- Washable fabric for an optional liner
- Scissors
- A measuring tape
- Optional pet-safe decorative paint for the outside only
How to make it:
- Choose a basket that is stable and large enough for your pet’s toys.
- Inspect it for sharp edges, loose wicker, splinters, or pieces that could break off.
- Measure and cut a washable liner if the basket needs one.
- Add the liner and fold the edges neatly over the rim.
- Decorate the outside if desired, using a fully cured, pet-safe finish.
- Place the basket in an accessible corner and keep toys organized inside it.
Helpful tip: For dogs that chew baskets, choose a sturdy, non-toxic container that cannot easily break apart. Keep damaged toys, small objects, and items that aren’t safe for unsupervised chewing out of reach.
5. DIY Snuffle Mat for Dogs
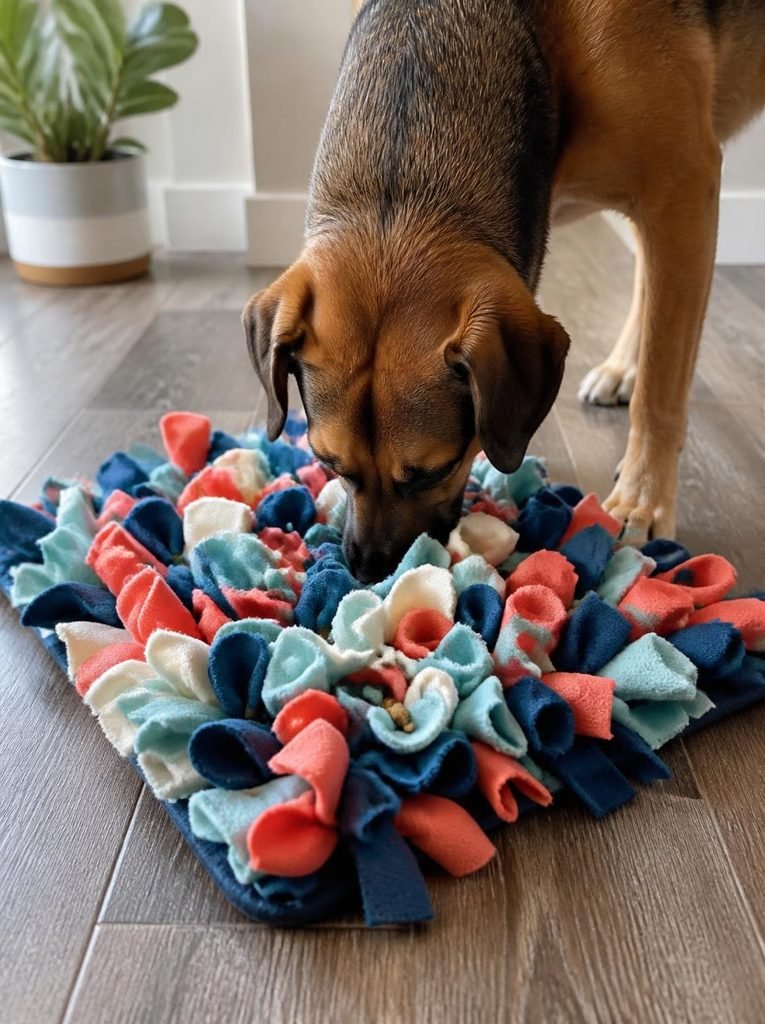
A snuffle mat is designed to encourage dogs to use their noses to find small pieces of food hidden among fabric folds. It can add variety to mealtime and provide a simple scent-based activity for dogs that enjoy exploring.
You can make a basic version using fleece strips and a suitable mat with secure openings.
What you’ll need:
- A sturdy rubber mat designed for weaving fabric
- Clean fleece fabric
- Scissors
- A small portion of your dog’s usual kibble or suitable treats
How to make it:
- Cut the fleece into short, similarly sized strips.
- Thread each strip through neighboring openings in the mat.
- Tie the strips securely so they create a dense, textured surface.
- Inspect the mat carefully to ensure there are no loose knots or easily removable pieces.
- Hide a few pieces of your dog’s usual kibble between the fabric folds.
- Introduce the mat during supervised use and let your dog sniff out the food.
Helpful tip: Start with a small amount of food and keep the activity short. Remove the mat if your dog starts chewing or pulling out the fabric instead of sniffing.
Wash and dry it thoroughly between uses, and never leave it available to a dog that might swallow the strips.
More Creative DIY Projects for Dogs and Cats
Some of the best DIY projects for pets are the ones that make everyday life a little easier. A simple feeding station can keep bowls organized, a homemade scratching area can give your cat a more appropriate place to scratch, and a dedicated enrichment activity can help your pet stay mentally engaged.
You don’t have to make everything from scratch or spend a lot on supplies. With a little creativity, you can turn suitable materials into useful pet accessories that fit your home and your animal’s needs.
Here are ten more DIY projects to try.
6. DIY Cat Scratching Board
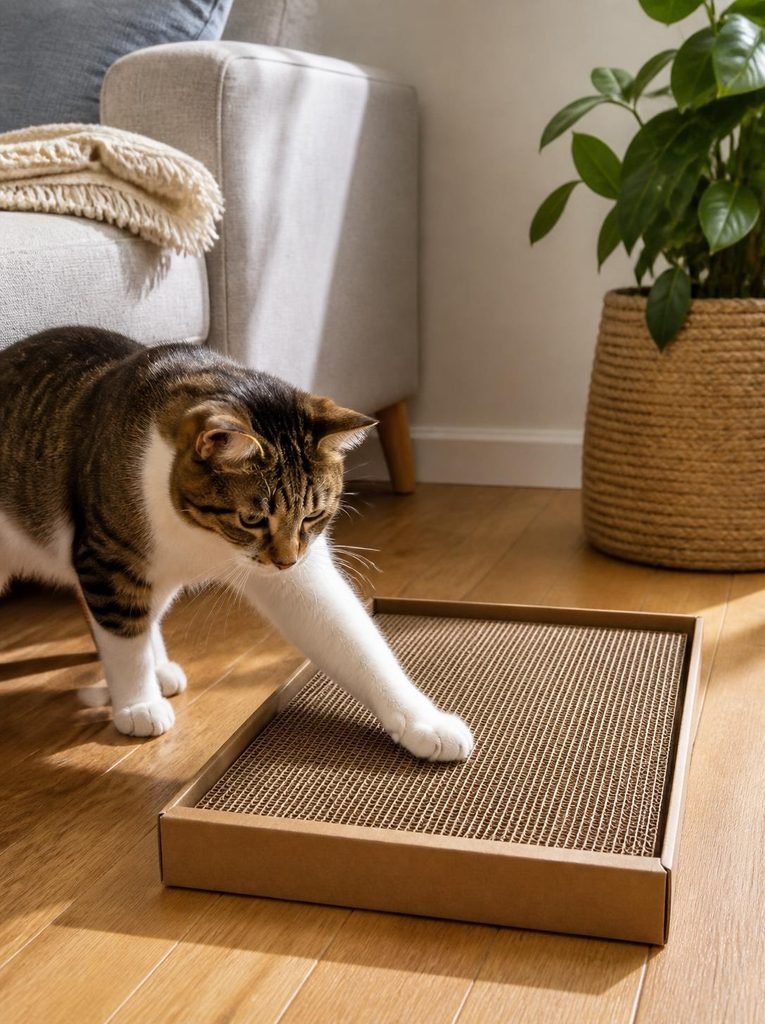
Cats naturally scratch to stretch their bodies, maintain their claws, and mark their territory. A homemade scratching board gives your cat a designated surface for this behavior and may help redirect scratching away from furniture.
What you’ll need:
- A sturdy piece of untreated corrugated cardboard
- A strong cardboard box or shallow tray
- A ruler
- A utility knife for adult use
- Non-toxic adhesive that is fully cured before use
How to make it:
- Measure the inside of your chosen tray or box.
- Cut cardboard into strips of equal width.
- Arrange the strips tightly side by side, with the corrugated edges facing upward.
- Secure the pieces inside the tray so they form a firm scratching surface.
- Allow any adhesive to dry and cure completely according to its instructions.
- Place the board near your cat’s favorite resting area or somewhere it already likes to scratch.
Helpful tip: Make sure the board is stable and large enough for your cat to use comfortably. Remove it when the cardboard becomes soggy, loose, or heavily damaged. If your cat prefers vertical scratching, consider a sturdy, purpose-built scratching post instead.
7. DIY Raised Pet Feeding Station
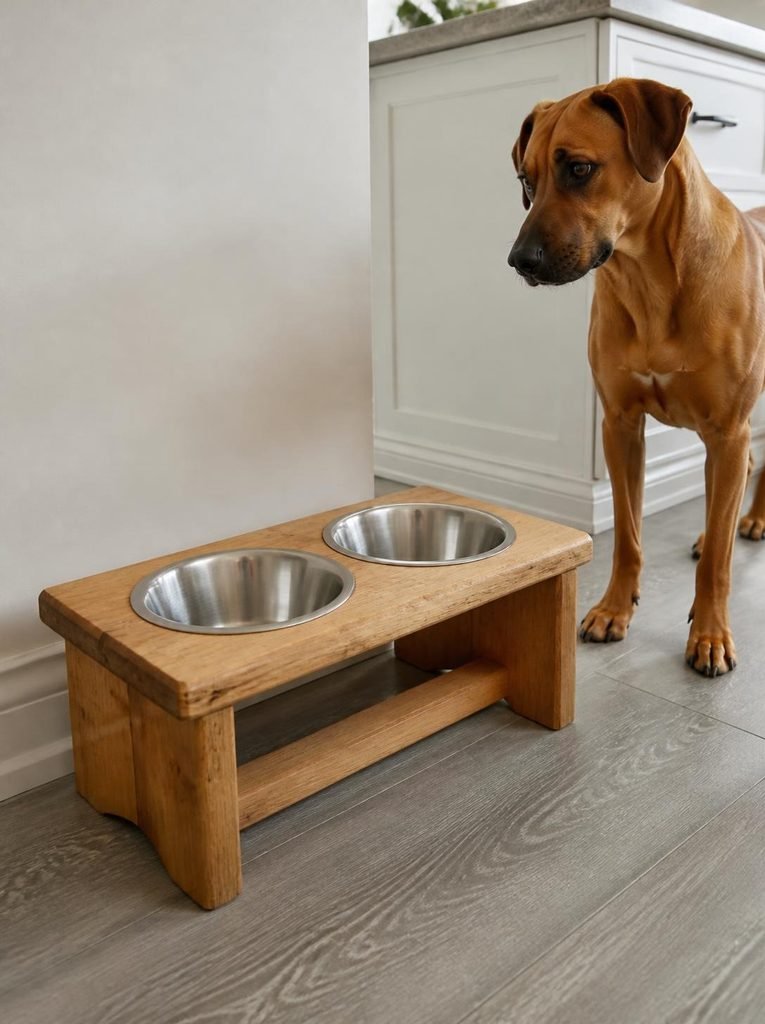
A feeding station is a practical project for keeping food and water bowls in one place. It can also help prevent bowls from sliding around the floor and make cleaning up after meals easier.
Before building a raised station, consider your pet’s size, eating habits, and any advice from your veterinarian. Raised bowls are not automatically better for every dog, and elevation may be inappropriate for some pets.
What you’ll need:
- A stable, appropriately sized wooden platform or low storage unit
- Stainless-steel bowls
- Measuring tape
- Sandpaper
- Pet-safe, fully cured finish if needed
- Non-slip material for the base
How to make it:
- Measure the bowls and decide how much space the feeding station needs.
- Choose a stable base that won’t wobble or tip when your pet eats.
- Create openings for the bowls if you have the tools and skills to do so safely.
- Sand rough edges and corners thoroughly.
- Apply an appropriate finish if desired, allowing it to cure fully before the pet uses the station.
- Add a non-slip base and test the stability before placing the bowls.
Helpful tip: Make the station easy to wipe clean and keep water away from untreated wood. Avoid sharp edges, exposed screws, and materials your pet might chew or swallow.
8. DIY Pet Enrichment Box
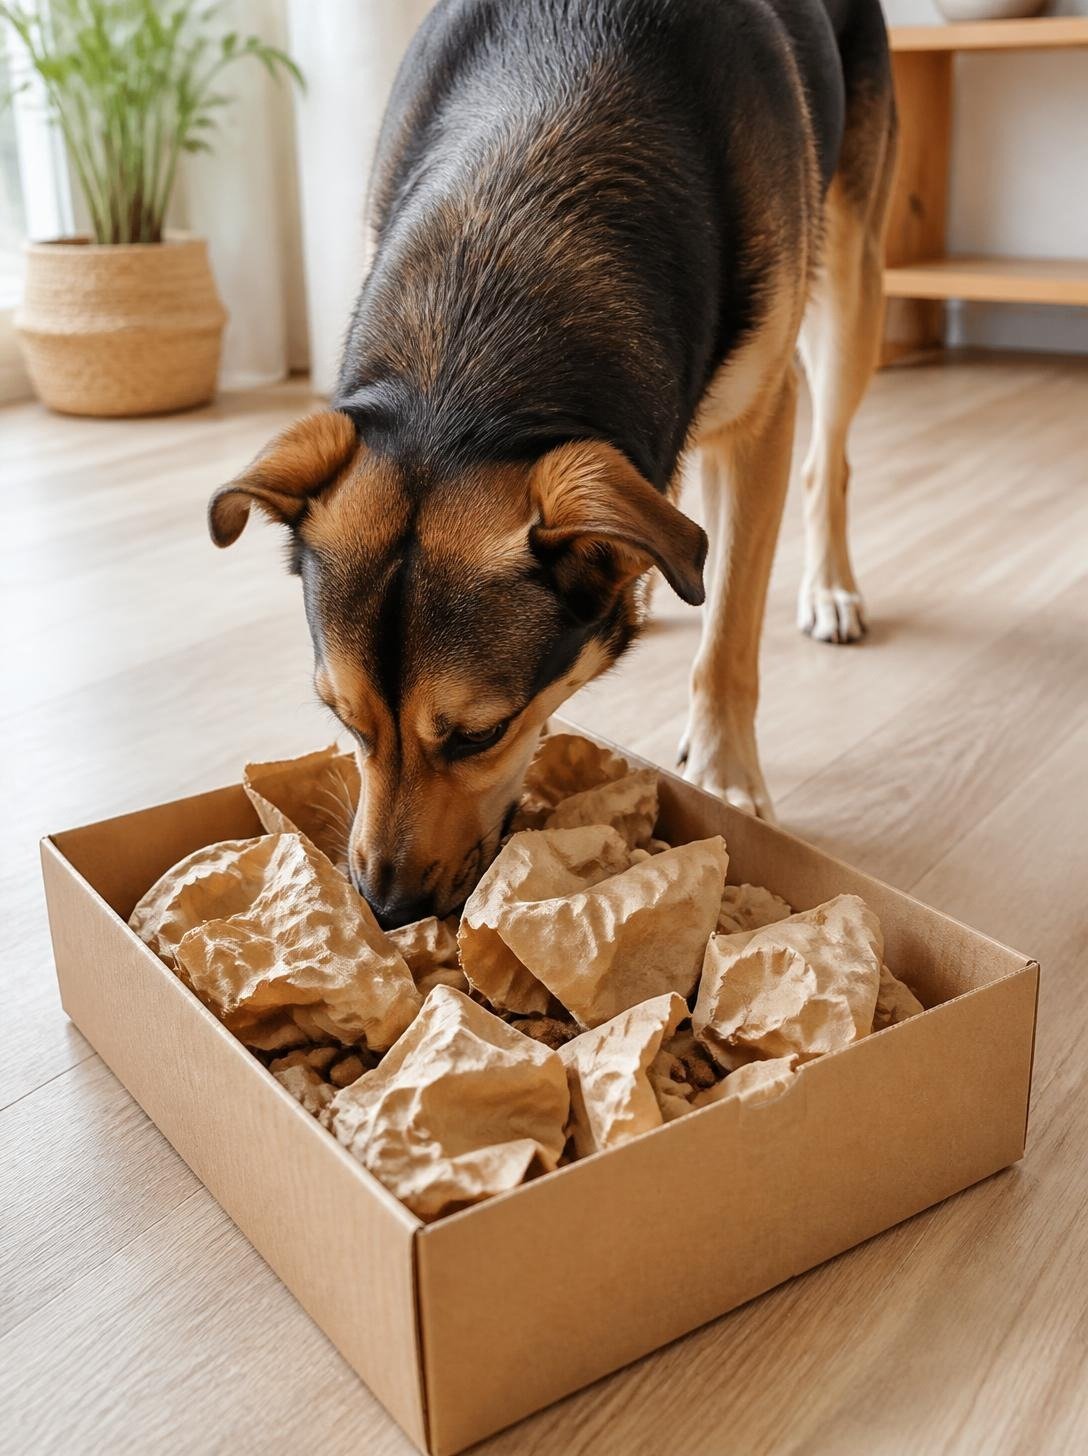
An enrichment box gives curious pets an opportunity to investigate new textures and search for small rewards. It can be especially useful for dogs that enjoy sniffing and exploring, although some cats may also enjoy a carefully supervised version.
The idea is to create a simple activity using safe materials rather than expensive equipment.
What you’ll need:
- A sturdy, shallow cardboard box
- Large, pet-safe paper pieces
- A few pieces of your pet’s regular kibble or suitable treats
- A clear, supervised play area
How to make it:
- Choose a clean box without staples, sharp edges, tape, or plastic attachments.
- Place a few large pieces of crumpled paper inside.
- Hide a small number of treats among the paper.
- Set the box on a flat surface and encourage your pet to investigate.
- Let your pet sniff and search at its own pace.
- Remove the box when the treats are gone or when your pet starts tearing apart and eating the materials.
Helpful tip: Avoid packing peanuts, shredded plastic, small foam pieces, and anything that could be swallowed. If your pet tends to eat paper or cardboard, choose a more durable, pet-safe enrichment toy instead.
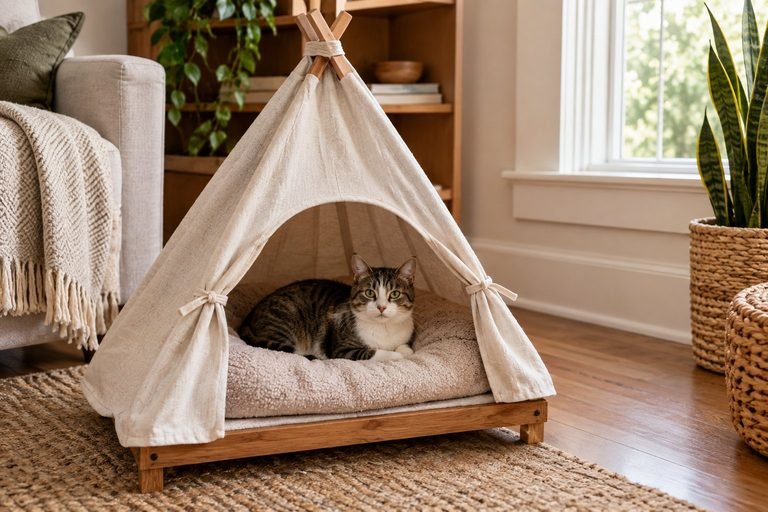
9. DIY Cozy Pet Tent
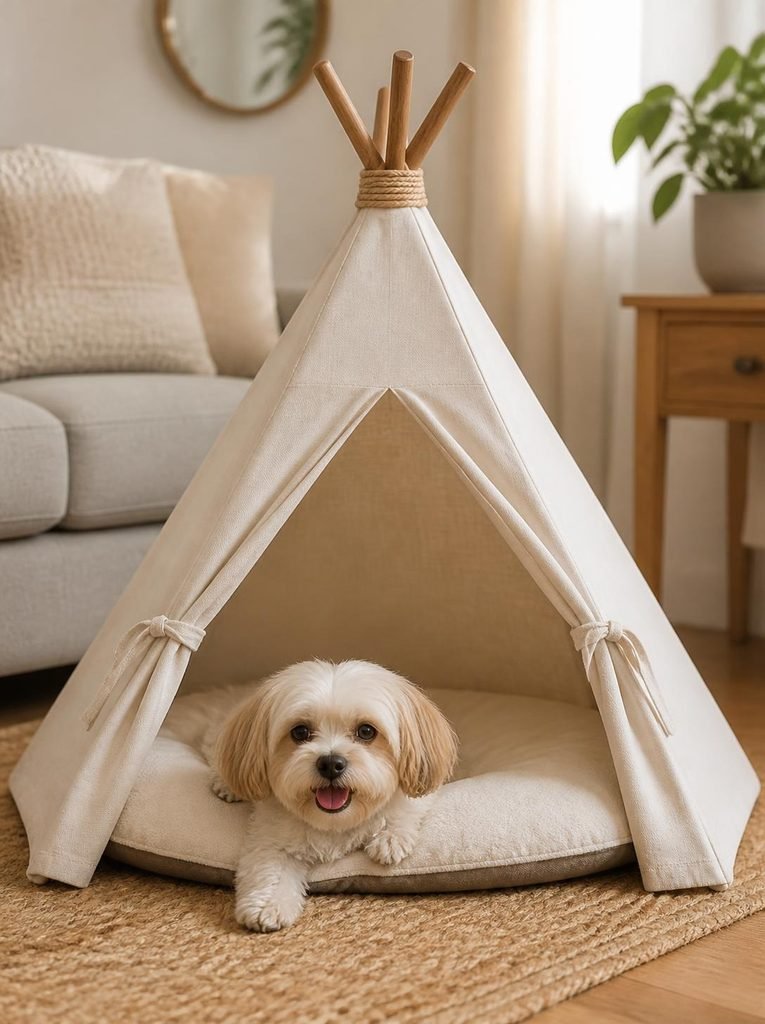
A small pet tent can create a quiet retreat for a cat or a small dog that enjoys resting in enclosed spaces. It can be a fun addition to a pet-friendly room, particularly when you use washable fabric that complements your home’s decor.
What you’ll need:
- Four smooth wooden dowels or another suitable lightweight frame
- A large piece of durable, breathable fabric
- Fabric scissors
- A washable pet cushion
- Suitable fasteners to secure the frame
How to make it:
- Arrange the frame pieces into a stable tent shape.
- Secure the frame so it cannot collapse or shift easily.
- Drape the fabric over the frame, leaving a generous opening.
- Secure the fabric without leaving loose ties or small parts accessible to your pet.
- Place a washable cushion inside.
- Test the structure gently to ensure it stays stable before allowing your pet to enter.
Helpful tip: Choose breathable fabric and leave enough room for your pet to enter, turn around, and leave comfortably. Don’t use a design with exposed splinters, unstable supports, long dangling cords, or fabric that can become tangled around your pet.
10. DIY Pet Supply Organizer
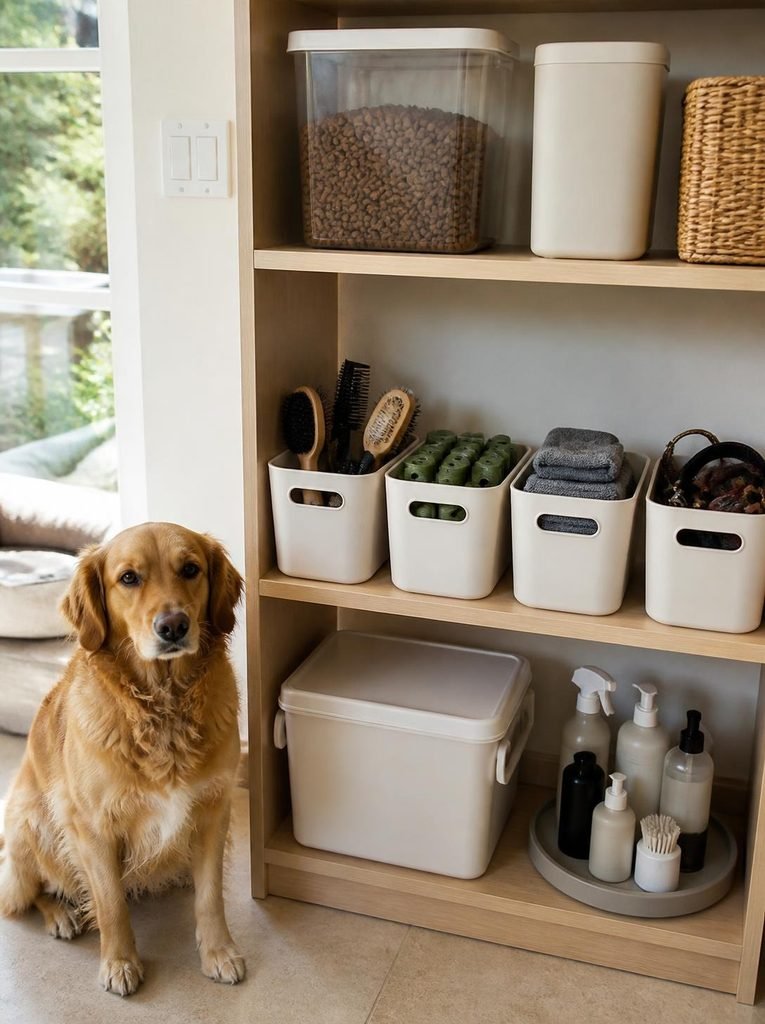
If you keep pet food, grooming brushes, waste bags, cleaning cloths, and other accessories in different places, a dedicated organizer can make daily care much simpler.
This project is more about creating an efficient storage system than building complicated furniture.
What you’ll need:
- A sturdy storage bin or set of containers
- Small baskets or dividers
- A washable liner if needed
- A shelf or cabinet with enough space
- Optional labels for human use
How to make it:
- Gather your pet supplies and separate them into categories.
- Choose containers that fit the available shelf or cabinet space.
- Store grooming tools together, waste bags in another container, and cleaning accessories separately.
- Keep food in an appropriate sealed container, following the manufacturer’s storage guidance.
- Place frequently used supplies where you can reach them easily.
- Store medications, cleaning chemicals, and potentially dangerous items in secure locations that pets cannot access.
Helpful tip: Keep pet food away from cleaning products and household chemicals. If you have multiple pets, separate their supplies to make feeding and grooming routines easier to manage.
11. DIY Window Perch for Cats
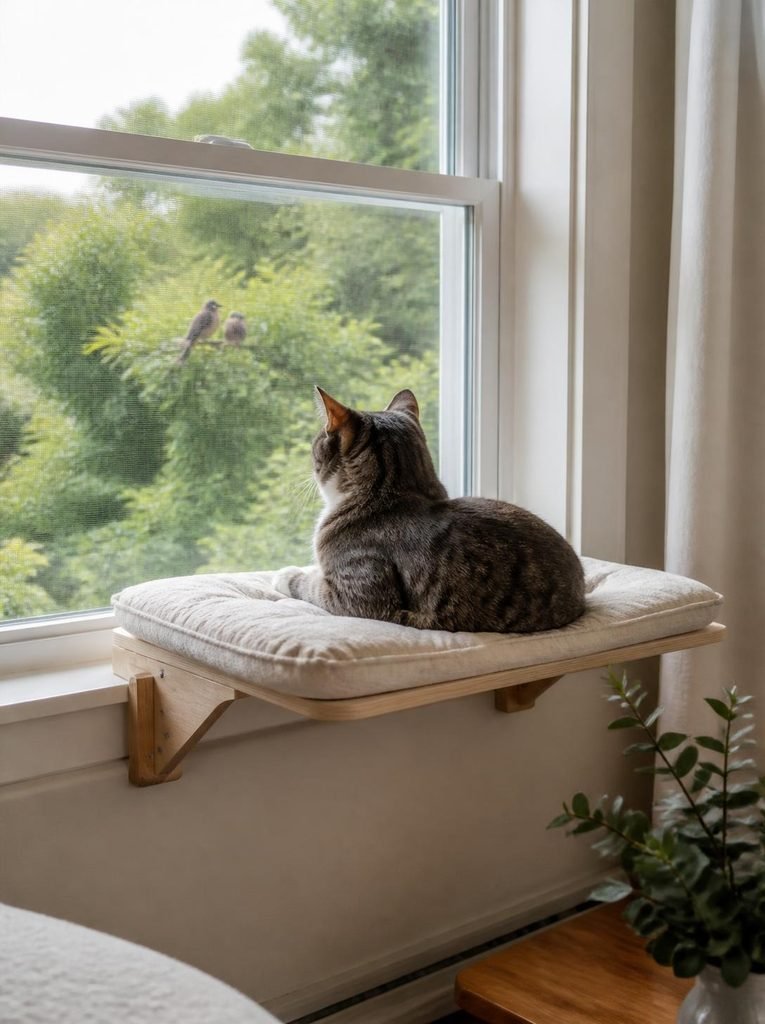
Many cats enjoy watching birds, leaves, and outdoor activity from a safe indoor spot. A window perch can give your cat a comfortable place to observe the world while adding a practical feature to your home.
Because cats may jump onto or off the perch, stability is especially important.
What you’ll need:
- A commercially designed, weight-rated window perch or a properly engineered support platform
- A washable cushion
- Appropriate mounting hardware
- A measuring tape
How to make it:
- Measure the window area and check that there is enough space for your cat.
- Choose a perch and mounting method suitable for the window structure and your cat’s weight.
- Follow the manufacturer’s installation instructions or use a properly secured support system.
- Add a washable cushion that fits the platform without covering important mounting points.
- Test the installation carefully before allowing your cat onto it.
- Check the fittings regularly for movement or wear.
Helpful tip: Avoid improvised platforms held only by weak adhesive or unreliable suction cups. Keep windows and screens secure, and make sure your cat cannot push through an unsecured screen or become trapped.
12. DIY Dog Treat Jar Station
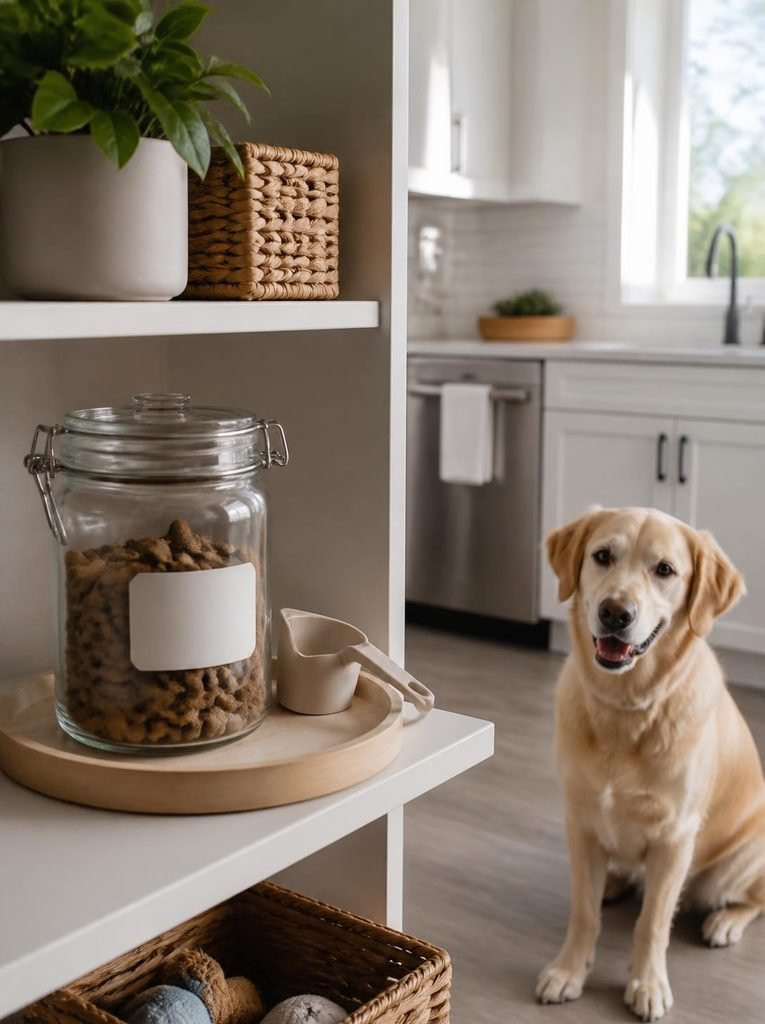
A dedicated treat station can make training sessions easier and keep your dog’s rewards organized. It also helps prevent treat packets from being left open around the kitchen.
What you’ll need:
- A food-safe, airtight container
- A small tray or shelf
- A measuring scoop
- Your dog’s usual treats
- Optional decorative materials for the outside of the container
How to make it:
- Choose a container with a secure lid that keeps treats fresh.
- Wash and dry the container thoroughly.
- Fill it with a suitable quantity of your dog’s usual treats.
- Place it on a stable shelf or tray away from the edge of the counter.
- Keep the scoop nearby for measuring portions during training.
- Clean the container regularly and replenish it as needed.
Helpful tip: Decorate only the outside, and allow any paint or adhesive to cure fully before placing the container near your pet. Keep the jar out of reach of dogs that may knock it over or chew through the container.
13. DIY Washable Pet Blanket
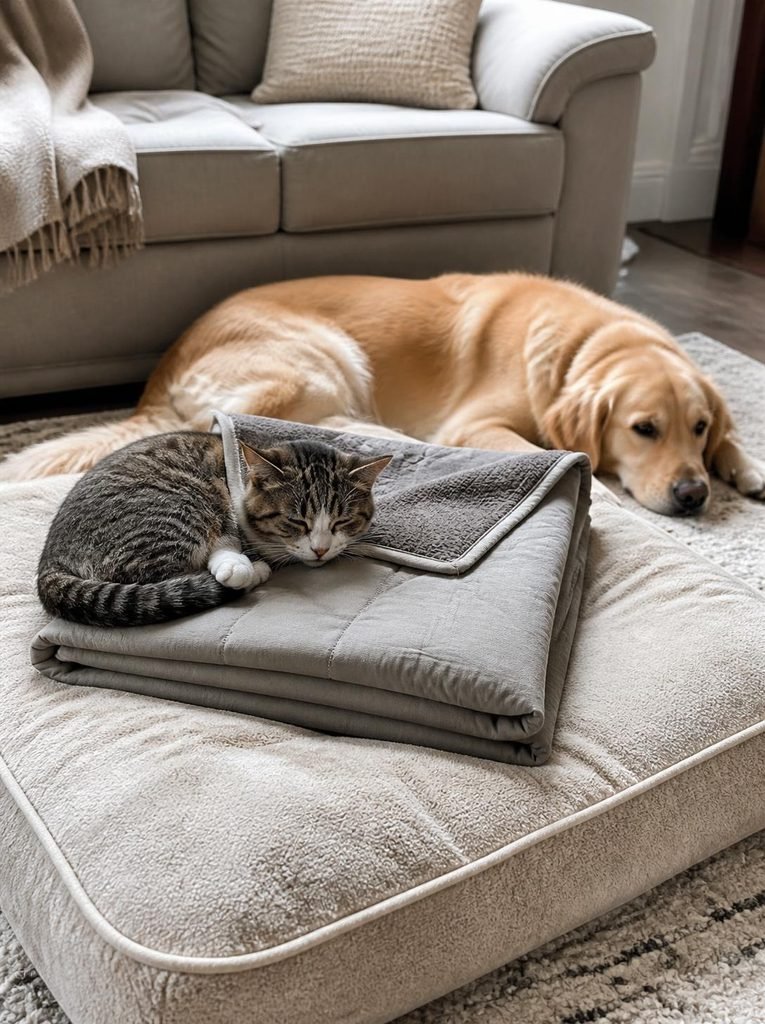
A washable blanket can protect furniture, make a pet bed more comfortable, or give your dog or cat a familiar resting spot when traveling.
You can make one using suitable fabric without needing complicated sewing techniques.
What you’ll need:
- Two pieces of durable, washable fabric
- Fabric scissors
- A sewing machine or suitable sewing supplies
- A measuring tape
How to make it:
- Measure the area where the blanket will be used.
- Cut two matching pieces of fabric.
- Place the fabric pieces together with their outer surfaces facing inward.
- Sew around the edges, leaving a small opening.
- Turn the blanket right side out and finish the opening securely.
- Wash and dry the blanket according to the fabric care instructions before use.
Helpful tip: Use a fabric that can tolerate frequent washing and drying. Avoid loose fringe, decorative buttons, beads, and other pieces that could detach. If your pet chews and swallows fabric, supervise use and choose a safer alternative.
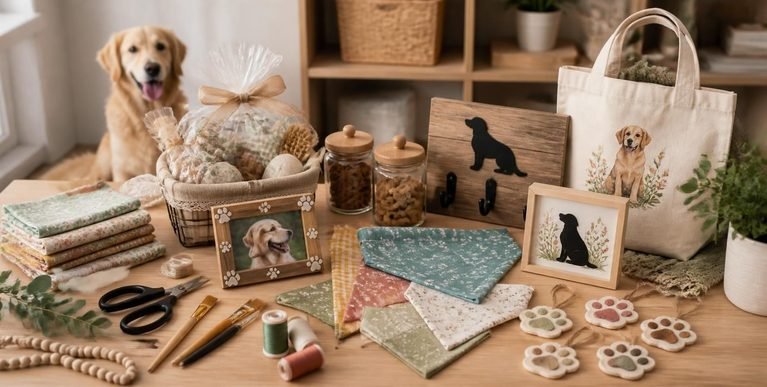
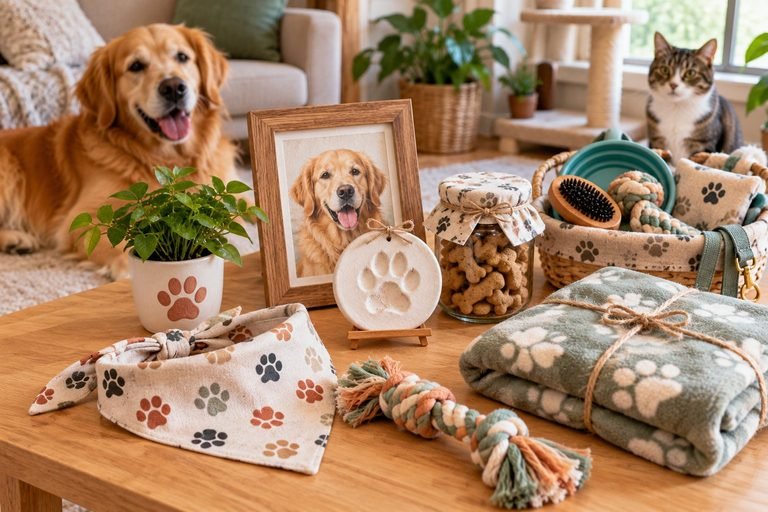
14. DIY Pet Photo Display
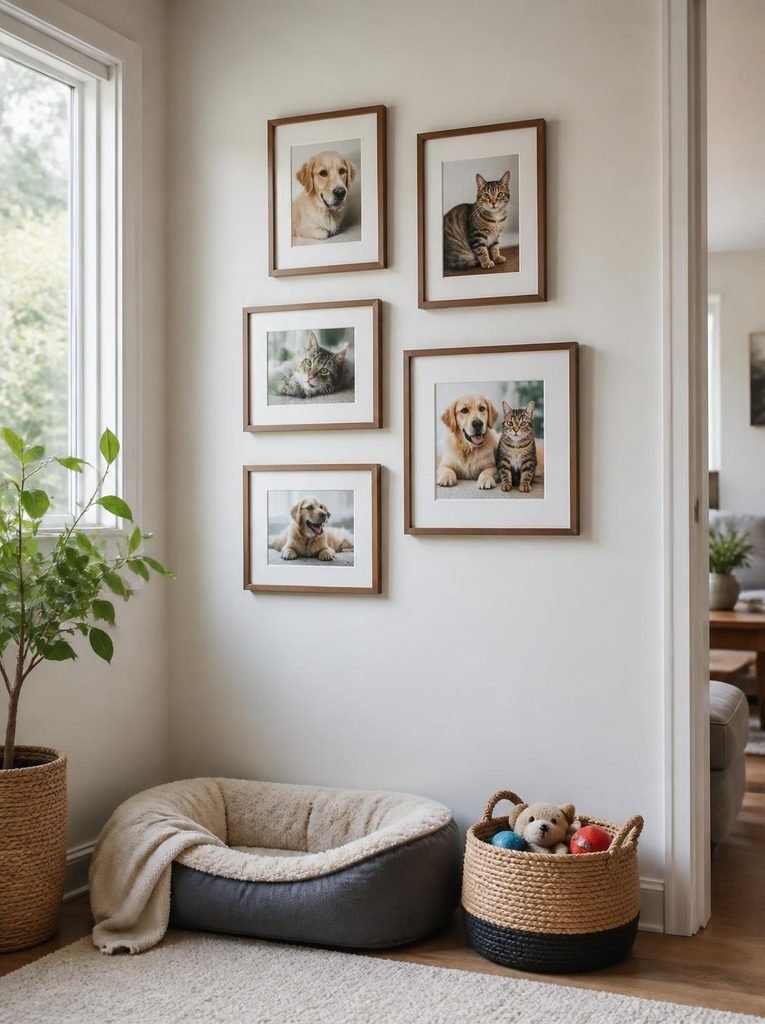
Not every pet project needs to be a toy or functional accessory. A handmade photo display is a lovely way to celebrate your pets and add a personal touch to your home.
This is also a good project for families who enjoy crafting together.
What you’ll need:
- A sturdy picture frame
- Printed photographs of your pets
- A suitable backing board
- Optional decorative paper or paint
- Hanging hardware appropriate for the wall
How to make it:
- Choose a few favorite photographs of your pet.
- Arrange them in a frame or create a simple collage.
- Add decorative paper or paint to the frame if desired.
- Secure the photographs behind the frame’s protective cover.
- Attach suitable hanging hardware.
- Mount the display securely in a location where your pet cannot knock it down or chew on it.
Helpful tip: Keep the frame, glass, nails, and small decorative pieces out of your pet’s reach. If your pet frequently jumps against furniture or walls, choose a secure, elevated location.
15. DIY Pet-Friendly Outdoor Play Area
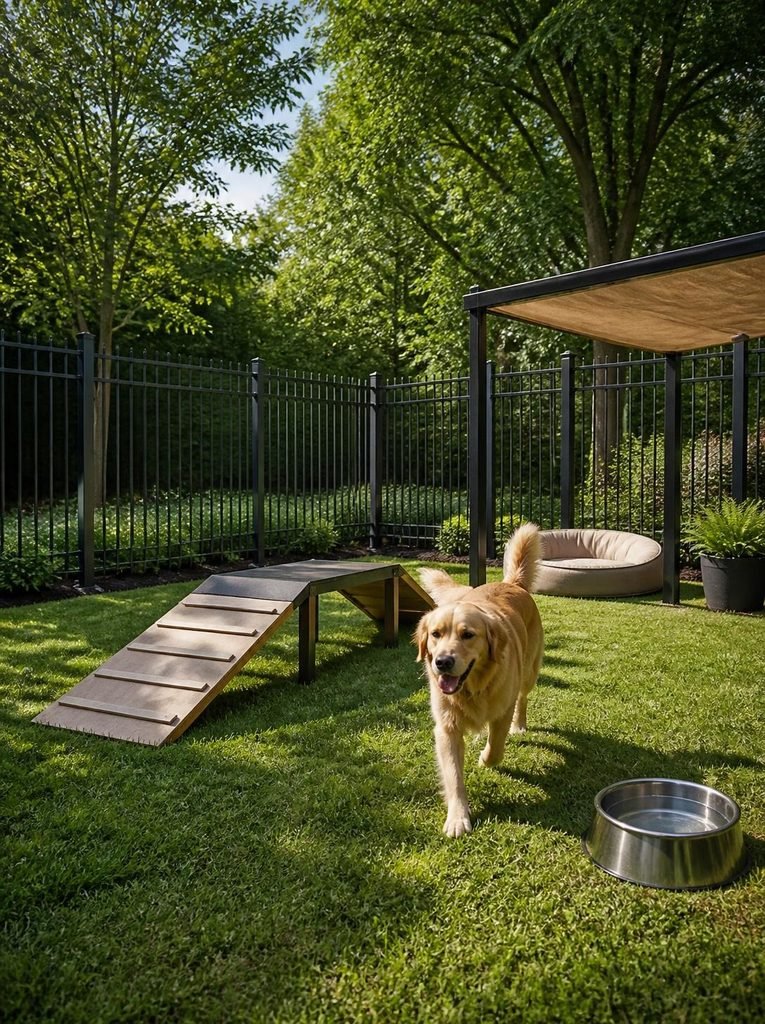
If you have a suitable outdoor space, you can create a simple play area that gives your dog opportunities to explore, move, and practice basic skills. The design can be as simple as a clear grassy space with a few safe activities.
The most important considerations are secure boundaries, appropriate surfaces, shade, and supervision.
What you’ll need:
- A clean, secure outdoor area
- Stable, purpose-made pet agility equipment or suitable low obstacles
- Water in a clean bowl
- A shaded resting area
- Pet-safe ground surfaces
How to make it:
- Choose an area with secure fencing and enough room for your pet to move comfortably.
- Remove sharp objects, toxic plants, loose wires, and other hazards.
- Arrange a few stable, low obstacles suitable for your dog’s size and ability.
- Add a shaded resting area and a clean water bowl.
- Introduce the activities gradually, using encouragement rather than forcing your pet to participate.
- Supervise play and check the area regularly for hazards or damaged equipment.
Helpful tip: Keep obstacles low and appropriate for your pet’s age, health, and fitness. Avoid slippery surfaces, unstable homemade jumps, and activities that encourage excessive jumping. Cats should have a secure, escape-proof outdoor enclosure if they use an outdoor play space.
Final Thoughts on DIY Projects for Pets
Making DIY projects for pets is a practical way to personalize your home, organize everyday supplies, and create opportunities for play and comfort.
You can start with something simple, such as a toy basket or washable blanket, before moving on to projects that require more tools or careful construction.
The best project isn’t necessarily the most elaborate one. It is the one that suits your pet’s needs, fits your available space, and can be made and maintained safely.
Before using any homemade accessory, inspect it carefully for loose parts, sharp edges, unstable supports, and materials your pet could chew or swallow. Wash fabric items regularly, replace damaged toys, and supervise new activities until you know how your pet responds.
With a little planning and creativity, you can make useful, personalized additions to your pet’s daily routine without turning crafting into an expensive hobby.