Best DIY Dog Biscuits That Last for Weeks
Most homemade dog treats have a short shelf life, and that’s the trade off for skipping preservatives.
Fresh fruit, egg, and meat make treats delicious, but they also mean you’re racing the clock before the batch goes bad.
If you want a big batch you can bake once and enjoy for weeks, the secret is simple: keep the moisture low and dry the biscuits until they’re truly hard.

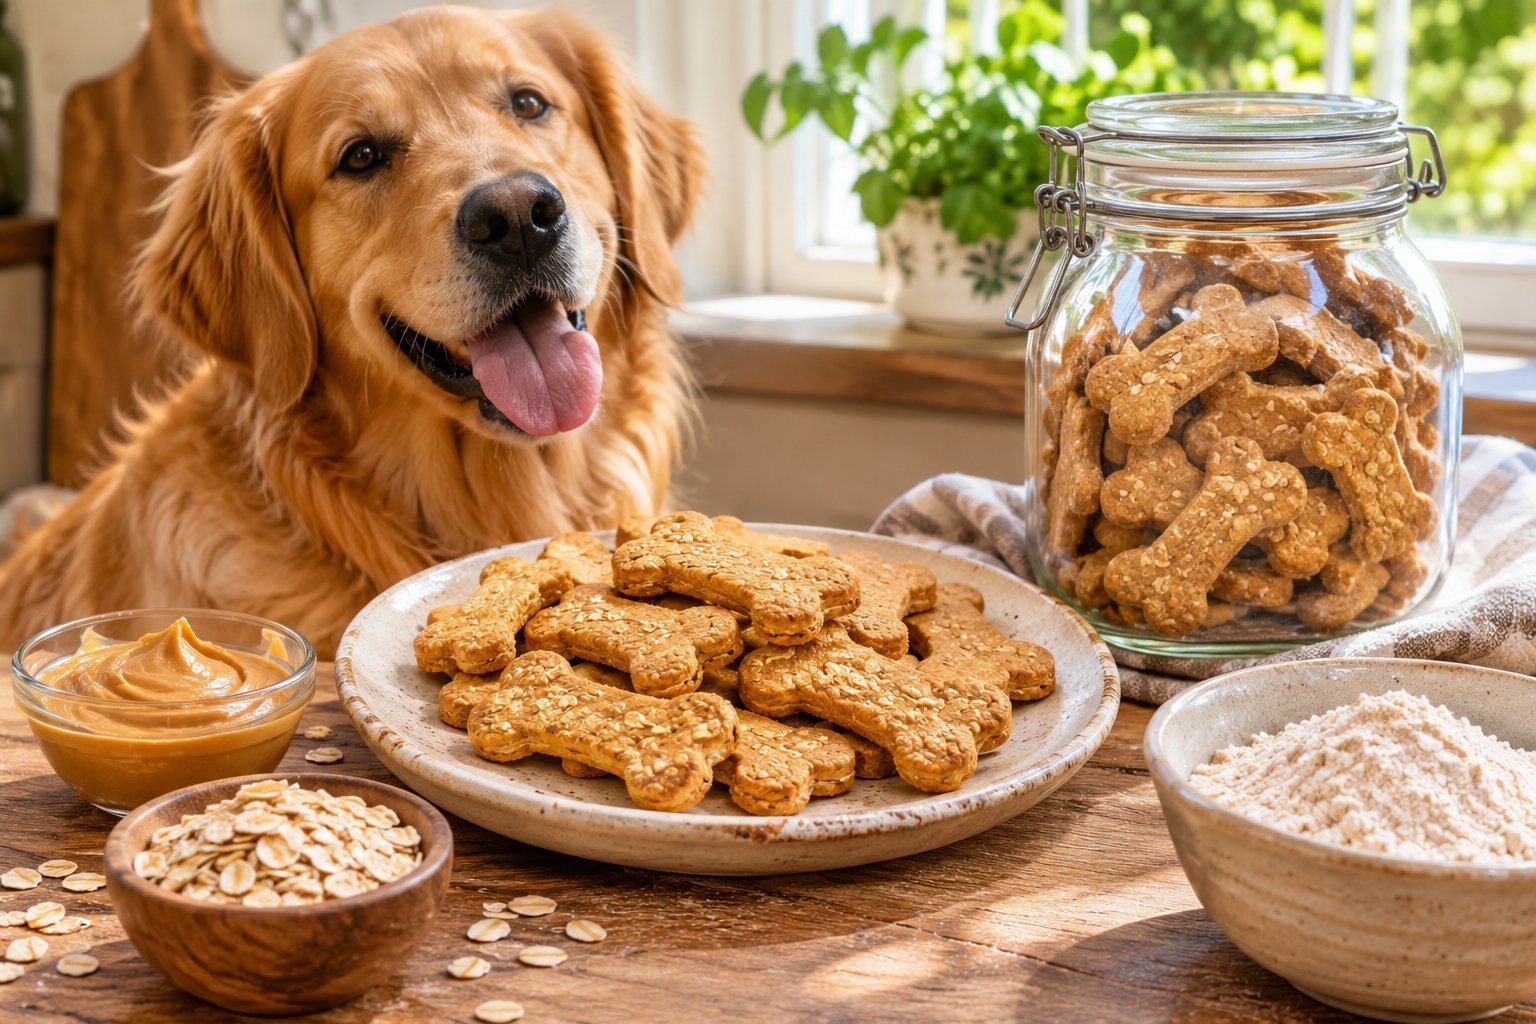
These DIY dog biscuits are built exactly that way. They use whole wheat flour, oats, peanut butter, and water, with no egg and no fresh fruit, then get a second slow dry in the oven so they come out crisp and shelf friendly.
If you want the basics first, start with my Homemade Dog Biscuit post, or browse more ideas in Long Lasting Homemade Dog Treat Recipes.
Why You’ll Love These Long Lasting Dog Biscuits
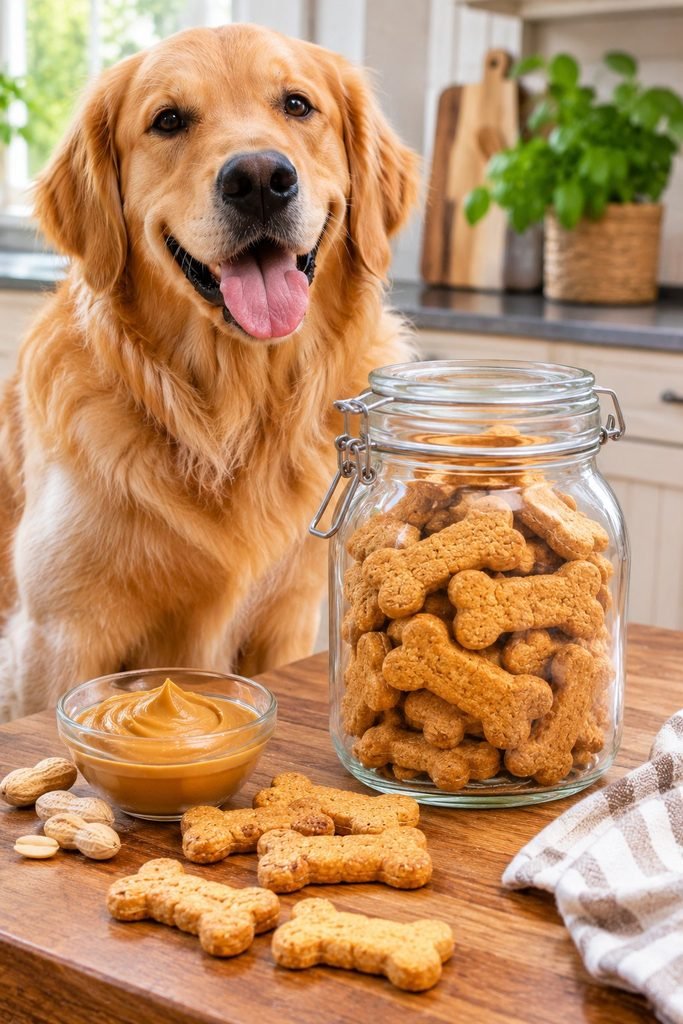
A few reasons this recipe is worth the extra drying time.
Real shelf life. Properly dried and stored, these keep for weeks.
Just a few ingredients. Flour, oats, peanut butter, and water.
No egg, fruit, or meat. The ingredients that spoil fastest stay out.
Crunchy and satisfying. A great biscuit for chewing and teeth scraping fun.
Perfect for gifting. Pack them in a jar or bag for a dog loving friend.
Bake once, treat for weeks. An easy way to stay stocked.
How to Make Dog Biscuits Last Longer
A few simple principles make the biggest difference.
Keep moisture low. Mold and spoilage need moisture. The drier the biscuit, the longer it lasts.
Skip perishable ingredients. Egg, fresh fruit, pumpkin puree, and meat shorten shelf life. For softer treats that use them, see my Homemade Pumpkin Applesauce Dog Treats, which belong in the fridge.
Dry them twice. Bake, then dry slowly at a low temperature until fully hard.
Cool completely. Warm biscuits trap steam and cause mold.
Store airtight. Use a sealed container in a cool, dry place.
Be honest about timing. Even dried biscuits aren’t forever. Plan on a few weeks at room temperature and longer in the freezer.
Is Peanut Butter Safe for Dogs?
Plain peanut butter is a popular and safe ingredient, with one critical rule.
Check for xylitol. Xylitol is toxic to dogs and appears in some peanut butter brands. Always read the label.
Choose a simple brand. Peanuts, and maybe a pinch of salt, is all you need.
Use it sparingly. Peanut butter is rich and calorie dense.
For more peanut butter ideas, my 3 Ingredient Peanut Butter Dog Gummies cover the basics.
Ingredients You’ll Need
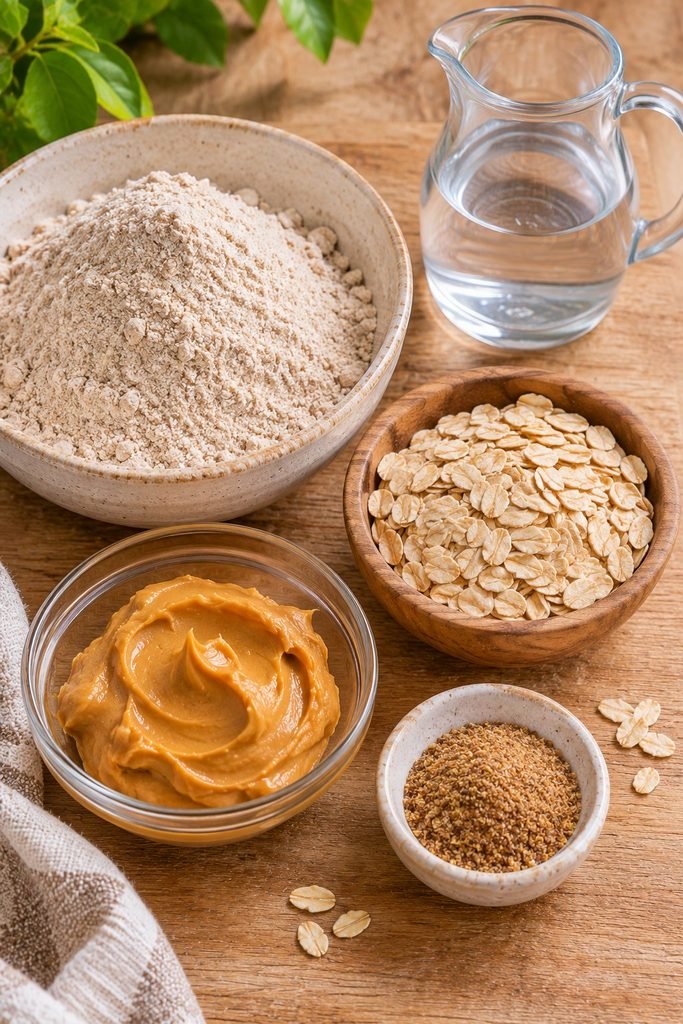
Here’s what goes into the dough and what each ingredient contributes.
Whole wheat flour forms the sturdy, crunchy base.
Rolled oats add texture and fiber.
Xylitol free peanut butter adds flavor and helps bind the dough without egg.
Water brings the dough together.
Ground flaxseed, optional, adds fiber and a nutty flavor.
Ingredient List
- 2 1/2 cups whole wheat flour, plus more for rolling
- 1/2 cup rolled oats
- 1/2 cup xylitol free peanut butter
- 3/4 cup water, plus more if needed
- 1 tablespoon ground flaxseed, optional
How to Make DIY Dog Biscuits That Last for Weeks
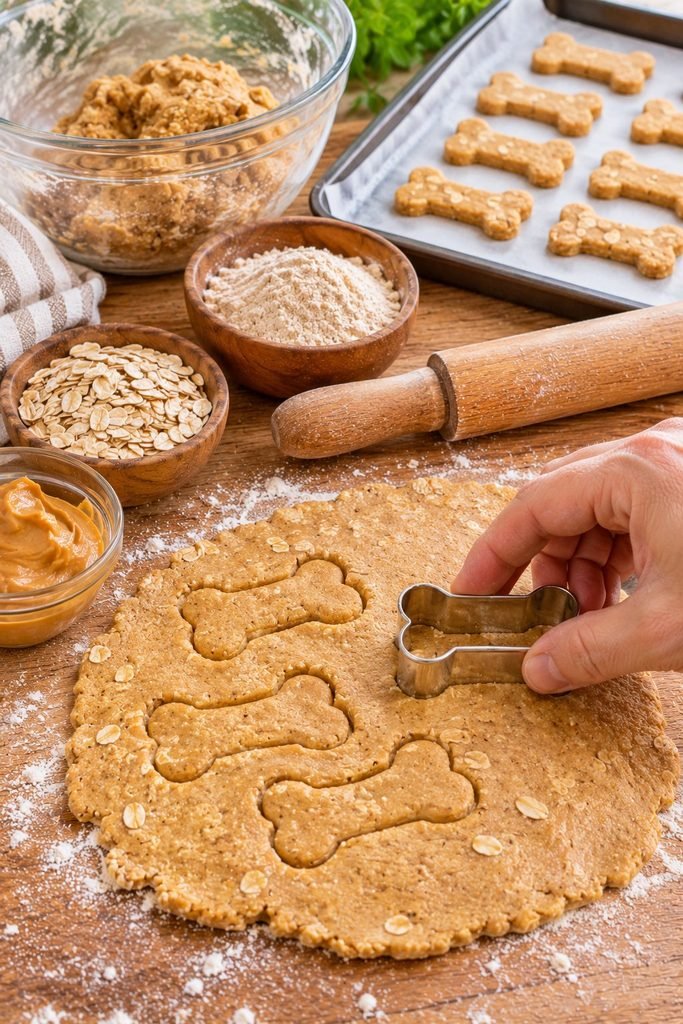
- Preheat your oven to 325°F and line a baking sheet with parchment paper.
- In a large bowl, whisk together the flour, oats, and flaxseed, if using.
- In a separate bowl, stir the peanut butter into the water until mostly smooth.
- Pour the wet mixture into the dry ingredients and stir until a stiff dough forms. Add more water a tablespoon at a time if it’s too dry.
- Knead gently, then roll the dough out to about 1/4 inch thick.
- Cut into shapes with a cookie cutter and place on the baking sheet.
- Bake for 25 minutes, until the edges are golden.
- Lower the oven to 200°F and return the biscuits to dry for another 1 1/2 to 2 hours, until completely hard. Alternatively, turn the oven off and leave the biscuits inside overnight.
- Cool completely on a wire rack for at least an hour before storing.
Getting the Right Texture
The key to a long lasting biscuit is that the center is just as dry as the edges. Snap one in half. It should be dry and crisp all the way through, with no soft spot in the middle.
Roll the dough evenly, since thick biscuits take much longer to dry.
For a smaller, quicker drying biscuit, roll thinner and use a small cutter.
If you own a dehydrator, drying at 150°F for several hours works beautifully.
Very hard biscuits can be tough on teeth, so make smaller, thinner biscuits for small dogs and seniors, or soften one briefly in warm water.
Recipe Variations
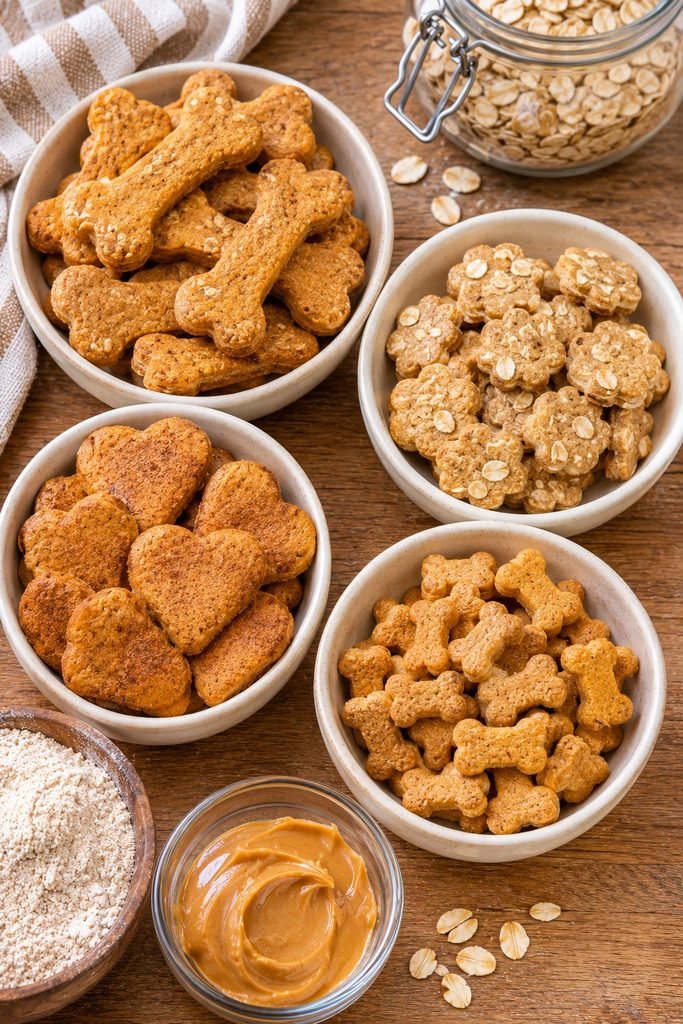
Once you’ve made the base recipe, these are easy to try.
Cinnamon biscuits. Add a light pinch of Ceylon cinnamon.
Cheesy biscuits. Add 2 tablespoons of finely grated hard cheese, though this shortens shelf life slightly.
Bacon flavor. Try the bacon version in my How to Make Bacon Dog Biscuits, which should be stored in the fridge.
Air fryer batch. Make a small batch quickly with my Easy Homemade Dog Treats in Air Fryer.
Mini training biscuits. Cut into tiny squares and dry for a shorter time.
Common Mistakes to Avoid
Skipping the second drying step. This is what makes the biscuits last.
Adding egg, fruit, or meat. These shorten shelf life dramatically.
Using peanut butter with xylitol. Always check the label.
Storing them warm. Cool completely first.
Using a loose lid. Moisture from the air can soften and spoil them.
Giving a hard biscuit to a dog with dental problems. Check with your veterinarian if you’re unsure.
How Many Biscuits Can a Dog Have?
One or two biscuits is plenty for a small dog, and two to three for a larger dog. Treats should make up only a small part of your dog’s daily calories, with the rest coming from a complete and balanced diet. Supervise your dog while they chew, and take away any large pieces they might swallow whole.
How to Store Biscuits So They Last for Weeks
Room temperature. Store fully cooled, fully dry biscuits in an airtight container in a cool, dry place for 3 to 4 weeks.
Refrigerator. For extra peace of mind, keep them in the fridge for up to 2 months.
Freezer. Freeze in a sealed bag or container for up to 6 months.
Tuck a food safe desiccant packet into the container to keep moisture out. Always check before serving, and discard any biscuits that smell off, feel soft, or show any sign of mold.
Can You Freeze Dog Biscuits?
Yes, and freezing is the best way to keep a large batch for months.
- Cool the biscuits completely.
- Place them in a freezer bag in a single layer or with parchment between layers.
- Press out the air and label with the date.
- Thaw a few at room temperature for 10 minutes before serving.
Frequently Asked Questions
How long do homemade dog biscuits last? Fully dried biscuits like these last about 3 to 4 weeks at room temperature in an airtight container, 2 months in the fridge, and up to 6 months in the freezer.
Why did my biscuits get moldy? Most likely they weren’t dried completely, or were stored while warm. Moisture is the main culprit.
Can I add preservatives? It’s best to avoid additives. Thorough drying and cold storage are the safest ways to extend shelf life.
Can I use regular flour? Whole wheat flour works well. Oat flour or other flours can be used, but they change the texture.
Can I skip the peanut butter? Yes, replace it with 1/4 cup unsweetened applesauce, though the biscuits won’t last quite as long.
Why are my biscuits too hard? They may be overdried or rolled too thick. Roll thinner next time and check them earlier.
Can puppies have these biscuits? Very hard biscuits can be tough on young teeth, so check with your veterinarian first.
Recipe Card
Recipe name: DIY Dog Biscuits That Last for Weeks
Summary: Crunchy, fully dried homemade dog biscuits made with whole wheat flour, oats, and peanut butter, designed to stay fresh for weeks.
Servings: About 40 biscuits, depending on cutter size
Prep time: 20 minutes
Cook time: 25 minutes, plus 2 hours drying time
Total time: About 3 hours, plus cooling
Estimated cost: Budget friendly
Course: Dog treat
Cuisine: Homemade pet food
Keywords: dog biscuits that last for weeks, DIY dog biscuits, long lasting dog treats, shelf stable dog treats, homemade dog biscuits
Equipment: Mixing bowl, rolling pin, cookie cutter, baking sheet, parchment paper
Ingredients:
- 2 1/2 cups whole wheat flour
- 1/2 cup rolled oats
- 1/2 cup xylitol free peanut butter
- 3/4 cup water
- 1 tablespoon ground flaxseed, optional
Instructions:
- Preheat oven to 325°F.
- Mix dry ingredients, then stir in peanut butter and water.
- Roll to 1/4 inch thick and cut into shapes.
- Bake 25 minutes.
- Dry at 200°F for 1 1/2 to 2 hours until completely hard.
- Cool completely and store airtight.
A Final Note on Baking Biscuits to Keep
There’s a real satisfaction in filling a big jar with biscuits you made yourself and knowing it’ll last. Take your time on the drying step, store them well, and you’ll have a handy supply of crunchy treats whenever you need one.
More Homemade Treat Ideas
- Homemade Dog Biscuit
- Long Lasting Homemade Dog Treat Recipes
- How to Make Bacon Dog Biscuits
- Easy Homemade Dog Treats in Air Fryer
- 3 Ingredient Peanut Butter Dog Gummies
For a wider look at feeding your dog well, check out 7 Healthiest Homemade Dog Foods.