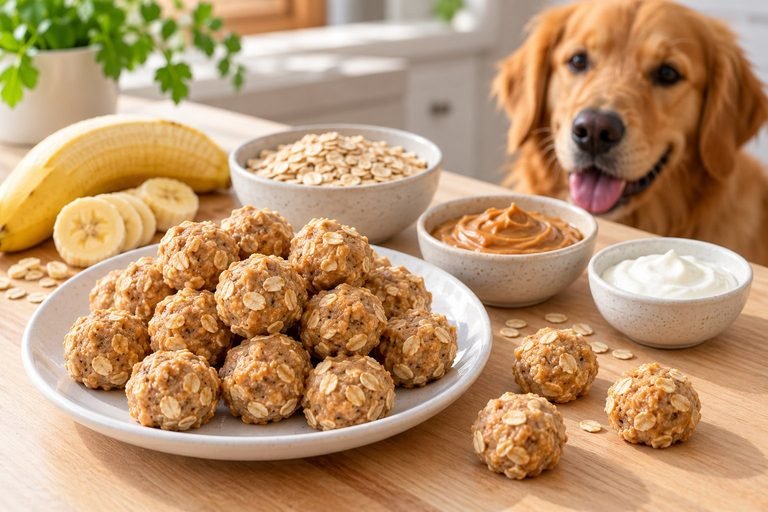
Easy 2 Ingredient Dog Treats: Make Your Own Healthy Dog Biscuits!
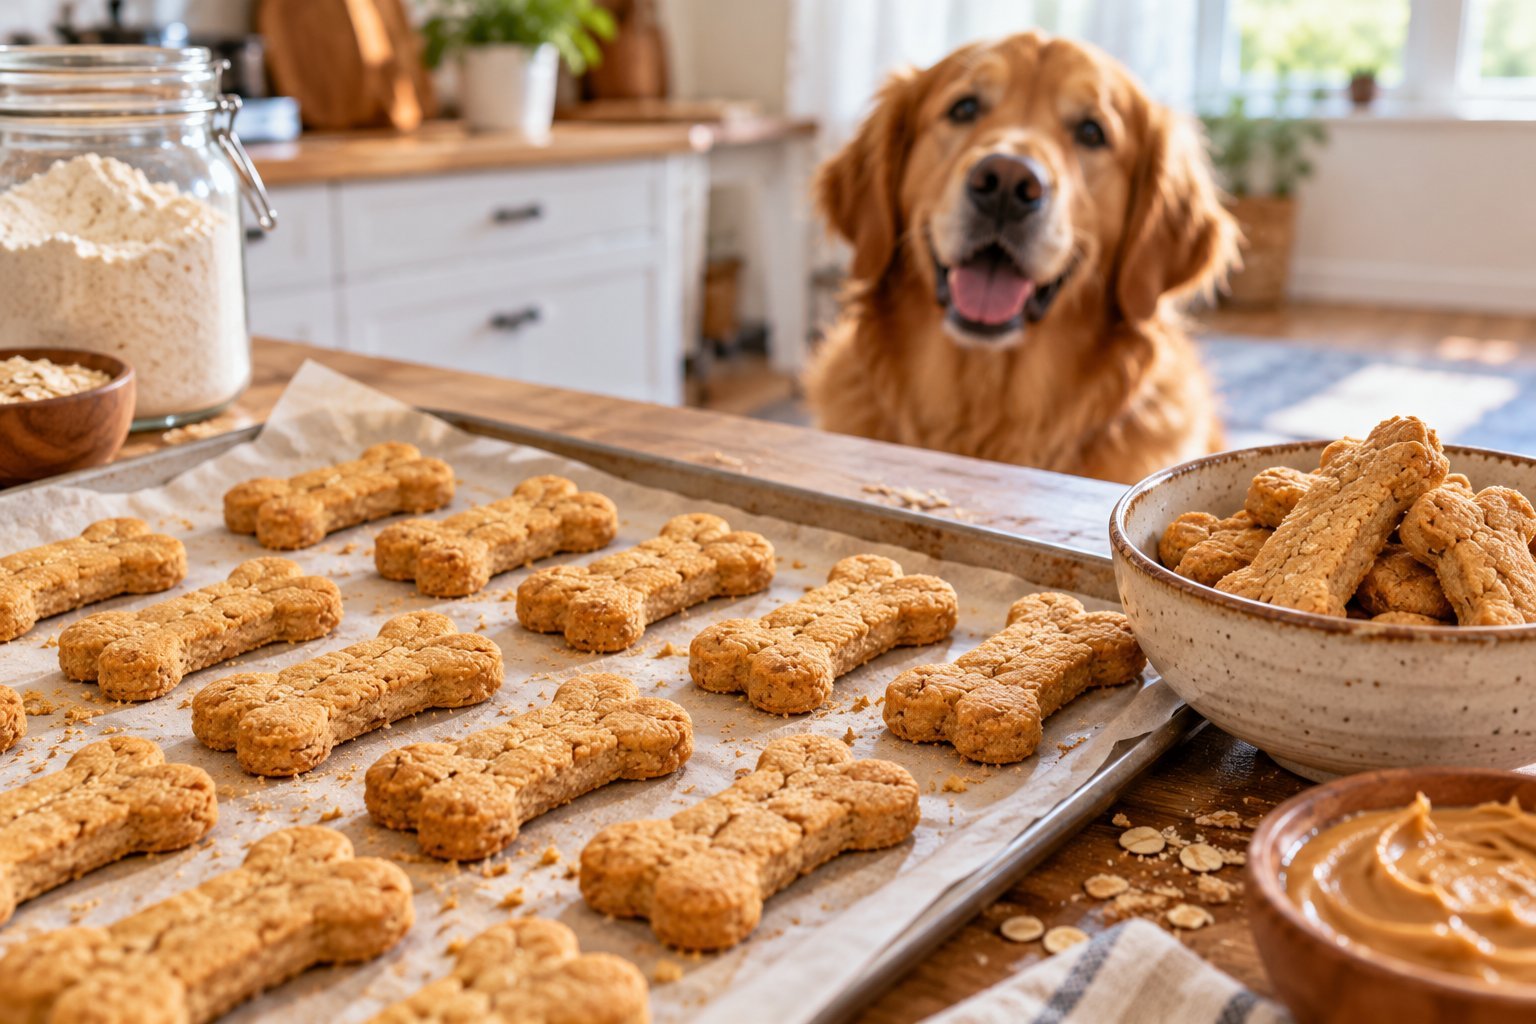
Making homemade dog treats does not have to involve a long ingredient list, complicated baking steps, or expensive ingredients.
Sometimes, two simple ingredients are enough to make crunchy biscuits your dog can enjoy as an occasional reward.
These easy 2 ingredient dog treats are a practical option when you want to prepare something at home without spending an entire afternoon in the kitchen.
I love the idea of homemade dog biscuits because you can choose the ingredients, control the size, and make a batch that suits your dog’s preferences.
You also know exactly what goes into the recipe, which makes it easier to avoid unnecessary flavorings and ingredients your dog should not eat.

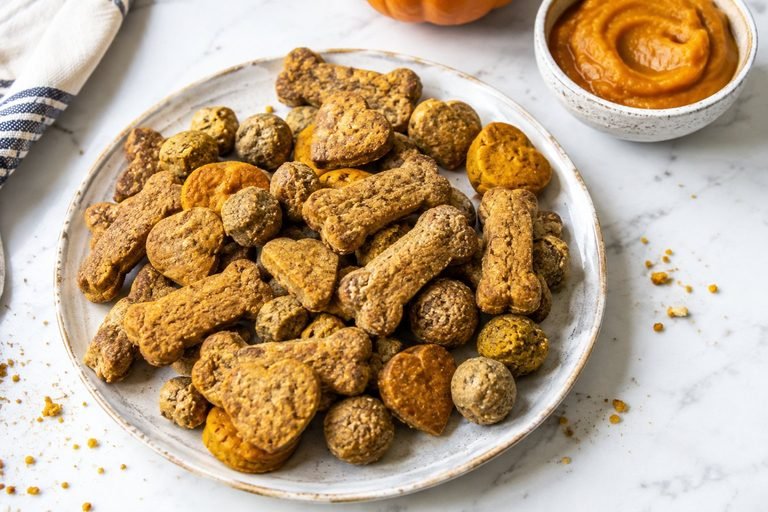
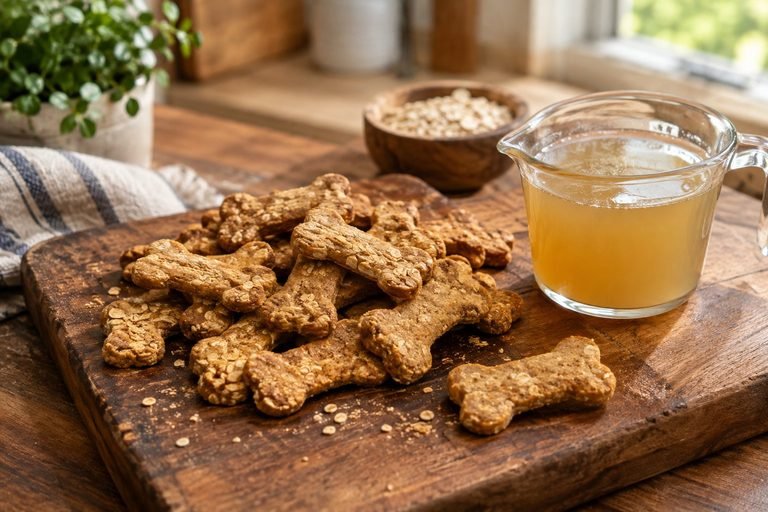
For this recipe, I am using natural peanut butter and whole wheat flour. The dough is simple to mix, easy to roll, and suitable for cutting into small bone shapes or ordinary round biscuits.
You do not need special equipment, although a rolling pin and cookie cutter can make the process easier.
The most important thing is choosing dog appropriate ingredients, baking the biscuits properly, and storing them safely. Here is how to make these homemade dog treats from start to finish.
Shop on Amazon With 50% Discount
If you enjoy making homemade dog biscuits, a few basic baking tools can make preparation easier. Discounts vary by seller and time, so check the current listing rather than assuming a specific discount is available.
- Dog Bone Cookie Cutters: Useful for shaping uniform biscuits. Choose a size appropriate for your dog and look for smooth edges that are easy to clean.
- Reusable Silicone Baking Mat: Helps keep dough from sticking to the baking tray and can reduce the need for extra flour. Make sure the mat is food safe and suitable for your oven temperature.
- Airtight Food Storage Container: Helps protect fully cooled biscuits from moisture and odors during refrigerator storage. Choose a container that is easy to wash and dry thoroughly.
These are optional tools. You can make this recipe with an ordinary baking tray, a knife, and a suitable storage container you already have at home.
Why You Will Love These Easy 2 Ingredient Dog Treats
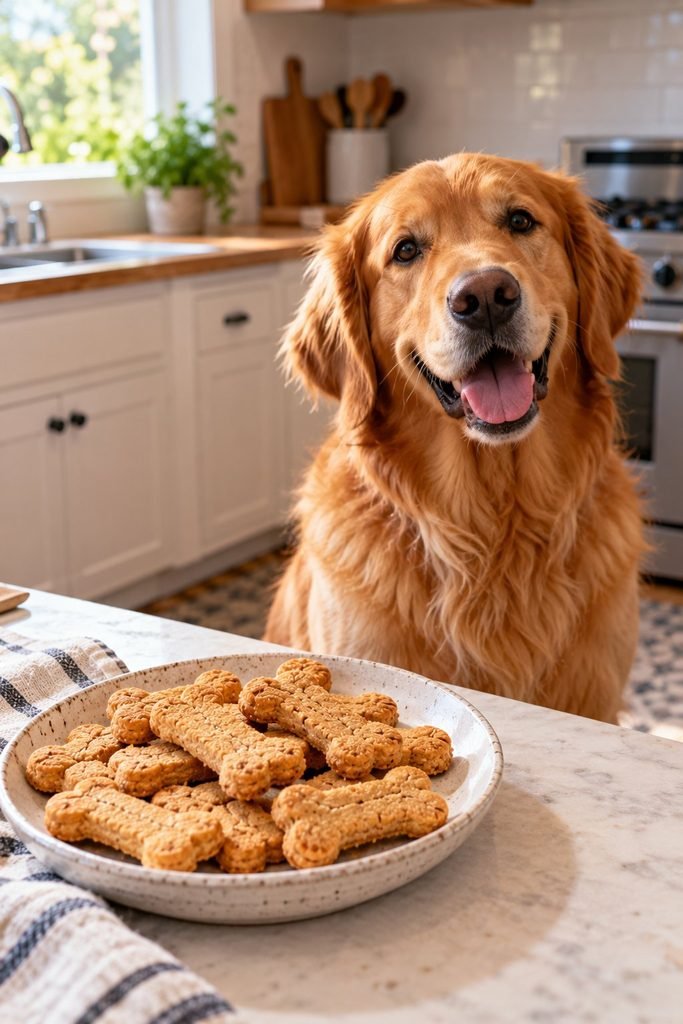
There are several reasons these homemade biscuits are worth trying.
Only two main ingredients. You need natural peanut butter and whole wheat flour to prepare the basic recipe.
Simple preparation. Mix the ingredients, shape the dough, and bake. There is no complicated cooking technique involved.
Easy to customize. You can make small biscuits for training rewards or slightly larger ones for occasional treats, depending on your dog’s size.
Budget friendly. If you already have suitable peanut butter and flour at home, you may not need to purchase anything special.
You control the ingredients. Homemade treats let you check exactly what goes into the dough, although the recipe still needs to suit your dog’s individual dietary needs.
Great for batch preparation. You can prepare several biscuits at once and freeze the extra portions for later.
Ingredients for 2 Ingredient Dog Treats
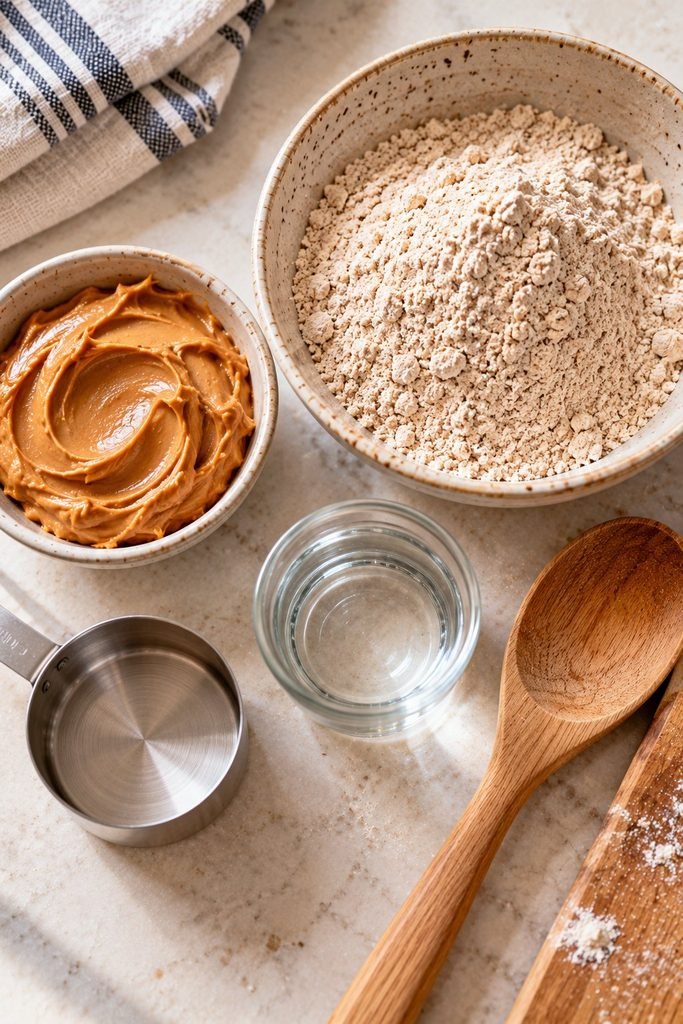
You only need two main ingredients for these homemade dog biscuits.
1. Natural Peanut Butter
Peanut butter gives the biscuits flavor and helps bring the dough together. Choose a plain variety without added sweeteners or unnecessary flavorings.
Important safety note: Always check the ingredient label for xylitol, which may also be called birch sugar. Xylitol is highly toxic to dogs and can cause a life threatening reaction. Never use peanut butter containing this ingredient. <Cite refs={[“turn374297search0″,”turn374297search5”]}/>
I would also avoid peanut butter with chocolate, added flavorings that are unsuitable for dogs, or excessive added salt. Peanut butter is calorie dense, so these biscuits should be offered in moderation rather than as an unlimited snack.
2. Whole Wheat Flour
Whole wheat flour gives the biscuits their structure and makes the dough easier to roll and cut into shapes.
It works well for this recipe because it absorbs moisture from the peanut butter and helps create a firm dough that can be baked into biscuits.
However, whole wheat flour is not suitable for every dog. If your dog has a wheat allergy, a diagnosed food sensitivity, or another dietary restriction, ask your veterinarian about an appropriate alternative before making the recipe.
Different flours absorb moisture differently, so substitutions may change the dough’s consistency and baking time.
How to Make Easy 2 Ingredient Dog Treats
Step 1: Preheat the Oven
Preheat your oven to 350°F (175°C). Line a baking tray with parchment paper or use a suitable silicone baking mat.
Preparing the tray first makes it easier to transfer the biscuits once you have cut them. It also helps prevent the dough from sticking to the baking surface.
Step 2: Mix the Peanut Butter and Flour
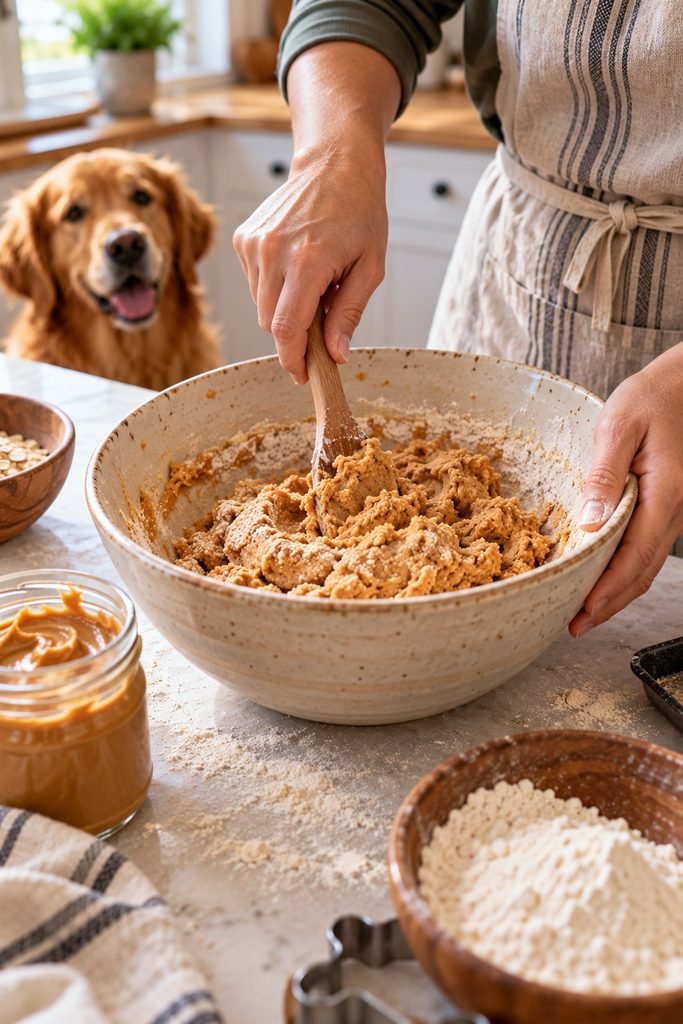
Add the peanut butter and whole wheat flour to a mixing bowl.
Stir them together with a sturdy spoon or spatula until the mixture begins to form a dough. It may look crumbly at first, so give it a little time to come together before deciding that it needs more liquid.
If the mixture remains too dry to hold together, add water a teaspoon at a time. Stop as soon as you have a workable dough.
The goal is a firm dough that can be rolled without sticking excessively to your hands or the work surface.
Step 3: Knead the Dough Gently
Transfer the dough to a clean work surface and knead it gently until the ingredients are evenly combined.
You do not need to knead it as extensively as bread dough. Simply work it until it holds together and has a reasonably even texture.
If the dough is too sticky, add a small amount of flour. If it cracks apart and refuses to hold its shape, add a little water and knead again.
Try to make small adjustments rather than adding large amounts of either ingredient at once.
Step 4: Roll Out the Dough
Use a rolling pin to roll the dough to approximately ¼ inch thick.
Keeping the thickness reasonably consistent helps the biscuits bake more evenly. Very thick biscuits may need additional baking time, while thinner ones can become crisp more quickly.
If you do not have a rolling pin, you can flatten the dough between two sheets of parchment paper using a clean, flat-bottomed object.
Step 5: Cut the Biscuits Into Shapes
Use a small dog bone cookie cutter, a round cutter, or a clean knife to shape the biscuits.
You can make any shape you like, provided the pieces are suitable for your dog’s size and chewing ability.
For smaller dogs, cut smaller biscuits and break them into manageable pieces if necessary. Larger biscuits can be divided before serving.
Arrange the pieces on the prepared baking tray, leaving a little space between them.
Step 6: Bake Until Firm
Place the tray in the preheated oven and bake for approximately 20 to 25 minutes.
Check the biscuits as they approach the end of the baking time. Smaller or thinner pieces may finish sooner, while larger biscuits may need longer.
The biscuits should look set and feel firm rather than wet or doughy in the middle. Avoid relying on color alone to determine whether they are done.
If you prefer a crunchier biscuit, you can bake them a little longer at a controlled temperature, checking frequently to prevent burning.
Step 7: Cool Completely Before Serving
Remove the tray from the oven and allow the biscuits to cool completely before offering one to your dog.
The biscuits will continue to firm up as they cool. Serving them while they are hot can burn your dog’s mouth, and warm treats should not be sealed in a storage container because trapped heat can create condensation.
Once completely cool, offer a small piece and see how your dog tolerates it.
Tips for Getting the Best Results
Use smooth peanut butter for an even dough. Chunky peanut butter may work, but the dough can be less uniform.
Measure the flour carefully. Too much flour can make the biscuits dry and crumbly. If the dough will not hold together, add water gradually.
Keep the biscuits a consistent thickness. This helps prevent some pieces from burning while others remain underbaked.
Choose an appropriate size. Smaller biscuits are easier to portion for many dogs, especially when used as occasional training rewards.
Do not add unnecessary ingredients. Salt, sugar, chocolate, and sweeteners are not needed for this basic recipe. Keep the ingredient list simple and check every product label.
Make a small test batch first. If your dog has never eaten peanut butter or wheat before, a small amount is a sensible way to check tolerance, provided both ingredients are appropriate for your dog.
Important Disclaimer
These homemade biscuits are intended as occasional treats, not as a complete or balanced dog food. Treats should generally make up no more than 10% of a dog’s daily calorie intake, with the remainder coming from a nutritionally complete diet. If your dog has allergies, pancreatitis, diabetes, obesity, digestive problems, or another medical condition, consult your veterinarian before introducing this recipe. Always verify that peanut butter contains no xylitol, and contact a veterinarian immediately if you suspect your dog has eaten it.
How to Store Homemade 2 Ingredient Dog Treats
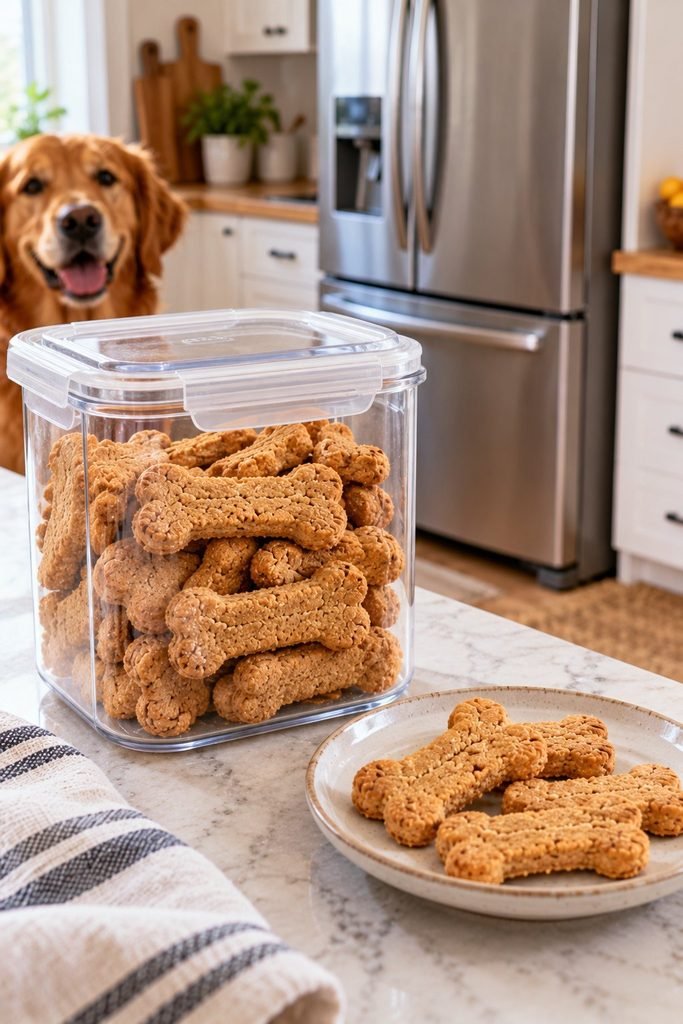
Once the biscuits have finished baking, let them cool completely before storing them.
This is important because trapped steam can create moisture inside the container, making the treats soften faster and spoil sooner.
For the best results, I recommend storing these homemade dog biscuits in a clean, airtight container in the refrigerator.
Because this recipe uses peanut butter and contains no commercial preservatives, refrigeration is a sensible choice.
Here are my storage recommendations:
In the refrigerator: Keep the cooled biscuits in an airtight container and aim to use them within about one week.
Check them before serving, and discard any that develop mold, an unusual smell, or unexpected changes in texture.
In the freezer: Freeze the biscuits in a freezer safe container or bag for longer storage. Separate layers with parchment paper to help prevent them from sticking together.
For the best quality, use them within two to three months. Thaw a small portion in the refrigerator before serving.
At room temperature: Avoid assuming that homemade treats will stay fresh for several days on the counter. Their shelf life depends on how much moisture remains after baking, the ingredients used, and storage conditions.
I prefer making a manageable batch rather than baking more treats than my dog can reasonably enjoy. That way, there is less waste and the biscuits stay fresher.
Common Problems When Making Homemade Dog Biscuits
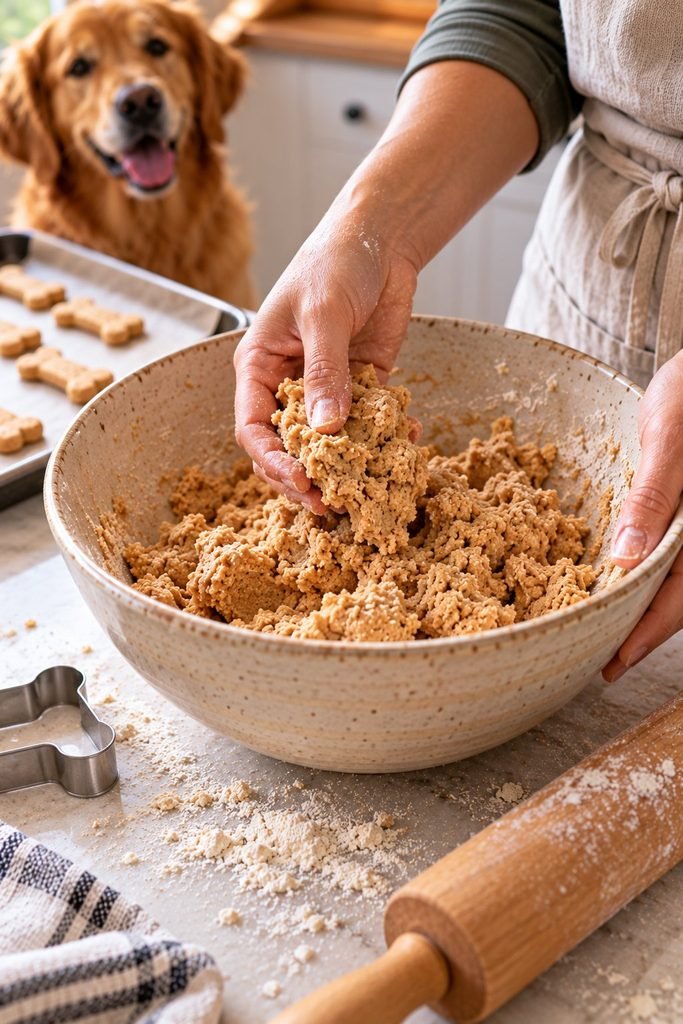
Even a simple two ingredient recipe can take a little adjusting. The good news is that most problems are easy to fix.
Why Is My Dog Treat Dough Too Dry?
Whole wheat flour absorbs moisture differently depending on the brand and how the flour is measured. If the dough crumbles when you try to roll it, add water gradually, starting with one teaspoon at a time.
Mix after each addition. You want a firm dough that holds together without becoming sticky.
Why Is My Dough Too Sticky?
If the dough sticks to your hands, rolling pin, or work surface, add a small amount of flour and knead it in. Repeat only as needed. Adding too much flour at once can make the finished biscuits hard and dry.
You can also roll the dough between two sheets of parchment paper to make shaping easier.
Why Did My Dog Biscuits Turn Out Hard?
Thin biscuits and longer baking times can produce a very firm treat. That may be suitable for some dogs, but very hard biscuits are not ideal for every pet, especially dogs with dental problems or older dogs that struggle to chew.
For a softer biscuit, roll the dough slightly thicker and begin checking it toward the earlier end of the suggested baking time. Allow the biscuits to cool before judging their final texture.
Why Are My Biscuits Still Soft in the Middle?
The biscuits may be too thick, or the dough may contain too much moisture. Return them to the oven for a few additional minutes, checking regularly so the edges do not burn.
Remember that the biscuits will firm up as they cool. Do not offer them to your dog while they are hot.
What If My Dog Does Not Like Peanut Butter?
Not every dog enjoys the same flavors. If your dog refuses these biscuits, do not force them to eat the treats.
You can look for another simple dog treat recipe using ingredients your dog already tolerates. Before replacing peanut butter with another ingredient, check that the alternative is safe for dogs and suitable for your pet’s dietary needs.
How to Make These Dog Treats More Interesting
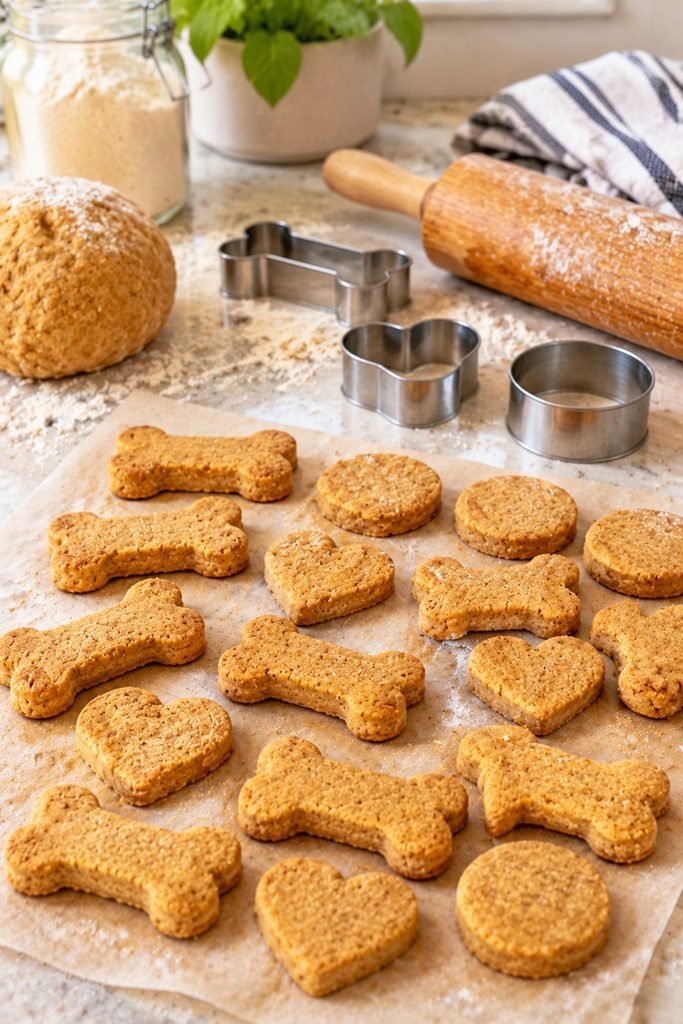
The beauty of a simple recipe is that you can make small adjustments without turning it into a complicated baking project. However, because this recipe is designed around two main ingredients, any additions or substitutions may change the texture and baking time.
Here are a few ideas to consider.
Use Different Cookie Cutter Shapes
Bone shaped cookie cutters are a classic choice, but you can use small circles, hearts, or other simple shapes. Choose a size that makes sense for your dog’s body size and normal treat portion.
Smaller biscuits can be convenient for training because you can offer a little reward without giving one large treat every time.
Adjust the Biscuit Thickness
Rolling the dough thinner can produce smaller, crispier biscuits. A slightly thicker dough may produce a firmer outside with a less crunchy center.
Keep the thickness consistent across the baking tray so the biscuits cook evenly. Check them regularly because thinner pieces may finish before thicker ones.
Try a Different Dog Safe Flour
Whole wheat flour is the flour used in this recipe, but some owners may need an alternative. Oat flour is one option to discuss or try if it suits your dog’s dietary needs. Since different flours absorb moisture differently, add water gradually and adjust the dough texture as needed.
Do not assume that a gluten free flour blend will behave exactly like whole wheat flour. Some blends contain additional ingredients, so check the label carefully.
If your dog has a diagnosed food allergy or a prescribed diet, ask your veterinarian before changing ingredients.
How Many Homemade Dog Treats Can You Give Your Dog?
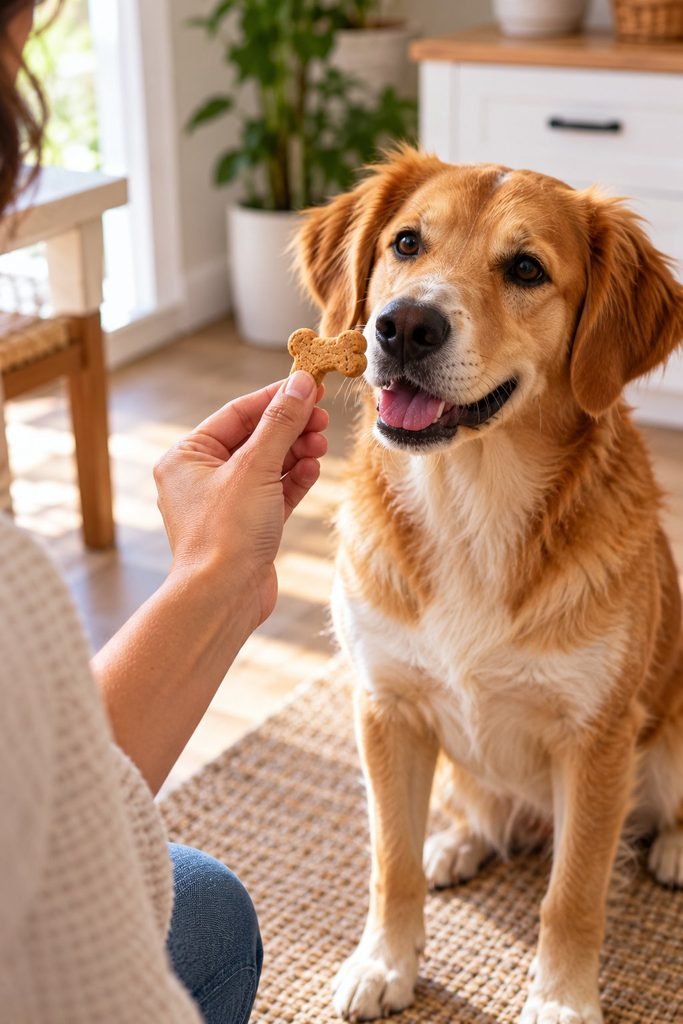
Even when treats are made with simple ingredients, portion size matters. Peanut butter can be calorie dense, and giving too many biscuits may contribute to unwanted weight gain.
A common veterinary nutrition guideline is to keep treats and other extras to around 10% or less of a dog’s daily calorie intake, with the remainder coming from a complete and balanced diet. Some dogs need a stricter limit.
Consider the following when deciding how much to offer:
- Your dog’s size: A small dog may need only a small piece, while a larger dog may tolerate a bigger portion.
- Daily activity: Treats should fit within your dog’s overall calorie needs rather than being added on top of an already full diet.
- Health conditions: Dogs with pancreatitis, obesity, diabetes, food allergies, or digestive problems may need special dietary restrictions.
- Other treats: Include training rewards, table scraps, and other extras when estimating the total amount of treats your dog receives.
Start with a small piece and watch for signs of digestive upset or an allergic reaction. If your dog has never eaten peanut butter before, check with your veterinarian about whether it is an appropriate choice.
Most importantly, homemade biscuits should be an occasional reward. They are not a substitute for complete and balanced dog food.
Frequently Asked Questions
Can I Make Dog Treats With Only Peanut Butter and Flour?
Yes. Peanut butter and flour can form a basic homemade dog biscuit dough. You may need a little water to help the mixture come together, depending on the flour and peanut butter you use.
Choose peanut butter that is confirmed to be free from xylitol, an ingredient that is toxic to dogs. Check the full ingredient label rather than relying only on the front of the jar.
Is Whole Wheat Flour Safe for Dogs?
Many dogs can tolerate plain whole wheat flour, but it is not suitable for every dog. Dogs with wheat allergies or certain dietary restrictions may need another option.
If you are unsure whether wheat is appropriate for your dog, speak with your veterinarian before making a batch.
Can Puppies Eat These Homemade Dog Biscuits?
Puppies may be able to enjoy a small piece if the ingredients are appropriate for them, but their nutritional needs are different from those of adult dogs. Treats should not displace the complete and balanced food required for growth.
Choose a texture that is easy for your puppy to chew, supervise them while eating, and ask your veterinarian if you are unsure whether these biscuits are suitable.
Can I Make These Treats Without a Cookie Cutter?
Absolutely. A knife can be used to cut the dough into small squares, or you can gently shape it into simple flat pieces by hand.
Keep the pieces reasonably uniform in thickness so they bake evenly. Avoid making them so small that they become a choking concern for your particular dog.
Can I Use Crunchy Peanut Butter?
Crunchy peanut butter may work, provided it is dog safe and free from xylitol. However, the peanut pieces can change the dough’s texture and make it slightly harder to roll smoothly.
For a more consistent dough, smooth peanut butter is usually the easier choice.
Can I Add Eggs to This Recipe?
You can find dog biscuit recipes that use eggs, but adding an egg changes this from a two ingredient recipe and affects the moisture level. You may need to adjust the flour and baking time.
If you want to keep the recipe as simple as possible, stick with the peanut butter and flour base.
Are Homemade Dog Treats Healthier Than Store Bought Treats?
Not automatically. Homemade treats give you more control over the ingredients, but their nutritional value depends on the recipe and portion size. Commercial treats may have clearer nutritional information and specific formulations.
The best choice is one that fits your dog’s dietary needs, uses safe ingredients, and is fed in appropriate amounts.
Can I Give These Biscuits to a Dog With Food Allergies?
Do not assume that a two ingredient recipe is safe for a dog with allergies. Peanut butter and wheat can both be unsuitable for some dogs.
If your dog has a known or suspected food allergy, follow your veterinarian’s dietary recommendations and avoid ingredients that have caused reactions.
Final Thoughts on Easy 2 Ingredient Dog Treats
Making homemade dog biscuits does not have to involve a long ingredient list or complicated baking techniques. With peanut butter, flour, and a little patience, you can prepare a simple batch of treats using ingredients you can check yourself.
What I like most about this recipe is how easy it is to adapt the biscuit size, shape, and texture to suit your baking preferences. You can make small pieces for occasional rewards or use a bone shaped cutter for a more traditional homemade dog biscuit.
The important part is choosing dog safe ingredients, checking the peanut butter label for xylitol, allowing the biscuits to cool completely, and storing them carefully. Keep portions small and remember that even homemade treats are extras, not a replacement for balanced dog food.
If your dog tolerates both ingredients, these easy two ingredient dog treats can be a practical recipe to keep in your homemade treat collection. Start with a small serving, observe how your dog responds, and consult your veterinarian if you have any concerns about allergies or dietary restrictions.