Tuna Cat Treats That Cats Go Crazy For
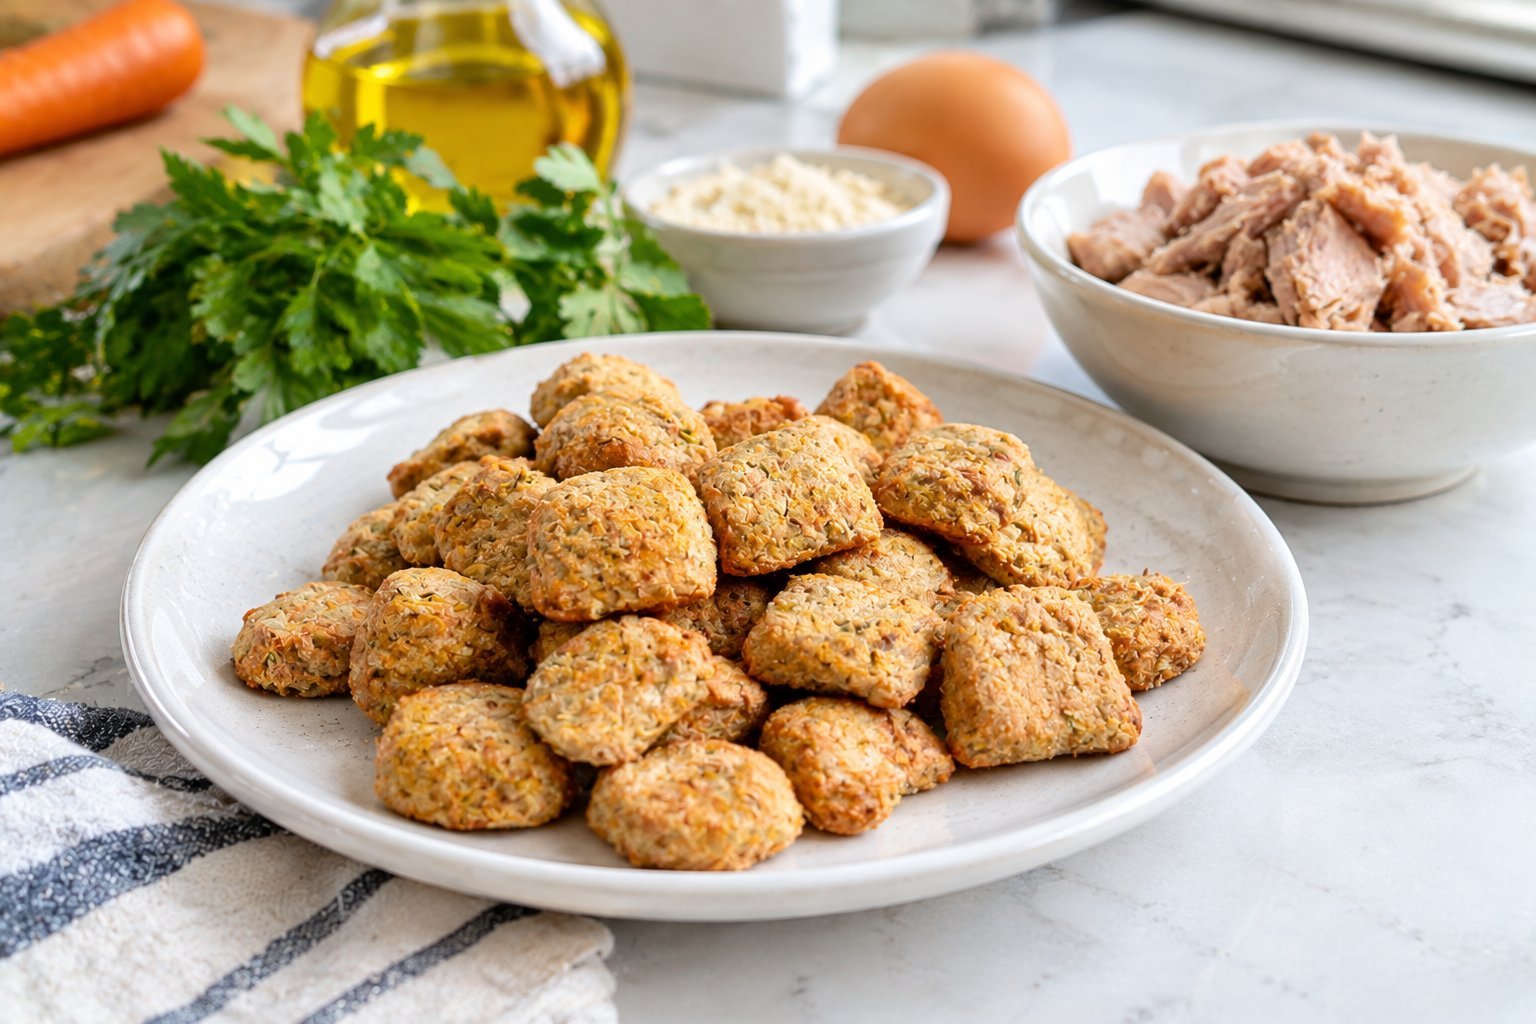
Tuna is one of those ingredients that can get a cat’s attention before the treat has even finished cooking.
I have found that homemade tuna cat treats are especially useful when I want to make something simple, affordable, and easy to portion for my cat without relying on complicated ingredients.
The smell alone tends to bring plenty of interest into the kitchen, and these little treats are simple enough to prepare without turning the process into a major project.
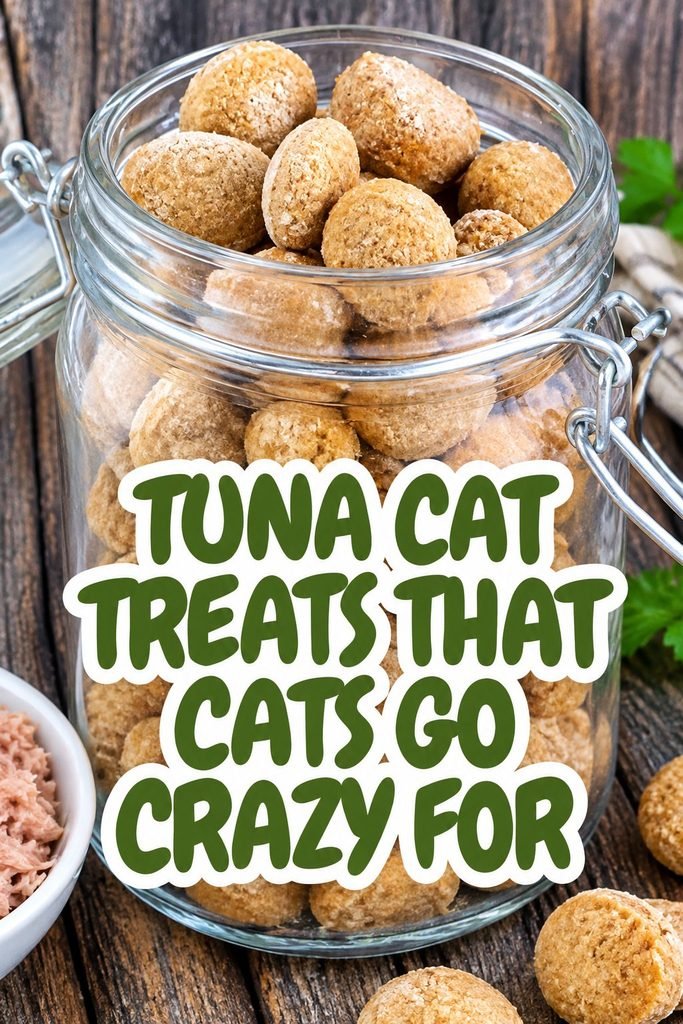
I like this recipe because it uses a short ingredient list and creates small, bite sized treats that work well for training, rewarding good behavior, or simply giving your cat something special during the day.
I also pay close attention to the type of tuna I use, the texture of the mixture, and how the treats are stored after baking. Those small details make a noticeable difference. In this recipe, I will walk you through exactly how I make these tuna cat treats, along with the ingredient choices and practical tips that help them turn out well.
Why I Like Making Homemade Tuna Cat Treats
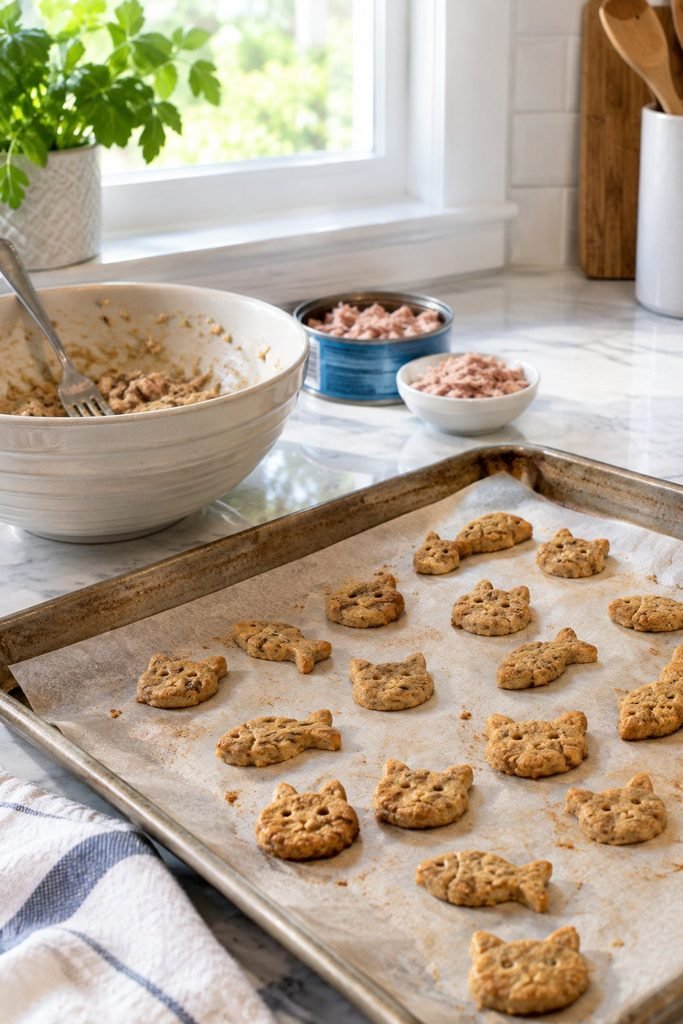
Homemade cat treats give me much more control over what goes into the recipe. When I make treats at home, I can keep the ingredient list short and avoid adding unnecessary flavors, sweeteners, or seasonings that cats do not need.
Tuna also makes a practical base because many cats already enjoy its strong smell and savory flavor. That makes these treats useful when you want something particularly appealing for training or positive reinforcement.
I prefer making small treats rather than large pieces. Cats do not need a huge snack to feel rewarded, and smaller portions make it easier to keep treats as an occasional addition to their regular diet.
Another thing I like about this recipe is how little preparation it requires. I can mix everything together, shape the treats, and get them into the oven without spending much time in the kitchen.
What You Need
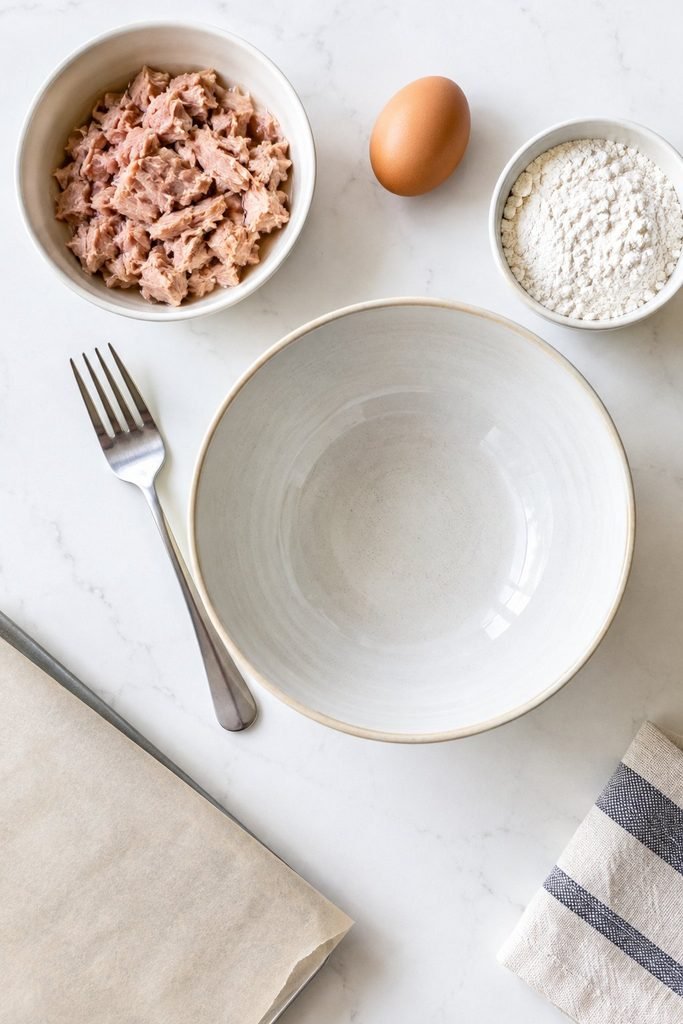
The ingredient list is intentionally simple.
Tuna
I use tuna packed in water rather than tuna packed in oil. Drain it well before mixing it with the other ingredients.
For cats, plain tuna is the better choice. Avoid tuna prepared with added seasonings, sauces, onions, garlic, or other ingredients that are not appropriate for cats.
Egg
Egg helps bind the mixture together and gives the treats a firmer texture once baked.
I use a fresh egg and mix it thoroughly with the tuna so there are no large pieces of egg sitting separately in the mixture.
Flour
A small amount of flour helps bring everything together into a workable dough.
For this recipe, I prefer adding the flour gradually rather than putting the entire amount in at once. Tuna can vary in moisture, so the exact amount needed may change slightly.
The finished mixture should be soft enough to shape but not so wet that it sticks heavily to your hands or baking surface.
How I Make These Tuna Cat Treats
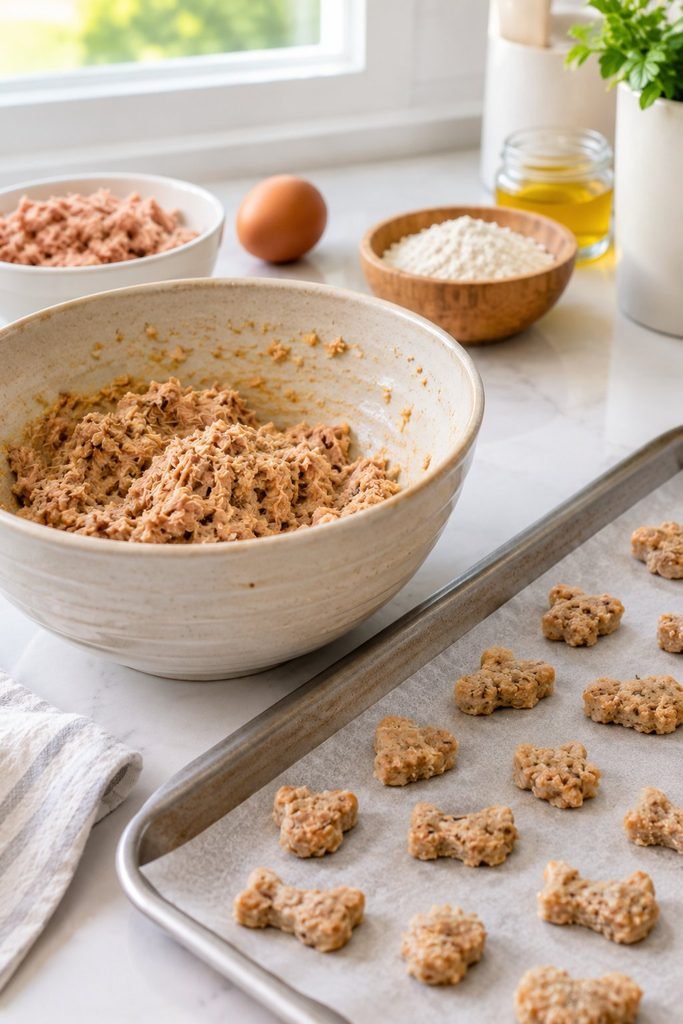
1. Prepare the Tuna
Start by draining the tuna very well.
This step is easy to rush, but removing excess liquid makes the mixture much easier to work with.
I usually press the tuna gently with a fork while draining it so there is not a lot of extra moisture going into the dough.
Break the tuna apart in a mixing bowl until it has a fairly even texture.
2. Add the Egg
Add the egg to the tuna and mix everything together.
I like using a fork at this stage because it breaks up the tuna while combining the ingredients at the same time.
Keep mixing until the tuna and egg are evenly distributed.
3. Add the Flour Gradually
Add the flour a little at a time and continue mixing.
You are looking for a dough that holds together when pressed. It should not look runny or overly wet.
If your mixture feels too sticky, add a little more flour. If it becomes too dry and crumbly, avoid adding a large amount of flour all at once. A small adjustment is usually enough.
4. Shape the Treats
Once the mixture has come together, transfer it onto a clean surface and flatten it.
I like keeping homemade cat treats fairly small because they are meant to be treats rather than a replacement for a complete cat food diet.
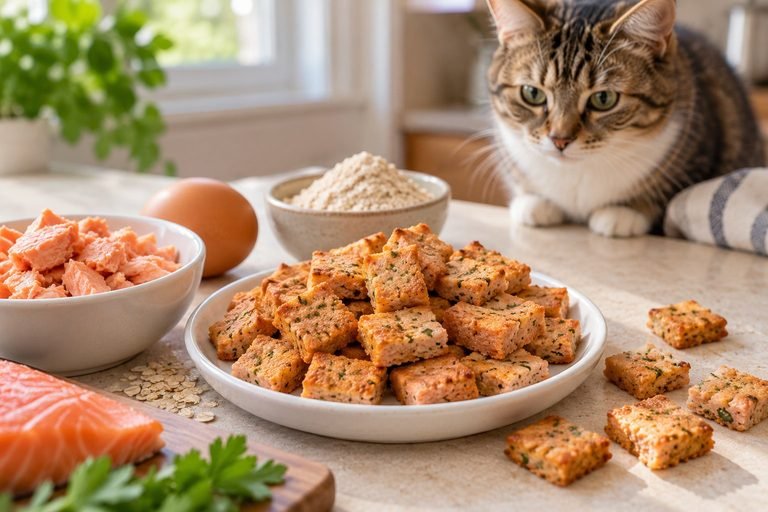
You can cut the dough into tiny squares or use a small cookie cutter to create simple shapes.
The thinner you make them, the easier they will be to dry and crisp during baking.
5. Bake Until Firm
Arrange the treats on a lined baking sheet with a little space between each piece.
Bake them until they are firm and cooked through.
The exact baking time can vary depending on the thickness of your treats, so I pay more attention to their texture than simply relying on the clock.
Allow them to cool completely before giving one to your cat.
Freshly baked treats can be much hotter inside than they appear, so cooling them fully is important.
A Few Things I Have Learned Making Homemade Cat Treats
The biggest difference I notice from batch to batch is moisture.
Tuna brands can contain different amounts of liquid, so the dough does not always behave exactly the same way. That is why I prefer adding the flour gradually instead of following the measurement blindly.
I also keep the treats small. Tiny pieces are easier to portion, easier for cats to eat, and easier to store.
Another thing I recommend is letting the treats cool completely before deciding whether they have the texture you want. They often become firmer as they cool.
Most importantly, homemade treats should stay a small part of your cat’s overall diet. They are meant to be a special reward rather than something that replaces nutritionally complete cat food.
How To Store Homemade Tuna Cat Treats
Once the tuna cat treats have completely cooled, I transfer them into a clean, airtight container. I do not seal them while they are still warm because trapped moisture can make them softer and shorten their shelf life.
Because these treats contain tuna and egg, I treat them as a perishable homemade food rather than something that can sit on the counter for several days.
I keep the treats refrigerated and only take out the amount I plan to give my cat. For a larger batch, freezing is another convenient option.
I portion the treats into small amounts before freezing so I do not have to thaw the entire batch whenever I want to give one.
Allow frozen treats to thaw in the refrigerator before serving.
If you notice an unusual smell, visible mold, discoloration, or a change in texture, discard the treats rather than trying to use them.
How Many Tuna Treats Can I Give My Cat?
I keep homemade treats small and use them as an occasional reward rather than a regular part of every meal.
Treats should not replace your cat’s nutritionally complete and balanced food. This is especially important with homemade recipes because a simple treat recipe is not designed to provide everything a cat needs nutritionally.
The right amount also depends on your cat’s size, age, activity level, health, and normal diet.
For my own routine, I prefer starting with a very small piece and watching how my cat responds. If your cat has a medical condition, food allergy, dietary restriction, or is on a veterinarian prescribed diet, check with your veterinarian before introducing homemade treats.
Can Cats Eat Tuna?
Cats can eat tuna as an occasional treat, but tuna should not become the main part of their diet.
I think of tuna as the ingredient that makes these homemade treats especially appealing, not as a replacement for balanced cat food.
Plain tuna prepared without added seasonings is the better option for this recipe. Avoid products containing ingredients such as onion, garlic, heavy sauces, or excessive salt.
It is also worth remembering that cats can become very enthusiastic about foods they enjoy. Just because a cat begs for another treat does not mean another large serving is appropriate.
Can I Make These Treats Smaller?
Absolutely.
In fact, I prefer making these treats quite small. Smaller pieces are easier to portion and work particularly well when I am using treats as rewards.
If you are making them for training, tiny pieces are usually enough. Your cat gets the reward without consuming a large amount of food during a training session.
Keep the pieces reasonably consistent in size so they bake at roughly the same rate.
What If My Dough Is Too Sticky?
This usually means there is more moisture in the tuna mixture than expected.
Add a little more flour and mix again. I recommend making small adjustments rather than adding a large amount at once.
The goal is a soft dough that can be flattened and shaped without sticking excessively to your fingers or work surface.
If the mixture is extremely wet, check whether the tuna was drained thoroughly. Removing excess liquid before mixing can make a noticeable difference.
What If My Tuna Treats Crumble?
If the mixture is too dry before baking, the treats may struggle to hold their shape.
I would check the consistency before adding more flour. The dough should come together when pressed rather than breaking apart immediately.
If necessary, make a small adjustment to the wet ingredients instead of continuing to add flour. The exact balance can vary depending on the tuna and flour you use.
This is one reason I prefer working with the texture of the mixture rather than treating the measurements as completely rigid.
My Tips For Better Homemade Cat Treats
Keep The Ingredients Simple
Cats do not need a complicated ingredient list to enjoy a homemade treat. I prefer keeping this recipe straightforward so I know exactly what I am giving my cat.
Drain The Tuna Well
This is one of the easiest steps to overlook. Excess liquid can make the dough difficult to shape and can change the final texture.
Make Small Treats
Small pieces are easier to portion and make sense for a treat that is only meant to supplement your cat’s regular food.
Let Them Cool Completely
Do not judge the final texture while the treats are still warm. They become firmer as they cool.
Watch Your Cat’s Response
Whenever I introduce a new homemade treat, I pay attention to how my cat handles it. Look for signs of digestive upset or an unusual reaction, particularly when trying a new ingredient.
Keep Treats Occasional
These tuna treats are a fun homemade snack, but balanced cat food should remain the foundation of your cat’s diet.
Common Mistakes To Avoid
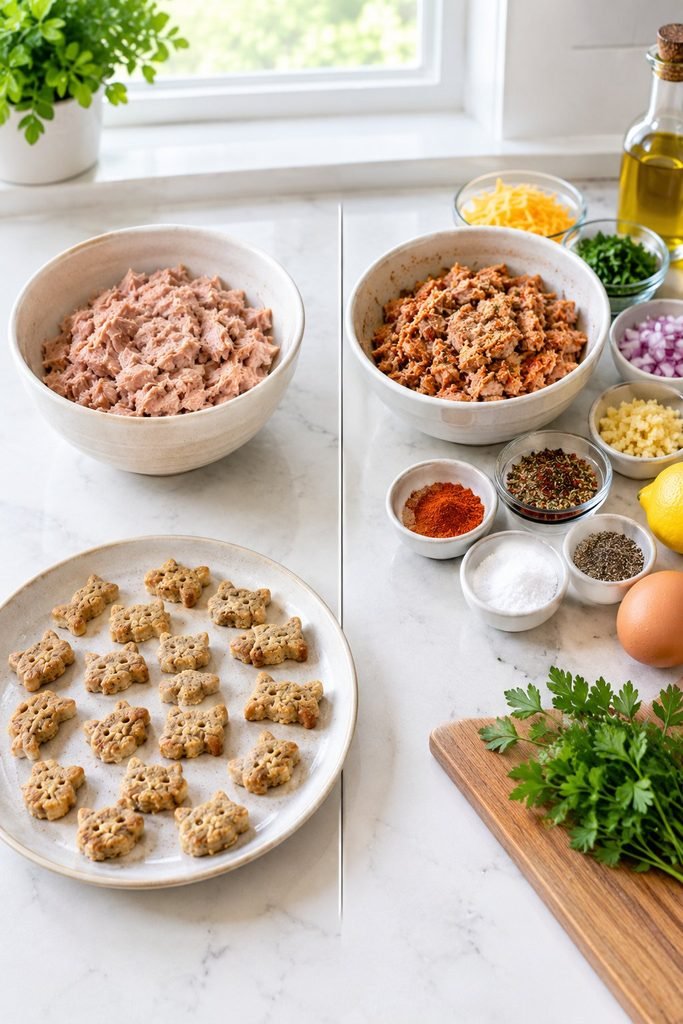
One mistake is using seasoned tuna. Plain tuna is much more appropriate for this recipe than tuna containing sauces or added flavorings.
Another mistake is leaving too much liquid in the tuna. This can produce a sticky mixture that is difficult to shape.
Making the treats too large is another easy mistake. I find that tiny pieces are much more practical for cats.
I also would not leave a batch sitting at room temperature for an extended period. Once cooled, refrigerate or freeze the treats and handle them as a perishable homemade food.
Finally, avoid giving your cat several treats simply because they are homemade. A small portion is enough to make a reward feel special.
Tuna Cat Treats
Ingredients
Equipment
Method
- Preheat the oven to 350°F (175°C) and line a baking sheet with parchment paper.
- Drain the tuna thoroughly. Use a fork to break it into small pieces, checking that there are no large chunks remaining.
- Add the tuna and egg to a mixing bowl. Stir until they are well combined.
- Add the oat flour and mix until a soft dough forms. If the mixture feels too dry, add the water a little at a time.
- Place the dough between two pieces of parchment paper and gently roll it out to about 1/4 inch thick.
- Use a small cookie cutter to cut the dough into bite sized treats. Gather the scraps, roll them again, and continue cutting until all the dough is used.
- Arrange the treats on the prepared baking sheet with a little space between each one.
- Bake for approximately 10 to 12 minutes, or until the treats are firm and lightly golden around the edges.
- Remove from the oven and allow the treats to cool completely before serving.
- Start with a small portion when introducing the treats and keep fresh drinking water available.
- Storage: Store completely cooled treats in an airtight container in the refrigerator for up to 5 days. For longer storage, freeze them in a freezer safe container.
- Tuna Tip: Use tuna packed in water rather than tuna prepared with oil, sauces, spices, or seasonings. Drain it well before mixing.
- Serving: These are treats, not a replacement for a complete and balanced cat food. Keep portions small and occasional.
- Common Mistake to Avoid: Do not add garlic, onion, salt, spices, or seasoning blends to homemade cat treats.
- Texture Tip: For smaller cats, cut the treats into tiny pieces before baking. This also makes it easier to use them as occasional training rewards.
Final Thoughts
These homemade tuna cat treats are one of those recipes I like keeping in my rotation because they are simple, inexpensive, and easy to portion.
The strong tuna aroma makes them particularly appealing, while the straightforward ingredient list keeps the preparation manageable.
I also like that I can make a batch ahead of time and keep small portions ready in the refrigerator or freezer. That makes homemade treats much easier to fit into a normal routine.
The biggest thing I keep in mind is that treats are meant to complement a cat’s regular diet, not replace it. When I keep the portions small and the ingredients simple, these tuna treats make a nice occasional reward.
If your cat loves tuna, this is a simple recipe worth trying.