Homemade Salmon Cat Treats: Easy Crunchy Recipe With 3 Ingredients
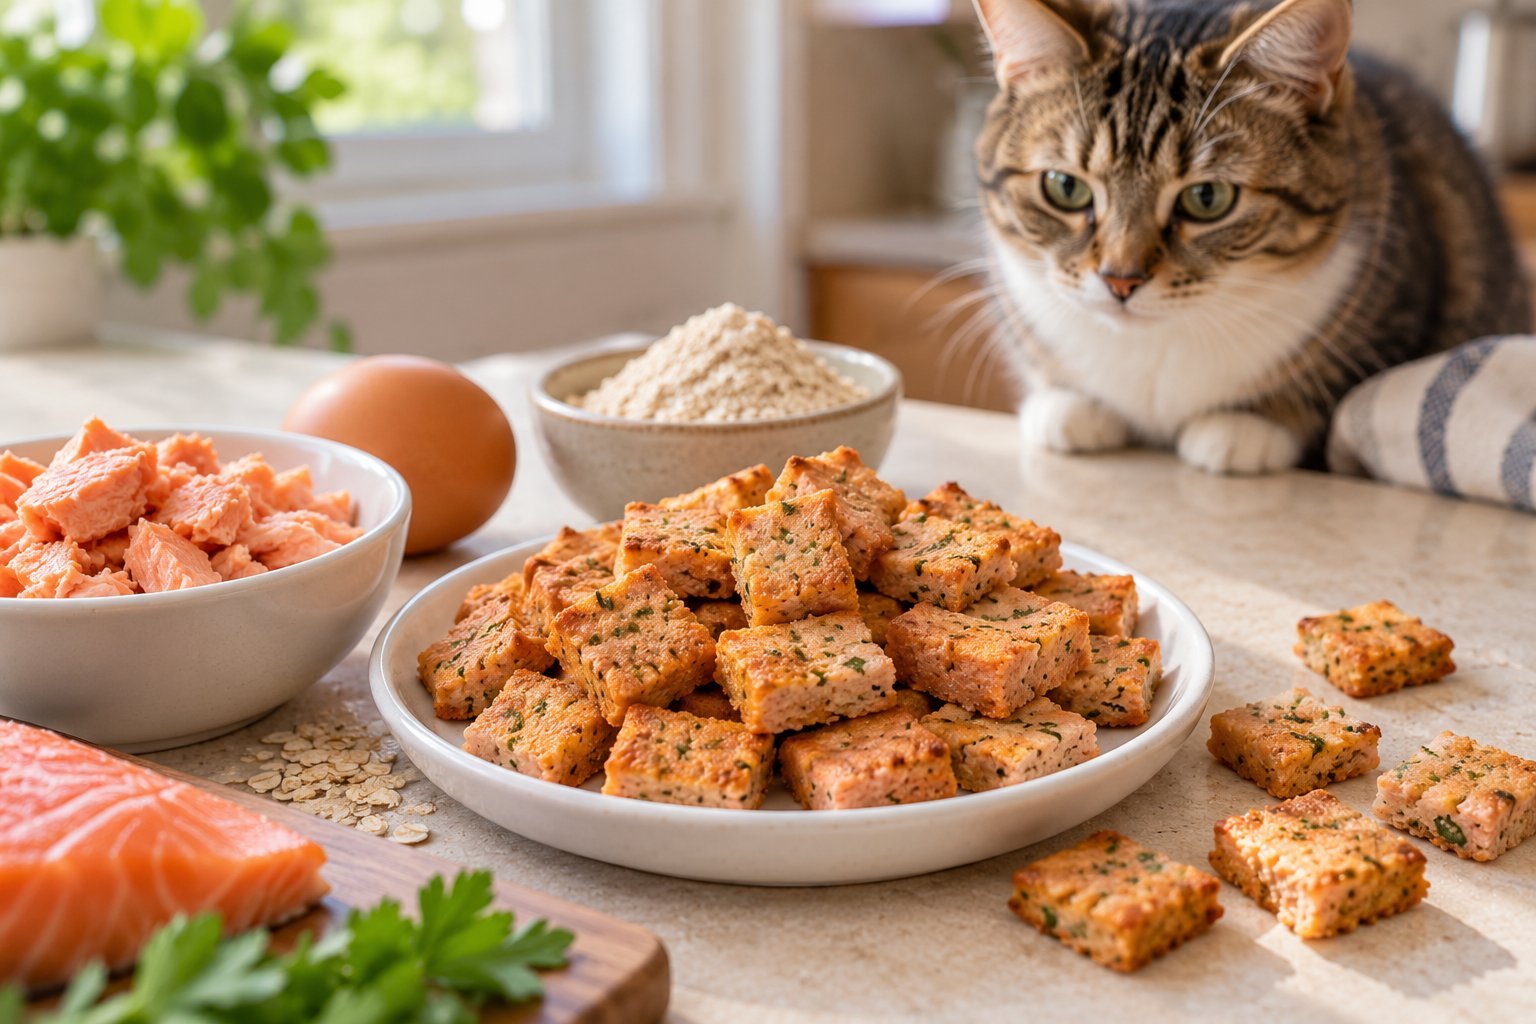
Cats are famously picky, but put a little salmon in front of almost any of them and watch the whole personality change. The ears swivel, the tail goes up, and suddenly you are the most important person in the house.
These homemade salmon cat treats take advantage of that instinct with just three simple ingredients: canned salmon, one egg, and a little oat flour. There is no complicated technique, no special equipment, and no long ingredient label to decode.
Store bought cat treats can be pricey, and many of them lean on fillers, flavor sprays, and preservatives to make up for a lack of real food.
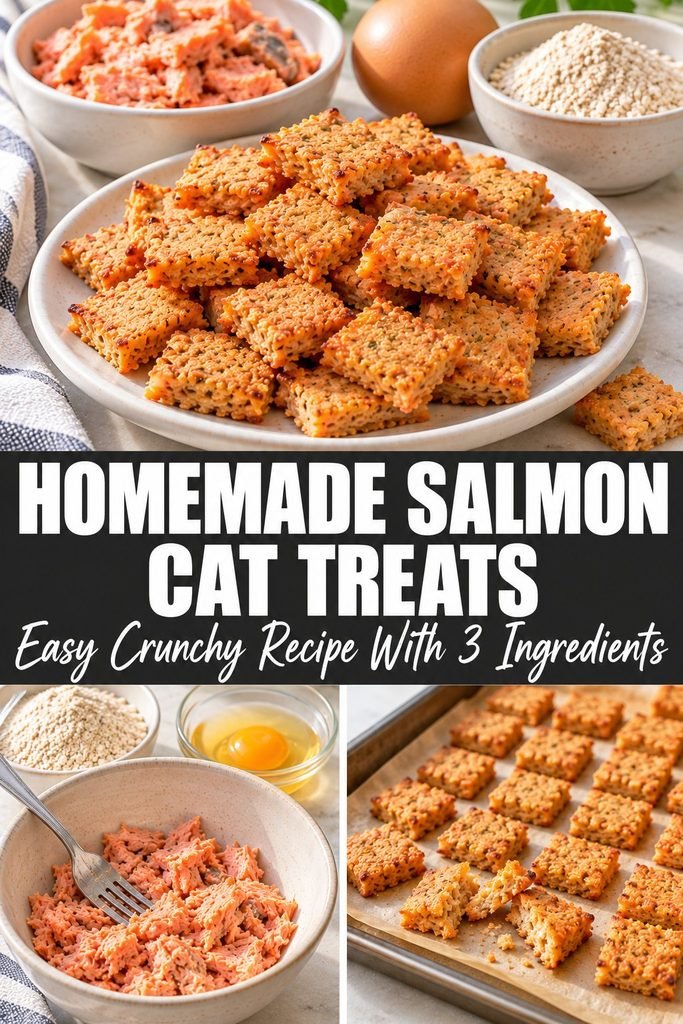
Making your own means you know exactly what is in every bite. One small can of salmon turns into about 100 tiny crunchy treats, which makes this one of the most budget friendly ways to spoil your cat.
They work as training rewards, pill pocket alternatives, bribes for the carrier, or just a “thank you for being my cat” snack. If you like cooking for your cat, you may also enjoy our chicken and catnip homemade cat treat recipe and our homemade cat food recipes.
This guide covers everything you need before you start baking: why salmon is a smart choice for cats, which ingredients to buy, how to get the texture right, how much to feed, how long the treats keep, and what to do when something goes sideways. Read through once, then grab a baking sheet.
Why You’ll Love These Salmon Cat Treats
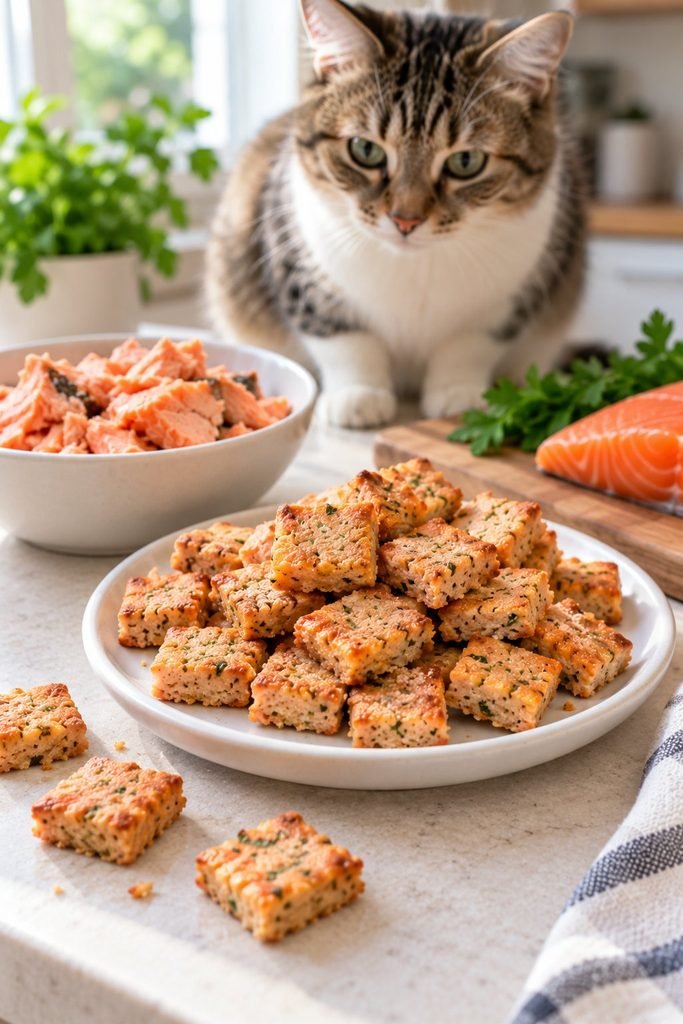
Three Real Ingredients
Salmon, egg, and oat flour. That is the whole list, plus an optional pinch of catnip if your cat is that kind of cat. Fewer ingredients means fewer things to worry about and an easier time spotting what does or does not agree with your pet.
Tiny Portions by Design
Cats need very small treats. This recipe is cut into pea sized pieces, so you can reward a cat dozens of times during a training session without blowing through their daily calorie budget.
Genuinely Cheap
A single can of salmon plus one egg and a scoop of flour makes a huge batch. Compare that to a small bag of premium treats and the savings are obvious.
Easy to Customize
Once you understand the base dough, you can add pumpkin, swap the flour, or change the texture from crunchy to soft. The variations section below gives you plenty of ideas.
Freezer Friendly
Make a big batch on a quiet afternoon, freeze most of it, and pull out a small handful whenever you need one. It is meal prep, but for your cat.
Are Salmon Treats Good for Cats?
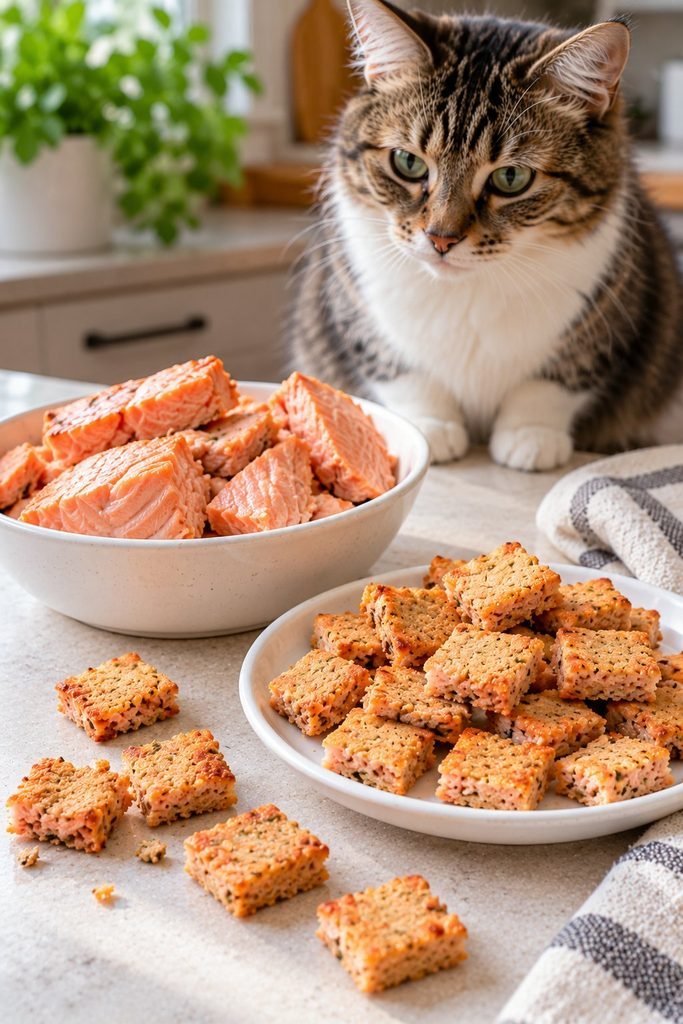
Cats are obligate carnivores, which means their bodies are built to get nutrition from animal protein.
Salmon fits right into that picture. It is high in protein, and it contains omega 3 fatty acids such as EPA and DHA, which are associated with healthy skin, a shiny coat, and joint comfort.
Many owners notice that fish flavored foods are the ones their cat gets most excited about, and salmon has a strong, rich aroma that even fussy eaters tend to find irresistible.
That said, treats are treats. They are not a replacement for a complete and balanced cat food, and they should not crowd out your cat’s regular meals.
A common rule of thumb is that treats should make up no more than about 10 percent of a cat’s daily calories.
For the average indoor cat that is only a small handful of treats per day at most, and that is exactly why tiny, low calorie pieces work so well.
The Safety Rules for Fish and Cats
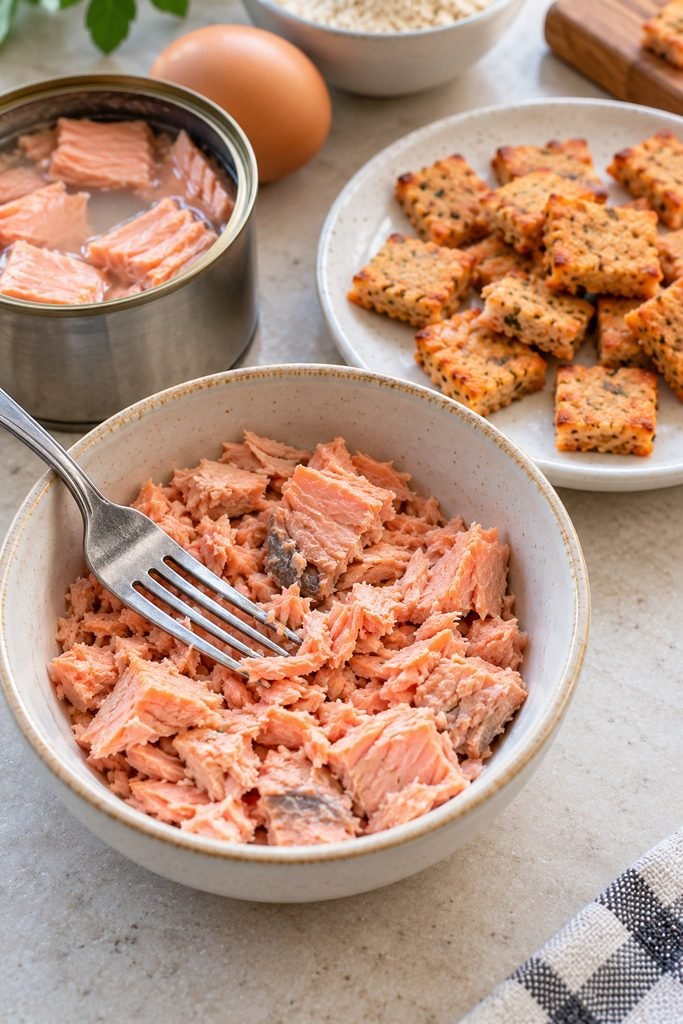
Salmon is safe for most cats when prepared correctly, but how you prepare it matters a great deal.
Always cook it. Raw fish can carry bacteria and parasites, and it also contains an enzyme called thiaminase that breaks down thiamine (vitamin B1).
Over time, a diet heavy in raw fish can contribute to thiamine deficiency. Canned salmon has already been cooked during processing, and fresh salmon should be cooked through before it goes anywhere near this recipe.
Skip the salt and seasoning. Smoked salmon, lox, and salmon packed in brine are very high in sodium. Anything seasoned with garlic, onion, chives, or similar ingredients is a hard no, since those are toxic to cats. If you want a refresher on what to keep out of the bowl, our guide to foods that are toxic to cats is worth bookmarking.
Watch the bones. Most canned salmon contains soft, tiny bones that mash easily. Pick out anything large or sharp before mixing.
Treat fish as an occasional food. Cats can enjoy fish regularly, but a diet built mostly on fish is not ideal. Treat these as a fun extra, not a daily staple.
If your cat has a medical condition such as kidney disease, pancreatitis, food allergies, or is on a prescription diet, check with your veterinarian before adding any new treat to the rotation.
Why This Recipe Works
| Ingredient | Job in the Recipe |
|---|---|
| Canned Salmon | Flavor, protein, and omega 3 fats |
| Egg | Binds everything together and adds protein |
| Oat Flour | Gives the dough structure so it can be rolled and cut |
| Catnip (optional) | Extra appeal for cats that respond to it |
The salmon brings all the flavor. The egg acts like glue. The flour soaks up moisture so the dough becomes workable instead of a sticky paste.
Understanding those jobs makes it easy to troubleshoot later: if the dough is too wet, add flour, and if it is too dry, add a splash of water.
Ingredients
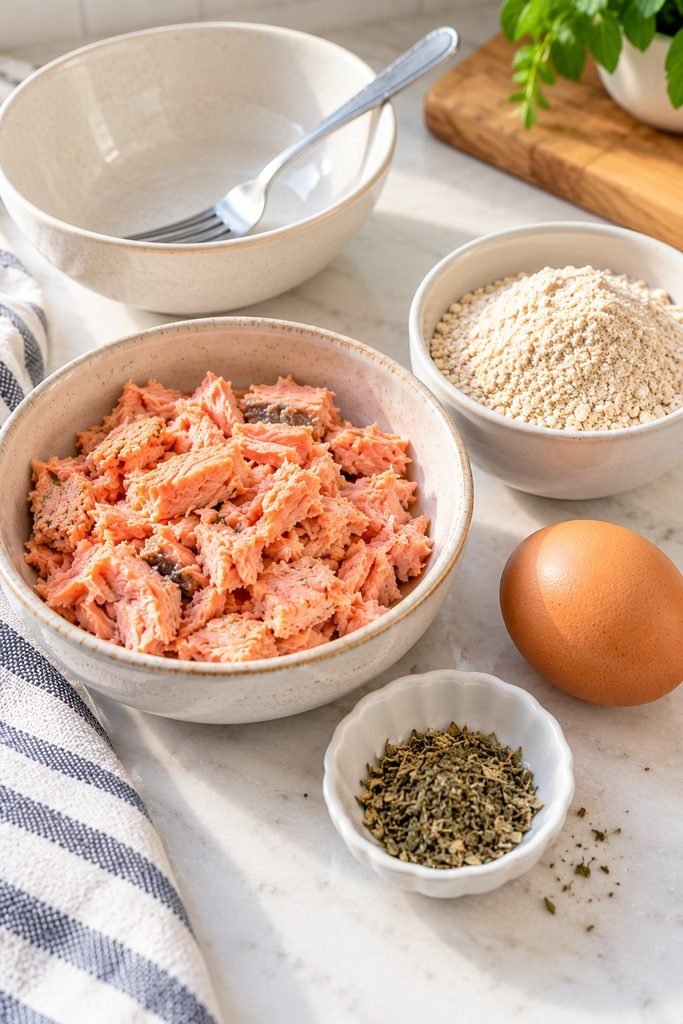
Makes about 100 tiny treats
- 1 can (about 5 ounces) salmon packed in water, no salt added, well drained
- 1 large egg
- 1/2 cup oat flour, plus extra for dusting
- 1 teaspoon dried catnip (optional)
- 1 to 2 teaspoons water, only if needed
Canned Salmon
Canned salmon is the star here for a very practical reason. It is already cooked, it is easy to mash, and it is inexpensive.
Look for salmon packed in water with no added salt. If the label lists a lot of sodium, give the drained salmon a quick rinse under cool water and pat it dry.
Avoid salmon packed in oil with seasonings, flavored pouches, and anything smoked.
Fresh salmon works too. Bake or poach a small fillet until it flakes easily and reaches 145 degrees Fahrenheit, then flake it finely and remove every bone.
You will need about three quarters of a cup of cooked, flaked salmon to replace the can.
Egg
One large egg binds the dough and adds a little extra protein. Because the treats are fully baked, the egg is cooked all the way through.
If your cat has an egg sensitivity, you can try the variation below that uses a little extra pumpkin puree instead, though the texture will be softer.
Oat Flour
Oat flour is gentle, easy to find, and gives the dough just enough body to roll out. You can make your own by blitzing plain rolled oats in a blender until powdery. Cats do not need much carbohydrate, so the flour is kept to a minimum here.
If you want to read more about which add-ins suit cats best, our post on superfoods for cats is a good place to start. It is a structural ingredient more than a nutritional one.
Optional Catnip
A teaspoon of dried catnip is a fun bonus. Not every cat reacts to catnip, so if yours does not care about it, simply leave it out. Make sure it is plain dried catnip with nothing added.
Equipment You’ll Need
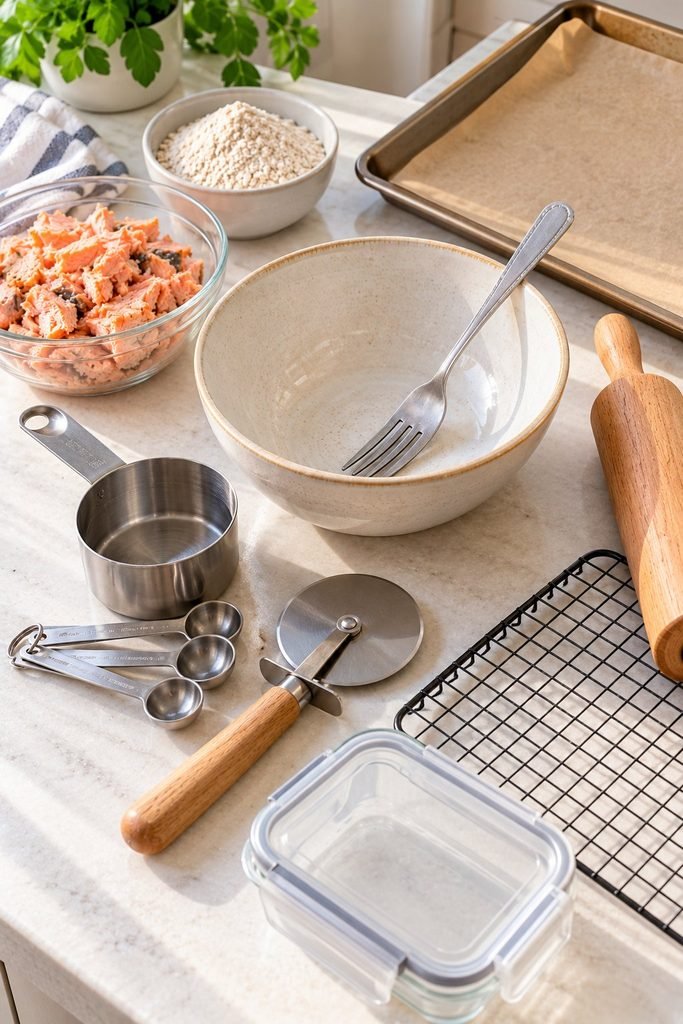
- Mixing bowl
- Fork for mashing
- Measuring cups and spoons
- Rolling pin
- Parchment paper
- Baking sheet
- Pizza cutter or sharp knife
- Cooling rack
- Airtight container
Parchment paper does double duty here. Roll the dough between two sheets so it does not stick to the rolling pin, then slide the bottom sheet straight onto the baking tray.
A pizza cutter is the secret weapon for cutting tiny squares quickly. If you do not own one, a regular sharp knife works fine, it just takes a little more patience.
Step by Step Instructions
Step 1: Preheat the Oven
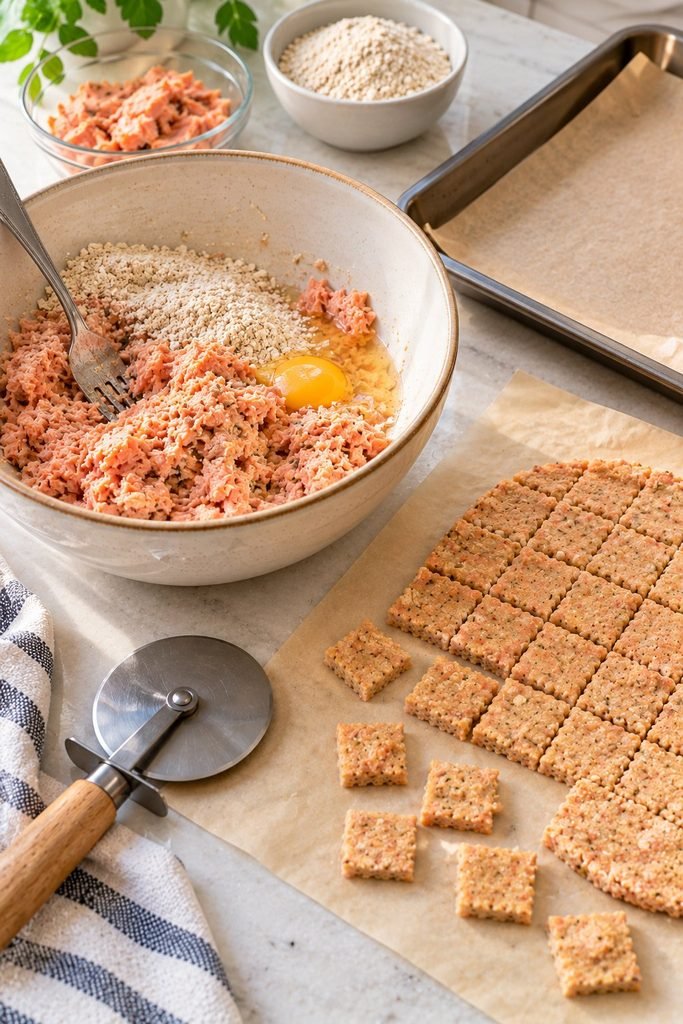
Heat the oven to 350 degrees Fahrenheit (175 degrees Celsius). Line a baking sheet with parchment paper.
Getting the oven ready first means the dough goes straight in once the treats are cut, which keeps things moving.
Step 2: Mash the Salmon
Drain the salmon thoroughly, then add it to a mixing bowl. Mash it with a fork until it is fine and almost paste like, picking out any large bones or hard pieces as you go.
The smaller the salmon pieces, the smoother your dough will be and the easier it is to cut neat little squares later.
Step 3: Add the Egg
Crack the egg into the bowl and stir until the salmon and egg are fully combined. At this point the mixture will look loose and a little wet, which is exactly right. If you are using catnip, sprinkle it in now.
Step 4: Mix in the Flour
Add the oat flour a little at a time and stir until a thick, slightly sticky dough forms. You want something that holds together when pressed but is not so wet that it clings to your fingers.
If it feels too wet, add a tablespoon of flour. If it looks dry and crumbly, add a teaspoon of water. Small adjustments go a long way.
Step 5: Roll It Out
Lightly dust a sheet of parchment paper with oat flour, place the dough on top, and cover with a second sheet of parchment.
Roll the dough out to about one eighth to one quarter of an inch thick. Thinner dough bakes crunchier and faster, while thicker dough stays a bit chewier in the middle.
Step 6: Cut Tiny Pieces
Peel off the top sheet of parchment. Using a pizza cutter or knife, cut the dough into small squares, about half an inch or smaller.
Think pea sized to dime sized. You do not need to separate them, since they will break apart easily after baking, but lightly scoring each line makes that easier.
Step 7: Bake
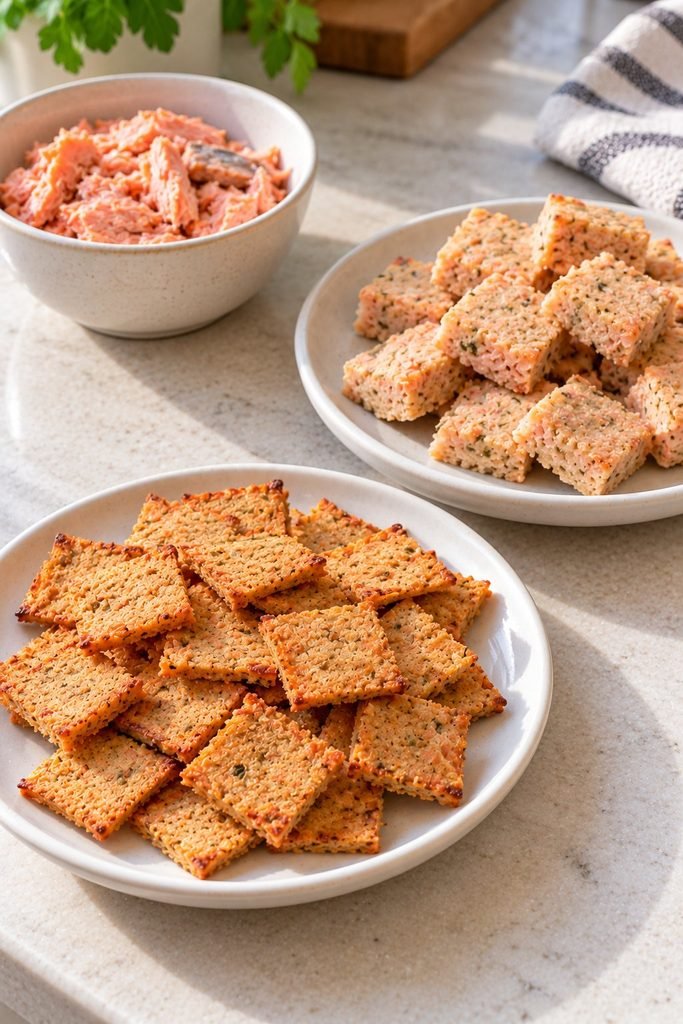
Slide the bottom parchment sheet onto the baking tray and bake for 12 to 15 minutes.
The treats are done when the edges are lightly golden and the centers feel firm to the touch.
Because the pieces are so small, check them at the 10 minute mark so they do not overbake.
Step 8: Crisp Them Up
For a crunchier treat, turn the oven off and leave the tray inside with the door closed for another 20 to 30 minutes.
This extra drying step removes leftover moisture and makes the treats last longer.
Step 9: Cool Completely
Move the treats to a cooling rack and let them cool fully before storing. Warm treats trapped in a container create steam, and steam leads to softness and spoilage. Patience here pays off.
Tips for Perfect Salmon Cat Treats
- Drain the salmon really well. Extra liquid is the number one cause of a sticky, hard to roll dough.
- Mash, do not chunk. Finely mashed salmon creates an even dough that cuts cleanly.
- Roll thin. Thin treats crisp up better and are easier for small mouths to crunch.
- Cut small. Cats do not need big treats. Tiny pieces keep calories low and make each reward feel like a win.
- Use parchment, not foil. Parchment prevents sticking without adding anything to the recipe.
- Rotate the tray halfway. Ovens have hot spots, and small treats can brown quickly around the edges.
- Let the oven do the drying. The post bake rest in the warm oven is the easiest way to get a satisfying crunch.
Common Mistakes to Avoid
Using Salmon With Added Salt or Seasoning
It can be tempting to grab whatever salmon is in the pantry, but flavored or heavily salted varieties are not appropriate for cats. Stick with plain, water packed salmon.
Skipping the Draining Step
A wet dough will not roll out, will not cut cleanly, and will bake into a soft, floppy treat. Drain, and if needed, pat the salmon dry with a paper towel.
Making the Pieces Too Big
Large chunks mean extra calories and a higher chance of your cat swallowing them whole. Smaller is better.
Storing Before Fully Cooling
Warm treats make a damp container. A damp container means soft treats that spoil faster.
Overfeeding
Even healthy treats add up. Count them out rather than pouring a pile into the bowl.
Introducing Too Much Too Fast
When trying a new food, start with one or two pieces and see how your cat’s stomach handles it before offering more.
Recipe Variations
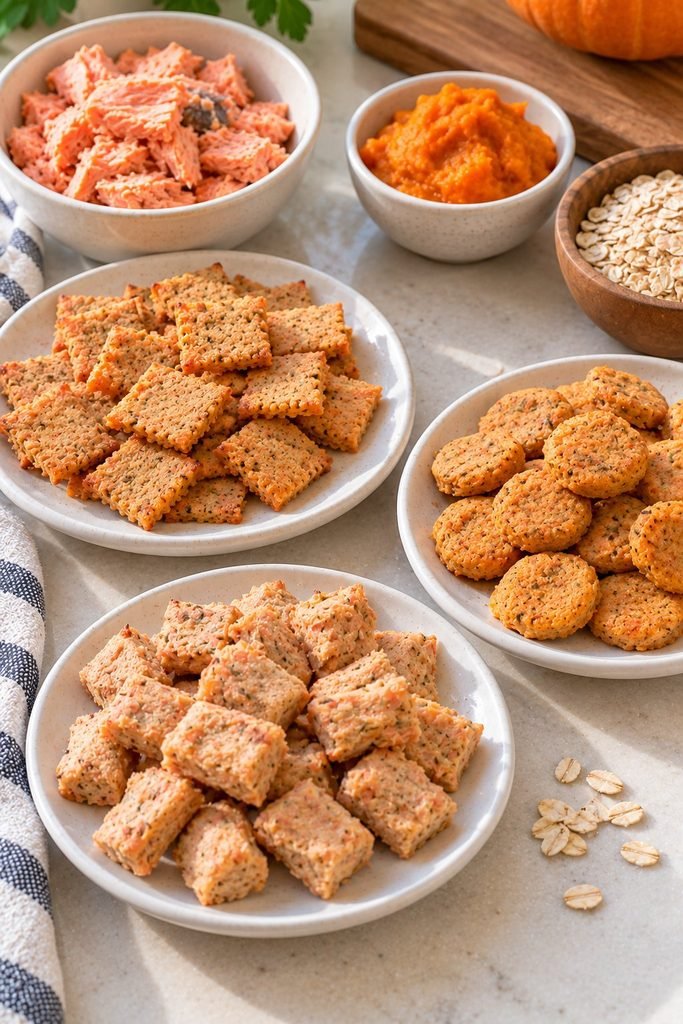
Salmon and Pumpkin Treats. Stir in one tablespoon of plain pumpkin puree (not pie filling) and add a little extra flour to balance the moisture.
Pumpkin adds fiber and a soft, earthy flavor that many cats tolerate well. Curious about other fruit and vegetable add-ins? See our guide to safe berries for cats.
Salmon and Catnip Crunchies. Double the catnip to two teaspoons for cats that go wild for it. These make great rewards after play sessions.
Salmon and Sweet Potato Bites. Replace the oat flour with two tablespoons of mashed, plain cooked sweet potato plus a little extra flour as needed. The result is slightly chewier and naturally a touch sweeter.
Grain Free Salmon Treats. Swap the oat flour for chickpea flour at the same amount. If you use coconut flour instead, start with only a quarter cup, since it absorbs far more liquid, and add a teaspoon of water if the dough feels too dry.
Soft and Chewy Salmon Bites. Roll the dough a little thicker, bake for about 10 minutes, and skip the oven drying step. Store these in the refrigerator and use them within a few days. They are perfect for older cats or those with sensitive teeth.
Salmon and Tuna Mix. Replace half the salmon with plain water packed tuna for a stronger flavor. Keep tuna as an occasional ingredient rather than a staple.
Air Fryer Version. Cook at 300 degrees Fahrenheit for 6 to 8 minutes, shaking the basket halfway through. Air fryers run hot on small pieces, so watch them closely.
How Many Treats Can a Cat Eat?
Because these treats are very small, you can give a handful of them without much impact on daily calories. Use this chart as a general guide, and remember it is an upper limit for a single day, not a target.
| Cat Size | Treats Per Day (Maximum) |
|---|---|
| Small cat (under 8 pounds) | 3 to 4 |
| Average cat (8 to 12 pounds) | 4 to 6 |
| Large cat (over 12 pounds) | 6 to 8 |
If your cat is overweight, diabetic, or on a calorie controlled plan, talk with your vet about how many treats fit safely into the day.
On the other end of the scale, if you are trying to help a thin cat put on healthy weight, our cat weight gain meals guide covers better options than treats alone.
For ideas on pairing homemade snacks with a balanced diet, take a look at our post on longevity foods for cats.
Can Kittens Eat These?
Kittens have different nutritional needs than adult cats, and their digestive systems are still developing.
Most vets recommend that kittens get the majority of their nutrition from a complete kitten formula.
If you want to offer a tiny taste of salmon treat to an older kitten, ask your veterinarian first. New kitten owners may also find our kitten care tips for first time owners helpful.
Storage Guide
Room Temperature. Fully dried, crunchy treats can sit in an airtight container for a day or two, but because they contain real fish and egg, refrigeration is safer.
Refrigerator. Store in an airtight container for up to one week. Soft and chewy versions should be used within three to four days.
Freezer. Freeze in a freezer safe bag or container for up to three months. Scoop out only what you need and return the rest to the freezer quickly.
Thawing. Let frozen treats sit at room temperature for ten to fifteen minutes, or move them to the refrigerator the night before.
Signs of Spoilage. Throw out any treats with an off smell, visible mold, or a slimy or sticky texture. When in doubt, toss them.
Best Containers. Glass jars with tight lids or small food storage containers work well. Add a small paper towel to the bottom if you notice moisture building up.
Serving Suggestions
- Training rewards: Cats can learn tricks, and these treats are the perfect motivator. Our guide on how to teach your cat tricks pairs nicely with a jar of tiny salmon crunchies.
- Pill helper: Crumble a treat over food or press a pill into a softer version, but only if your vet says it is safe for that particular medication.
- Carrier bribe: A treat inside the carrier makes it a place worth visiting.
- Puzzle feeders: Drop a few pieces into a treat dispensing toy for a mental workout.
- Meal topper: Crumble one or two treats over regular food to tempt a picky eater.
- Play session finale: End a play session with a treat to mimic the natural hunt, catch, and eat cycle.
- Part of a daily routine: A few treats fit neatly into a consistent schedule. See our daily cat care routine for ideas on building one.
Troubleshooting
The Dough Is Too Sticky
Cause: Too much moisture from under drained salmon. Fix: Add oat flour one tablespoon at a time until the dough holds together. Dust your work surface and rolling pin lightly.
The Dough Is Too Dry or Crumbly
Cause: Too much flour or very dry salmon. Fix: Add water one teaspoon at a time and knead until it forms a smooth ball.
The Treats Are Soft, Not Crunchy
Cause: Dough rolled too thick, underbaking, or skipping the drying step. Fix: Roll thinner next time, bake a few minutes longer, and let the treats rest in the turned off oven for 20 to 30 minutes.
The Treats Burned
Cause: Small pieces cook fast, and ovens vary. Fix: Lower the temperature to 325 degrees Fahrenheit and check at the 8 to 10 minute mark.
The Treats Fell Apart
Cause: Not enough binder or flour. Fix: Add a little more flour, and make sure the salmon is mashed finely before mixing.
My Cat Won’t Touch Them
Possible reasons: New texture, a stomach that is not feeling great, or simple cat attitude. Fixes: Try crumbling a treat over regular food, offer a softer version, or warm one slightly to bring out the aroma. If your cat suddenly refuses all treats and food, check in with your vet.
More Cat Treat and Care Reads
Want to keep exploring? These posts pair well with this recipe:
- Healthy Cat Treats
- Healthy Treat Ideas for Cats
- Homemade Cat Gravy Cubes
- Foods Toxic to Cats
- Longevity Foods for Cats
- Teach Your Cat Tricks
- Best Things to Give Your Cat
Frequently Asked Questions
Can cats eat salmon every day? Small amounts of cooked salmon are fine for most cats, but a daily diet heavy in fish is not ideal. Keep these treats occasional and follow your vet’s guidance.
Is canned salmon safe for cats? Yes, when it is plain, packed in water, and has no added salt or seasonings. Avoid any version with garlic, onion, or heavy spices.
Can I use raw salmon? No. Raw salmon can carry bacteria and parasites and contains thiaminase. Always cook fish fully before feeding.
Can I use smoked salmon? Smoked salmon is far too salty for cats and is best avoided entirely.
Do I have to use oat flour? No. Whole wheat flour or chickpea flour can work. Oat flour is a gentle default for most cats.
Can I make these without egg? You can try replacing the egg with a tablespoon of plain pumpkin puree and a little extra flour, but expect a softer, less crunchy treat.
Why are my treats chewy instead of crunchy? They were likely rolled too thick or not dried long enough. Roll thinner and use the post bake rest in the warm oven.
How long do these last? About one week in the refrigerator and up to three months in the freezer.
Can I dehydrate them instead of baking? Yes. A dehydrator at around 145 degrees Fahrenheit will produce very crunchy, shelf stable looking treats, but they should still be stored in the refrigerator or freezer because of the fish and egg.
Are these okay for cats with kidney disease? Not without veterinary approval. Cats with kidney disease often need controlled protein and phosphorus, so ask your vet first.
Can dogs eat these too? Dogs can usually have small amounts, but this recipe is sized and balanced as a cat treat. If you want something designed for dogs, check out our homemade beef bone broth gummies for dogs.
Will my cat actually like them? Most cats go wild for salmon, but every cat is an individual. Offer one piece and see.
Homemade Salmon Cat Treats
Ingredients
Equipment
Method
- Preheat the oven to 350°F (175°C) and line a baking sheet with parchment paper.
- Make sure the salmon is fully cooked, cooled, and free of bones, skin, seasoning, and added oil.
- Place the salmon in a mixing bowl and flake it finely with a fork.
- Add the egg and stir until evenly combined.
- Gradually add the oat flour and mix until a soft dough forms.
- Add water a little at a time if the dough feels too dry. Avoid making it sticky or runny.
- Place the dough between two sheets of parchment paper and roll it to approximately 1/4 inch thick.
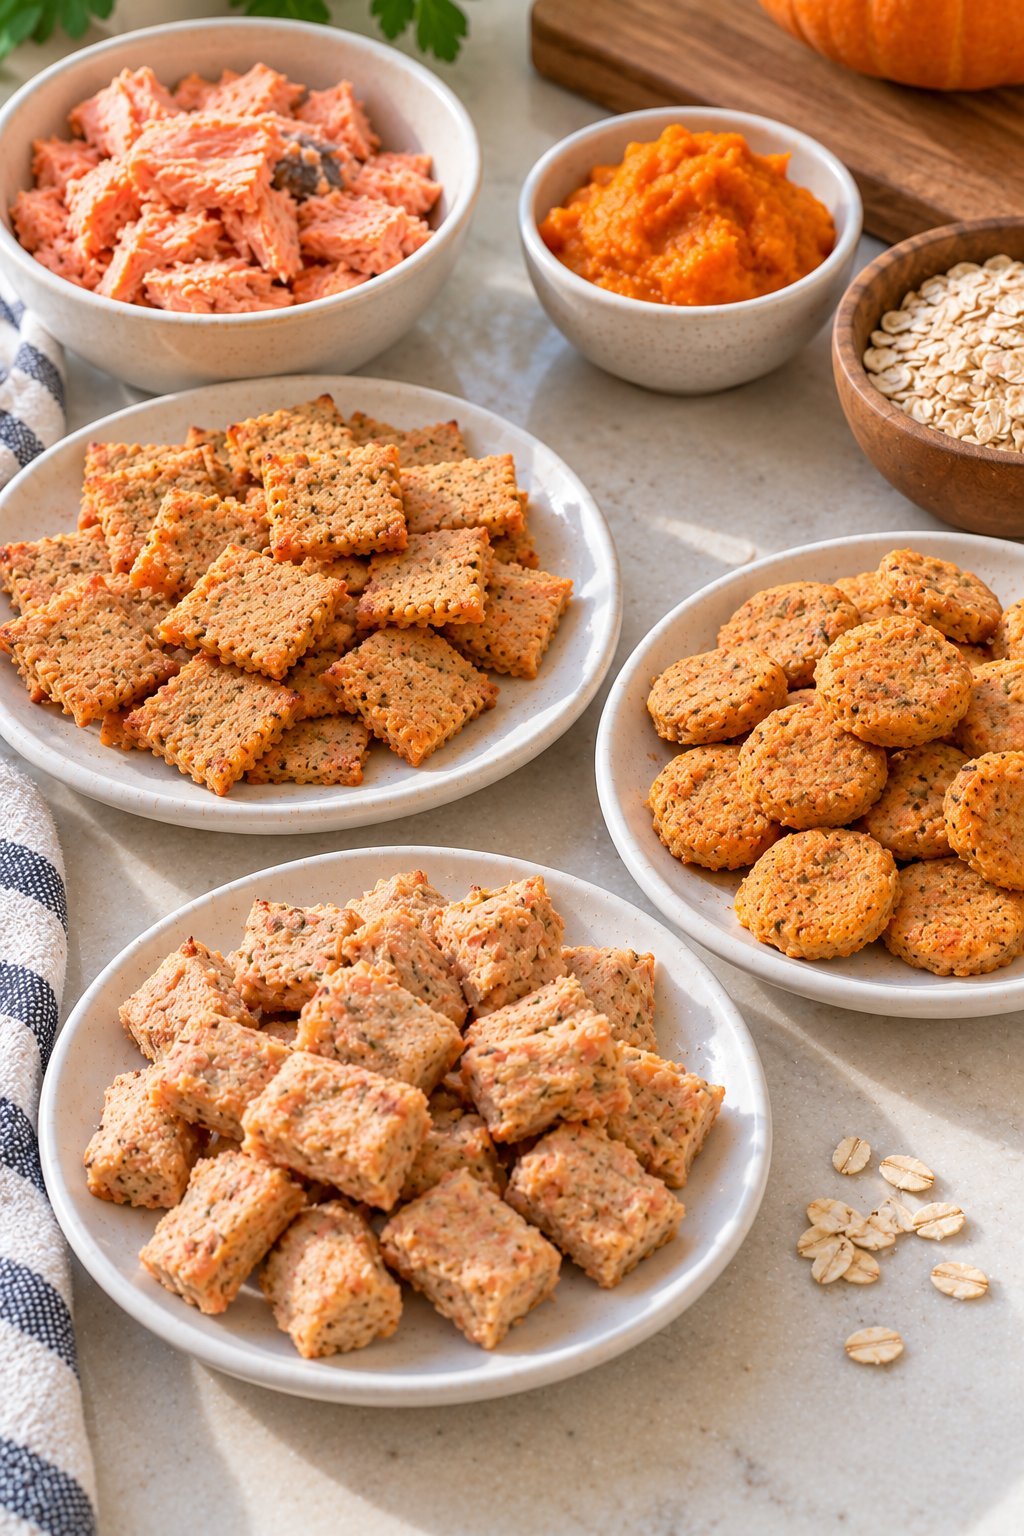
- Cut the dough into small bite sized shapes using a cookie cutter.
- Arrange the treats on the prepared baking sheet with a little space between them.
- Bake for approximately 12 to 15 minutes, or until the treats are firm and cooked through.
- Remove the treats from the oven and allow them to cool completely on a wire rack before serving.
- Salmon Safety: Use fully cooked, plain salmon and carefully remove all bones. Avoid smoked, salted, seasoned, or raw salmon.
- Ingredient Tip: Choose salmon prepared without onion, garlic, sauces, or added seasoning. Cats do not need salt or spices in their treats.
- Texture Tip: For crunchier treats, make the pieces small and bake until firm without allowing them to burn. Let the treats cool completely before checking their final texture.
- Storage: Store cooled treats in an airtight container in the refrigerator for up to 3 days. Freeze small portions for longer storage and thaw them in the refrigerator before serving.
- Common Mistake to Avoid: Do not use raw salmon or assume that all fish products are bone free. Check the salmon carefully before mixing the dough.
- Serving: Offer a small piece or two as an occasional treat, depending on your cat’s size and dietary needs. Treats should make up no more than about 10% of daily calories and should not replace a complete and balanced cat food diet.
Final Thoughts
Homemade salmon cat treats prove that a great snack does not need a long ingredient list or a trip to a specialty store.
With one can of salmon, an egg, and a little flour, you can fill a jar with crunchy, tiny rewards that your cat will happily come running for. They are quick to make, easy to portion, and simple to adapt to whatever your cat prefers.
Start with a small taste, keep the portions modest, and let your cat tell you what they love. For more ways to keep your cat healthy and content beyond the treat jar, browse our happy healthy cat tips and ways to make your cat’s life amazing. Before long, the sound of the treat jar lid might become the most exciting noise in your home.
As with any new food, introduce these treats gradually, and consult your veterinarian before adding them to your cat’s diet, especially if your cat has allergies, kidney issues, or other medical conditions.