I started making homemade cat treats for cats one day when I had some leftover chicken in the kitchen and wanted a simple DIY cat treat recipe at home.
I mixed it with a little catnip for cats, and it quickly became one of her favorite healthy cat snacks.
Now, this easy chicken and catnip homemade cat treat recipe is something I make regularly as a natural cat treat at home.
It’s budget-friendly, simple, and a great way to spoil my cat with protein-rich homemade treats for cats without store-bought additives.
Disclaimer: This post may contain affiliate links, which means I may earn a small commission at no extra cost to you. Always ensure all ingredients are safe for cats and consult your veterinarian before introducing new homemade treats.
Amazon Shopping List: Chicken and Catnip Homemade Treats for Cats
- Silicone Cat Treat Molds (Fish or Paw Shapes)
- Fresh or Freeze-Dried Catnip
- Cooked Chicken Breast (Unseasoned, Pet Safe Prep)
- Food Processor or Blender (Small Batch Chopper)
- Stainless Steel Mixing Bowl Set
- Measuring Cups and Spoons Set
- Airtight Treat Storage Container
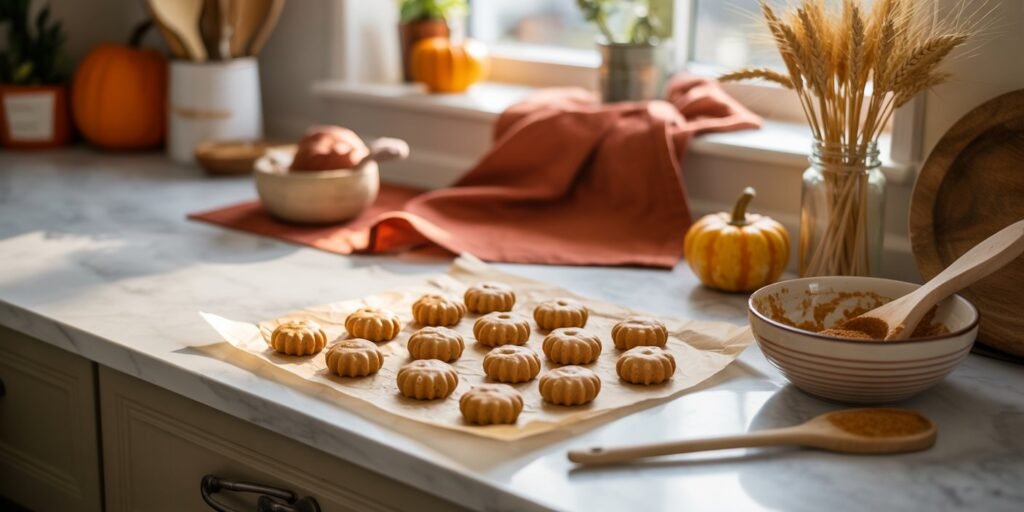
Simple Baked Chicken & Catnip Bites
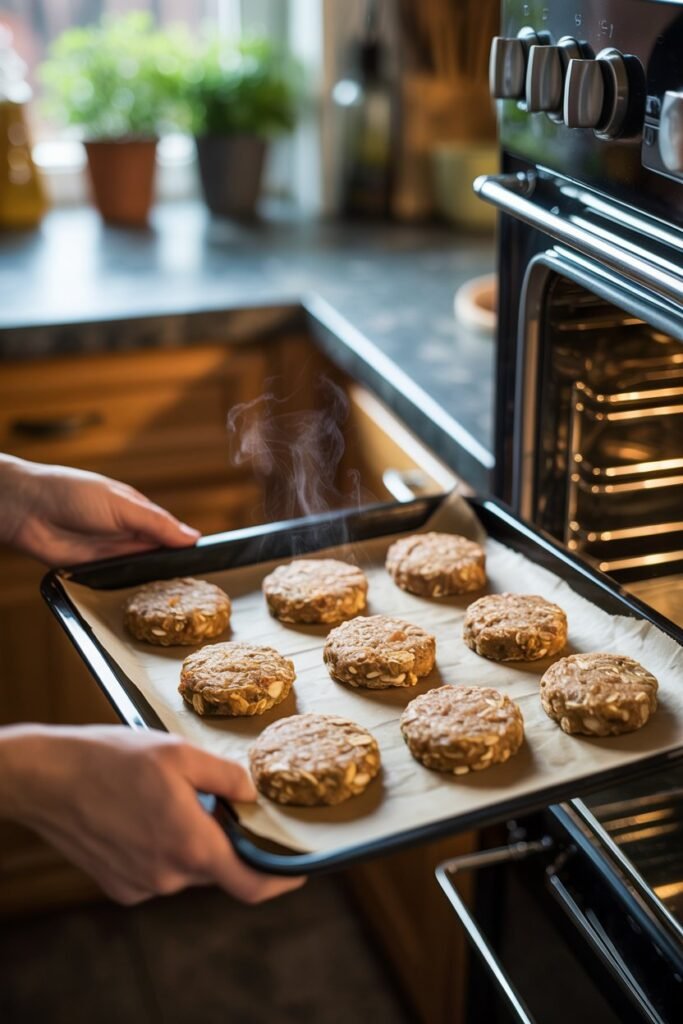
These simple baked chicken and catnip cat treats are one of the easiest DIY snacks you can make at home.
I usually use leftover cooked chicken, shred it into small pieces, and mix in a little catnip for that extra smell my cat absolutely loves.
I shape them into tiny bite-sized portions and bake them just long enough to dry them out slightly, so they turn into firm homemade cat treats with chicken and catnip.
They’re healthy, protein-packed, and free from all the extra additives you find in store-bought treats.
It’s a quick and budget-friendly way to make DIY cat treats at home, and honestly, my cat gets so excited every time she smells them baking in the kitchen.
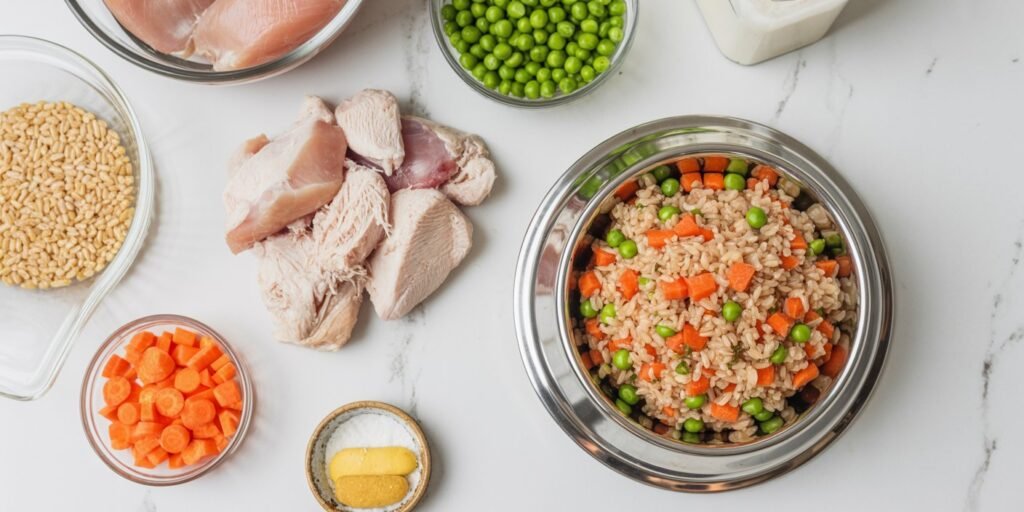
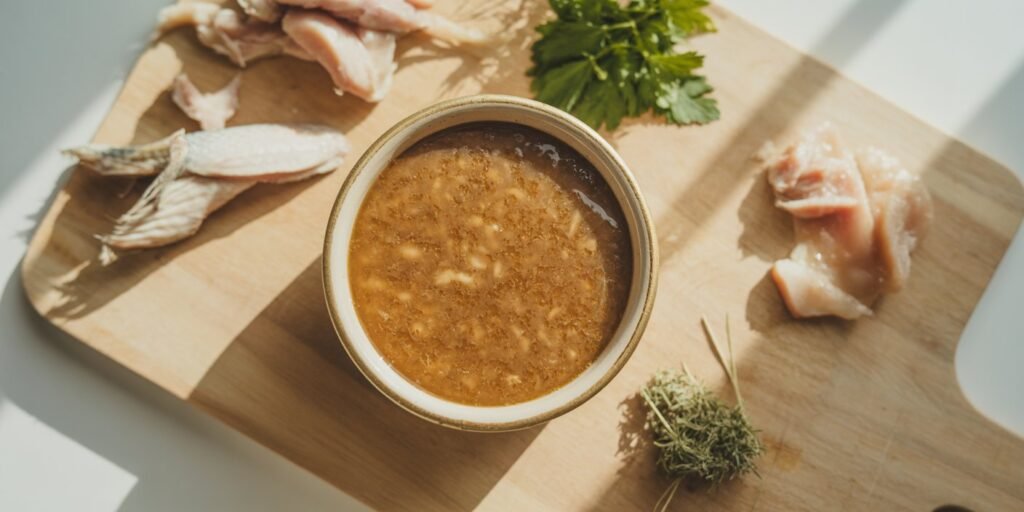
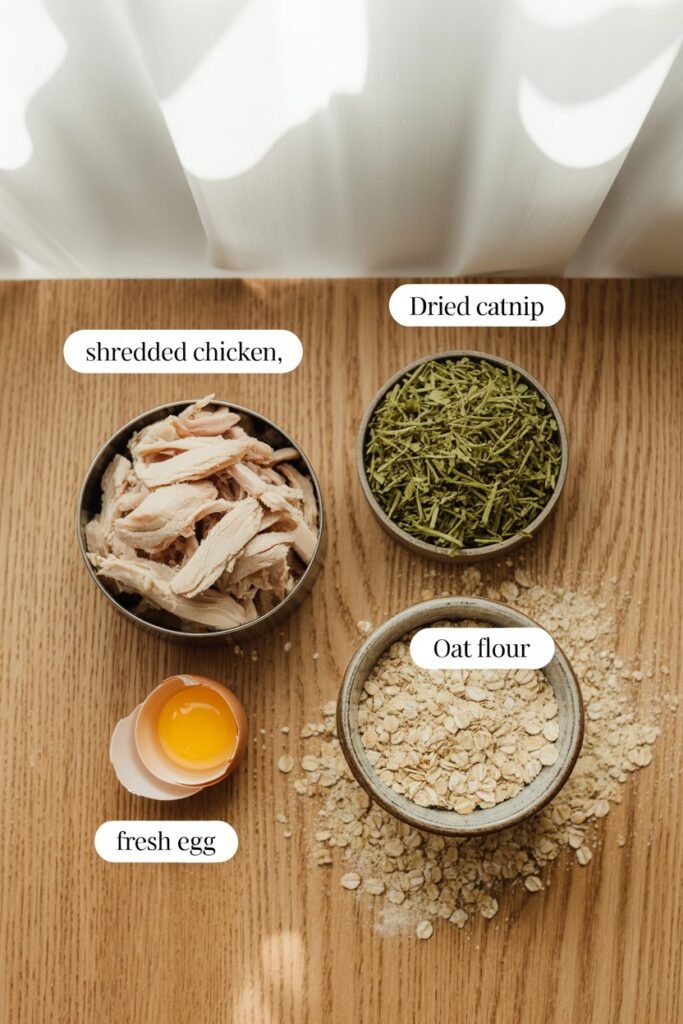
Ingredients: Chicken and Catnip Homemade Cat Treats
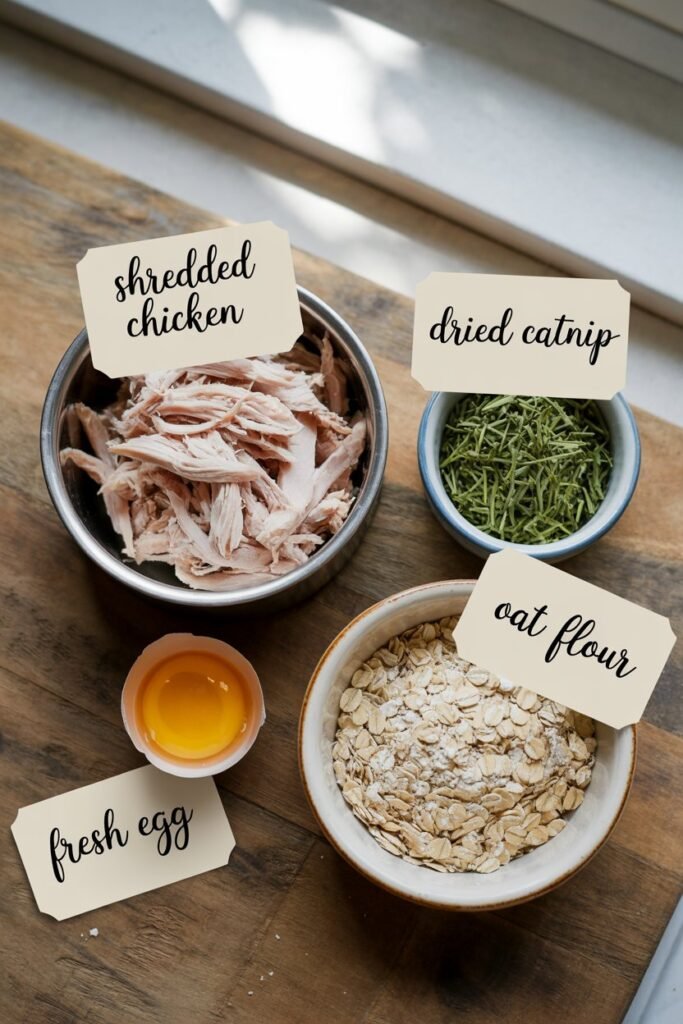
To make these homemade cat treats for cats, you only need a few simple, healthy ingredients that are safe and easy to find at home:
- ½ cup cooked shredded chicken (unseasoned) – a high-protein base for healthy cat treats
- 1 tbsp dried catnip – adds flavor and makes it an exciting catnip cat treat
- 1 egg (beaten) – helps bind everything together for DIY cat treats at home
- 2 tbsp oat flour – a gentle, cat-friendly flour for structure in these homemade chicken cat treats
These simple ingredients make a nutritious and tasty chicken and catnip homemade treat for cats that your cat will love.
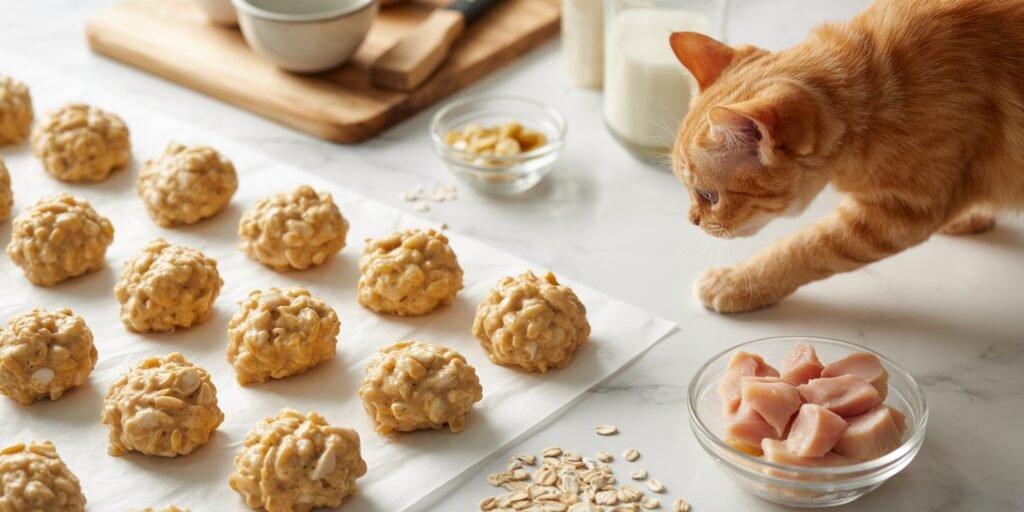
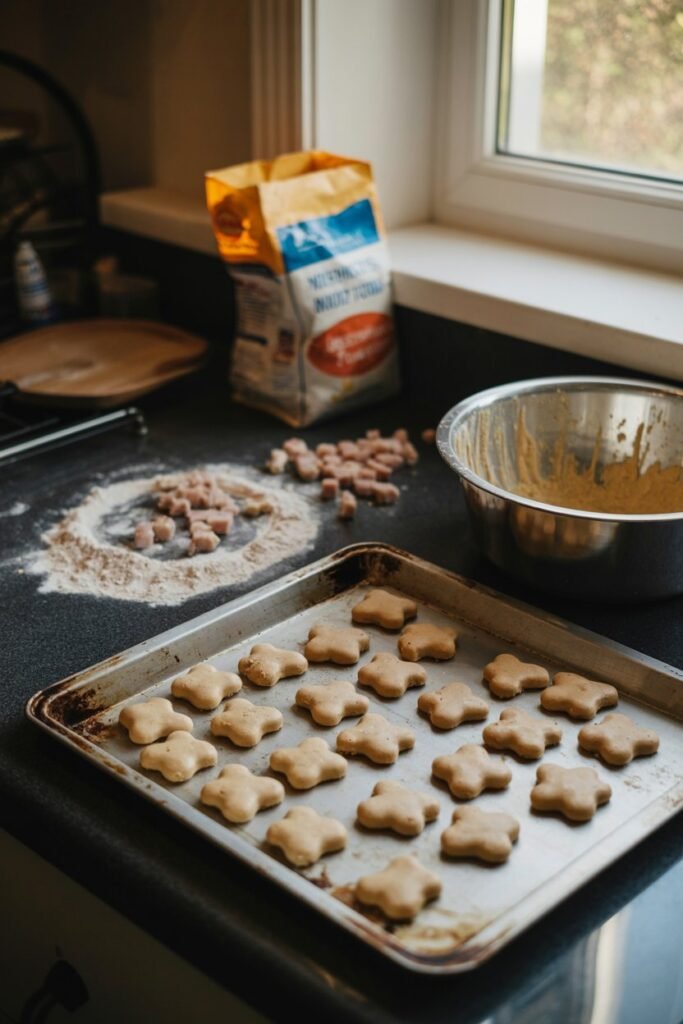
Instructions: No-Bake Chicken & Catnip Bites

If you don’t want to use the oven, you can make a quick no-bake chicken and catnip homemade cat treat recipe in just a few easy steps.
Mix the shredded chicken, dried catnip, beaten egg, and oat flour together until it forms a thick dough for healthy homemade cat treats for cats.
Then roll the mixture into small bite-sized balls or mini DIY cat treats at home.
Place them on a tray and refrigerate for 1–2 hours until firm.
Once set, you’ll have soft, protein-rich natural cat snacks, perfect as an easy catnip cat treat recipe that is quick, healthy, and budget-friendly for everyday homemade cat food treats.
Tip: Chill Before Shaping for Easier Handling
If the mixture feels too soft or sticky while making your homemade chicken and catnip cat treats, place it in the fridge for about 10–15 minutes before shaping.
This helps firm up the dough, making it easier to roll into small DIY cat treats at home without sticking to your hands.
Key Tips and Storage
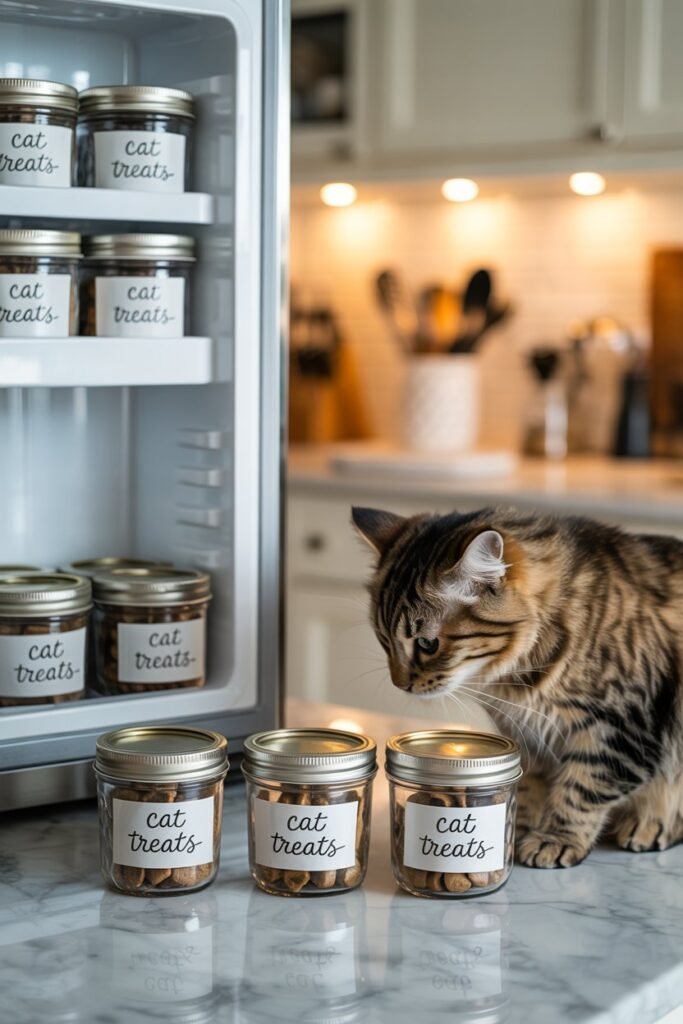
Storage: Keep your homemade chicken and catnip cat treats in an airtight container in the refrigerator for up to 5 days.
For longer storage, freeze them in small portions for up to 3 weeks and thaw before serving.
Safety: Always use fully cooked, boneless, and unseasoned chicken when making DIY cat treats at home. Avoid any added salt, spices, or seasoning.
If your cat has any health issues, it’s best to check with your vet before introducing new cat snacks or homemade cat food treats.
Variations: You can customize these chicken and catnip cat treats by adding a small amount of mashed sweet potato or using a bit of rice flour instead of oat flour for a slightly different texture.
Why I Started Making Homemade Cat Treats
I didn’t really plan to start making homemade cat treats at home, it just happened naturally in my daily routine.
I was already cooking a lot for my family, and most days in the kitchen feel busy with the kids, my husband, and everything else going on around the house.
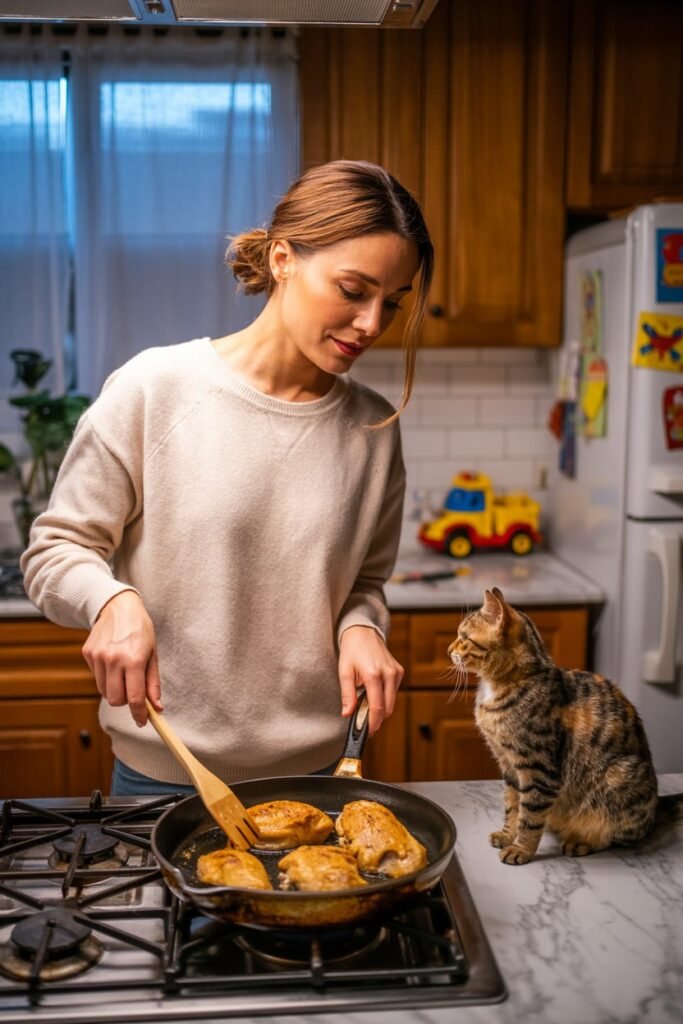
One day, while preparing chicken, my cat was right there watching me like she always does.
I had some leftover cooked chicken and thought instead of throwing it away, I could try making a simple DIY cat treat recipe at home.
I added a little catnip I already had, and that was honestly how it all started.
Now it’s become one of those small habits I enjoy. Making healthy homemade cat treats for cats feels better than buying store-bought snacks because I know exactly what’s going into them.
It also saves money and fits easily into my normal kitchen routine, especially when I’m already cooking for the family.
What started as a random idea has now become a simple way I show care for my cat, just like I do for everyone else in my home.
Health Benefits of Chicken & Catnip for Cats
One of the main reasons I love making homemade cat treats with chicken and catnip is because of the simple health benefits behind the ingredients.
It’s not just a fun snack for my cat—it actually supports her overall well-being in a natural way.
Chicken is a great source of lean protein for cats, which helps maintain strong muscles and provides energy.
Using cooked, unseasoned chicken in these DIY cat treats at home makes it a healthy alternative to processed store-bought snacks that often contain fillers or additives.
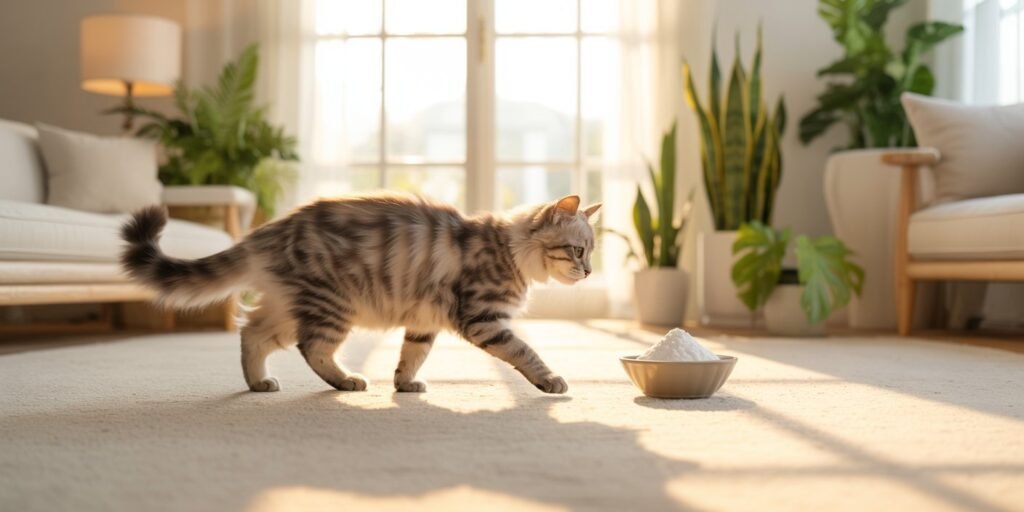
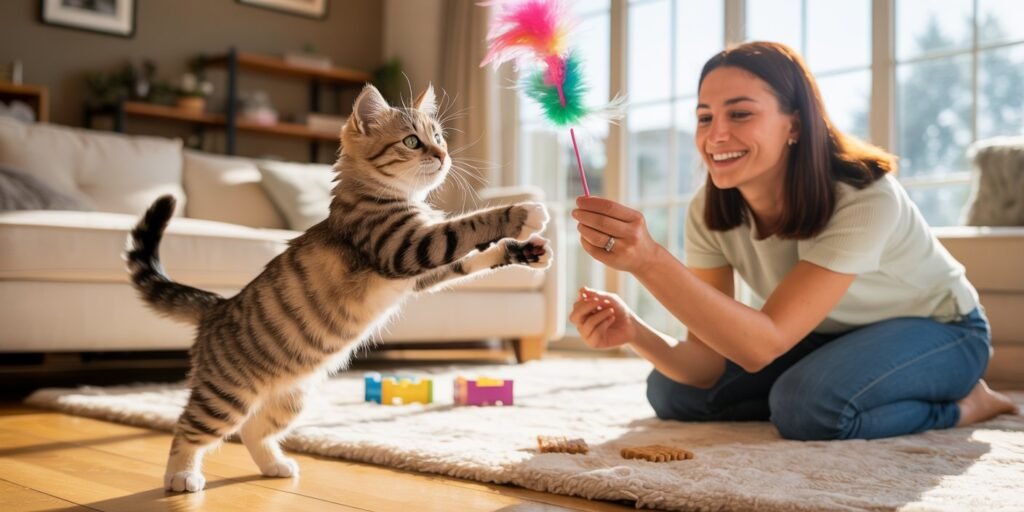
Catnip is another ingredient I like using because it helps stimulate and entertain cats in a natural way.
It can encourage playfulness and keep them mentally active, which is great for their daily routine.
Together, chicken and catnip create a simple, nutritious combination that makes these healthy homemade cat treats for cats both enjoyable and beneficial.
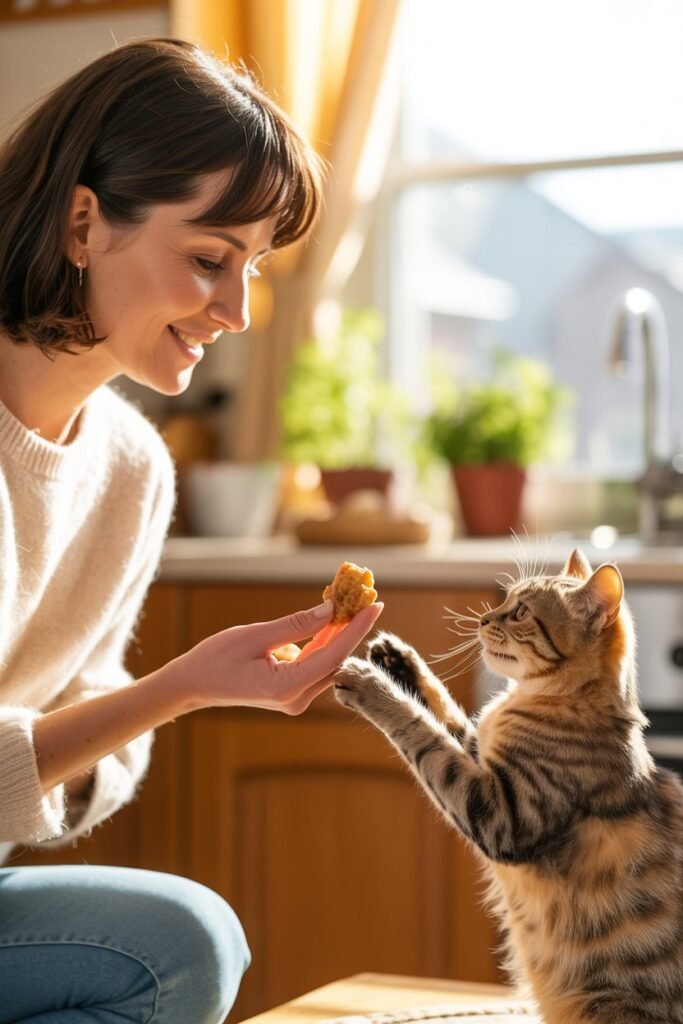
My Cat’s Reaction (Why She Loves These Treats)

Every time I make these homemade chicken and catnip cat treats, my cat somehow knows before I even finish.
She starts hanging around the kitchen, watching everything like she’s waiting for her own little snack routine.
As soon as she smells them, she gets excited and won’t leave my side. It’s honestly one of those cute moments that makes making DIY cat treats at home feel worth it.
When I finally give her one, she enjoys it slowly and looks so happy, like she knows it was made just for her.
It’s simple, but it shows me she really loves these healthy homemade cat treats for cats.
Common Mistakes When Making Homemade Cat Treats
When I first started making homemade cat treats for cats, I made a few simple mistakes that affected the results.
One was adding seasoning or salt without realizing it’s not safe for cats. Another was making the treats too big, which made them harder for my cat to eat.
I also learned that overbaking can make DIY cat treats at home too hard and less enjoyable.
And if they’re not stored properly, they can go bad quickly, which defeats the purpose of making fresh healthy homemade cat treats for cats.
Fixing these small mistakes made a big difference and helped me get better, safer cat treats with chicken and catnip every time.
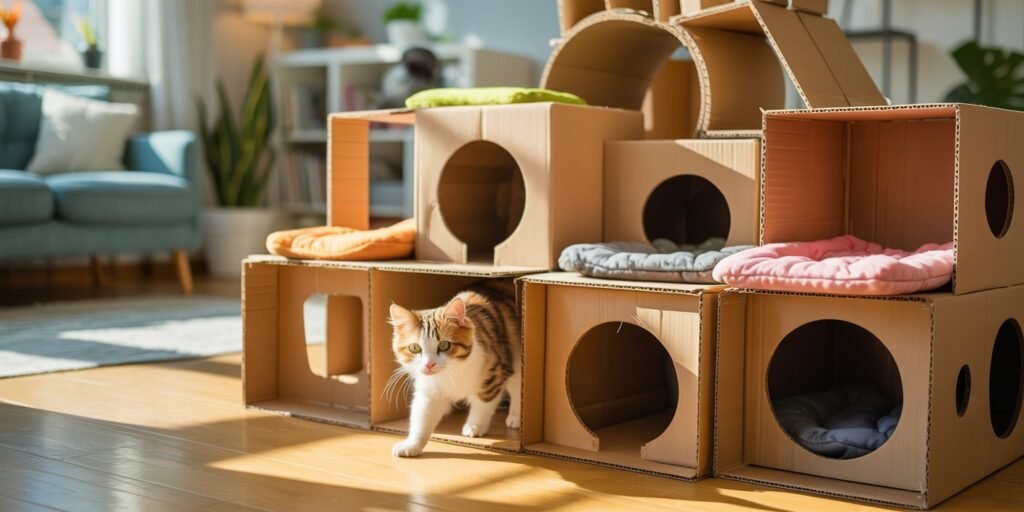
How I Serve These Treats in My Daily Routine
I usually give these homemade chicken and catnip cat treats as a small reward during the day, especially after I’ve finished cooking or when my cat has been extra playful.
It’s become part of our simple daily routine at home.
Sometimes I give her one while I’m in the kitchen with the kids or when my husband is around and we’re all just relaxing together.
It feels like a small bonding moment, and she always knows when it’s treat time.
Using these DIY cat treats at home this way makes it easy to include her in our everyday family life while still keeping things simple and natural.
Budget Breakdown: Homemade vs Store-Bought Cat Treats

One of the biggest reasons I keep making these homemade cat treats for cats is the cost difference compared to store-bought options.
With just a few simple ingredients like chicken, egg, oat flour, and catnip, I can make multiple batches of DIY cat treats at home for a fraction of the price.
Store-bought treats can add up quickly, especially if you’re buying them regularly.
But with this chicken and catnip cat treat recipe, I already have most of the ingredients in my kitchen, which makes it a very budget-friendly option.
Over time, making healthy homemade cat treats for cats has helped me save money while still giving my cat something she genuinely enjoys.
Extra Tips for a Better Chicken & Catnip Cat Treat

To make your homemade cat treats for cats even better, always use fresh, plain cooked chicken with no salt or seasoning. This keeps your DIY cat treats at home safe and healthy.
Try cutting the treats into very small bite-sized pieces so they’re easier for your cat to eat and enjoy.
You can also slightly adjust the texture by adding a little more oat flour if the mixture feels too soft.
For extra freshness, store your chicken and catnip cat treats in small portions so you only take out what you need each time.
This helps keep your healthy homemade cat treats for cats tasting better for longer.
FAQ – Chicken and Catnip Homemade Cat Treats
1. Can cats eat chicken and catnip every day?
Yes, in small amounts. These homemade cat treats for cats should be given as occasional snacks, not a full meal.
2. Is catnip safe for all cats?
Most cats can safely enjoy catnip cat treats, but not all cats react to it. Kittens under 6 months usually don’t respond to catnip.
3. How long do homemade cat treats last?
These DIY cat treats at home last up to 5 days in the fridge or up to 3 weeks in the freezer.
4. Can I use raw chicken instead of cooked chicken?
No. Always use fully cooked, unseasoned chicken for safe homemade cat treats for cats.
5. What can I substitute for oat flour?
You can use rice flour or a small amount of regular flour if needed for your chicken and catnip cat treat recipe.
Final Thought
Making these homemade chicken and catnip cat treats has become one of those simple things that fits naturally into my everyday life.
It’s easy, budget-friendly, and gives me peace of mind knowing exactly what my cat is eating.
More than anything, it’s a small way I show care in my busy routine at home. And seeing how much she enjoys these DIY cat treats at home makes it completely worth it every time.